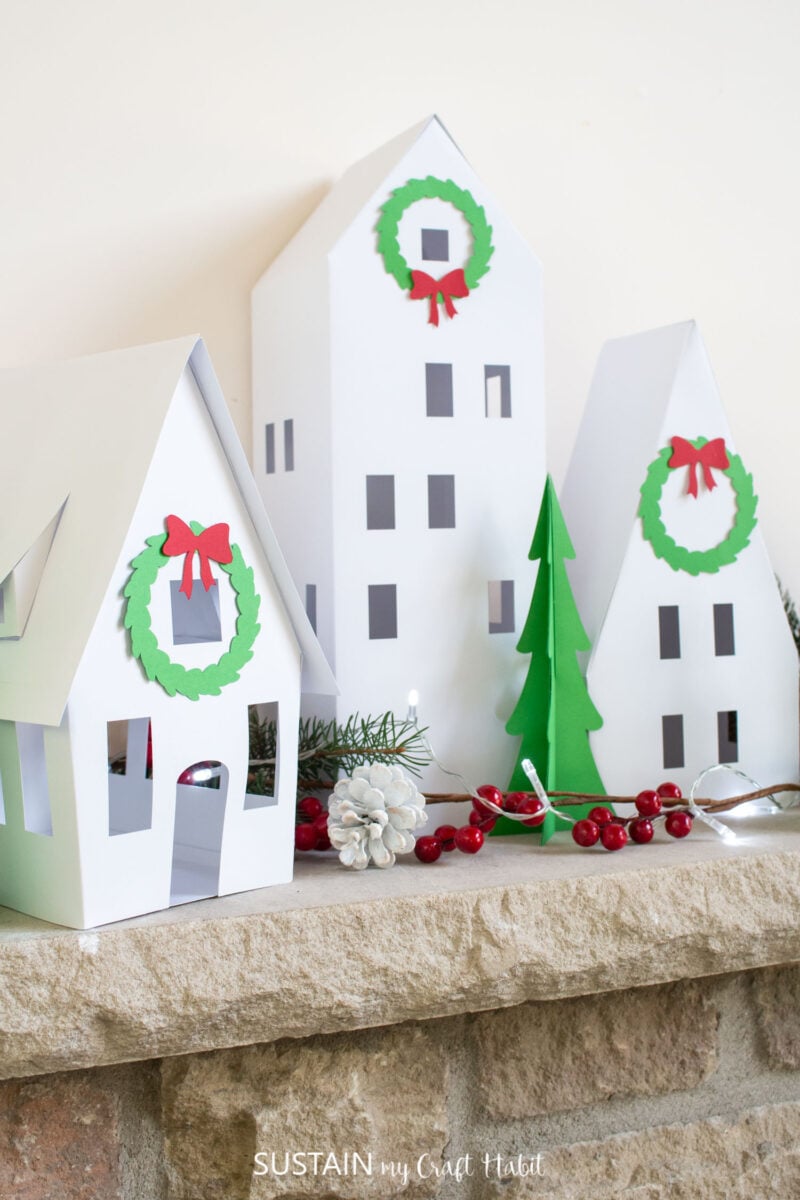
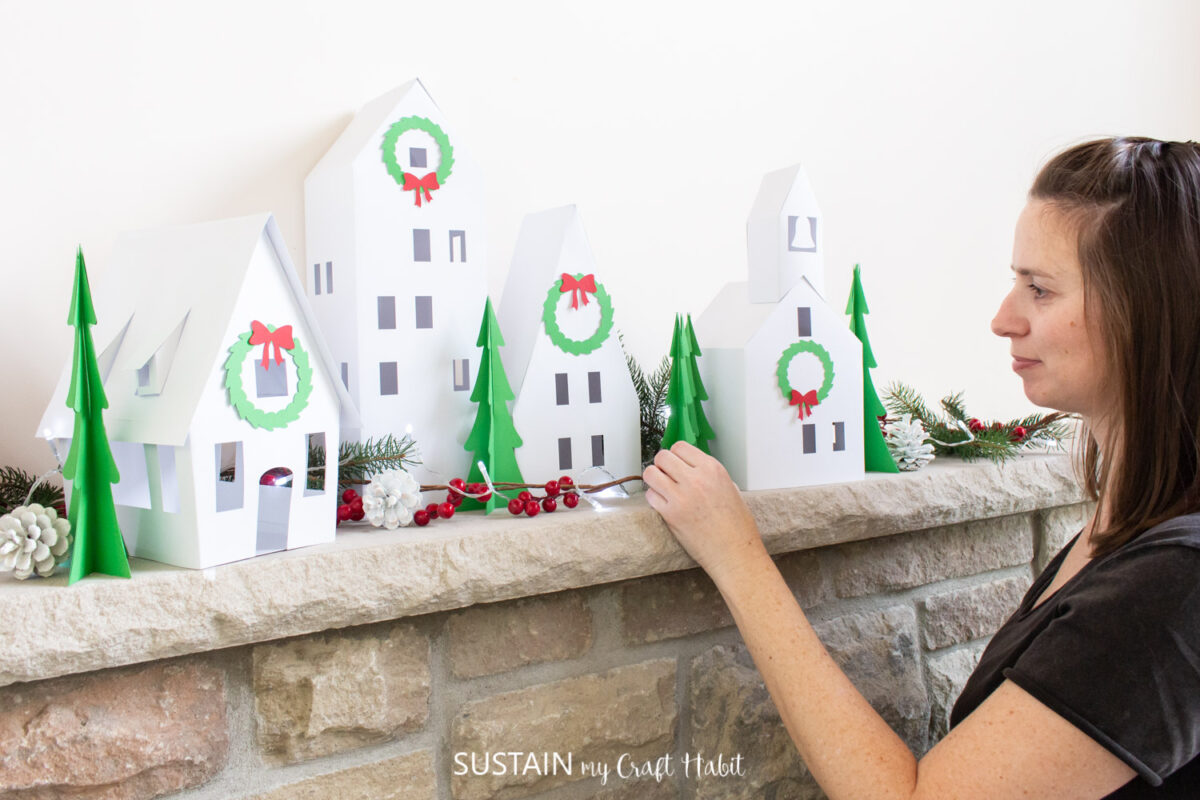
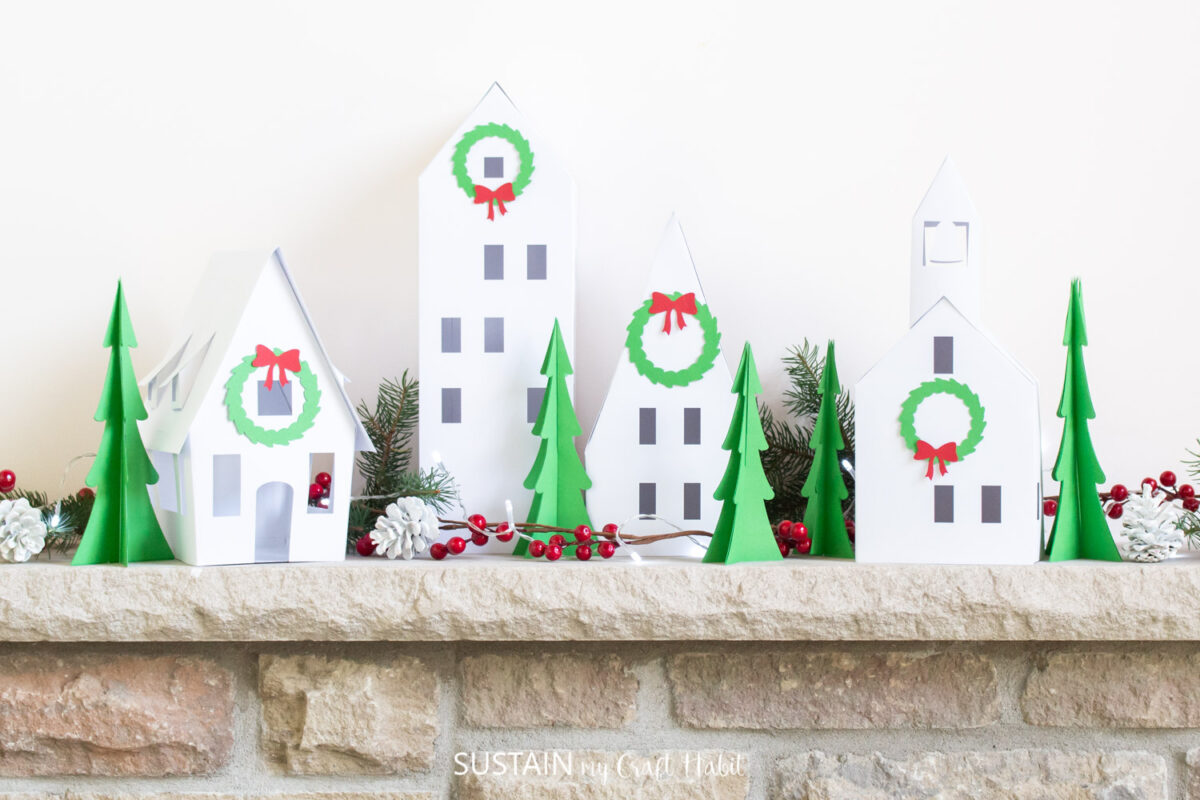
Making a 3D Paper Village with Cricut Venture
Are you ready to take your holiday decorations to the next level? Look no further! With the help of Cricut Venture, you can create a stunning 3D paper village that will bring the magic of Christmas right into your home.
The beauty of this project is not just in the final product but in the process of creating it. The Cricut Venture machine makes the entire experience seamless and enjoyable, allowing you to get lost in your creativity while building this charming village.
Why will I enjoy making this paper village?
For starters, it’s a great way to involve the whole family in a fun and festive activity. Children will love picking out and assembling the different parts of the village, while adults can enjoy adding their personal touch with customization options.
But beyond that, creating this 3D paper village is also a wonderful opportunity to exercise your imagination and see your ideas come to life. From designing the layout of the village to choosing the color scheme and adding unique details, this project allows you to unleash your inner artist.
What types of things can I add to my village?
The possibilities are endless! You can start with the essentials like houses, churches, and other buildings. But don’t be afraid to get creative and add in some unique elements, such as a winter market or a sledding hill for the village’s residents to enjoy.
You can also incorporate different textures and materials into your village, making it truly multi-dimensional. Use glitter paper for a snowy effect, add some twine for a rustic touch, or experiment with different patterns and colors to create your own unique village.

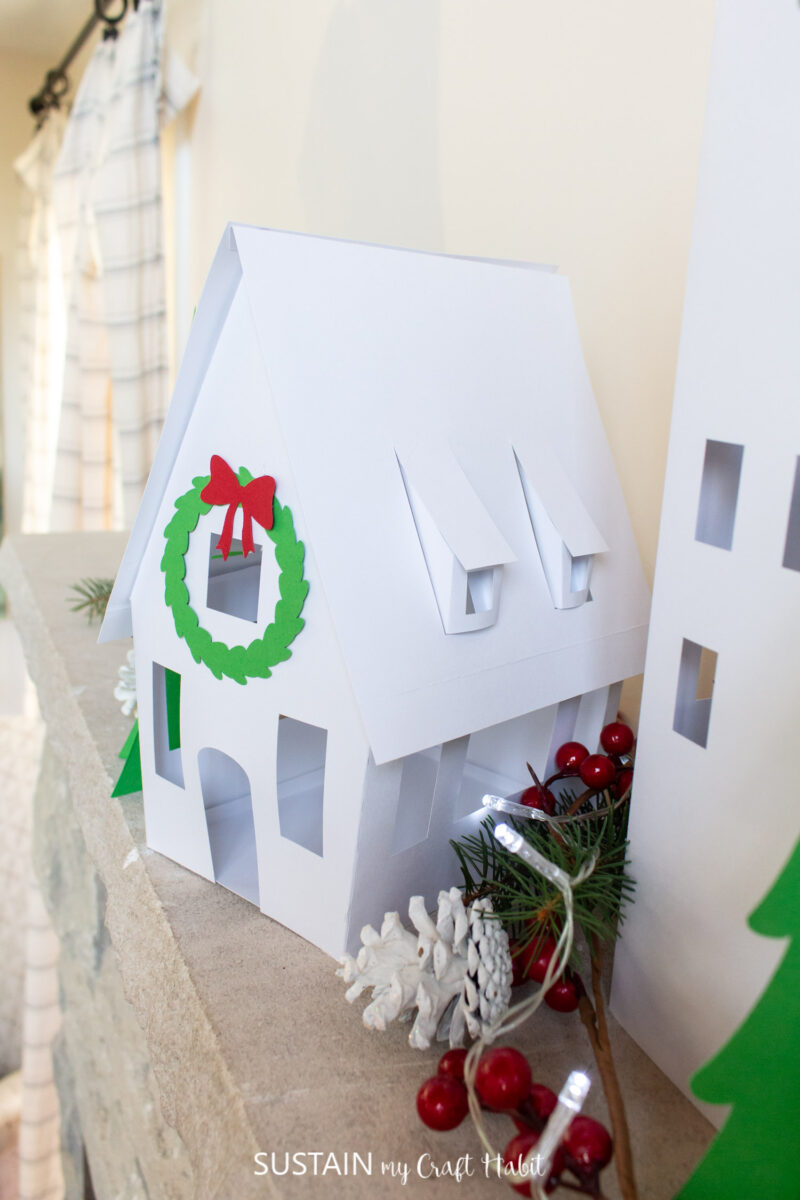
And let’s not forget about the finishing touches. The Cricut Venture allows you to add intricate details and decorations that will make your village come alive. From wreaths on doors to tiny snowmen in front yards, these small details will add a touch of whimsy and charm to your creation.
Get access to our resource library filled with SVG cut files and other Cricut craft ideas!
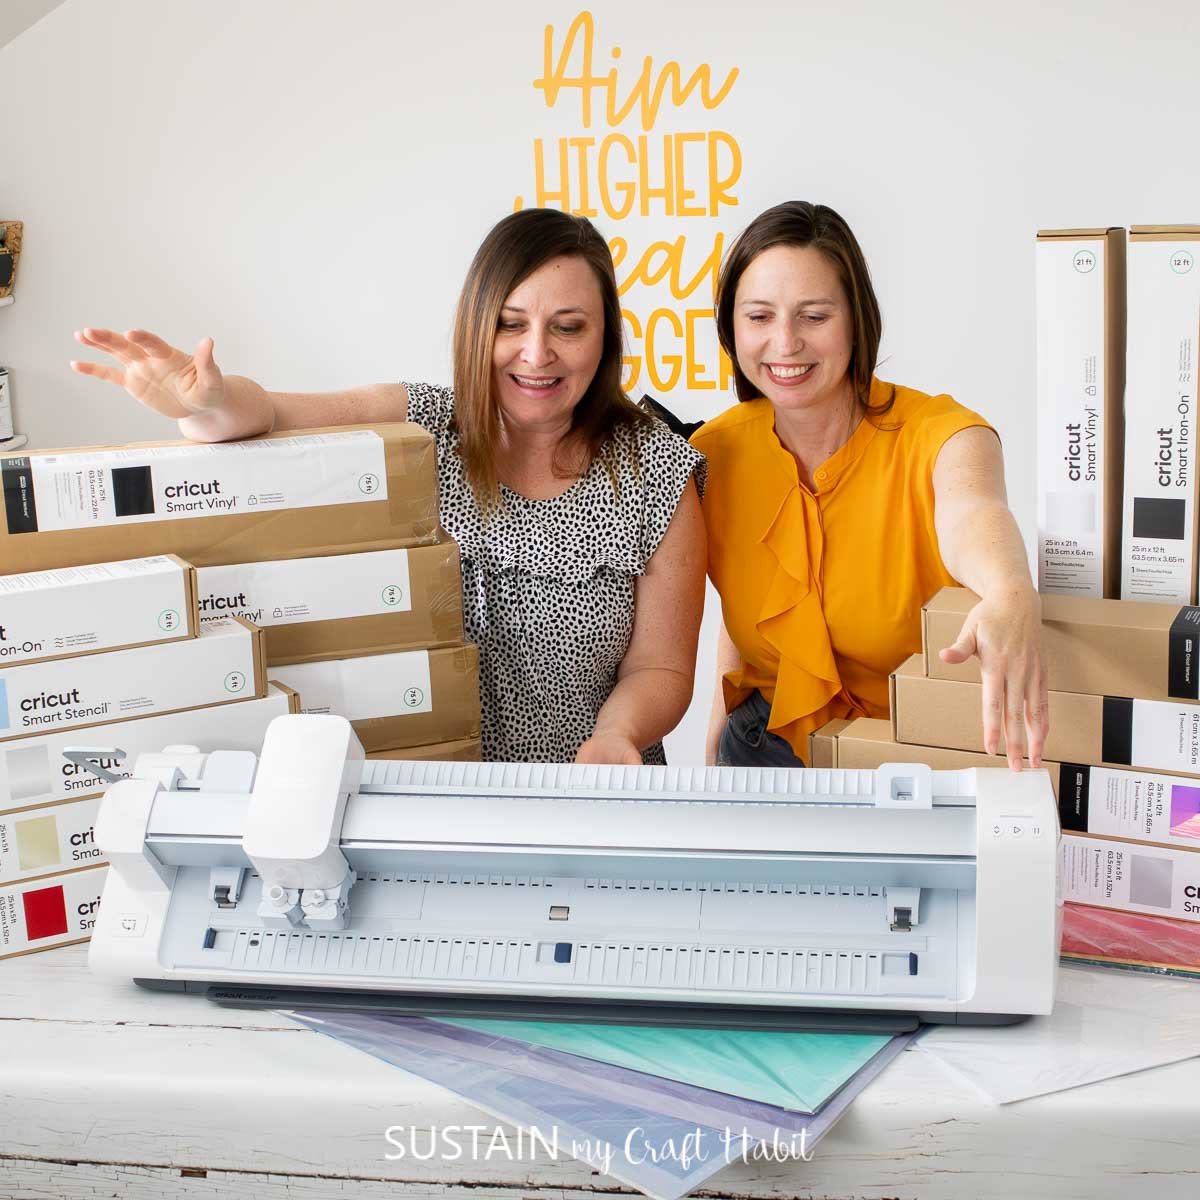
Materials Needed
Disclosure: This post contains affiliate links for your shopping convenience. Should you choose to purchase through them, we will make a small commission at no extra cost to you. You can read our full disclosure policy here.
- 3D house templates in Design Space
- Cricut Venture with Fine Point Blade (included) and Scoring Tool
- Cricut Venture 24” Light Grip or Standard Grip Mat
- Cricut Venture cardstock paper, 24” wide, in any color of your choosing (we used white, green and red)
- Hot glue gun or double sided tape
User Tips Before you Start:
- Ensure the front holder is extended to catch the mat and or Smart Material after unloading.
- Use the Color Sync tab to sort images by paper color.
- Cricut Venture arms will have to be in place whenever cutting materials on a cutting mat.
How to Make a a 3D Paper Village with Cricut Venture
Uploading the Paper Village in Design Space.
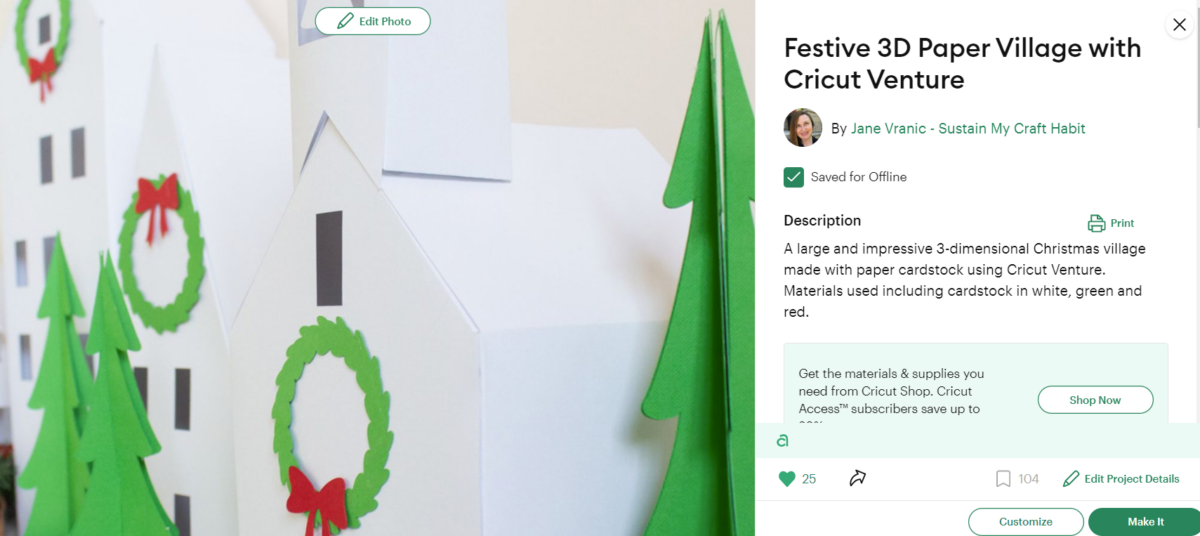
Copy and paste this link https://design.cricut.com/landing/project-detail/65666f19526bed492c0a5c63 in the search bar and click “customize” to open the project in Design Space.
All pieces are already sized and colored to match the completed project. If you wish to make any adjustments, this would be the place to do it.

Cutting
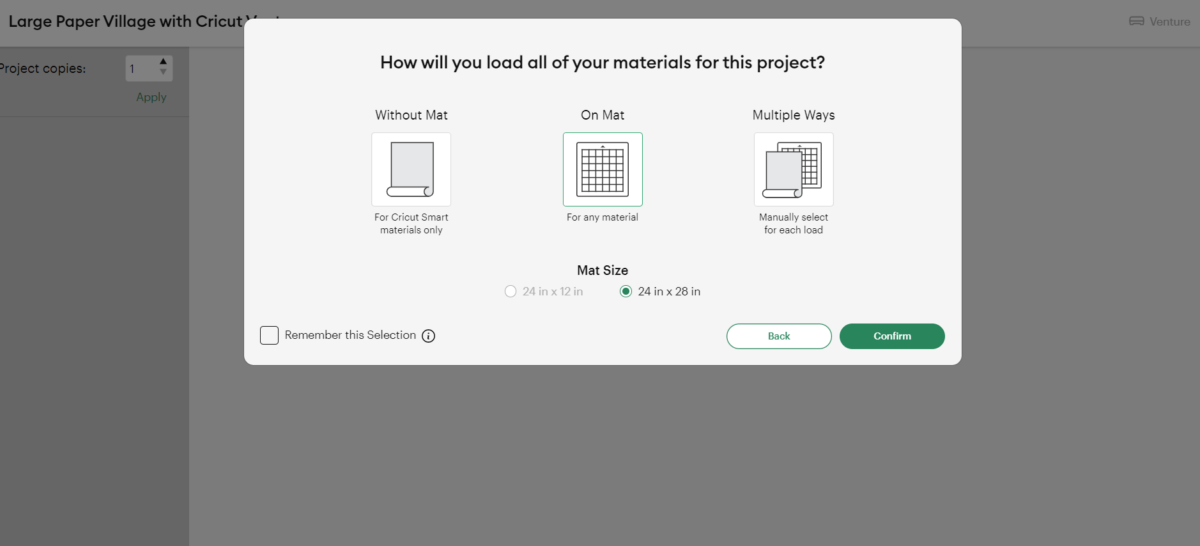
With the machine set to Cricut Venture, select “Make It” in Design Space.
Select cut “on mat” and select the 24”wide paper size.
Set material type to Cardstock, choosing the appropriate weight based on your paper. In our case, we used the light cardstock setting.
Place the first paper color onto the Cricut Venture grip mat. For best results, place the texture side facing down on the mat.

Follow prompts for loading cardstock paper into Cricut Venture and cutting. You will be prompted to do the following:
- Load Fine-Point Blade in Clamp B.
- Load scoring too in Clamp A.
- Raise Lever
- Move Pinch Roller to Position 2
- Raise Left and Right Guides
- Press Mat Support Button
- Insert Mat
- Lower level
- Press Load Button
When the cut is complete, unload the mat from the machine. Simply raise the lever and the cutting mat will gently fall into the front holder.
Peel away the cut pieces from the cutting mat.
Repeat for the remaining paper village pieces and colors.
Assembling the 3D Houses
- Preheat a hot glue gun.
- Sort all pieces by house style and work one house style at a time to avoid mixing up the pieces.
- Crease all score lines.
- Fold and overlap edges adding hot glue to all overlapping edges to form the house. Continue until the house is completed.

Bring the magic to Christmas into your home
Making a 3D paper village with Cricut Venture is not only a fun and creative activity, but it also brings the magic of Christmas into your home. With endless possibilities for customization and the ability to involve the whole family, this project is perfect for creating lasting memories during the holiday season.
So why not take your holiday decorations to the next level and create your own unique village? Trust us, it will be a holiday tradition you won’t want to miss out on.
More Cricut Venture Crafts
- Cricut Venture: Our Complete Guide and Review!
- Family Vacation Tshirts with Cricut Venture
- Batching Paper Succulents
- Mirror Decals for Teens


Stay in the know on our latest crafts, special offers and freebies by joining our mailing list.
Like it? Pin it for later!


Making a 3D Paper Village with Cricut Venture
Materials
- 3D house templates in Design Space
- Cricut Venture with Fine Point Blade and Scoring Tool
- Cricut Venture 24” Light Grip or Standard Grip Mat
- Cricut Venture cardstock paper 24” wide, in any color of your choosing
- Hot glue gun or double sided tape
Instructions
Uploading the Paper Village in Design Space.
- Search for 3D paper house and click “customize” to open the project in Design Space.
- All pieces are already sized and colored to match the completed project.
Cutting
- With the machine set to Cricut Venture, select “Make It” in Design Space.
- Select cut “on mat” and select the 24”wide paper size.
- Set material type to Cardstock, choosing the appropriate weight based on your paper. In our case, we used the light cardstock setting.
- Place the first paper color onto the Cricut Venture grip mat. For best results, place the texture side facing down on the mat.
- Follow prompts for loading cardstock paper into Cricut Venture and cutting.
- When the cut is complete, unload the mat from the machine.
- Peel away the cut pieces from the cutting mat.
- Repeat for the remaining paper village pieces and colors.
Assembling the 3D Houses
- Preheat a hot glue gun.
- Sort all pieces by house style and work one house style at a time to avoid mixing up the pieces.
- Crease all score lines.
- Fold and overlap edges adding hot glue to all overlapping edges to form the house. Continue until the house is completed.