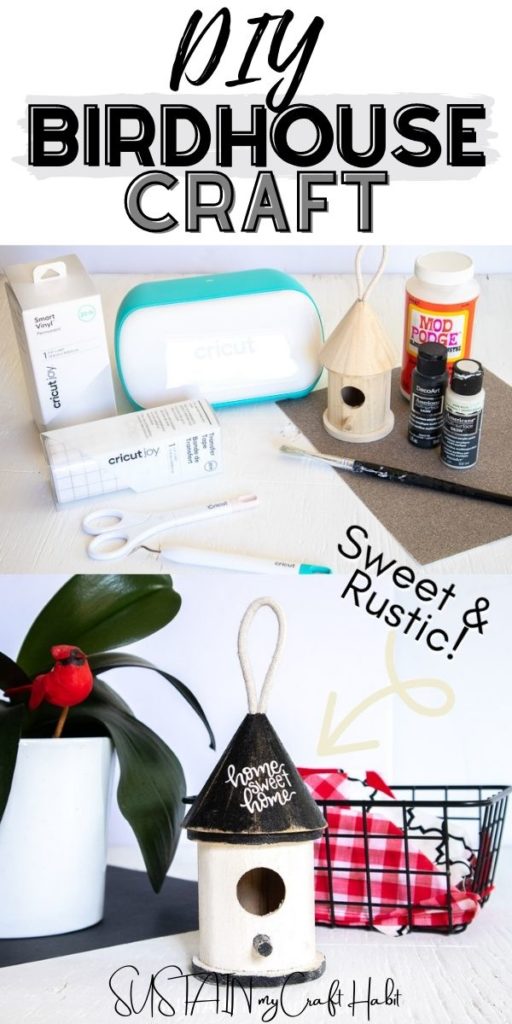
Rustic Wooden Birdhouse Craft Ornament
Put those inexpensive dollar store wooden birdhouses to use by making this sweet and rustic wooden birdhouse craft ornament.
Making A Bird House Craft
I don’t know about you but I have plenty of these wooden birdhouses from the craft store kicking around the house. I’ve previously used them to make this rustic birdhouse centerpiece for my table. They are just too cute not to buy when I see them at the dollar stores. They are really inexpensive, costing only $1-$2 and come in a variety of shapes and sizes so I often buy them for the kids to paint and craft with.
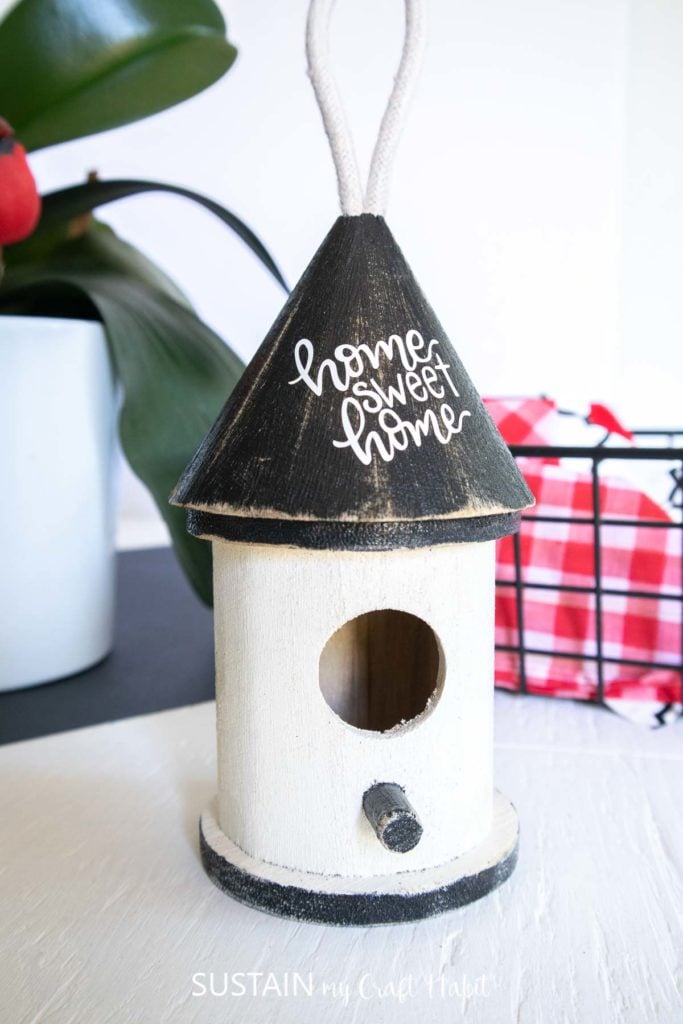
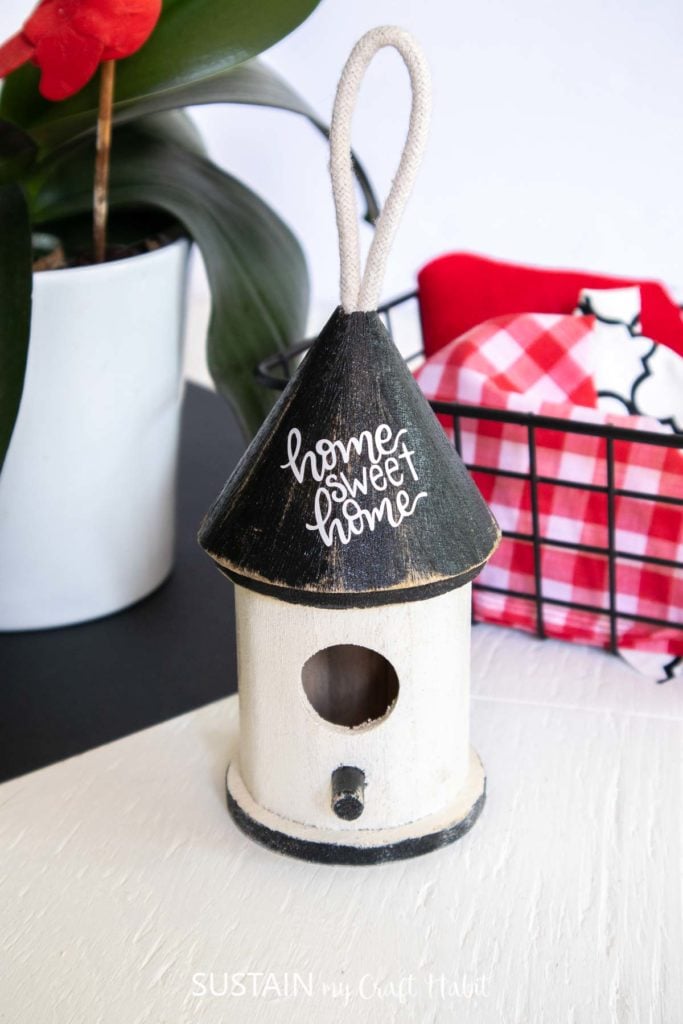
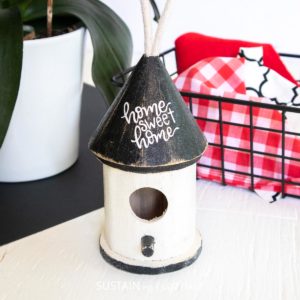
But this time, I wanted to make a birdhouse ornament craft just for myself! I love how sweet and perfectly rustic this little house turned out with it’s cream and black color combo and distressed edges. The “home sweet home” lettering was applied using my Cricut Joy and some permanent vinyl.
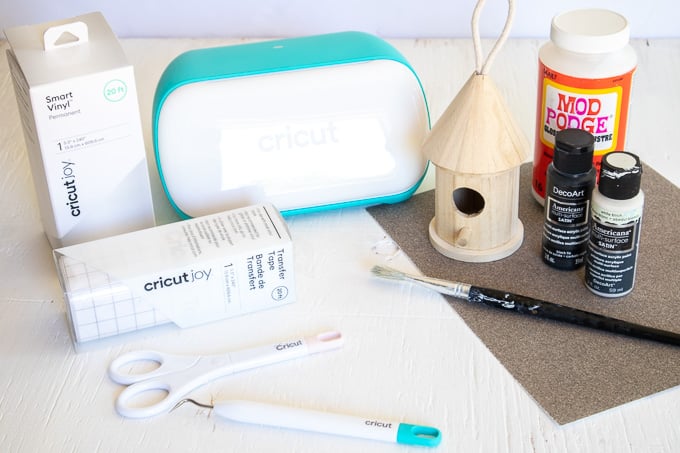
Materials Needed:
Disclosure: This post contains affiliate links for your shopping convenience. Should you choose to purchase through them, we will make a small commission at no extra cost to you. You can read our full disclosure policy here.
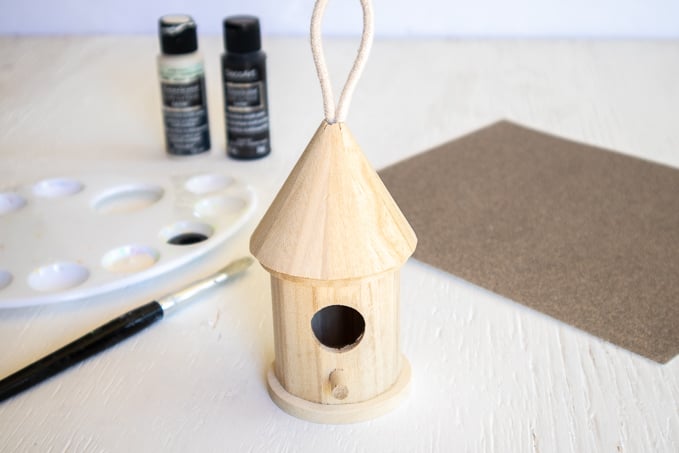
- Wooden birdhouse to paint ornament
- DecoArt Americana Acrylics in White Birch and Black Tie
- Medium Grit Sandpaper, 100 grit
- Mod Podge Sealer in High Gloss
- Paintbrush, medium flat tip and fine tip paintbrush
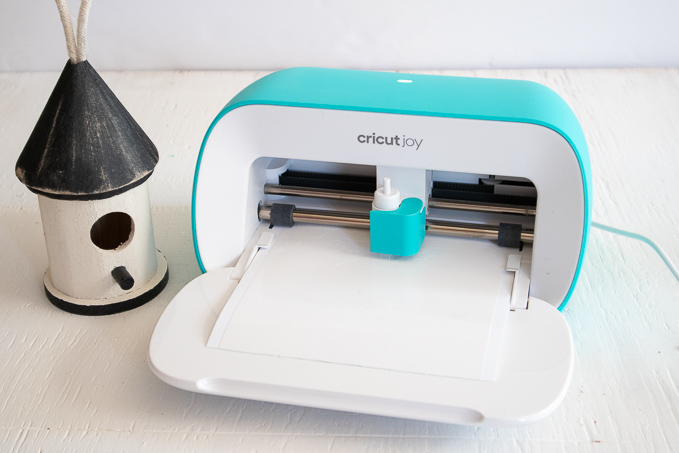
- Cricut Joy
- Smart Vinyl, Permanent in white
- Home Sweet Home SVG file
- Weeding tool
- Transfer Tape
- Scissors
How to Make a Rustic Birdhouse Ornament:
Painting the Wooden Birdhouse
Paint the sides of the house using White Birch.
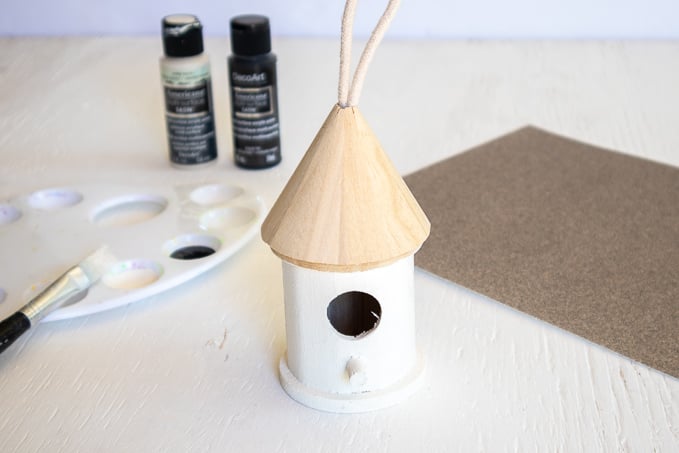
Paint the roof of the house and the bottom base using Black Tie.
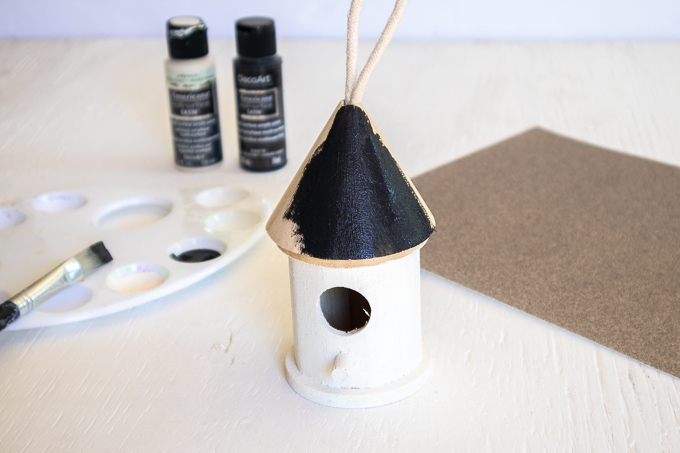
Using a fine tip paint brush, also paint the post in Black Tie.
Let the paint dry fully before proceeding with the next step.
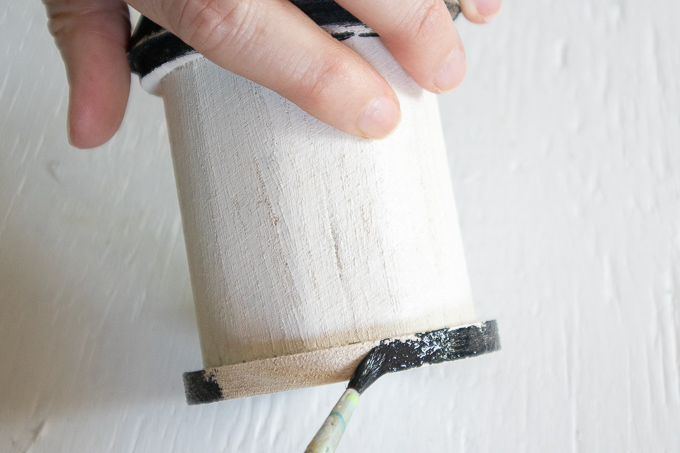
Using a piece of sandpaper, sand down all edges of the birdhouse painted in Black Tie, distressing mostly at the edges until the raw unfinished wood shows through.
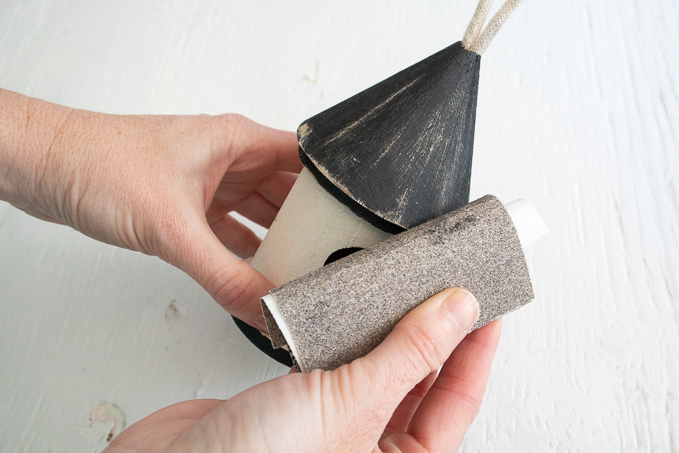
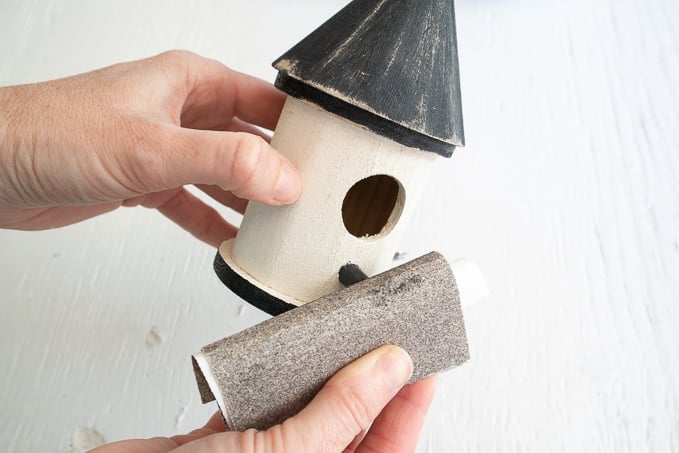
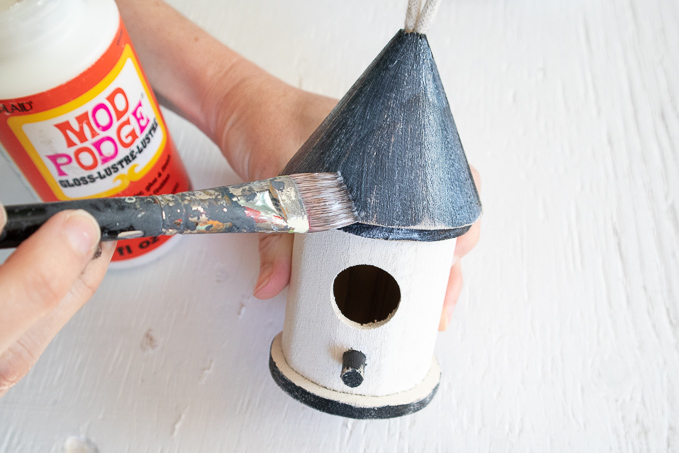
Wipe off the dust with a clean, dry cloth. Then apply a coat of mod podge sealer all over the surface of the birdhouse. Leave it to dry before proceeding with the next step.
Uploading the SVG Pattern
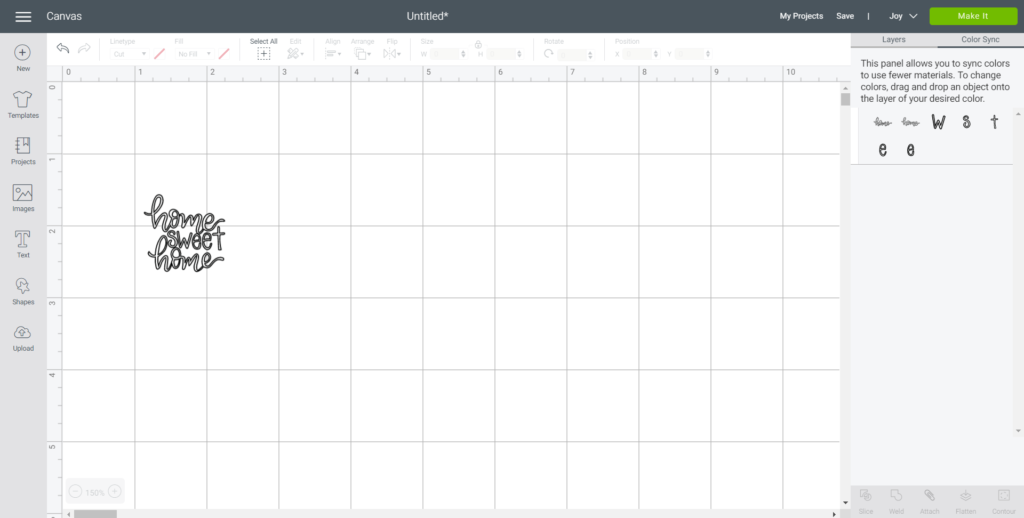
Upload Home Sweet Home SVG File into Design Space.
With the image highlighted, click on attach to keep all pieces of the image together.

Adjust image size to fit your wooden birdhouse accordingly or maintain size as provided. Color sync the image if desired to match the vinyl color.
Cutting
Ensure the machine is set to Cricut Joy and select “Make It” in Design Space. Choose “Without Mat” as the option for cutting when using Smart Vinyl.
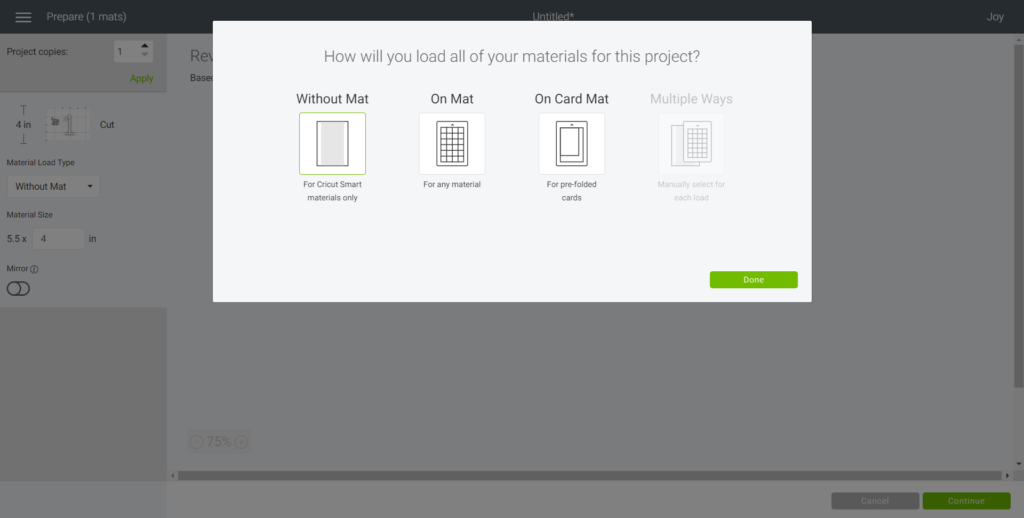
Set material type to Smart Vinyl. Follow prompts for loading the mat into the Cricut Joy and cutting the Smart Vinyl. When prompted, unload the vinyl from the cutting machine.
Applying the Vinyl and Finishing the Birdhouse
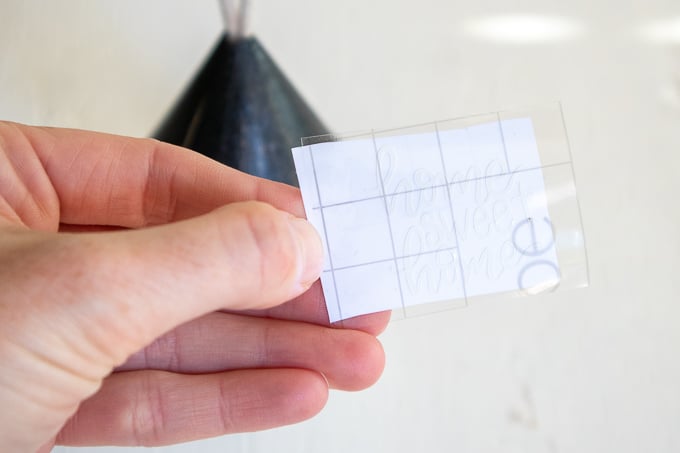
Cut around the image with a pair of scissors.
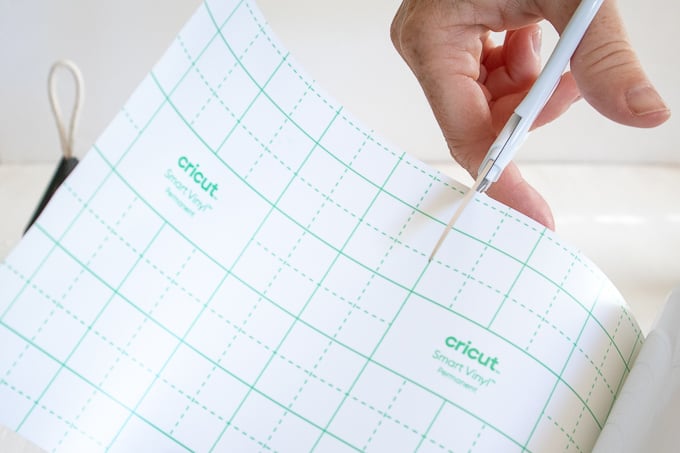
Using the weeding tool, peel away the excess vinyl around the cut image and discard.

Cut a piece of transfer tape a bit larger than the size of the image.
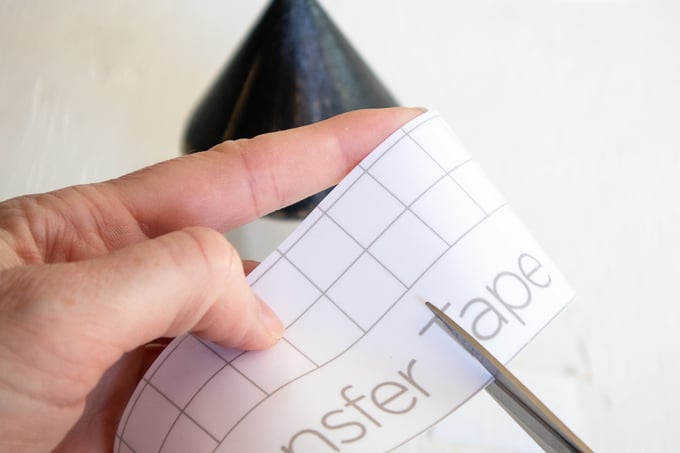
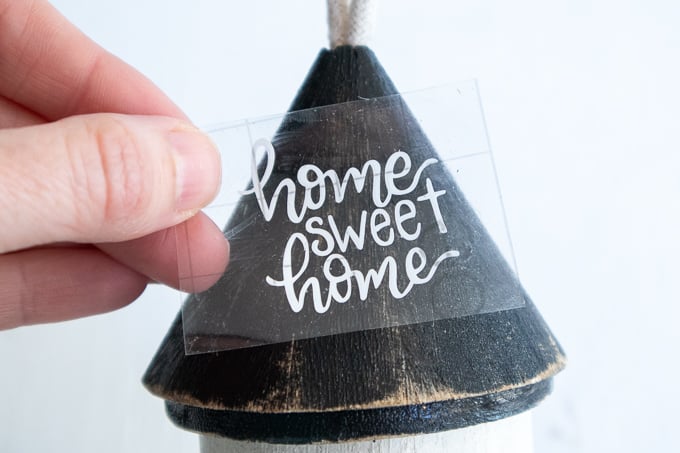
Peel away the transfer tape backing and place the transfer tape overtop of the cut image. Gently rub the vinyl to help it stick to the transfer tape.
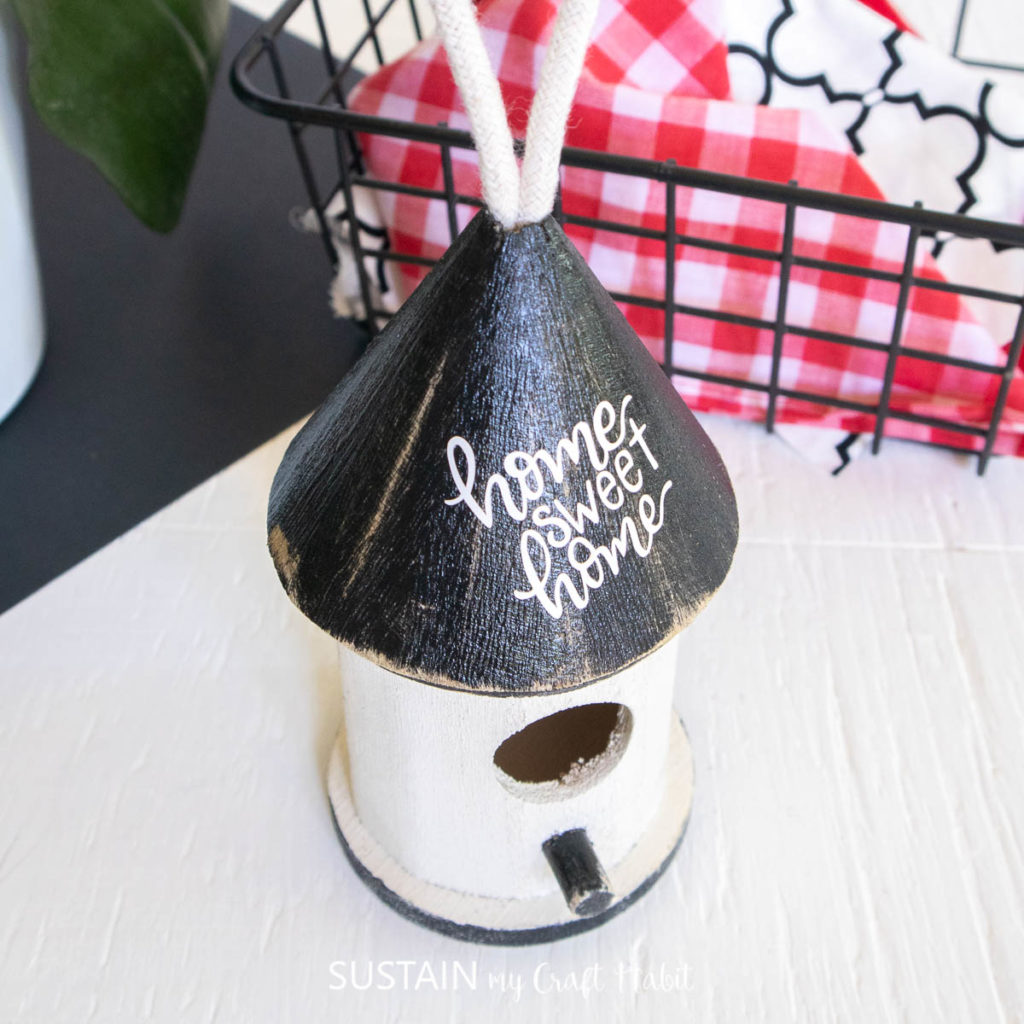
Peel away the vinyl backing and place the image on to the roof of the house on a slight angle.
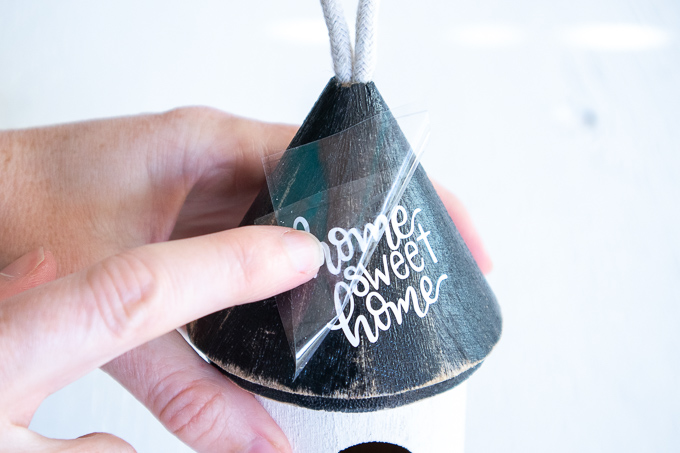
Peel away the transfer tape.
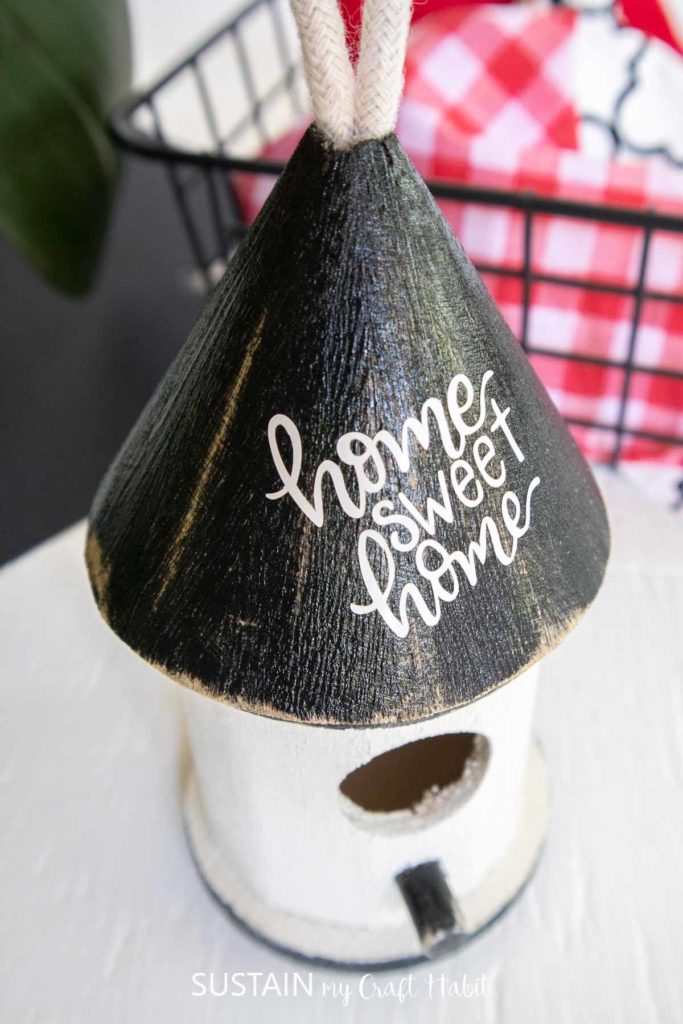
Isn’t this little birdhouse ornament so darn cute?
More Farmhouse Inspired Rustic Crafts
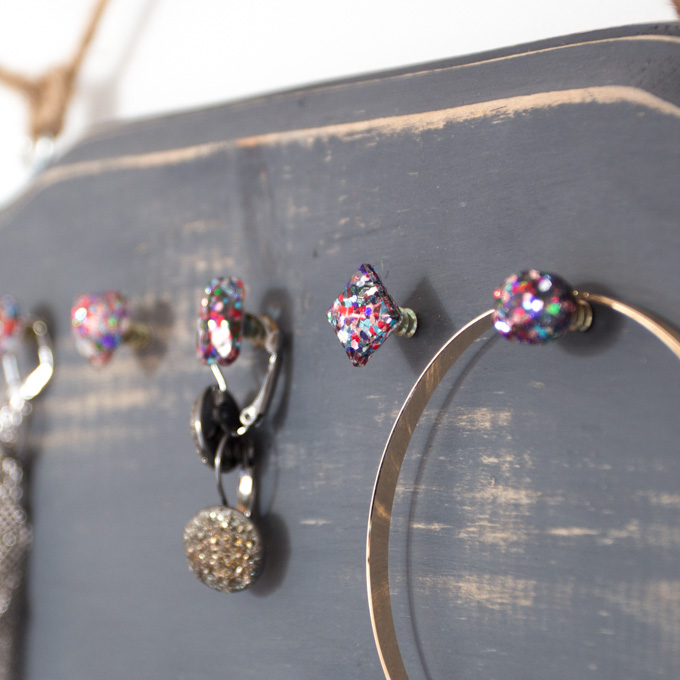
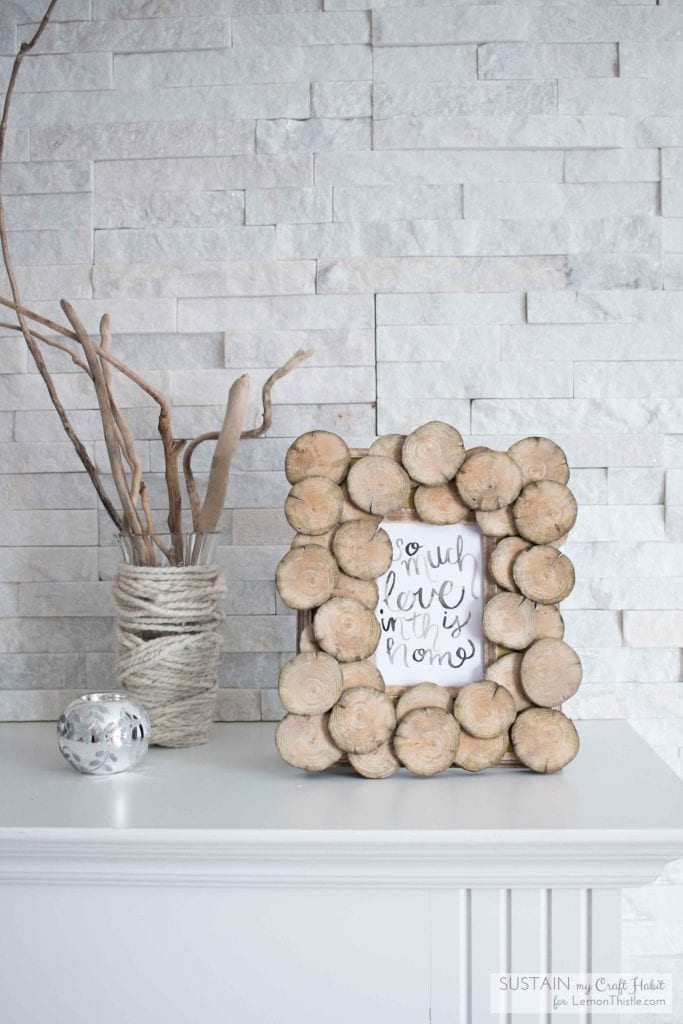
For more cozy and rustic craft projects check out our rustic glam jewelry organizer and our rustic wood slice photo frame idea.

Rustic Glam Jewelry Organizer 
Rustic Wood Slice Photo Frame
Like it? Pin it for later!
Rustic Wooden Birdhouse Craft Ornament
Materials
- Wooden birdhouse ornament
- Decoart Americana Acrylics in White Birch and Black Tie
- Medium Grit Sandpaper 100 grit
- Mod Podge Sealer in High Gloss
- Paintbrush medium flat tip and fine tip paintbrush
- Cricut Joy
- Smart Vinyl Permanent in white
- Home Sweet Home SVG file
- Weeding tool
- Transfer Tape
- Scissors
Instructions
Painting the Wooden Birdhouse
- Paint the sides of the house using White Birch.
- Paint the roof of the house and the bottom base using Black Tie.
- Using a fine tip paint brush, also paint the post in Black Tie.
- Using a piece of sandpaper, sand down all edges of the birdhouse painted in Black Tie, distressing mostly at the edges until the raw unfinished wood shows through.
- Wipe off the dust with a clean, dry cloth.
- Apply a coat of mod podge sealer all over the surface of the birdhouse. Leave it to dry before proceeding with the next step.
Uploading the SVG Pattern
- Upload Home Sweet Home SVG File into Design Space.
- With the image highlighted, click on attach to keep all pieces of the image together.
- Adjust image size to fit your wooden birdhouse accordingly or maintain size as provided.
- Color sync the image if desired to match the vinyl color.
Cutting
- Ensure the machine is set to Cricut Joy and select “Make It” in Design Space.
- Choose “Without Mat” as the option for cutting when using Smart Vinyl.
- Set material type to Smart Vinyl.
- Follow prompts for loading the mat into the Cricut Joy and cutting the Smart Vinyl. When prompted, unload the vinyl from the cutting machine.
Applying the Vinyl and Finishing the Birdhouse
- Cut around the image with a pair of scissors.
- Using the weeding tool, peel away the excess vinyl around the cut image and discard.
- Cut a piece of transfer tape a bit larger than the size of the image.
- Peel away the transfer tape backing and place the transfer tape overtop of the cut image. Gently rub the vinyl to help it stick to the transfer tape.
- Peel away the vinyl backing and place the image on to the roof of the house on a slight angle.
- Peel away the transfer tape.