Beautiful Bee Sign Craft
If you love cheerful handmade décor that doesn’t cost much or take all day, this…
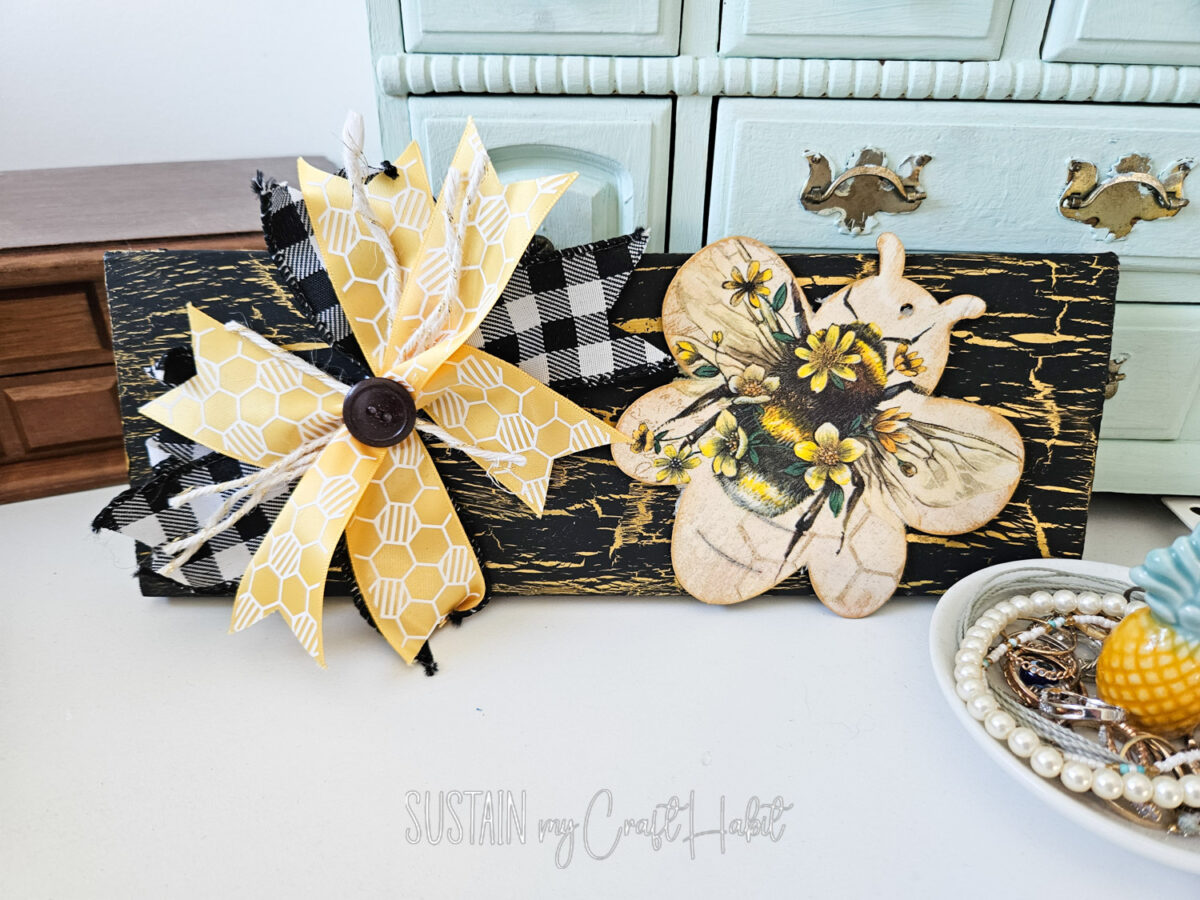
If you love cheerful handmade décor that doesn’t cost much or take all day, this beautiful bee sign craft is a lovely little win. It’s a simple project that adds instant charm to shelves, walls, or gift baskets, especially if you enjoy farmhouse or cottage-style touches.
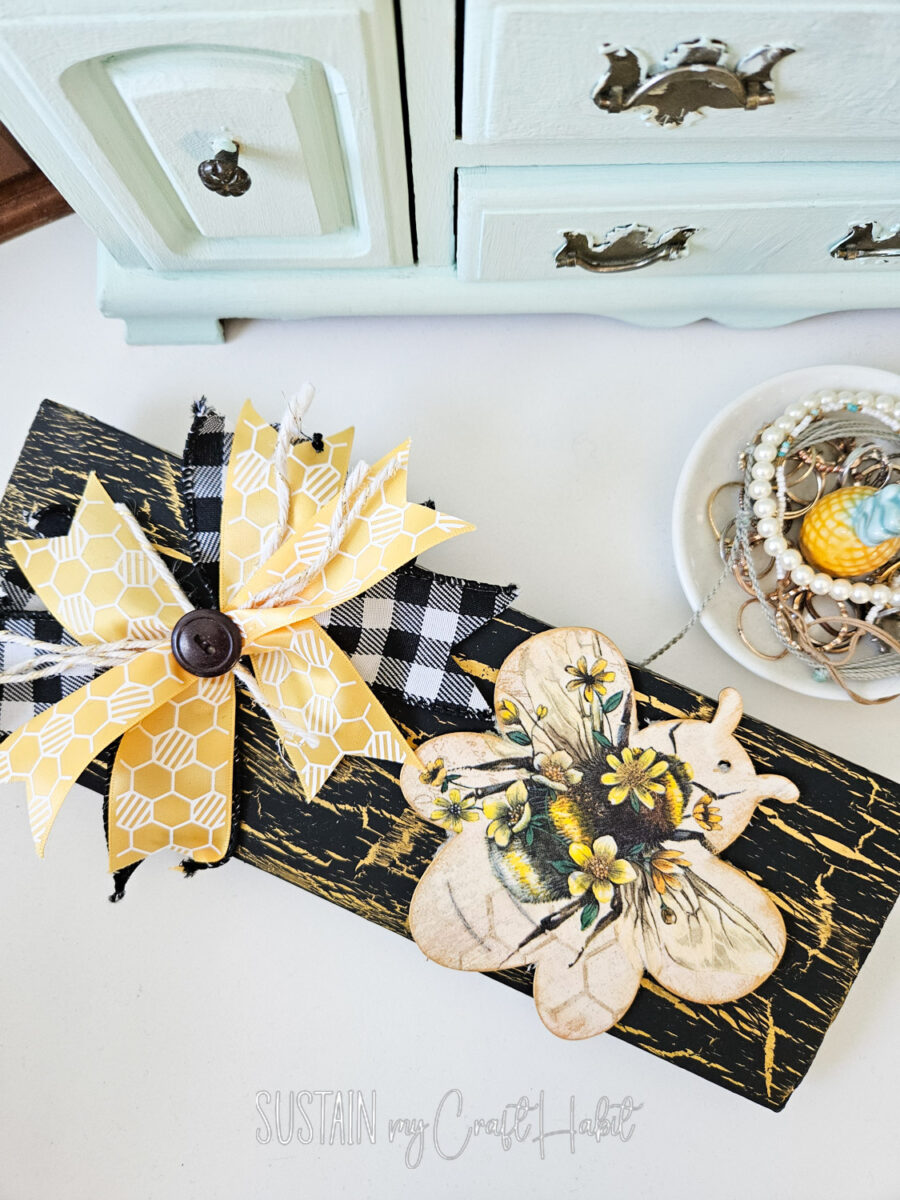
This craft is ideal when you want something seasonal without committing to permanent décor, and it works just as well for beginners as it does for experienced crafters. I’ll walk you through how to make it with clear, step-by-step instructions, plus a few easy ways to customise it using supplies you may already have. Let’s get started!
Why You’ll Love This Project
- Uses easy, inexpensive materials
- Beginner-friendly with no fancy tools
- Clear step-by-step tutorial from start to finish
- Customisable colours, sizes, and finishes
- Great for home décor or handmade gift ideas
Join our crafting community to find more DIYs and upcycled craft ideas. It feels good to repurpose and upcycle!
Materials Needed
- Thrift Store Wood Plaque
- Acrylic Paint in black and yellow
- School Glue
- Heat Gun
- Wood Bee Cutouts
- Ribbon
- Paint brush
- Buttons
- Bee Printable (many options from Creative Fabrica)
- Mod Podge
How to Make a Beautiful Bee Sign
Distressing the Sign
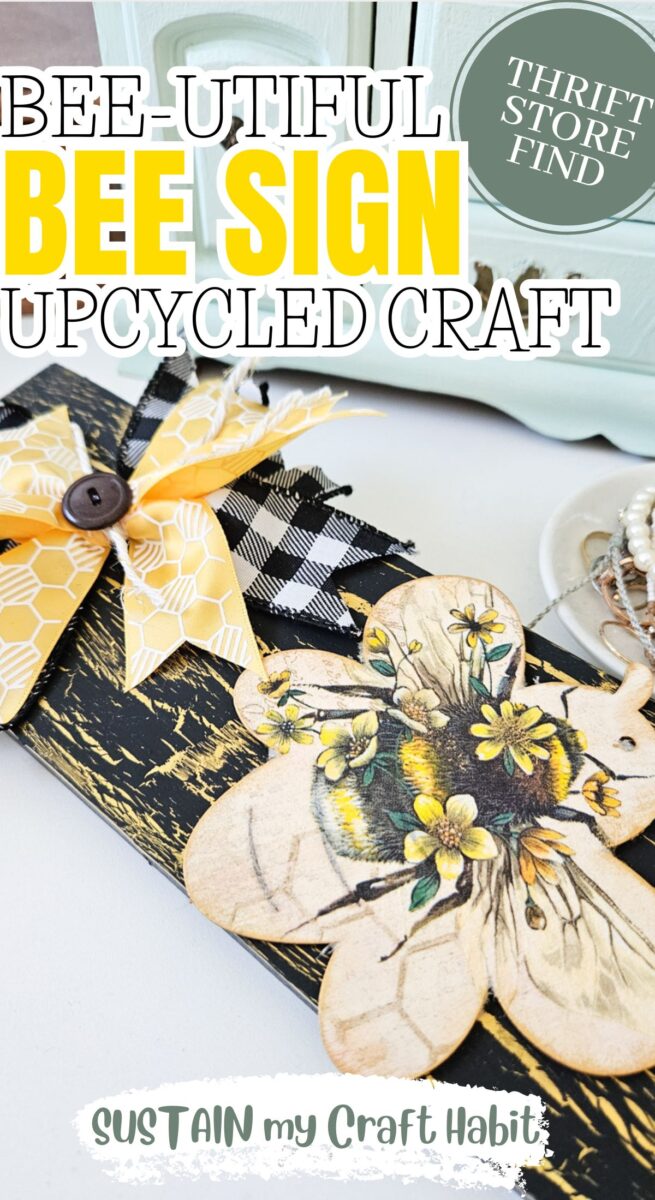
Apply a coat of yellow paint to the wood sign to cover the previous design. Leave it to dry.Apply a coat of school glue to the sign over the yellow paint and then brush on a coat of black paint and use the heat gun to apply heat over top. The distress effect will begin to appear.
You can get the full step by step tutorial, including a video, on a similar craft we made here.
In the meantime, create a messy bow in a size that would fit on the sign. Learn how to make a messy bow here) and then put it aside for the time being.
Additionally, add the printed bee cutout to the bee shape using Mod Podge.
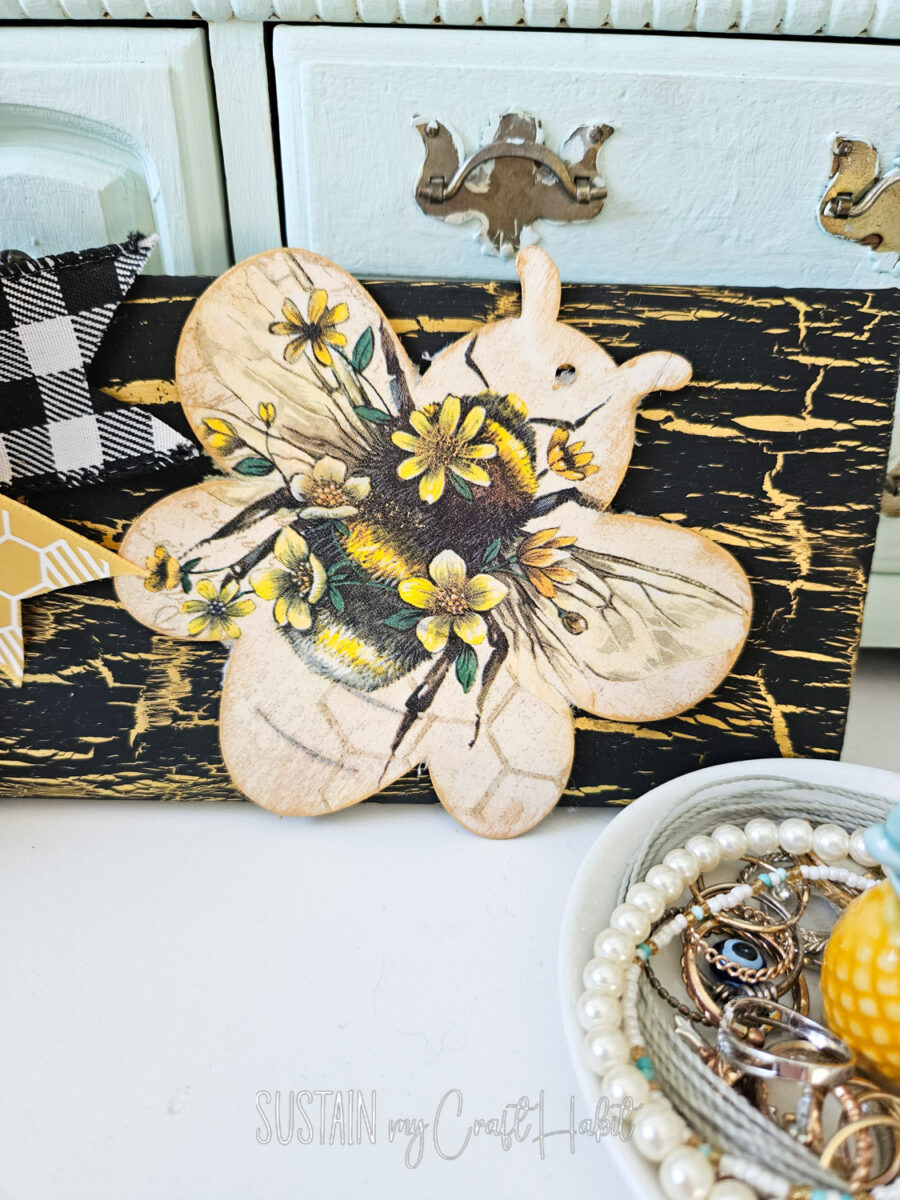
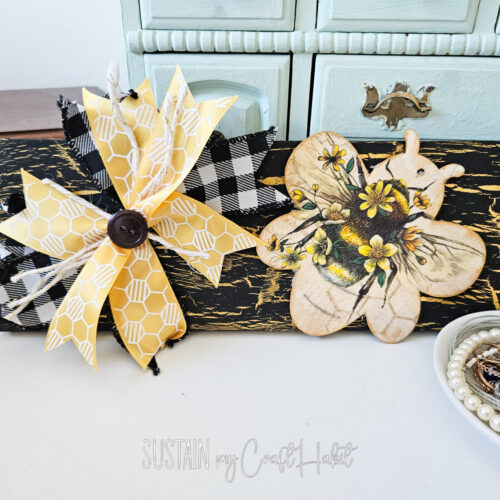
Lastly, using the hot glue gun apply the messy bow on one side of the sign and the bee cutout on the other side. Glue a single button to the middle of the messy bow for a finishing touch.

Display to enjoy! For a matching nature-inspired project, check out this creative dragonfly craft.
Size and Shape Options
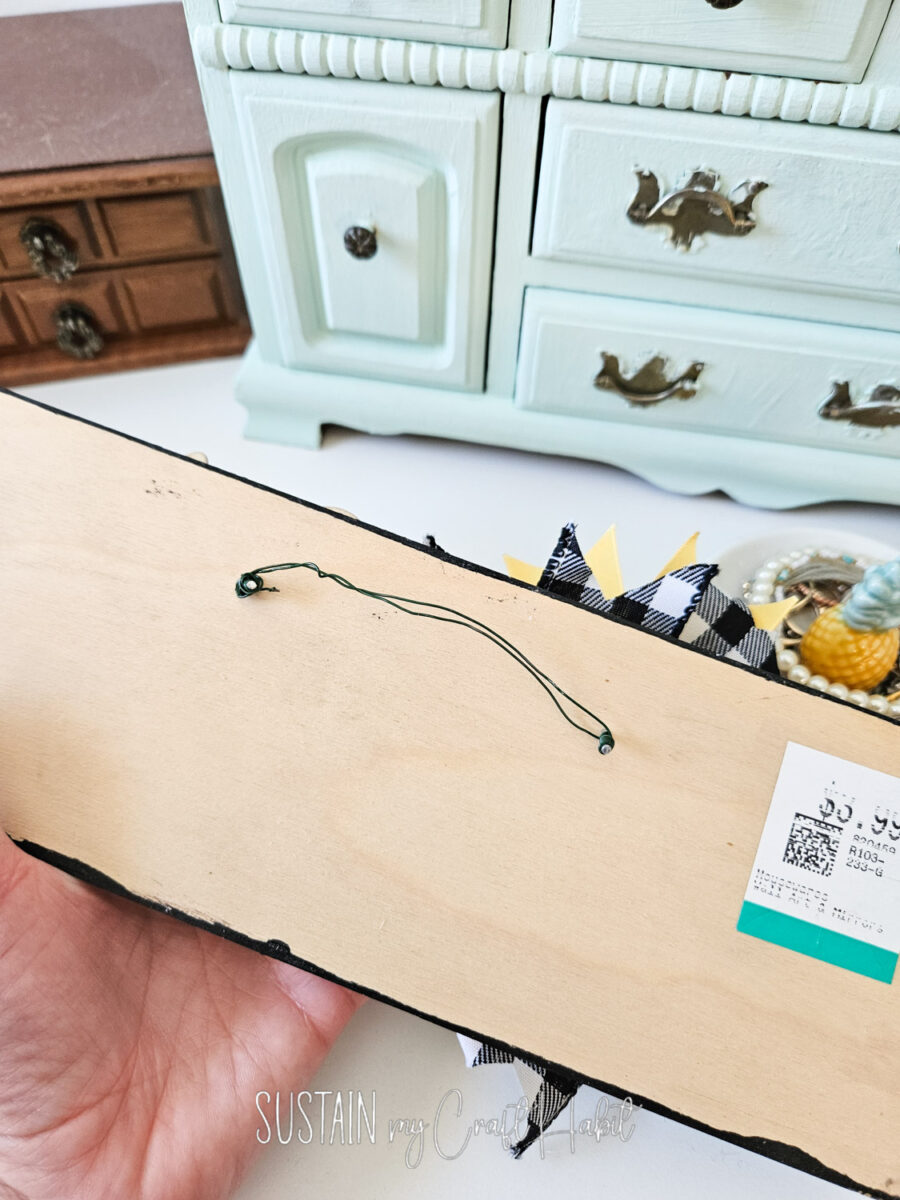
Small signs are perfect for tiered trays and shelves, while larger versions work well as wall décor. Rectangular, round, or tag-shaped bases all suit bee designs nicely, so use whatever blanks you have on hand.
How to Display / Style Your Project
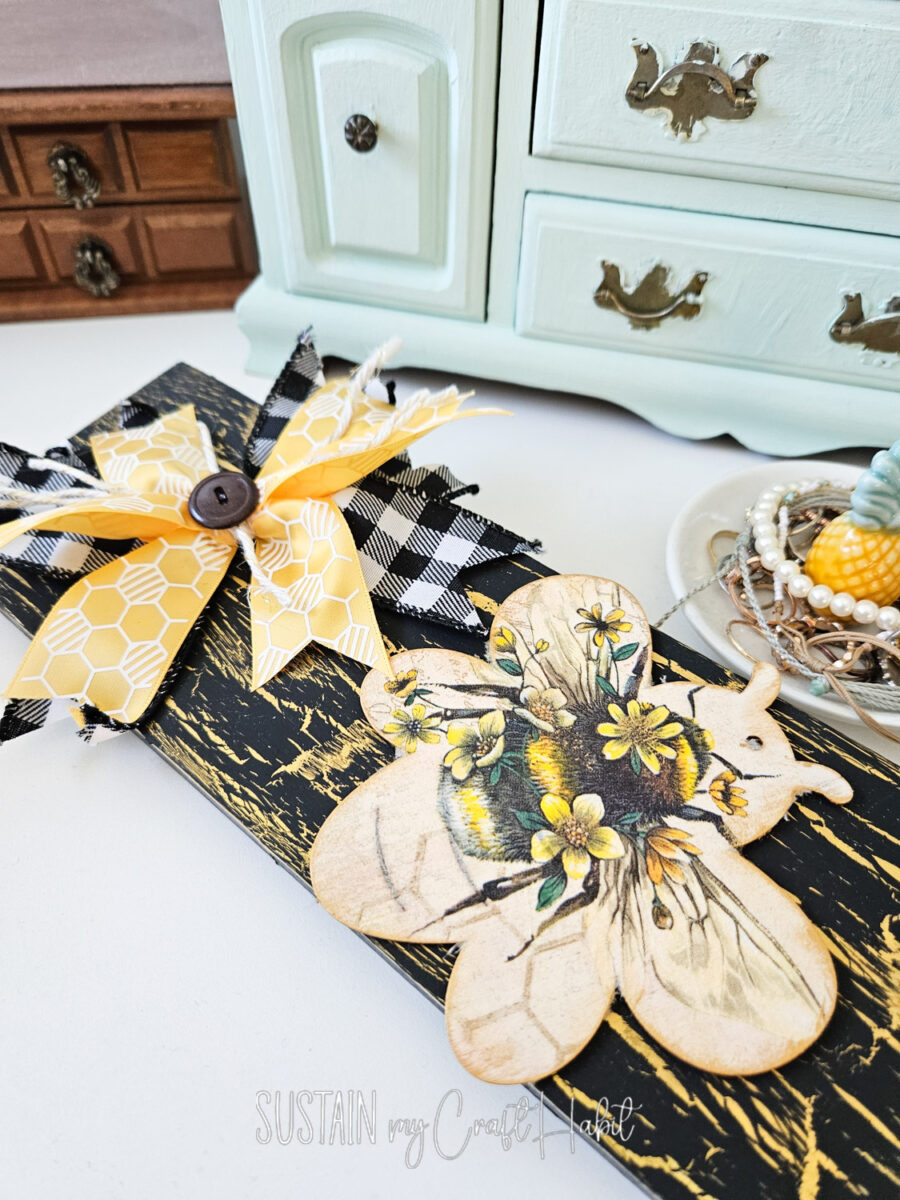
This bee sign makes a sweet home décor idea for kitchens, entryways, or craft rooms. It looks lovely leaned against a backsplash or propped on a small easel.
For a gift décor idea, tie it to a basket with ribbon or add it to a spring or summer gift bundle. It also works well outdoors in a covered porch or garden nook when sealed properly.
Joy From Start to Finish
If you make one, don’t forget to share it with friends or save it for later by pinning it—you’ll probably want to make more than one.
More Thrift Store Upcycles
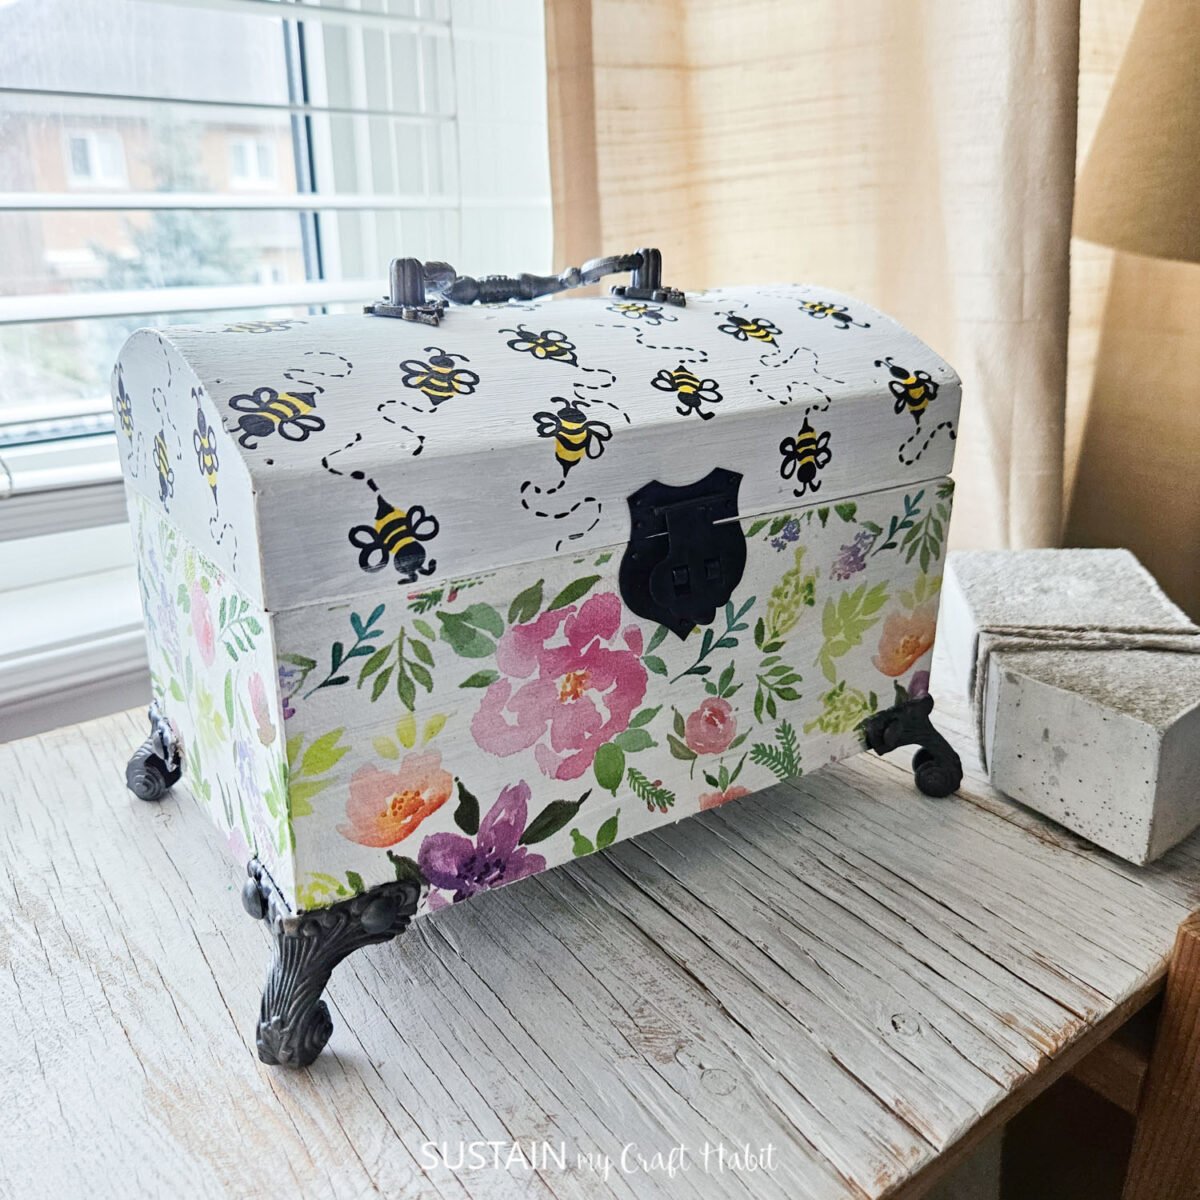
- Bumble Bee Upcycled Box
- Upcycled Serving Tray with Decoupage
- Upcycled Happy Highland Cow
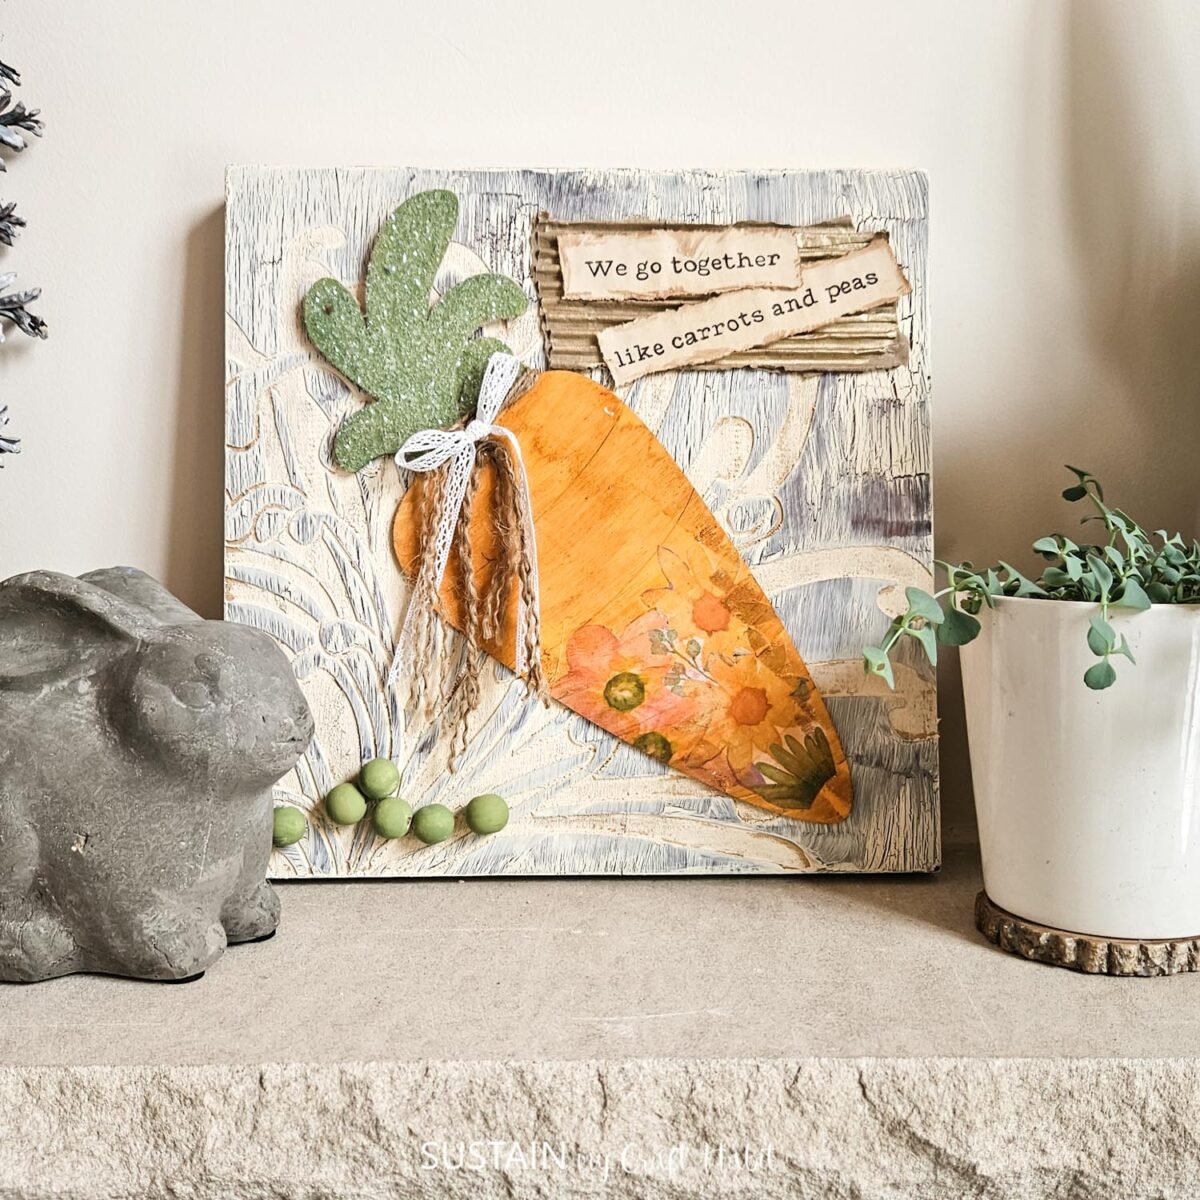
- Upcycled Easter Sign
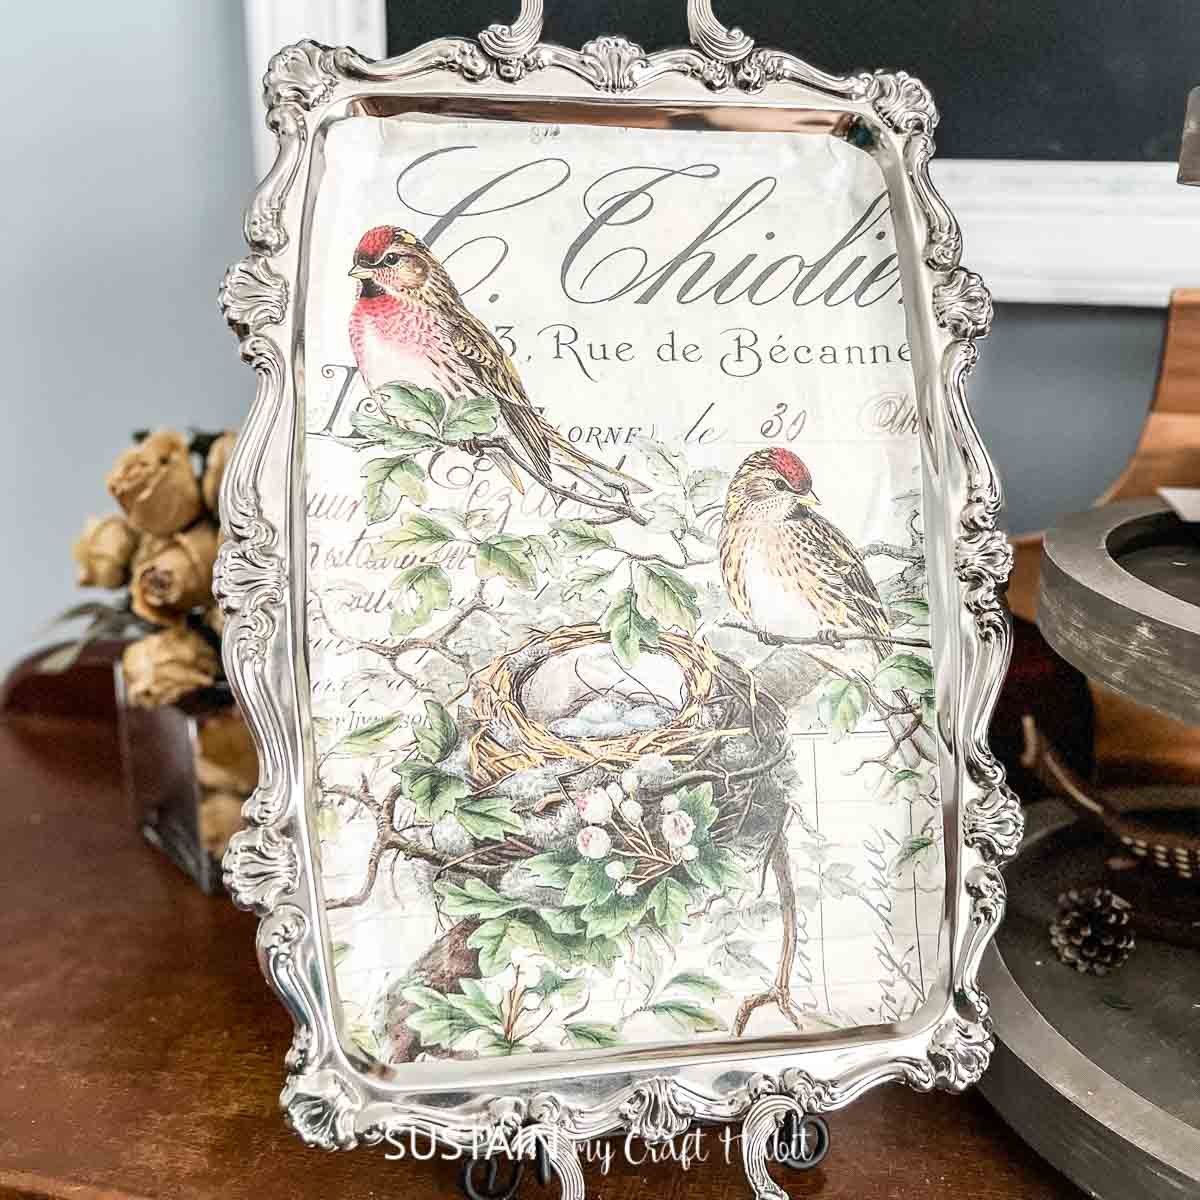
- How to Decoupage on Thrifted Silver Trays


Want to receive a ton of inspiration and money saving ideas for decorating, gift-giving and crafting? Join HERE!
Like it? Pin for later!
Beautiful Bee Sign Craft
Materials
- Thrift Store Wood Plaque
- Acrylic Paint in black and yellow
- School Glue
- Heat Gun
- Wood Bee Cutouts
- Ribbon
- Paint brush
- Buttons
- Bee Printable
- Mod Podge
Instructions
- Apply a coat of yellow paint to the wood sign to cover the previous design. Leave it to dry.
- Apply a coat of school glue to the sign over the yellow paint. Leave it to dry.
- Next, brush on a coat of black paint and use the heat gun to apply heat over top. The distress effect will begin to appear. Allow the sign to dry fully.
- In the meantime, create a messy bow in a size that would fit on the sign. Put aside for the time being.
- Additionally, add the printed bee cutout to the bee shape using Mod Podge.
- Lastly, using the hot glue gun apply the messy bow on one side of the sign and the bee cutout on the other side. Glue a single button to the middle of the messy bow for a finishing touch.
- Display to enjoy!