Easy Free Knitted Headband Pattern for Adults
Ever since we first shared this easy free knit headband pattern for kids, we’ve been getting questions about how to make it to fit an adult. So today we are (finally) sharing the adult size knitted headband pattern on the blog!
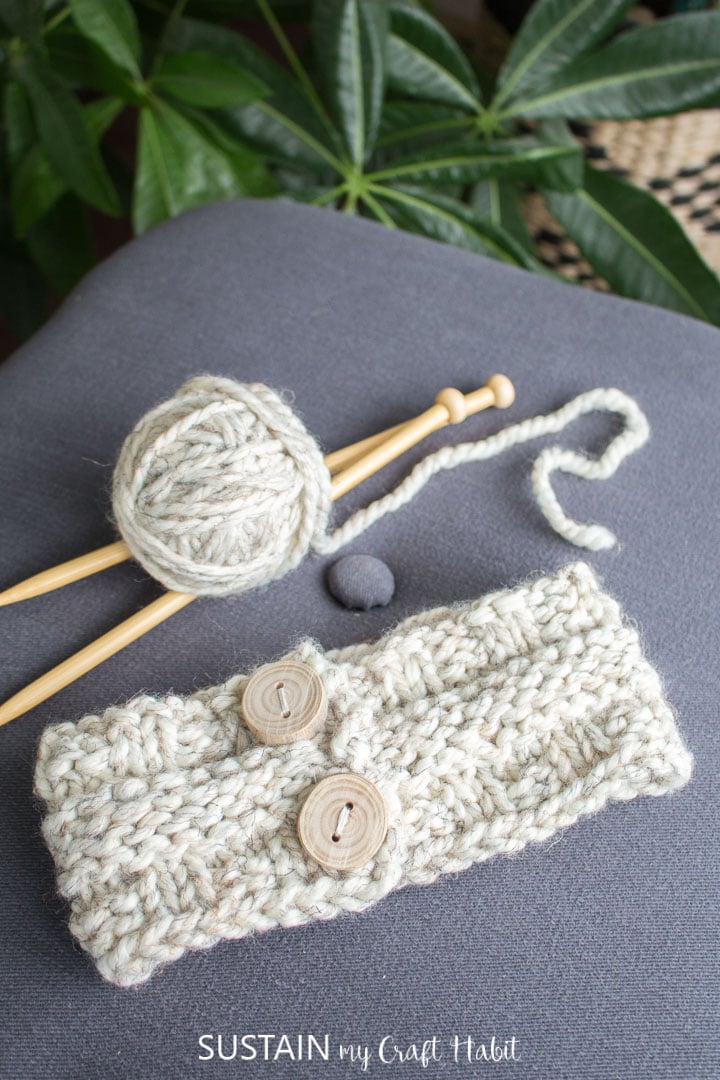
Easy Winter Headband Knitting Pattern
Whether you are new to knitting or an avid knitter, this headband pattern is so much fun to craft and a great way to spend a winter day! This simple pattern knits up so quick that you’ll likely want to make more and more.
And of course if you have any little ones around, you can follow this child’s knitted headband pattern which includes smaller sizes from XS to XL to make them a matching headband too.
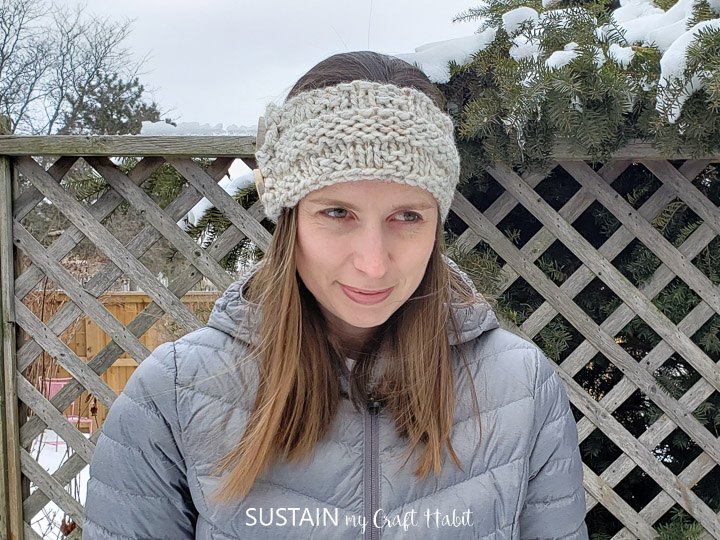
Here is the video tutorial to follow along while making this free pattern on our YouTube channel!
Materials Needed:
Disclosure: This post continues affiliate links for your shopping convenience. You can find our full disclosure policy here.
- Straight Needles, US 13 (9 mm needles) **
- Lion Brand Wool-Ease Thick and Quick Super Bulky Weight Yarn, 170g or other bulky yarn
- Darning needle for finishing purposes
- x2, 1″ diameter decorative buttons; sewing thread and needle or tapestry needle
**We used straight needles for this headband to keep the instructions simple and at the beginner level. Of course, you could also knit this headband in the round using a set of circular needles in the same size.
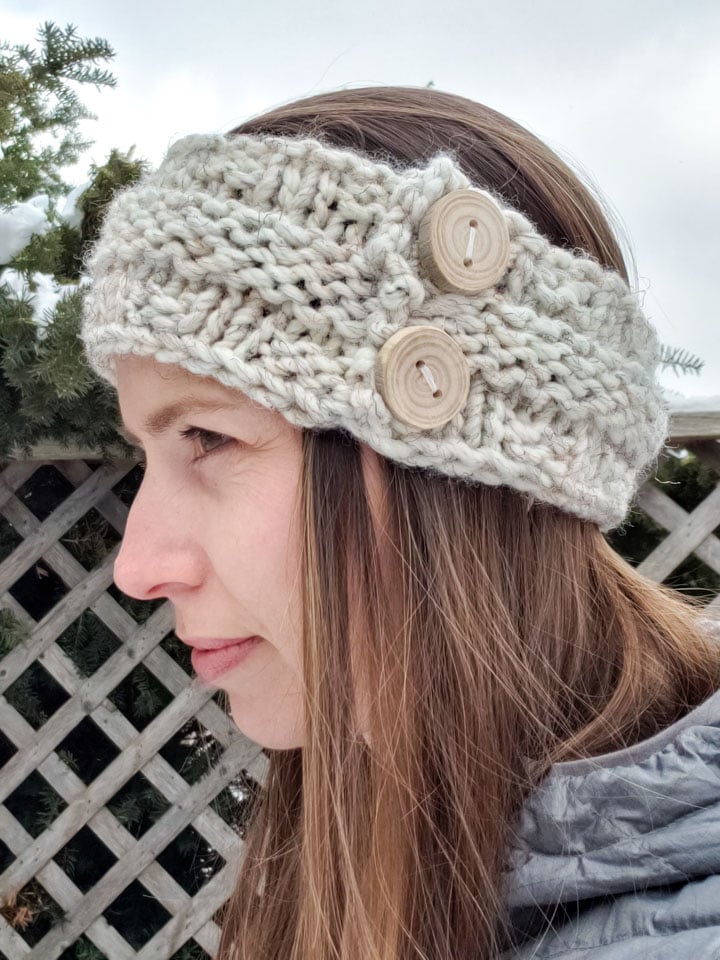
Adult’s Easy Free Knitted Headband Pattern Instructions
As I mentioned above, you can find the tutorial video for this head band pattern over on our YouTube channel. If you prefer, here are the written instructions for making your own Winter headband.
The Free Knitting Pattern
(Abbreviations: CO – cast on; K – knit; P – purl; RS, right side; WS, wrong side)
Worked back and forth on needle and sewn together at ends when finished.
Long Tail CO 44 Sts loosely.
Row 1: K2, P2, repeat 2×2 ribbing to end of row.
Row 2: K2, P2, repeat 2×2 ribbing to end of row.
Row 3: K row (RS).
Row 4: P row (WS).
Row 5: P row (RS).
Row 6: K row (WS).
Row 7: K row (RS).
Row 8: P row (WS).
Row 9: K row (RS).
Row 10: P row (WS).
Row 11: K2, P2 repeat 2×2 ribbing to end of row.
Row 12: K2, P2, repeat 2×2 ribbing to end of row.
Bind off loosely.
Finishing
Weave in yarn ends with a tapestry needle.
With the right side facing out, overlap the ends by approx. 1” and fasten buttons through both layers using needle and thread to secure headband in place.
And that’s it – an easy pattern that doesn’t need much yarn or much time to knit! This wide headband pattern makes an easy project for any skill level and a perfect way to deal with those bad hair days as the colder weather arrives!
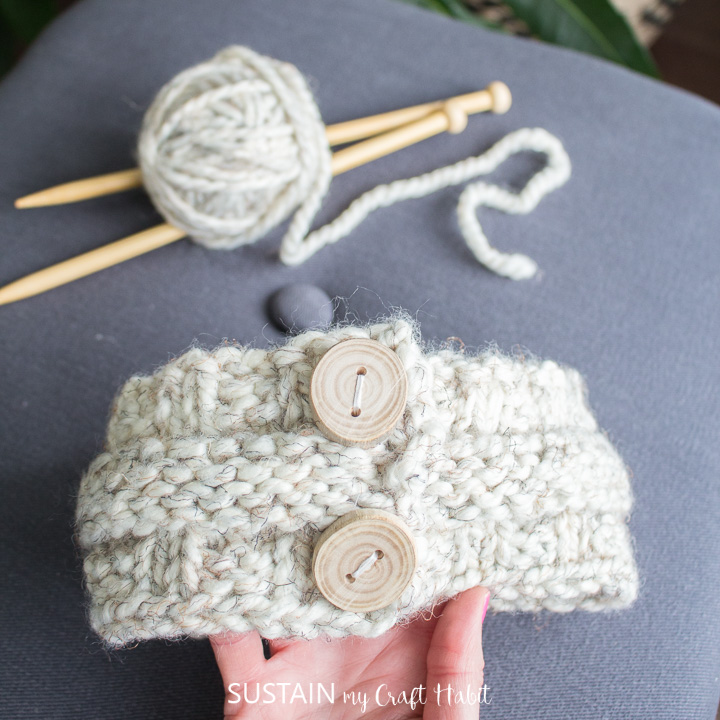
If you’re wondering about the stylish twist with the wood buttons I used, we make and sell driftwood buttons in our Etsy shop! I really like how pretty and natural they are against the chunky wool yarn weight.
More Easy Knitting Patterns
Although these are our only free knitted headband patterns, we do have other free patterns you might enjoy. Check out all the yarn arts projects in our crochet and knitting gallery including this round up of 21+ knitted scarf patterns or this simple knitted shrug pattern.

Knitted Shrug Pattern 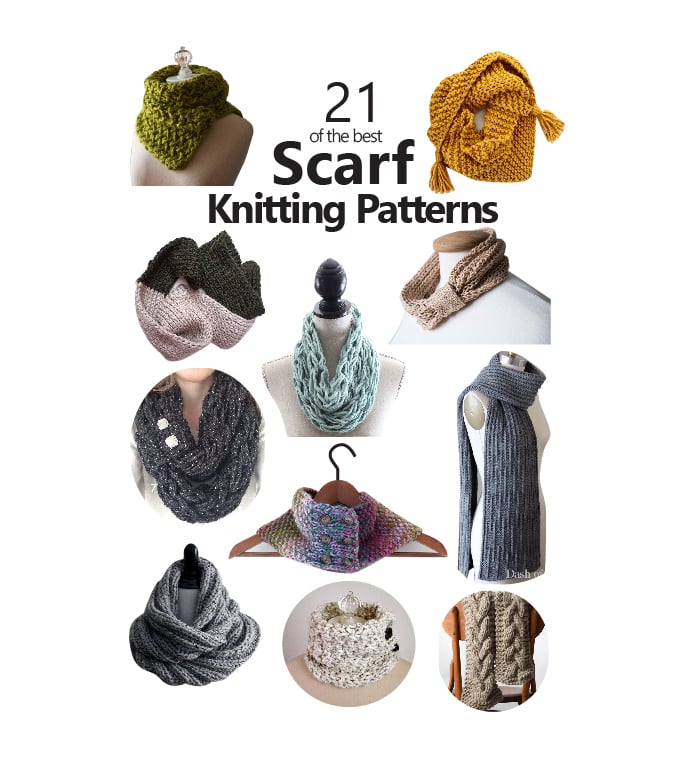
Scarf Knitting Patterns
Like it? Pin it for later!
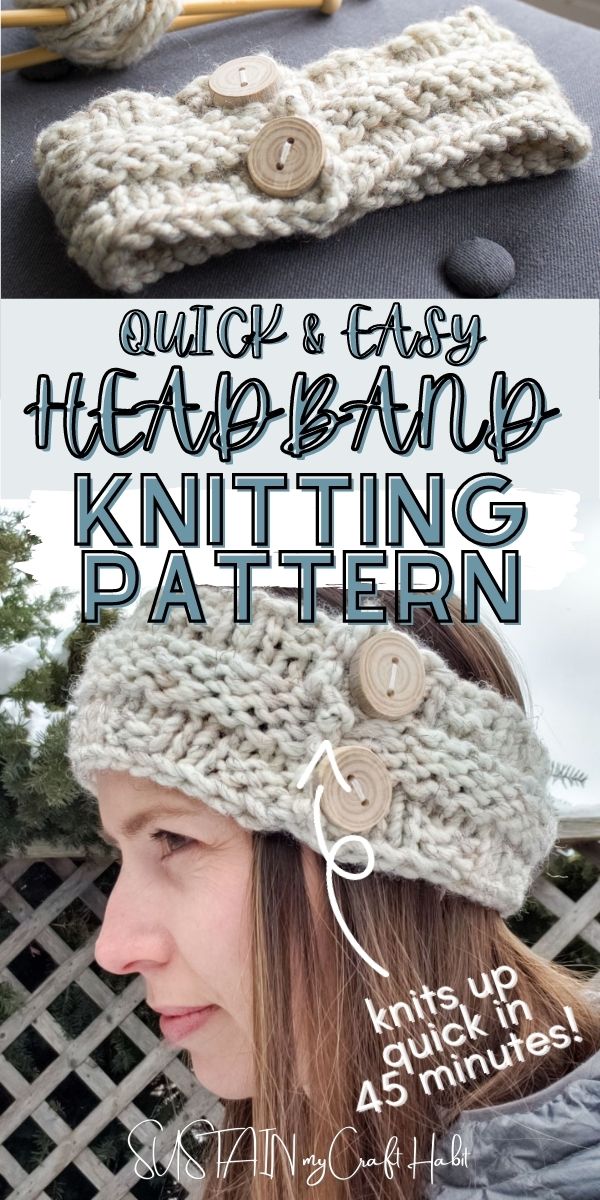
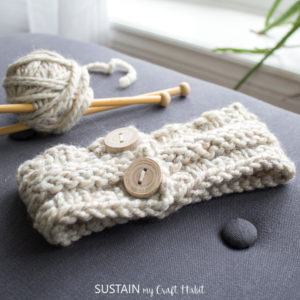
Adult’s Easy Free Knitted Headband Pattern
Materials
- Straight Needles US 13 (9mm)
- Wool-Ease Thick and Quick Lion Brand Yarn Super Bulky, 170g
- Darning needle for finishing purposes
- 2 Decorative buttons 1″ diameter
- Sewing thread and needle
Instructions
- Worked back and forth on needle and sewn together at ends when finished.
- Long Tail CO 44 Sts loosely.
- Row 1: K2, P2, repeat 2×2 ribbing to end of row.
- Row 2: P2, K2, repeat 2×2 ribbing to end of row.
- Row 3: K row (RS).
- Row 4: P row (WS).
- Row 5: P row (RS).
- Row 6: K row (WS).
- Row 7: K row (RS).
- Row 8: P row (WS).
- Row 9: K row (RS).
- Row 10: P row (WS).
- Row 11: K2, P2 repeat 2×2 ribbing to end of row.
- Row 12: P2, K2, repeat 2×2 ribbing to end of row.
- BO loosely. Weave in yarn ends.
- Overlap the ends by approx. 1” and fasten buttons through both layers using needle and thread to secure headband in place.


Hi – is there no way to download this pattern so it’s prints properly?
Hi Laurie! You should be able to press the “Print Instructions” button in the card at the bottom of the post for a printer-friendly version.
Happy knitting!
Jane
Hi
So I am new to knitting. Love this look and I have learned both the knit stitch and the purl stitch.
I am a bit confused though with the pattern instruction verses your video. On the pattern you have row 2 to purl 2 and knit 2. On the video you say knit 2 first and then purl 2 so on. Which is it. Help
Hi there, eek, sorry that was a typo! Follow the video – the 2nd row starts off with K2, P2 and so on until you reach the end of the row. Thankyou for reaching out!
Such a cute and quick knit! I did matching fingerless mittens with the extra yarn, doubled each section of the pattern. Thanks for sharing!