Canada Day Painted Rocks
Show your Canadian true North strong and free spirit with a set of Canada Day painted rocks.
Canada Rocks!
With large group gatherings still prohibited, Canada Day celebrations are going to look a lot different this year. And although we’ll be missing the celebratory fireworks and large get-togethers, we are feeling more grateful than ever to be Canadian.
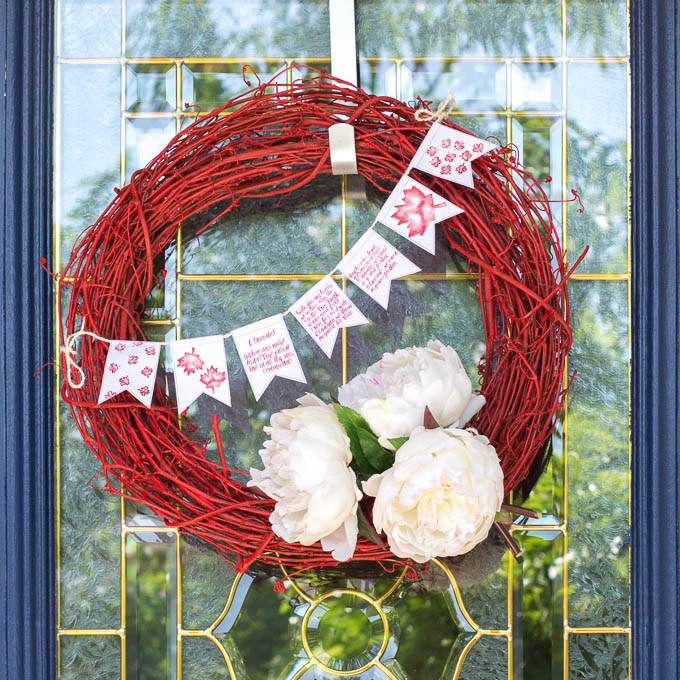
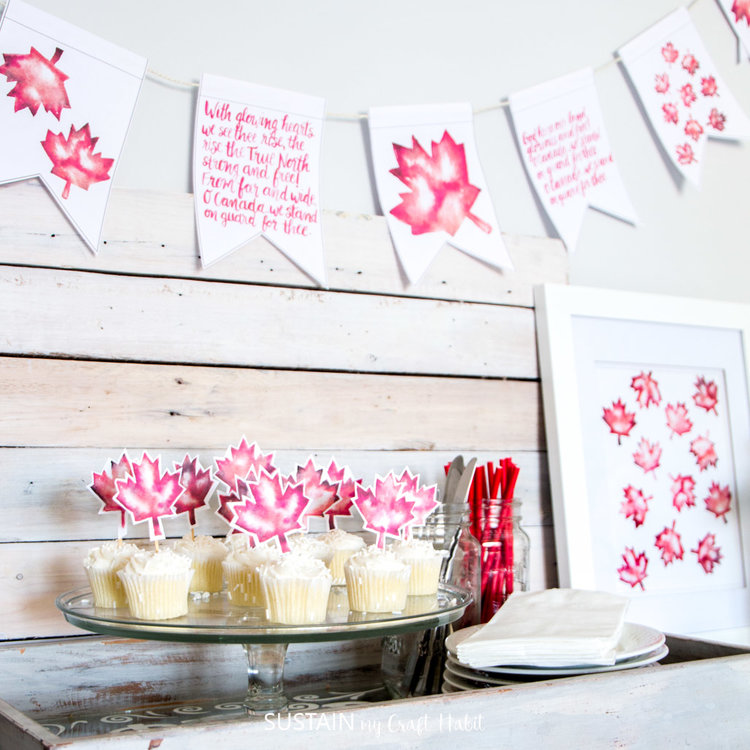
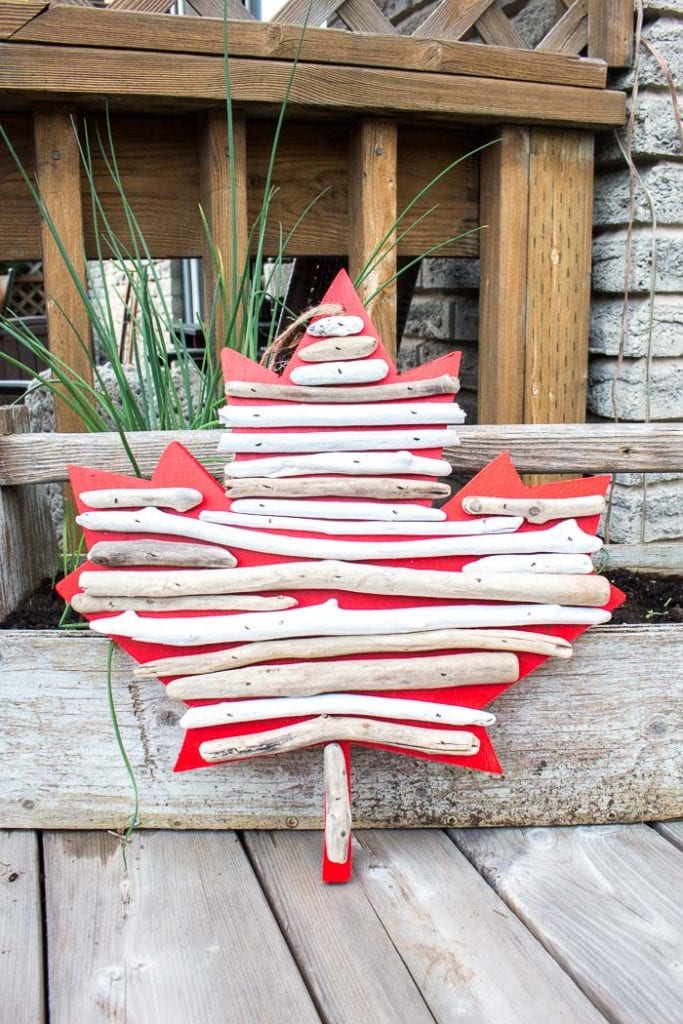
Whenever we can, we try to show our Canadian spirit, whether it’s with these maple leaf driftwood signs and Canada Day wreath or this printable banner and cupcake toppers. But with all the rock painting projects we do here, it’s surprising even to us that we haven’t yet created a set of patriotic painted rocks.
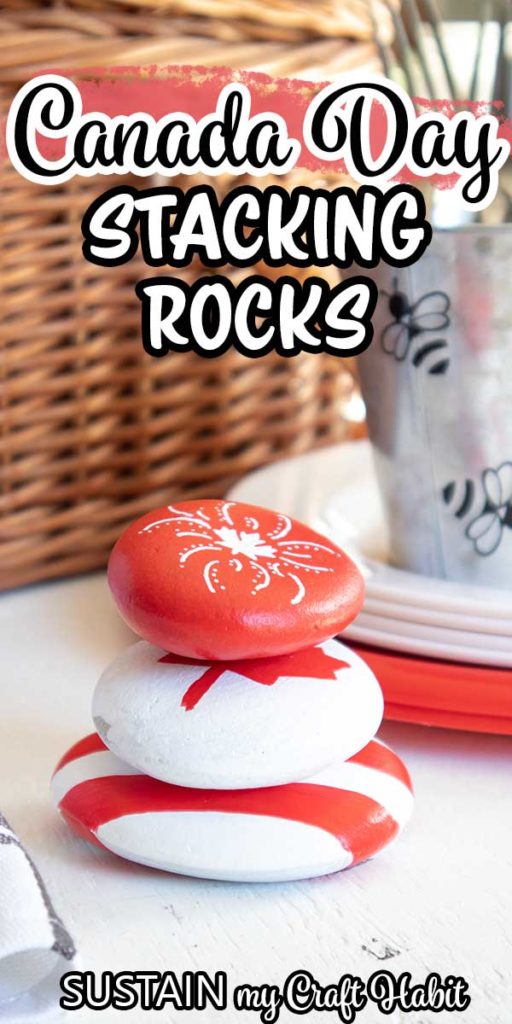
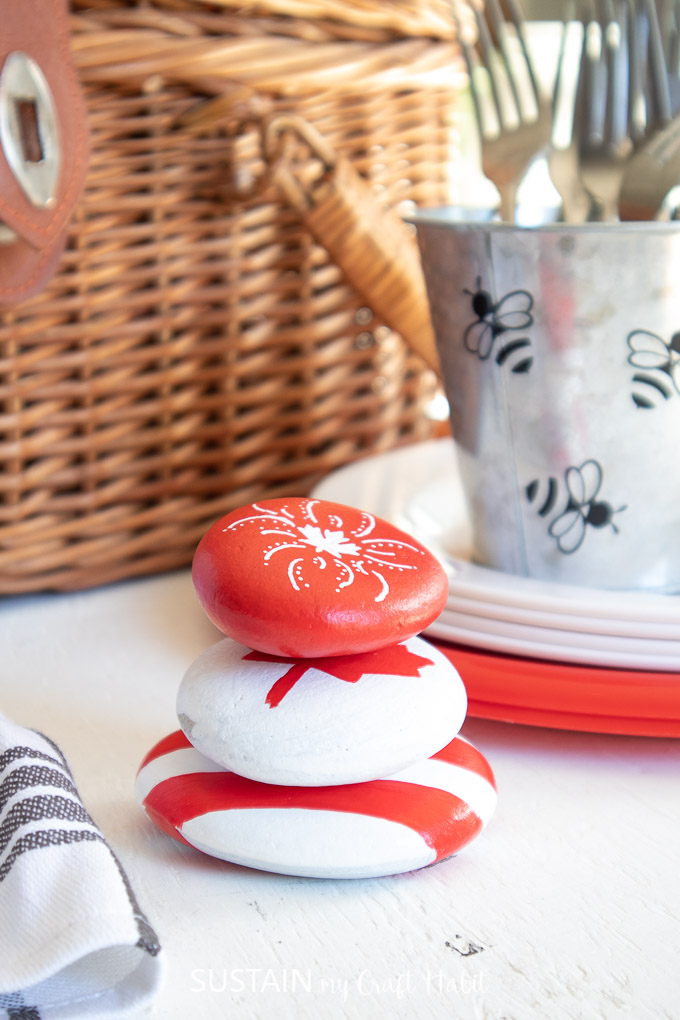
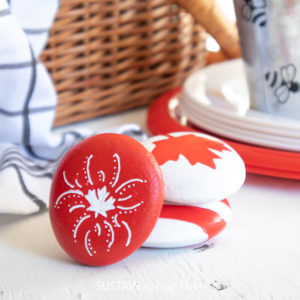
By choosing a set of 3 different sized flatter rocks, we can have fun stacking them one on top of the other or laying them out flat. Even after July 1st, I will happily keep my Canadiana painted rocks in my flower garden to enjoy all Summer long!
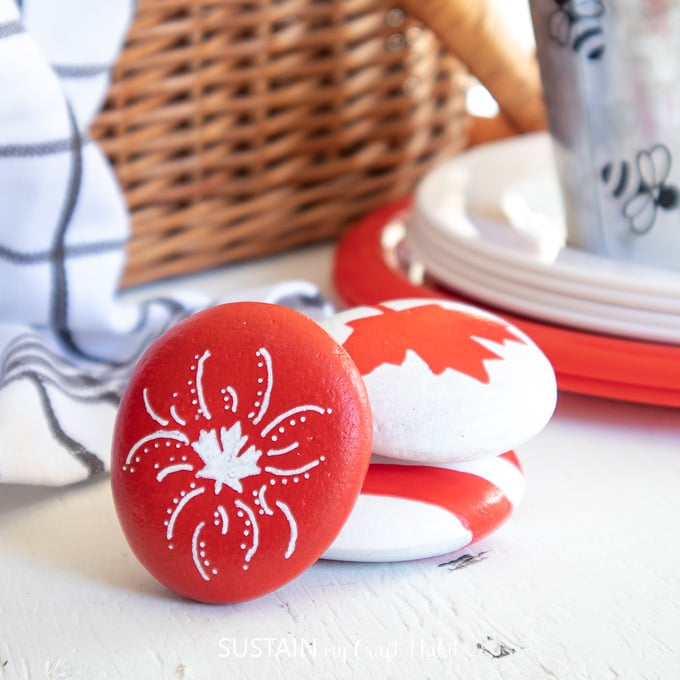
We even made a set for our American neighbours in the South since July 4th is also just around the corner! We’ll share that tutorial soon.
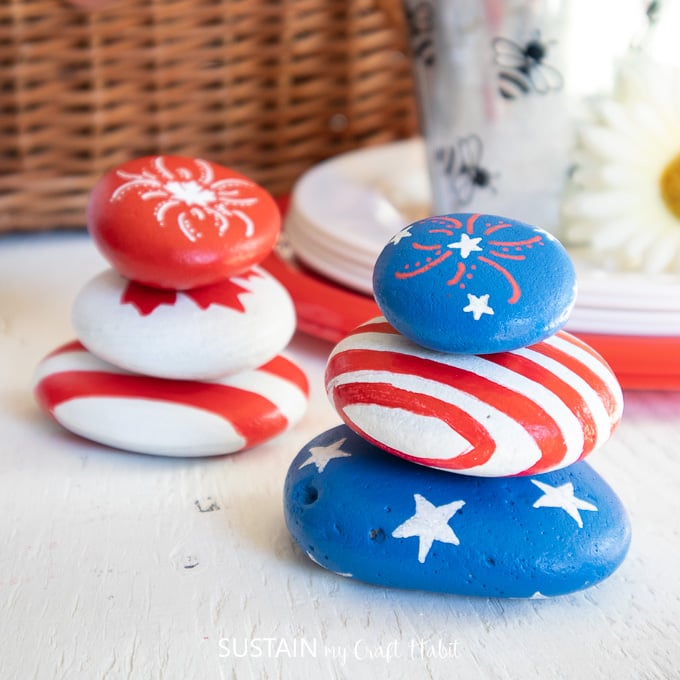
Materials Needed:
Disclosure: This post contains affiliate links for your shopping convenience. Should you choose to purchase through them, we will make a small commission at no extra cost to you. You can read our full disclosure policy here.
- Medium sized stones in varying sizes, flat surface for stacking
- Paintbrush – Fine tip and Medium flat tipped
- Decoart Americana Multi-Surface Acrylics in Lipstick, Cotton Ball
- Paint Pen in white
- Maple leaf template (printed on paper and cut out for tracing shape on to rock; resize if needed)
Making Canada Day Painted Rocks:
We have a little video of painting the Canada Day rocks. Read on below if you prefer the written version.
Largest Sized Rock
Paint the entire surface in Cotton Ball on all sides. Repeat with an additional coat of paint if needed for full coverage. Let dry completely.
Using a pencil and a straight edge, such as a ruler of a craft stick, draw evenly spaced lines along the length of the rock.
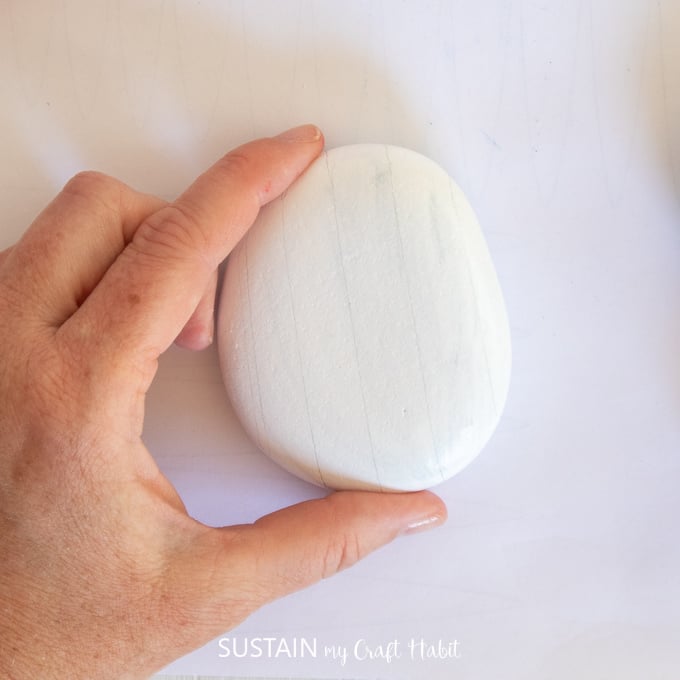
Repeat on the other side of the rock.
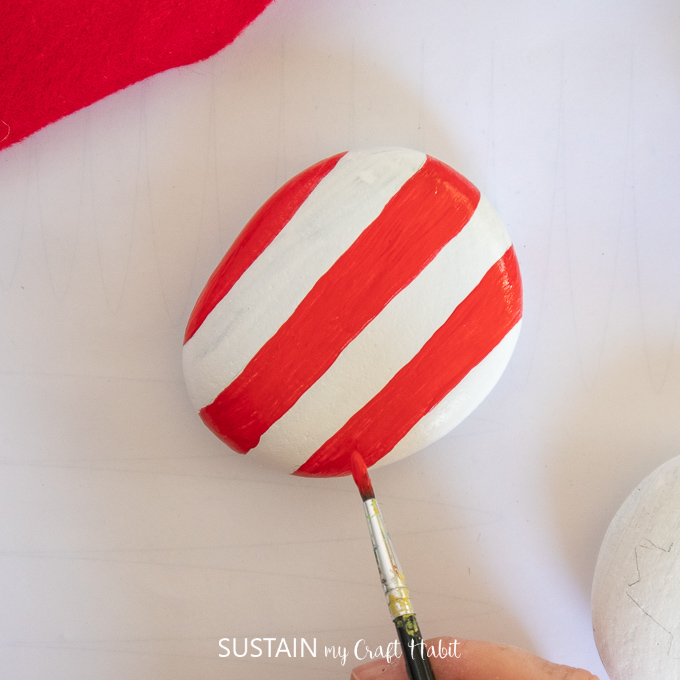
Using a fine tip paint brush, paint every other line in Lipstick red. Repeat with an additional coat of paint if needed for full coverage. Let dry completely.
Medium Sized Rock
Paint the entire surface in Cotton Ball on all sides. Repeat with an additional coat of paint if needed for full coverage.
Place the cut out of the maple leaf template over top of the rock and trace the outer edge with a pencil.
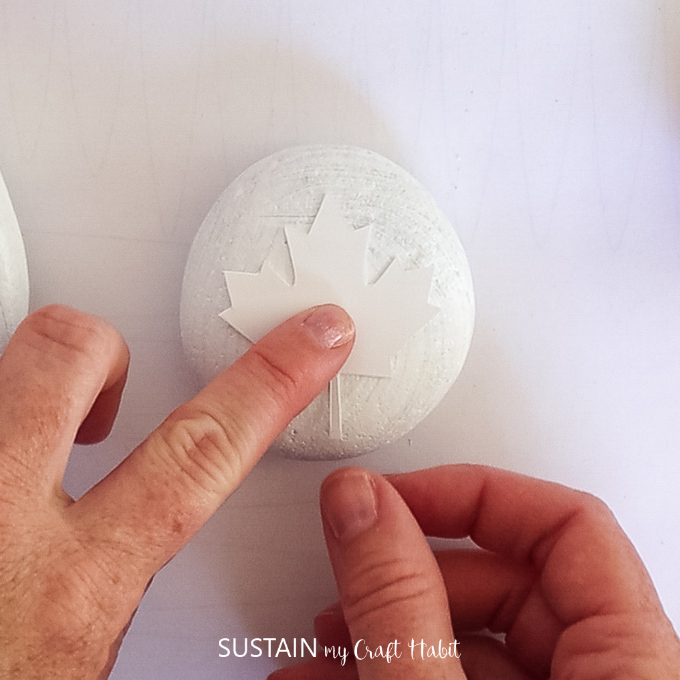
Using a fine tip paint brush, paint the inside of the leaf in Lipstick red.
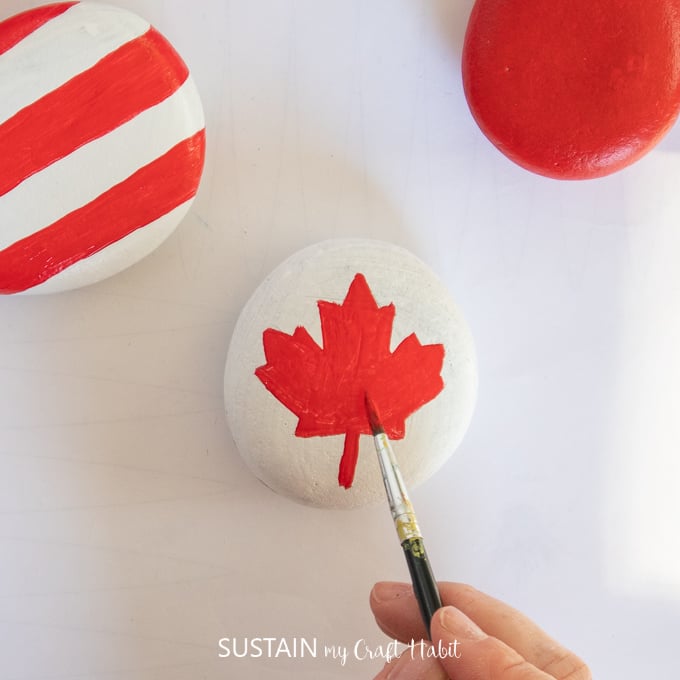
Smallest Sized Rock
Paint the entire surface in Lipstick red on all sides. Repeat with an additional coat of paint if needed for full coverage.
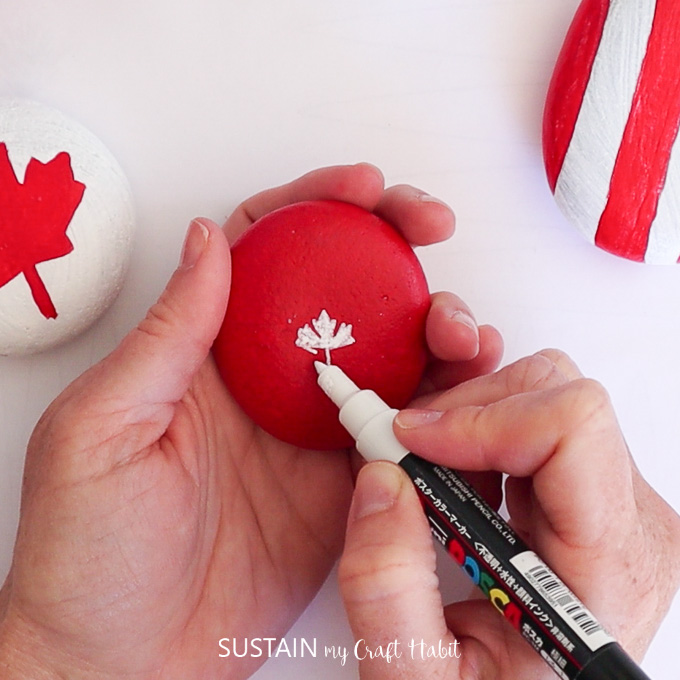
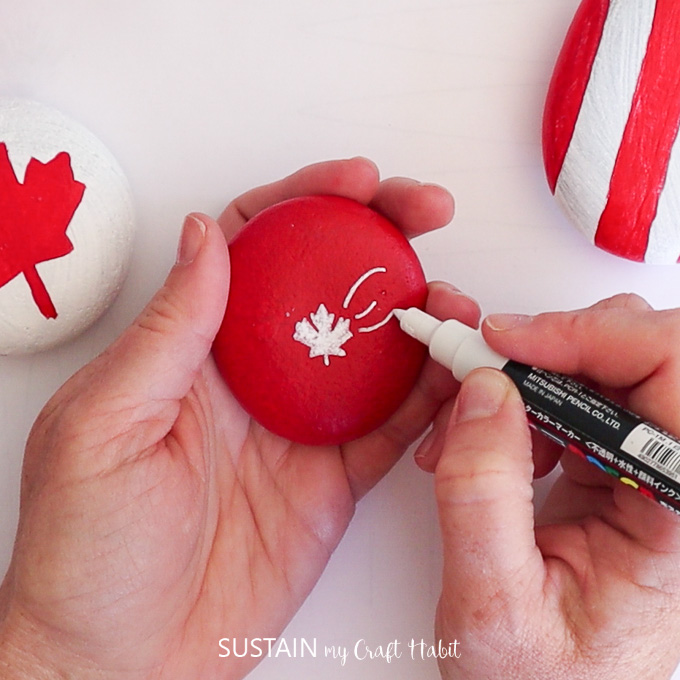
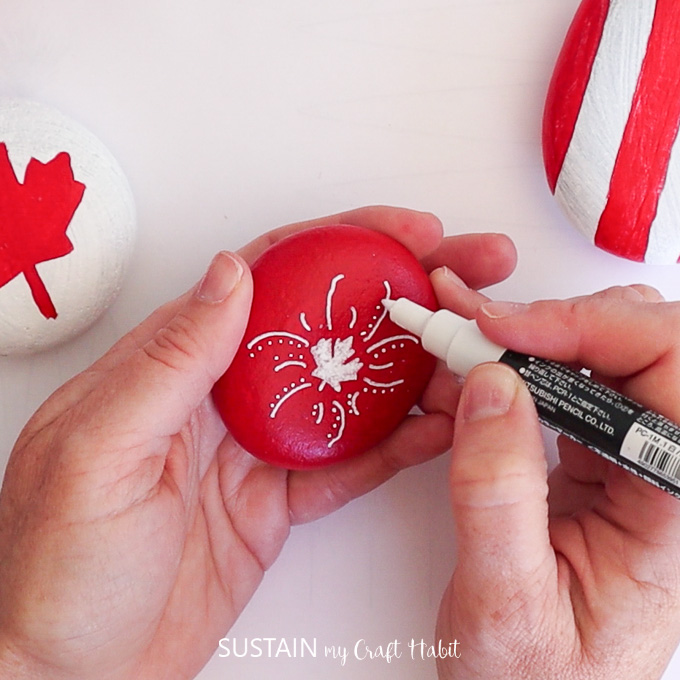
Using a paint pen in white, draw a single maple leaf in the center of the rock and additional curved lines and dots. Repeat for additional coverage.
Display the painted Canadiana rocks side by side or stack them with the largest on the bottom and smallest on the top.
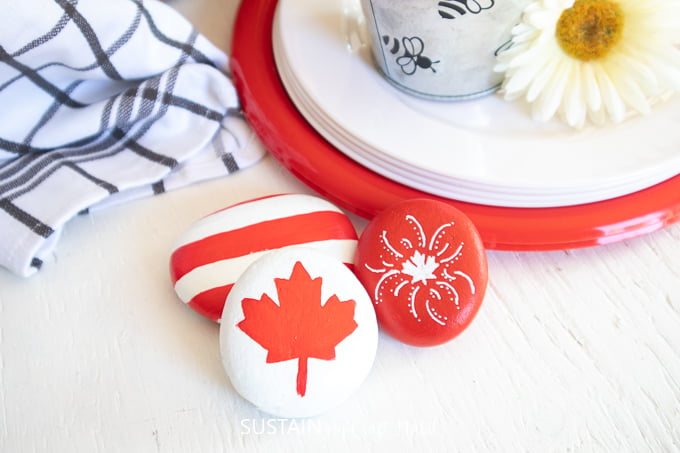
For more DIY decor and party ideas, check out this round up of fun last minute Canada Day celebration ideas. How do you plan to celebrate Canada Day?
Like it? Pin it for later!
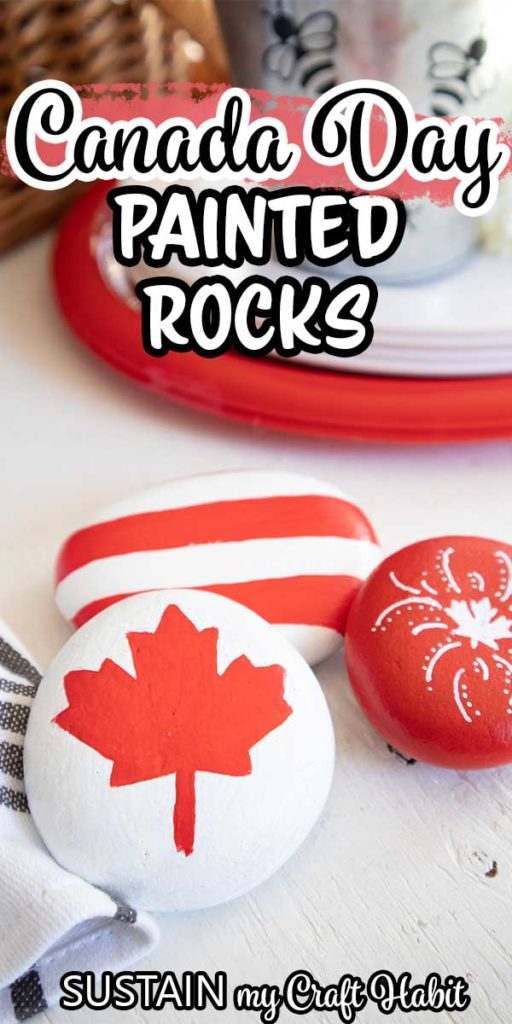
Canada Day Painted Rocks
Materials
- 3 Medium sized stones in varying sizes, flat surface for stacking
- 2 Paintbrushes, fine tip and medium flat tip
- 2 Decoart Americana Multi-Surface Acrylics in Lipstick, Cotton Ball
- 1 Paint pen in white
Instructions
- Paint the largest and medium sized rocks in Cotton Ball white.
- Paint the smallest sized rock in Lipstick red.
- Paint evenly sized stripes in Lipstick red on the largest sized rock.
- Trace the maple leaf template with a pencil on to the medium sized rocks and fill in with Lipstick red.
- Paint a small maple leaf, swirls and dots on the smallest rock.
- Stack to enjoy!

