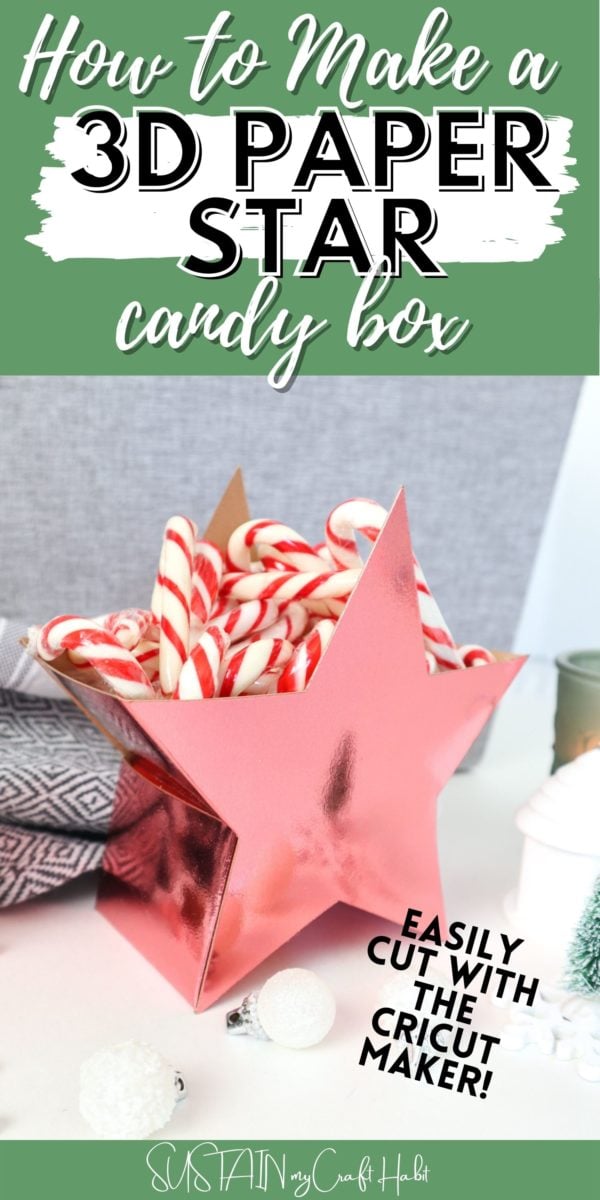
DIY 3D Paper Star Candy Box with Cricut
Using colorful and festive metallic kraftboard paper, we’ll show you how to make lovely 3D star-shaped candy boxes with a Cricut cutting machine.
Making Candy Boxes out of Kraftboard
I’m always amazed at the creative things that can be made simply by using paper materials. I especially love seeing how something like a flat sheet of paper can be transformed into a 3-dimensional object like this 3D paper cactus terrarium, or these pretty paper bow fridge magnets and of course any of our beautiful 3D paper flowers!
It’s the same excitement I get with sewing projects and seeing how fabric transforms into something wearable or functional. These little paper candy boxes are a sweet touch to your holiday crafting and wouldn’t they make unique gift boxes too?
Materials Needed
Disclosure: This post contains affiliate links for your shopping convenience. Should you choose to purchase through them, we will make a small commission at no extra cost to you. You can read our full disclosure here.
- Star Box Template in Design Space #MFA9E217
- Cricut Maker (or other Cricut cutting machine) with Fine Point Blade and Scoring tool
- Cricut Standard Grip Mat
- Kraft Board Foil Sampler, Jewel, 12” x 12” (two sheets per star gift box)
- Hot glue gun and clear glue sticks

How to Make a 3D Paper Star Candy Box
Uploading the Star Box Template
Open Cricut Design Space and click on the “+” sign to start a new project, opening up a blank canvas. Click on the Images button from the toolbar.
Search #MFA9E217 and then click on the image to insert the pattern on the canvas.
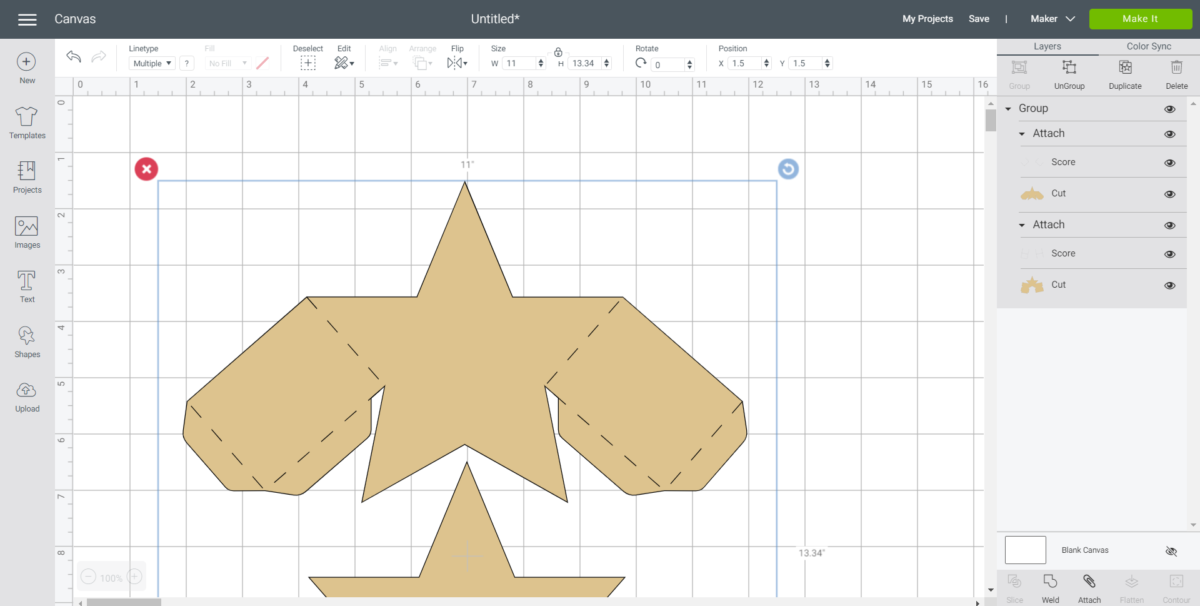
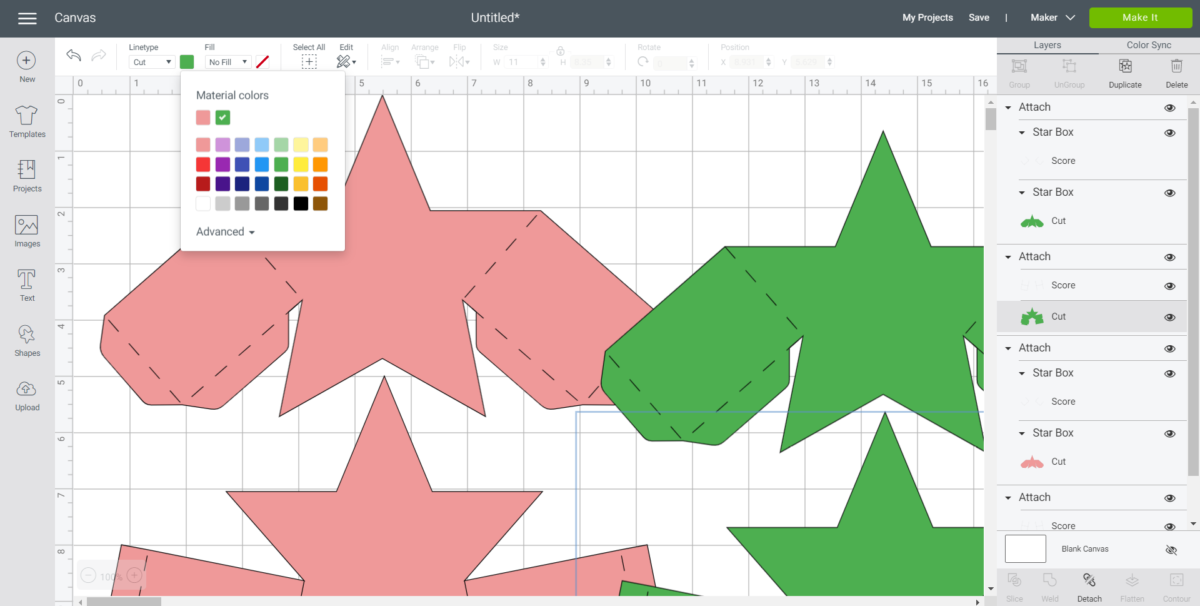
Change the color of the star shapes to match the paper color you will be using.
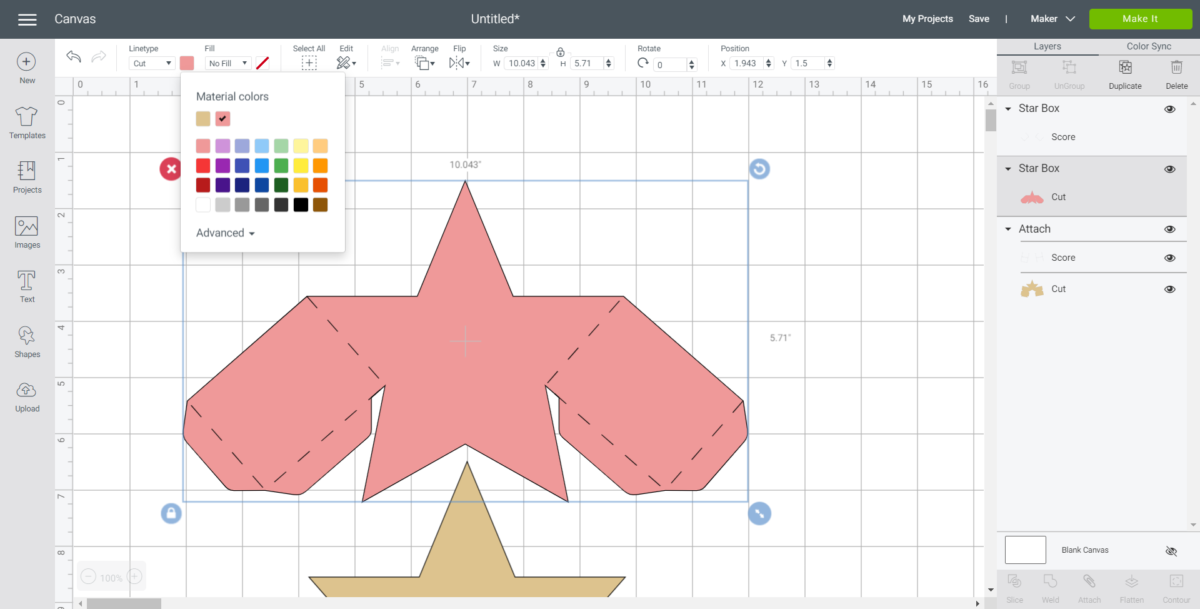
Duplicate the image to make as many star gift boxes as you want.

Change the color of the additional star shapes to match the paper colors you will be using.
Cutting
With the machine set to Cricut Maker, select “Make It” in Design Space.
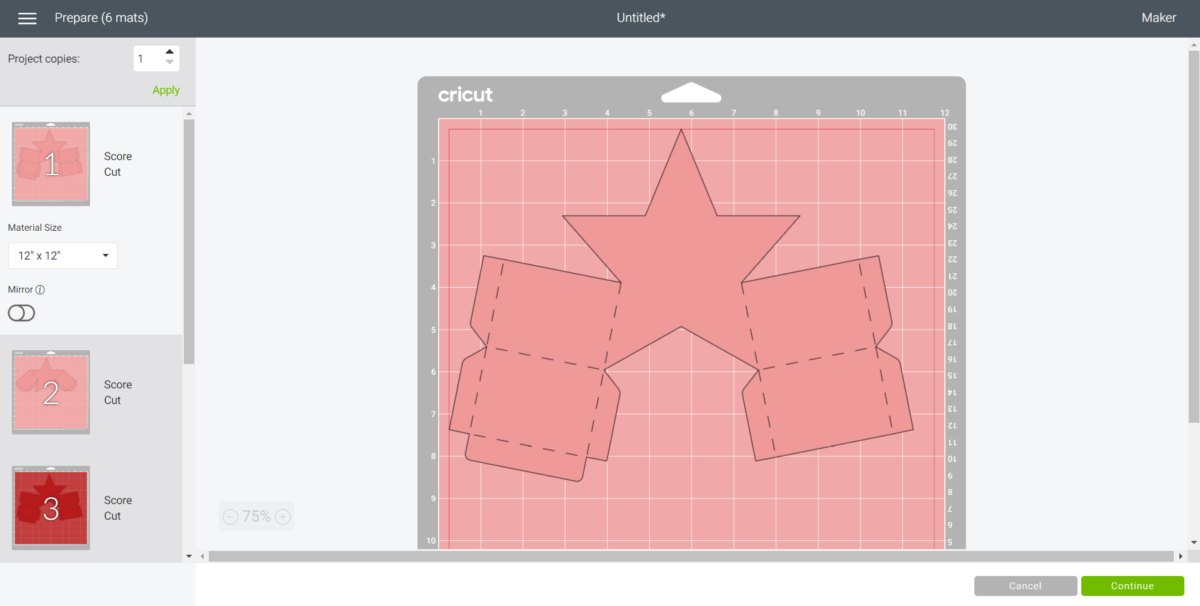
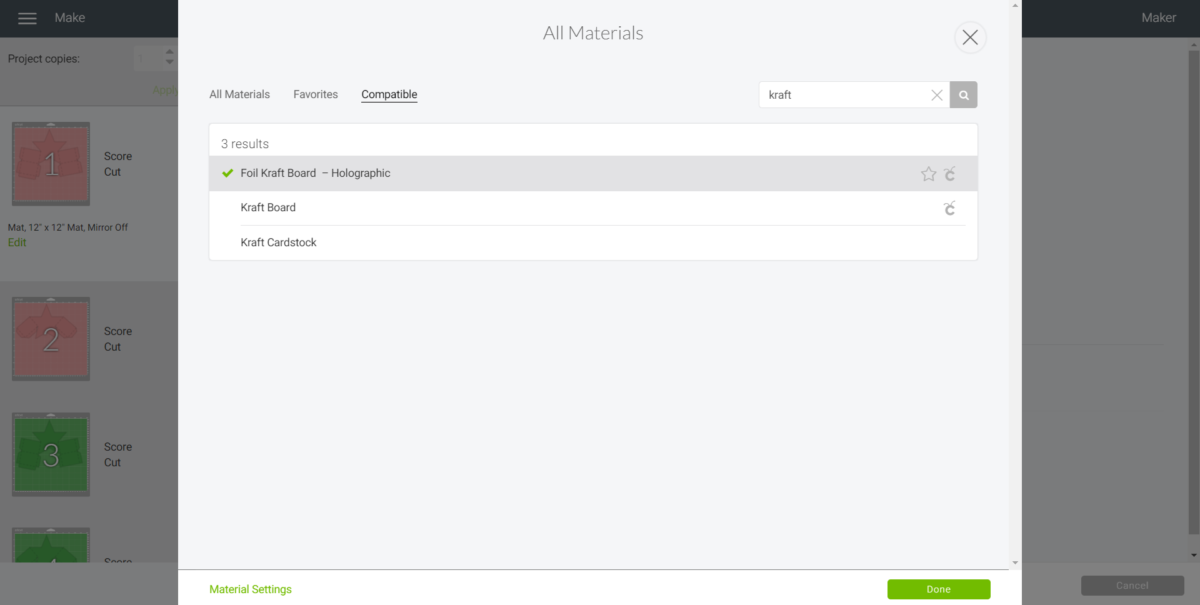
Set material type to Foil Kraft Board, Holographic.
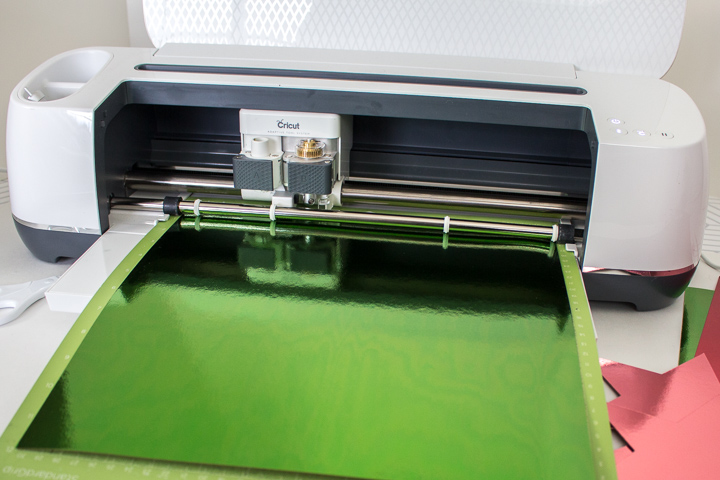
Place the first sheet of kraft board onto the mat. Each star gift box uses two sheets of 12”x12” kraft board.
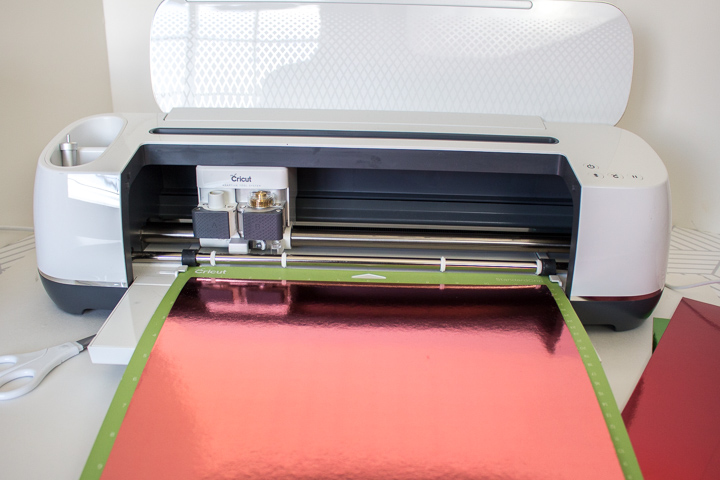
Follow prompts for loading kraft board into Cricut Maker. Insert the scoring tool as instruction and proceed.
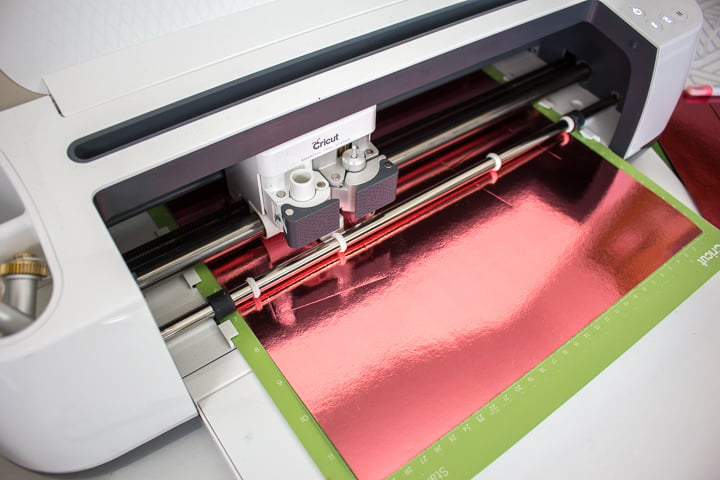
Switch to a fine point blade to complete the cut. When the cut is complete, unload the mat from the machine.
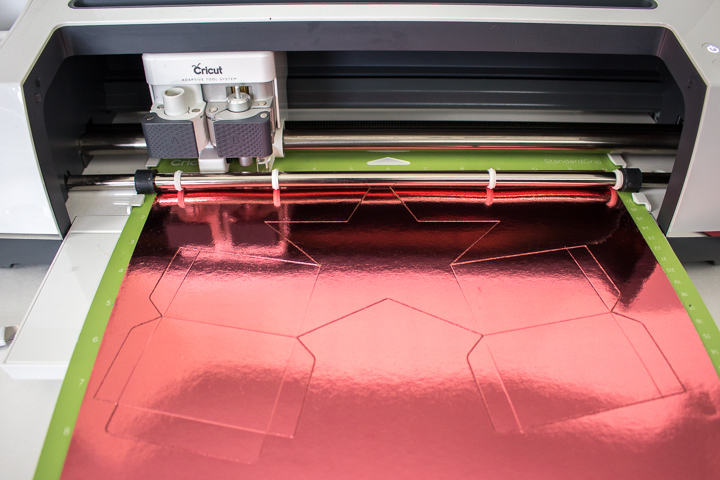
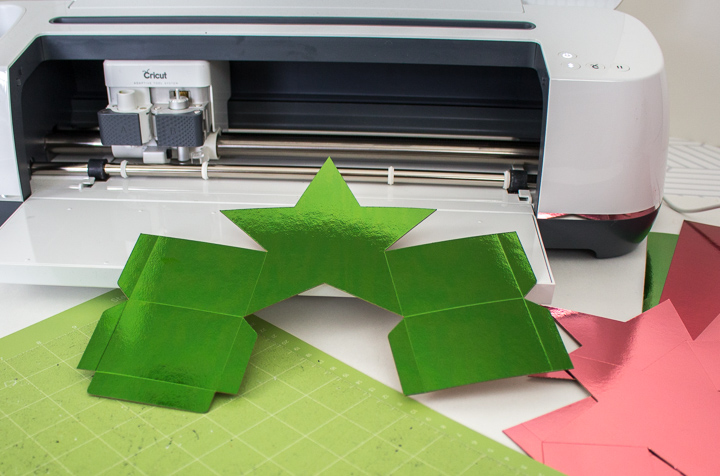
Remove the cut pieces from the cutting mat and put aside.
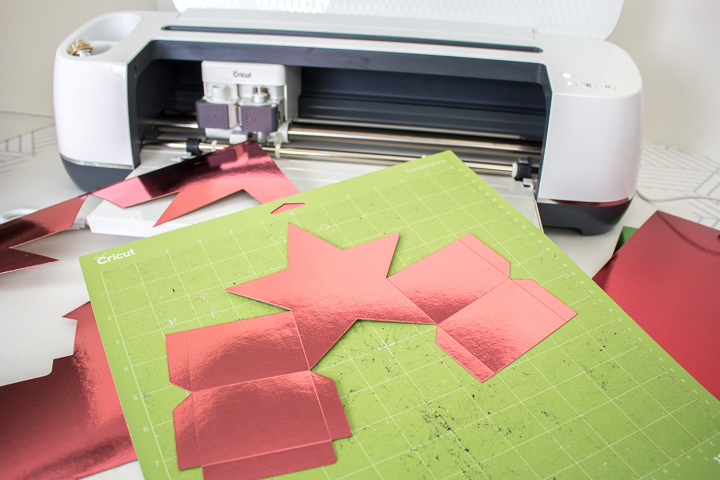
Repeat for the remaining patterns and sheets of kraft board.
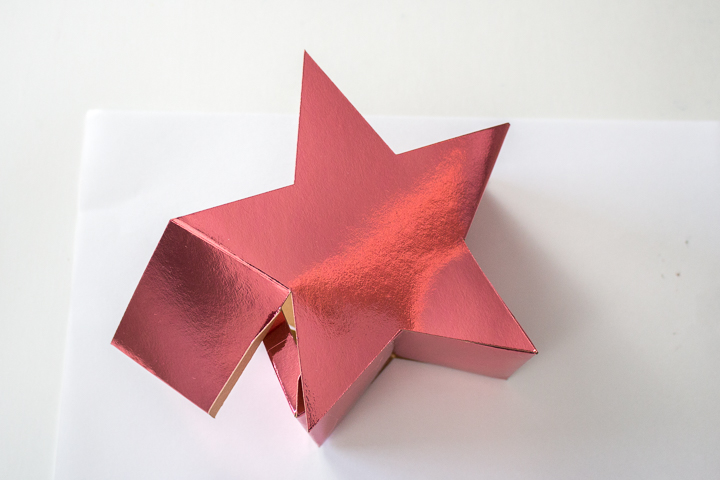
Assembling the Star Gift Box
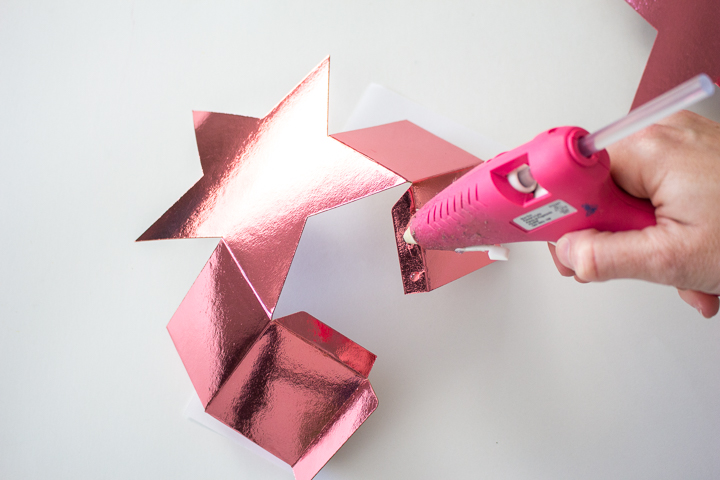
Preheat a hot glue gun and then fold the pieces along the score lines of the rectangular shape next to the star cutouts towards the back (with wrong sides together).

Fold the score lines along the smaller tabs inwards (with wrong sides together) for all remaining score lines except for one as shown. Next, fold the one smaller tab (along the bottom of the larger gift box piece) outwards (with right sides together).

Working one tab at a time and quickly since hot glue dries fast, apply a bead of glue along the tab adjacent to the star and press it in place tucking it behind the star.
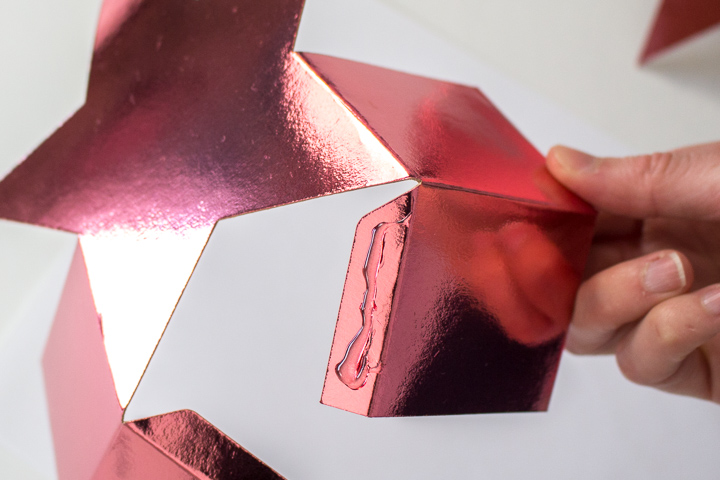
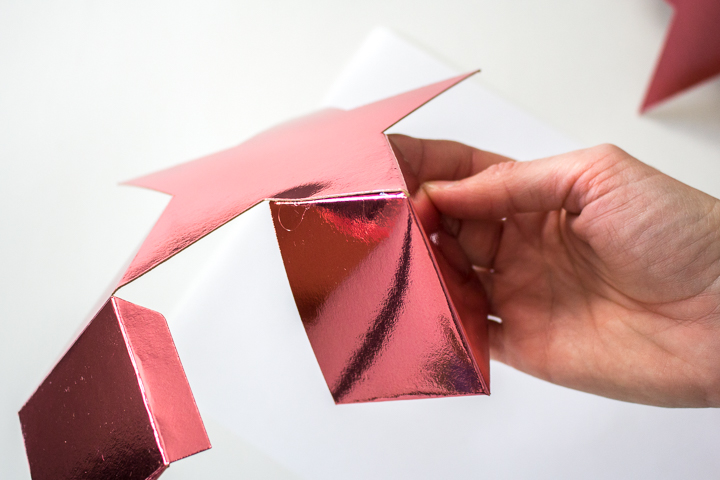
Repeat with the other tab forming the box behind the star.
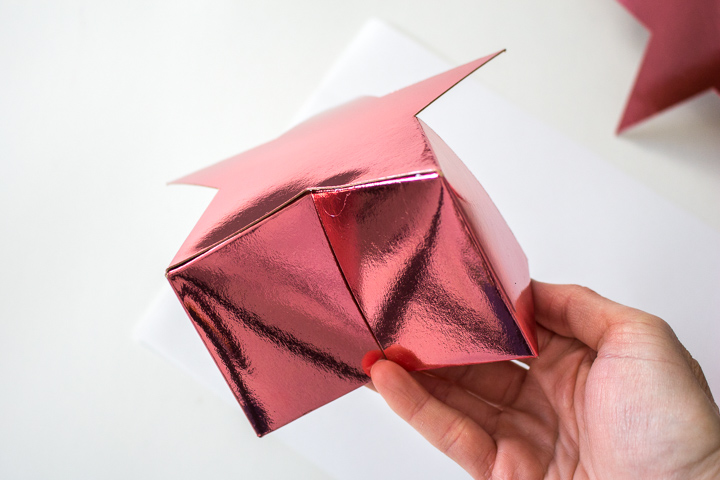
Glue the bottom tab in place securing the box shape in place.
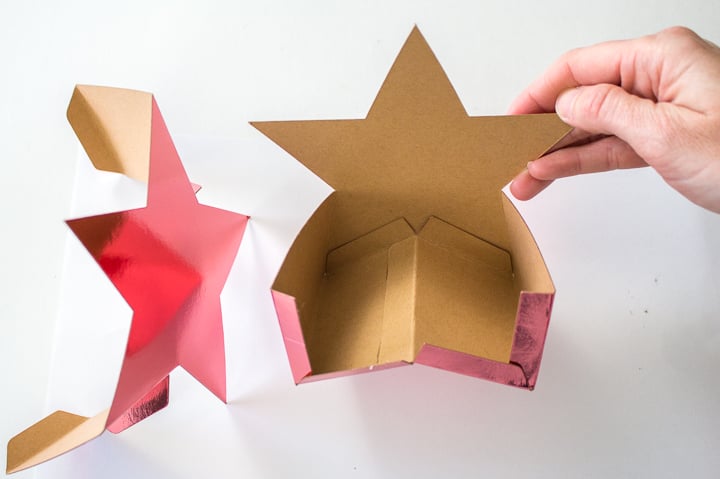
Join the two pieces together by gluing the tabs from the larger piece to the smaller piece behind the star cutout.
Glue the tabs along on the side rectangular shapes together to complete the gift box.
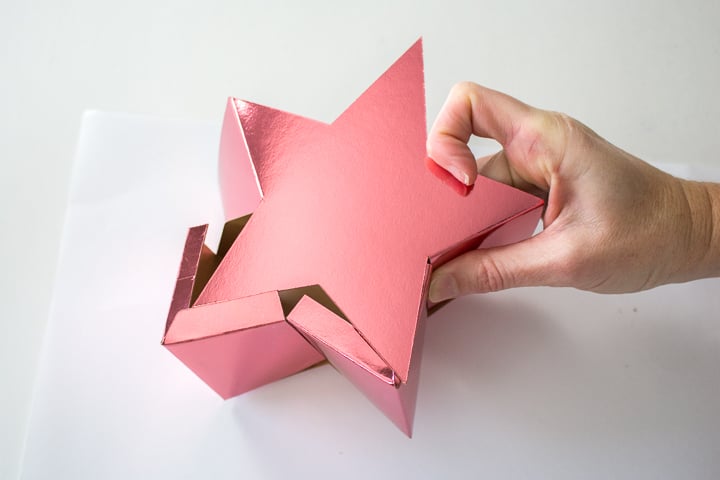
Repeat these steps for making as many star gift boxes as needed.
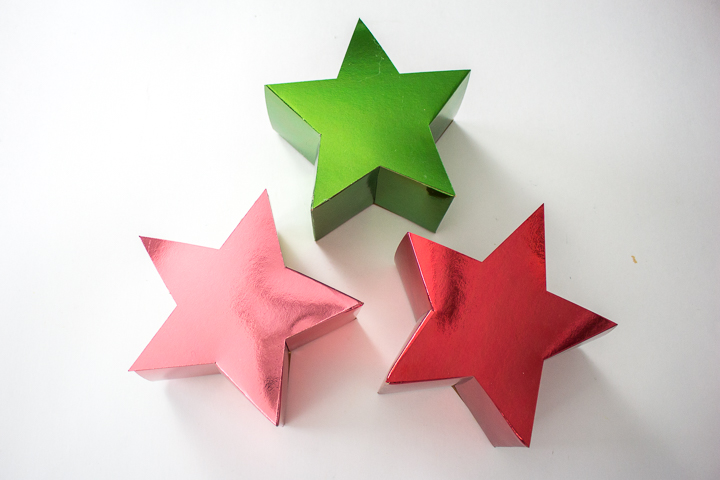
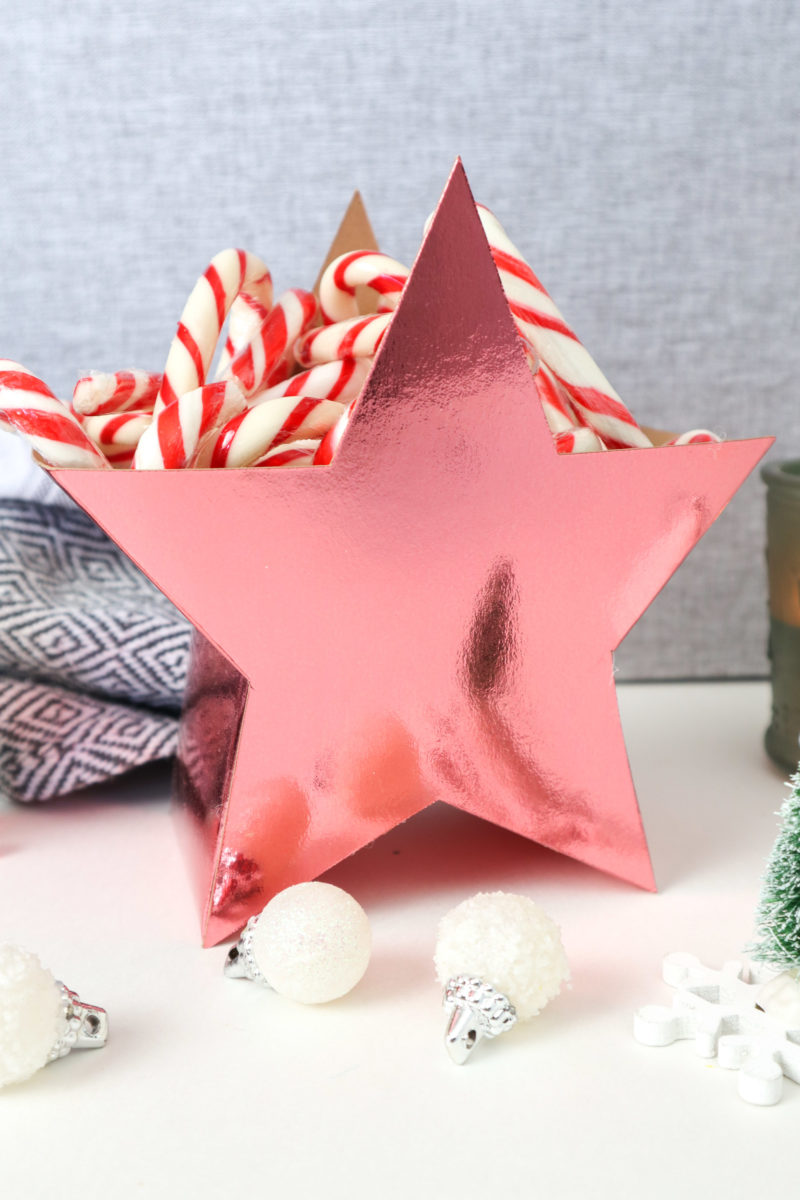
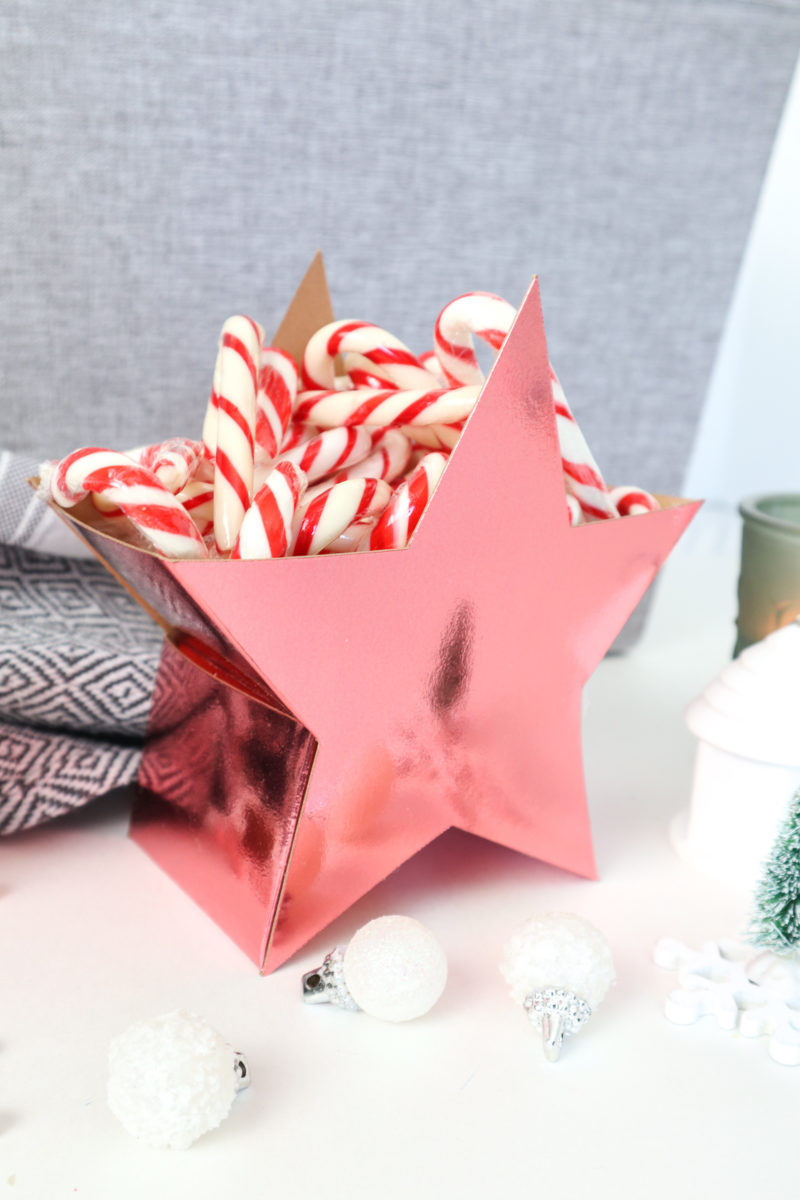
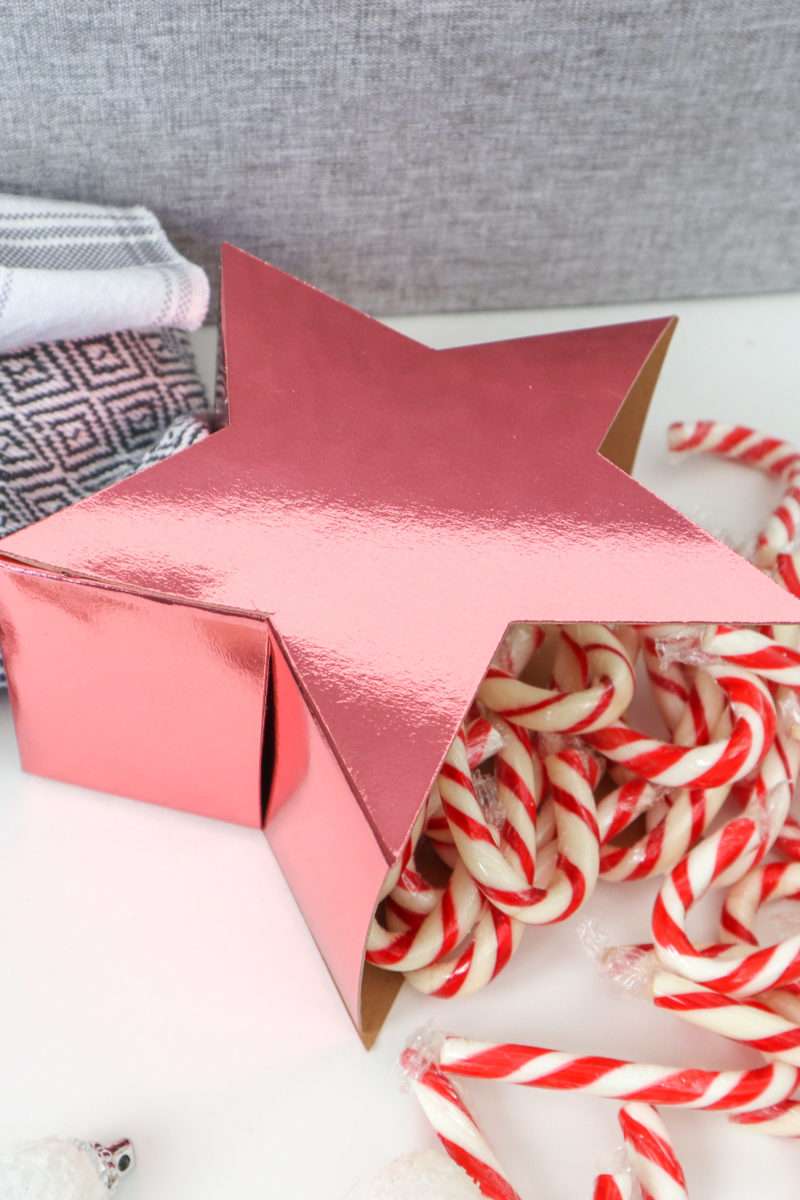
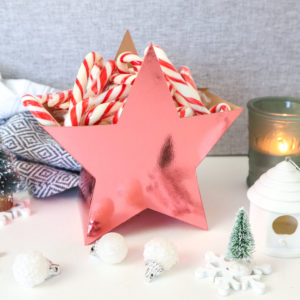
And just like that the star shaped candy boxes are complete! Fill them with holiday treats, chocolates, candy canes like we have here and enjoy.
More DIY Christmas Crafts using the Cricut
There are so many creative and fun Christmas crafts to be made with Cricut, just check out all these festive DIYs to be made!
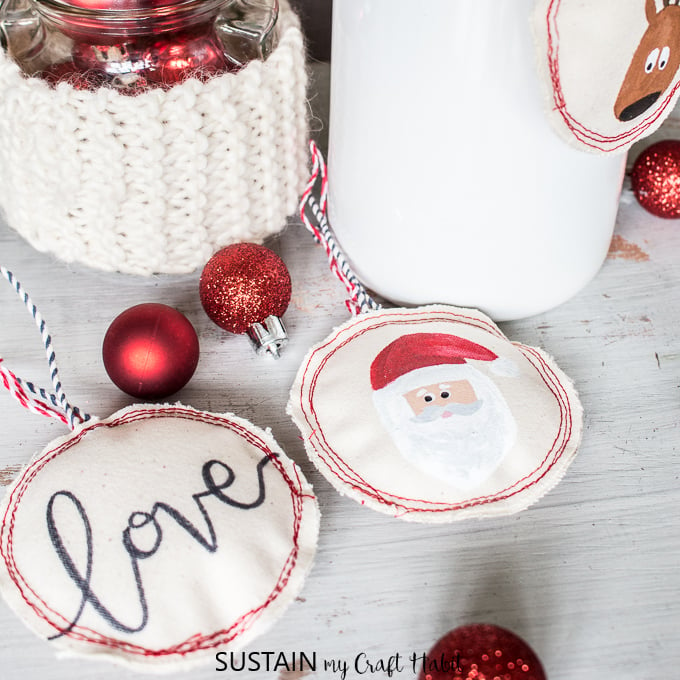
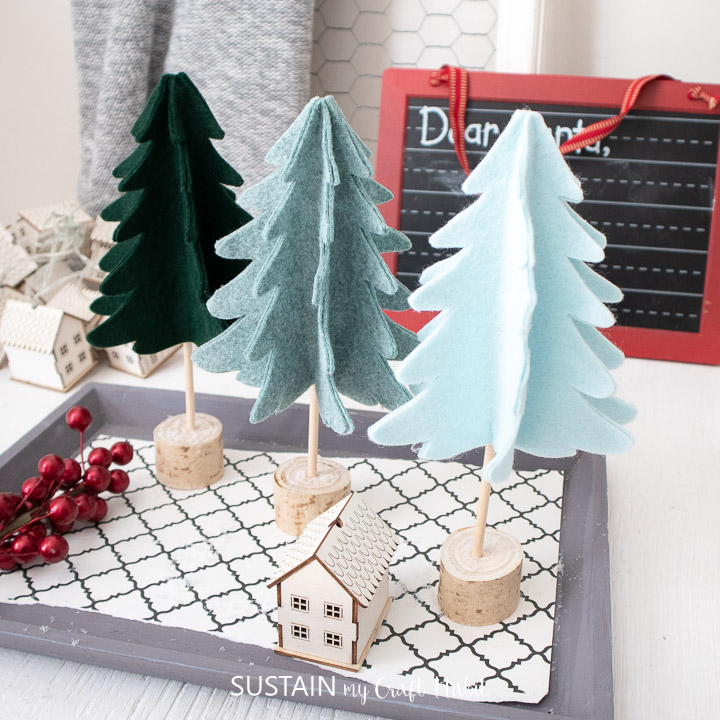
- 3D Christmas tree decor
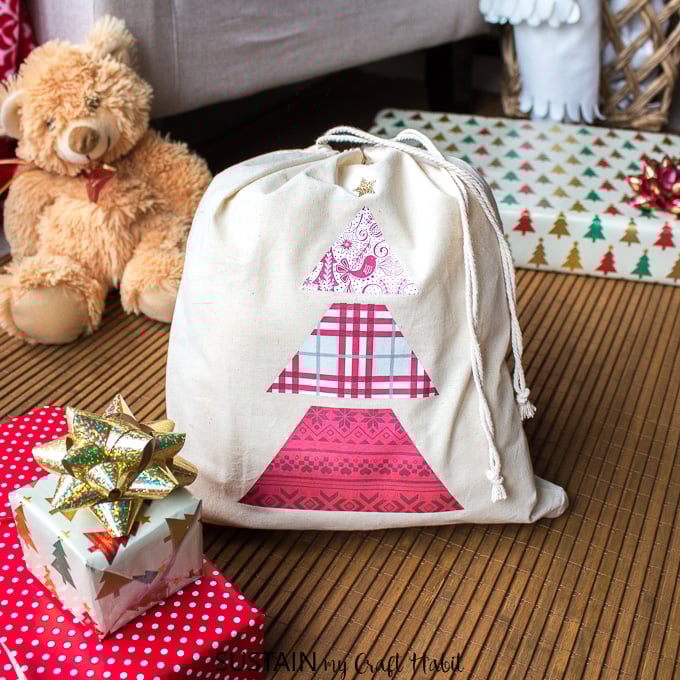
- Christmas gift bag
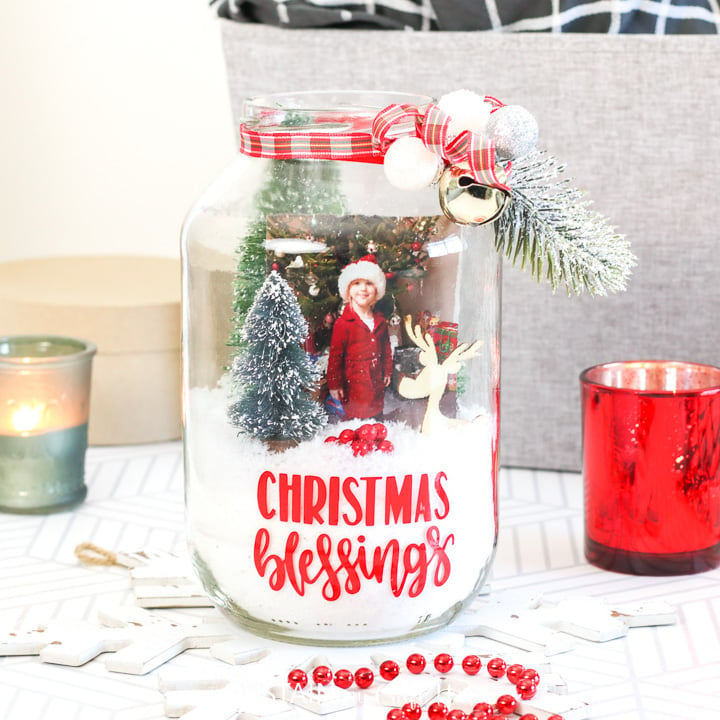
- Pickle jar Christmas terrarium
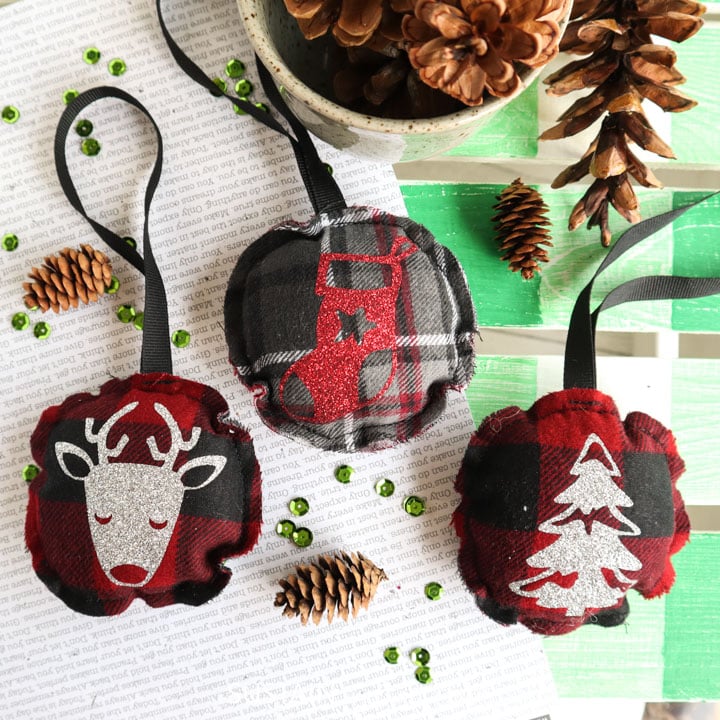
- Flannel Christmas tree ornaments

3D Felt Trees 
Christmas Gift Bag Upcycled Jar Photo Display Christmas Ornaments
Like it? Pin it for later!
DIY 3D Paper Star Candy Box
Materials
- Star Box Template in Design Space #MFA9E217
- Cricut Maker or other Cricut cutting machine with Fine Point Blade and Scoring tool
- Cricut Standard Grip Mat
- Kraft Board Foil Sampler Jewel, 12” x 12” (two sheets per star gift box)
- Hot glue gun and clear glue sticks
Instructions
Uploading the Star Box Template
- Open Cricut Design Space.
- Click on the “+” sign to start a new project, opening up a blank canvas.
- Click on the Images button from the toolbar.
- Search #MFA9E217 and then click on the image to insert the pattern on the canvas.
- Maintain the size.
- Change the color of the star shapes to match the material color you will be using.
- Duplicate the image to make as many star gift boxes as you want.
- Change the color of the additional star shapes to match the material colors you will be using.
Cutting
- With the machine set to Cricut Maker, select “Make It” in Design Space.
- Set material type to Foil Kraft Board, Holographic.
- Place the first sheet of kraft board onto the mat. Each star gift box uses two sheets of 12”x12” kraft board.
- Follow prompts for loading kraft board into Cricut Maker. Insert the scoring tool as instruction and proceed.
- Switch to a fine point blade to complete the cut. When the cut is complete, unload the mat from the machine.
- Remove the cut pieces from the cutting mat and put aside.
- Repeat for the remaining patterns and sheets of kraft board.
Assembling the Star Gift Box
- Preheat a hot glue gun.
- Fold the pieces along the score lines of the rectangular shape next to the star cutouts towards the back (with wrong sides together).
- Fold the score lines along the smaller tabs inwards (with wrong sides together) for all remaining score lines except for one (see step 20).
- Next, fold the one smaller tab (along the bottom of the larger gift box piece) outwards (with right sides together).
- Working one tab at a time and quickly since hot glue dries fast, apply a bead of glue along the tab adjacent to the star and press it in place tucking it behind the star.
- Repeat with the other tab forming the box behind the star.
- Glue the bottom tab in place securing the box shape in place.
- Join the two pieces together by glueing the tabs from the larger piece to the smaller piece behind the star cutout.
- Glue the tabs along on the side rectangular shapes together to complete the gift box.
- Repeat these steps for making as many star gift boxes as needed.