DIY Cottagecore Fall Art: Easy Dollar Tree Frame Hack
There’s something especially cozy about cottagecore décor in autumn—warm colours, vintage-inspired artwork, natural textures, and little handmade details that make a home feel welcoming.
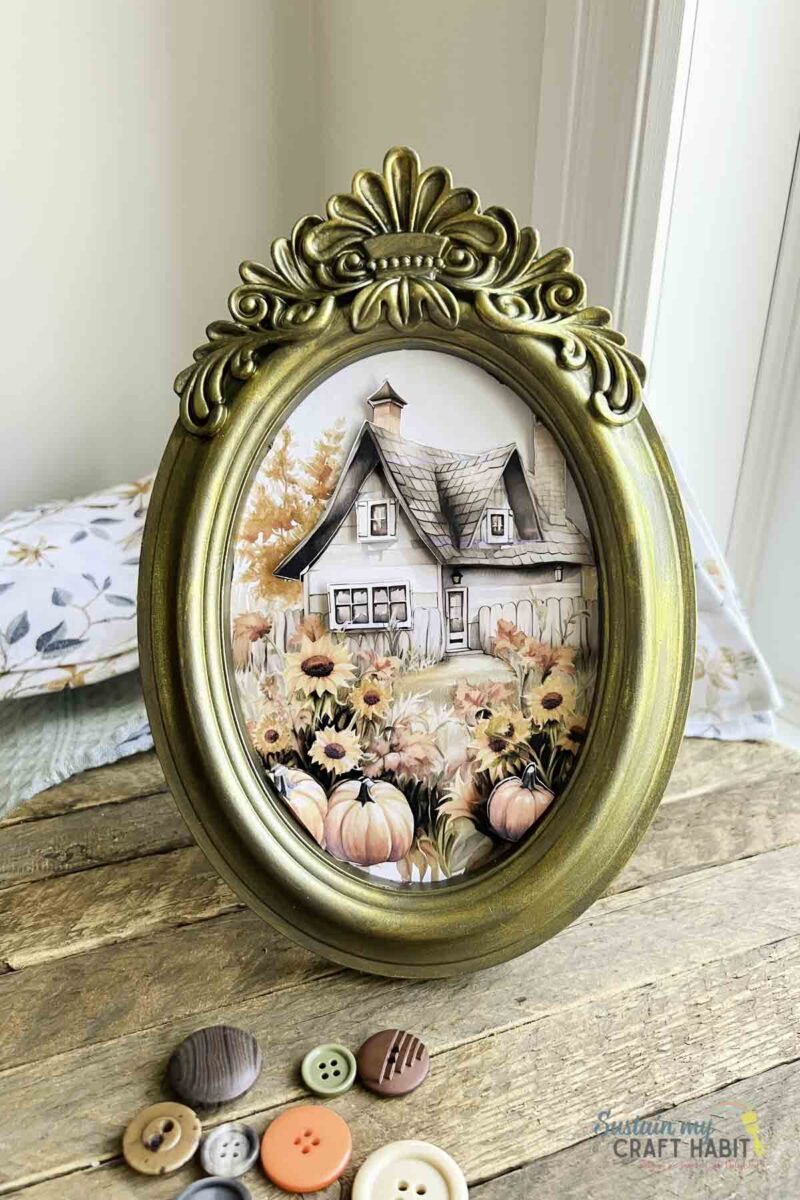
The good news is that you don’t need to spend much to achieve the look. This DIY cottagecore fall art project transforms an inexpensive Dollar Tree frame into charming seasonal décor that looks far more expensive than it is.
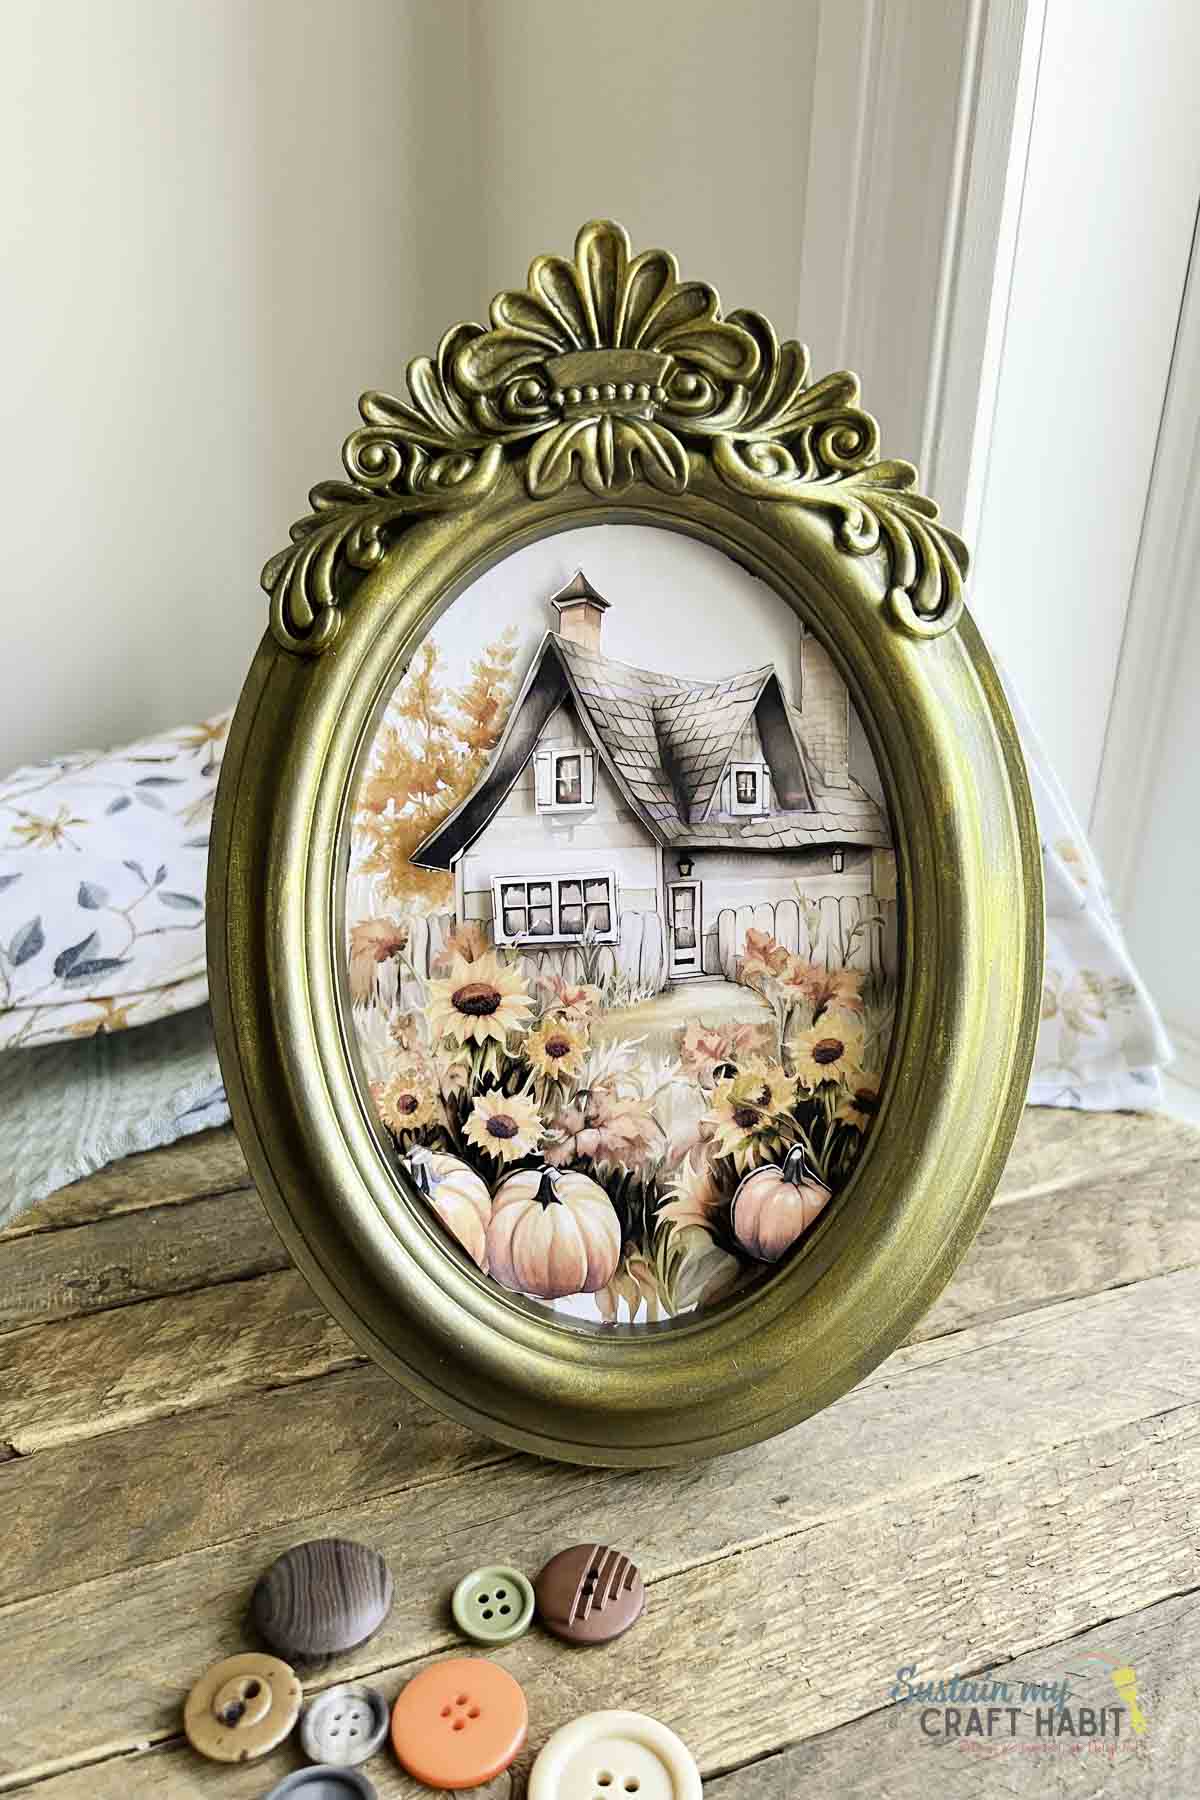
With a simple frame, autumn-inspired artwork, and a few easy finishing touches, you can create a piece that works beautifully on a mantel, shelf, entryway table, or gallery wall. Better still, the project is easy to customise using supplies you may already have at home. Let’s get started!
Why You’ll Love This Cottagecore Fall Art
- Budget-friendly materials: A basic Dollar Tree frame makes this an inexpensive way to add seasonal character without buying costly autumn decorations.
- Quick and beginner-friendly: This easy Dollar Tree frame hack requires no advanced crafting skills or specialist equipment.
- Perfect for cottagecore decorating: Botanical prints, woodland illustrations, vintage florals, pumpkins, mushrooms, and autumn landscapes all work beautifully with the cottagecore aesthetic.
- Easy to personalise: Change the artwork, frame finish, backing paper, or decorative details to complement your existing fall home décor.
- Reusable throughout the year: Once autumn is over, simply swap the artwork for another seasonal print and reuse your frame.
Want to receive a ton of inspiration and money saving ideas for decorating, gift-giving and crafting? Join HERE!
Materials Needed
- Fall Art Printable – print 2 copies on regular white printer paper
- Inexpensive picture frame from the Dollar Store or Thrift Store
- Glue dots
- Decoart Black Chalky Finish and Vintage Brass Metallic
- Paint brushes
- Scissors
- Mod Podge
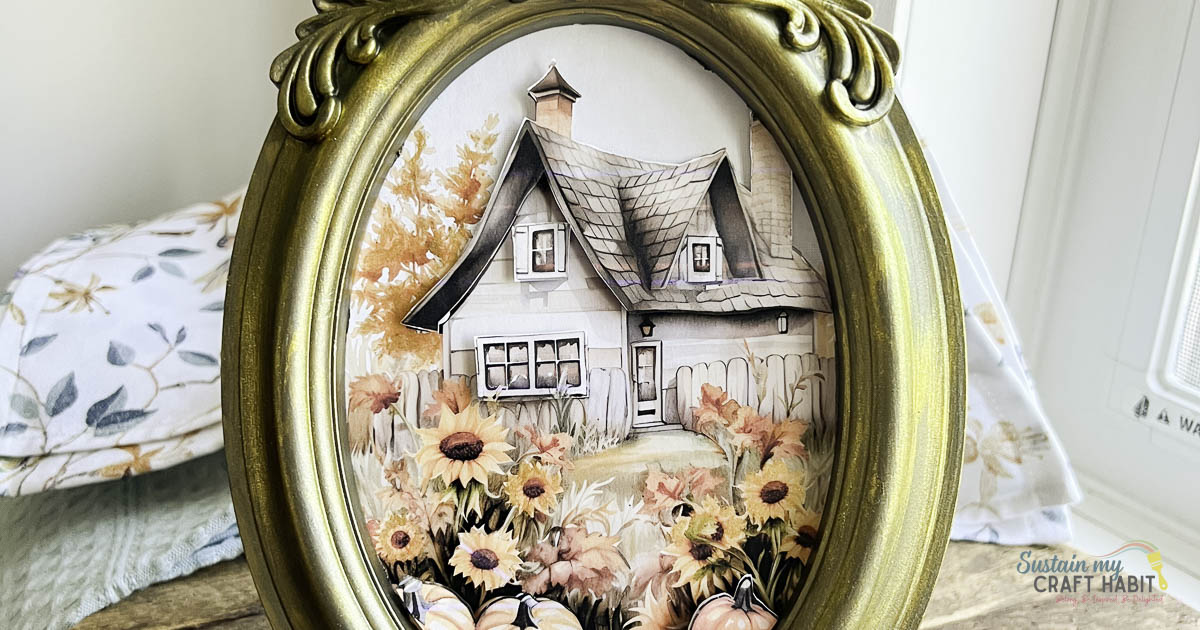
How to Make this Framed Cottagecore Fall Art
Picture Frame Makeover
If the original frame looks too shiny or modern, changing the finish can make a surprisingly big difference.
Try painting it with matte brown, warm cream, sage green, muted gold, or charcoal paint. For a distressed cottagecore effect, lightly sand selected areas once the paint has dried so that a little of the original finish shows through.
Start by removing the glass from the picture frame and discard and put the cardboard backing to the side for the time being.
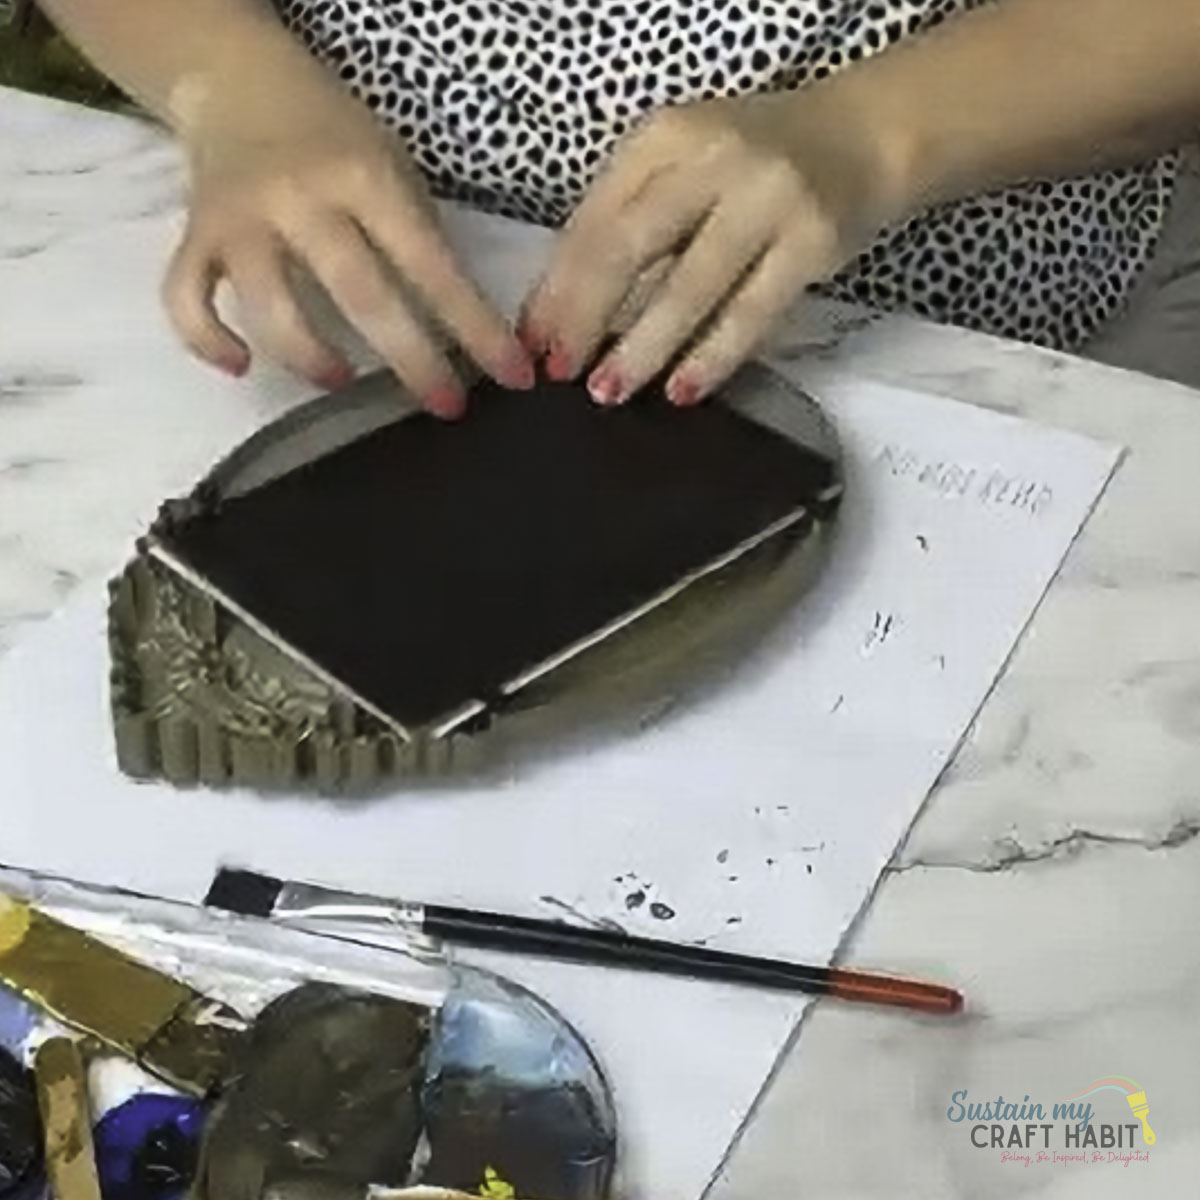
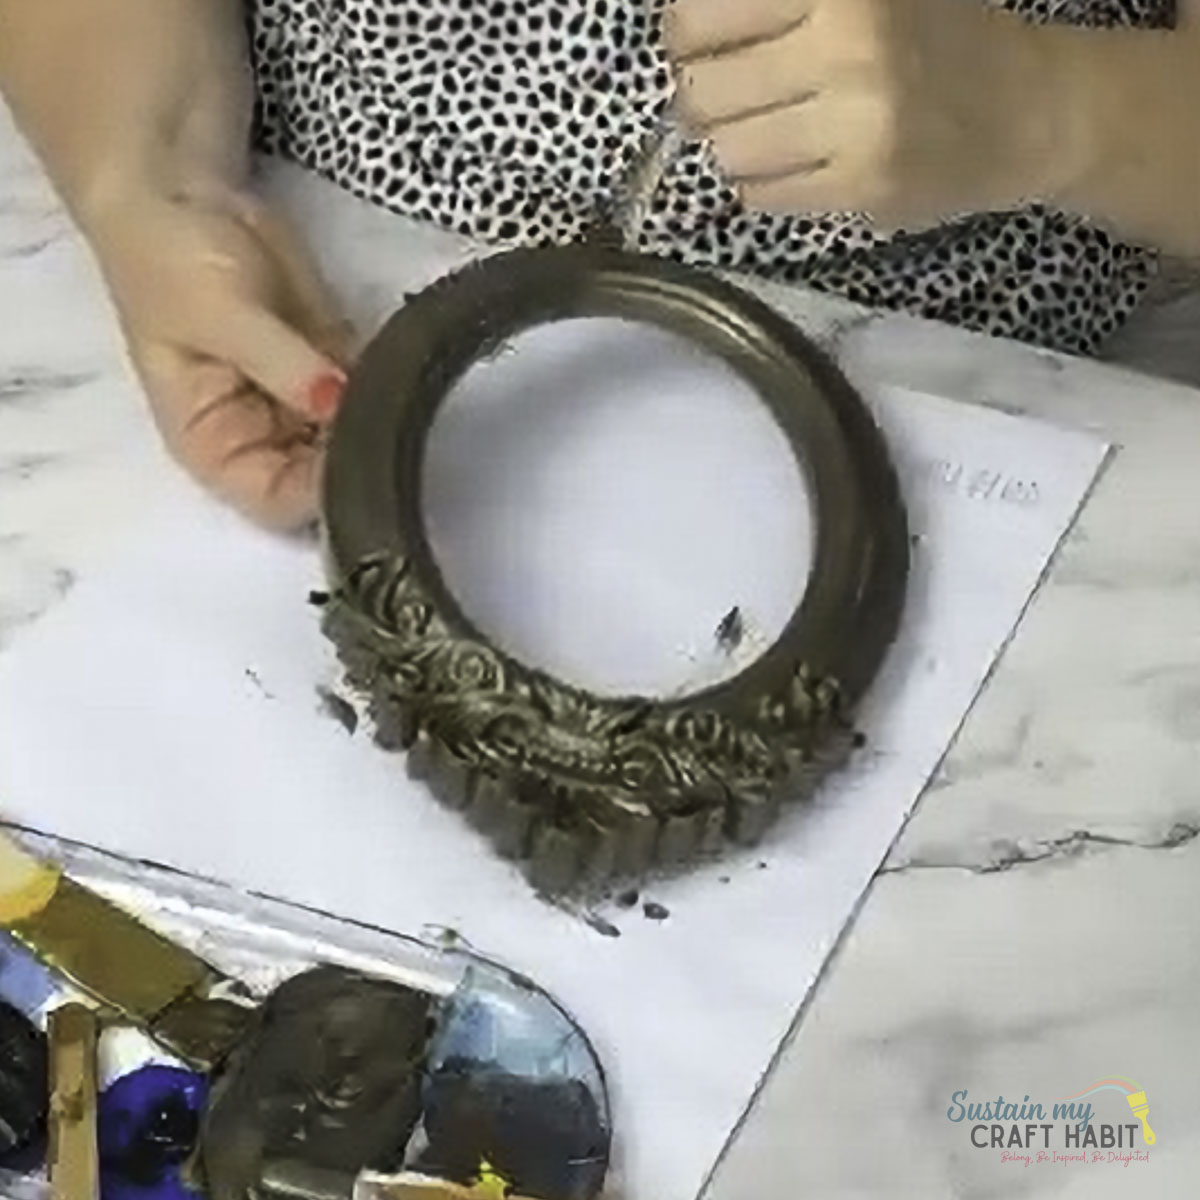
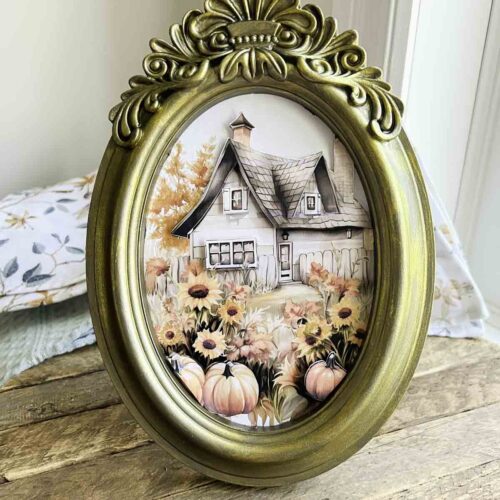
Apply a coat of black chalky paint to the picture frame and leave it to dry. Once dry, apply a light coating of vintage brass metallic over top.
Preparing the Picture Insert
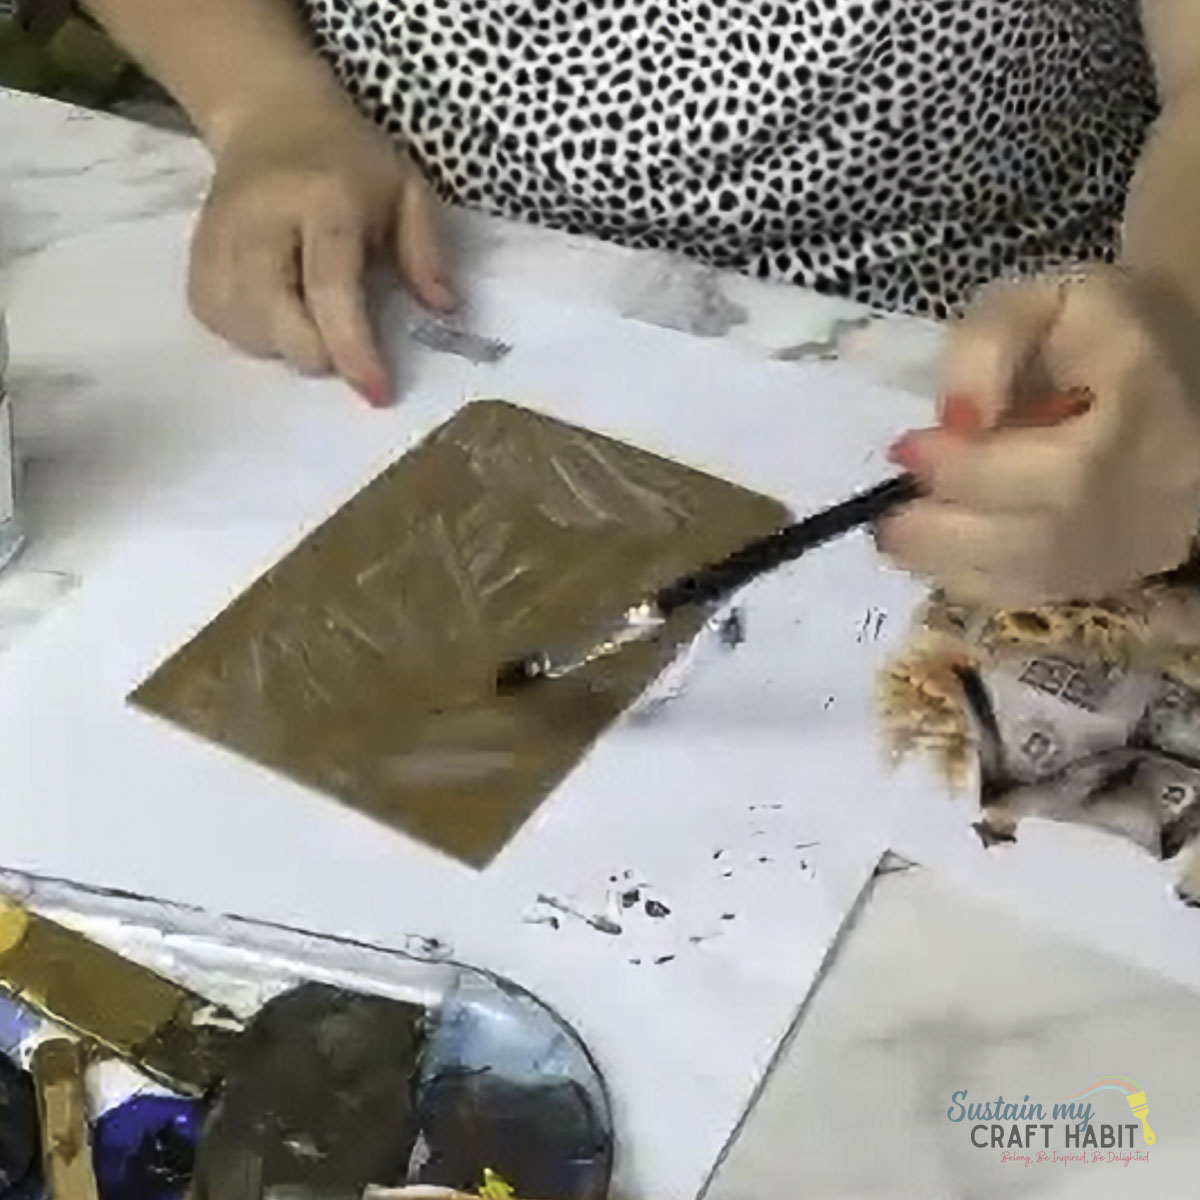
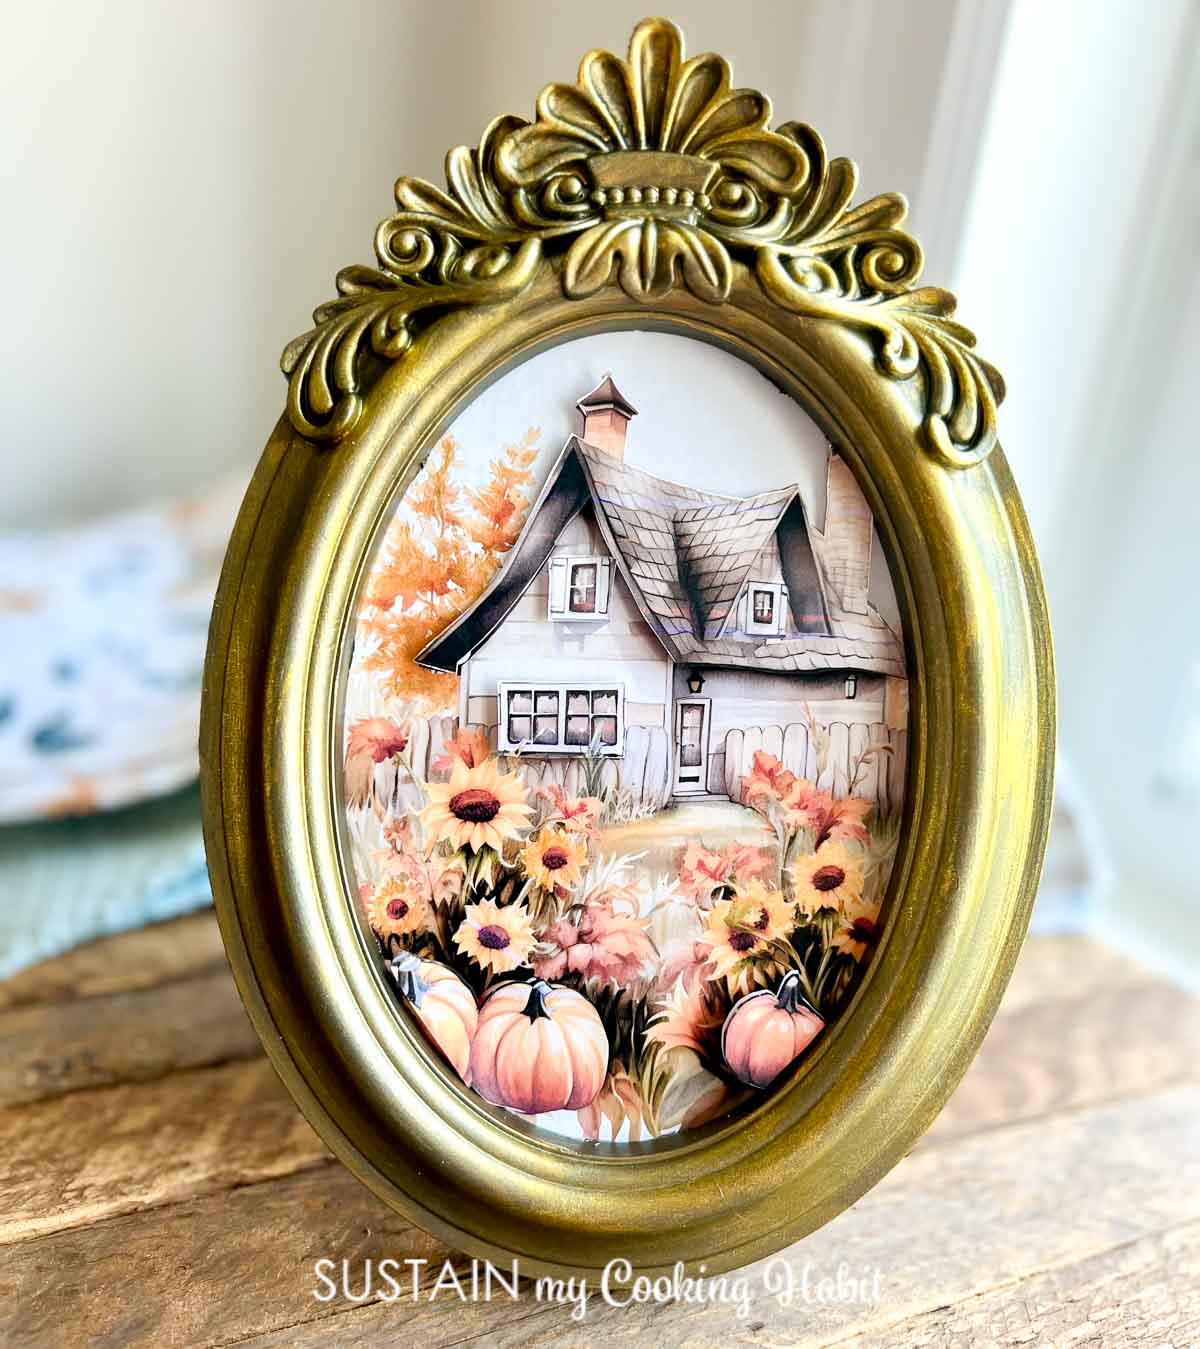
Cut one of the printables to fit over top of the cardboard backing tracing the shape on to the printable. Brush on a coat of mod podge over top of the cardboard and then press the same shaped printable on top.
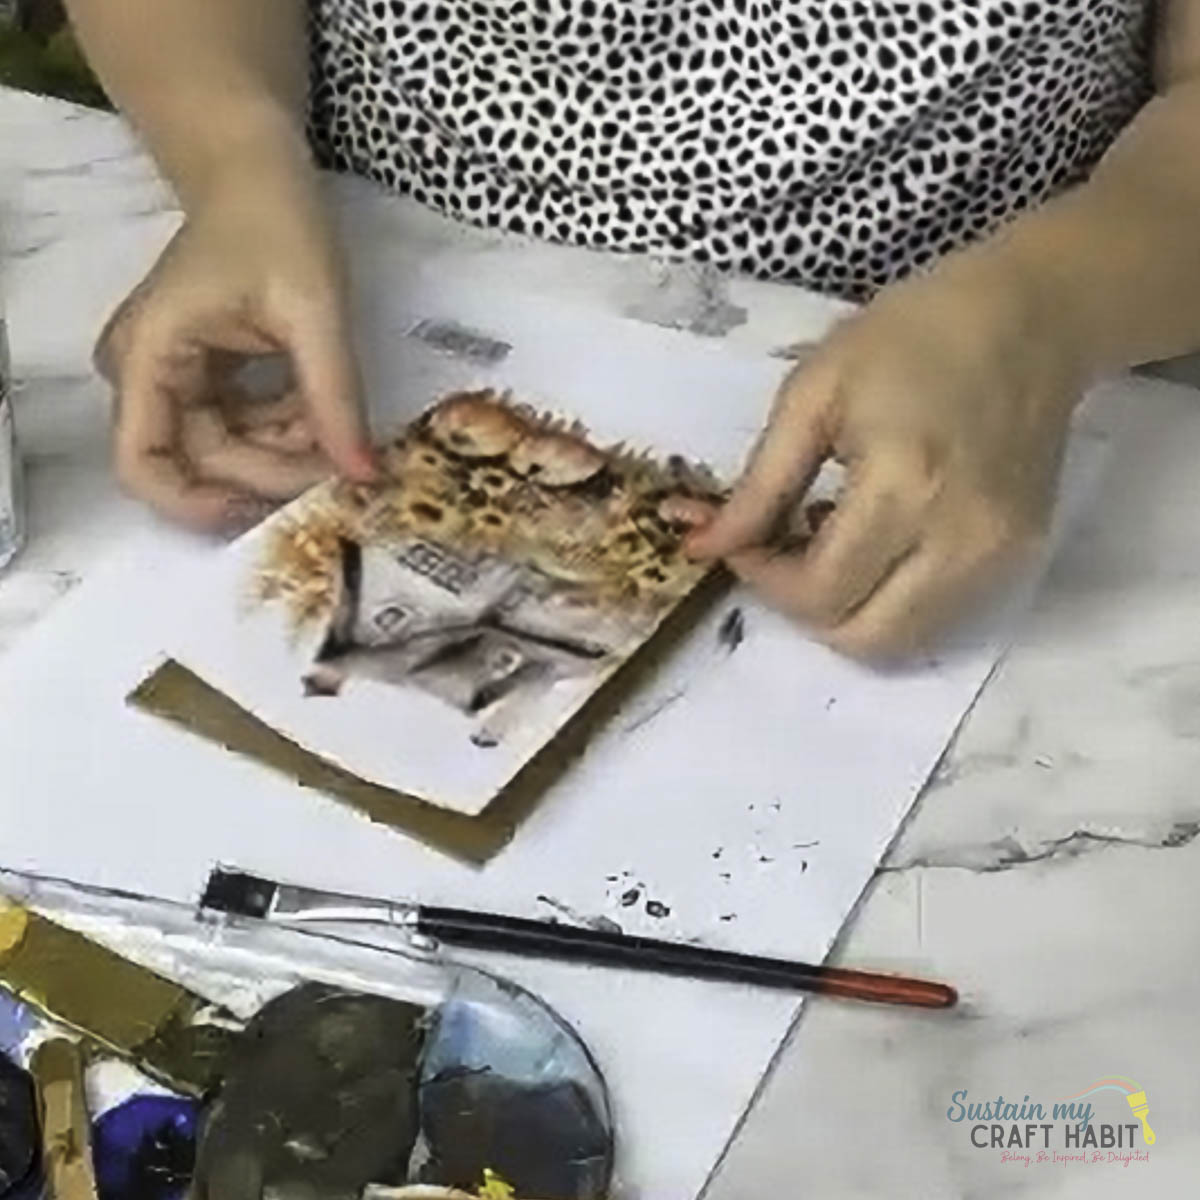
For the second printable, do a fuzzy cut around some of the details (such as the window wells, roof line, flowers) and use glue dots to give 3-D layering effect. Place the fuzzy cut outs over top of the other printable.
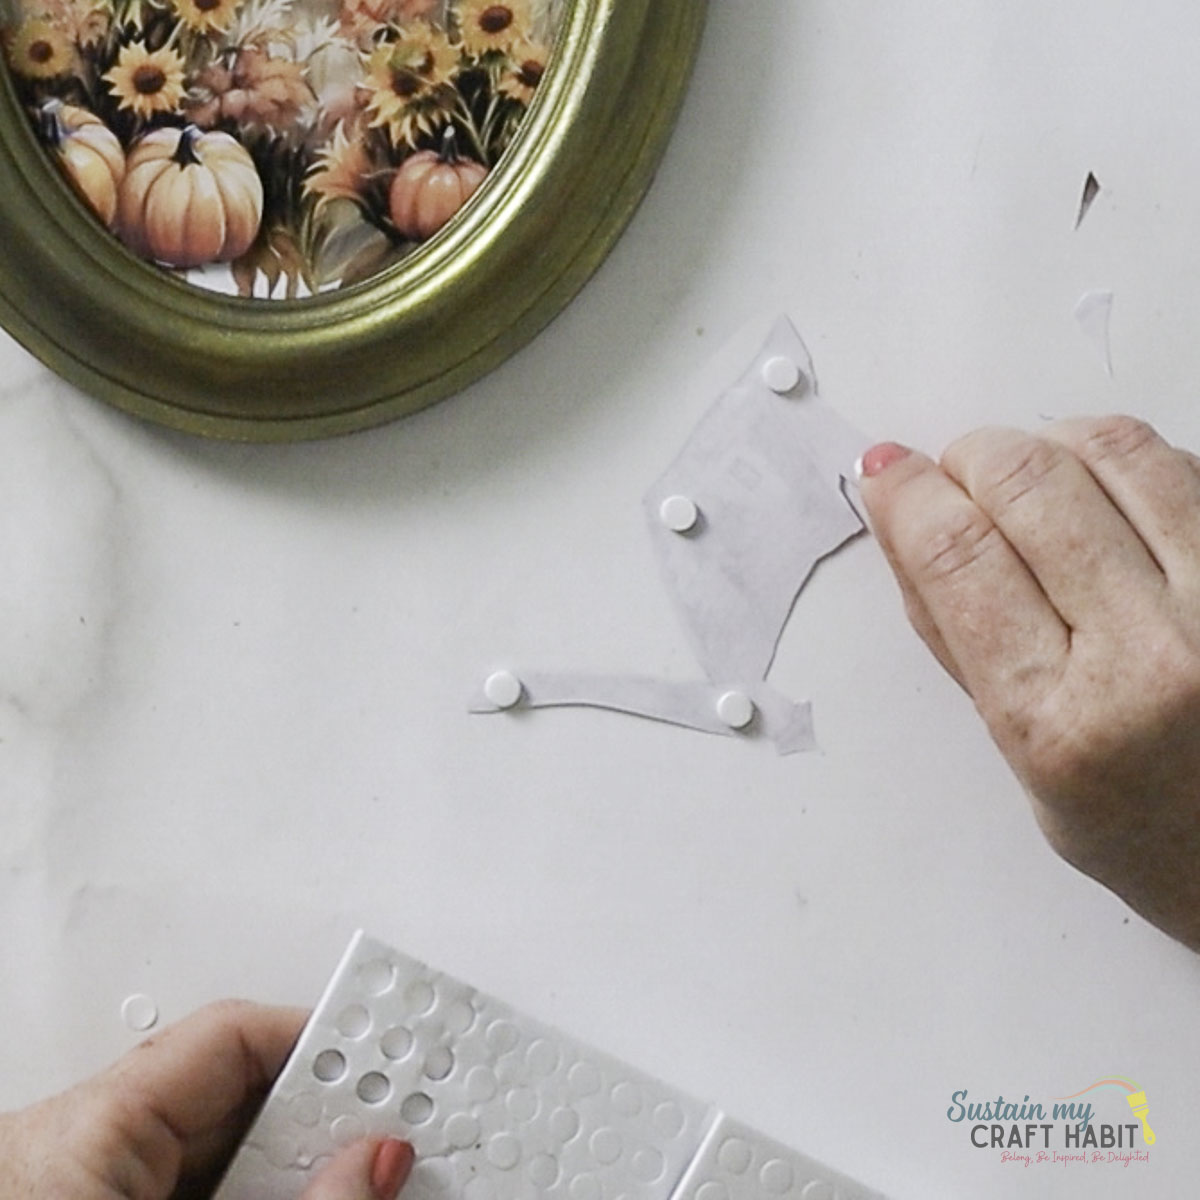
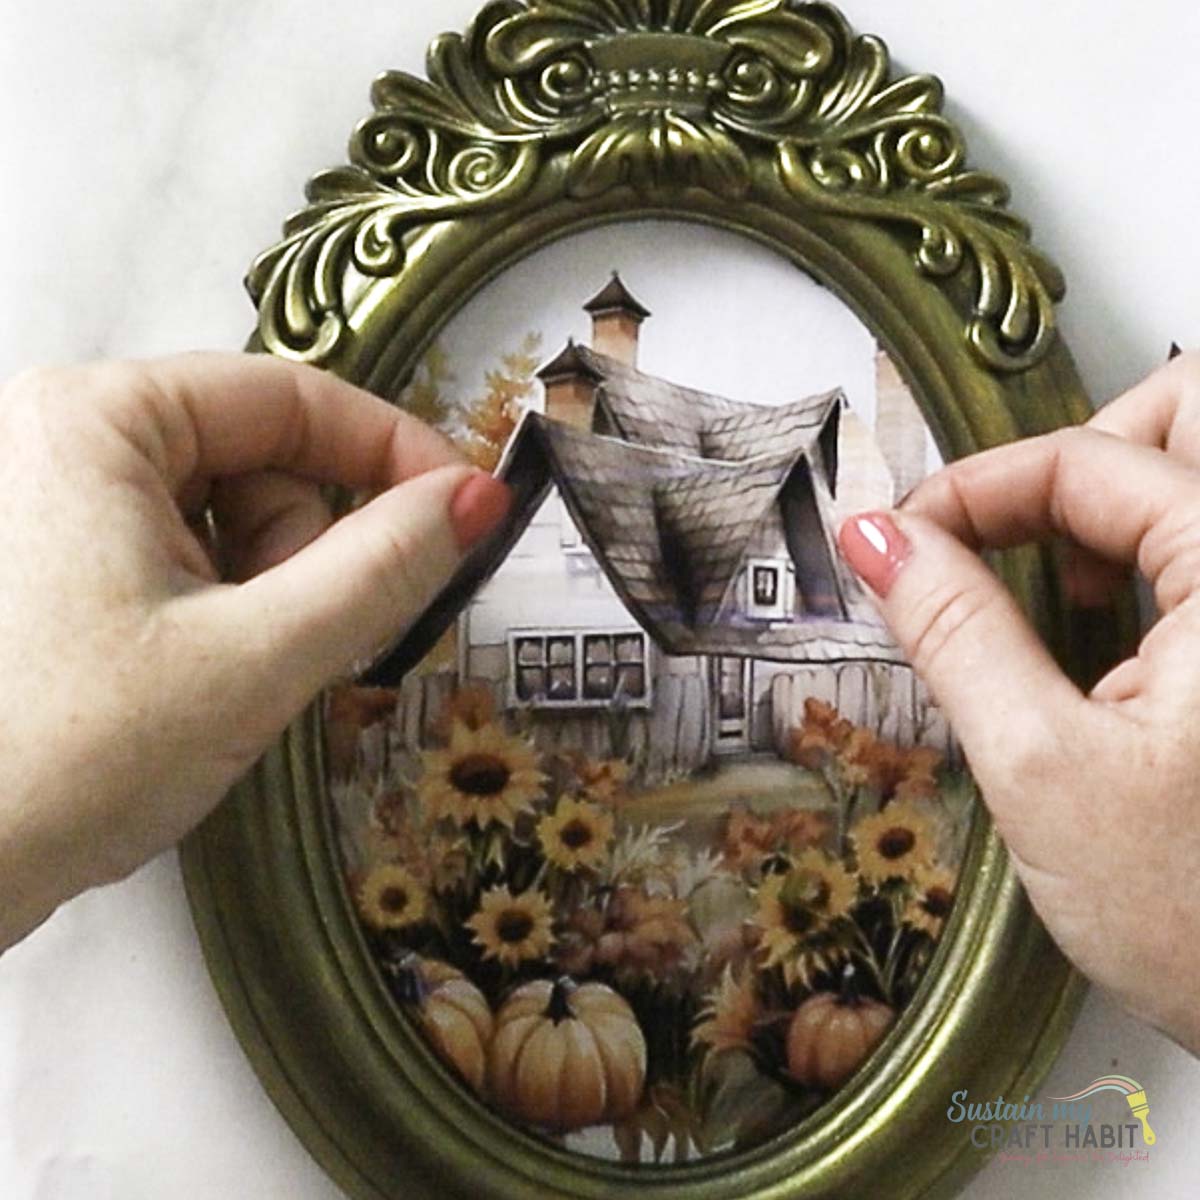
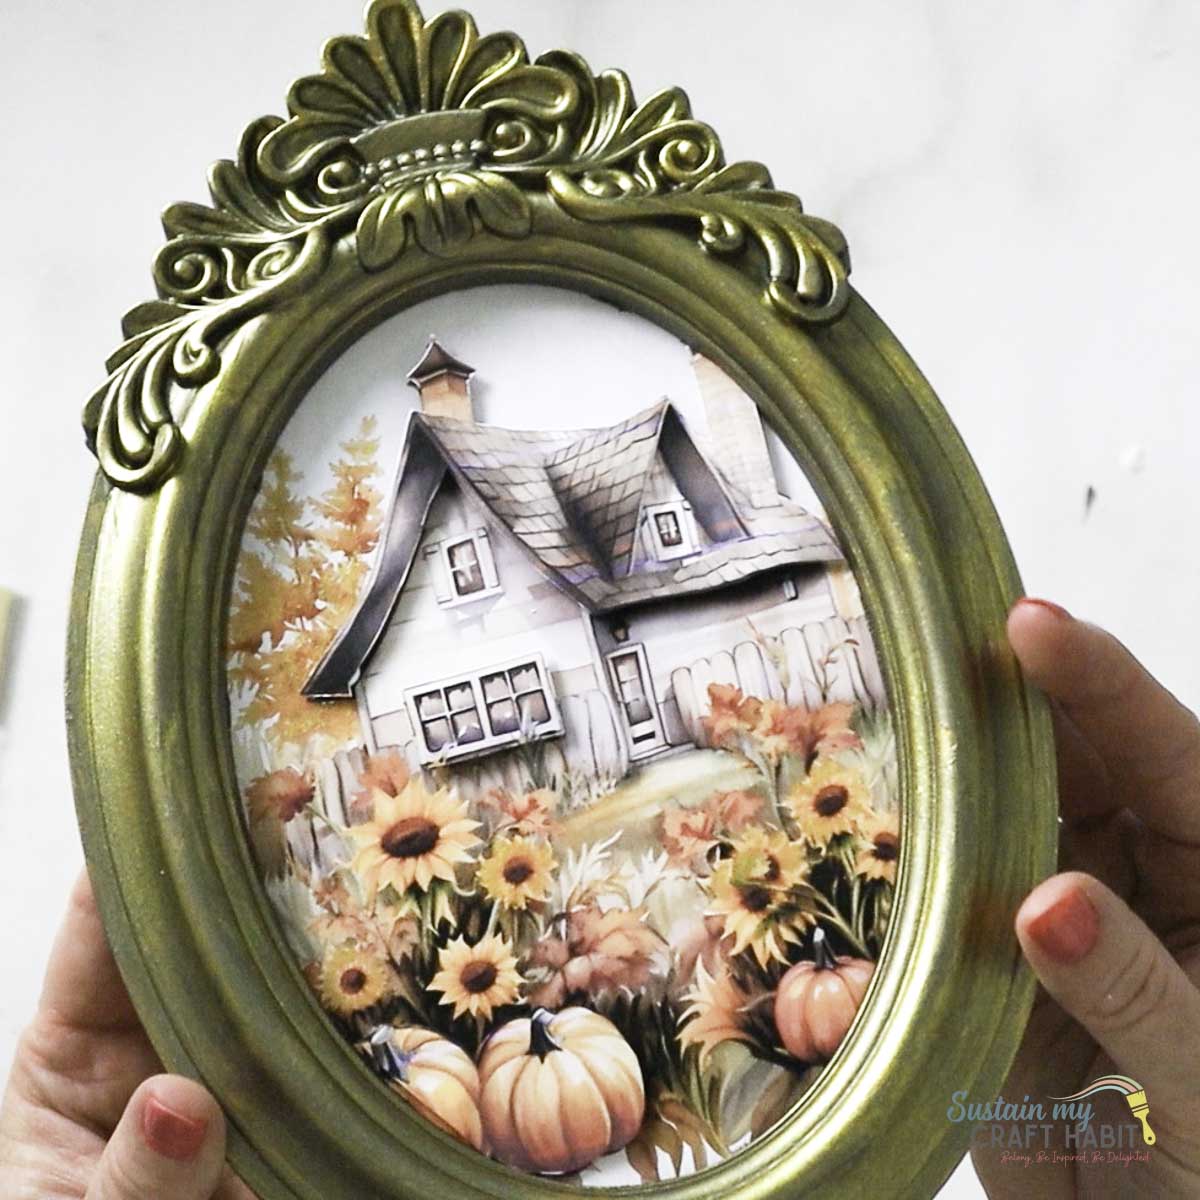
Replace the image into the frame and display!
Choose Artwork With a Vintage Feel
The easiest way to make inexpensive framed art look authentically cottagecore is to choose imagery with an aged, collected-over-time appearance.
Look for botanical illustrations, pressed-flower designs, woodland scenes, vintage fruit prints, autumn leaves, pumpkins, acorns, birds, or mushrooms.
Muted shades of rust, mustard, olive green, burgundy, brown, and cream work particularly well for DIY cottagecore autumn décor.
For an even more traditional look, use artwork inspired by antique botanical books or old countryside paintings. Printing onto slightly cream or off-white paper rather than bright white paper can instantly give the finished piece a softer vintage appearance.
Experiment With Size and Colour
This easy cottagecore frame DIY can work with almost any frame size. A small frame is ideal for a bedside table, bookshelf, or autumn vignette, while a larger frame can become the focal point of a mantel or gallery wall.
For a collected cottage look, make several pieces using frames of different sizes and shapes. They don’t need to match perfectly. In fact, combining wood tones, antique gold finishes, painted frames, and slightly different autumn prints can make the arrangement feel more authentic.
Fixing Common Problems
The artwork looks too modern: Choose a print with muted colours or lightly age the edges of the paper with diluted brown watercolour or ink.
The frame still looks inexpensive: A matte paint finish usually helps. Adding subtle distressing or an antique-style wax effect can also disguise shiny plastic or artificial wood finishes.
The colours look too bright: Print the artwork using a slightly warmer or less saturated setting, or choose vintage-inspired images with naturally faded tones
Budget-Friendly Cottagecore Art Gallery
A simple Dollar Tree frame can go a surprisingly long way when you combine it with vintage-inspired artwork and a few thoughtful finishing touches. This DIY cottagecore fall art project is inexpensive, customisable, and easy enough to recreate whenever you want to refresh your seasonal décor.
Try making one frame as a small autumn accent or create an entire collection for a cozy cottagecore gallery wall. And if you love saving seasonal craft ideas for later, don’t forget to pin this project for your next fall decorating day.
More DIY Fall Decor Craft Ideas
- Wood Bead Pumpkin
- Fall Wood Sign with Dollar Tree Supplies
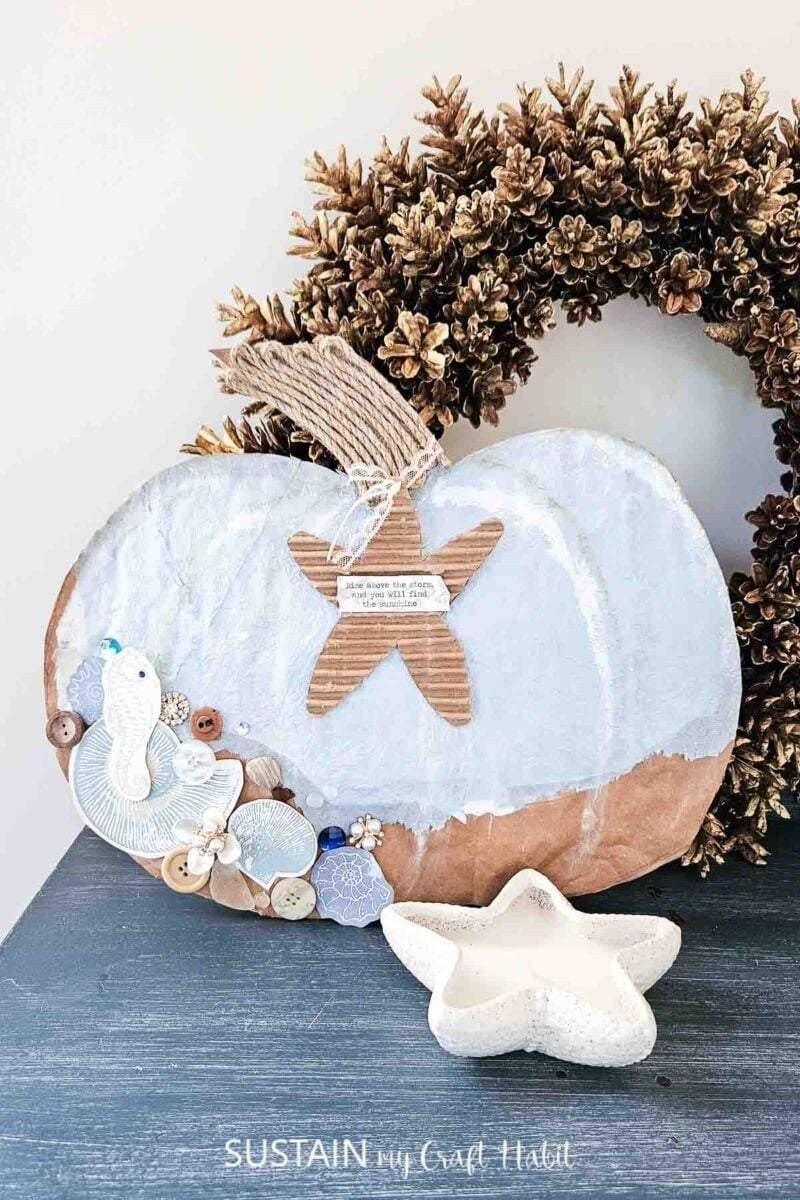
- Coastal Pumpkin
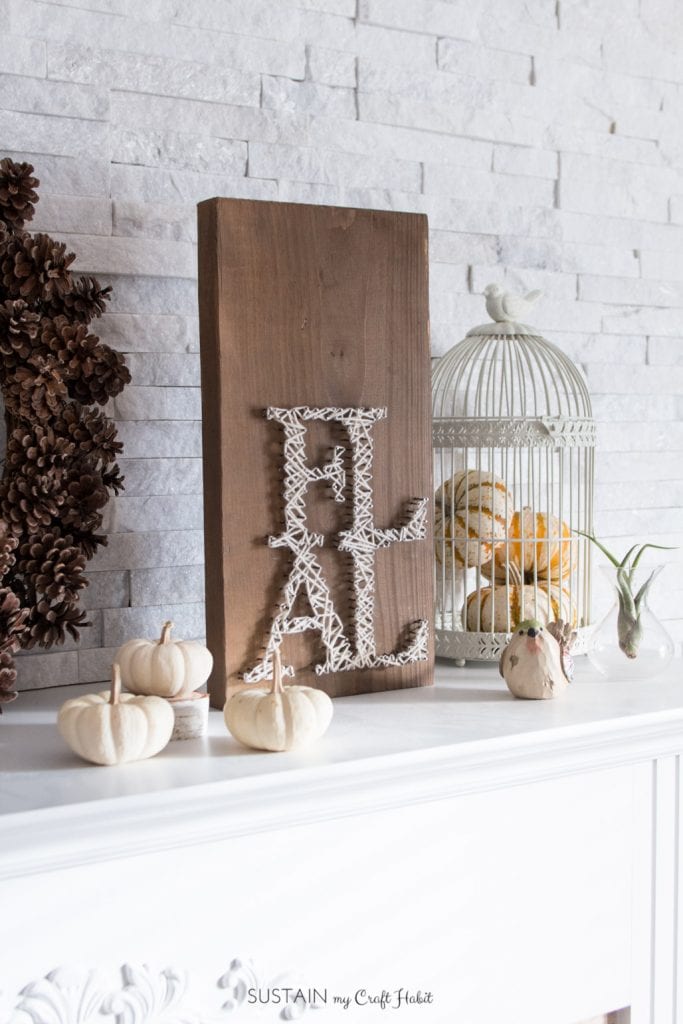
- Fall String Art
- Dollar Tree Bowl Pumpkin



Join our crafting community to find more DIYs and upcycled craft ideas. It feels good to repurpose and upcycle!
Like it? Pin for later!
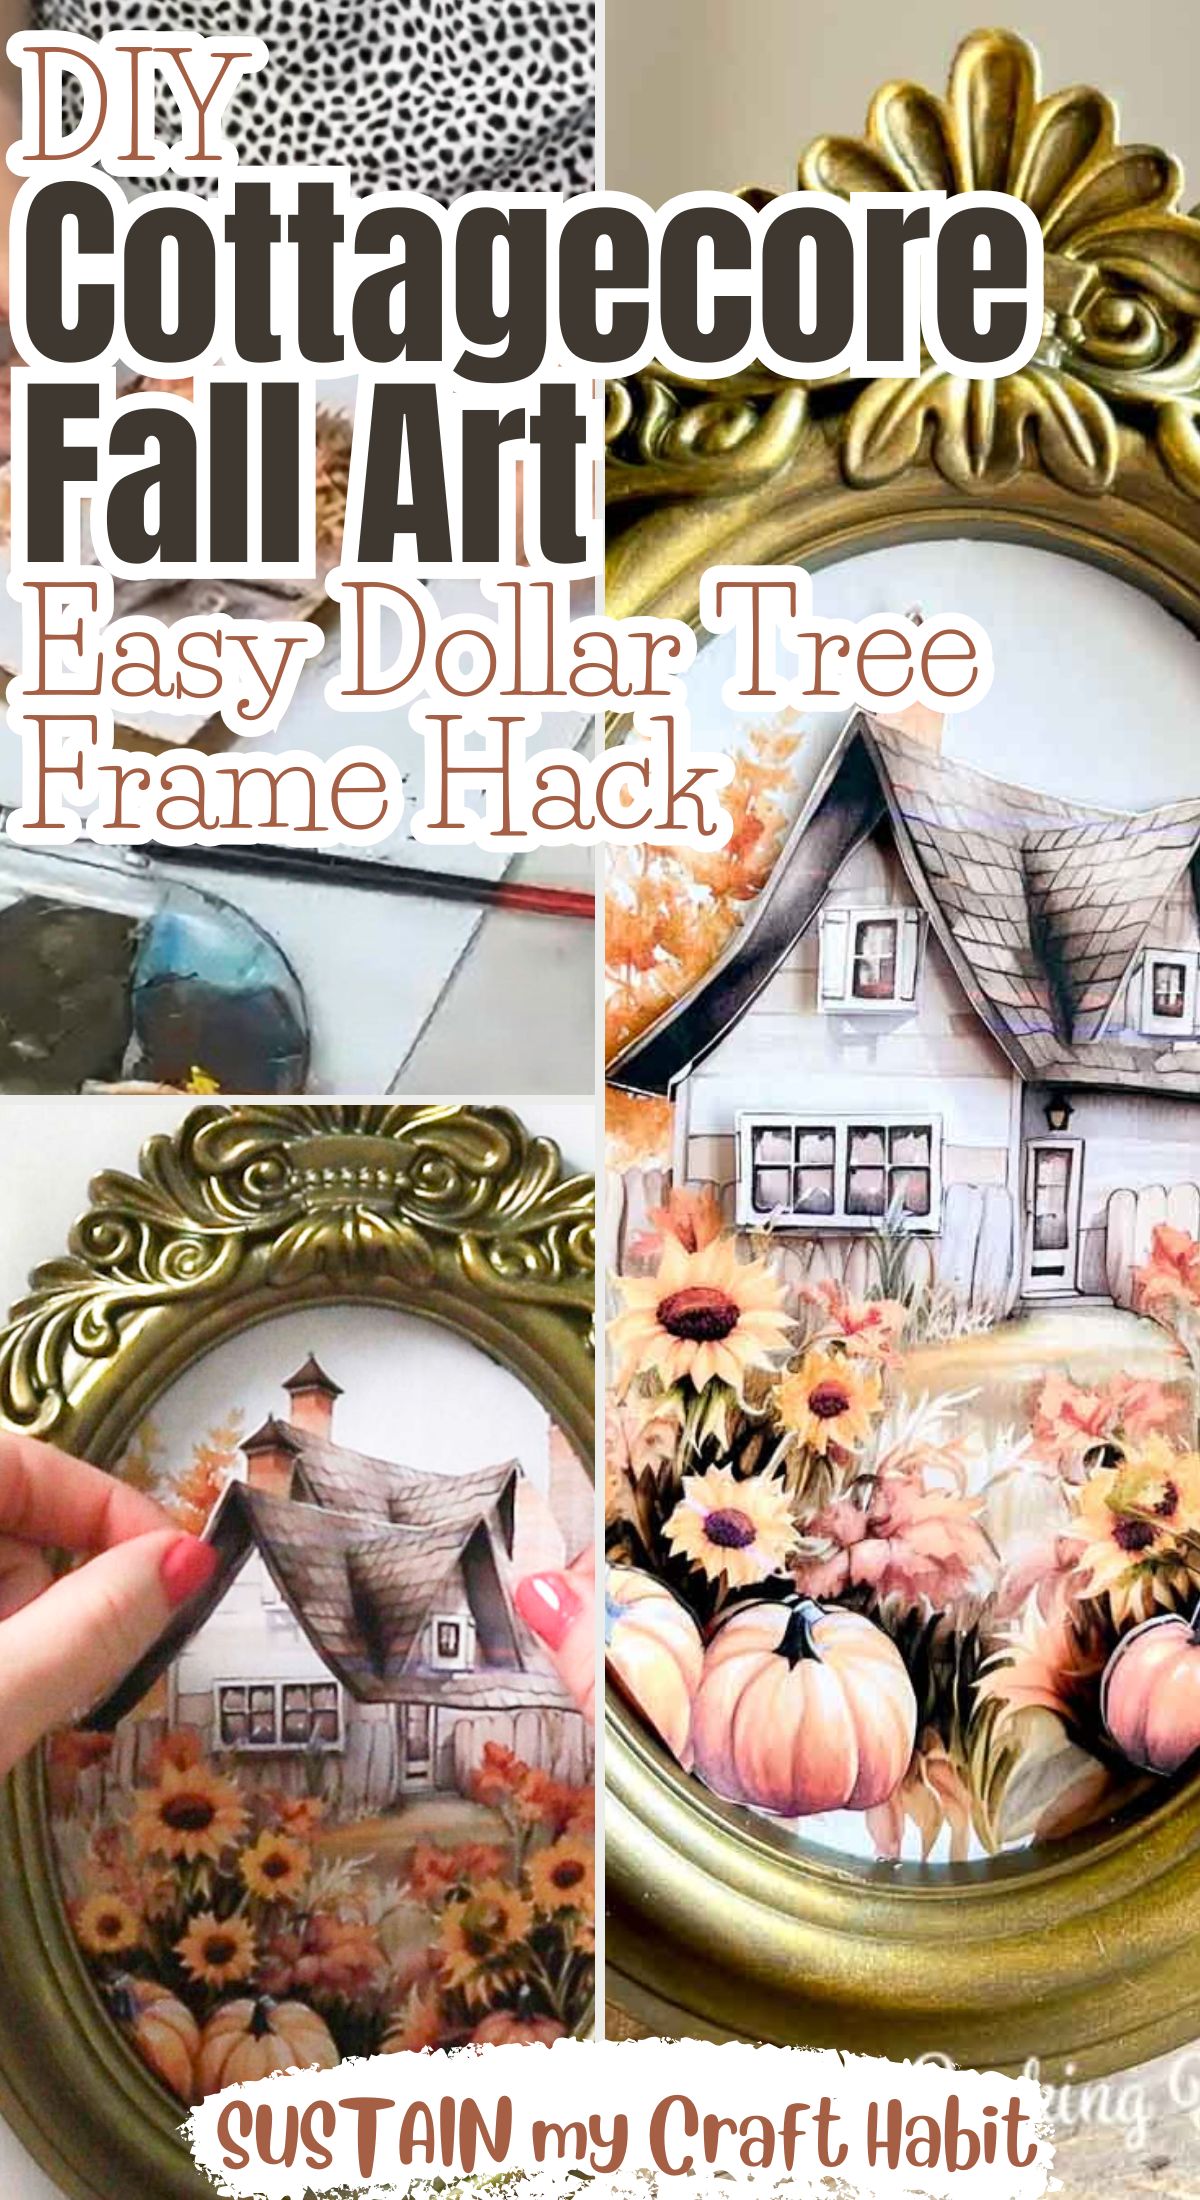
DIY Cottagecore Fall Art: Easy Dollar Tree Frame Hack
Materials
- Fall Art Printable print 2 copies
- Inexpensive picture frame
- Glue dots
- Decoart paint in Black Chalky Finish and Vintage Brass Metallic
- Paint brushes
- Scissors
- Mod Podge
Instructions
- Remove the glass from the picture frame and discard and put the cardboard backing to the side for the time being.
- Apply a coat of black chalky paint to the picture frame and leave it to dry. Once dry, apply a light coating of vintage brass metallic over top.
- Cut one of the printables to fit over top of the cardboard backing tracing the shape on to the printable. Brush on a coat of mod podge over top of the cardboard and then press the same shaped printable on top.
- For the second printable, do a fuzzy cut around some of the details (such as the window wells, roof line, flowers) and use glue dots to give 3-D layering effect. Place the fuzzy cut outs over top of the other printable.
- Replace the image into the frame and display!