Valentine’s Day Felt Envelope Garland
Valentine’s Day felt envelope garland projects are one of those crafts that look far more…
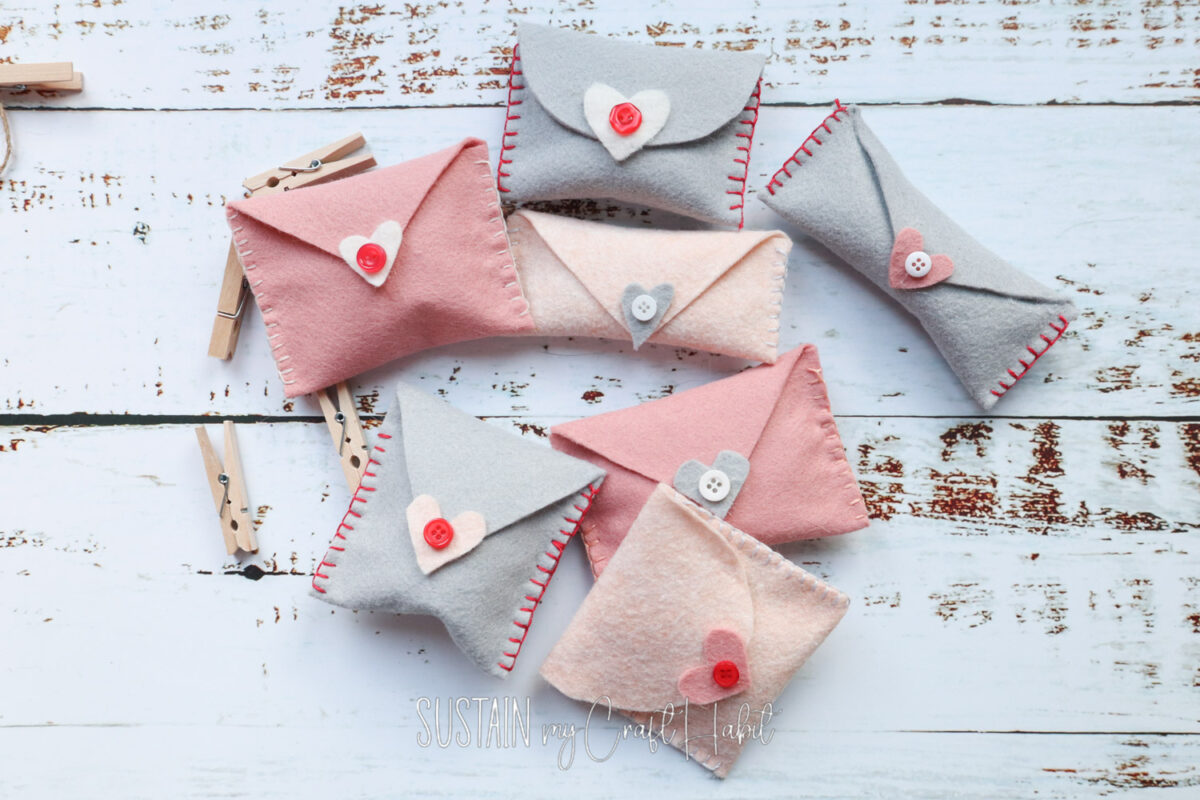
Valentine’s Day felt envelope garland projects are one of those crafts that look far more impressive than they are difficult. If you want festive décor without glitter everywhere or single-use plastic decorations, this one hits the sweet spot.
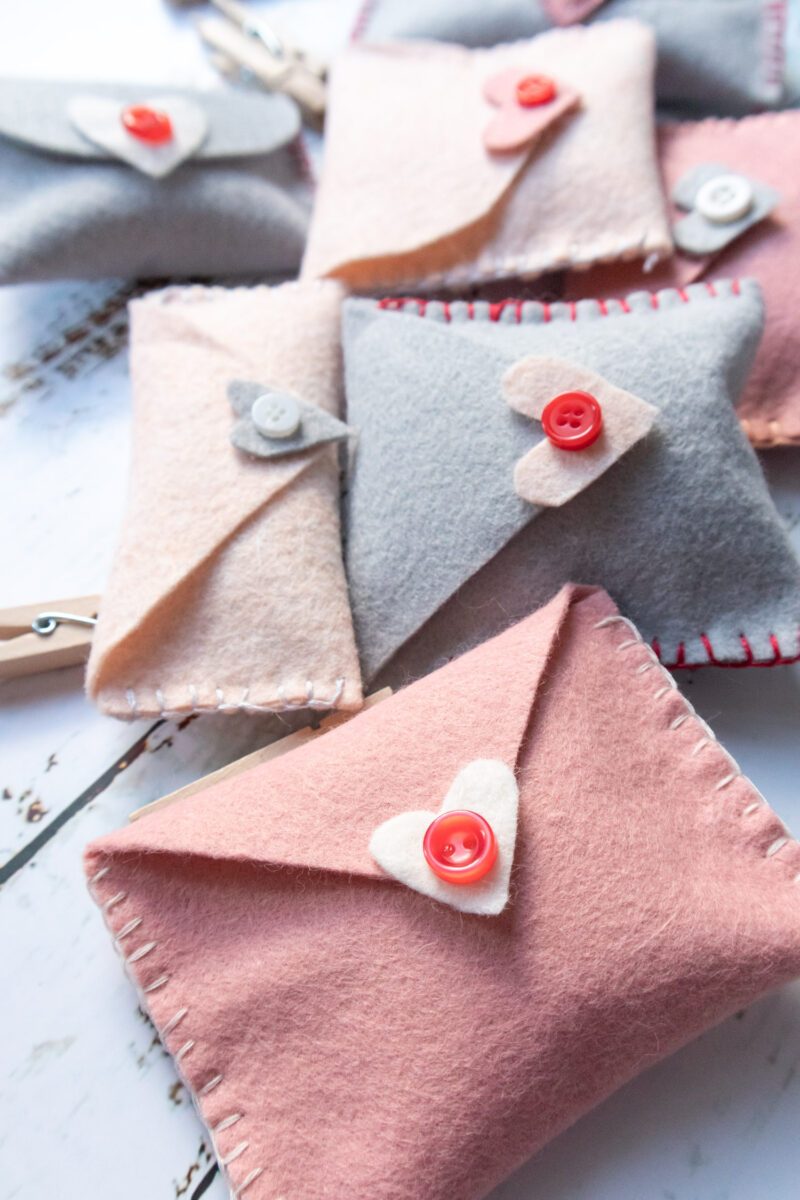
Felt is forgiving, easy to cut, and doesn’t fray, which makes it ideal even if your sewing skills are basic or you’re working glue-only. This garland adds colour, texture, and a handmade feel that shop-bought banners never quite manage. Each little envelope can stay simple or hold notes, names, or tiny surprises, making it decorative and meaningful.
Why You’ll Love This Project
- Uses easy, inexpensive materials you can find online or in most craft shops
- Felt envelopes come together quickly with sewing or fabric glue
- A full step-by-step tutorial that’s beginner-friendly
- Works as Valentine’s Day décor, party styling, or a sweet handmade gift idea
- Reusable year after year with different messages or colour themes
Want to receive a ton of inspiration and money saving ideas for decorating, gift-giving and crafting? Join HERE!
Materials Needed
- Felt sheets in assorted colors (light pink, creams)
- Fabric Scissors
- Hot glue gun with clear glue sticks
- Red buttons (optional)
- Polyfill
- Twine or narrow ribbon
- Wooden clothespin, small size
- Embroidery sewing needle and thread
How to Make a Valentine’s Day Felt Envelope Garland
Cut pieces of felt for the envelopes in varying sizes. We cut ours approx. 3-4” wide x 6-8” long.
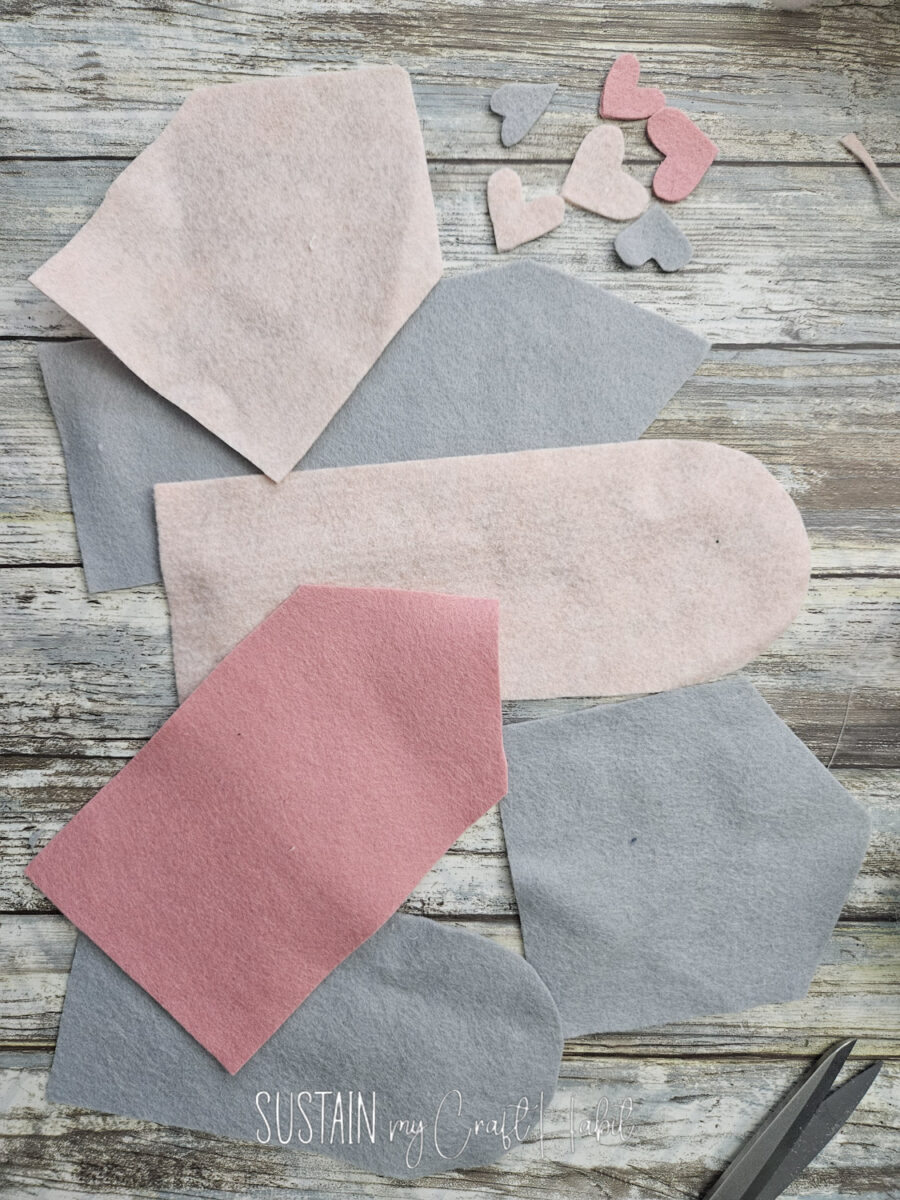
At one end, cut a “V” shape or rounded edge to mimic an envelope opening.
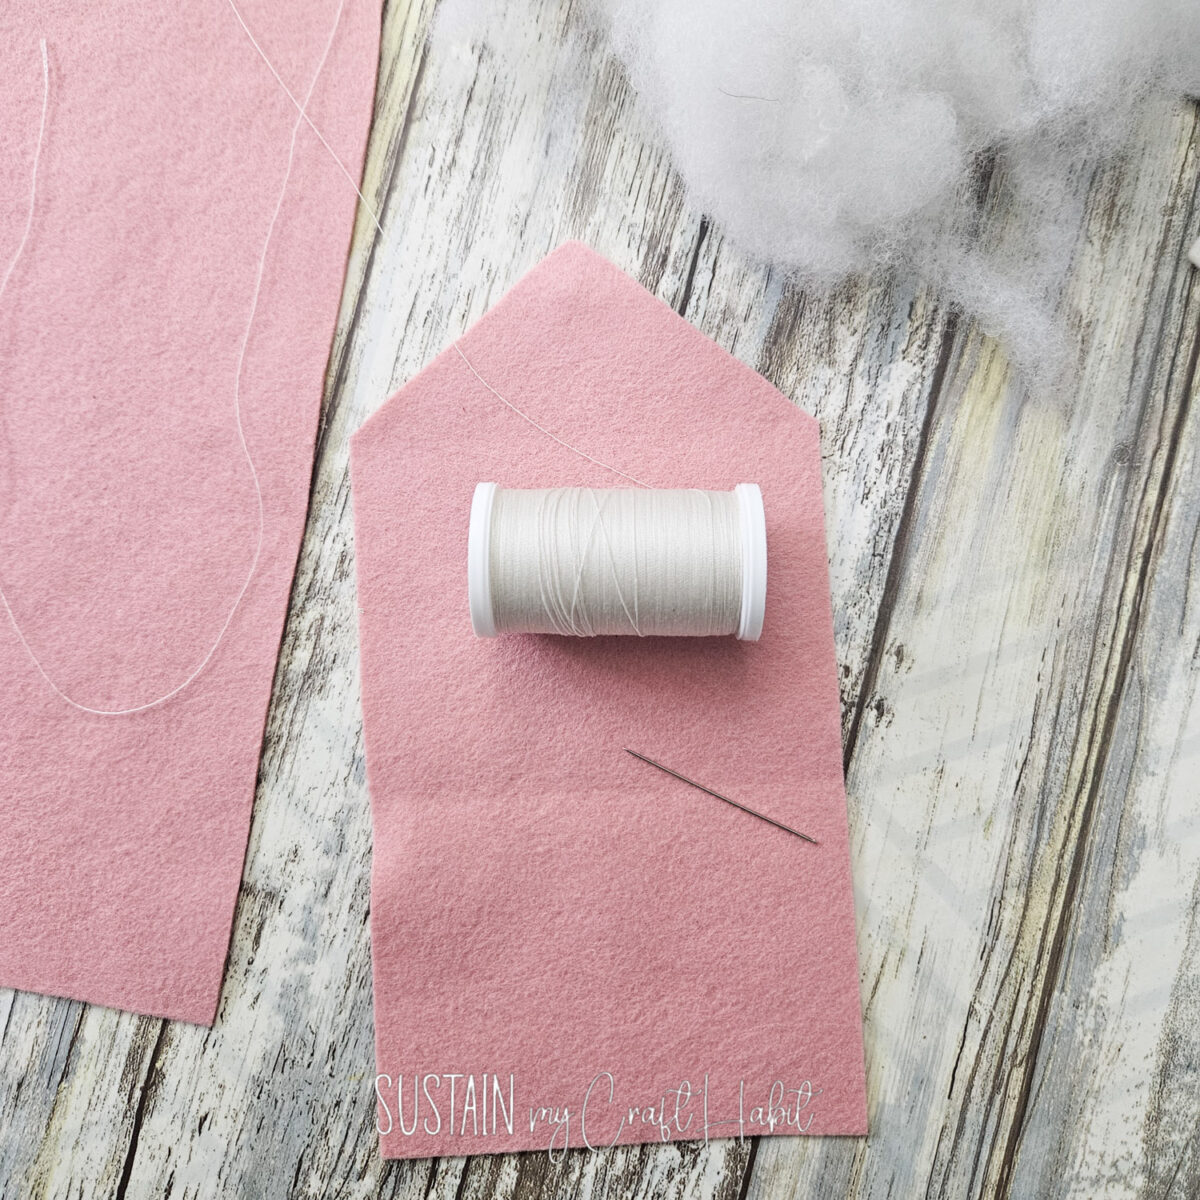
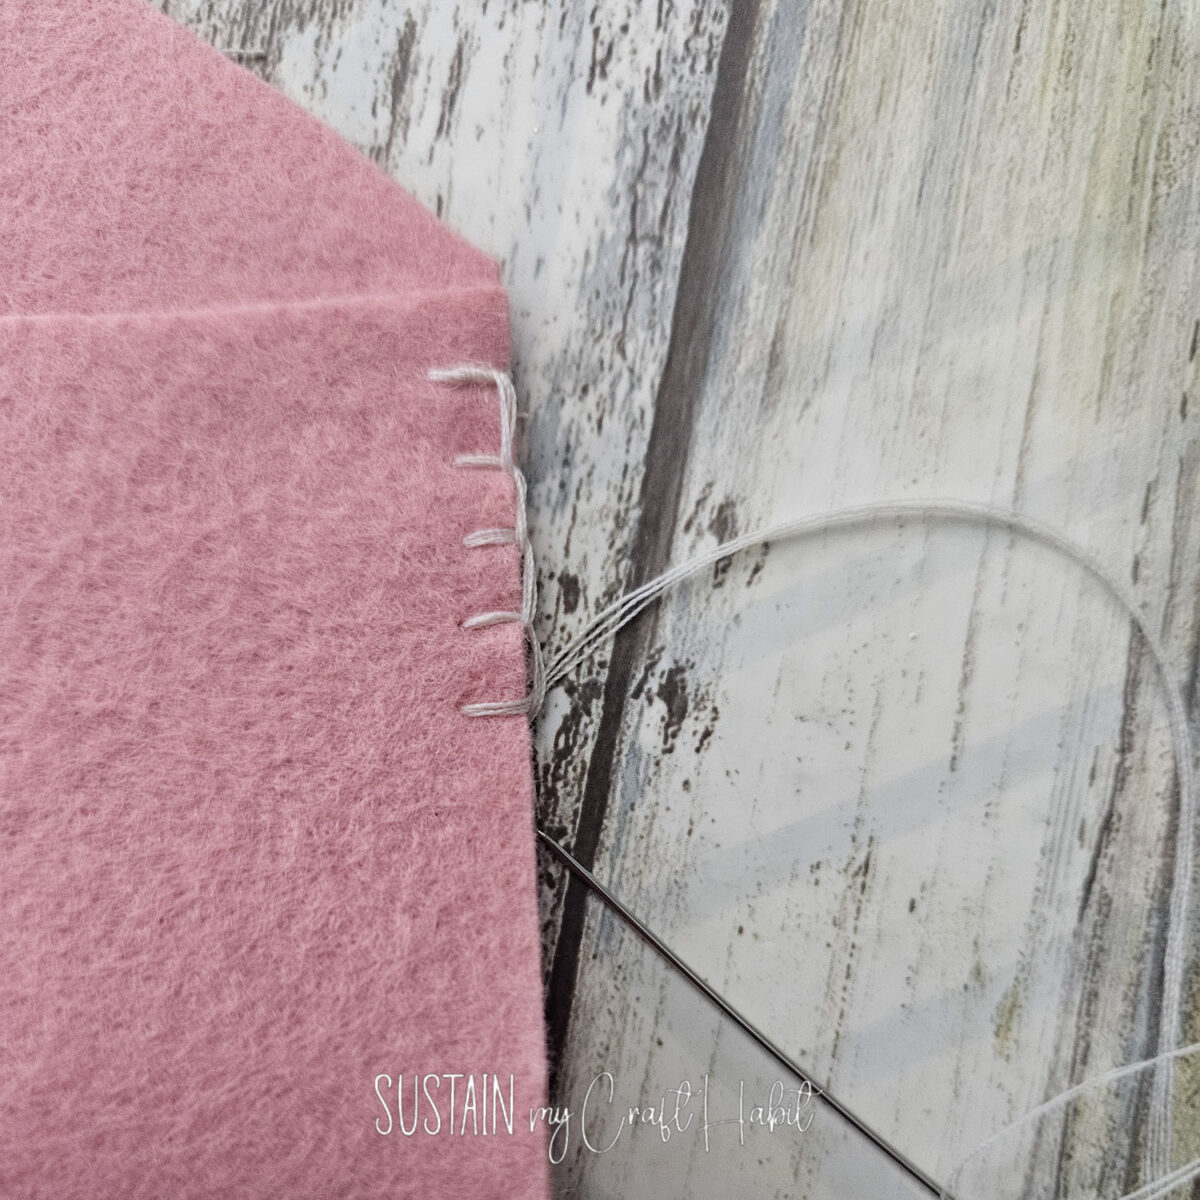
Fold bottom end over to form the envelope sleeve and blanket stitch the sides together with a sewing needle and 4 strands of thread/floss in a coordinating color.
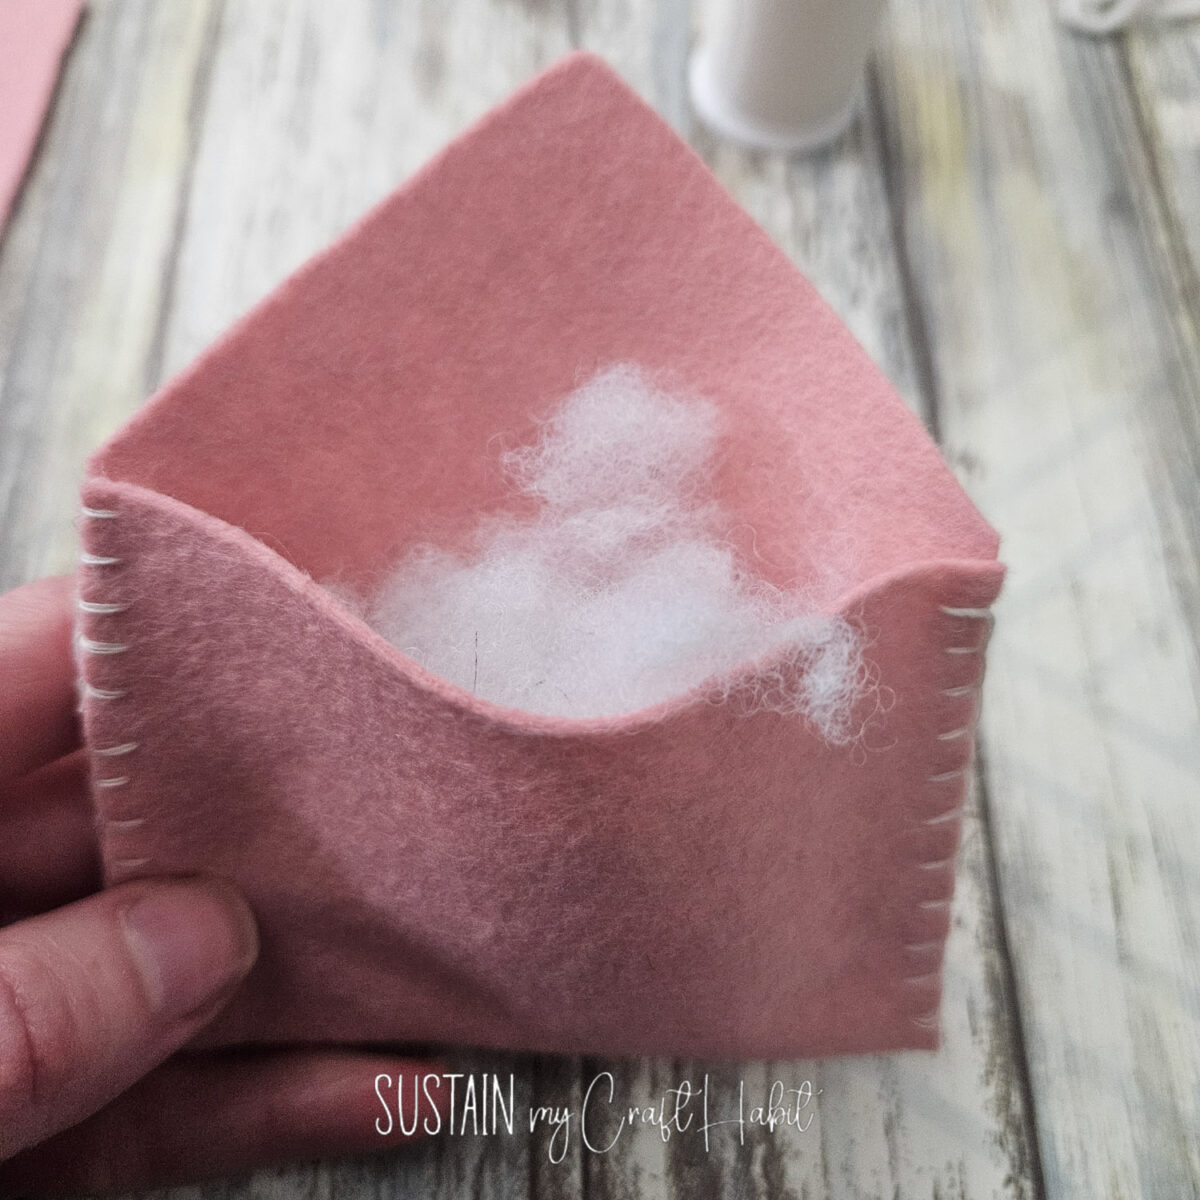
Stuff a small bit of batting into the sleeve and fold over the envelope opening. Glue it in place to hold.
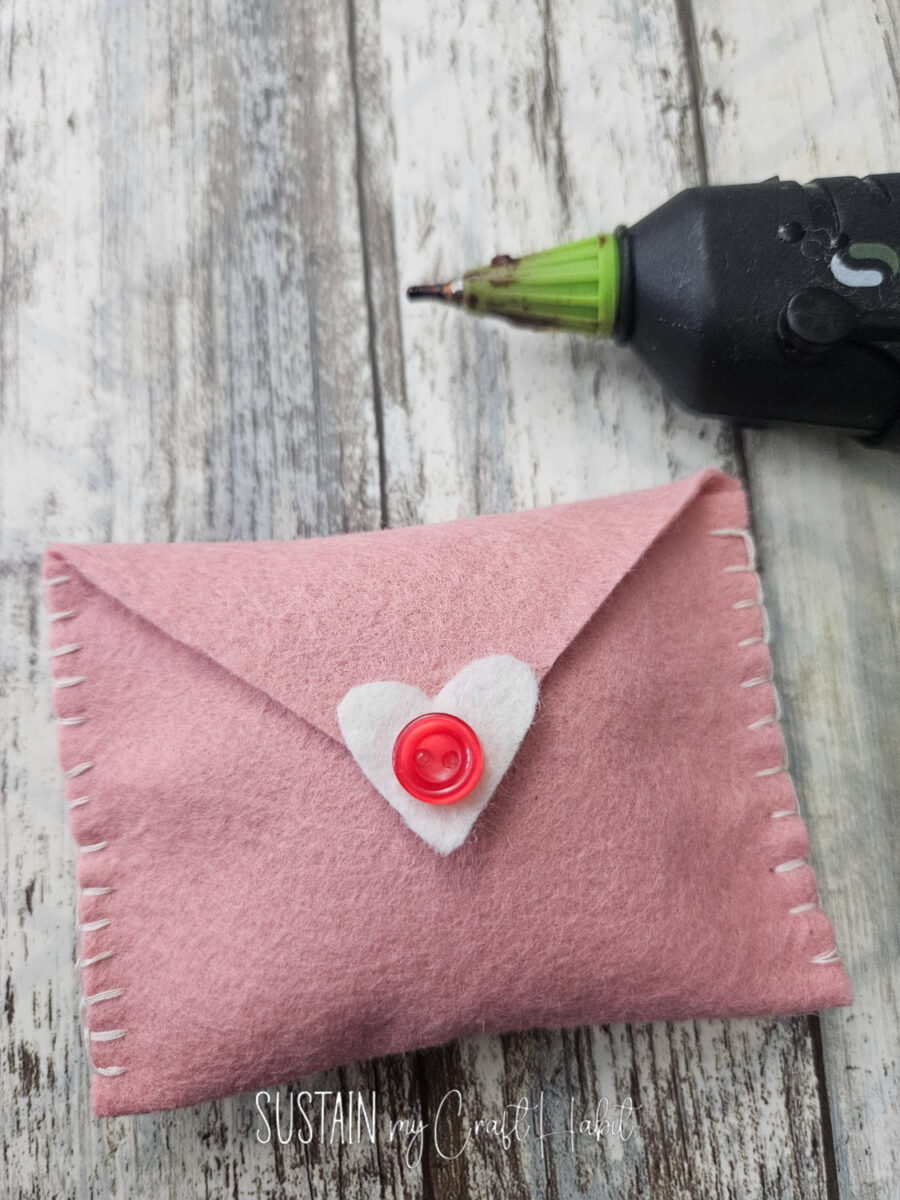
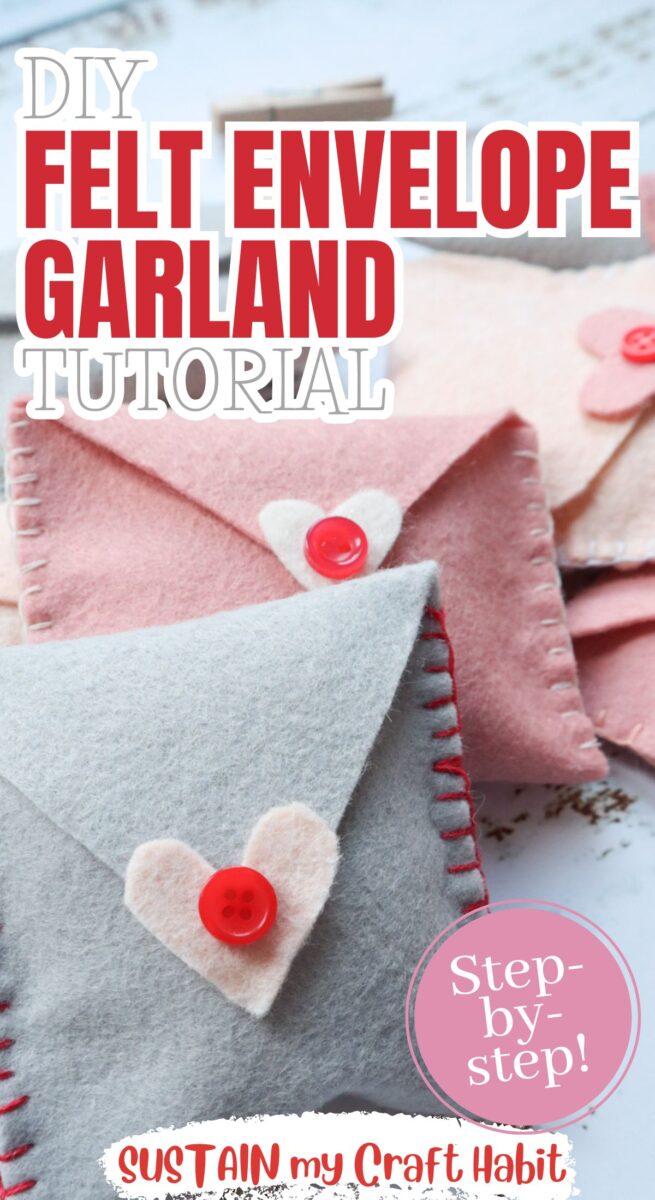
Cut various sizes of felt hearts and glue one to the center of the envelope.
Lastly, glue a small button in the middle of the heart.
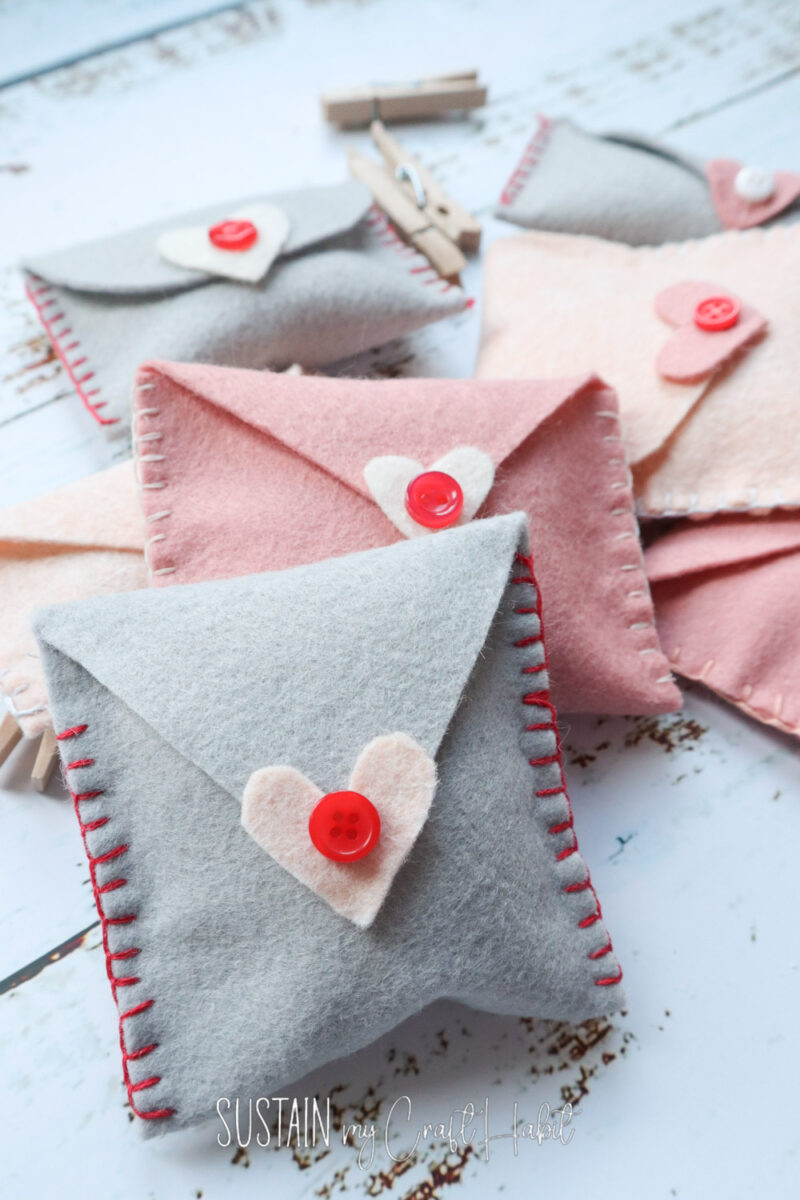
Cut a long piece of twine or ribbon to the length of your garland and begin placing the felt envelopes along the length. Secure in place with a wooden clothespin.
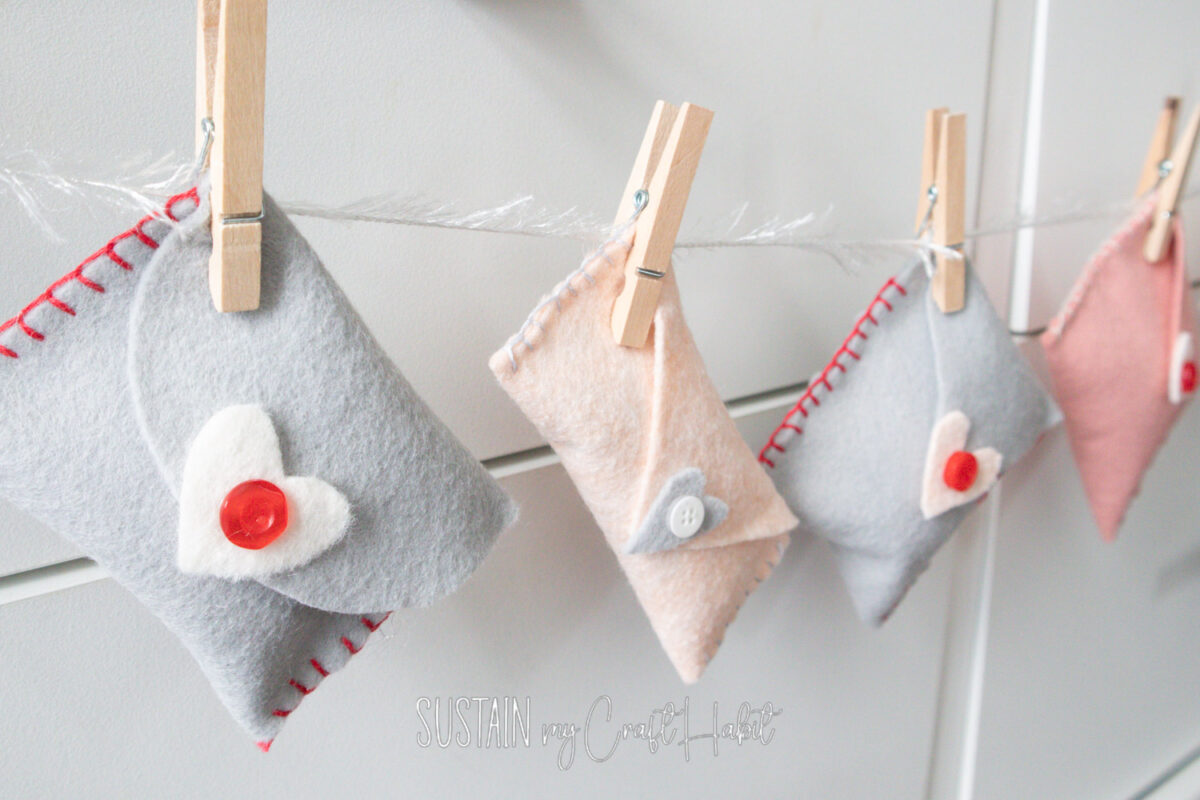
Hang garland to enjoy!
Tips, Variations & Troubleshooting
Colour & Size Variations
Classic red and pink always work, but felt envelope garlands look great in neutrals, pastels, or even modern monochrome. Smaller envelopes feel delicate and subtle, while oversized ones create a bold statement. Mixing two sizes on the same string adds visual interest without extra effort.
Making It No-Sew
No sewing machine? No problem. Fabric glue or hot glue works well for felt. Use a thin line of glue and press firmly until set. If corners lift, add a tiny dot of glue rather than redoing the whole edge.
How to Display / Style Your Project
Hang your Valentine’s Day felt envelope garland across a mantel for an easy seasonal home décor idea. It also works beautifully along a staircase banister or above a window frame.
For a gift décor idea, string the envelopes on twine and tuck love notes or treats inside, then wrap the entire garland as part of the present. Another favourite option is using mini clothespins to clip envelopes onto fairy lights for a cosy evening glow.
Bringing Warmth and Color To Your Home
This felt envelope garland brings warmth, colour, and a personal touch to Valentine’s Day decorating without feeling overdone. It’s quick to make, easy to customise, and flexible enough to suit any space or style.
Once you’ve made one, it’s hard not to start planning another colour combo. If you try it, don’t forget to save or share your version—you’ll want the idea handy next year too.
More DIY Garlands
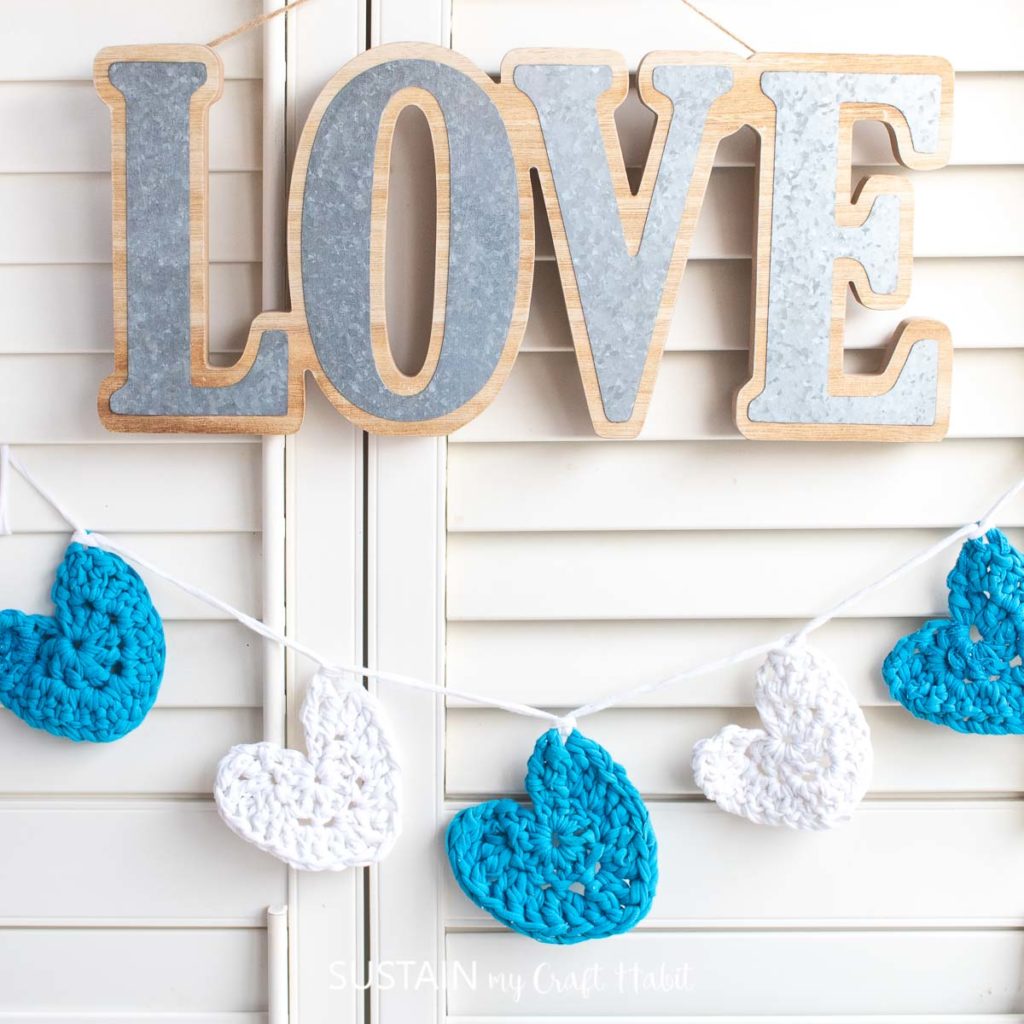
- DIY Crochet Heart Garland
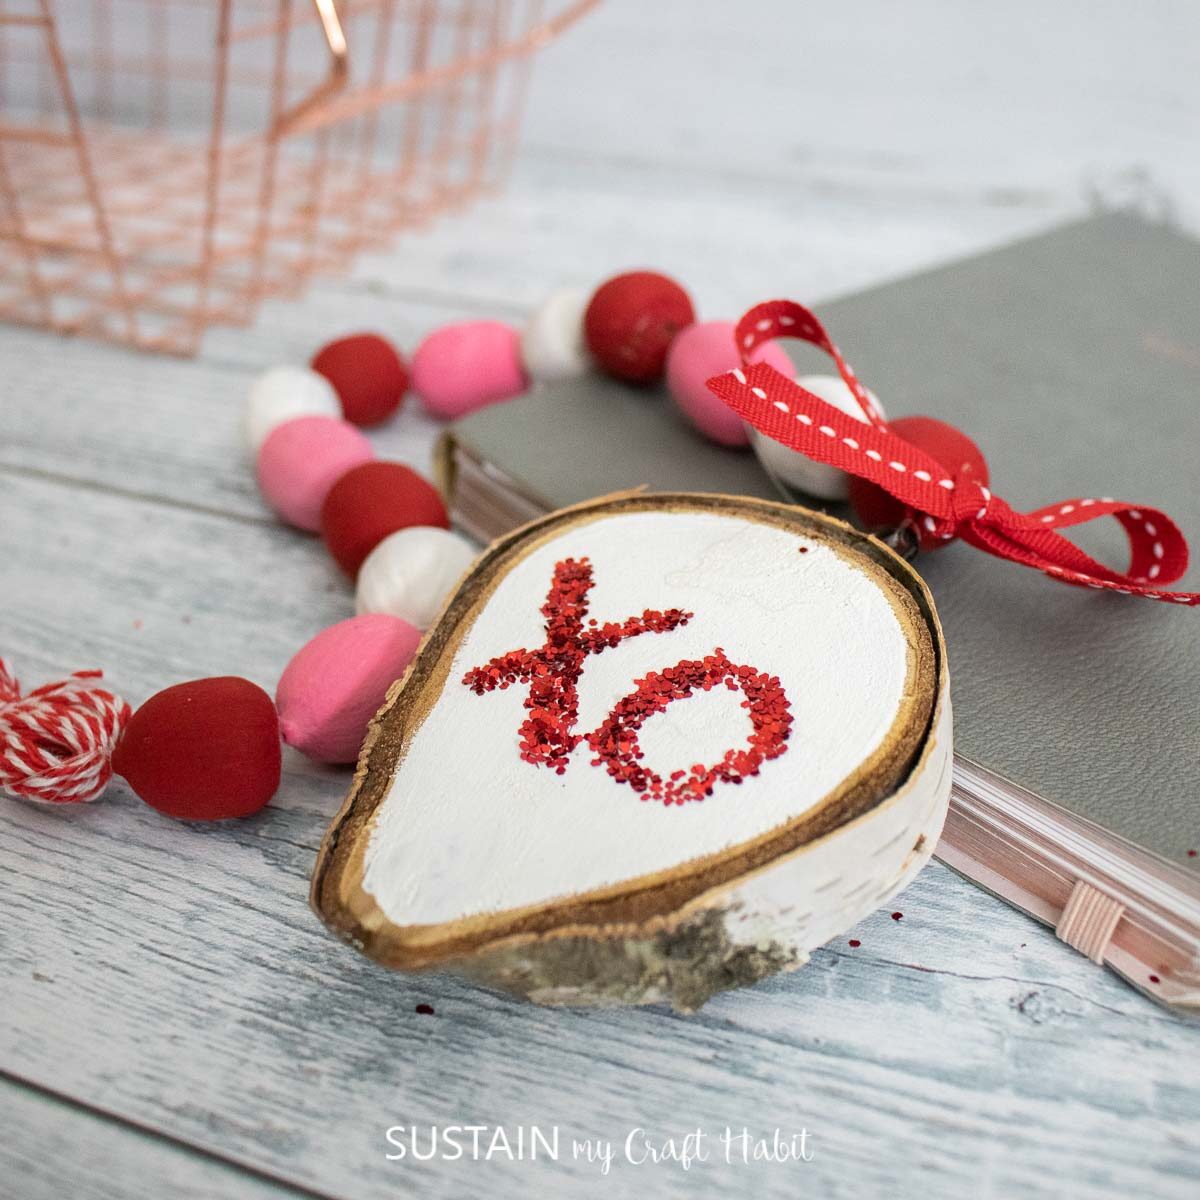
- Valentine’s Day Acorn Garland
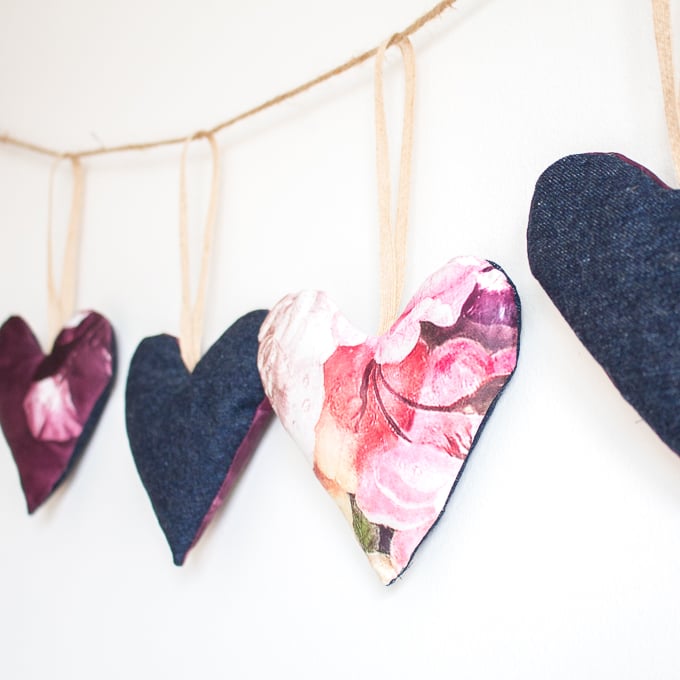
- Heart Garland using Scrap Fabric
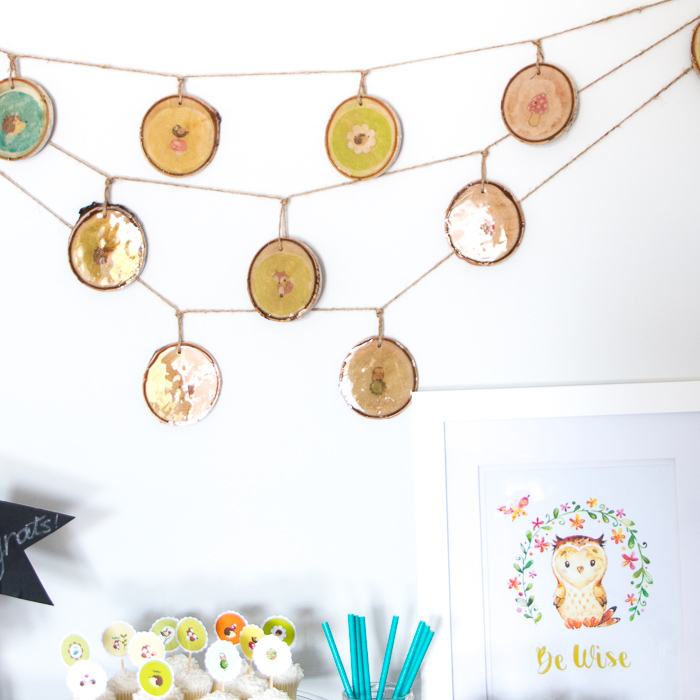
- Woodland Themed Wood Slice Garland
- How to Make an Acorn Garland
Let’s stay in touch! Subscribe for our latest sewing patterns, tutorials and tips.
Like it? Pin for later!

Valentine’s Day Felt Envelope Garland
Materials
- Felt sheets light pink, creams
- Fabric Scissors
- Hot glue gun with clear glue sticks
- Red buttons optional
- Polyfill
- Twine or narrow ribbon
- Wooden clothespin small size
- Embroidery sewing needle and thread
Instructions
- Cut pieces of felt for the envelopes in varying sizes. We cut ours approx. 3-4” wide x 6-8” long.
- At one end, cut a “V” shape or rounded edge to mimic an envelope opening.
- Fold bottom end over to form the envelope sleeve and blanket stitch the sides together with a sewing needle and 4 strands of thread/floss in a coordinating color.
- Stuff a small bit of batting into the sleeve and fold over the envelope opening. Glue it in place to hold.
- Cut various sizes of felt hearts and glue one to the center of the envelope.
- Lastly, glue a small button in the middle of the heart.
- Cut a long piece of twine or ribbon to the length of your garland and begin placing the felt envelopes along the length. Secure in place with a wooden clothespin.
- Hang garland to enjoy!