DIY Leather Phone Sleeve
I’ve been wanting to make a leather phone sleeve for quite some time so I’m excited to finally share this tutorial on how to make your own using a Cricut cutting machine.
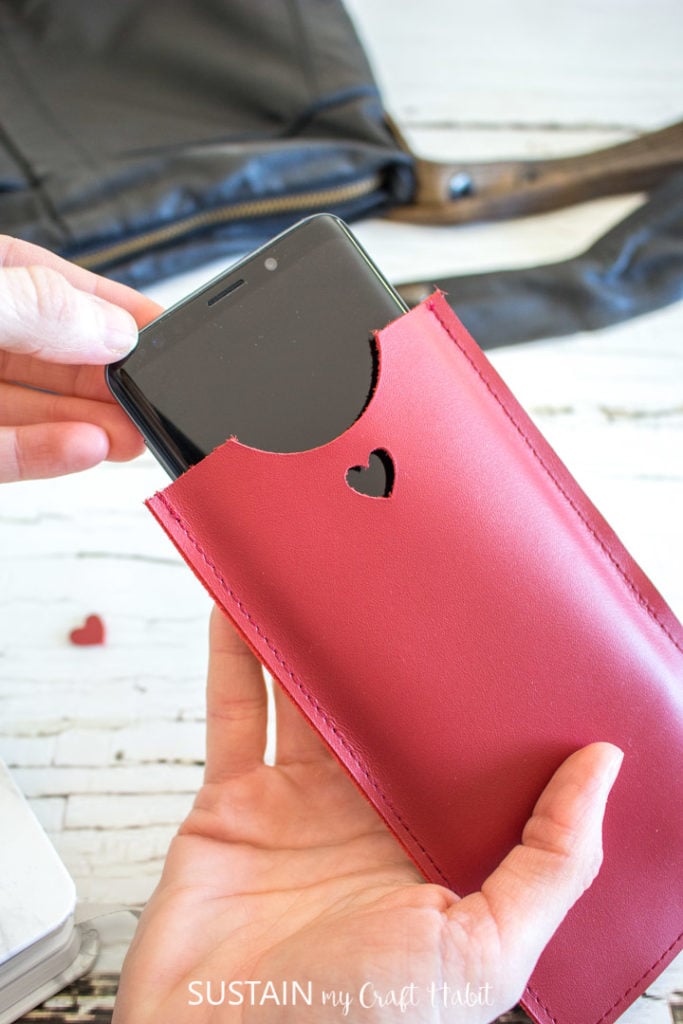
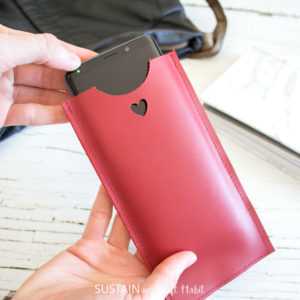
Leather Cell Phone Sleeve with a Heart Cutout
I find my bag which holds all my must haves a bit of a bottomless pit. All items including my phone get tossed inside especially when I’m in a rush and when I go to find them, it’s a scramble. I’m hoping this leather phone sleeve will ensure I can grab my phone in a hurry when I need it!
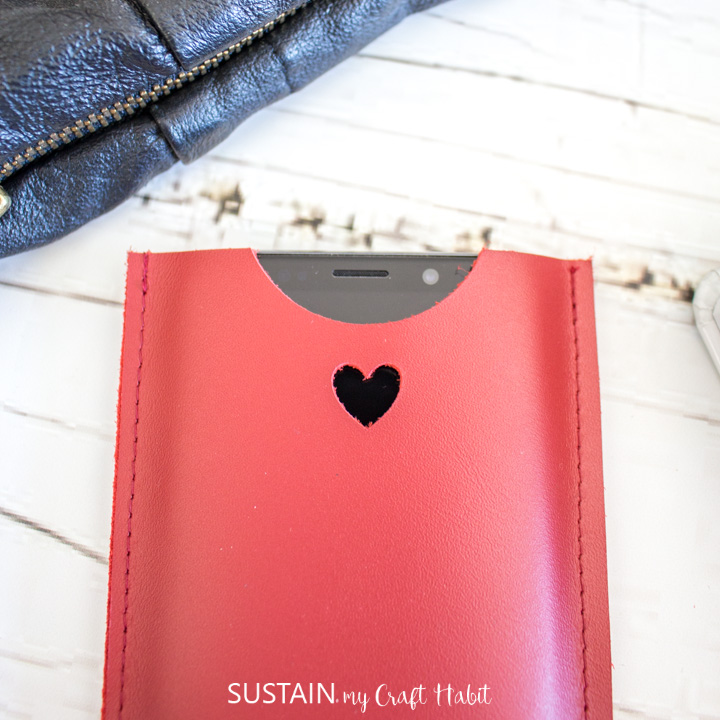
Using the Cricut Maker to cut leather for the first time was a little nerve wracking to be completely honest. I worried I would ruin the beautiful and flawless genuine leather which to buy new is not cheap. There are two options when it comes to blades that can cut leather: deep point blade and knife blade.
Cutting Leather with Knife Blade
The genuine leather is set to cut ONLY with the deep point blade (which I don not have). To use the knife blade, you actually have to “trick” the cutting machine and this is how you do it:
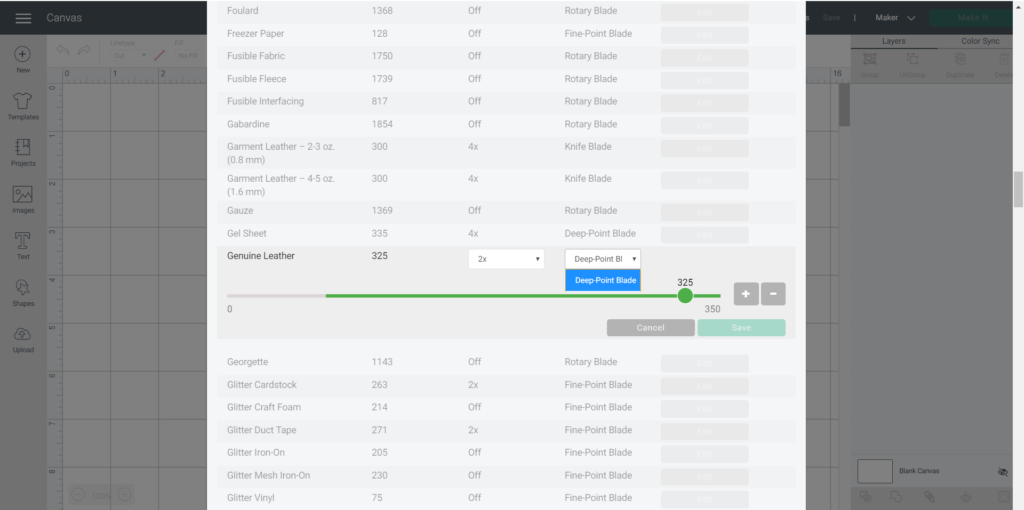
- With the cutting machine connected, go to FILE tab in Design Space and select “Manage Custom Materials”.
- Scroll through the materials list until you reach the leather section to see the options.
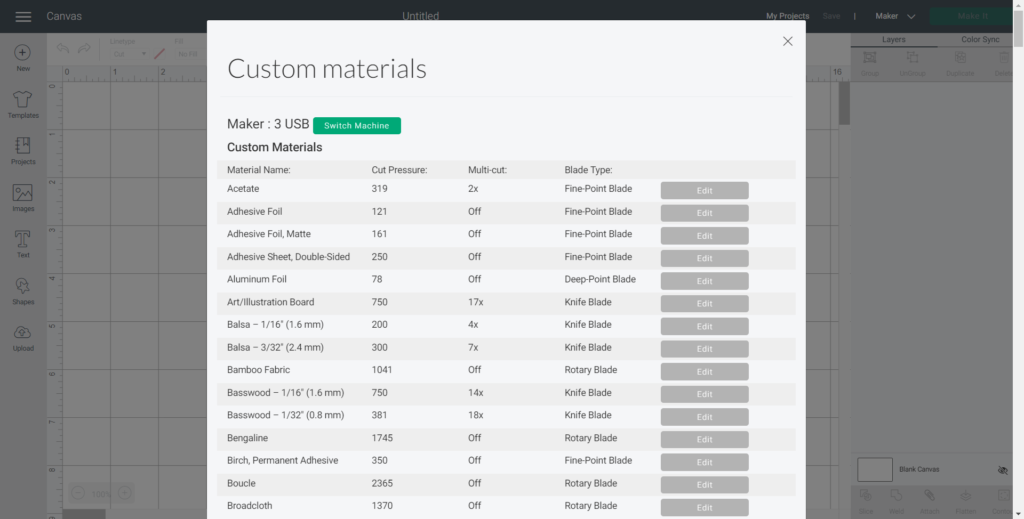
- Genuine Leather requires the use of a deep point blade and cannot be manually changed. Look at the settings and search for another material with the same settings but one that uses the knife blade instead.
- As you can see, the garment leather is the closest match to genuine leather but can be cut with the knife blade.
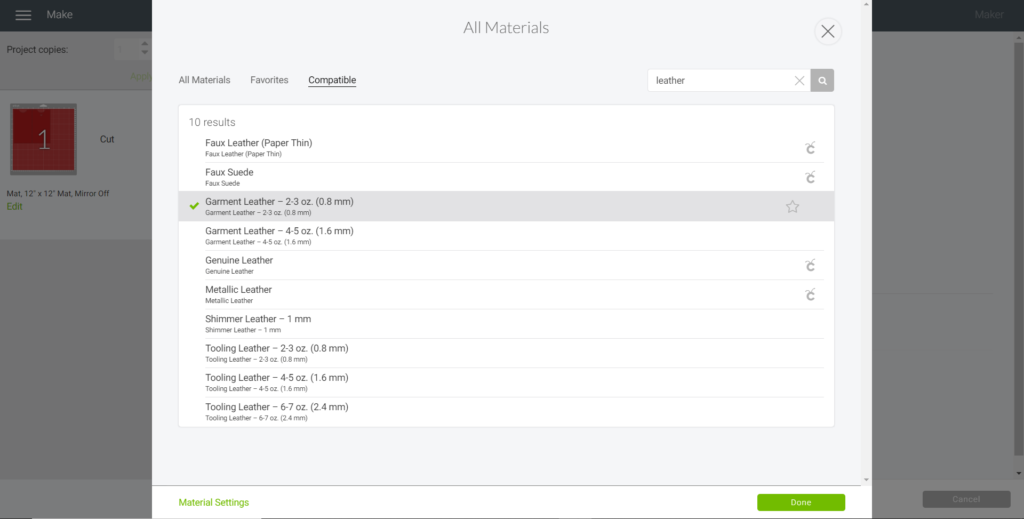
- When you go to cut the leather, select “garment leather” from the list of material options. This is how you trick the cutting machine to use the knife blade.
We’ll be sharing a video of this soon!
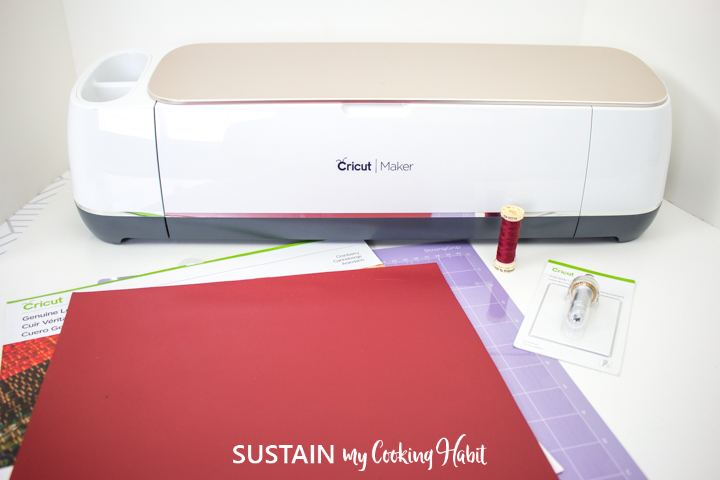
Materials Needed:
Disclosure: This post continues affiliate links for your shopping convenience. You can find our full disclosure policy here.
- Cricut Genuine leather, Cranberry
- Cricut Maker
- Strong Grip Mat
- Knife Blade
- Scotch tape
- Sewing Machine with leather presser foot and matching thread
- Scissors
How to Make a Leather Phone Sleeve:
Creating the Phone Sleeve Pattern
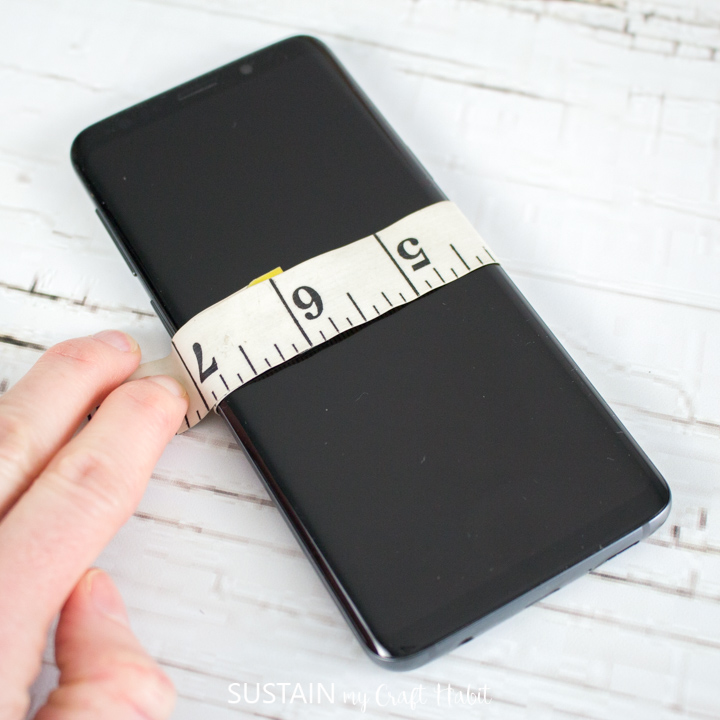
Before you begin you’ll need to measure your phone to determine the size of the phone sleeve pattern.
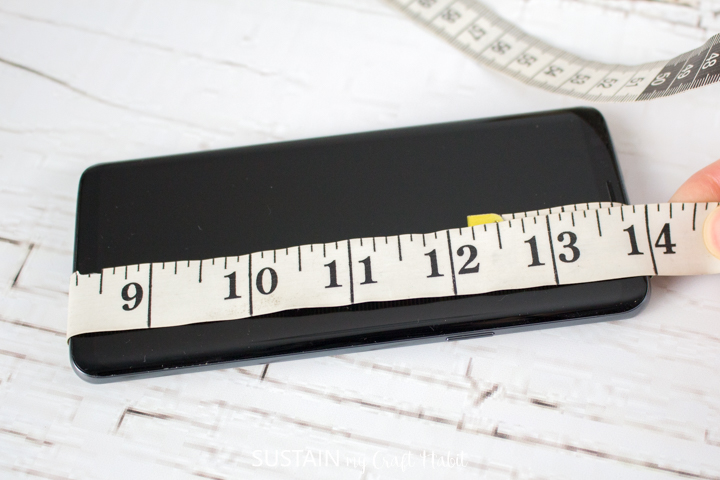
Using a measuring tape, wrap it around the length and width of the phone and record the measurement. If you don’t have a measuring tape, you can use a string to wrap around the phone and then use a ruler to measure the string. Record the measurements.
Tip: if your phone has a protective case be sure to measure around the case as well to be sure the phone sleeve will fit.
Open a new project in Design Space.
Insert a rectangle shape on to the canvas and adjust the size of the rectangle for your phone sleeve: take the length circumference and width circumference and divide the measurements by two. Add an extra 1/2″ to the WIDTH for ease when inserting and removing the phone as well as for the seam allowance.
In my case, I made the rectangle shape 6.5” high x 3.5” wide.
Insert a circle shape measuring 1.75” wide.
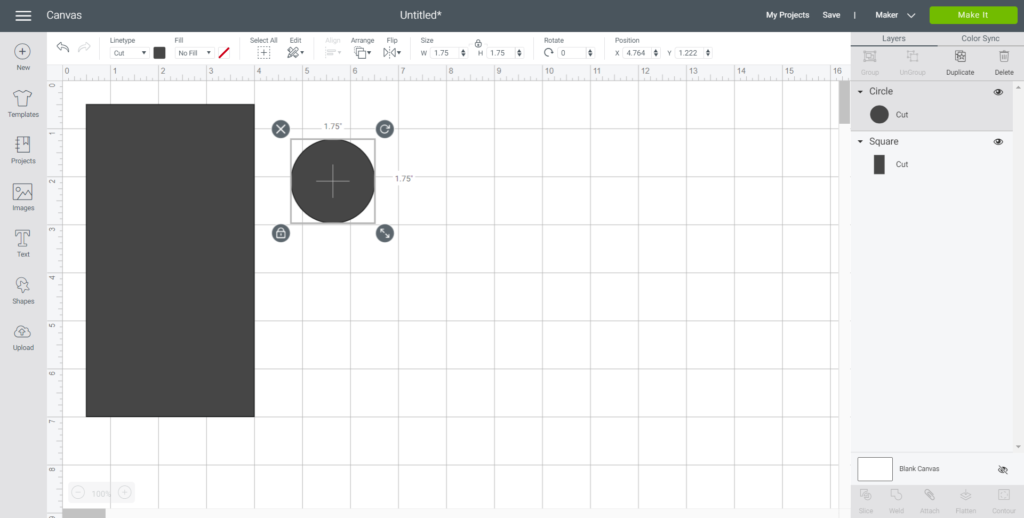
Place the circle shape overlapping the top of the rectangle directly in the center. Have them overlapping by approx. ½” as shown.
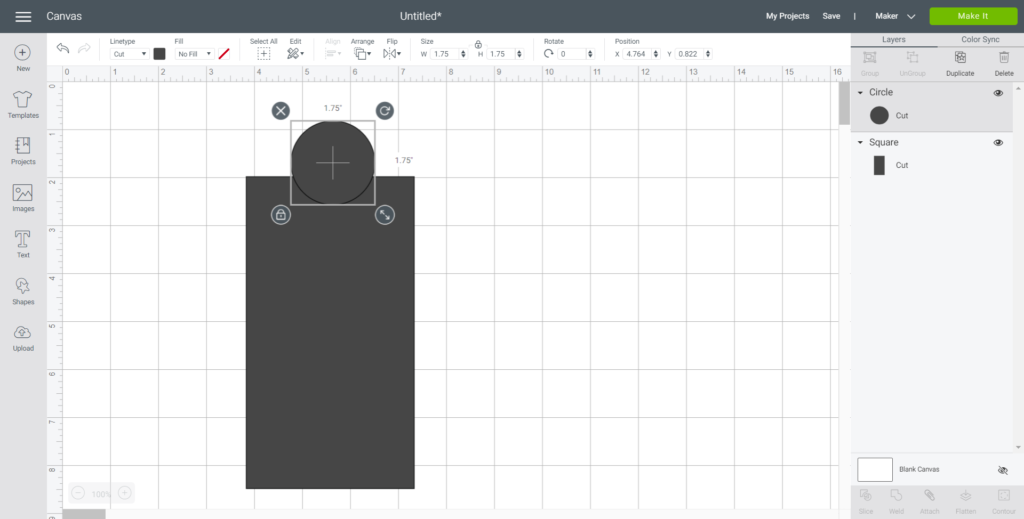
Select both shapes together and click on the “Slice” button.
Click on the rectangle shape and move it away from the circle shape leaving the cut out behind.
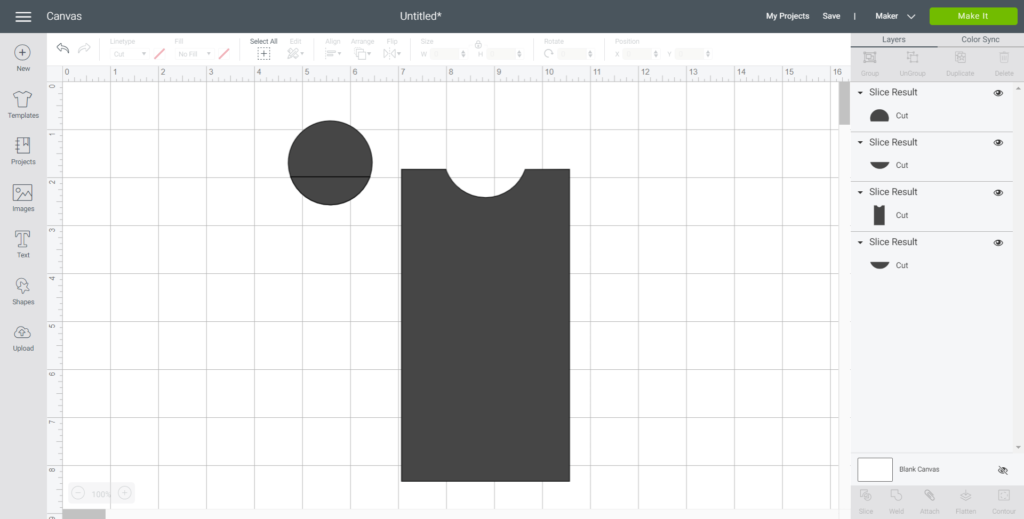
Delete the other shapes.
Duplicate the rectangle shape.
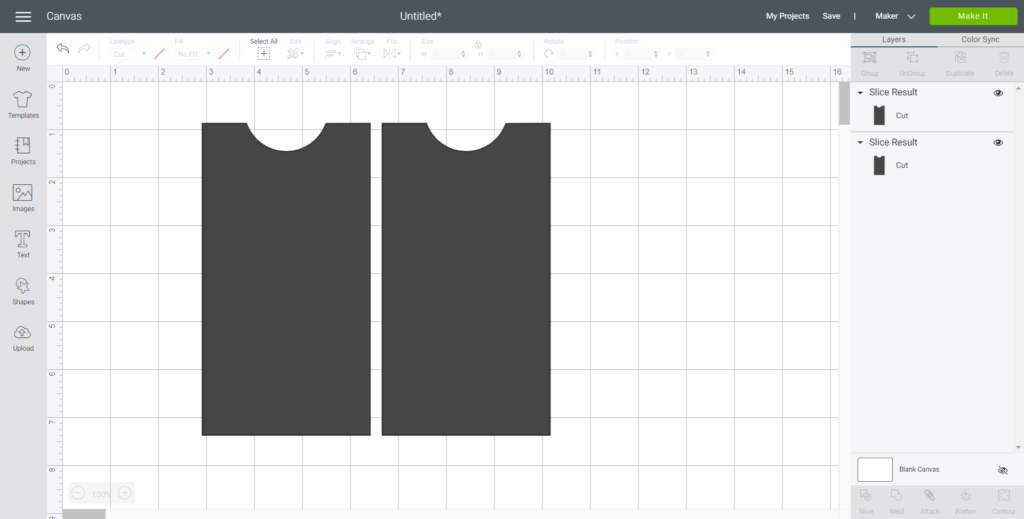
Insert a heart shape and adjust size to ½” high. Place it in the center just below the cut out.
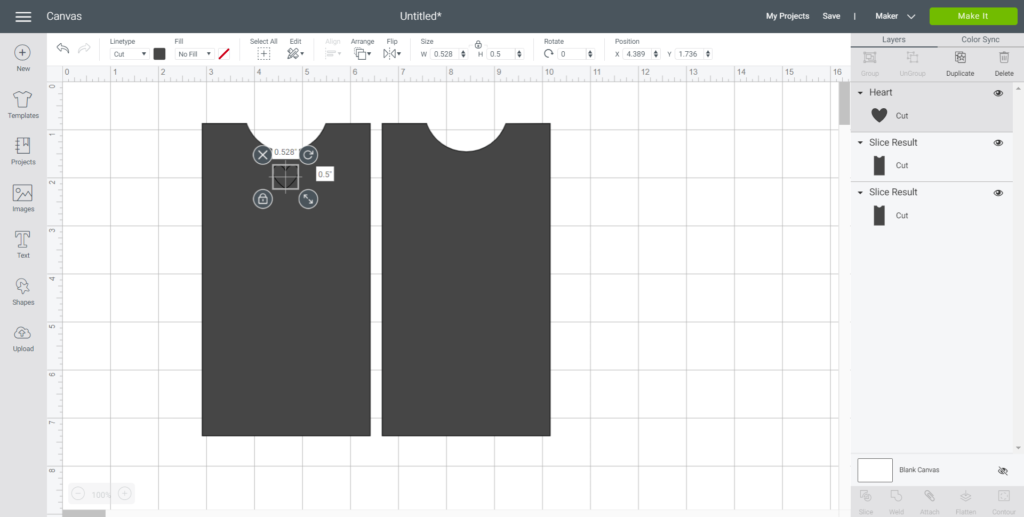
Select this shape along with the heart shape to cut out the heart using the slice tool again. Discard the heart shape.
Change the shape color to match the material color, in my case it’s cranberry.
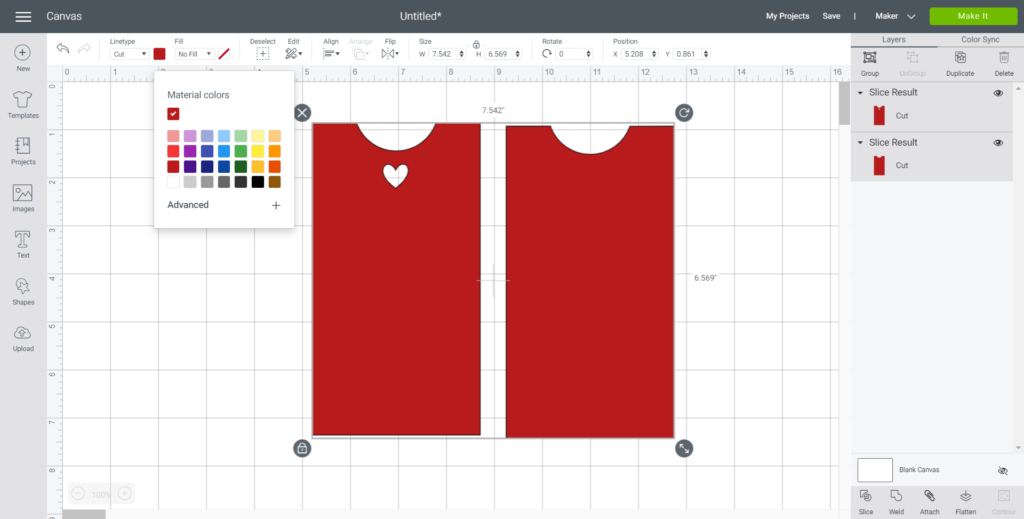
Cutting the Phone Sleeve
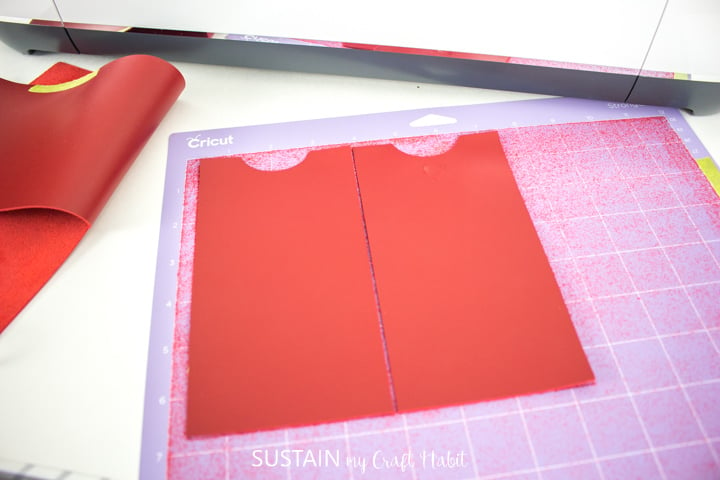
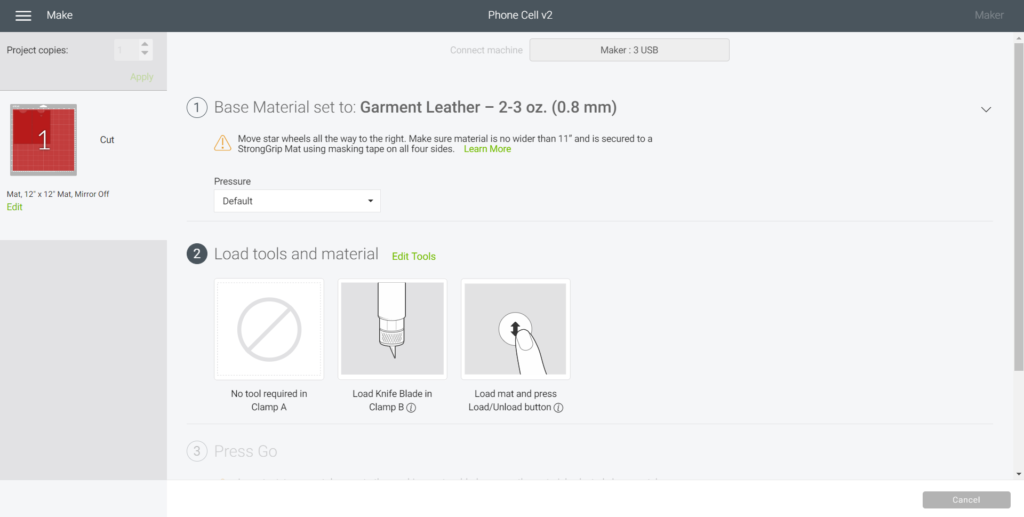
Click on Make It to view shapes on mats.
Change material type to “garment leather”, this has the closest settings to genuine leather but allows the use of the knife blade (instead of the deep point blade). As I mentioned above, I only have a knife blade and not a deep point blade, this step is necessary.

Move the star wheels to the right side.
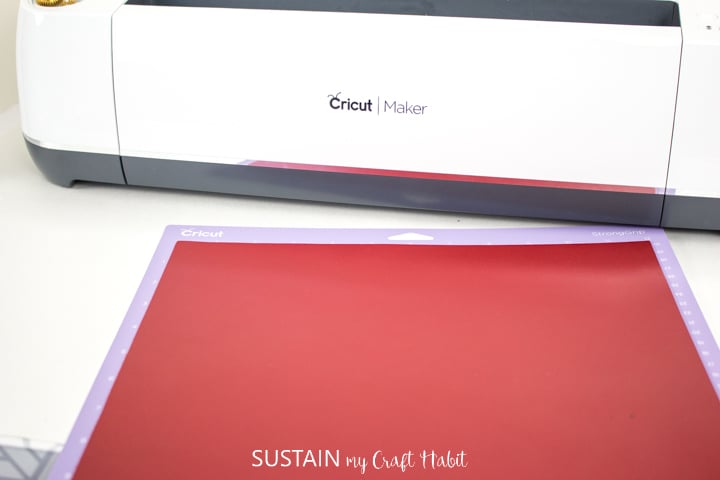
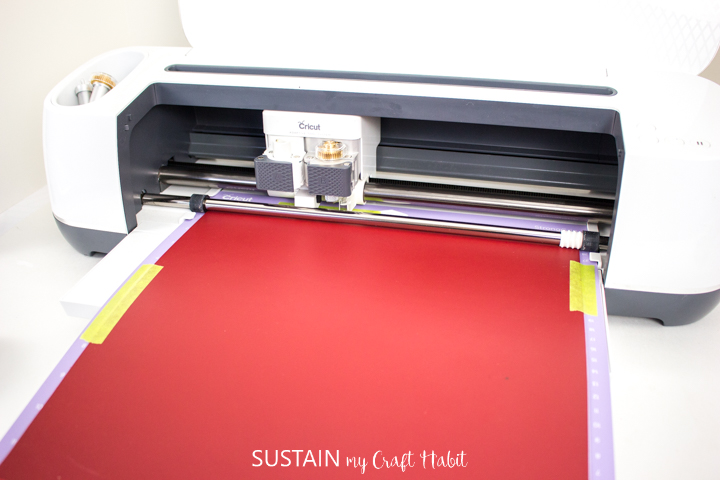
Place the leather on the strong grip mat and tape the edges. Suggest placing the smooth side down (not sueded side down).
Proceed with cutting the leather. It is set to do 4 passes which is likely too many so after the second pass, I checked if the leather was cut through and decided to do one more pass before cancelling the cut.
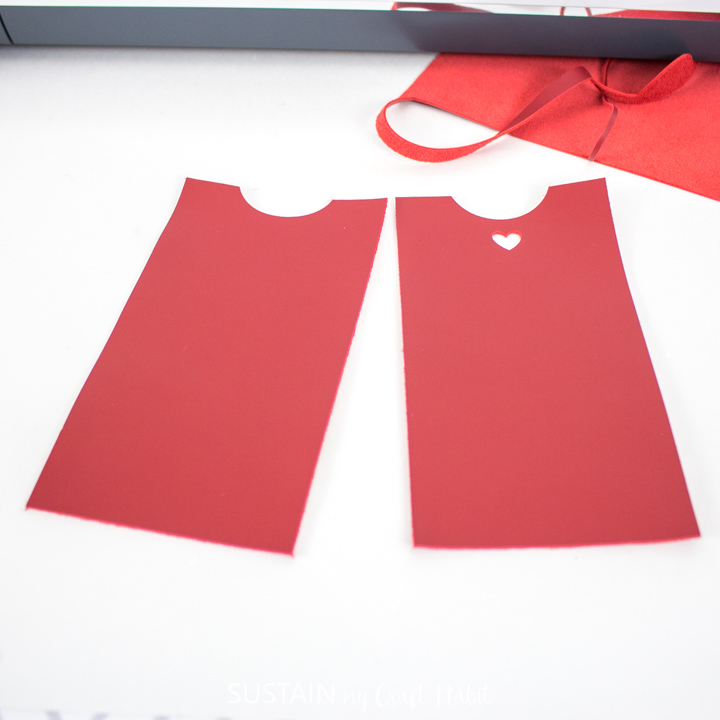
Peel away the leather and the cut pieces.
Assembling the phone sleeve
Place cut pieces with suede sides together.
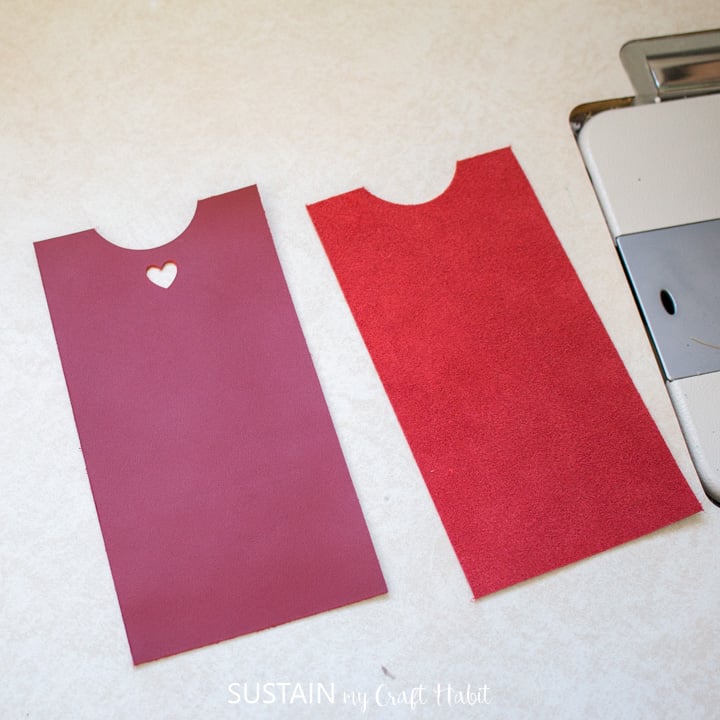
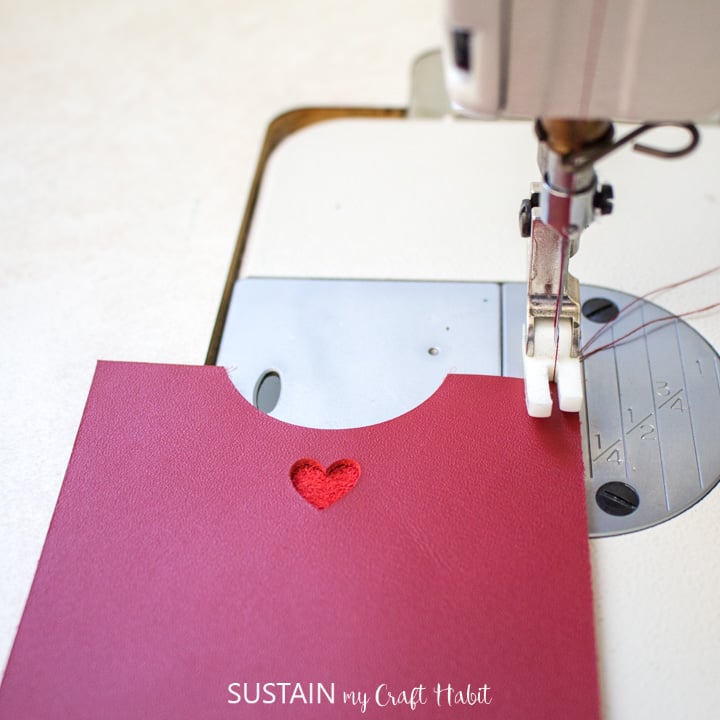
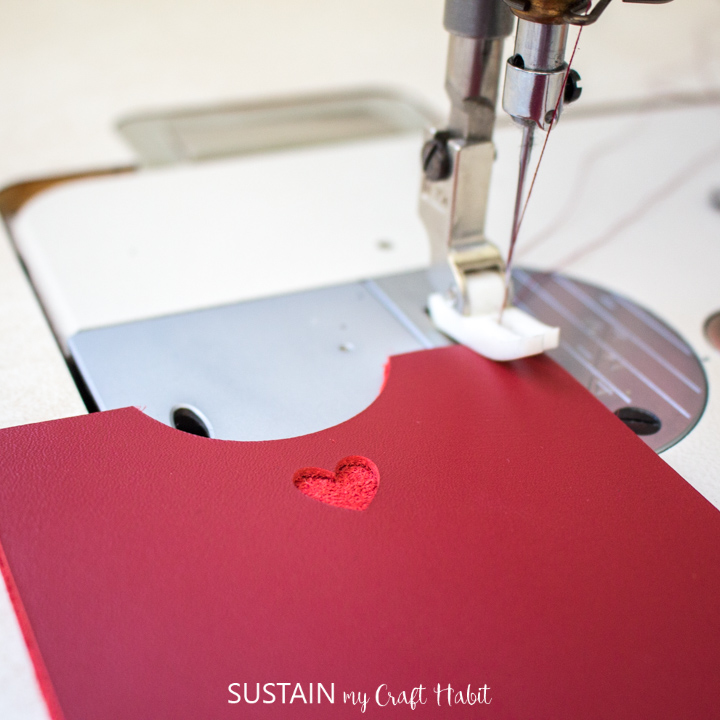
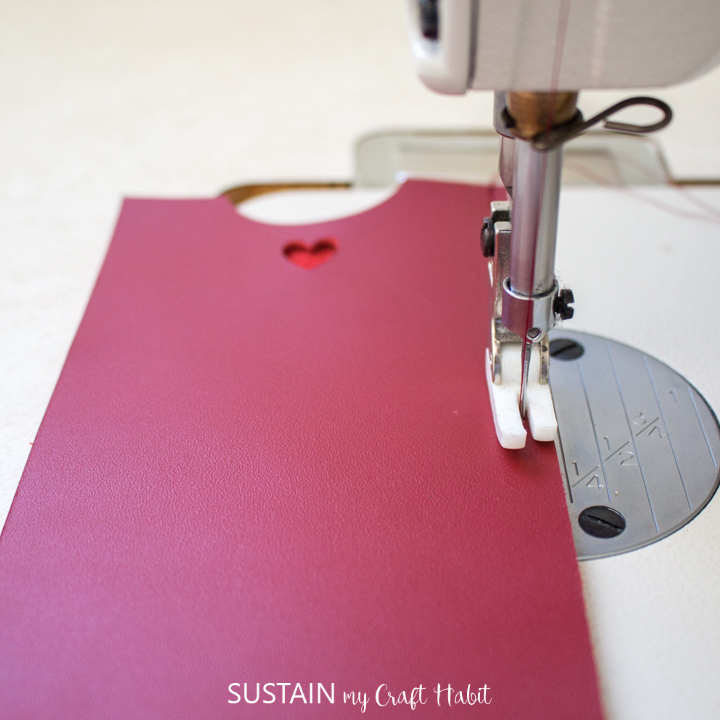
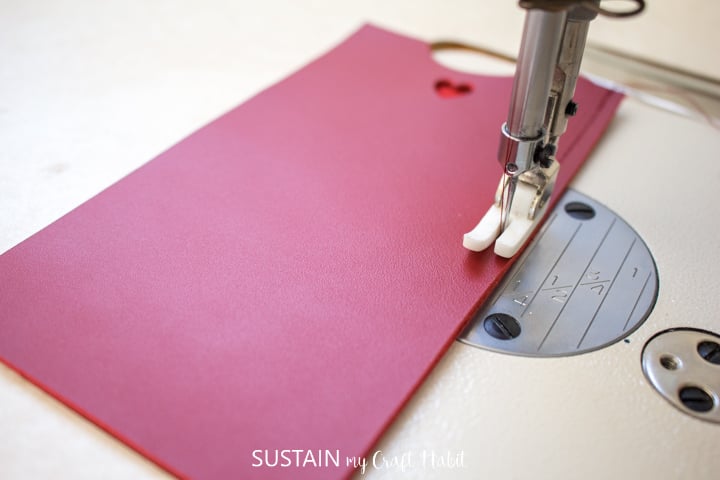
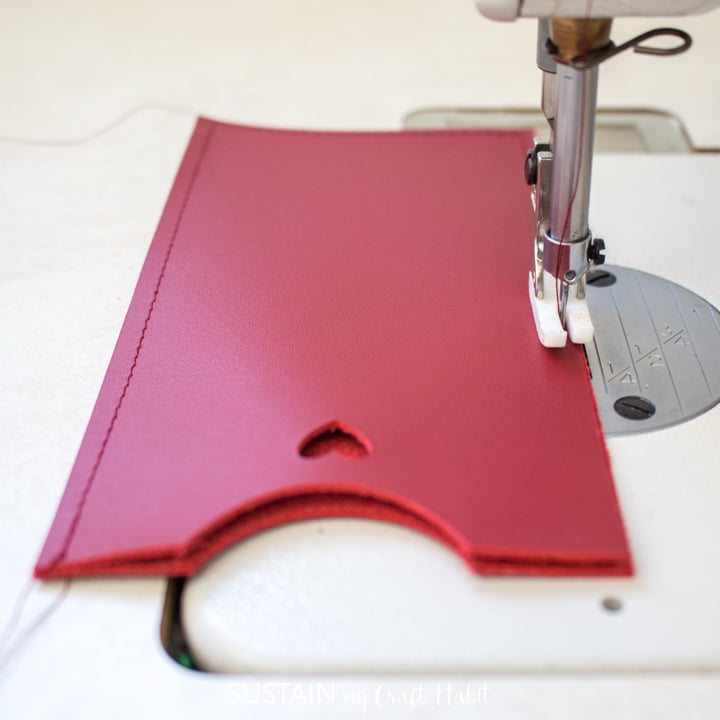
Change to a leather presser foot and matching thread color, stitch together and along the outer 3 edges of the phone sleeve with a 1/8″ seam allowance.
Make sure to back tack the stitches to lock thread at the start and end of the stitch line.
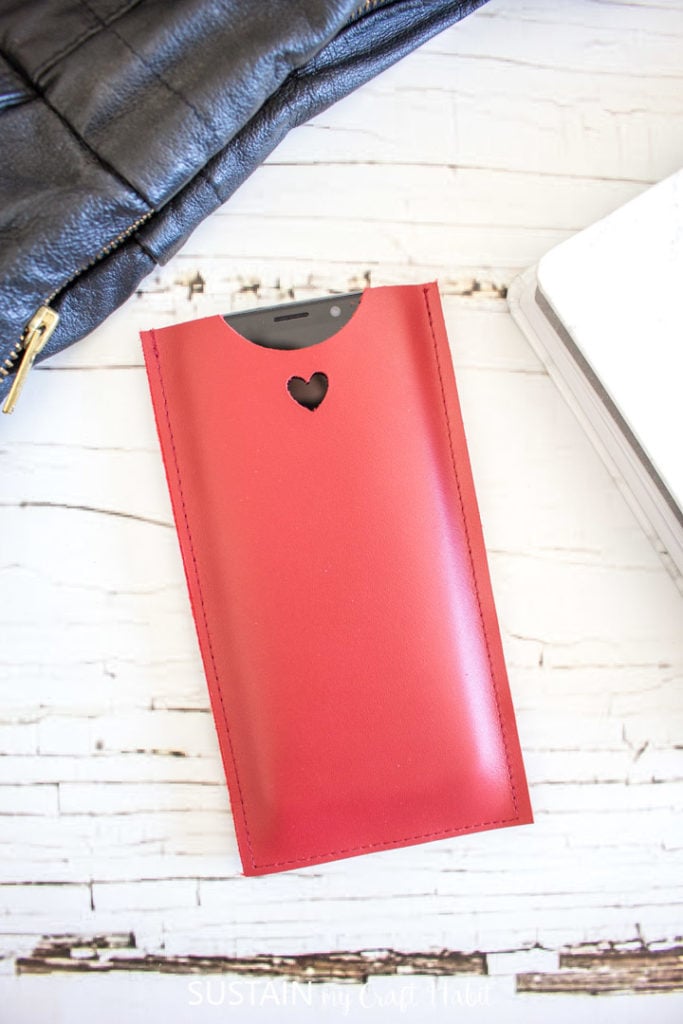
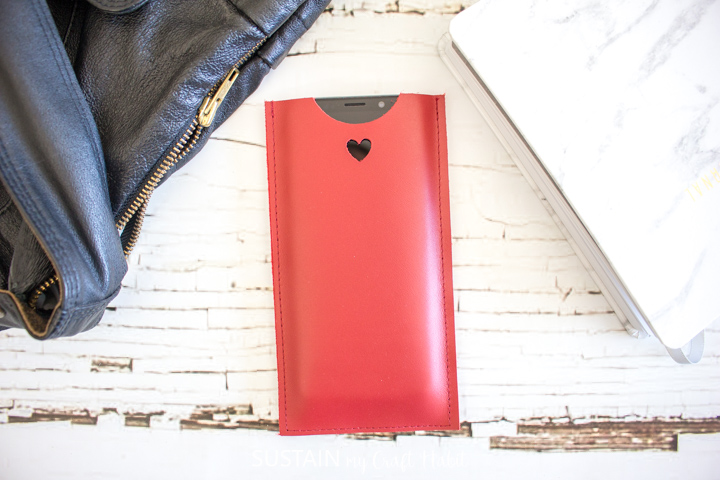
And once stitched, the phone sleeve is ready to use! I love how it turned out especially with the sweet little heart cut out in the center.
If it wasn’t for the heart cut out, you could also cut the leather phone sleeve pieces by hand but the Cricut Maker ensures the cut pieces are precisely and identically cut.
More DIY Leather Crafts
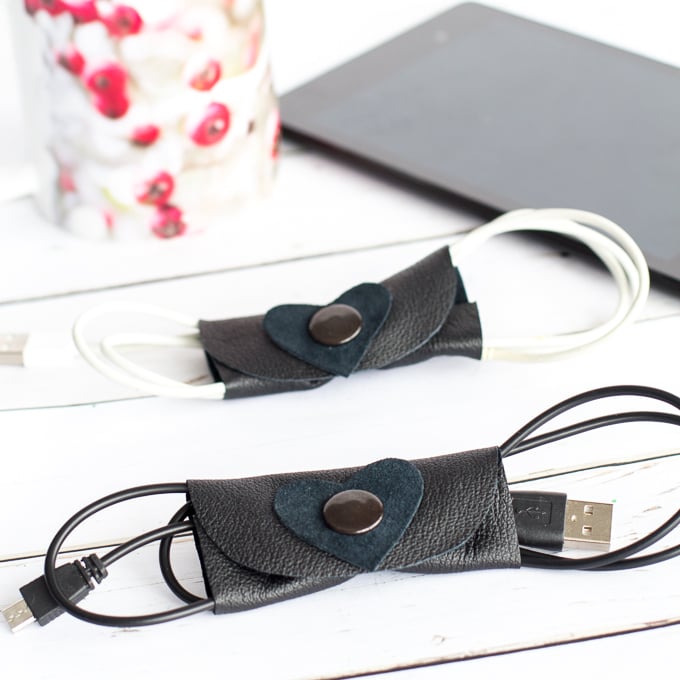
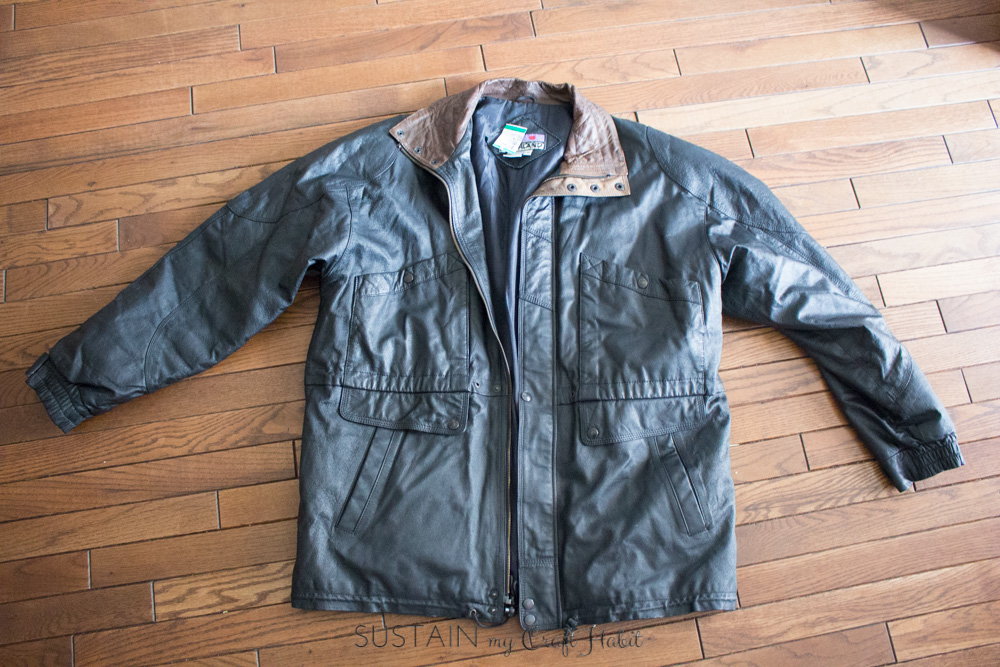
We’ve shared a few different leather crafts over the years like these cord organizers and this hand bag all made from an upcycled 80s leather jacket!

DIY Leather Bag from an Upcycled Jacket 
DIY leather cord organizers 
80s Jacket we upcycled
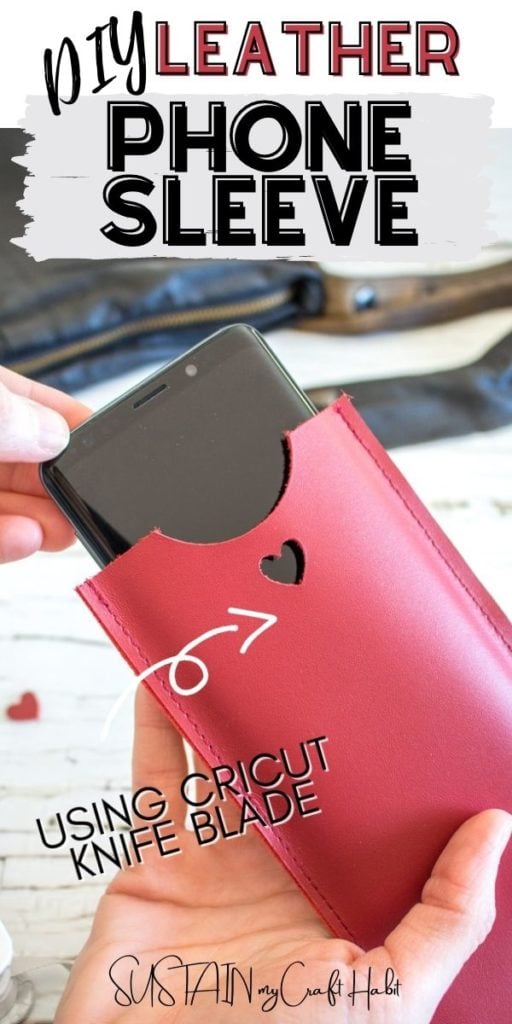
Like it? Pin it for later!
DIY Leather Phone Sleeve
Materials
- Cricut Genuine leather Cranberry
- Cricut Maker
- Strong Grip Mat
- Knife Blade
- Scotch tape
- Sewing Machine and matching thread
- Scissors
Instructions
Creating the Phone Sleeve Pattern
- Measure the circumference of the cell phone (both length and width) and divide meausrements by half.
- Add an extra 1/2” to the width for ease and seam allowance. Record the measurements.
- Open a new project in Design Space.
- Insert rectangle shape and adjust size as needed.
- Insert circle shape measuring 1.75” wide.
- Place the circle shape overlapping the top of the rectangle directly in the center. Have them overlapping by approx. ½”
- Select both shapes together and click on the “Slice” button.
- Click on the rectangle shape and move it away from the circle shape leaving the cut out behind.
- Delete the other shapes.
- Duplicate the rectangle shape.
- Insert a heart shape and adjust size to ½” high. Place it in the center just below the cut out.
- Select this shape along with the heart shape to cut out the heart using the slice tool again. Discard the heart shape.
- Change the shape color to match the material color, in my case it’s cranberry.
Cutting the Phone Sleeve
- Click on Make It to view shapes on mats.
- Change material type to “garment leather”, this has the closest settings to genuine leather.
- Move the star wheels to the right side.
- Place the leather on the strong grip mat and tape the edges.
- Proceed with cutting.
- Peel away the leather and the cut pieces.
Assembling the phone sleeve
- Place cut pieces with suede sides together.
- Change to a leather presser foot and matching thread color, stitch together and along the outer 3 edges of the phone sleeve with 1/8" seam allowance.

