DIY Soap Dispenser for Christmas
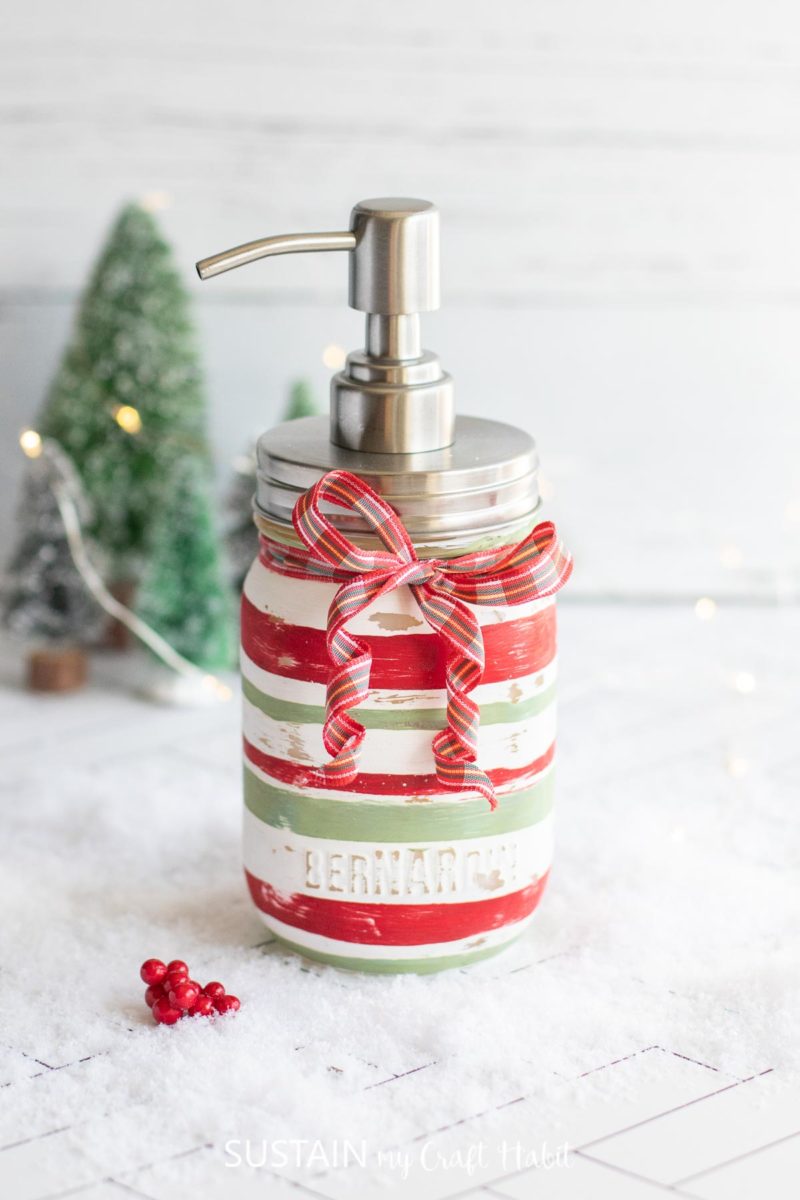
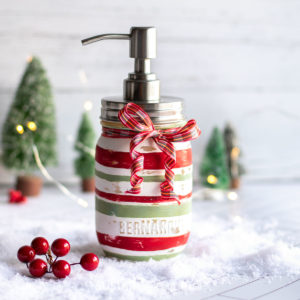
Turn an empty glass jar in to a reusable DIY soap dispenser for Christmas following this simple step by step tutorial.
Disclosure: This post is sponsored by Bernardin Canada. All opinions are our own.
Making a Soap Dispenser using a Glass Jar
Having had this craft idea on my DIY to-do list for some time, I was so excited to finally transform a glass jar into a reusable soap dispenser for my bathroom. And although you could just simply buy the soap dispenser lid and pump and skip the painting part, what fun would that be?
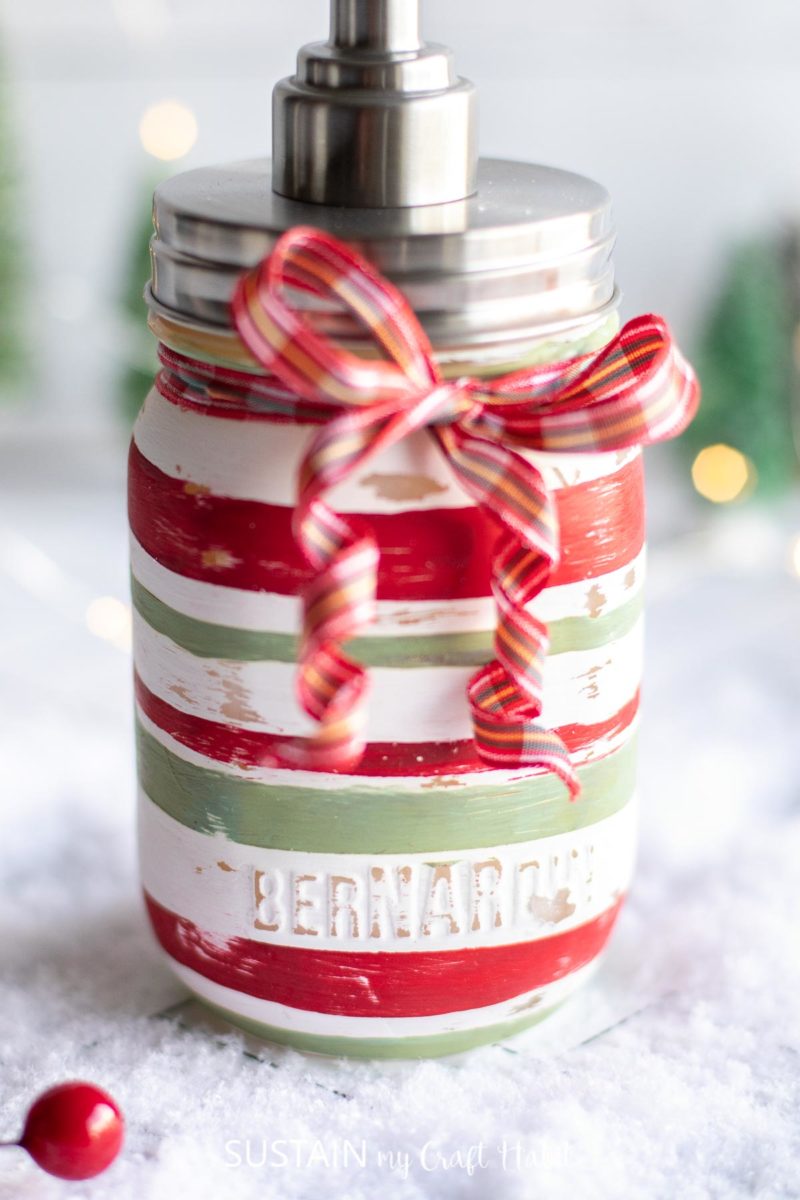
Using paint specifically designed for glass allows the piece to be sealed making it durable, dishwasher-safe and reusable. Not to mention, it gives you the creative freedom to make DIY soap dispensers for any theme throughout the year, including of course Christmas!
Materials Needed
Disclosure: This post continues affiliate links for your shopping convenience. You can find our full disclosure policy here.
- 1 Jar, 500ml smooth rounded, with shoulders; lids removed
- Soap Dispenser lid and pump; stainless steel finish, rust proof
- Chalky paint in red, white and green (we used Americana Decor Chalky Finish for Glass in Romance, Everlasting and New Life)
- Paintbrushes, medium size and ½” angled paintbrush
- Sandpaper, 200grit
- Decorative ribbon (optional)
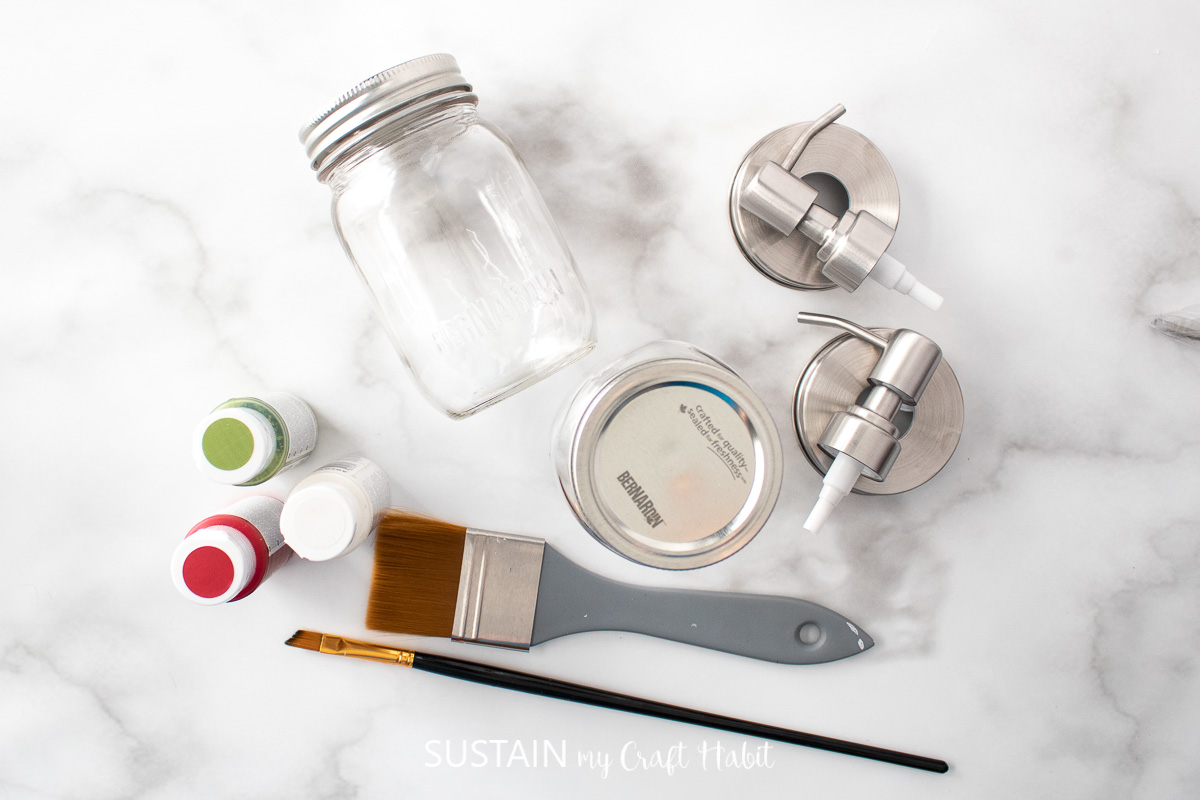
How to Make a Soap Dispenser
Thoroughly wash jars with soap and hot water and let them dry completely before using. Additionally, use rubbing alcohol and a clean paper towel to wipe away any prints or smudges.
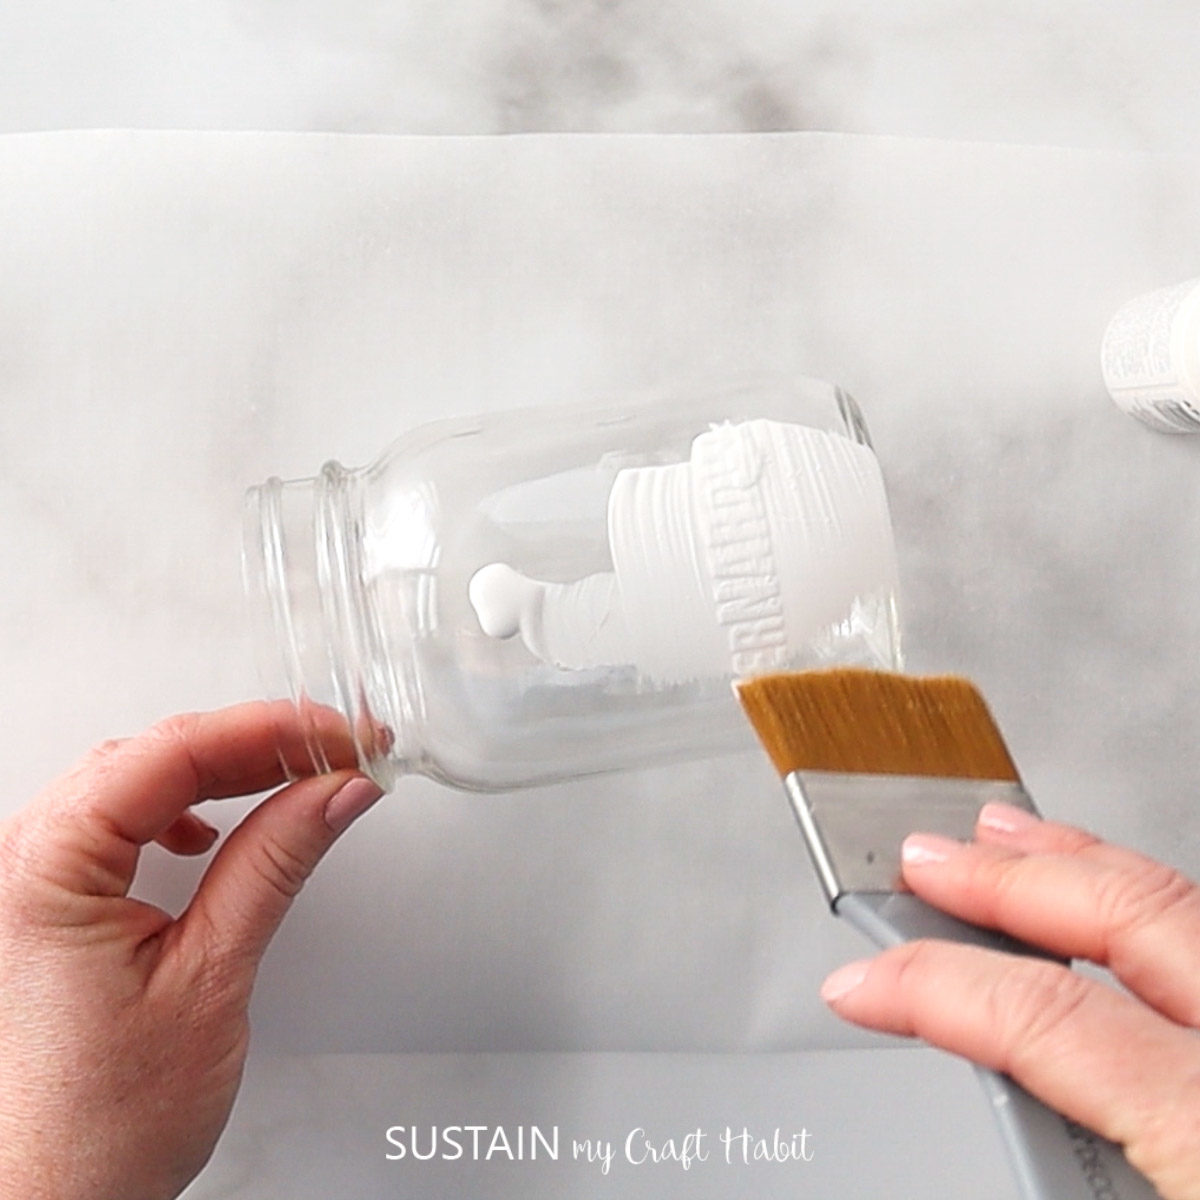
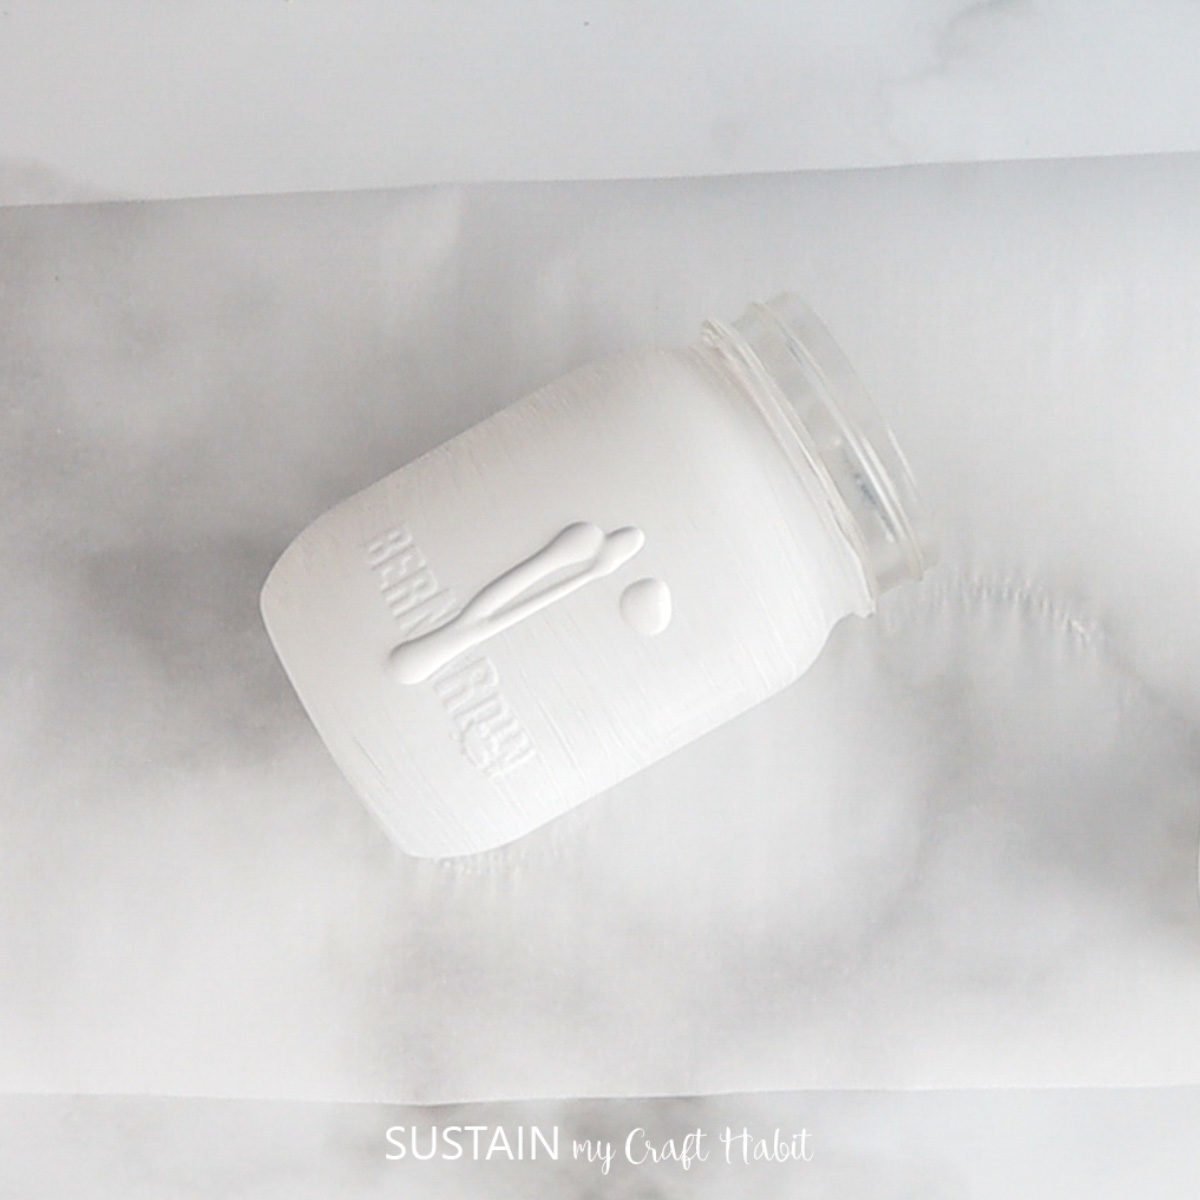
Using a medium sized paintbrush, apply chalky glass paint in white all over the jar. Let the paint dry fully and then apply a second coat for additional coverage.
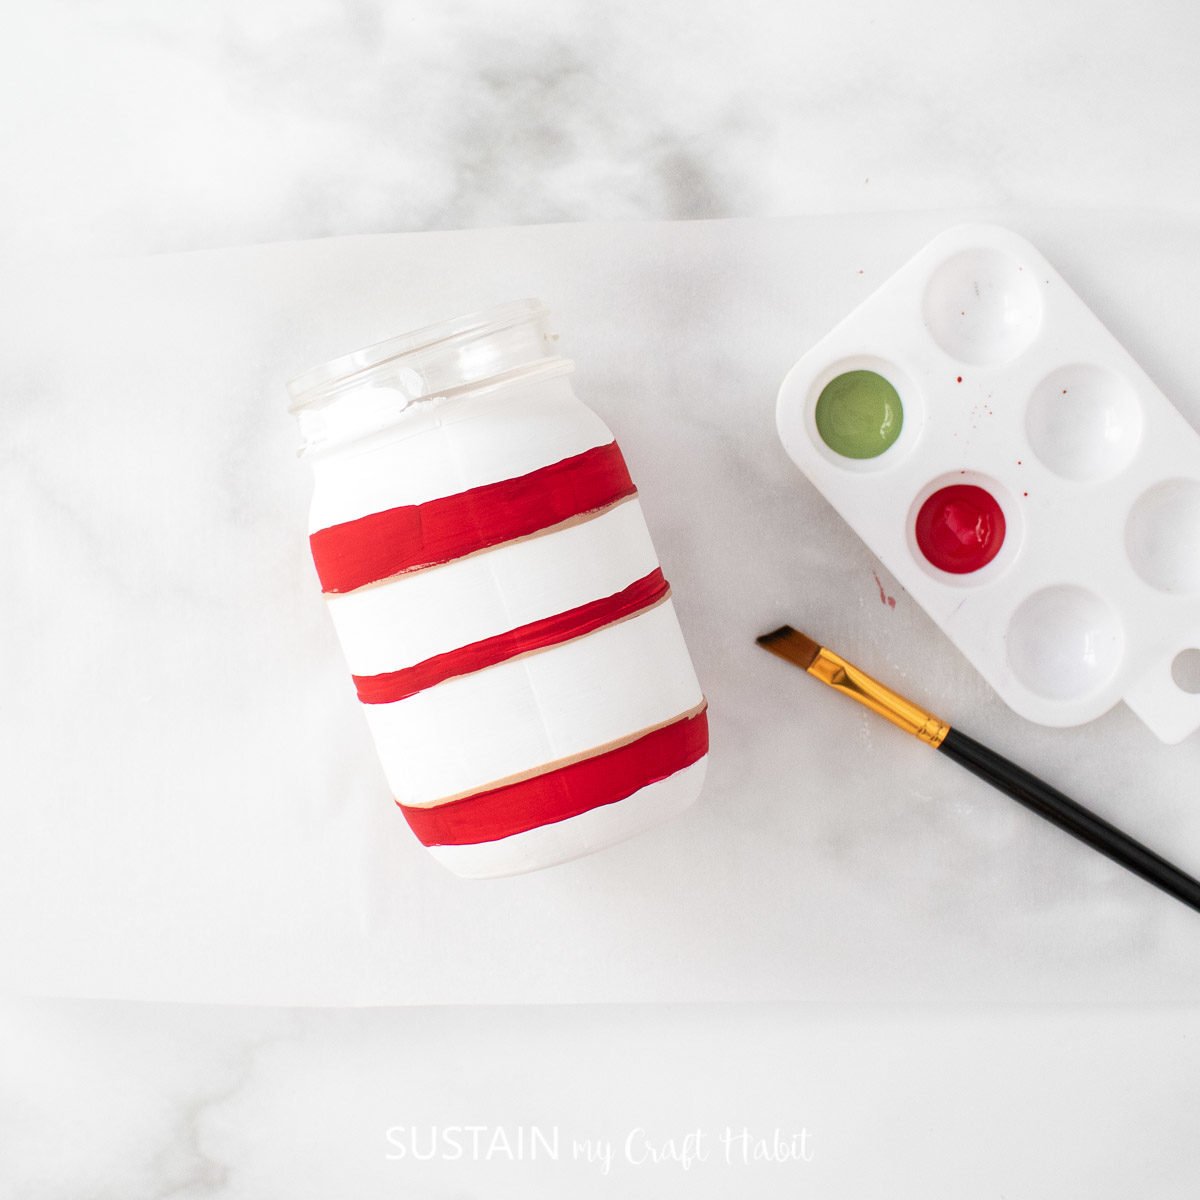
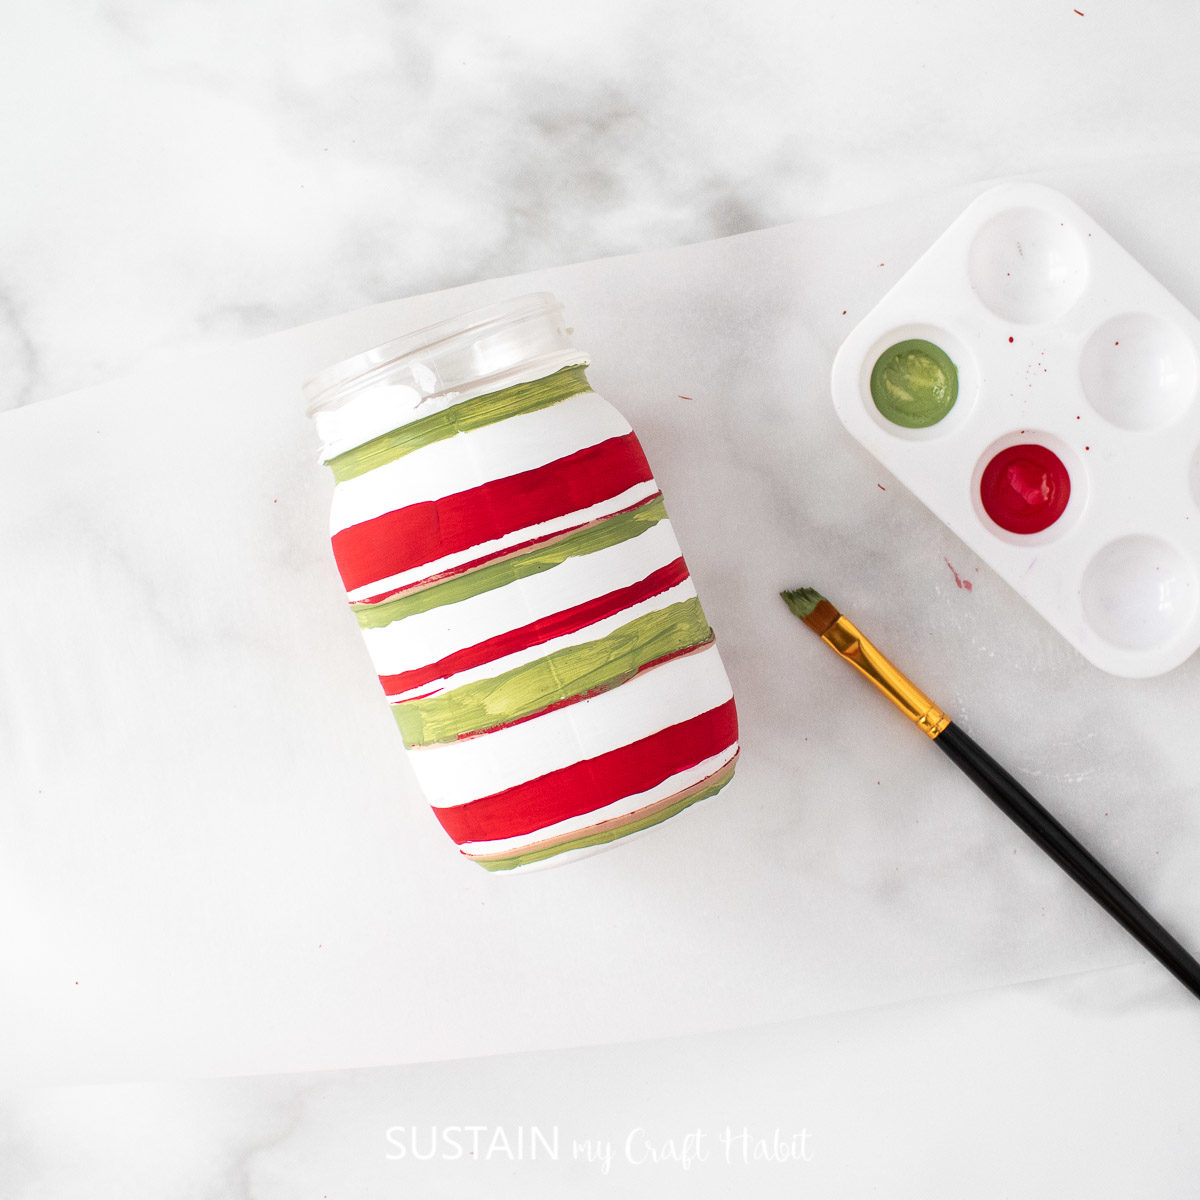
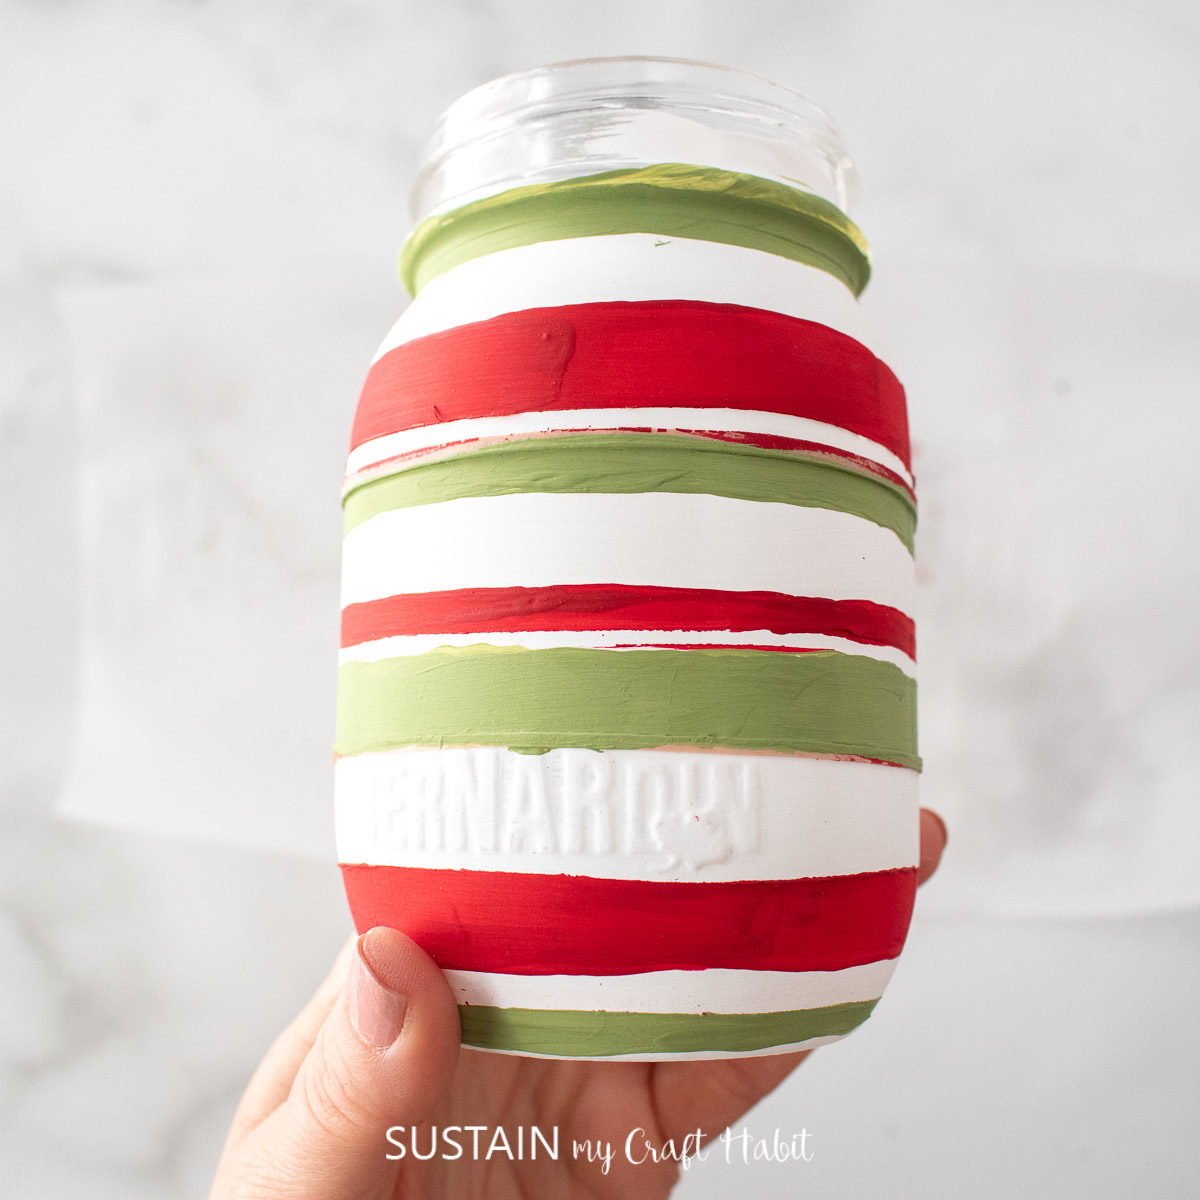
With a smaller angled brush, paint alternating stripes in varying widths with red and green chalky paint. Don’t worry about making the lines perectly straight and smooth, we’re going for a rustic, imperfect effect. Let the paint dry and apply a second coat for additional coverage if needed.
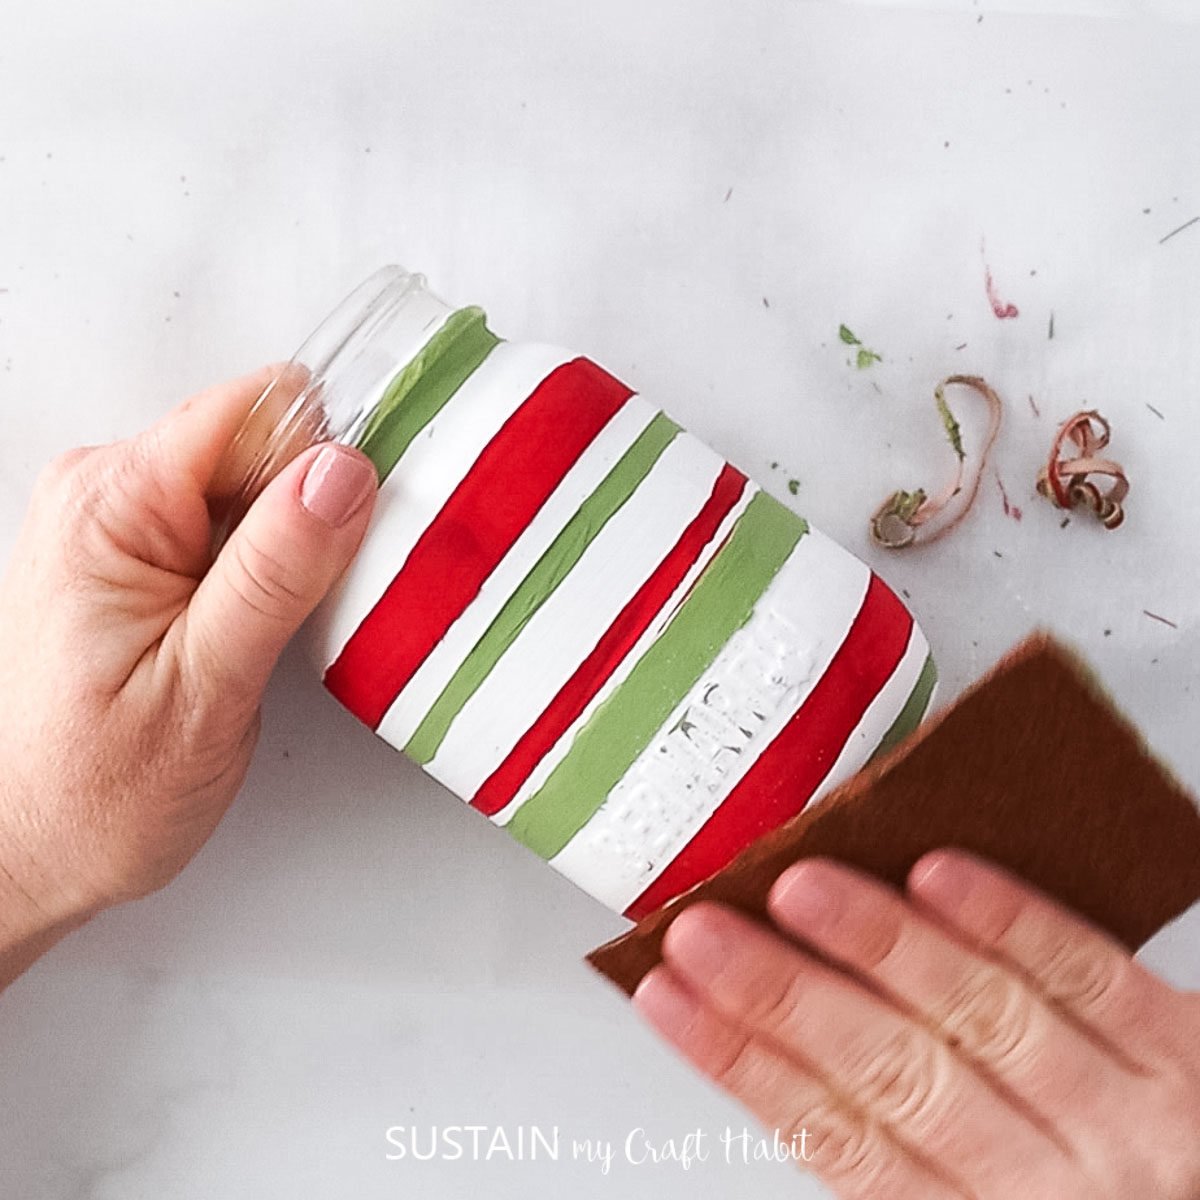
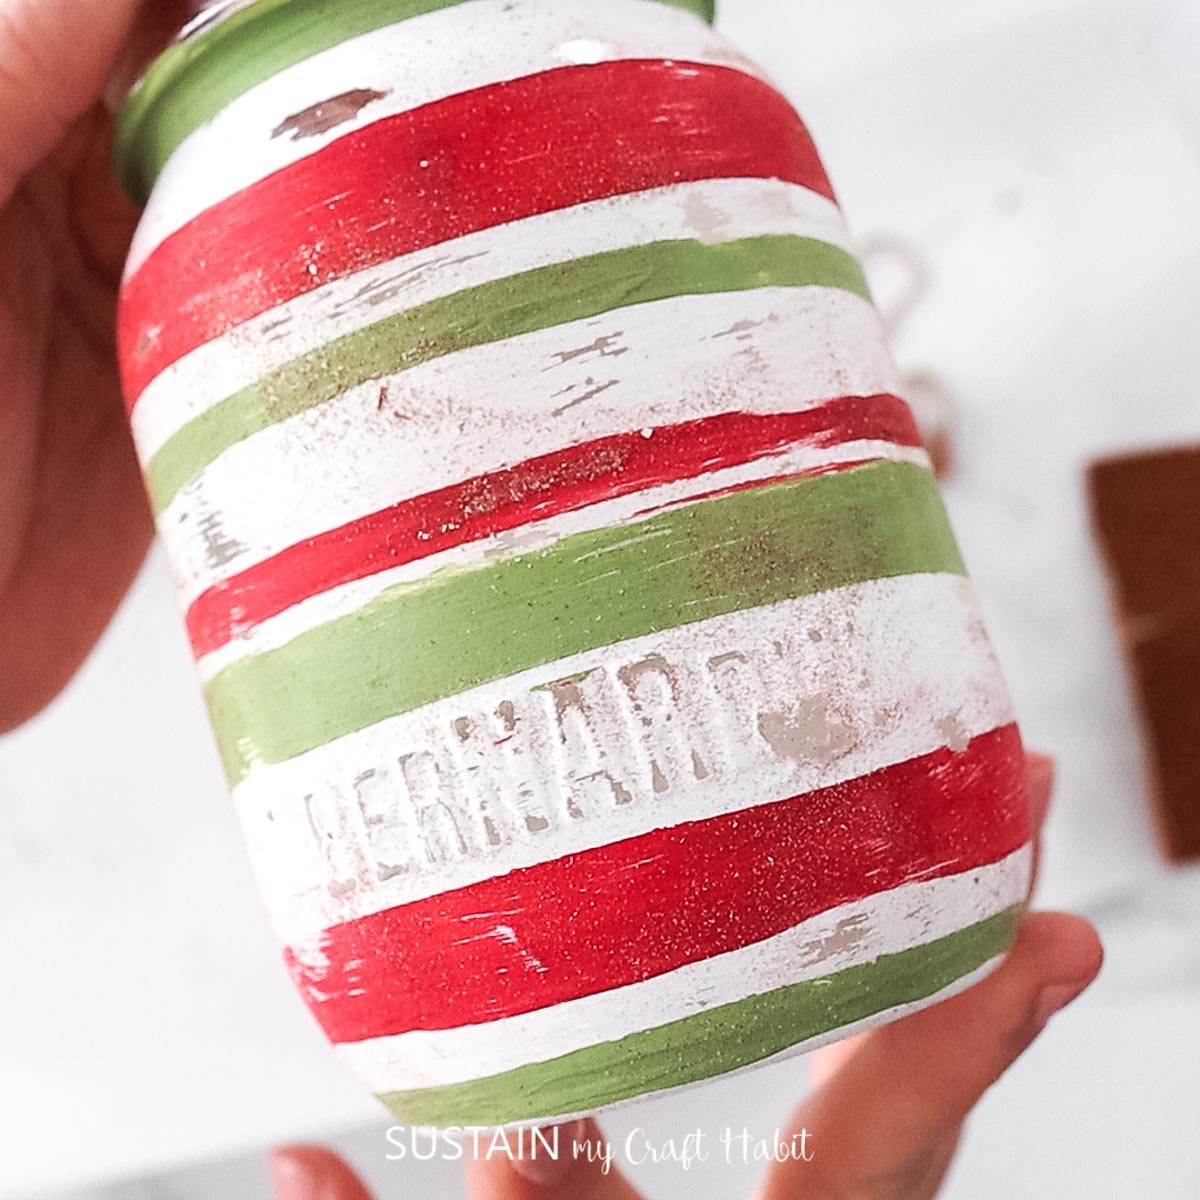
Once dry, use a fine grit sandpaper to gently sand the painted jar to distress the edges. The rough edges give the jar a bit of charm, don’t you think?
Sealing the Paint on the Glass
Allow the painted jar to dry for an additional 4 days and then place the finished jar in a cool oven. Set the oven temperature to 325° and bake for 30 minutes, then cool with the oven door partially open. This will seal the paint and allow the jar to be washable and even dishwasher safe.
Finishing
Fill the jar with liquid soap and add the dispenser lid and pump.
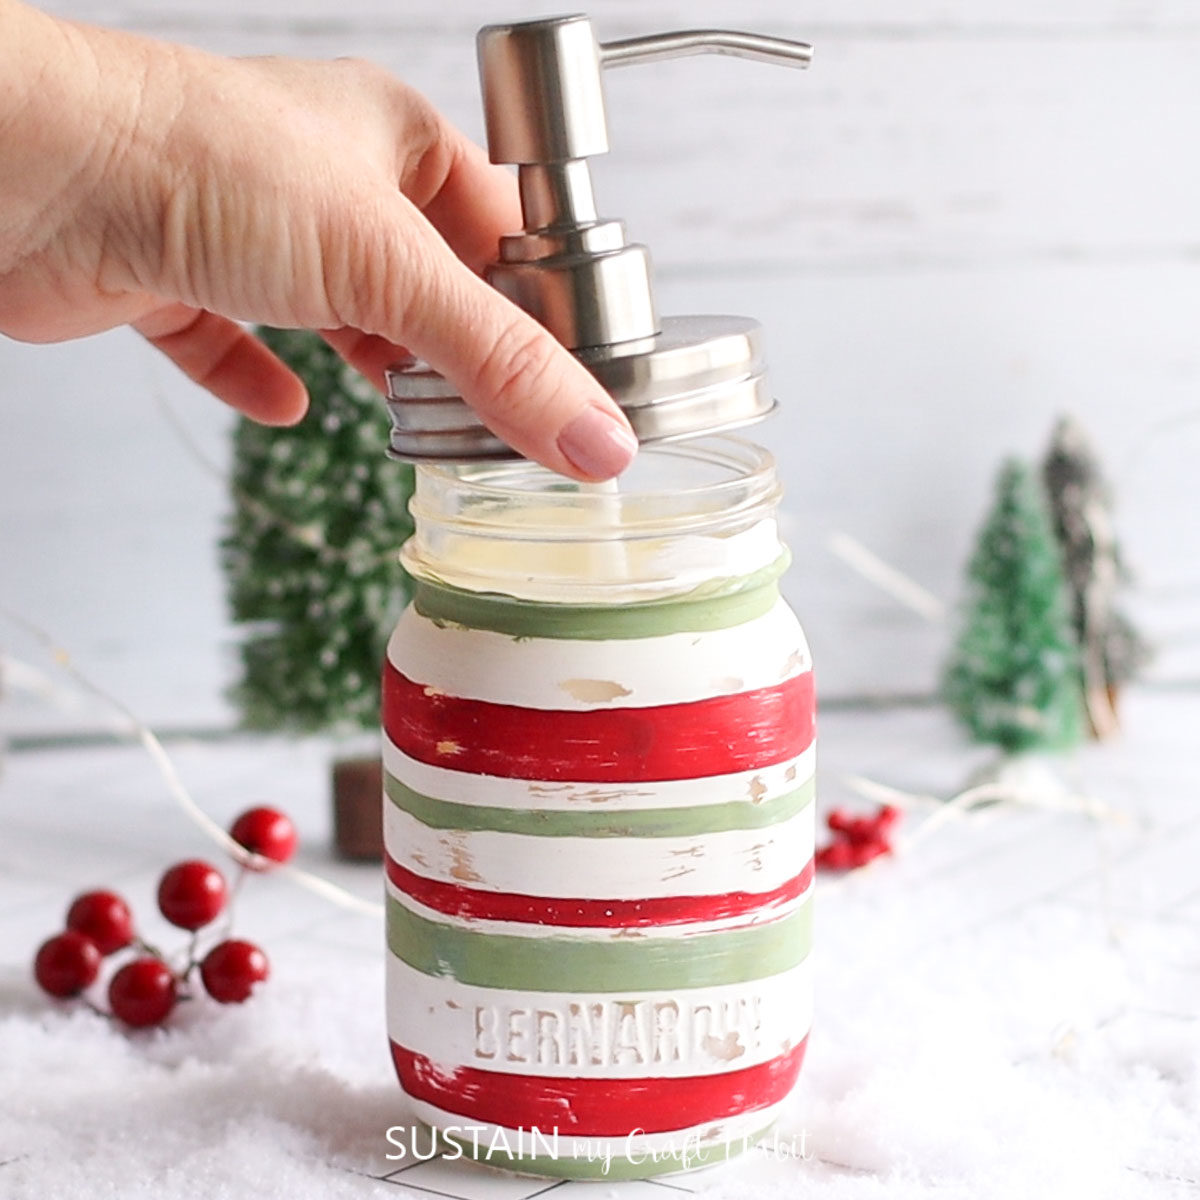
Tie a piece of ribbon into a bow around the neck of the jar to make the soap dispenser appear even pretttier! Or alternatively, wrap it up and give it to someone as a gift for the holidays.
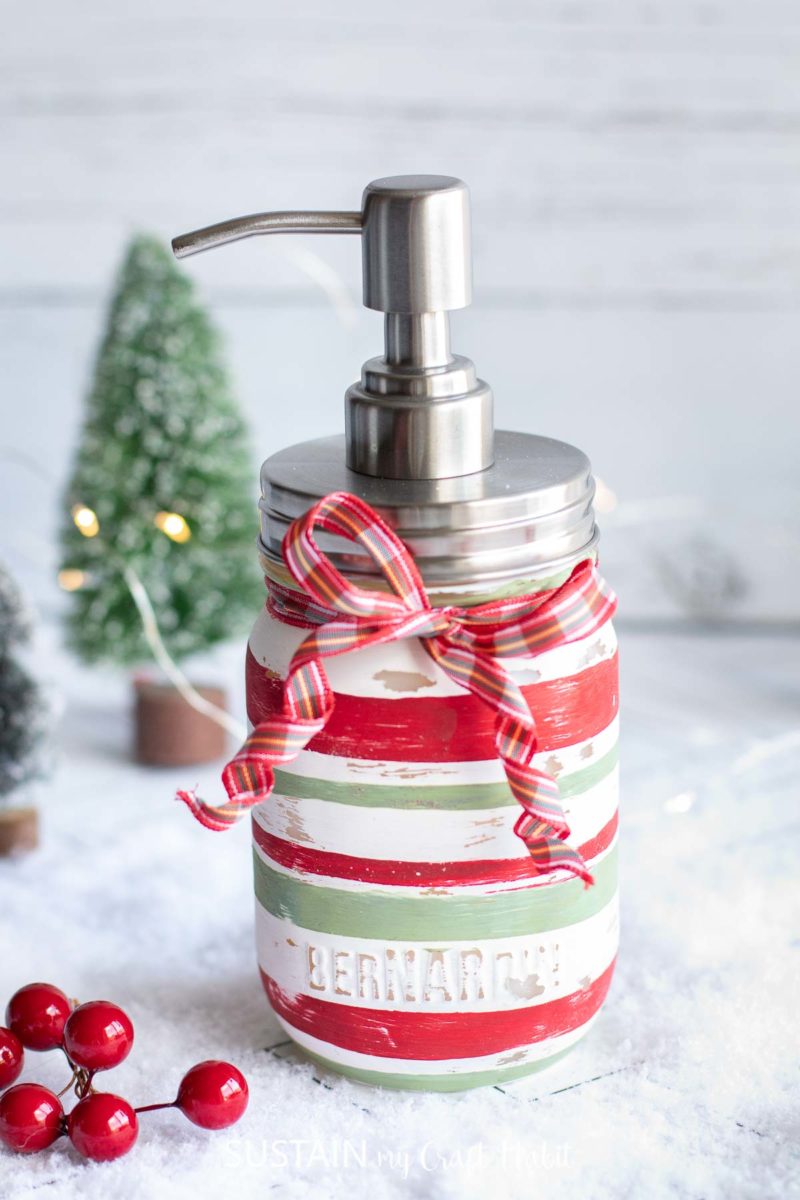
Now that this one soap dispenser is complete, I think I’ll go ahead and make another one for my kitchen!
More DIY Christmas Decor Using Mason Jars
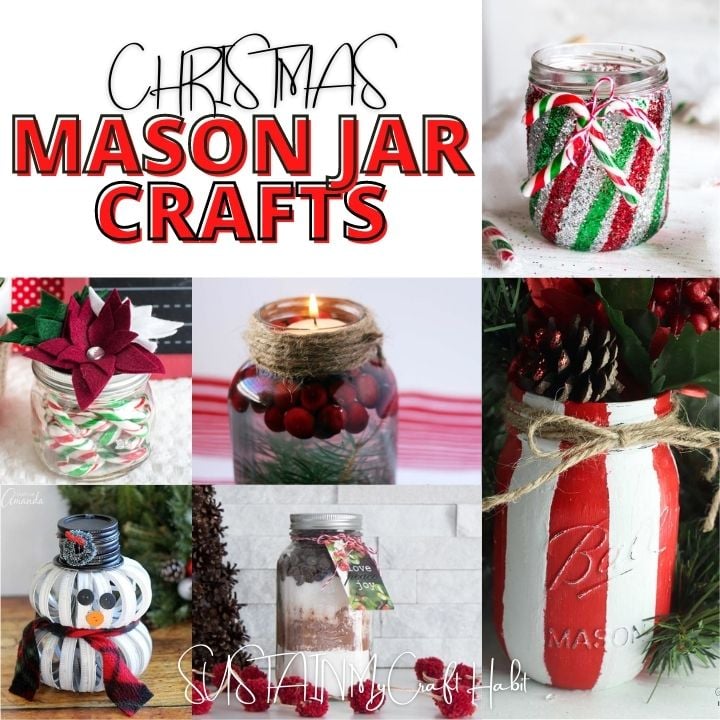
Is there anything better than Christmas crafting? Here on the blog, we just can’t get enough of Christmas crafting at this time of year and we love that the things we make are used to decorate our homes and gifted to others. Check out these festive mason jar Christmas craft ideas for more inspiration:
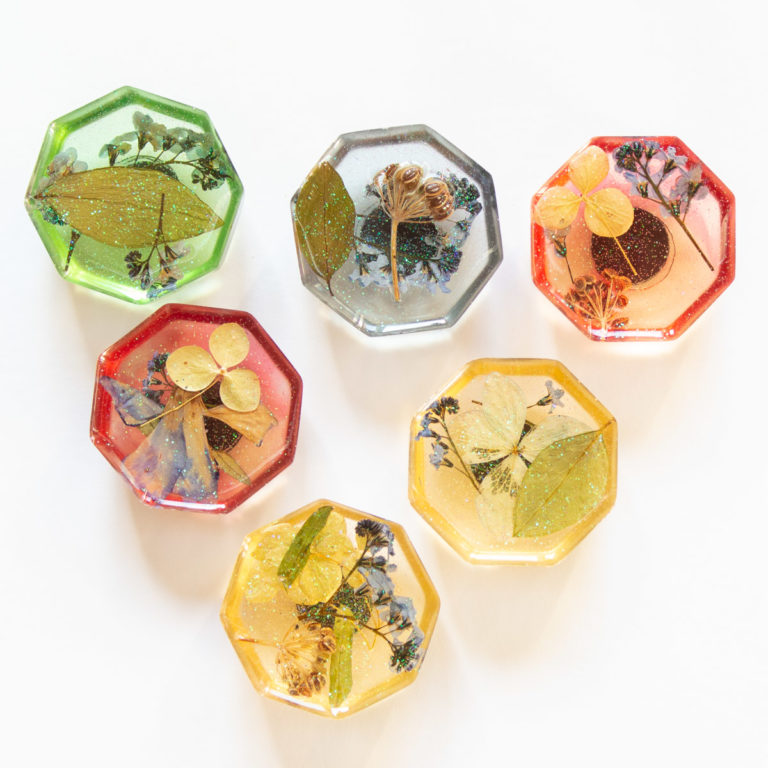
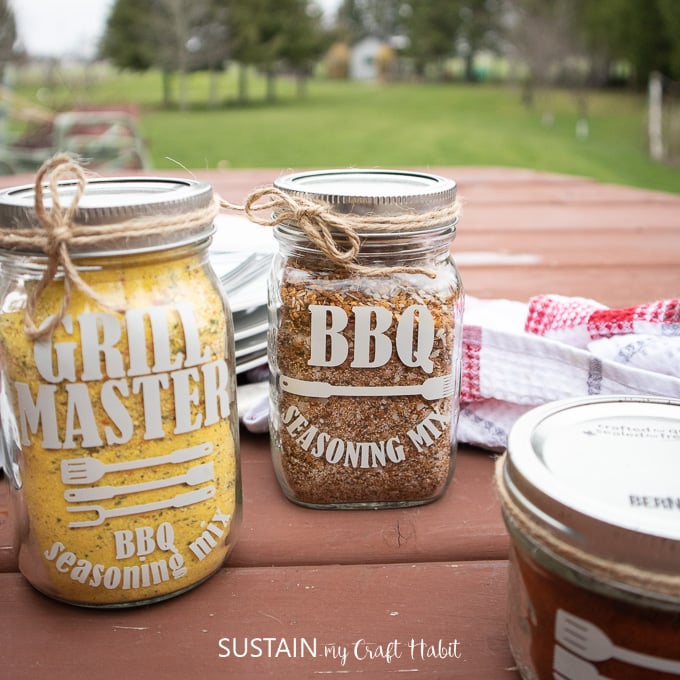
- The best mason jar crafts
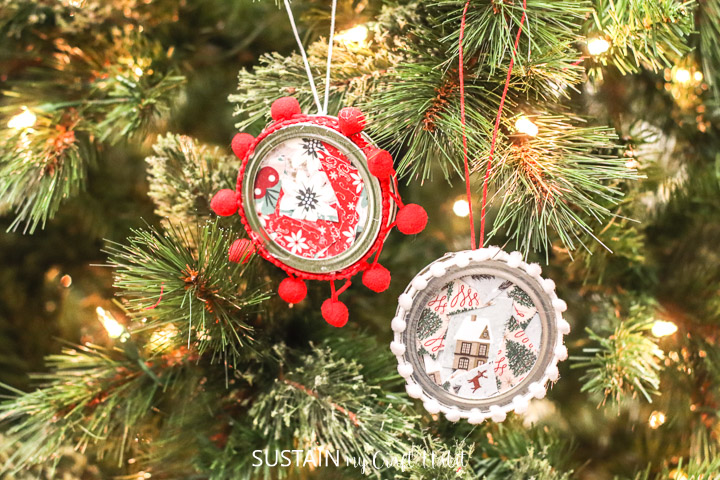
- Canning jar lid ornament
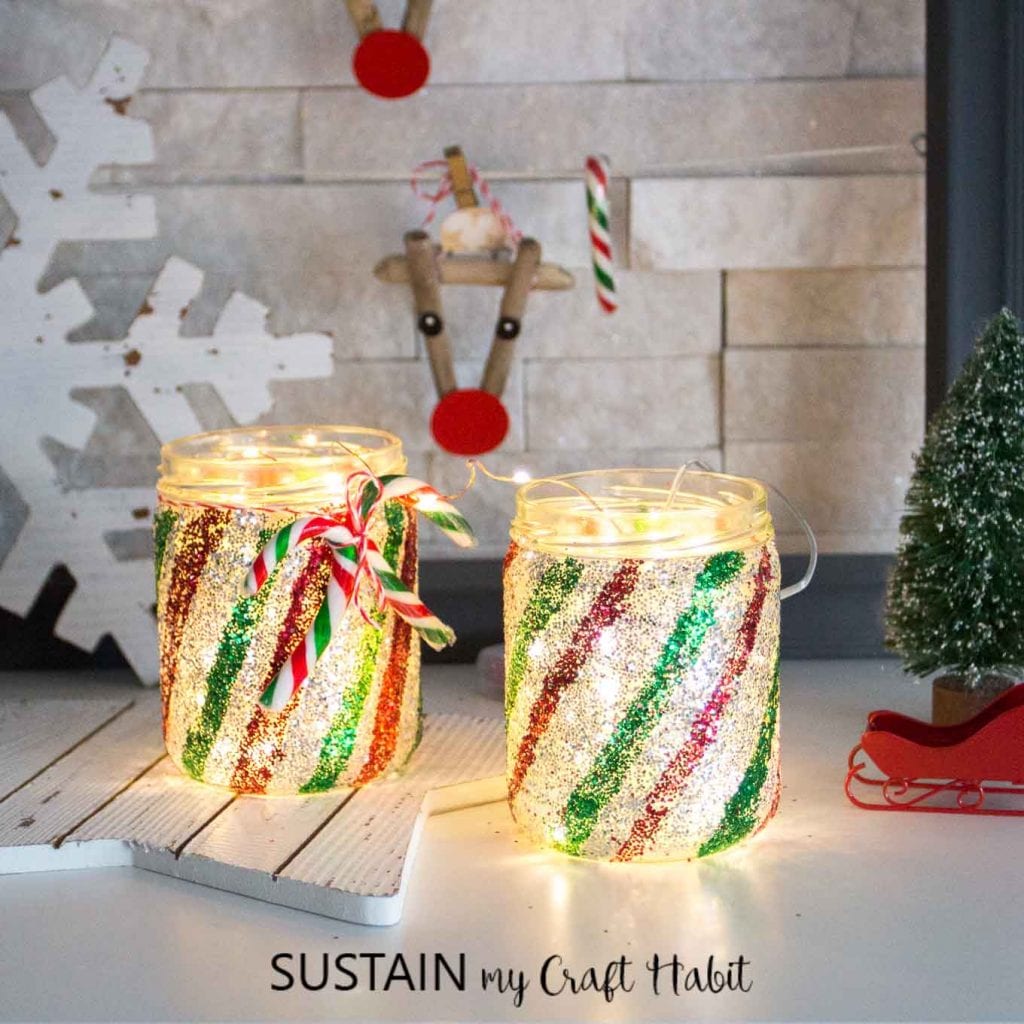
- Glittering candy cane jar
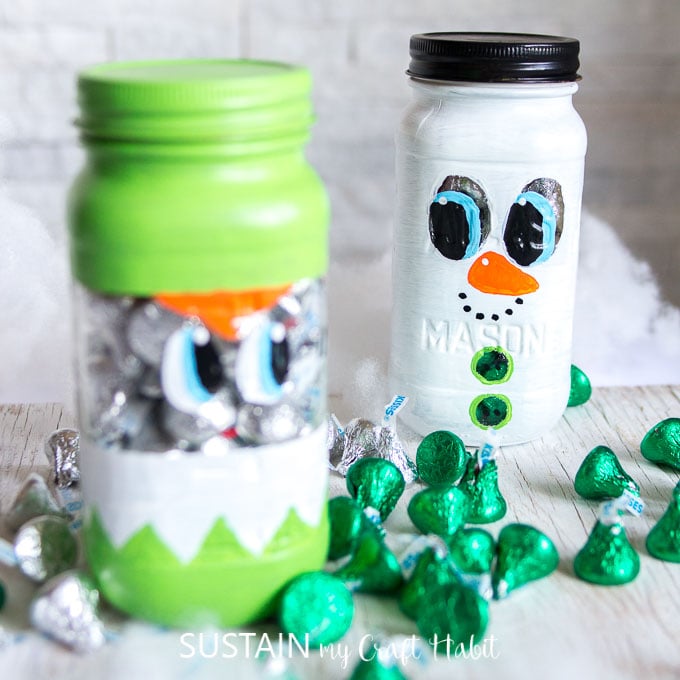
- Mason jar snowman and elf
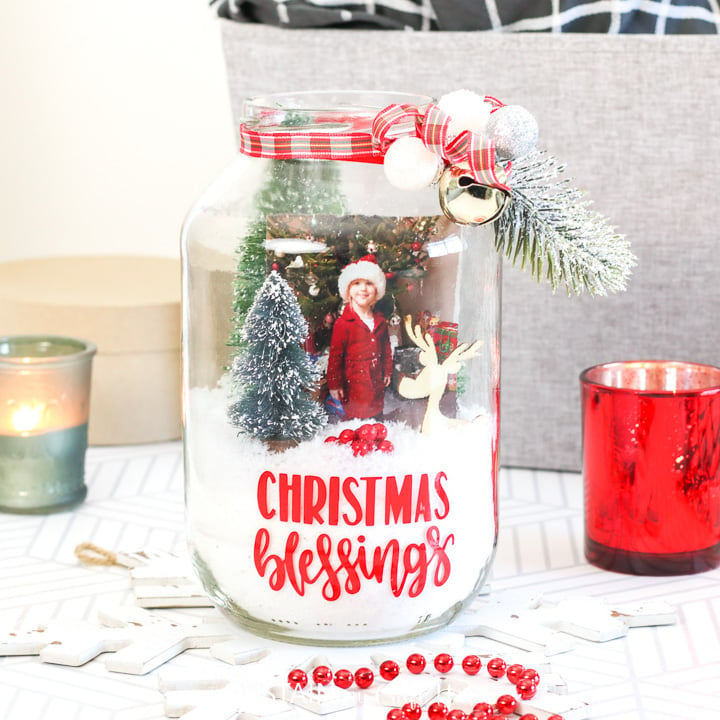
- Pickle jar Christmas terrarium
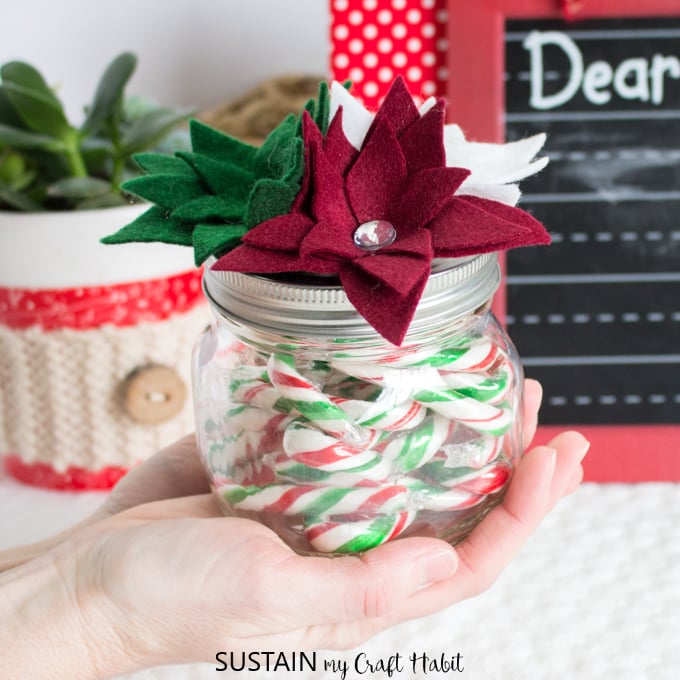
- Felt poinsettia capped mason jars
Like it? Pin it for later!
DIY Soap Dispenser for Christmas
Materials
- 1 Jar 500ml smooth rounded, with shoulders; lids removed
- Soap Dispenser lid and pump stainless steel finish, rust proof
- Chalky paint in red white and green (we used Americana Decor Chalky Finish for Glass in Romance, Everlasting and New Life)
- Paintbrushes medium size and ½” angled paintbrush
- Sandpaper 200grit
- Decorative ribbon optional
Instructions
- Thoroughly wash jars with soap and hot water and let them dry completely before using.
- Using a medium sized paintbrush, apply chalky paint in white all over the jar.
- With a smaller angled brush, paint alternating stripes in varying widths with red and green chalky paint.
- Once dry, use a fine grit sandpaper to gently sand the painted jar to distress the edges.
- Allow the painted jar to dry for an additional 4 days and then place the finished jar in a cool oven. Set the temperature to 325° and bake for 30 minutes, then cool with the oven door partially open.
- Fill the jar with liquid soap and add the dispenser lid and pump.
- Tie a piece of ribbon into a bow around the neck of the jar if giving as a gift.

