Earthy Paper Feather Wall Decor with Cricut
Do you love feathers and paper crafts as much as we do? Then you’ll enjoy making this pretty paper feather wall decor perfect for adding interest to any indoor space.
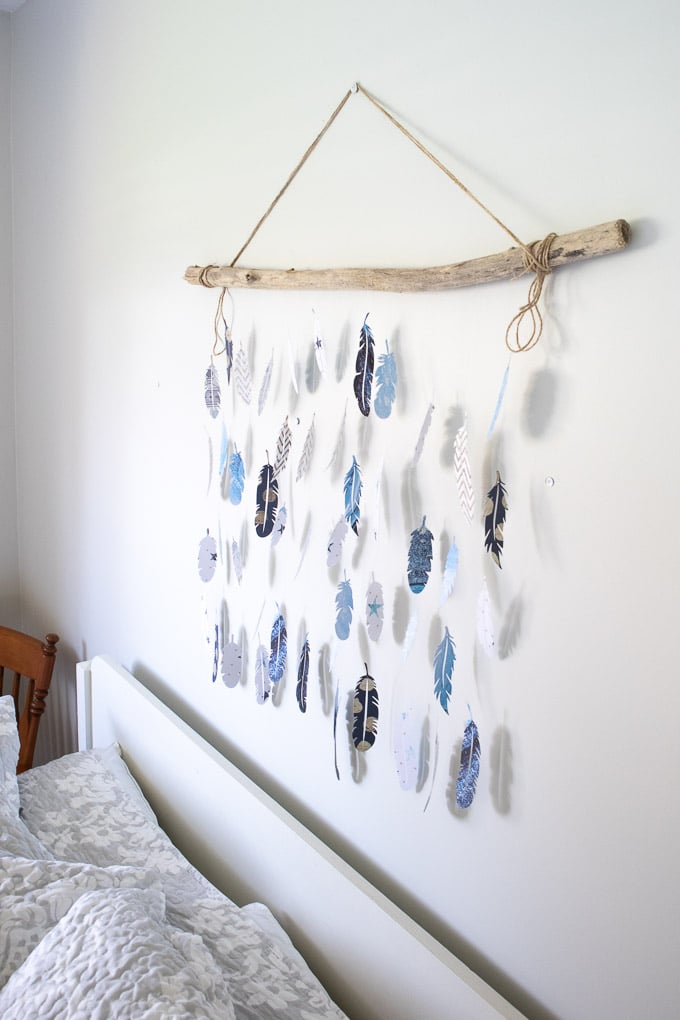
Pretty Paper Feather Wall Hanging
We instantly fell in love with this Hostess with the Mostess decorative paper ever since we used it to make these upcycled tin craft storage containers (our craft supplies are now organized in style!). We were very eager to use the leftover papers to make another paper craft.
Realizing we didn’t have any feather projects on our blog (shocking, I know :)), we combined the two ideas to make this pretty paper feather wall decor. It can be tough to find custom art for a large sized wall so this wall hanging is a great solution to any indoor space. We love how the light and airiness of the papers gently sway in the breeze…pretty relaxing for a bedroom!
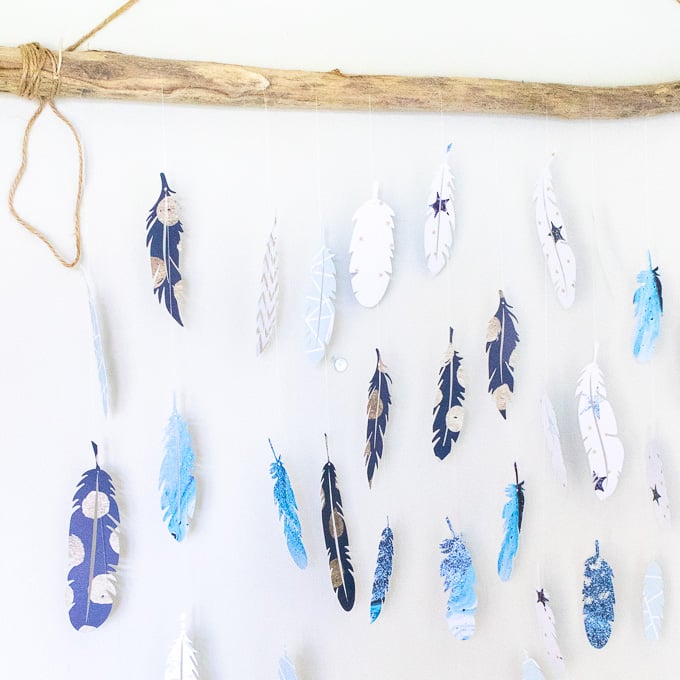
Materials Needed to Make This Paper Feather Wall Decor
Disclosure: This post contains affiliate links for your shopping convenience. Should you choose to purchase through them, we will make a small commission at no extra cost to you. You can read our full disclosure policy here.
- Cricut Maker
- Cricut Deluxe Paper, Hostess with the Mostess Winter Sparkle, assorted papers
- Cricut Standard Grip Mat
- Design Space’s Feather Patterns (variety of feather images, we used #M855287F; #M8912E8D; #M8912E98; #M8912EA0; #M8912EA8; #MB72E89F; #MB72E8B1; #MBE31DA9)
- Cricut Spatula
- Driftwood or tree branch measuring 30” long
- Fishing line
- Sewing needle
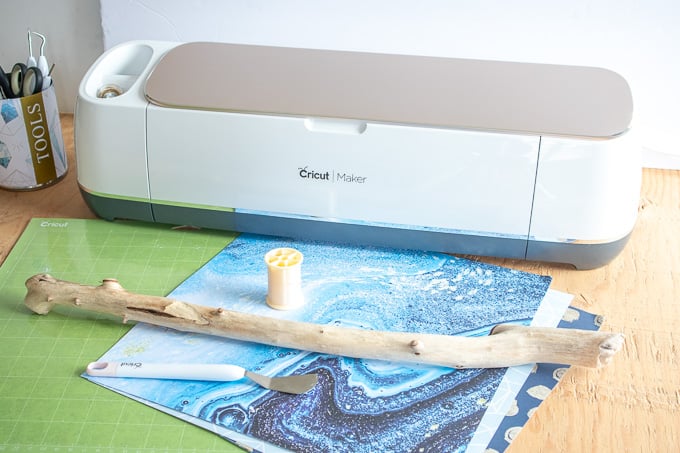
How to Make a Paper Feather Wall Decor
Uploading the Feather Images
On a new canvas in Cricut’s Design Space, select Images from the toolbar.
Search “feathers” and click on a mix of feather images. Insert the images onto your canvas.
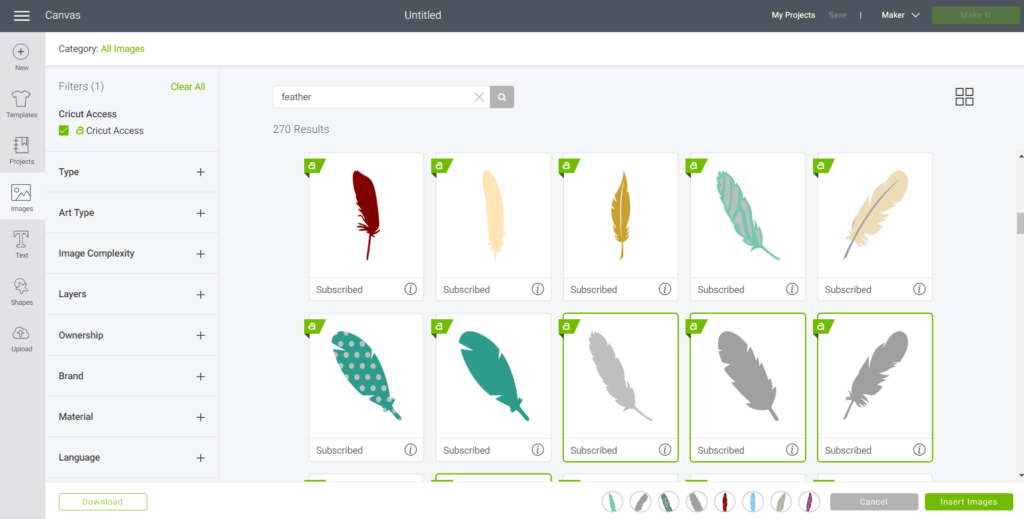
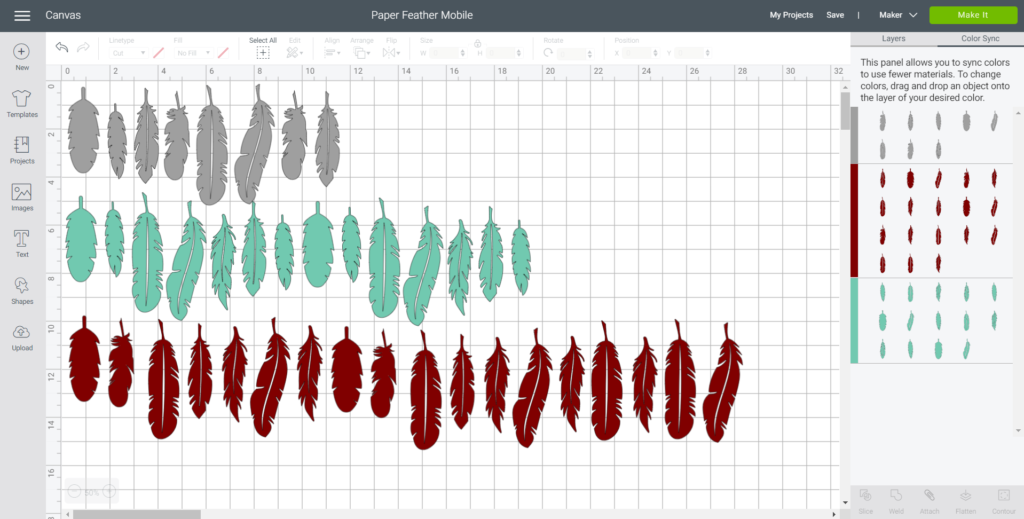
Duplicate the feathers four times to have a total of 36 feathers.
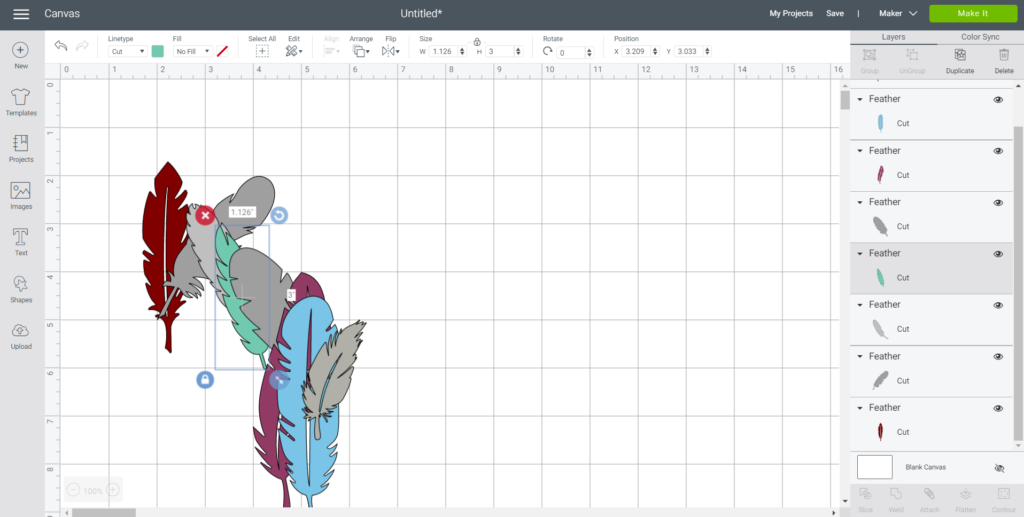
Maintain the size of the feathers, they range from 3.5” to 5”.
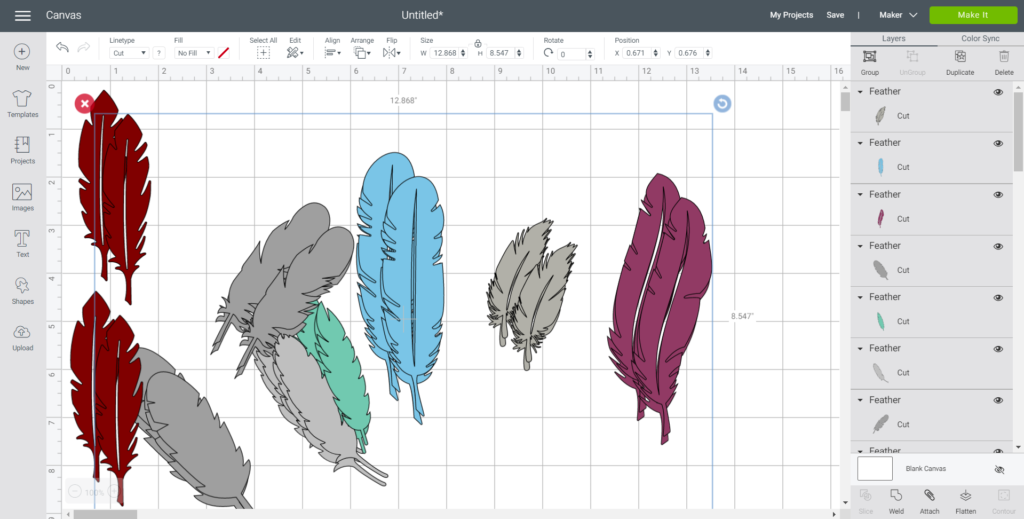
Move to the Color Sync tab to sort images by paper color. Cut the majority of feathers using the watery patterned paper and the least amount of feathers in the light blue geometric patterned paper.
Cutting the Paper Feathers
Select “Make It” in Design Space.
Set material type to medium weight cardstock.
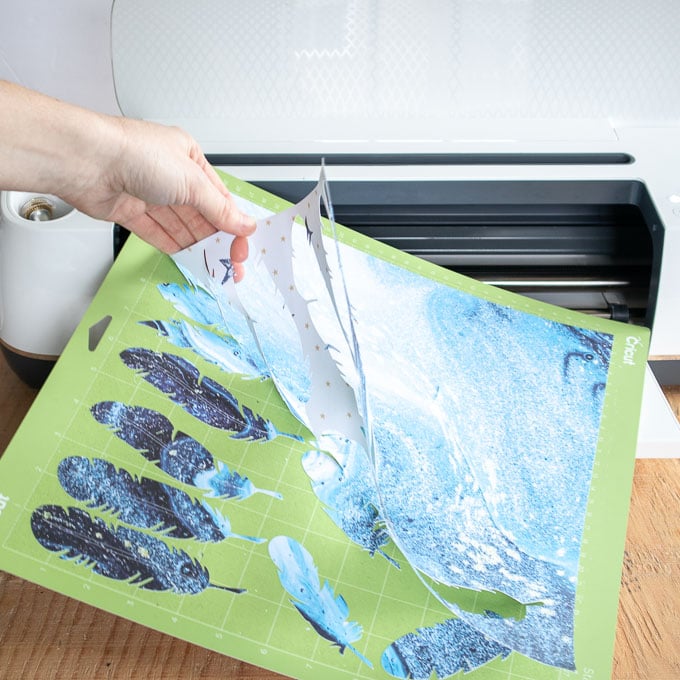
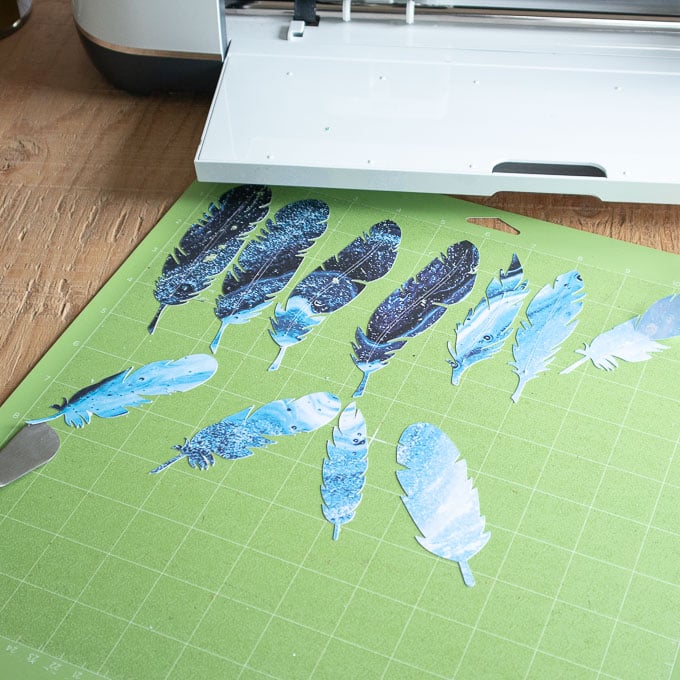
Place the first paper color onto the standard grip mat. Follow prompts for loading cardstock paper into Cricut Maker and cutting and when the cut is complete, unload the mat from the machine.
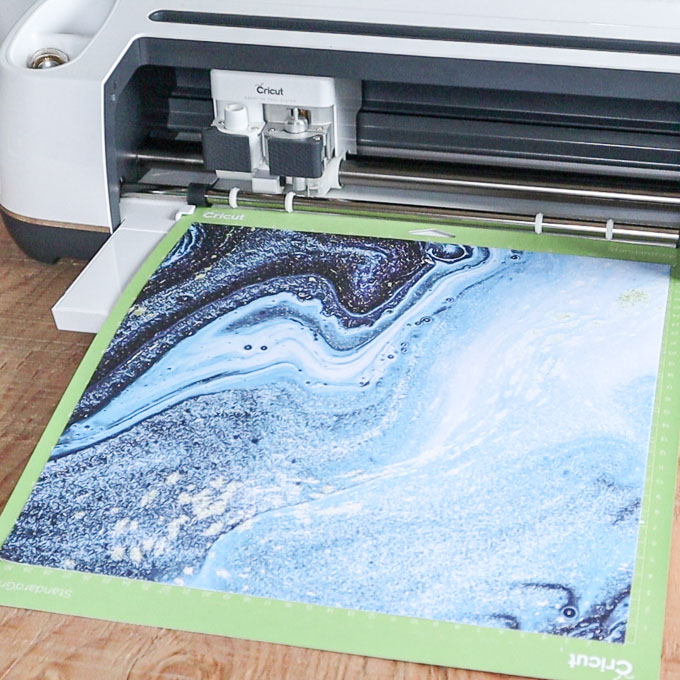
Remove the paper feathers from the cutting mat.
Repeat for the remaining feathers and papers.
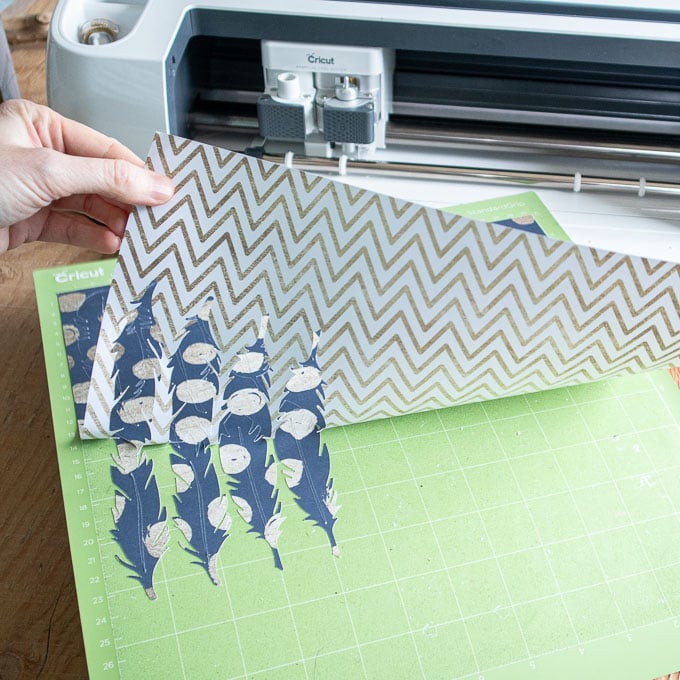
How to Assemble the Feather Wall Hanging
Prepare to hang 4 individual feathers along each strand.
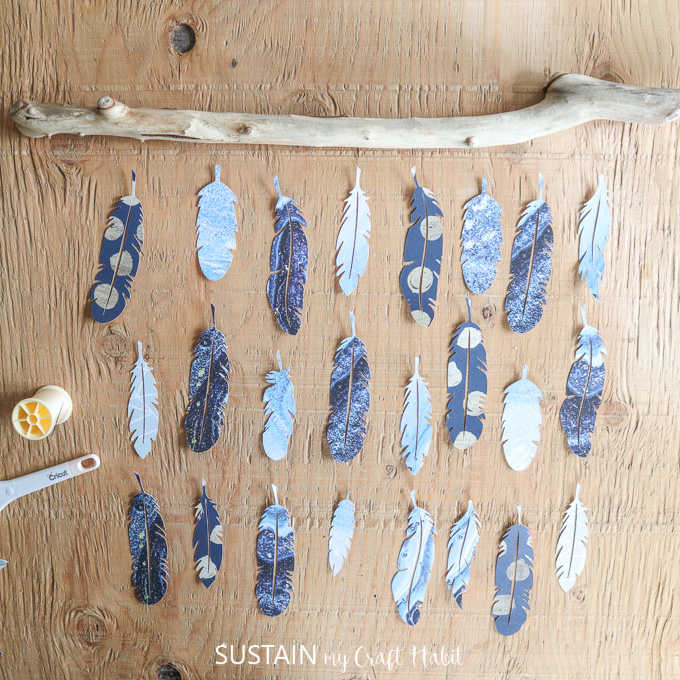
We found it easiest to assemble the piece with it hung on the wall, working one strand at a time.
Thread a needle with a long strand of fishing line approximately 40” long.
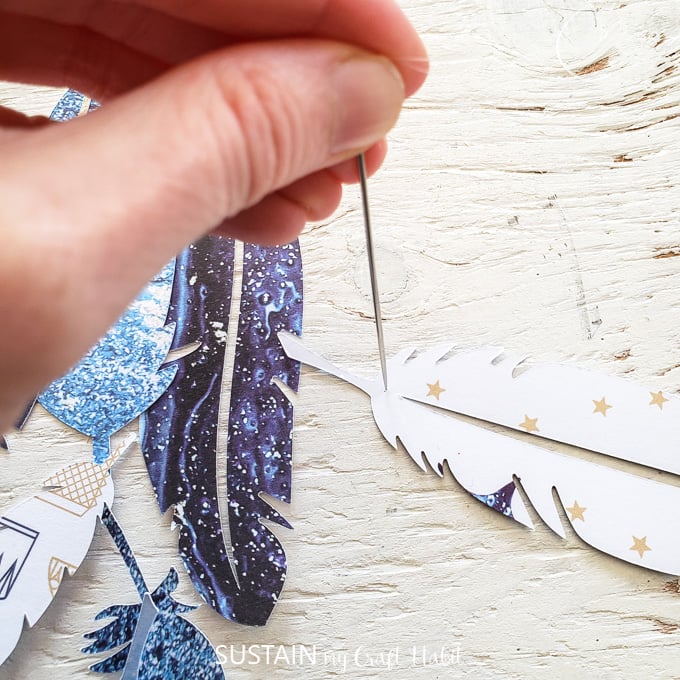
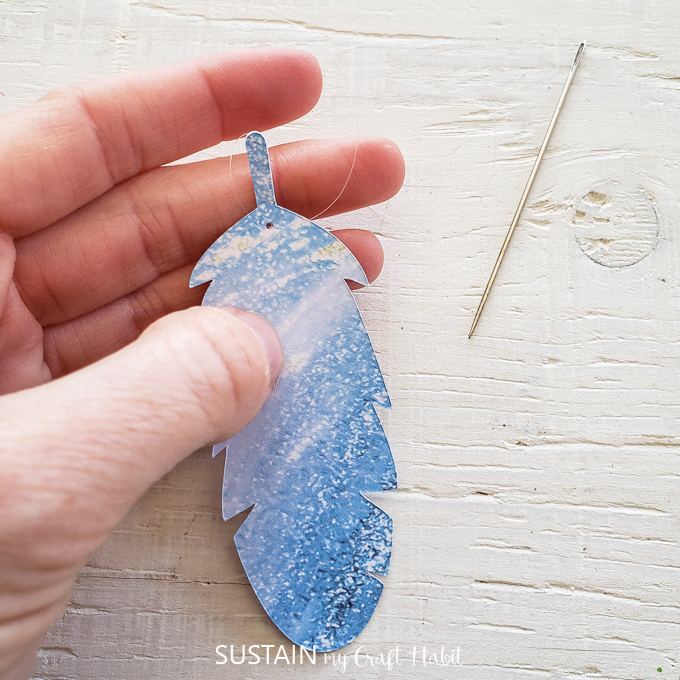
Poke a hole through the top of the paper feather and pull one end of the fishing line all the way through.
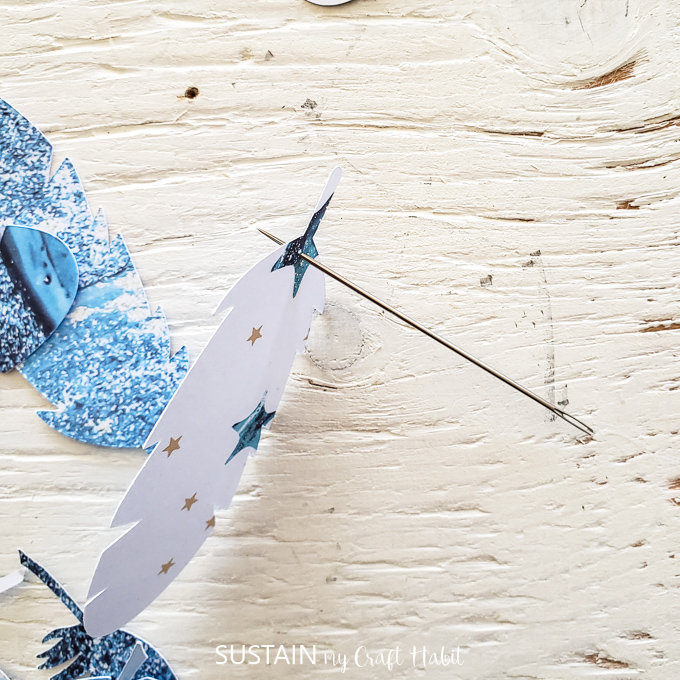
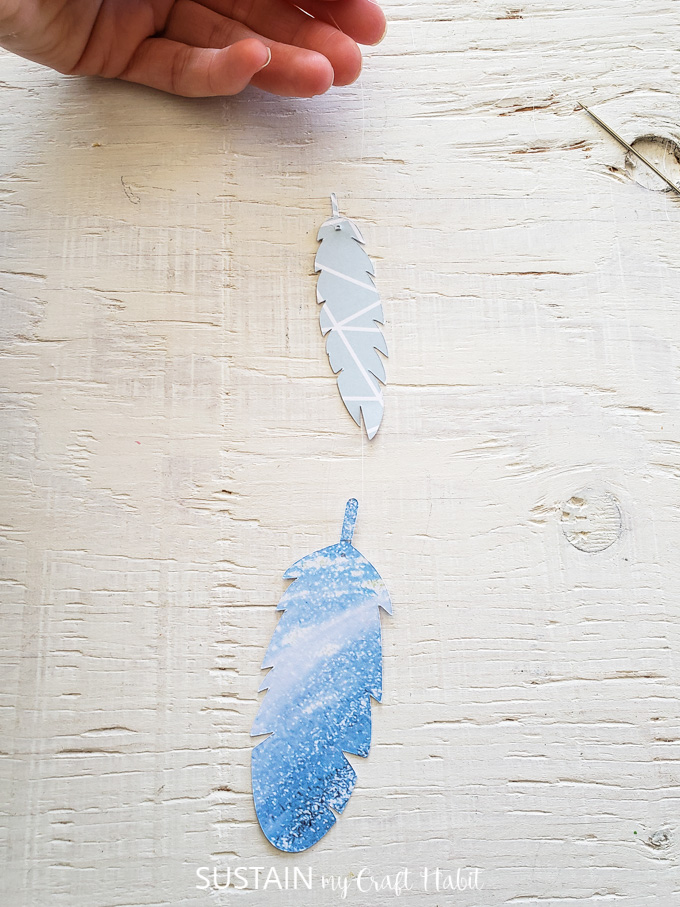
Join the ends of the fishing line together with the feather hanging on the line and thread both ends through the needle.
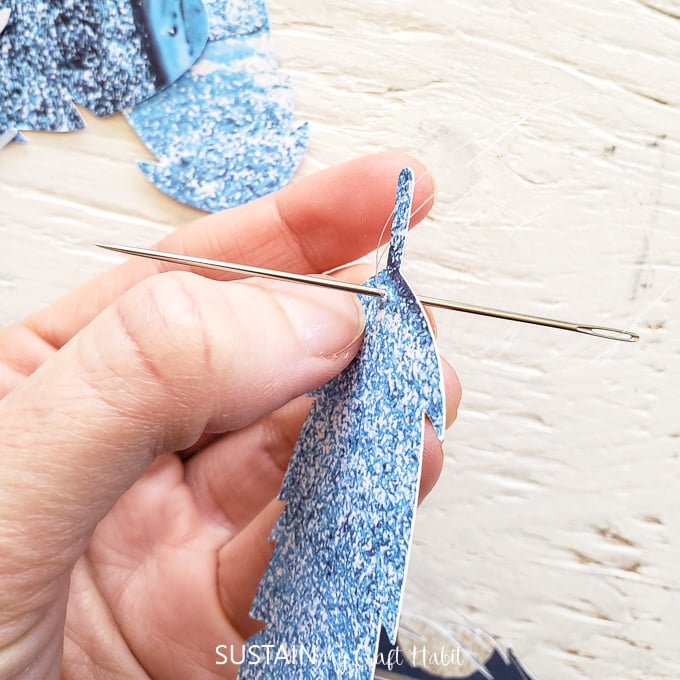
Next, poke the needle through the second feather pulling the line through. Loop the fishing line through the hole again to secure in place about 4” above the first feather.
Repeat for the third and fourth feathers.
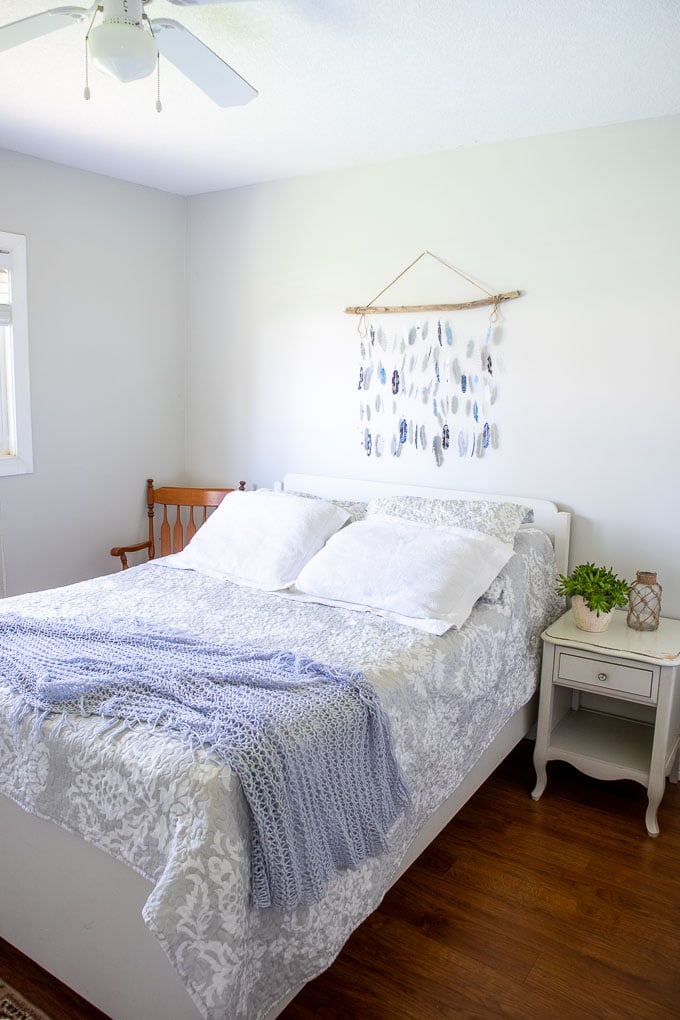
Tie the end of the fishing line to the driftwood and continue with the remaining strands. And that’s it, the feather wall hanging is complete!
For more paper craft ideas, check out this sweet cherry blossom paper flower arrangement and this pretty framed paper peonies.
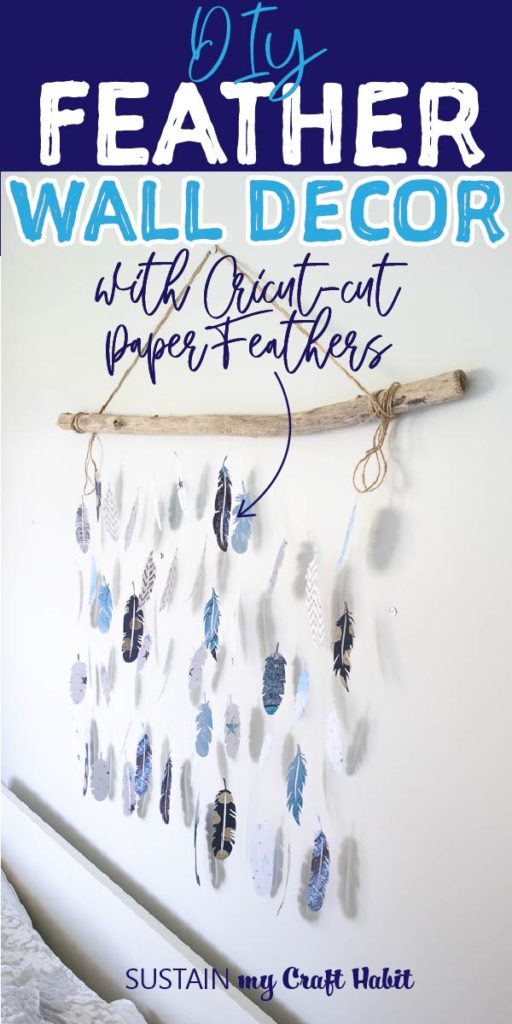
Like it? Pin it for later!
Pretty Paper Feather Wall Decor
Materials
- Cricut Maker
- Cricut Deluxe Paper Hostess with the Mostess Winter Sparkle, assorted papers
- Cricut Standard Grip Mat
- Cricut Design Space’s Feather Patterns variety of feather images
- Cricut Spatula
- Driftwood or tree branch measuring 24” long
- Fishing line
- Sewing needle
Instructions
- On a new canvas in Cricut’s Design Space, select Images from the toolbar and search "feathers."
- Choose a variety of feather images and insert on to a blank canavs,
- Duplicate the feathers four times to have a total of 36 feathers.
- Maintain the size of the feathers.
- Move to the Color Sync tab to sort images by paper color.
- With the machine set to Cricut Maker, select “Make It” in Design Space.
- Place the first paper color onto the standard grip mat.
- Follow prompts for loading cardstock paper into Cricut Maker and cutting. When the cut is complete, unload the mat from the machine and remove the paper feathers.
- Repeat for the remaining feathers and papers.
- To assemble the feather wall hanging, hang your piece of driftwood on the wall to work one strand at a time.
- Thread a needle with a long strand of fishing line and poke a hole through the top of the paper feather and pull one end of the fishing line all the way through.
- Next, poke the needle through the second feather pulling the line through. Loop the fishing line through the hole again to secure in place about 4” above the first feather.
- Repeat for the third and fourth feathers.
- Tie the end of the fishing line to the driftwood and continue with the remaining strands.



Lovely idea, thank you for more ideas with my cricut maker. The feathers are very tactile and I may use them for other projects now.