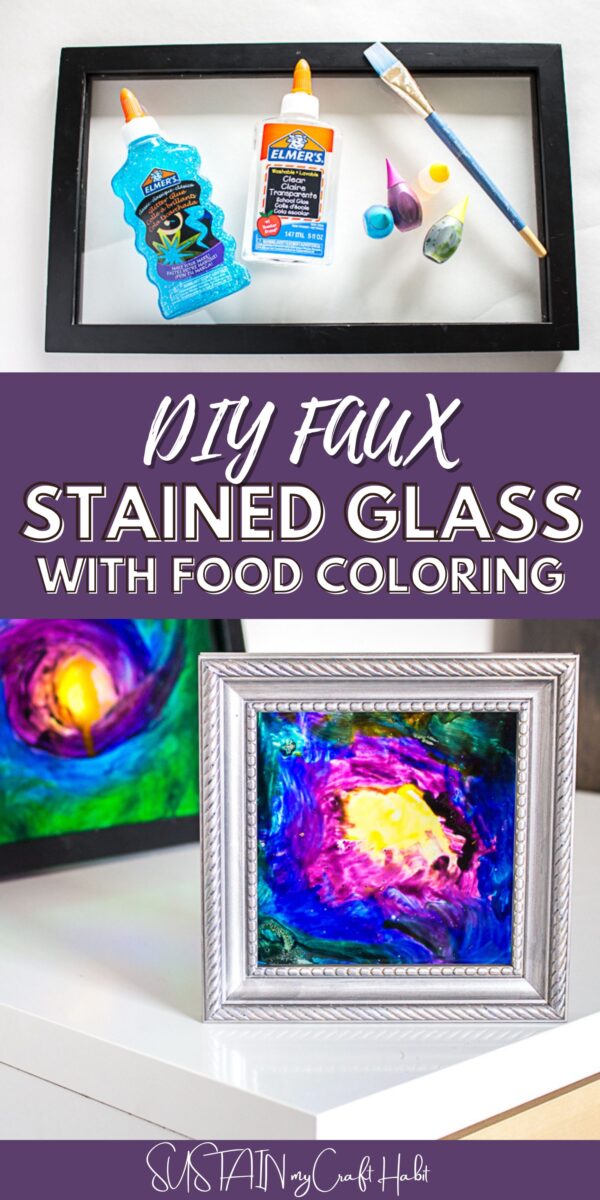
Easy DIY Faux Stained Glass with Food Coloring
This DIY faux stained glass project is not just fun for kids- it is fun for EVERYONE. If you are looking for a fun family night project, add this to your list right away!
Why is Faux DIY Stained Glass so great for kids?
This is hands down a great craft for kids because you can’t do it wrong. It is amazing when we come across crafts where we can’t mess up! If you have a kid that tends to paint realistically, they can do so here. Or if you have a kid that thinks a bit more abstractly, this is a good one for them too. If you have a young one that scribbles everywhere…well, we will count that as abstract!
This is great for adults too for this reason. So often we try to craft, and become hard on ourselves if it doesn’t match up with our expectations of a craft. This is one that we can go in with the expectation of just having a good time and see what comes of it.
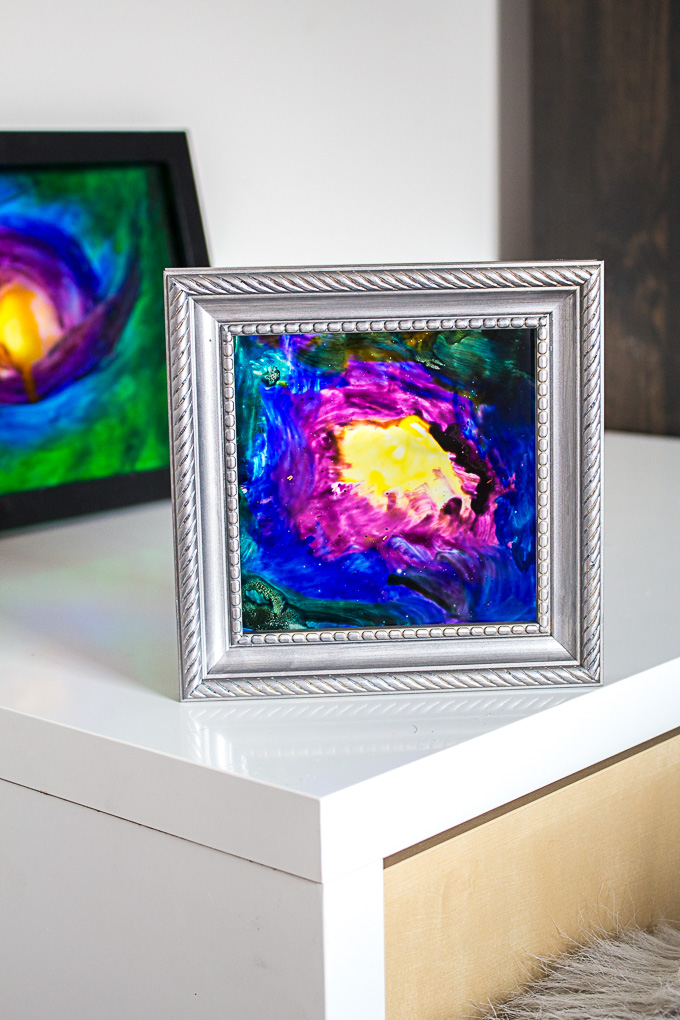
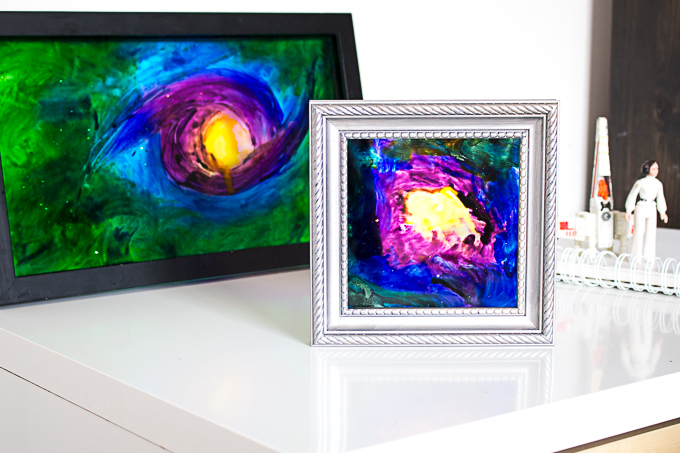
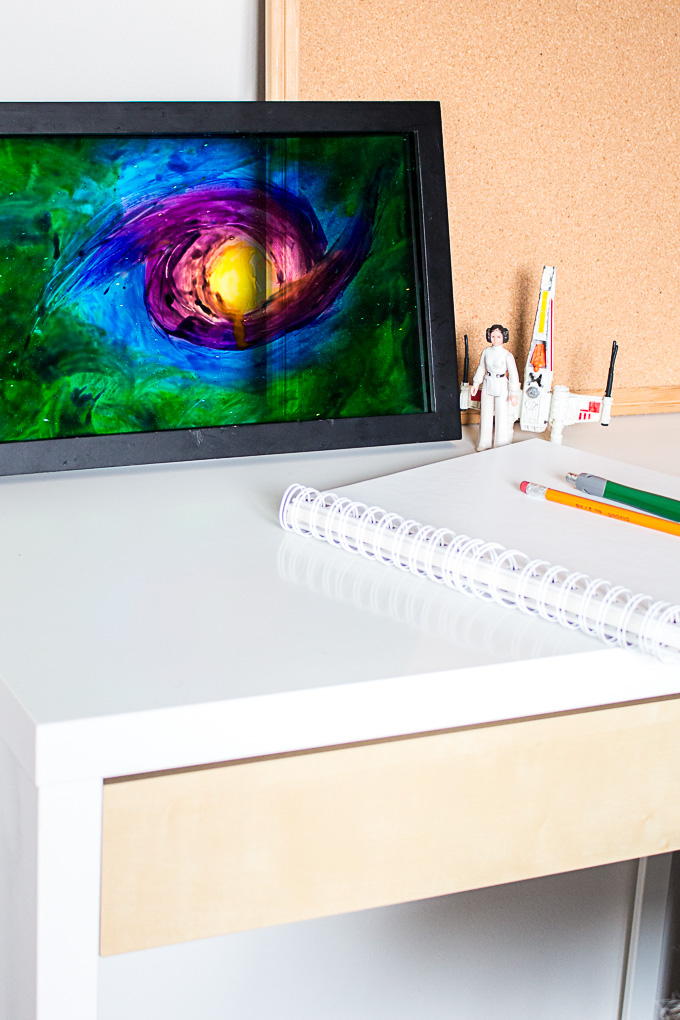
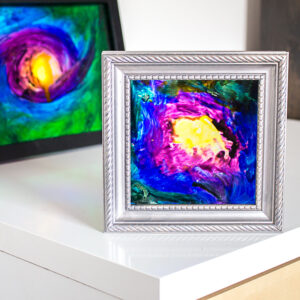
As you can see in the pictures, I tried to keep an outer space type of theme going on as we did it. However, you can truly create it any way you want!
Get updates on the latest posts and more from Sustain My Craft Habit straight to your inbox by joining our weekly newsletter. We promise to send you only the good stuff.
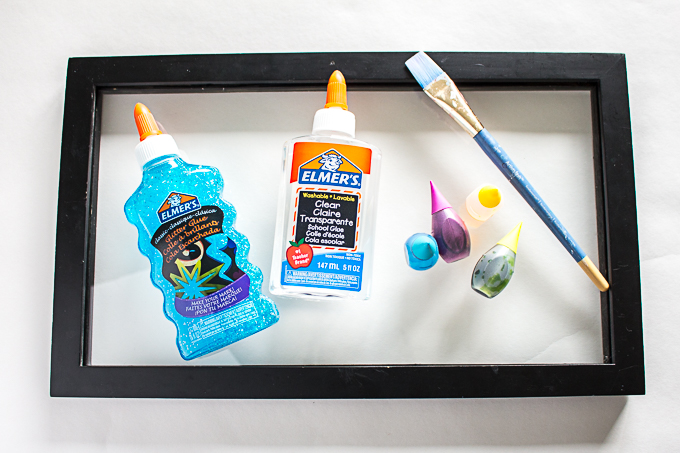
Materials Needed
Disclosure: This post contains affiliate links for your shopping convenience. Should you choose to purchase through them, we will make a small commission at no extra cost to you. You can read our full disclosure policy here.
- Backless Picture Frame
- Glitter glue (any color)
- Clear glue
- Food colouring (mix of blue, purple, yellow and green)
- Paint brushes, medium sized acrylic paint brushes
A few tips to get you started:
Protect the work surface with a sheet of newspaper or some plain paper.
You can wear gloves to avoid staining your fingers with food colouring but I found the dye washes away fairly easily.
How to Make an Easy DIY Faux Stained Glass with Food Coloring
Add clear glue to center of the glass. Add a couple of drops of food color to glue (we added yellow dye). Mix together on the glass using your paint brush.
Add glitter glue to surrounding area and add a few drops of food colour throughout (we added purple). It works best if you paint one colour at a time to avoid the colours mixing together and turning brown. Paint a few swirls to resemble outer space.
Continue working outwards adding new colours and mixing the existing colour on the glass. The more dye you add, the darker the result. It’s best to work fairly quickly so that the glue doesn’t harden before you had a chance to blend the joining colours.
If you’re not happy with the painting, you can easily wash it away with some warm water even after it’s dried fully. When you’re satisfied with the masterpiece, leave it to dry fully before placing in the frame.
Insert into frame and enjoy!
As this DIY faux stained craft can go in so many directions, we would love to see how yours turned out! Did you make just one, or a few? Show us them all or just your favourite by tagging us on Facebook or Instagram– we can’t wait to see it!
This craft originally appeared on Crafts by Amanda and you can find all the step by step photo instructions there.
More Art using Picture Frames
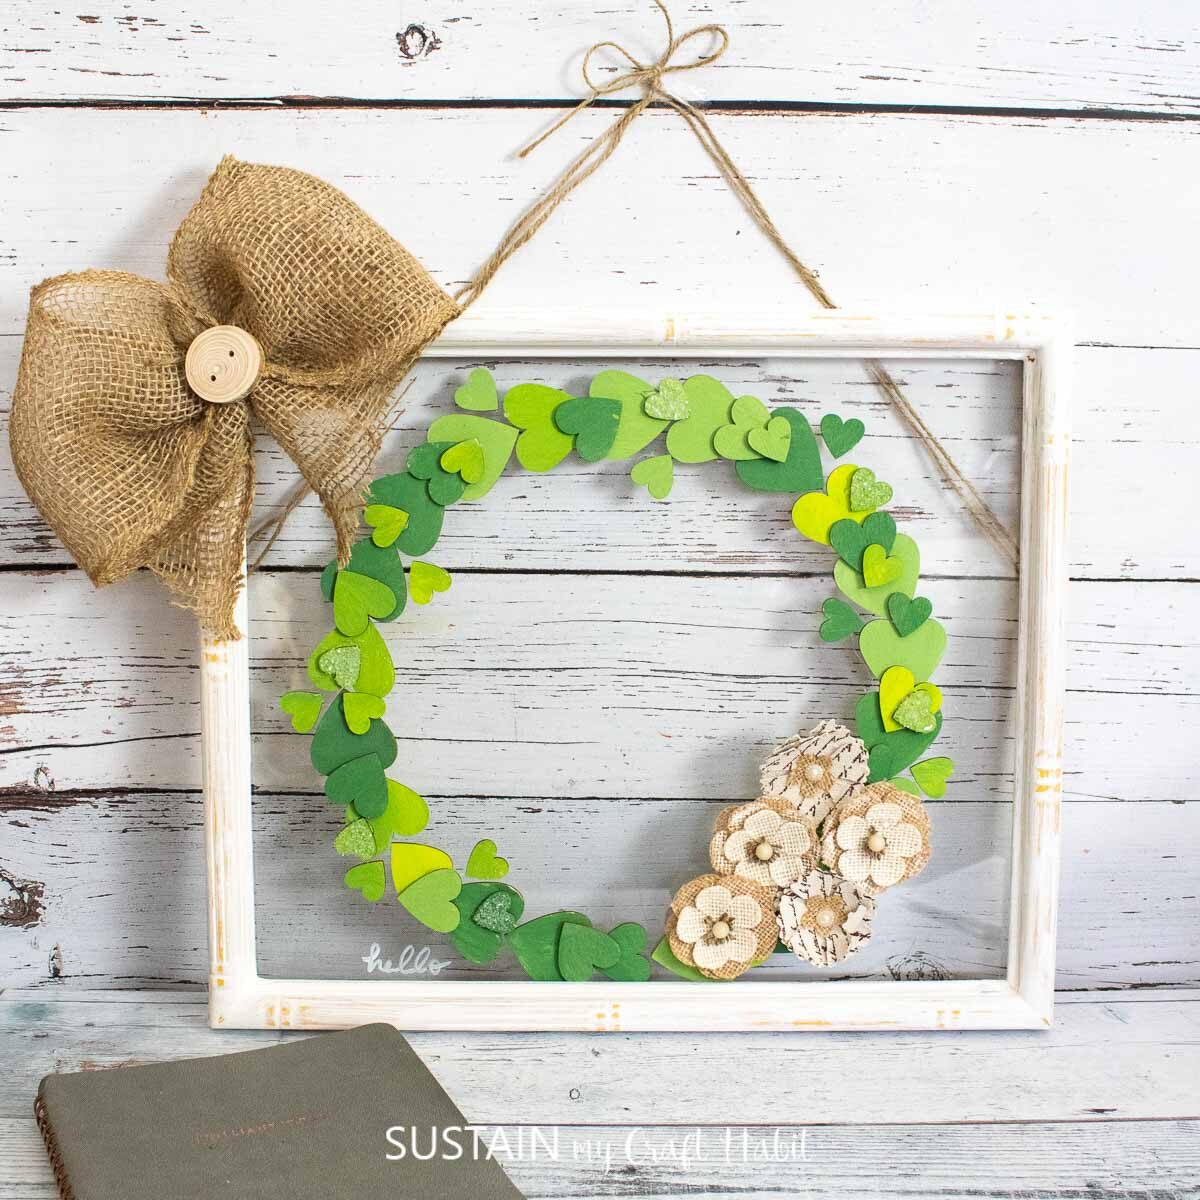
- Wood Heart Cutout Wreath with an Upcycled Picture Frame
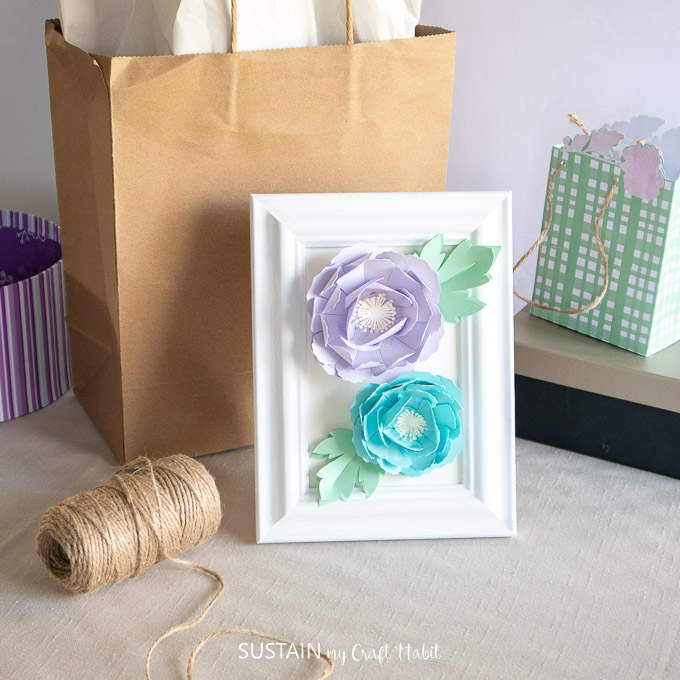
- Framed Paper Peony Flowers
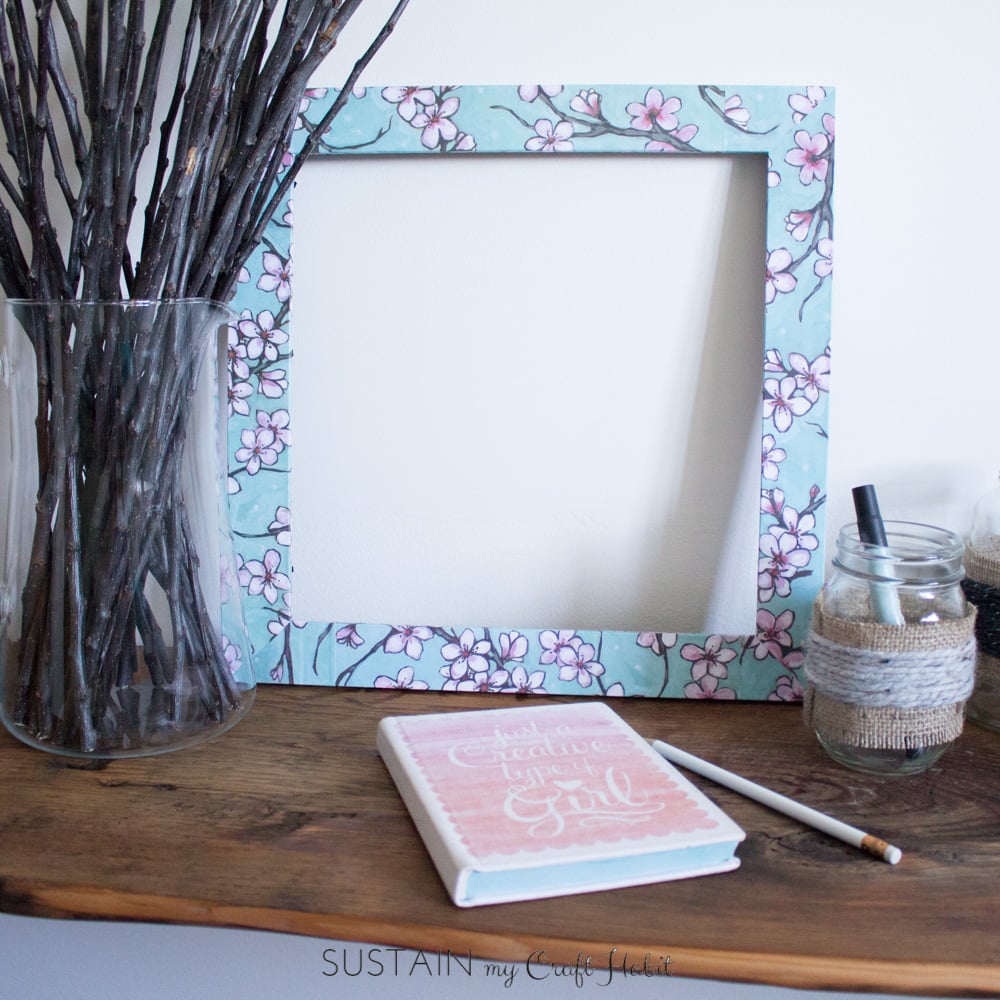
- Upcycling a Photo Frame with Mod Podge
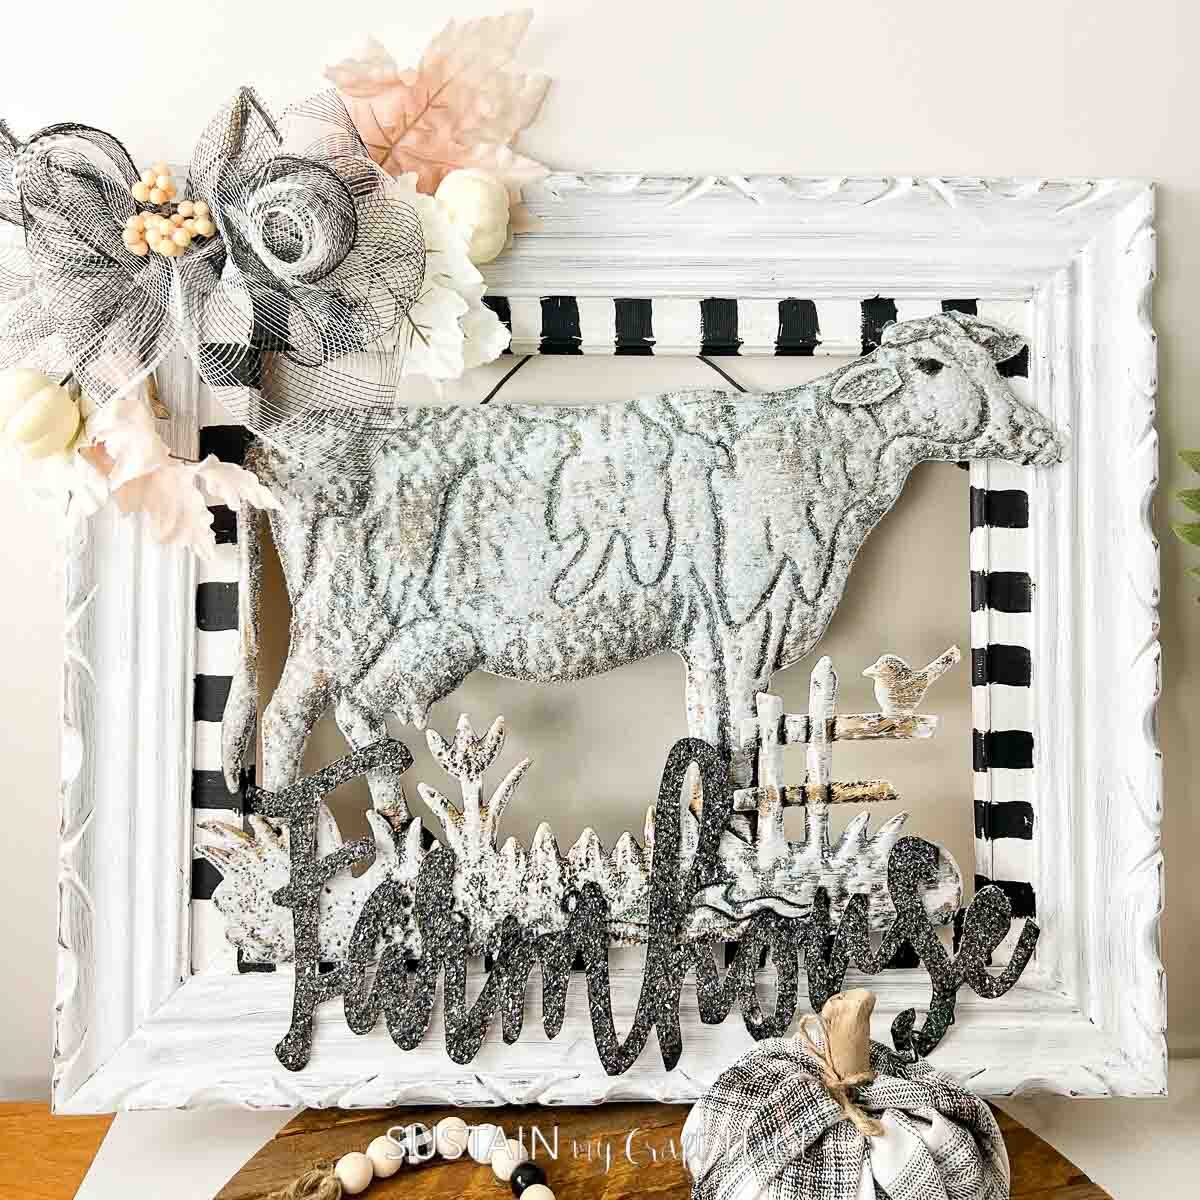
- Fabulous Farmhouse Craft
- Lovely Decoupage Seashells
Become a Sustain My Craft Habit insider to receive fun freebies!
Like it? Pin it for later!
Easy DIY Faux Stained Glass with Food Coloring
Materials
- Backless Picture Frame
- Glitter glue any color
- Clear glue
- Food colouring mix of blue, purple, yellow and green
- Paint brushes medium sized acrylic paint brushes
Instructions
- Add clear glue to center of the glass. Add a couple of drops of food color to glue (we added yellow dye). Mix together on the glass using your paint brush.
- Add glitter glue to surrounding area and add a few drops of food colour throughout (we added purple). It works best if you paint one colour at a time to avoid the colours mixing together and turning brown. Paint a few swirls to resemble outer space.
- Continue working outwards adding new colours and mixing the existing colour on the glass. The more dye you add, the darker the result. It’s best to work fairly quickly so that the glue doesn’t harden before you had a chance to blend the joining colours.
- If you’re not happy with the painting, you can easily wash it away with some warm water even after it’s dried fully. When you’re satisfied with the masterpiece, leave it to dry fully before placing in the frame.
- Insert into frame and enjoy!