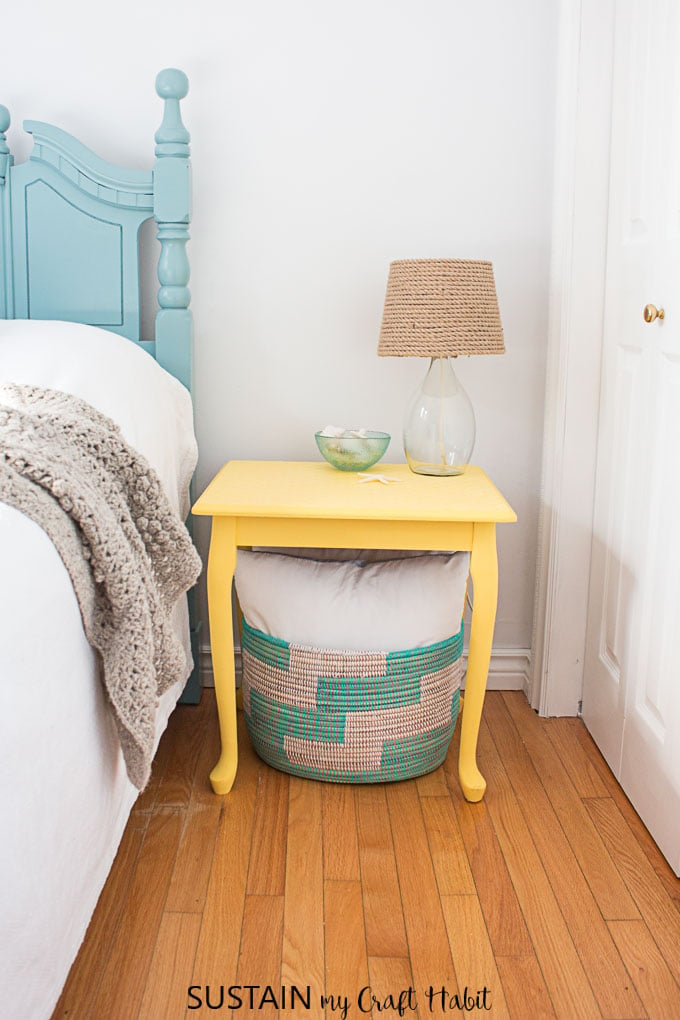
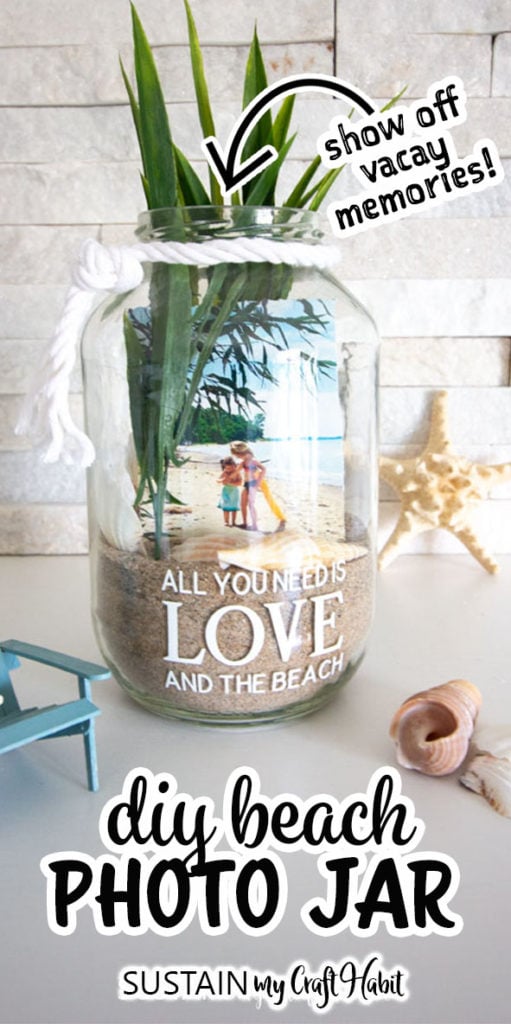
Beach-in-a Jar Photo Display
A sweet alternative to a traditional photo frame, create your own beach-in-a-jar photo display to show your precious Summer vacation memories.
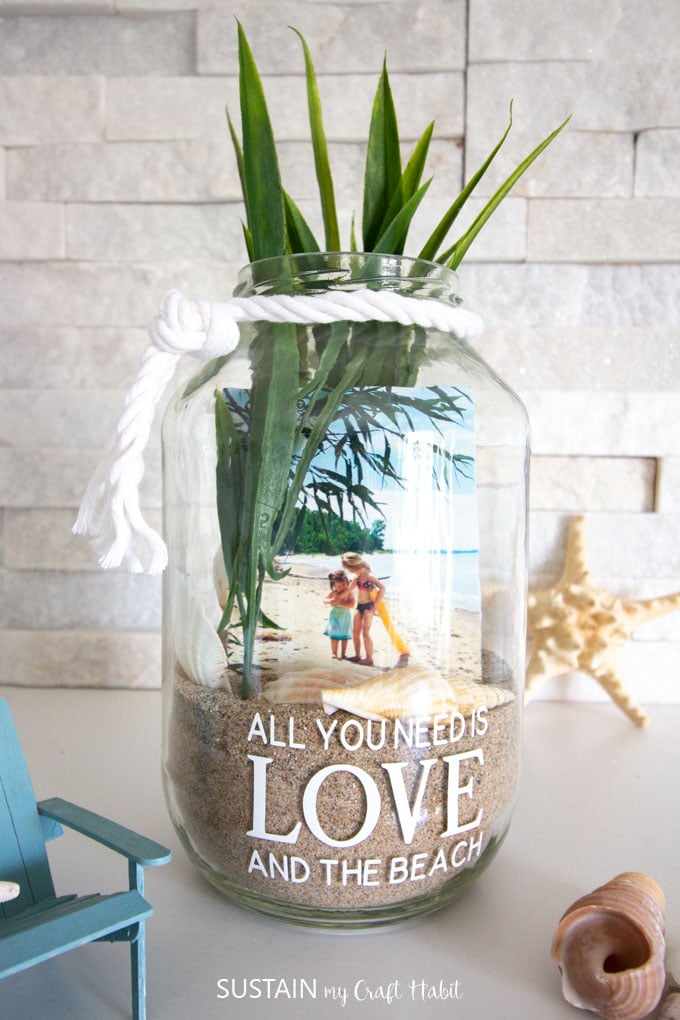
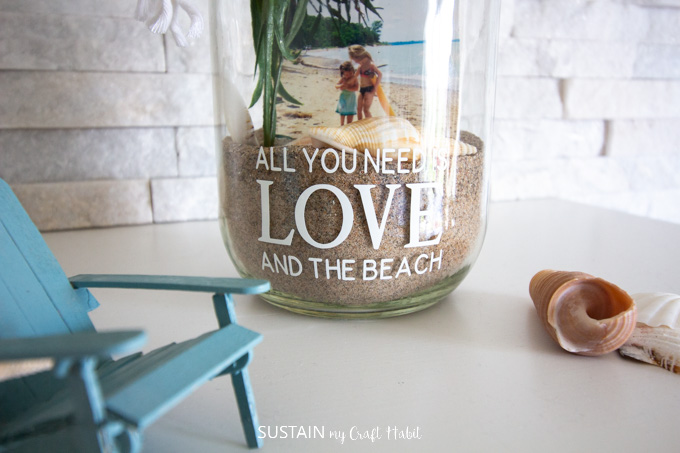
All you Need is Love (and the Beach)!
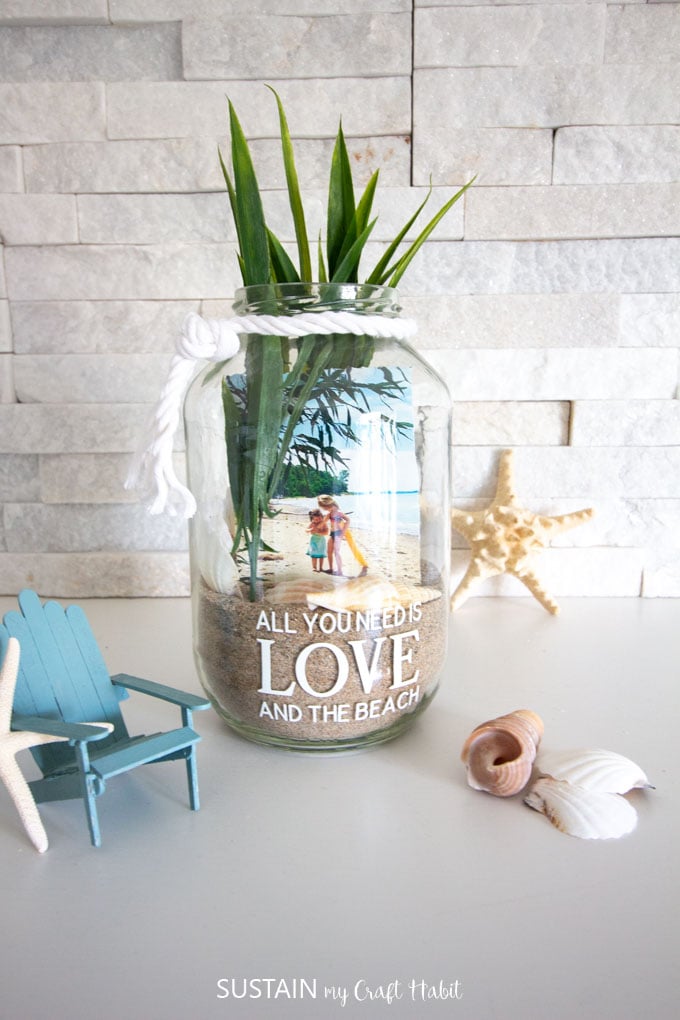
In our house, anything that reminds us of the beach is always welcome! Over the years we’ve taken so many wonderful family photos of time spent at the beach, it’s a shame to keep them all stored on the computer. So this simple photo display jar was a fun and creative way to show off some of those special photos. Each time we look at the beach in a jar, we are reminded of the good times.
We used our Cricut Maker to cut the lettering in white premium vinyl – we found the image template in Design Space. There are so many fun beach phrases to choose from but this one seems to capture our feeling perfectly!
And what a fun way of displaying seashells, sand and rocks in a jar from a special vacation! We hope you enjoy this beach memory jar idea.
Check out the video here for making this DIY Beach Photo Display Jar or scroll down below for the step by step tutorial.

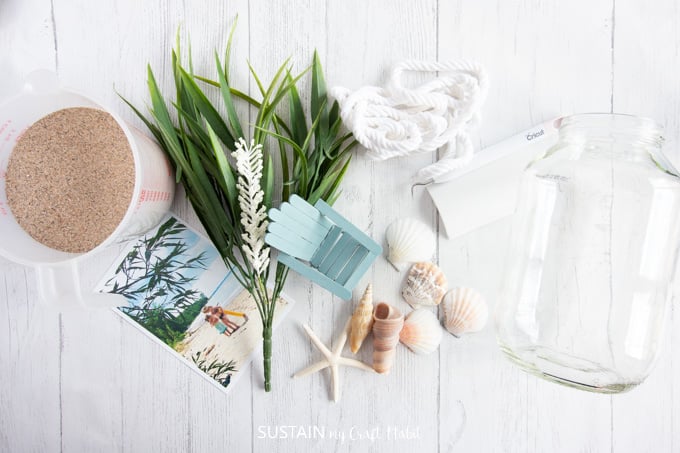
Materials Needed to make the Beach-in-a-Jar Photo Display
Disclosure: This post contains affiliate links for your shopping convenience. Should you choose to purchase through them, we will make a small commission at no extra cost to you. You can read our full disclosure policy here.
- A large glass jar (I used a 24oz pickle jar)
- Everyday Vinyl in white
- Cricut Maker or other precision cutting machine
- “All You Need is Love and the Beach” project template in Design Space
- Transfer tape
- Sand, clean and dry
- Photo of choice, printed and cut to fit inside the jar
- Sea shells
- Faux greenery
- Cotton corded rope in white, 1/2″ thick
How to make a Beach Photo Display Jar
Preparing the Glass Jar
Thoroughly wash out the jar and remove any labels. If warm soap and water doesn’t remove the labels entirely, a product such a Goo-Gone works well. Put the clean jar aside for the time being.
If you have a Cricut Maker or other precision cutting machine, you can create a fun vinyl decal to stick on to the mason jar such as the one we applied to ours.
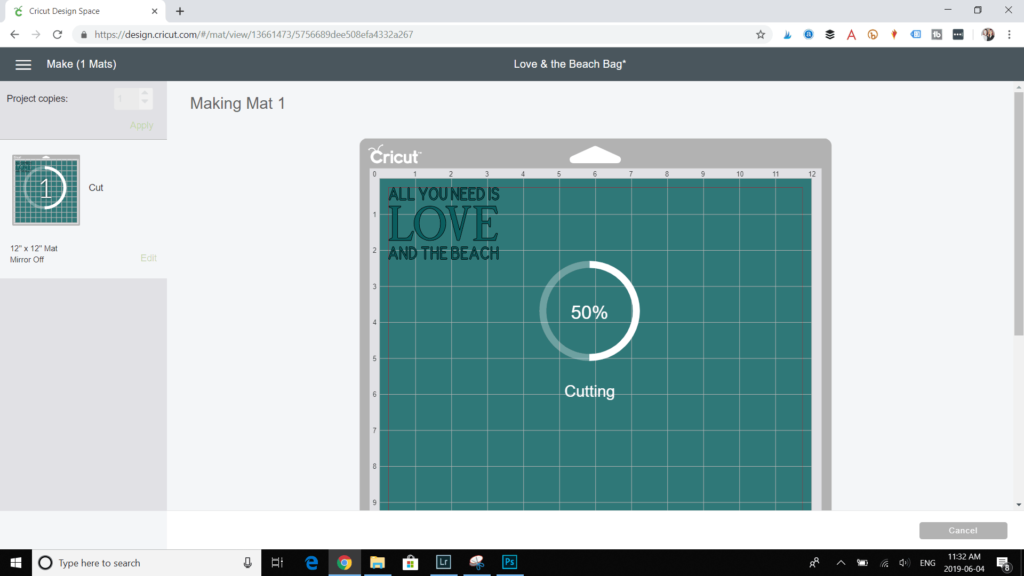
Open the Design Space site and upload the “All You Need Is Love and the Beach” project template.
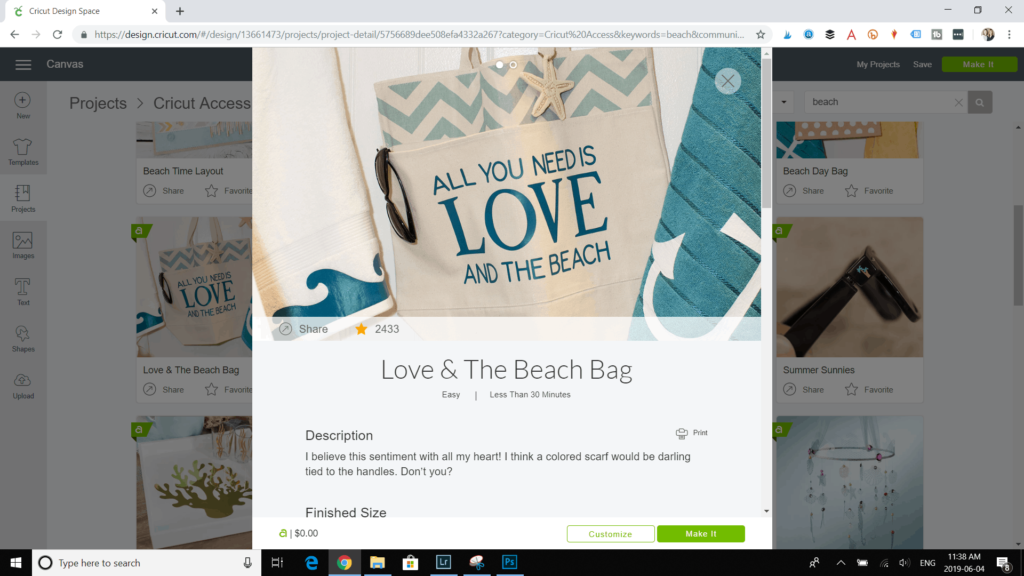
Following the instructions on the screen, select “Customize” to adjust the size of the phrase in order for it to fit on the mason jar. The original pattern is sized to 10.6″wide x 6.9″high which is too large for this photo jar project.
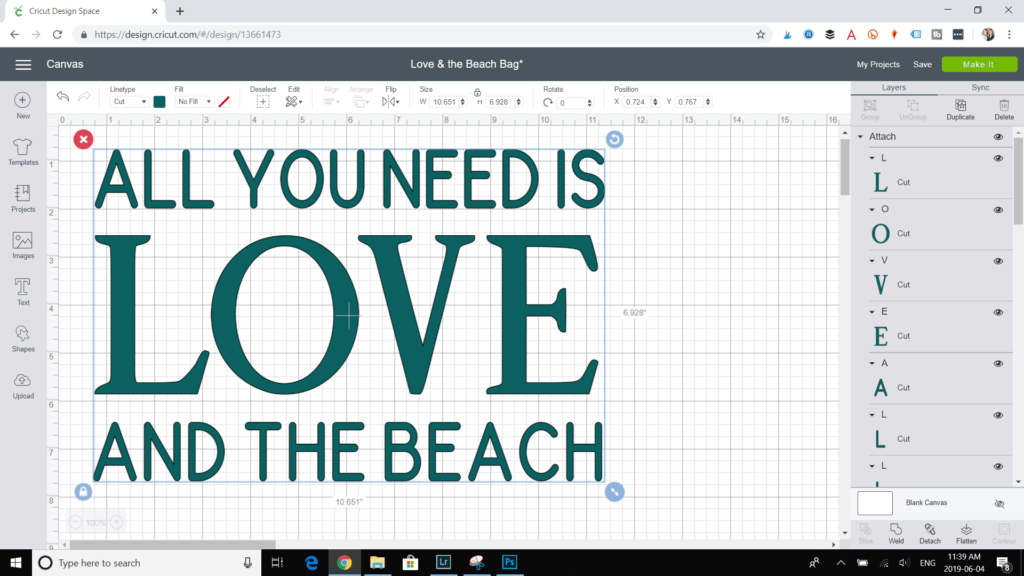
In the toolbar, adjust the width of the template to 3”wide x 2” high or another suitable size to fit your own jar.

Click “Make It” and select Everyday Vinyl from the list of materials.
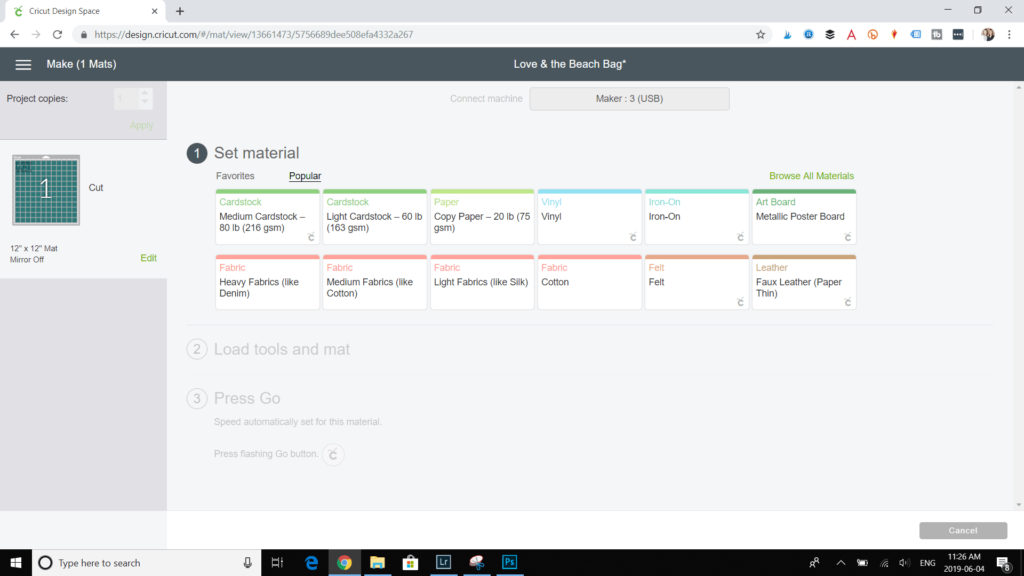
Place the white Everyday Vinyl on the standard grip mat and load it into the cutting machine.
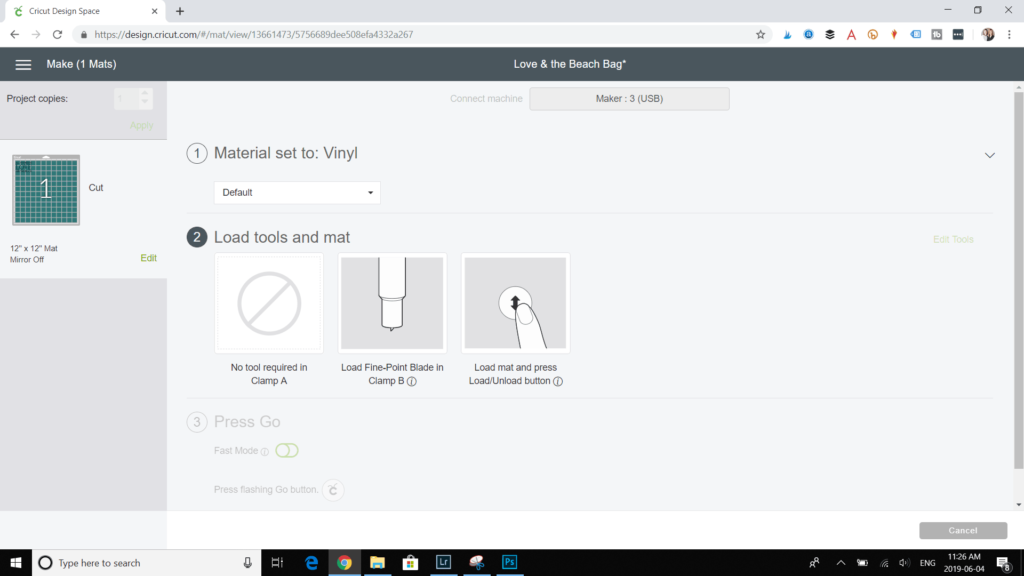
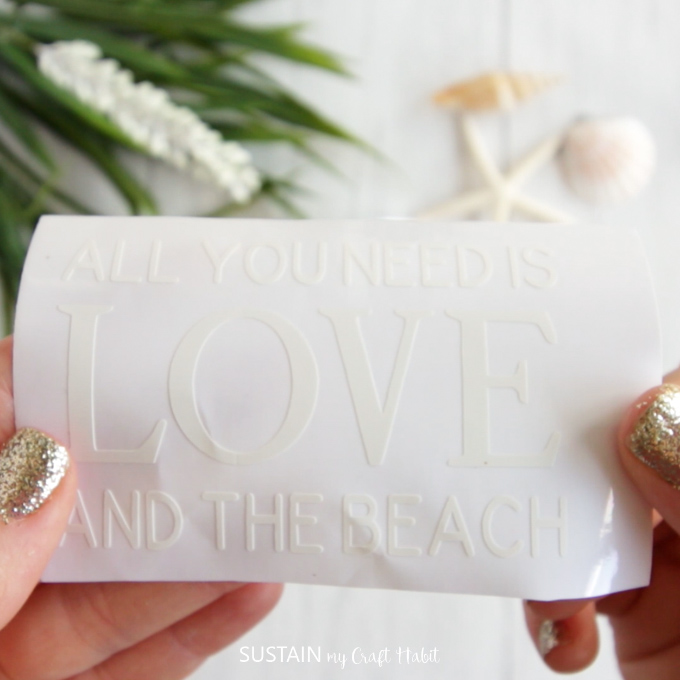
Cut out the phrase on a piece of white Everyday Vinyl using your Cricut Maker or Explore cutting machine.
When done cutting and mat is unloaded, weed out the decal discarding the excess vinyl and keeping only the lettering needed.
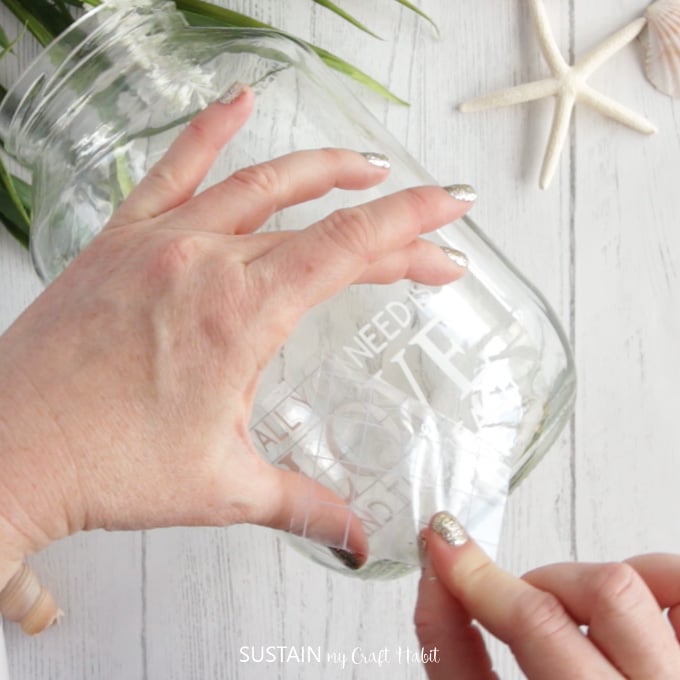
Apply a piece of transfer tape to the lettering and remove the backing from the vinyl.
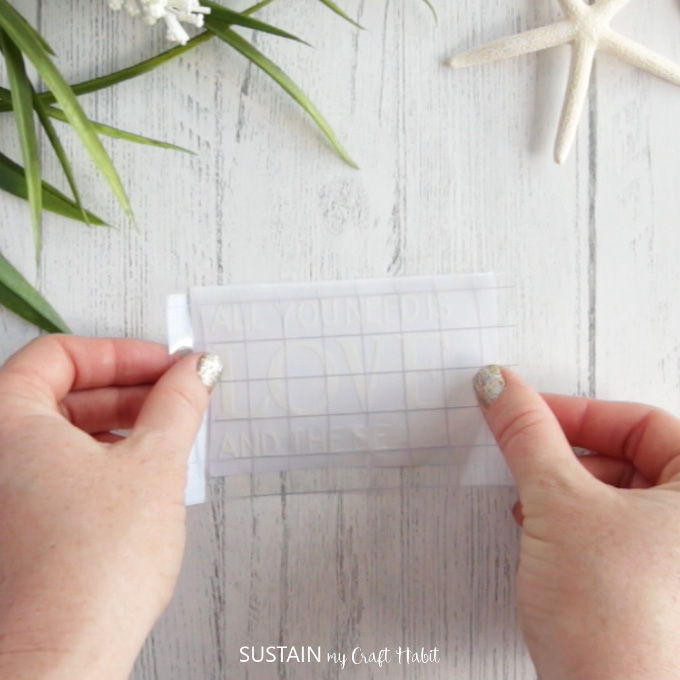
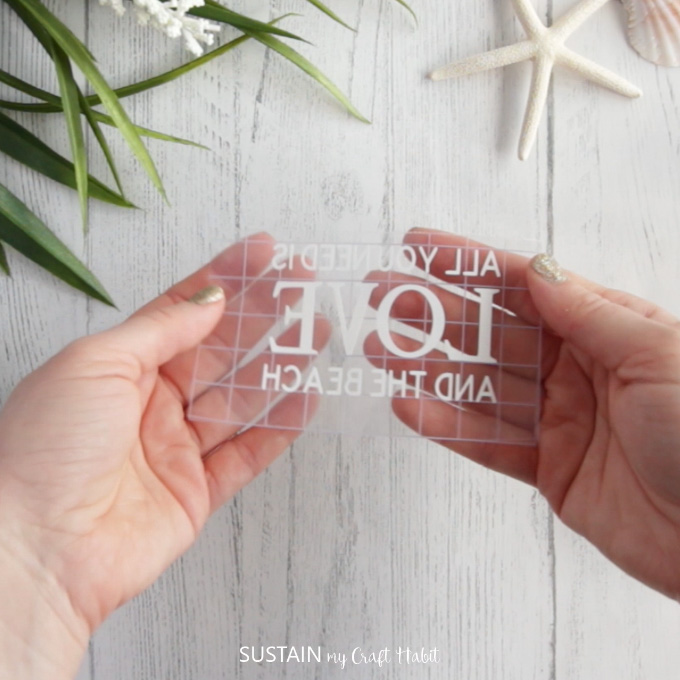
Apply the vinyl transfer to the bottom third of the glass jar and carefully remove the transfer tape.
Assembling the Photo Jar
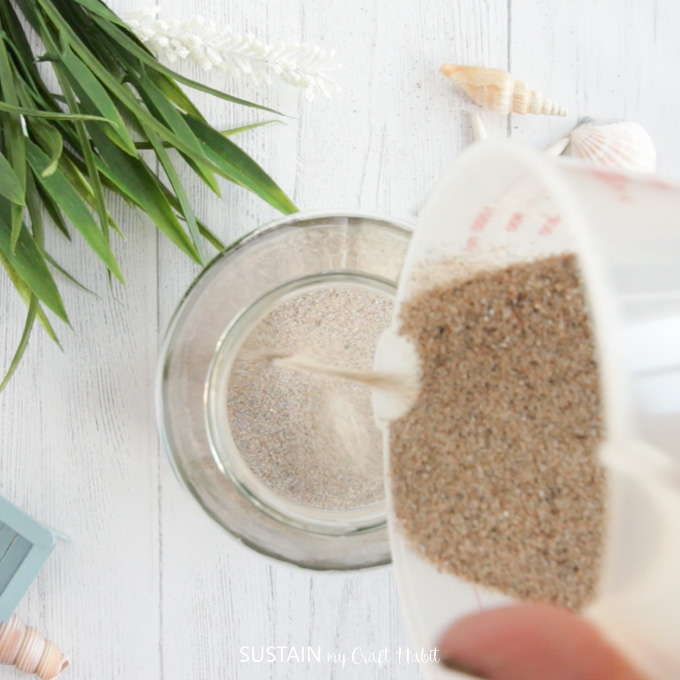
Fill one-third of the jar with clean, dry sand.
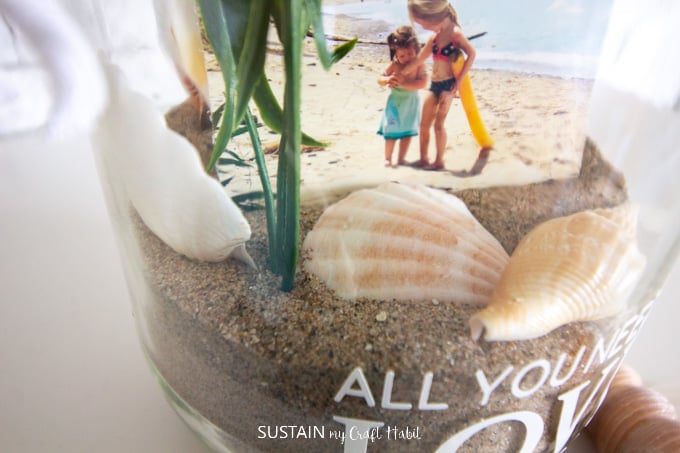
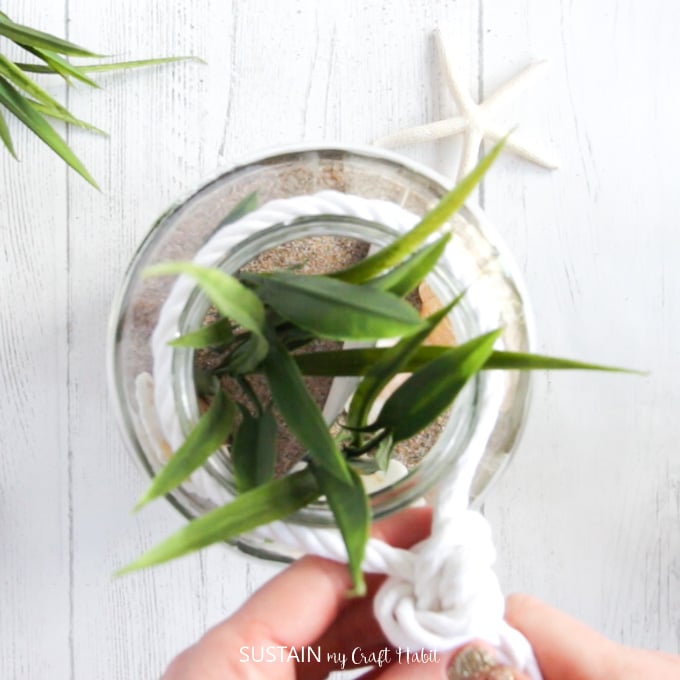
Cut down your photo of interest to a size that will fit well inside the jar and place it standing up in the sand. Insert your faux greenery in front and in behind the photo.
Add in the seashells to your beach-in-a-jar. Or you could also use other embellishments such as seaglass or beach stones.
Tie some decorative cotton rope around the neck of the jar for an added touch.
And that’s it! You have a beautiful and original way of displaying your Summer vacation memories as well as sand and shells from your vacation. I may actually make a few more of these to create a whole little summer vacation photo vignette.
If you like this idea, see how we made one for Christmas memories as well!
This project originally appeared on Crafts by Amanda. For more creative photo display options, check out these posts: DIY photo coasters with resin; and upcycled rustic photo frame.
Like it? Pin it for later!
Beach Photo Jar
Materials
- Large glass jar
- Everyday Vinyl in white
- Cricut Maker or other precision cutting machine
- “All You Need is Love and the Beach” project template in Design Space
- Sand clean and dry
- Photo of choice printed and cut to fit inside the jar
- Sea shells
- Faux greenery
- Cotton corded rope in white 1/2″ thick
- Transfer tape
Instructions
- Thoroughly wash out the jar and remove any labels
- If you have a Cricut Maker, Silhouette or other precision cutting machine, you can create a fun vinyl decal to stick on to the mason jar.
- You can open the Cricut Design Space site and upload the “All You Need Is Love and the Beach” project template.
- Select “Customize” to adjust the size of the phrase in order for it to fit on the mason jar.
- Click “Make It” and select Everyday Vinyl from the list of materials.
- Place the white Everyday Vinyl on the standard grip mat and load it into the cutting machine.
- Cut out the phrase on a piece of white Everyday Vinyl using your Cricut Maker or Silhouette cutting machine.
- When done cutting and mat is unloaded, weed out the decal discarding the excess vinyl and keeping only the lettering needed.
- Apply a piece of transfer tape to the lettering and remove the backing from the vinyl.
- Apply the vinyl transfer to the bottom third of the glass jar and carefully remove the transfer tape.
- To assemble the Beach Photo Jar, fill one-third of the jar with clean, dry sand.
- Place your photo of interest inside the jar and place it standing up in the sand. Insert your faux greenery in front and in behind the photo.
- Add in the seashells
- Tie some decorative cotton rope around the neck of the jar for an added touch. And that’s it!