Free Hanging Tea Towel Sewing Pattern
If you’re tired of tea towels sliding off oven handles or ending up in a…
If you’re tired of tea towels sliding off oven handles or ending up in a heap on the counter, this DIY hanging tea towel is about to earn its place in your kitchen. It turns a regular towel into one that stays put, looks neat, and actually gets used!
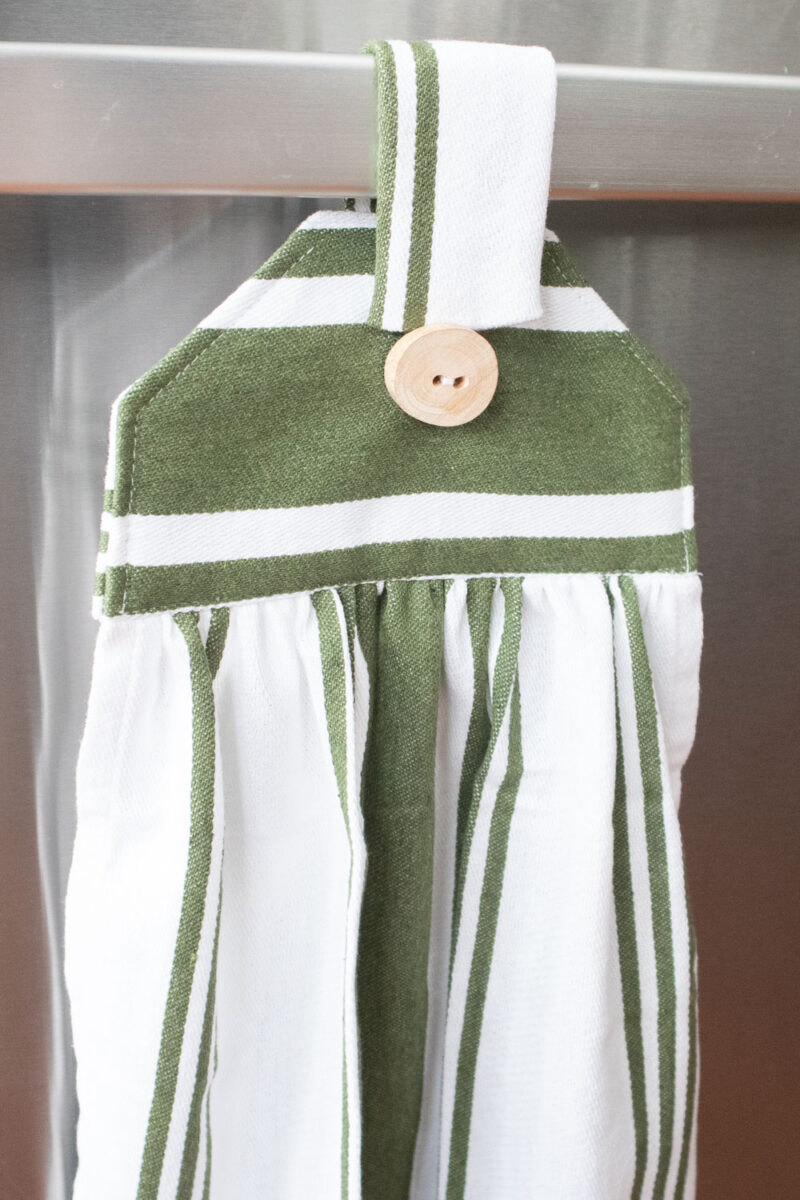
This free hanging tea towel sewing pattern is quick, beginner-friendly, and works with scraps you probably already have. I love it for busy kitchens, small spaces, and gift giving when you want something useful, not fussy.
Below you’ll find clear step-by-step instructions, plus ideas to tweak the look and make it your own. Grab your fabric, thread your machine, and let’s get started!
- Looking for a different style? Check out our no-slip kitchen towel pattern as well!
Why You’ll Love This Sewing Project
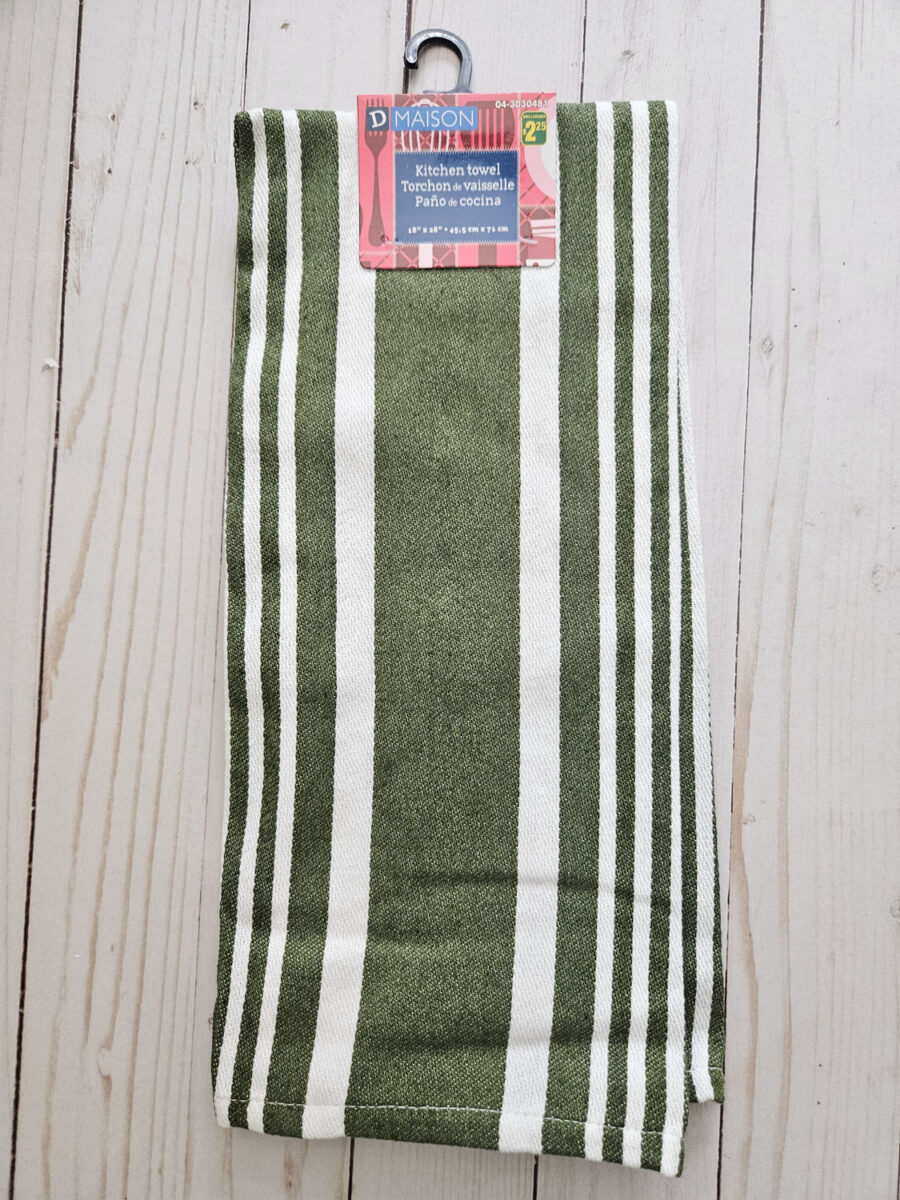
- Uses easy, inexpensive materials (we picked up this tea towel from the Dollar Store for CAD$2!)
- A full step-by-step tutorial that’s beginner friendly
- Makes a practical upgrade for everyday kitchen use
- Great handmade gift idea for housewarmings or holidays
- Customisable with fabric, buttons, or snaps to suit your style
Let’s stay in touch! Subscribe for our latest sewing patterns, tutorials and tips.
Materials Needed
Find all of our sewing favorites on Amazon.
- 100% cotton tea towel
- Sewing machine and matching thread
- Fabric scissors
- Fusing (interfacing)
- Button
- Elastic, ¼” wide
- Hanging Tea Towel Sewing Pattern Template
How to Sew this Hanging Tea Towel: How To Instructions
Cut 10” off the short end of the tea towel. Put the longer end aside for the time being.
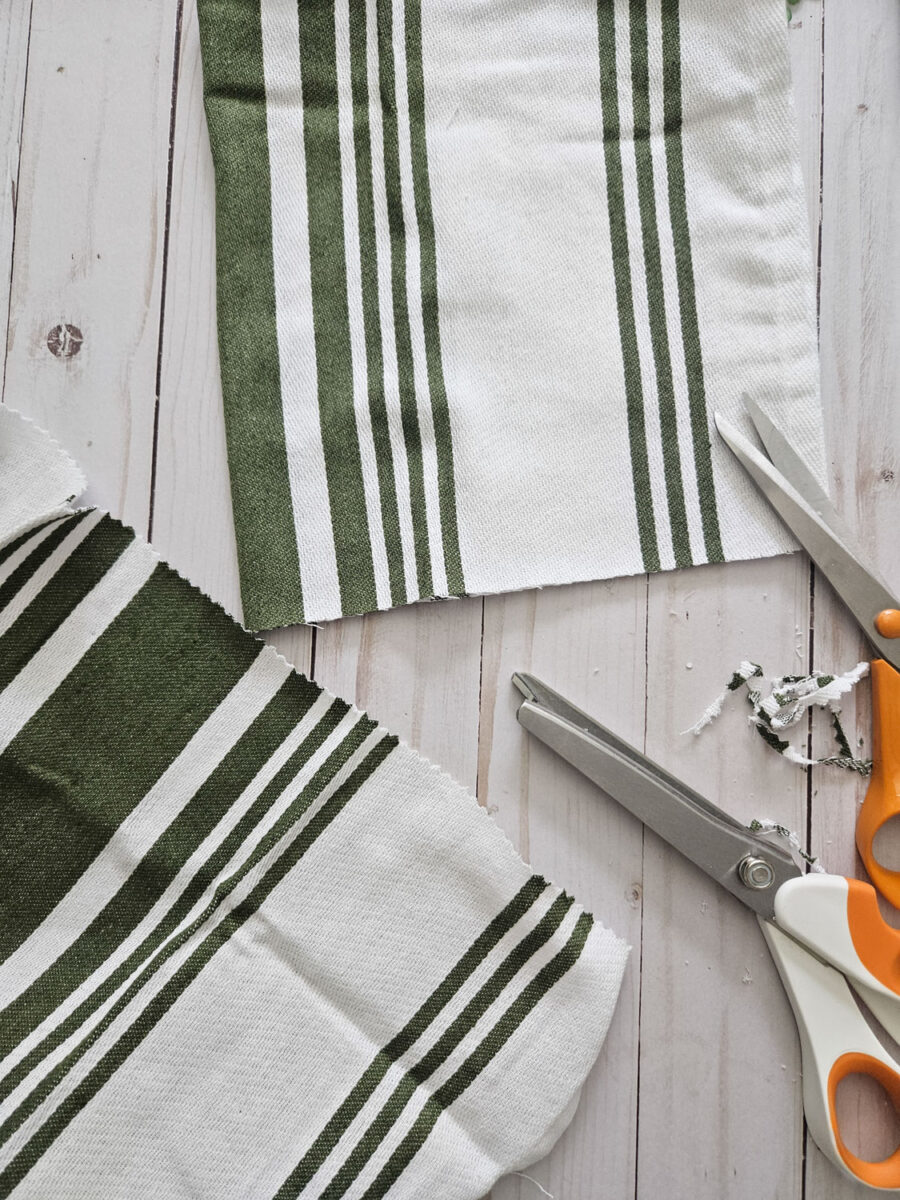
Print off the pattern template and use it to cut the tab pieces from the 10″ cut off piece.
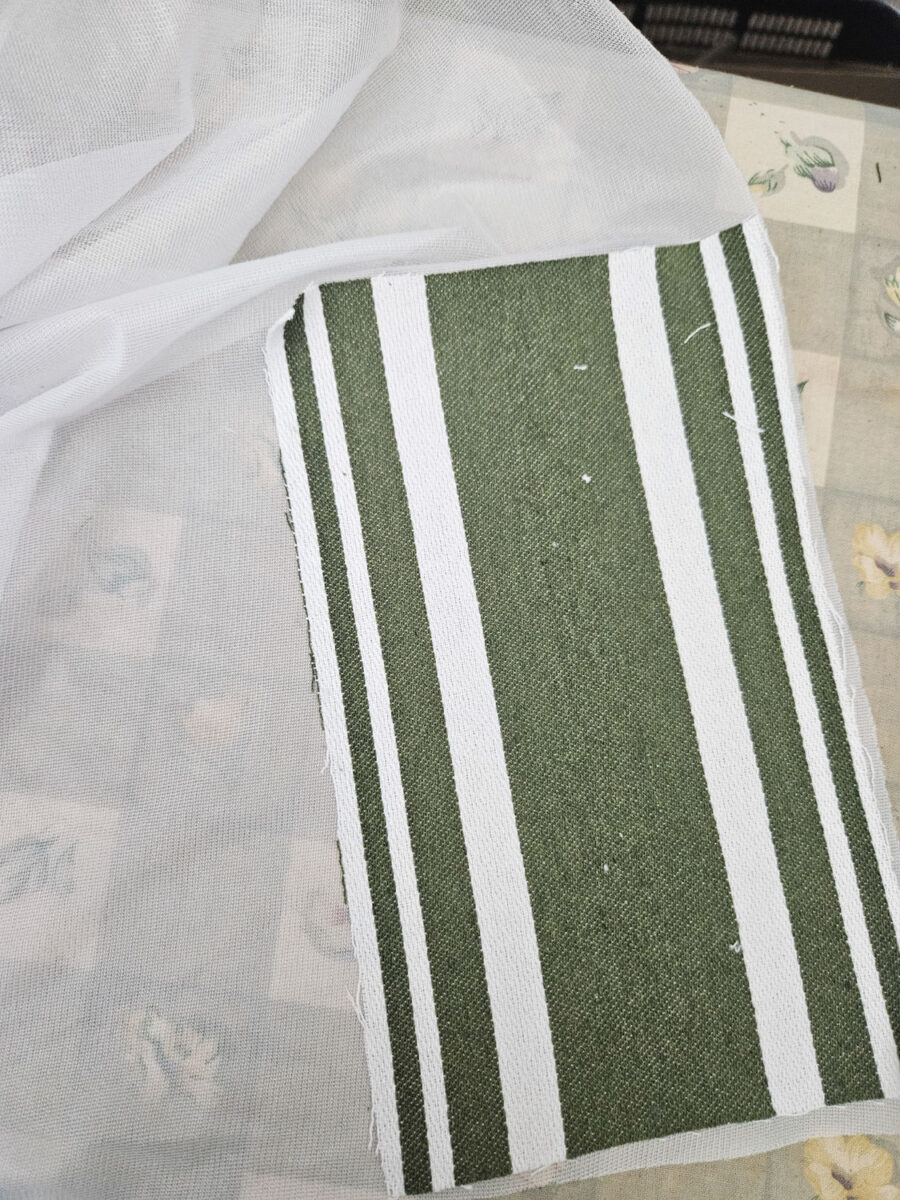
Reinforce the tab pieces with fusing to keep from stretching and making the sewing steps easier.
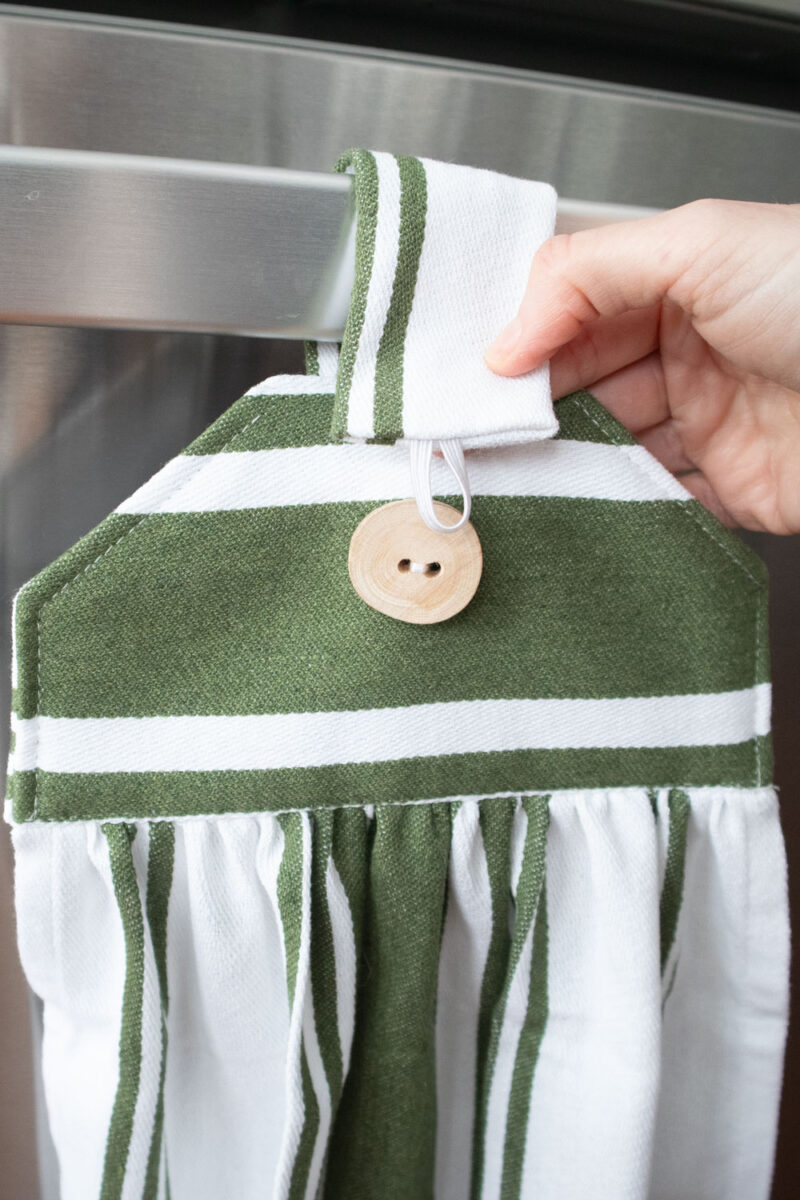
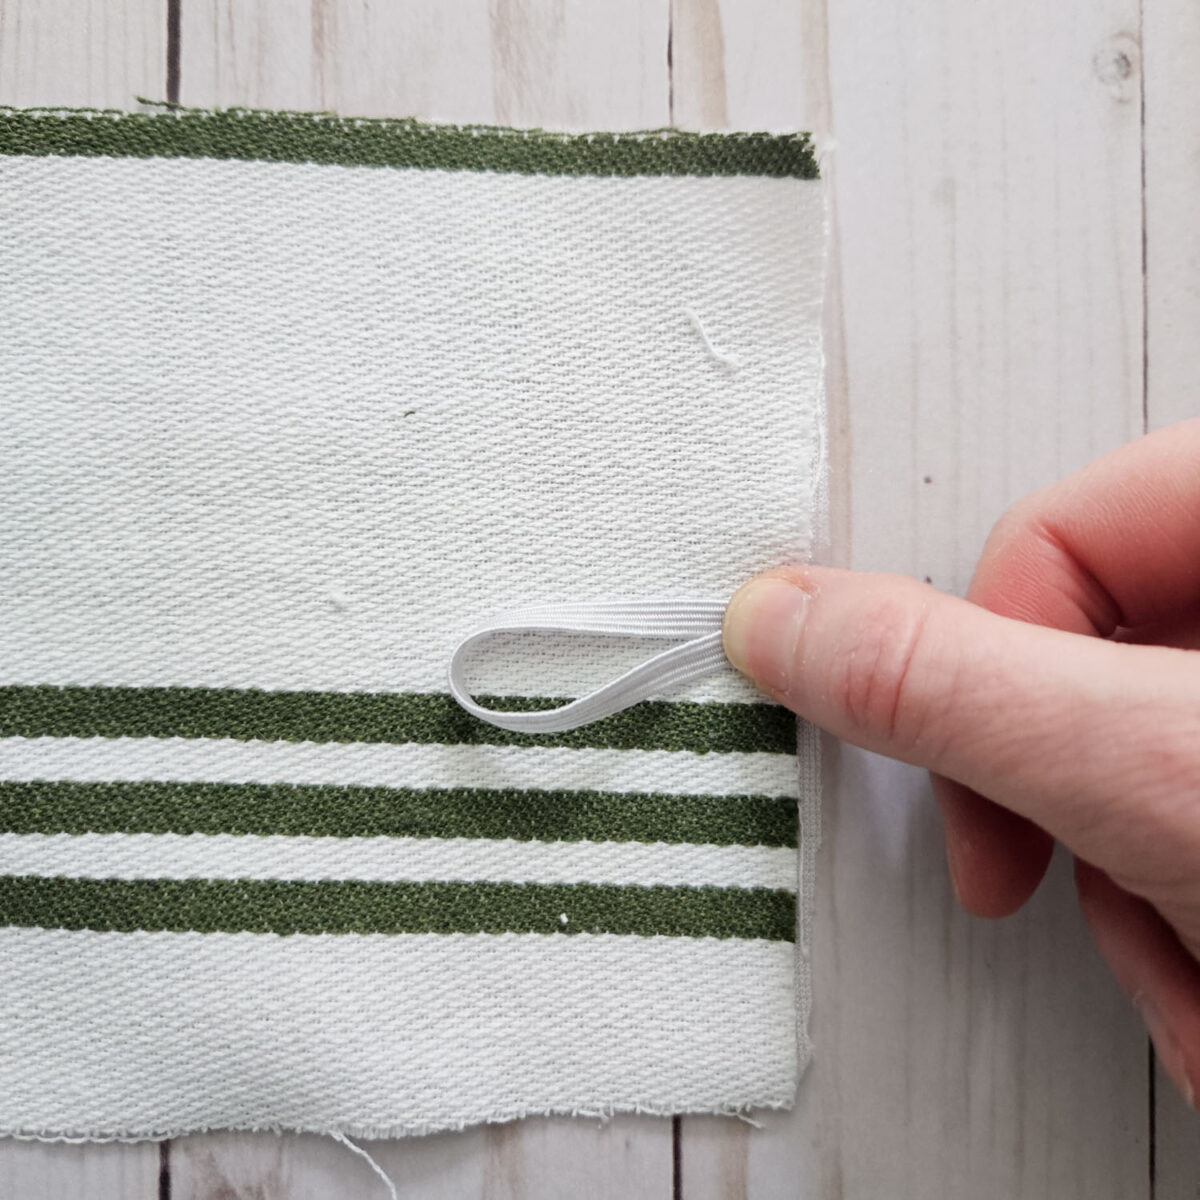
Cut a piece of elastic 1” long. Fold it in half and stitch the cut ends together on top of the hanging tab (2) piece on the RIGHT side, matching to the single notch.
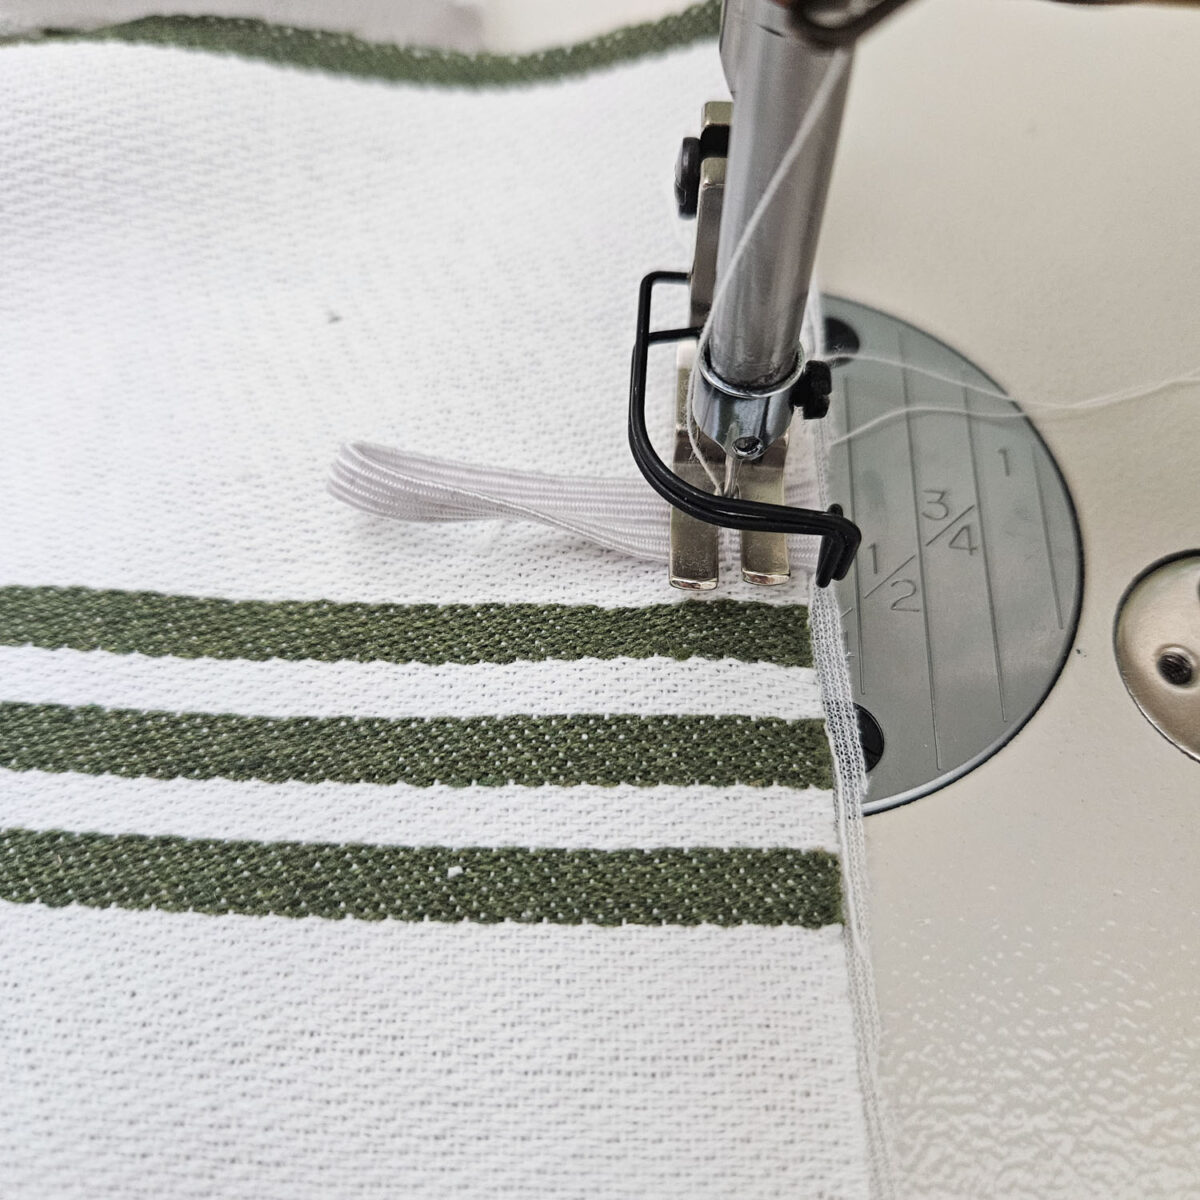
With RIGHT sides together, align the long edges of the hanging tab and sew together with a ½” seam allowance.
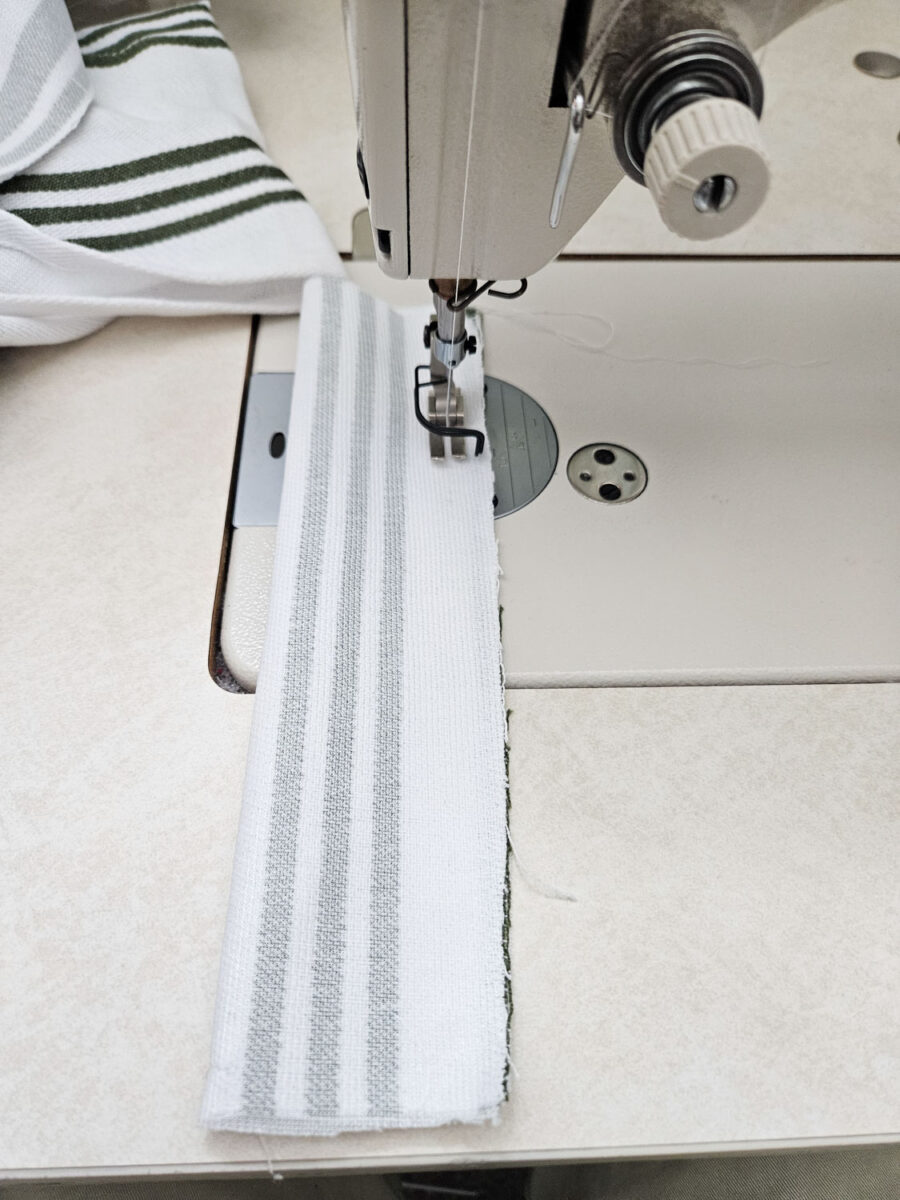
Press the seam allowance open and align the seam with the single notch. Stitch the short end, through all layers with a ½” seam allowance, sandwiching the elastic in between.
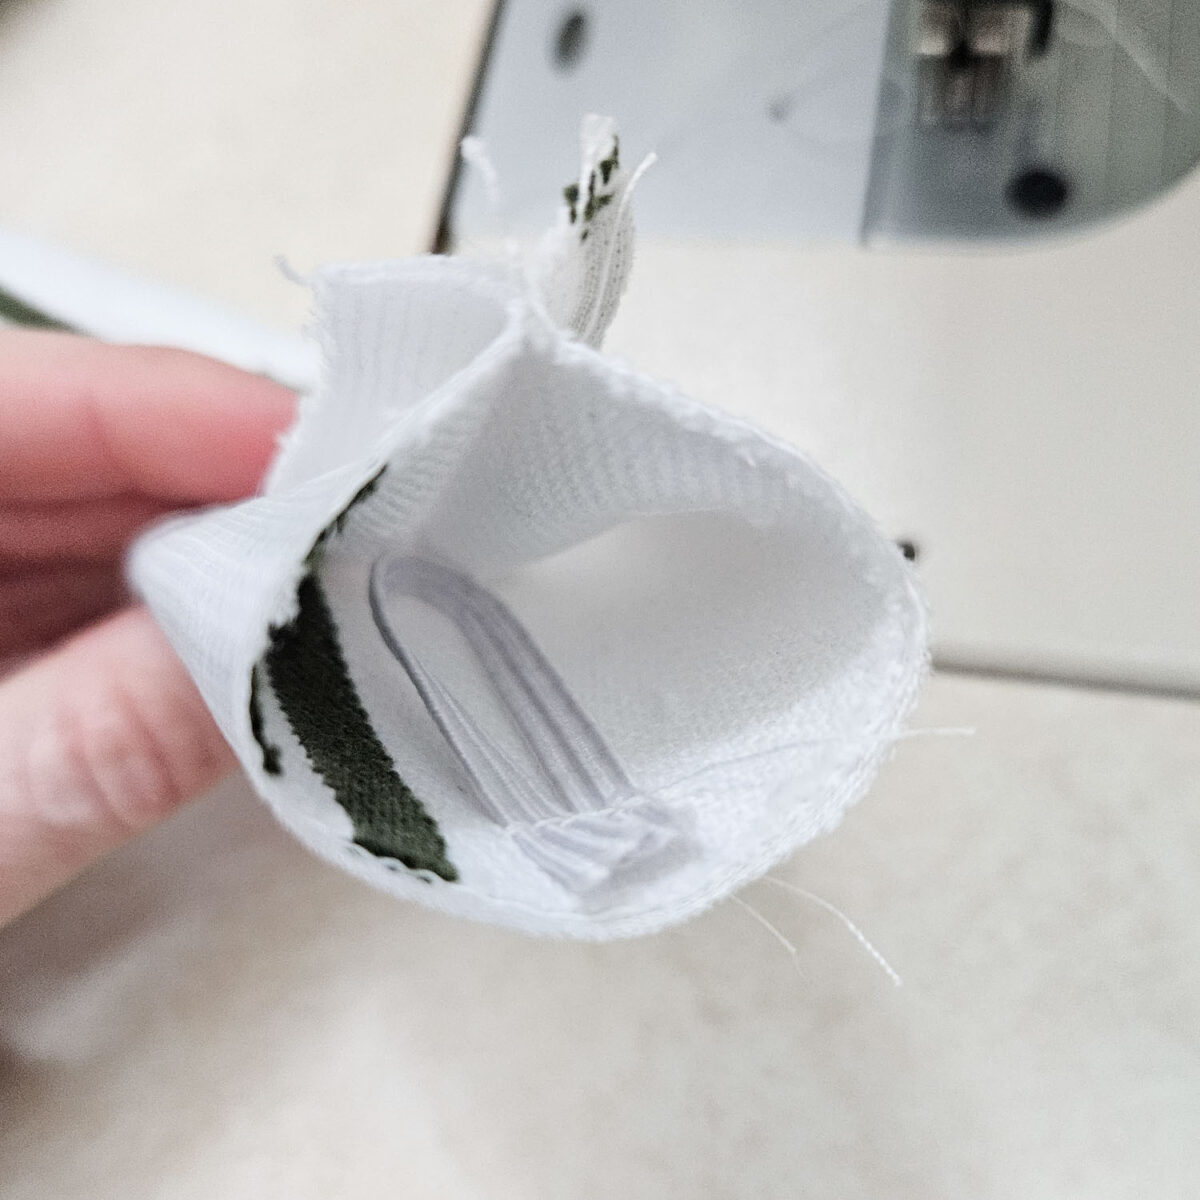
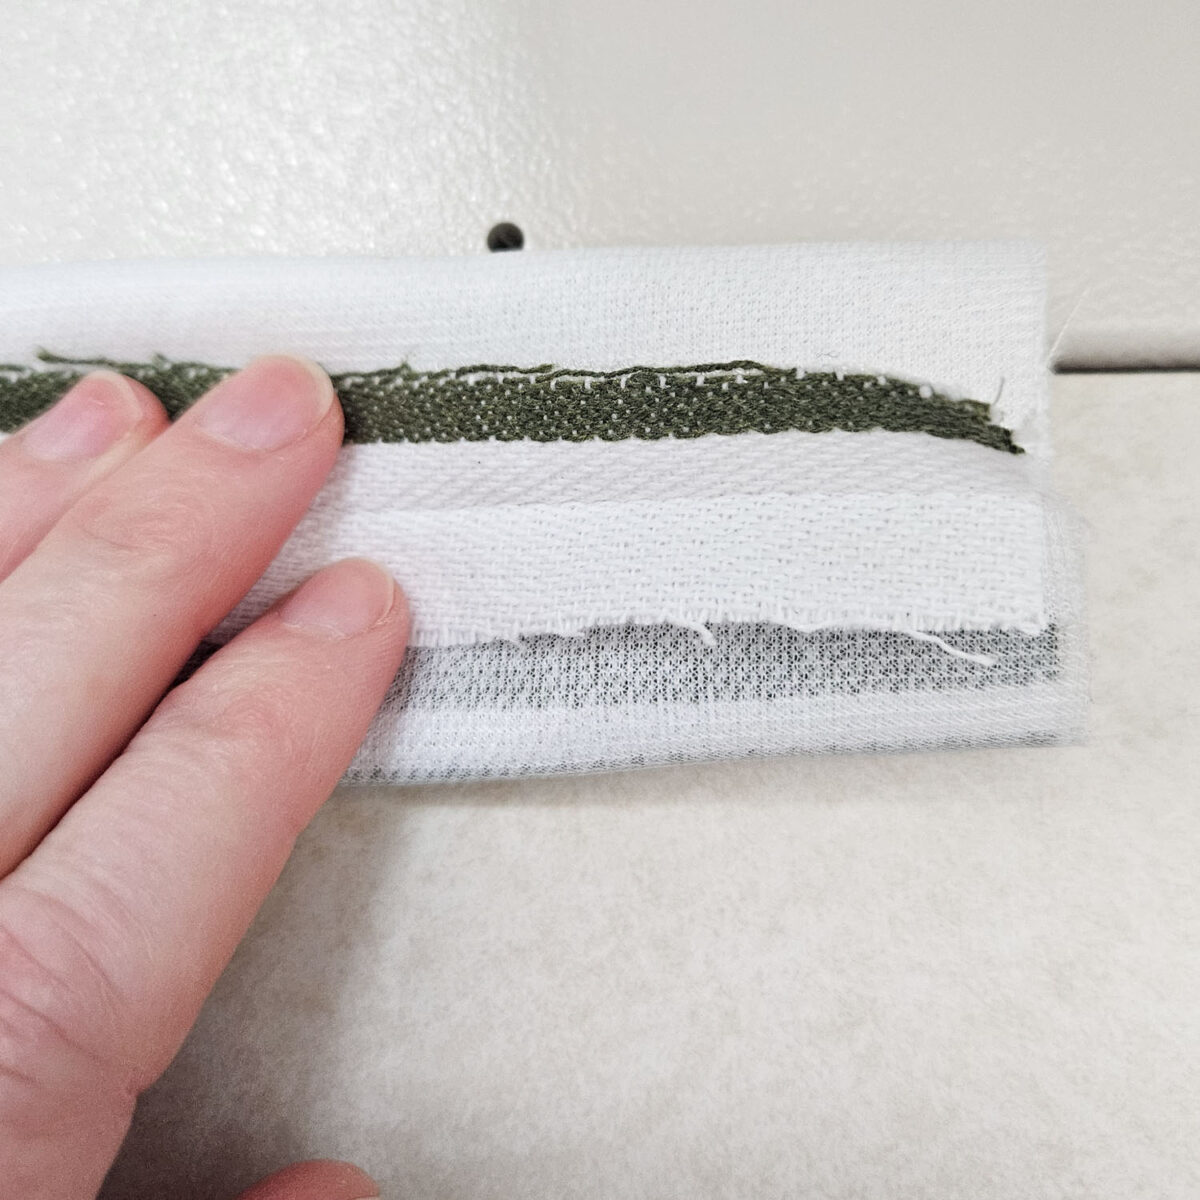
Trim the corners to reduce bulk. And then turn the tab piece right side out and poke out the corners. Press flat.
Attaching the Bottom Tea Towel Portion
Baste stitch (increase stitch lengths on sewing machine) across the cut edge of the remaining tea towel portion.
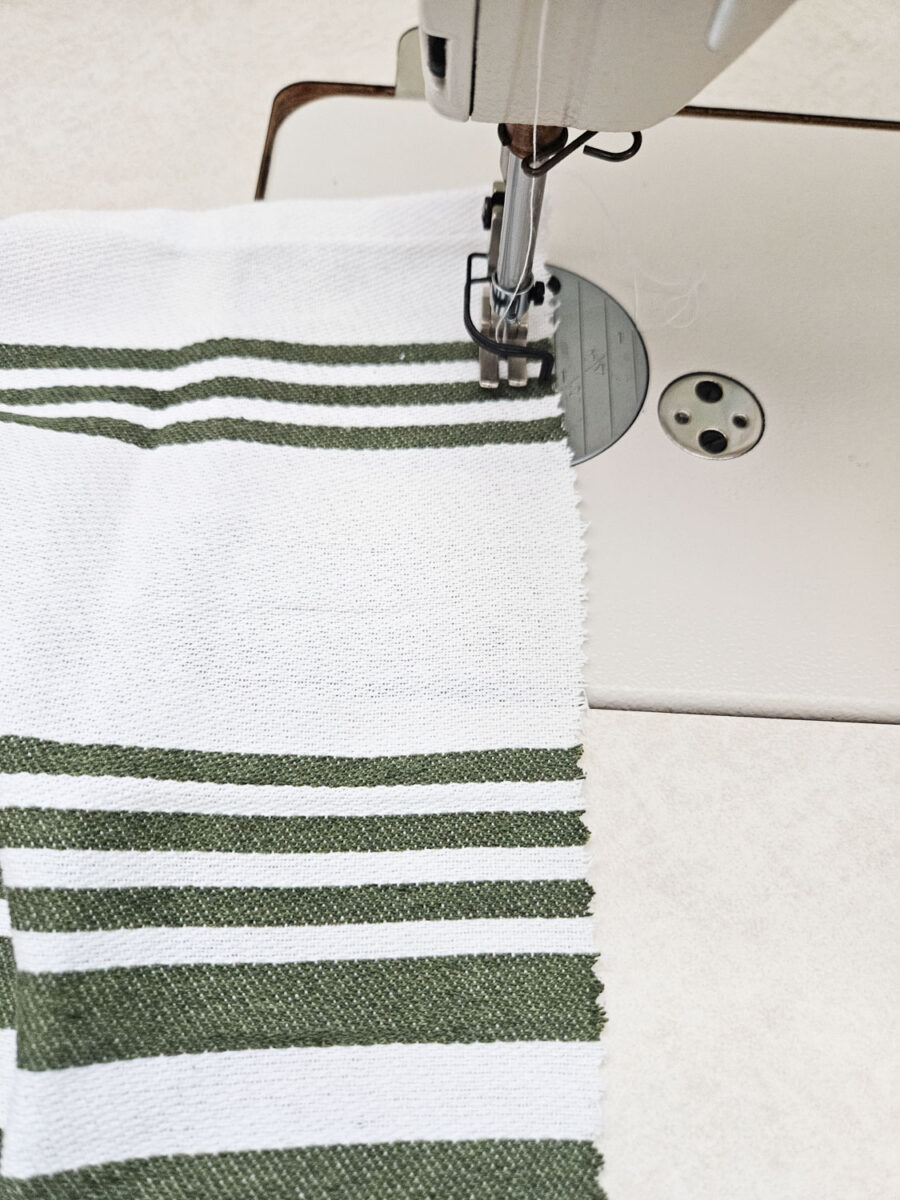
Leave the ends loose and long. Pull the long ends to create a gathered effect and size it to fit the long edge of the MAIN (1) piece.
Align the gathered tea towel cut edge with the long edge of one of the MAIN (1) pieces, with RIGHT sides together. Position the gathered tea towel edge ½” from the main tab edge on both sides. Stitch together with a ½” seam allowance.
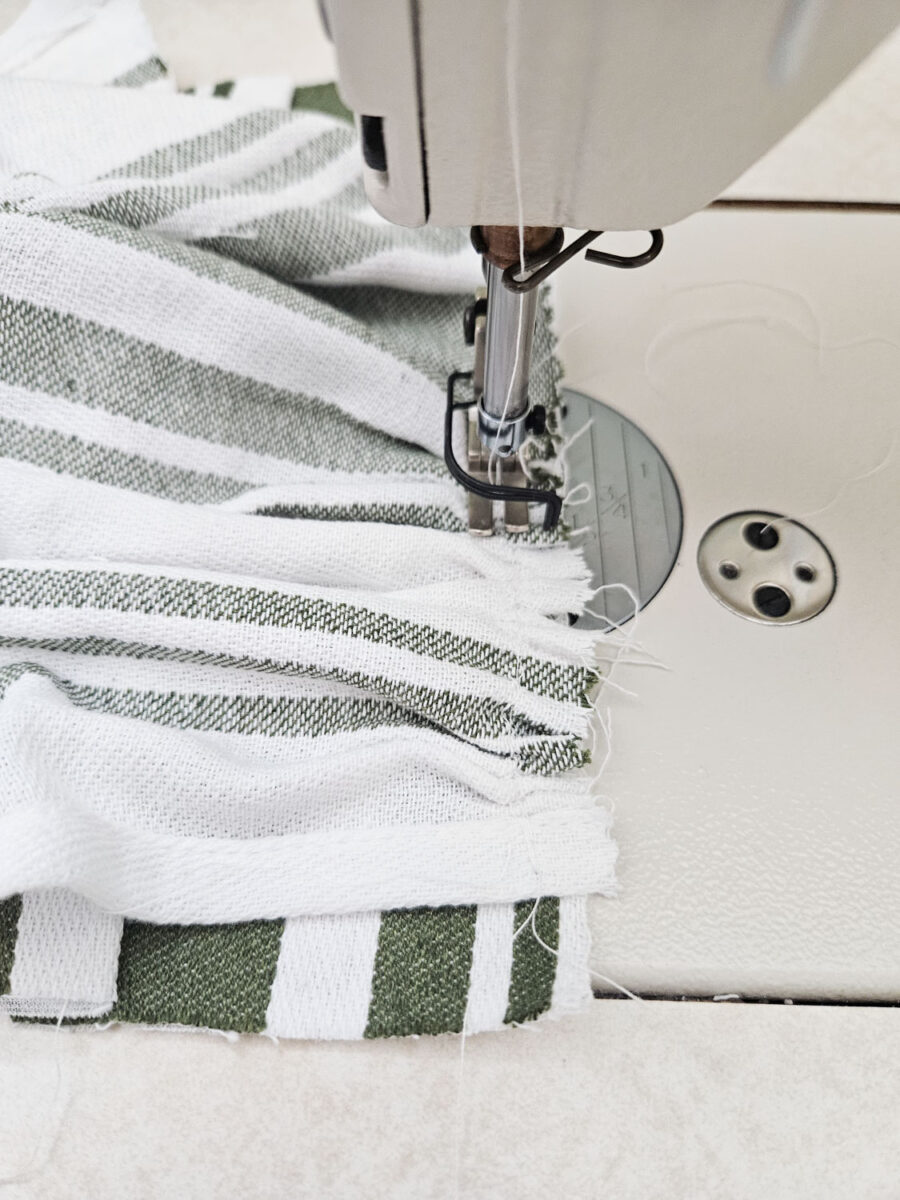
Press the seam allowance up (away from the gathered portion of the tea towel) and edgestitch along the seam.
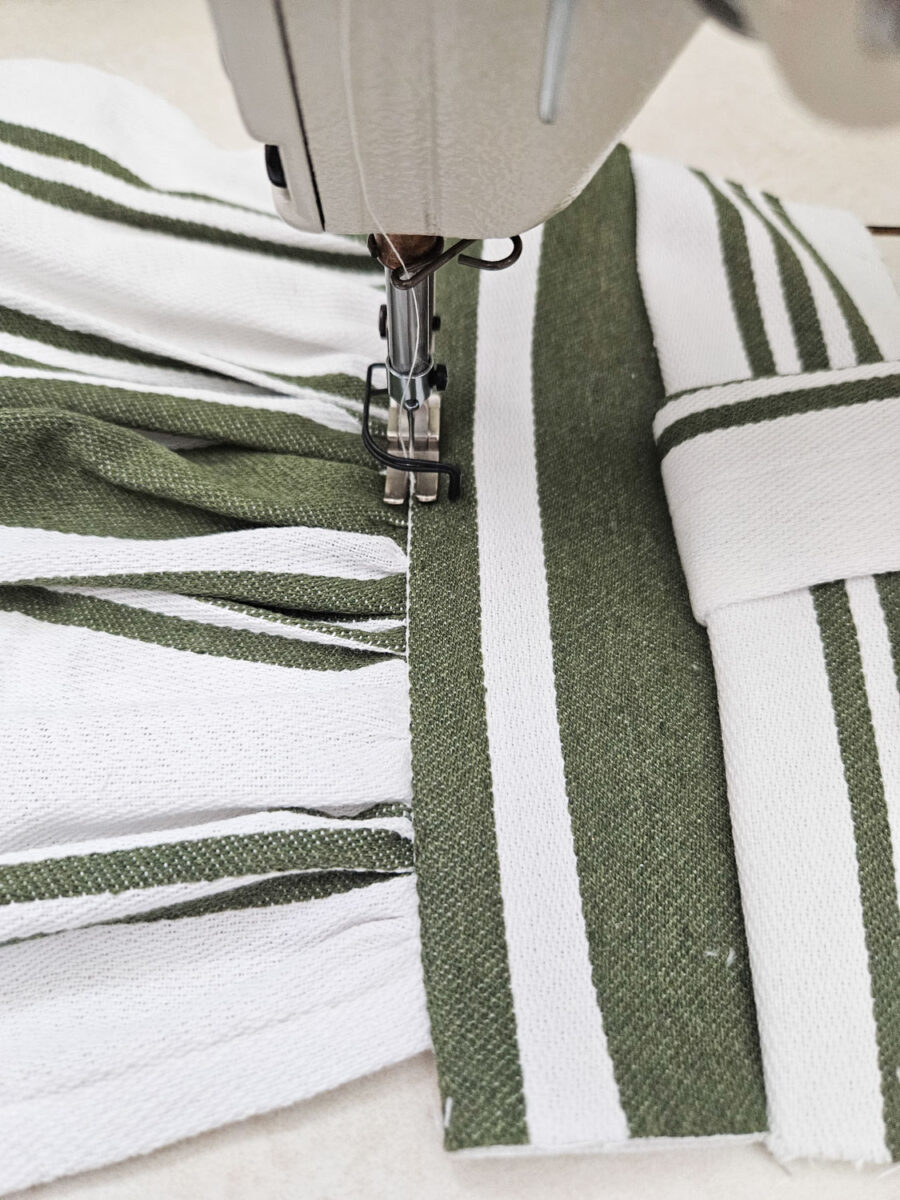
Align the unfinished short end of the tab with the right side of one of the MAIN (1) pieces, matching double notches.
Baste stitch hanging tab in place with a ½” seam allowance.
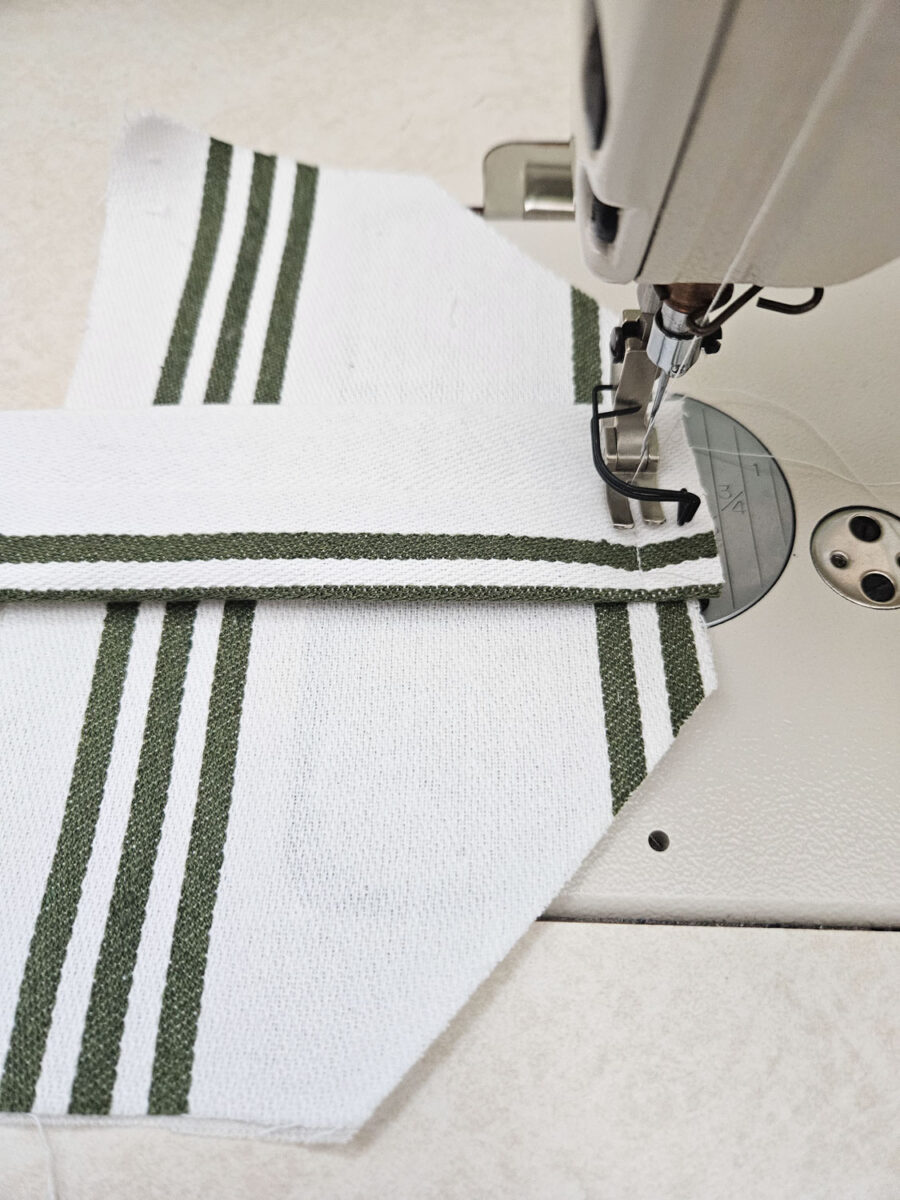
Next, align the other MAIN (1) piece and stitch together with a ½” seam allowance, sandwiching the hanging tab in between.
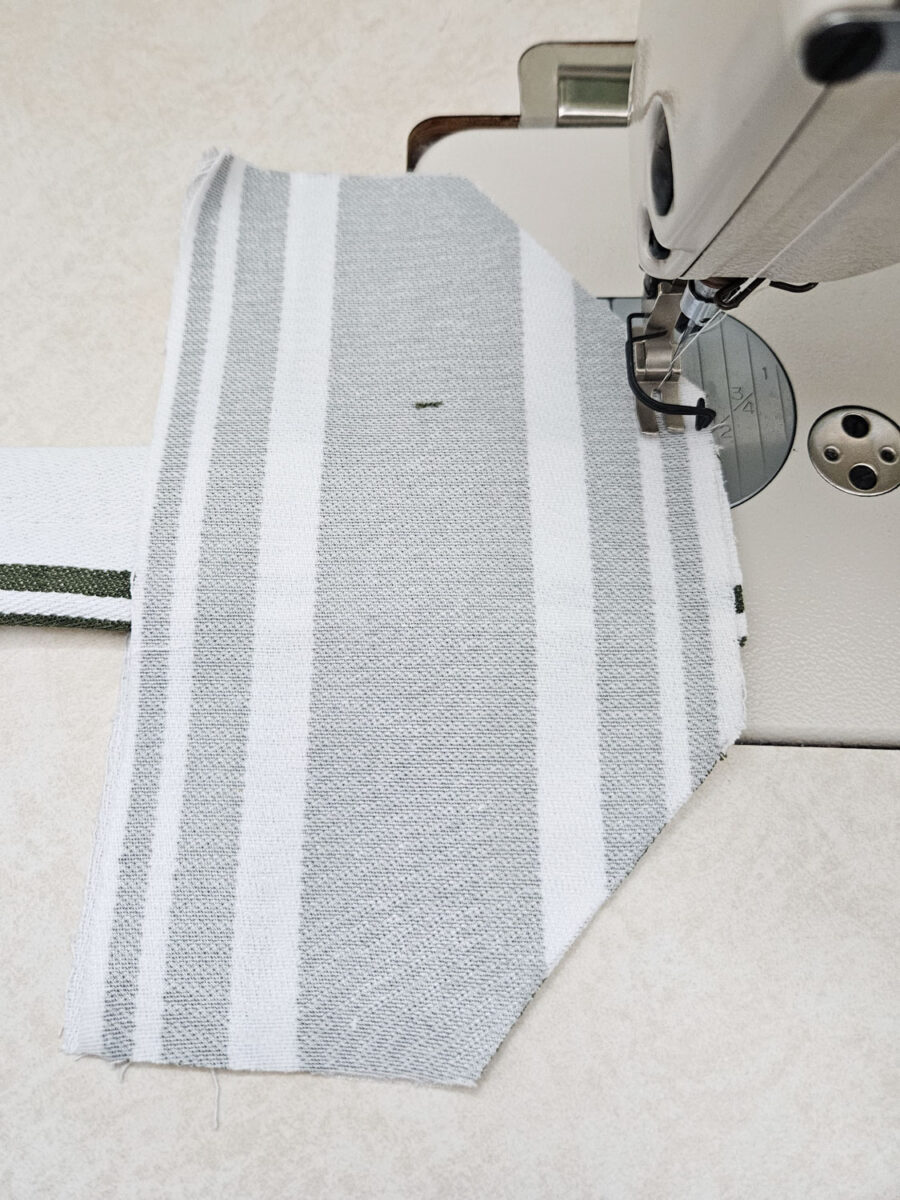
Turn the piece right side out, poking out the corners. Trim the seam allowance if necessary to reduce bulk. Press flat with an iron.
Fold the remaining unfinished long edge under and stitch it in place through all layers along the join seam. Continue with an edge stitch around the entire piece.
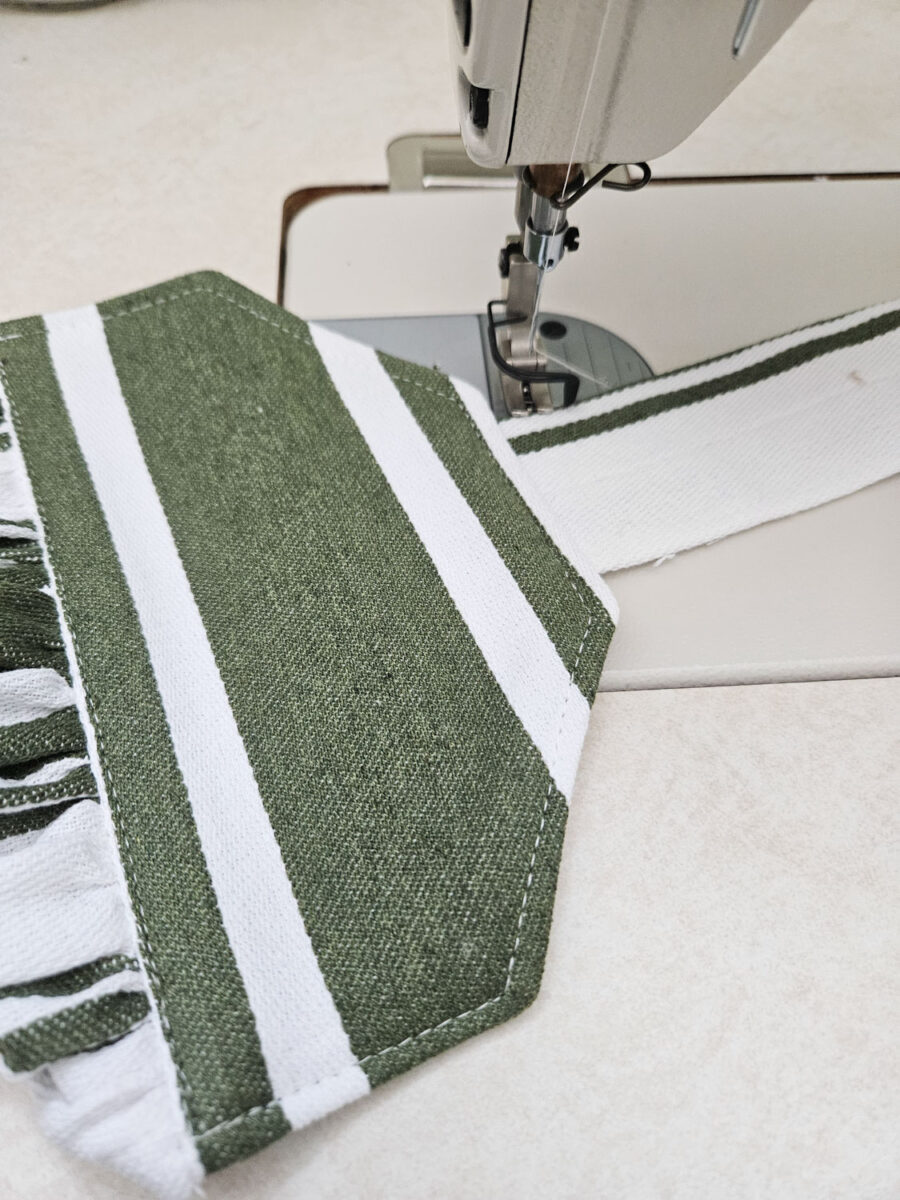
Attach a button at the marked position.
Fabric & Style Variations
Cotton or linen works best for tea towels as it is absorbent. You can easily match it to your kitchen colours or use seasonal prints for a quick refresh.
How to Secure Your Tea Towel
- Hang your finished towel on the oven door handle for everyday cooking and baking.
- Use one by the sink area for drying hands without cluttering the counter.
- Bundle a set with matching fabrics as a gift décor idea for new homeowners or as part of a kitchen-themed hamper.
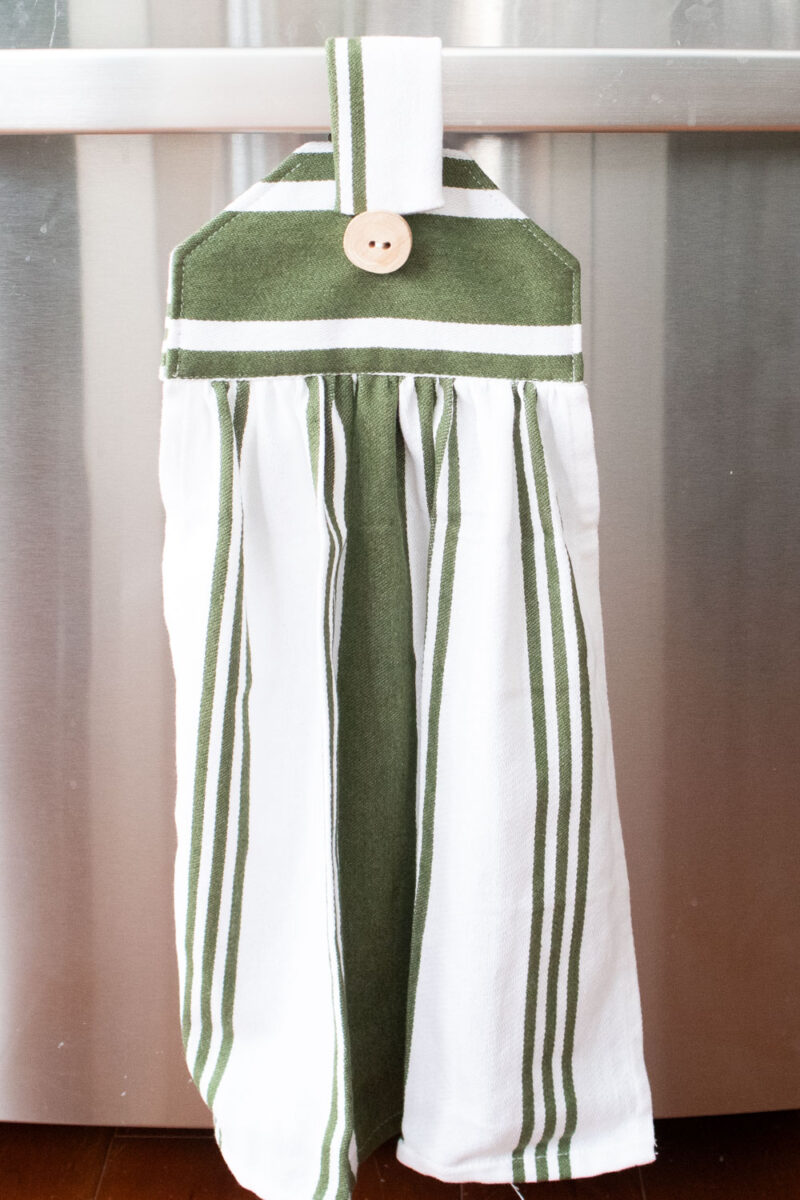
Make Daily Life Easier
This free hanging tea towel sewing pattern is one of those small projects that makes daily life easier. It’s fast to sew, endlessly customisable, and genuinely useful once it’s done.
If you make one, you’ll probably end up making a few more. Don’t forget to pin or save this project for later sewing sessions.
More Free Sewing Patterns
- Free Apron Sewing Pattern
- Free Childs Apron Pattern
- Half Apron Pattern
- Tea Towel Tote Bag Sewing Pattern
- Hanging Laundry Bag Sewing Pattern



Become a Sustain My Craft Habit insider to receive fun freebies!
Like it? Pin for later!
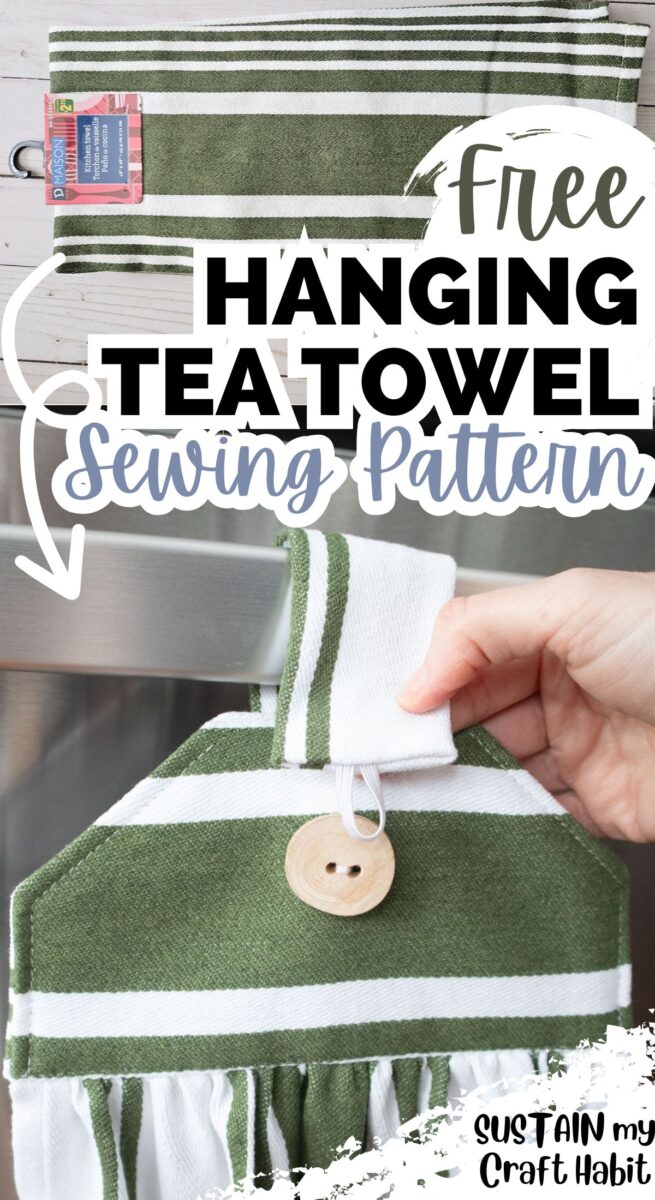
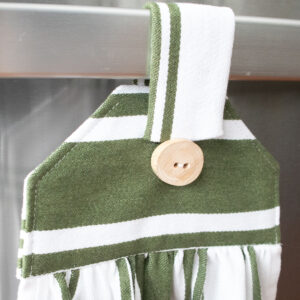
Free Hanging Tea Towel Sewing Pattern
Materials
- 100% cotton tea towel
- Sewing machine and matching thread
- Fabric scissors
- Fusing
- Button
- ¼” wide Elastic
- Tea Towel Hanging Tab Pattern Template
Instructions
- Cut 10” off the short end of the tea towel. Put the longer end aside for the time being.
- Print off the pattern template and use it to cut the tab pieces from the cut off piece.
- Reinforce the tab pieces with fusing to keep from stretching and making the sewing steps easier.
- Cut a piece of elastic 1” long. Fold it in half and stitch the cut ends together on top of the hanging tab (2) piece on the RIGHT side, matching to the single notch.
- With RIGHT sides together, align the long edges of the hanging tab and sew together with a ½” seam allowance.
- Press the seam allowance open and align the seam with the single notch. Stitch the short end, through all layers with a ½” seam allowance, sandwiching the elastic in between.
- Trim the corners to reduce bulk.
- Turn the piece right side out and poke out the corners. Press flat.
- Baste stitch (increase stitch lengths on sewing machine) across the cut edge of the tea towel. Leave the ends loose and long. Pull the long ends to create a gathered effect and size it to fit the long edge of the MAIN (1) piece.
- Align the tea towel cut edge with the long edge of one of the MAIN (1) pieces, with RIGHT sides together. Position the gathered tea towel edge ½” from the main tab edge on both sides. Stitch together with a ½” seam allowance. Press the seam allowance up towards the tab.
- Align the unfinished short end of the tab with the right side of one of the MAIN (1) pieces, matching double notches.
- Baste stitch hanging tab in place with a ½” seam allowance.
- Next, align the other MAIN (1) piece and stitch together with a ½” seam allowance, sandwiching the hanging tab in between.
- Fold the remaining unfinished main cut edge under and stitch it in place through all layers along the join seam.
- Attach a button at the marked position.