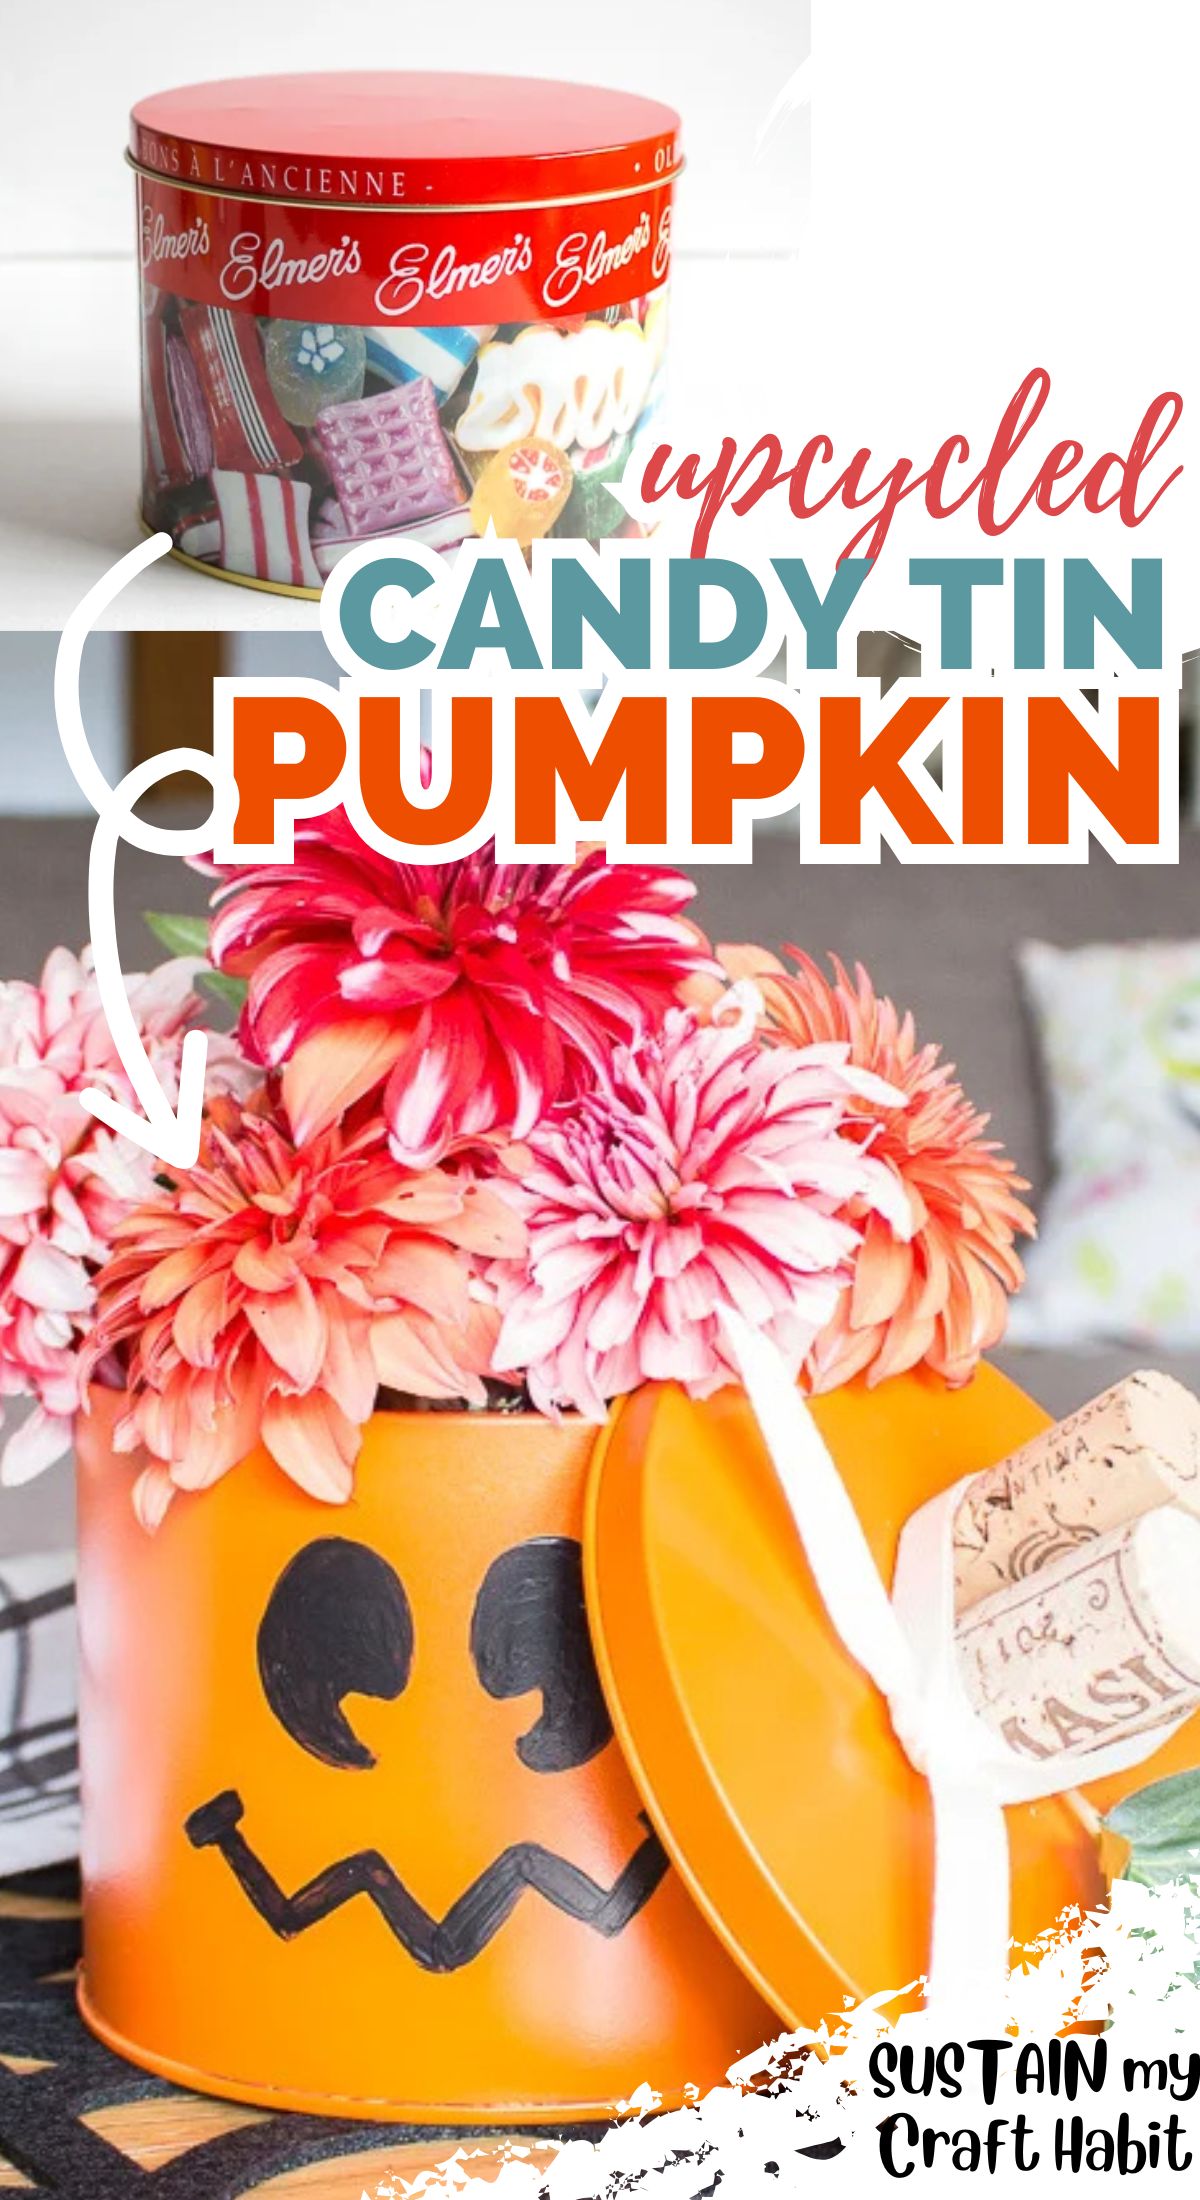
Upcycled Candy Tin Pumpkin

With a sweet smile this upcycled candy tin pumpkin is sure to add an adorable touch to your Halloween decorating!

Budget-Friendly Upcycled Pumpkin Craft
In our homes, we tend to hold on to our empty containers and packaging, so this candy tin was no exception. Having bought the candy last Christmas, the container seemed too nice to part with.
With the candy long gone, the tin container now makes a pretty cute and inexpensive pumpkin decoration that’s cute for both fall and Halloween. And if you love our upcyled tin can pumpkin, be sure to check out all of these creative pumpkin project ideas.

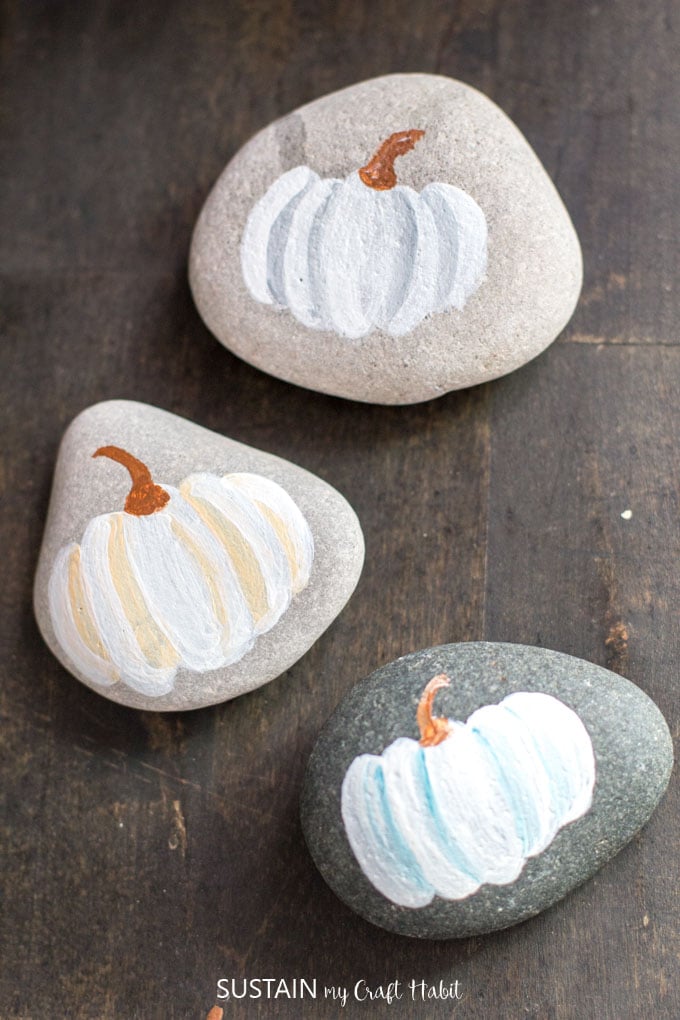
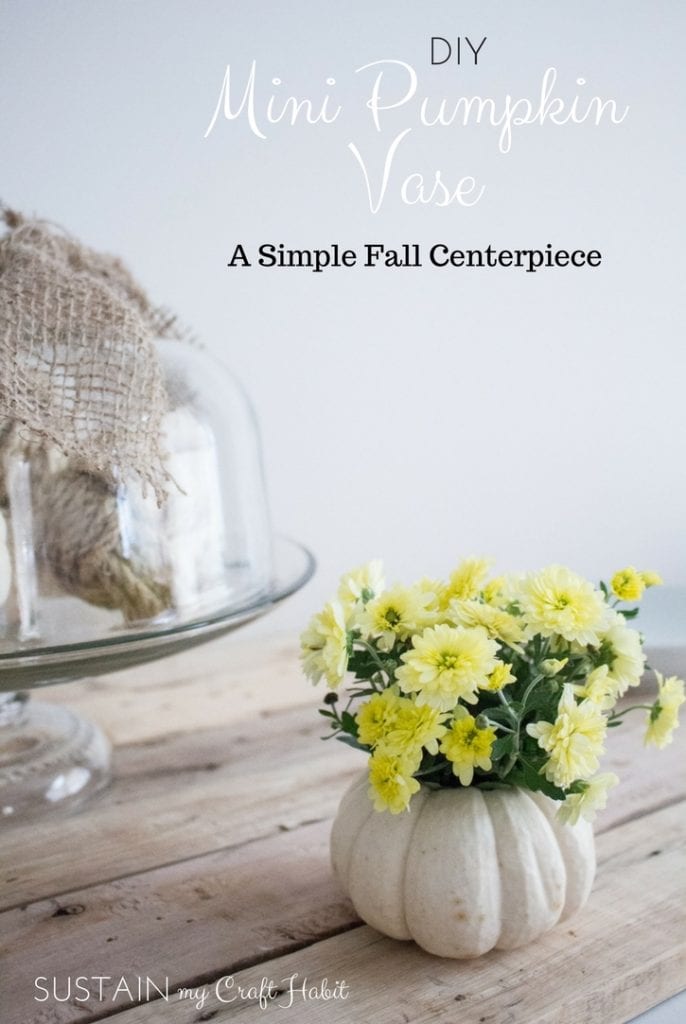
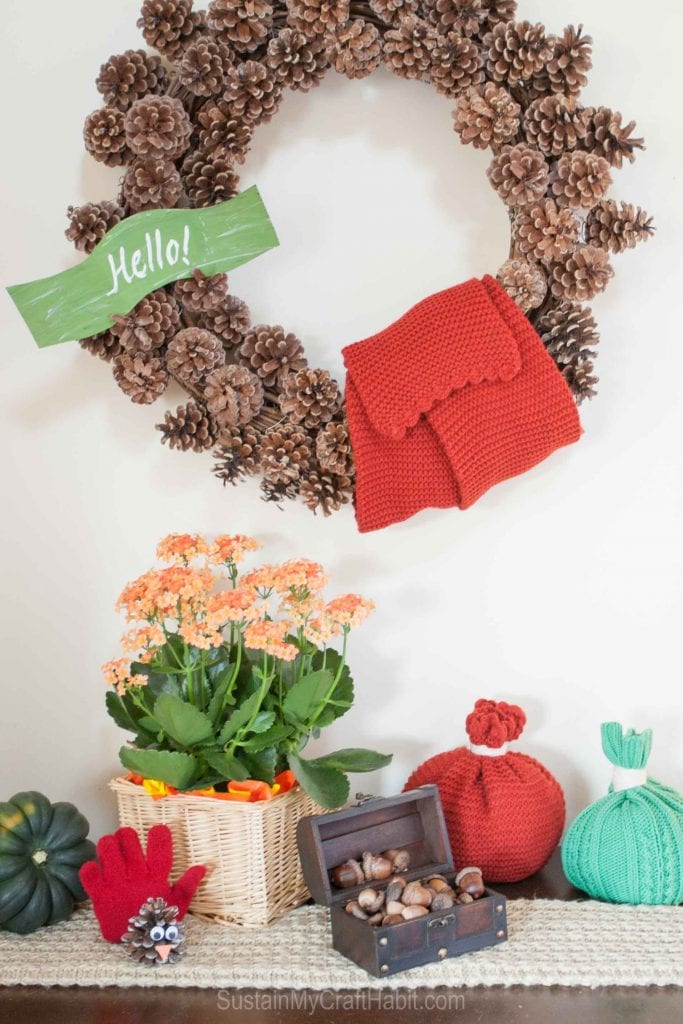
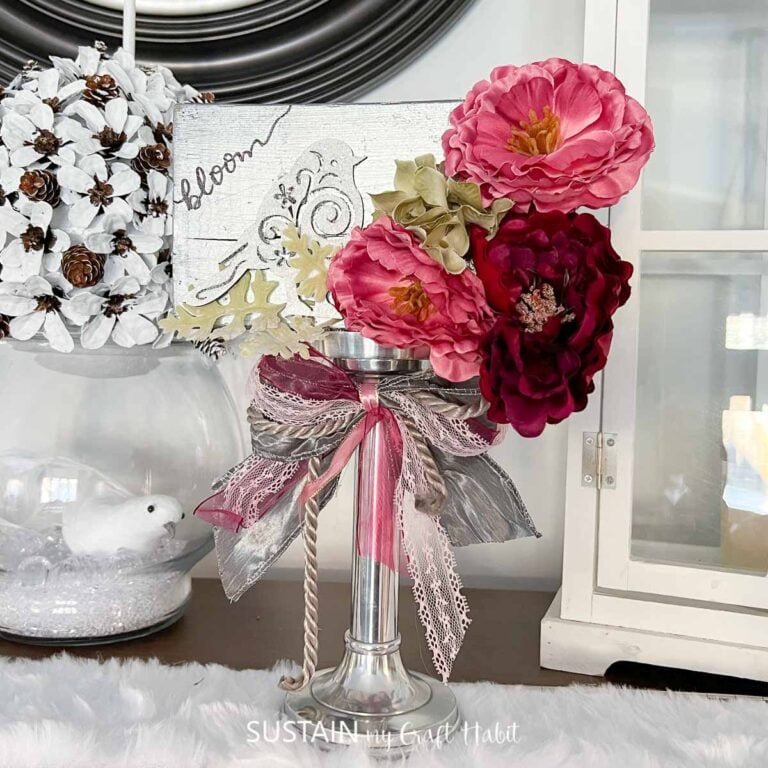
You could say we have a bit of an obsession for all kinds of pumpkin crafts. Whether it’s painted rock pumpkins, mini pumpkin floral vases or toque pumpkins, our homes could be considered a sort of pumpkin sanctuary!
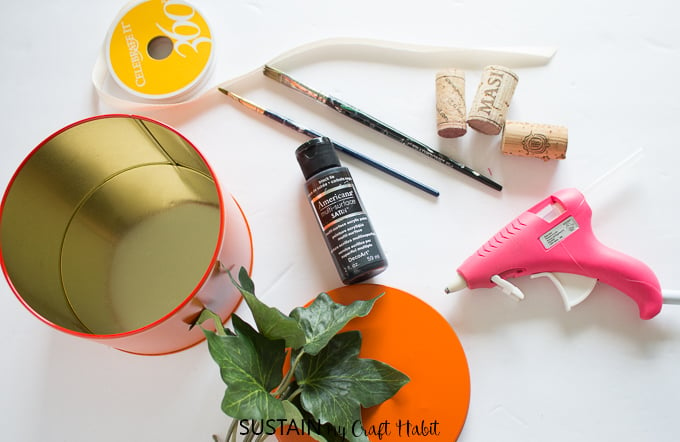
Materials Needed to make this Upcycled Tin Pumpkin:
Shop our recommended supplies for this craft on Amazon here.
- Round candy tin container
- Krylon Dual Superbond spraky paint, in Gloss Mandarin
- Decoart Multi-Surface paint in black tie
- Acrylic fine tip paint brush
- 3 wine corks
- Artificial leafy foliage
- Hot Glue Gun and clear glue sticks
- Decorative cotton twill ribbon, 1/2″ wide
- Scissors

How to Make an Upcycled Candy Tin Pumpkin:
Protect your work surface from paint using newspaper or a drop sheet. Place the tin container on the newspaper with the opening facing down.
Following the instructions provided on the paint can, apply the orange spray paint to the outside of the tin container. Repeat as needed until you achieve the desired coverage (in our case, 5-6 coats of spray paint were needed for full coverage). Leave it to dry fully before moving on to the next steps.

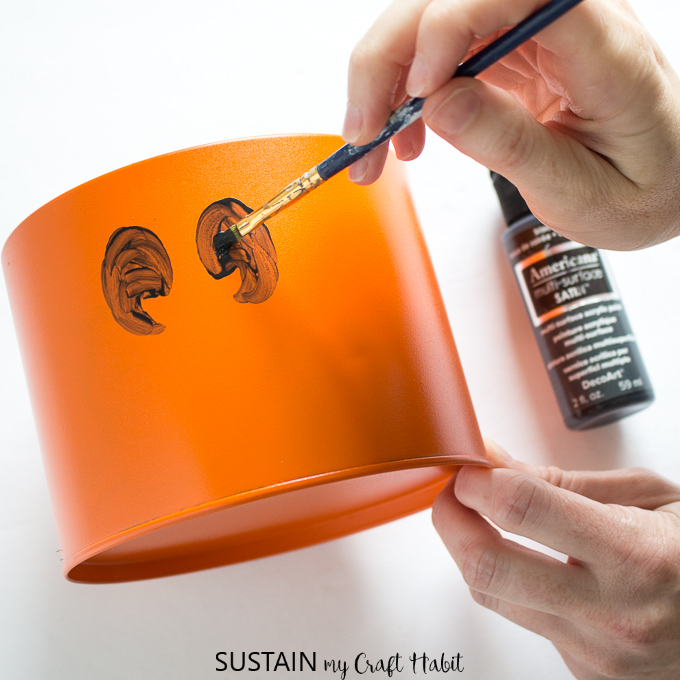
Once fully dry, paint a jack-o-lantern face on one side of the orange tin using a fine tip paint brush and black multi-surface acrylic paint. Set aside to dry.
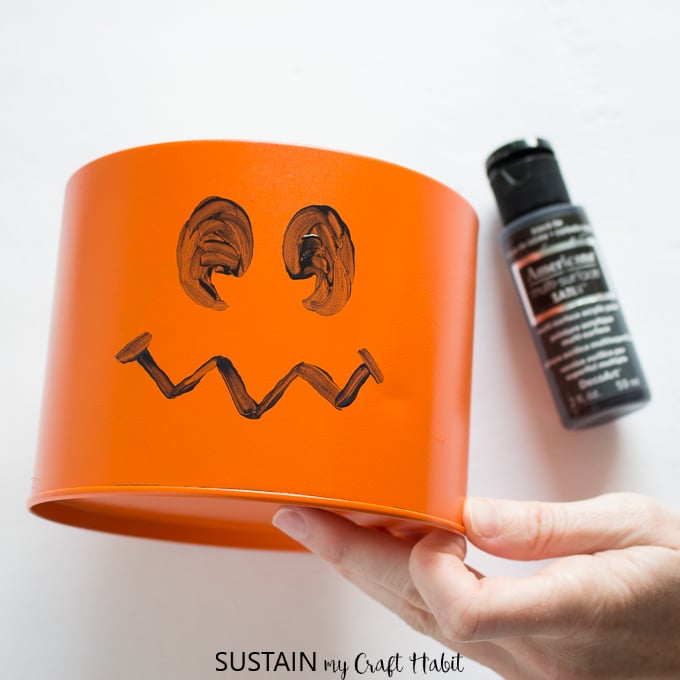
Repeat with another coat of coat or until desired coverage is achieved.

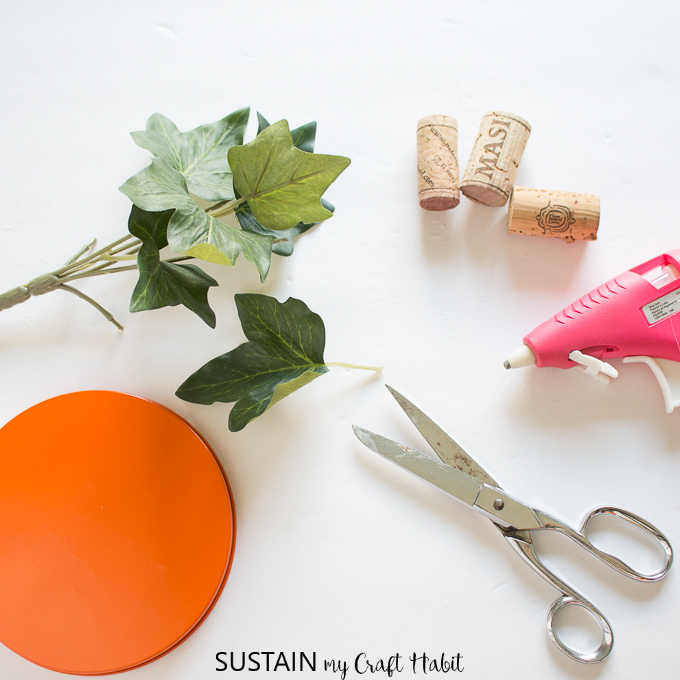
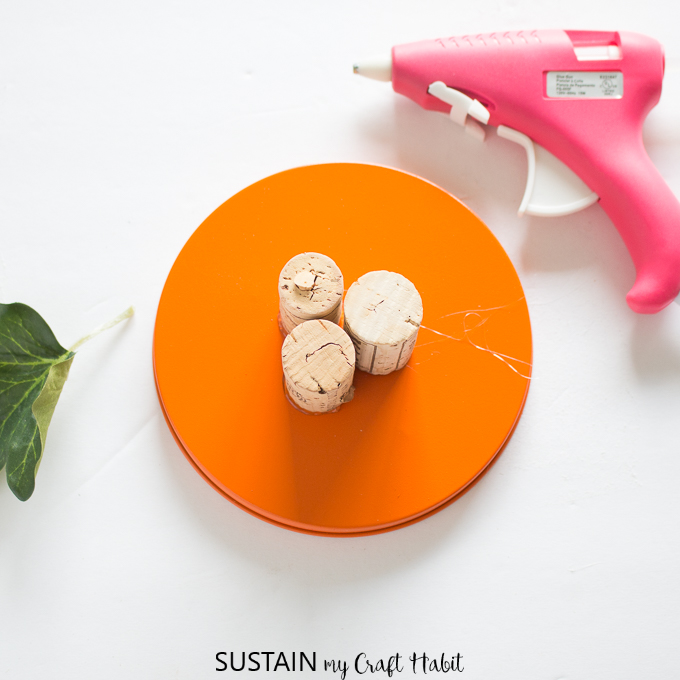
Gather the materials needed for the pumpkin lid: wine corks, ribbon (not shown) and artificial foliage and a hot glue gun with clear glue sticks.
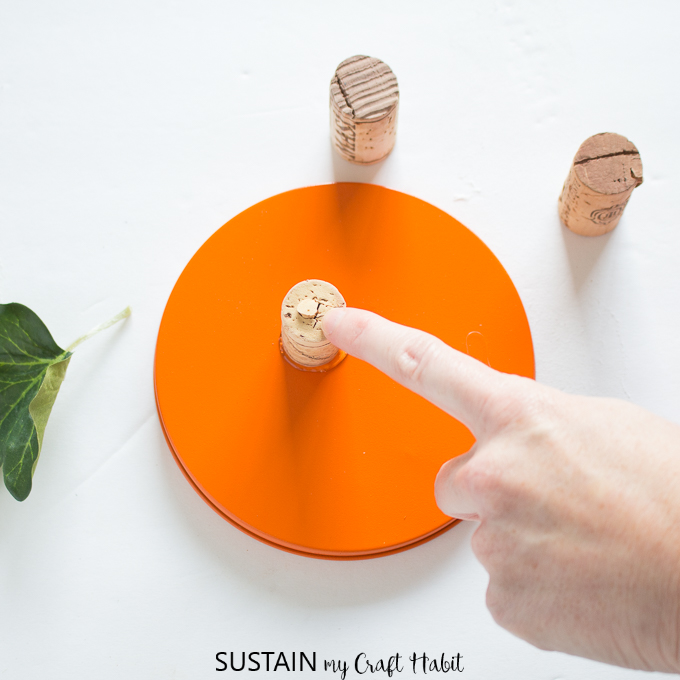
Apply a good amount of hot glue to the bottom of one wine cork.
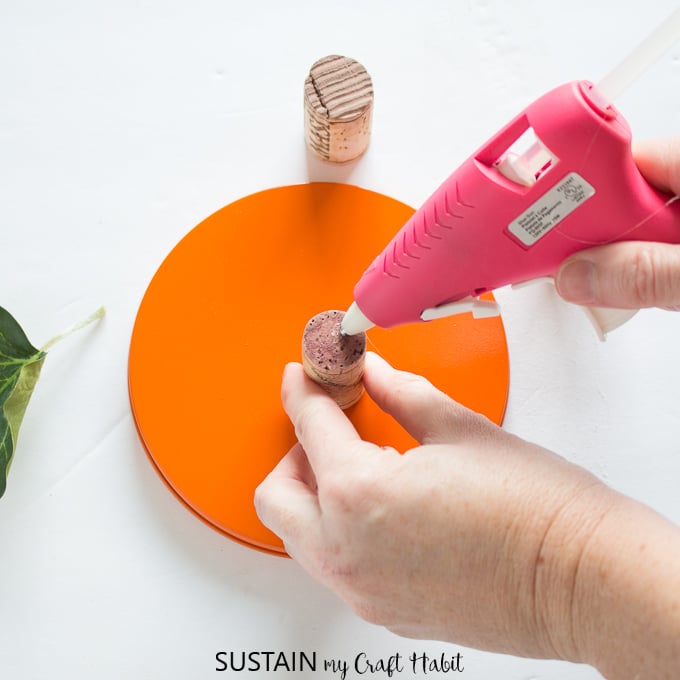
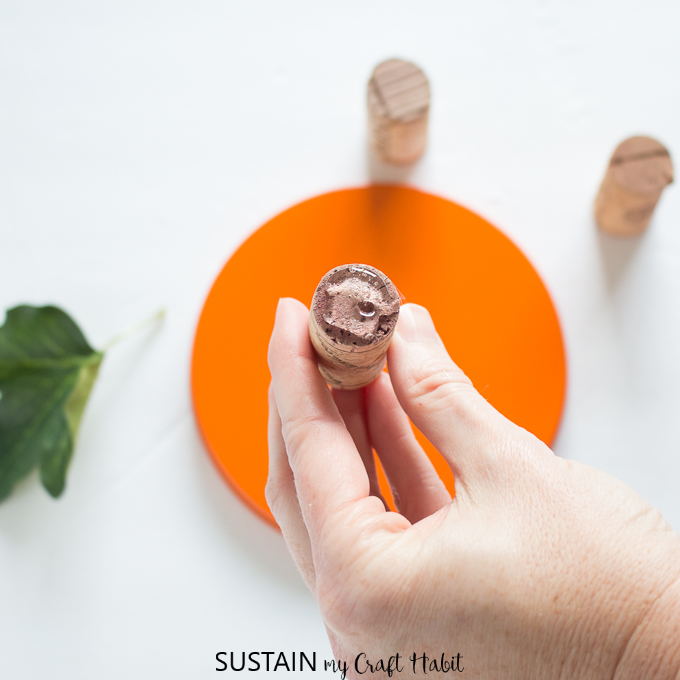
Press the wine cork onto the lid, slightly off from the center. Repeat with the other two corks budding each cork up close to the other to create the pumpkin stem.
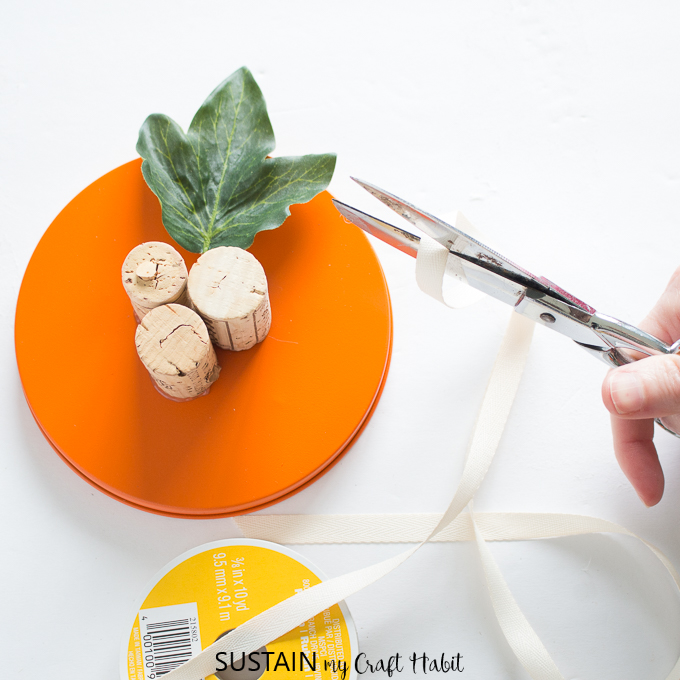
Apply a bit of hot glue next to the stem and carefully press the pumpkin leaf in place.

Cut a piece of decorative ribbon and tie it around the base of the wine corks.

Place the lid on top and enjoy your new upcycled tin pumpkin decor! It’s pretty versatile for your Halloween decorating: you can use it as a vase (like we did) or even better, you can use it to hold candies, nuts and other treats.

More DIY Halloween Decorations to Explore!
There’s so much more spooky inspiration to be found in our Halloween crafts archive and from our fellow blogging friends. Be sure to explore some of these tricks and treats:

Reverse Canvas Halloween Decor | Leap of Faith Crafting
Dollar Store Halloween Decor + Mantel | Remodelaholic
Trick or Treat Halloween Sign w/Cut File | Creative Ramblings
Jack-o-Lantern Halloween Candy Dish | Kailyn Williamson
Dollar Store Mrs. and Mrs. Spider | The How-To Home
Large Skeleton Poster | Deeply Southern Home
Rustic Pallet Pumpkin | Hertoolbelt
Witchy Wallhanging Macrame | construction2style
Quick Dollar Store Halloween Centerpiece | Our Crafty Mom
Easy Halloween Chalkboard Art | Create and Babble
Like it? Pin it for later!


Oh my goodness, this is so adorable! I love the wine cork on the top!
Lovely ideas! I will definitely try this for Halloween, thank you for sharing.