How to Build a Temporary Outdoor Privacy Wall (DIY Windbreaker)
Sometimes you want a little more privacy in your garden without committing to a permanent…
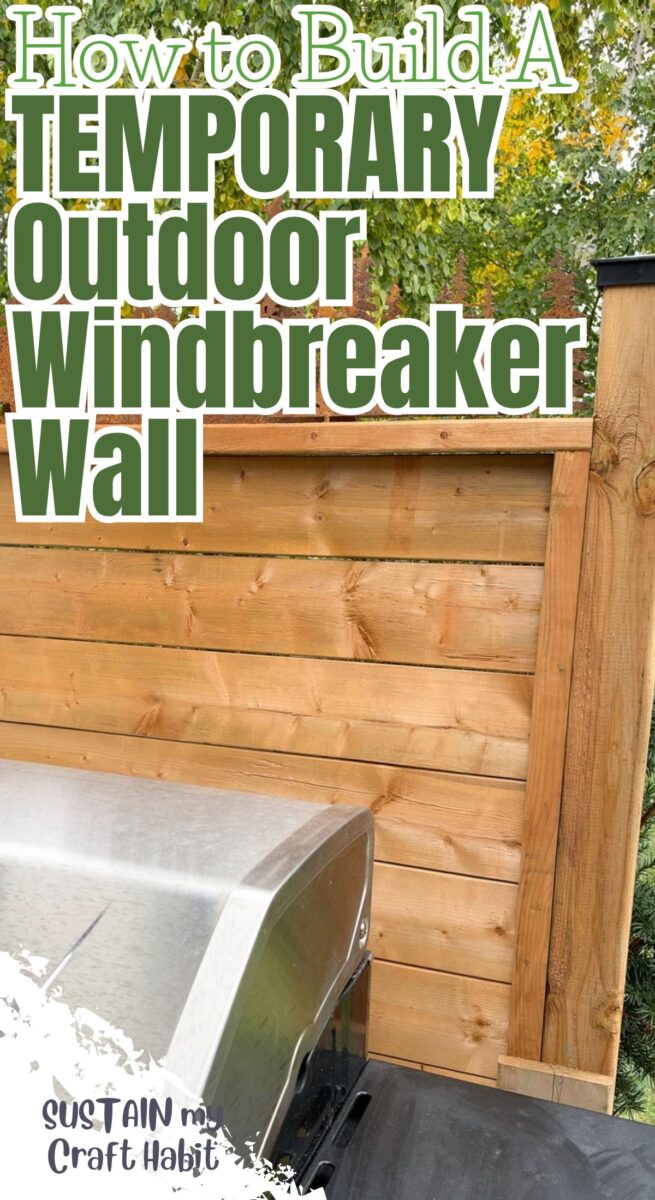
Sometimes you want a little more privacy in your garden without committing to a permanent fence or expensive landscaping. A temporary outdoor privacy wall is a practical DIY solution that can make a patio, deck, seating area, or garden feel much more secluded while also providing protection from annoying breezes.
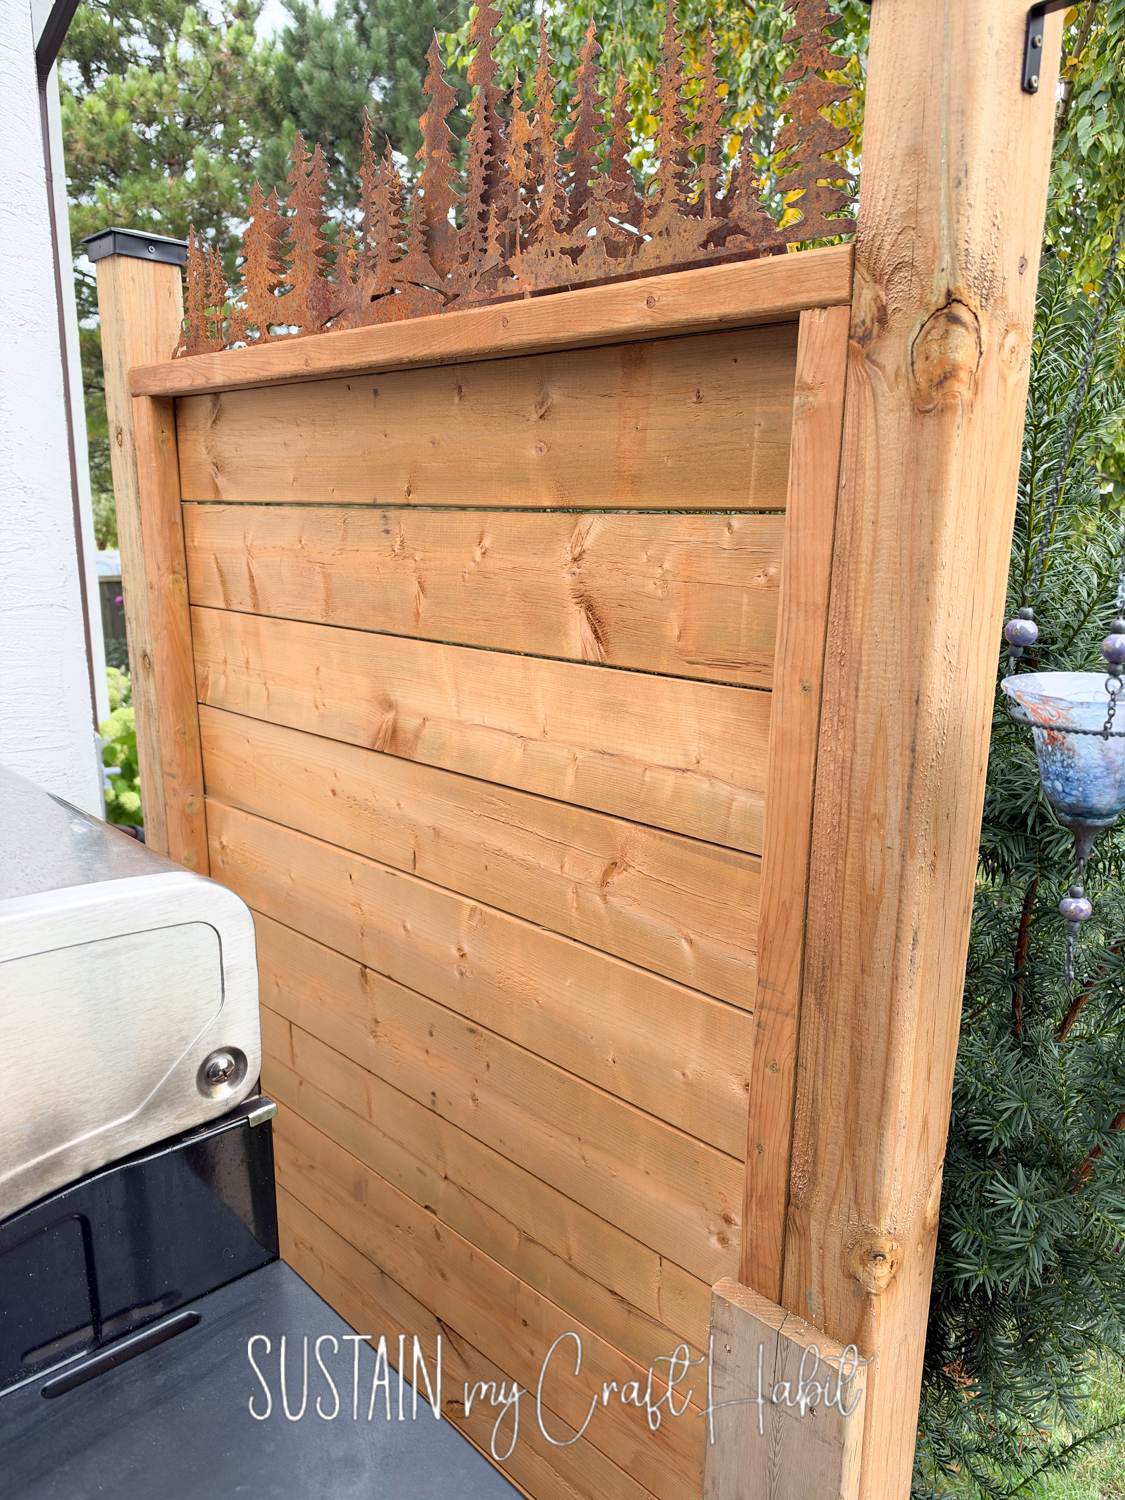
A DIY temporary outdoor wall is particularly useful if you rent your home, need privacy only during certain seasons, or want something you can move around as needed. It can also help define an outdoor living space without making your garden feel completely enclosed.
With a simple freestanding design and inexpensive materials, you can create a privacy screen that looks intentional while remaining easy to move, store, or change later.
Why You’ll Love This DIY Freestanding Wood Privacy Wall
- No permanent installation required. A freestanding outdoor privacy wall is ideal when you don’t want to dig holes, install fence posts, or permanently change your garden.
- Provides privacy where you actually need it. Position your DIY privacy screen beside a patio, hot tub, outdoor dining area, garden seating space, or anywhere overlooked by neighbours.
- Helps block the wind. As well as providing privacy, the wall can work as a DIY outdoor windbreaker, making exposed seating areas much more comfortable.
- Easy to customise. Change the height, width, finish, and screening material to suit your outdoor space and the amount of privacy you need.
- Budget-friendly. Building a temporary garden privacy screen can be significantly cheaper than installing a new fence, wall, or permanent garden structure.
Let us know if you give this project a try by tagging us on Facebook or Instagram– we can’t wait to see it!
Materials Needed
- 10 Fence boards – knotty cedar boards – 1”x6”x6’ long
- 2 4”x4”x8’ long post, pressure treated
- 2 1”x1”x48” long nailing strip, pressure treated
- 2 11 in. x 11 in. x 7 in. Grey Concrete Deck Blocks
- Drill and fencing screws
- Level
- 2 4”x4” fence caps
How to Build a Temporary Outdoor Privacy Wall
Position the deck blocks on a flat surface and space them apart the distance of your wall. In our case, we made our wall 4’ wide.
When secure and levelled, insert a 4”x4” post into each deck block.
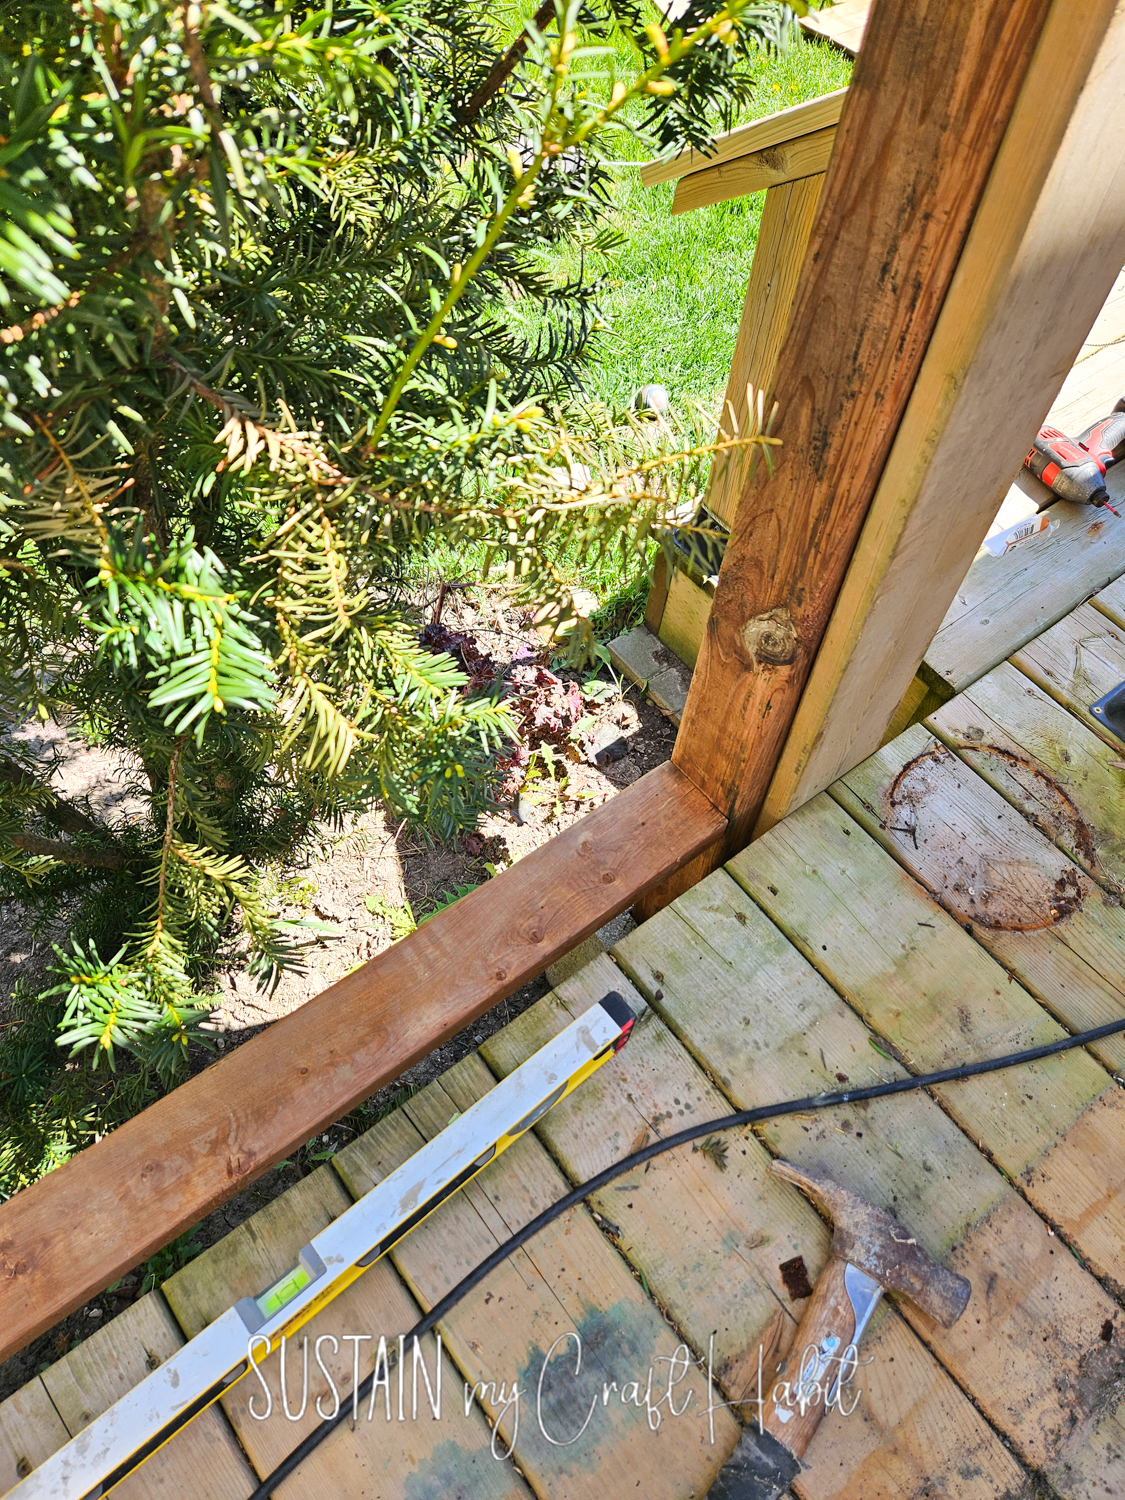
Use a level to straighten the post and drill a temporary wood spacer between the two posts closer to the top.
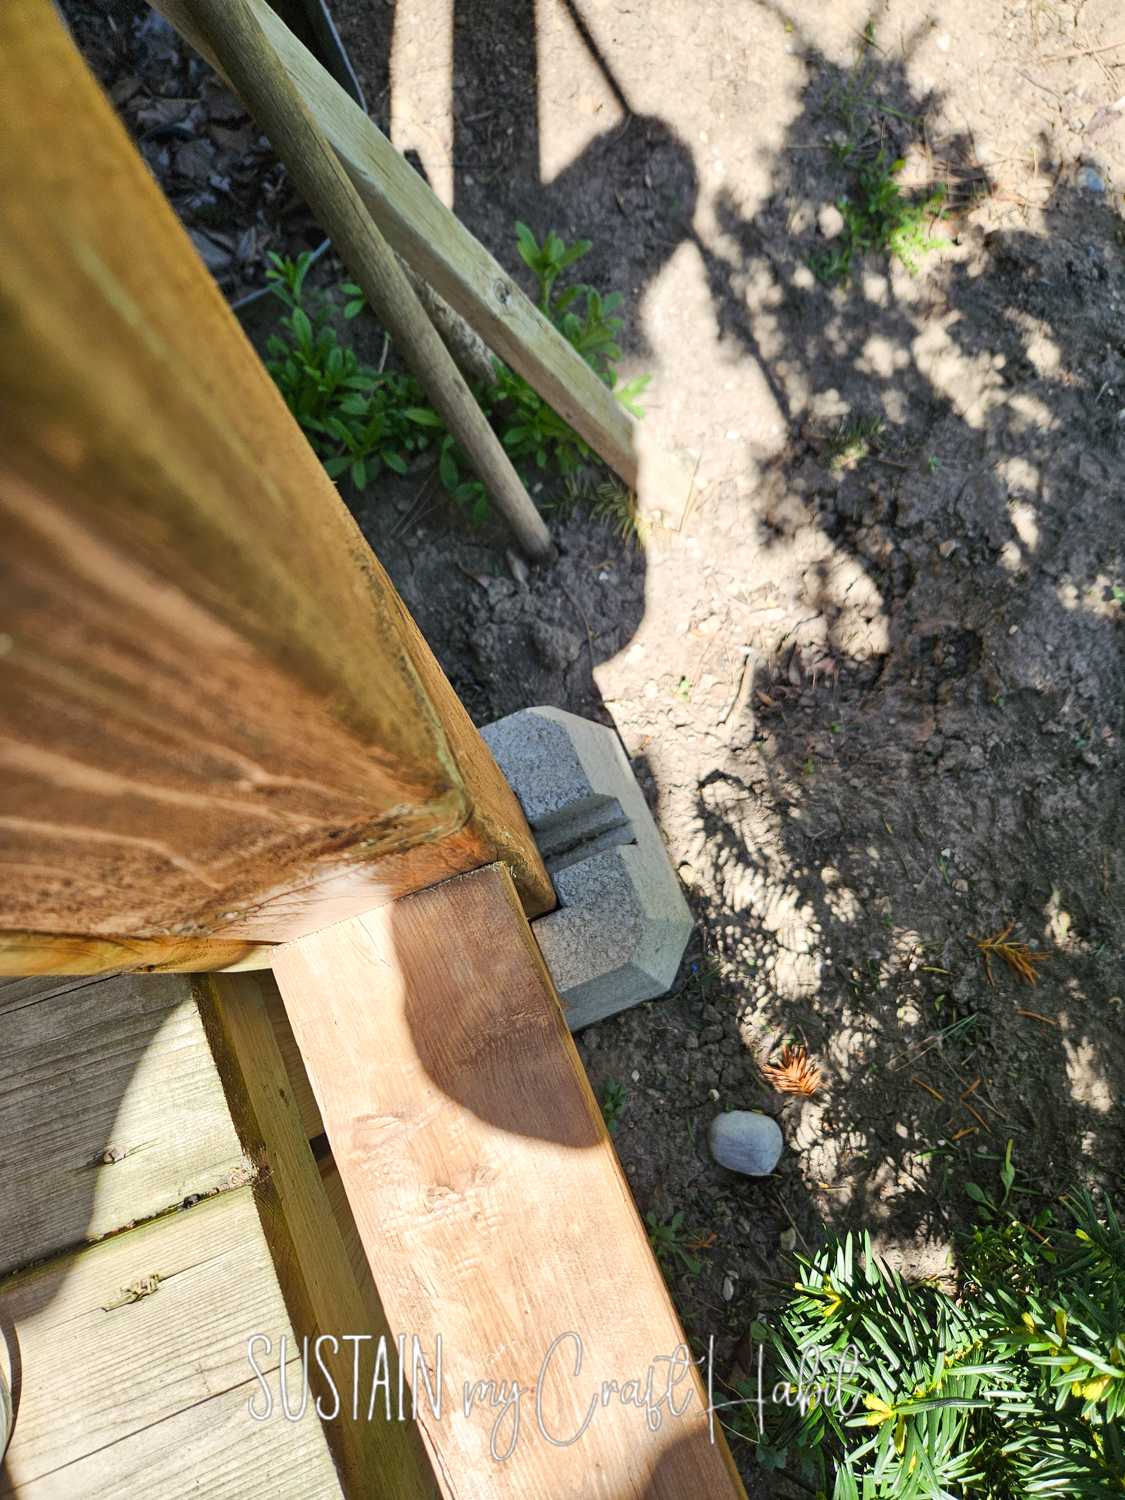
Align one of the nailing strips to the center of the post (along the inside edge of the wall) and drill into place. Again ensure to use a level to make sure it’s straight and evenly positioned.
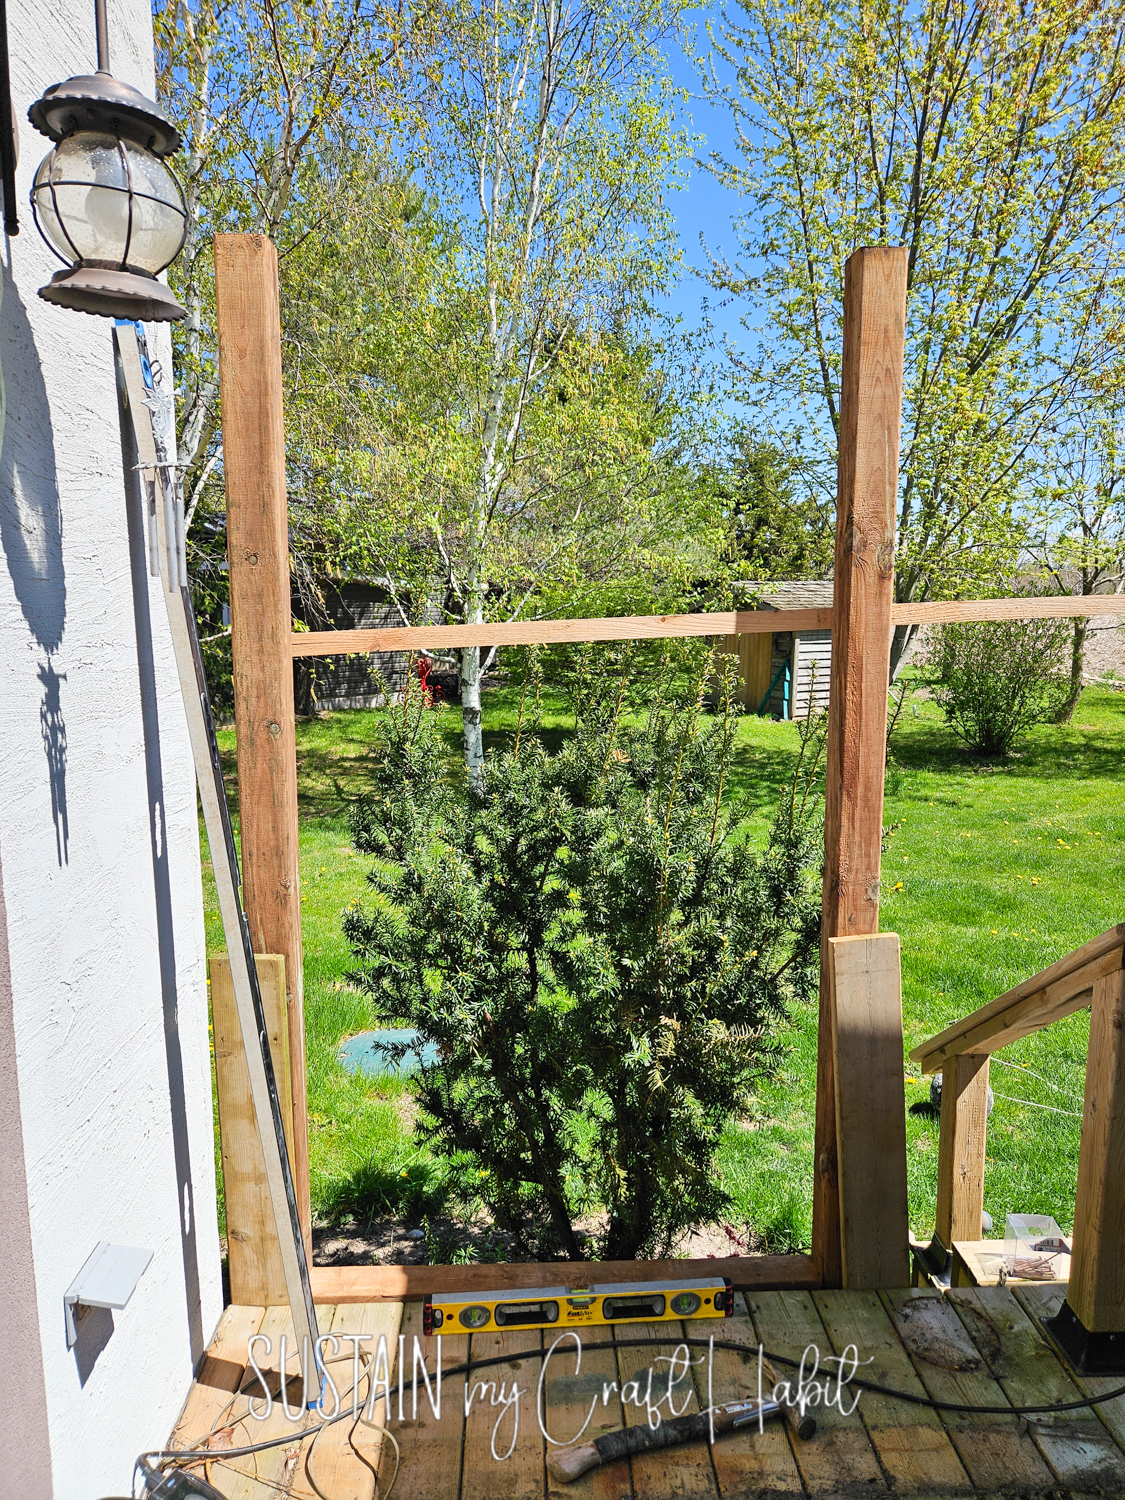
Do the same with the other nailing strip on the other inner edge of the 4”x4” post.
Measure the space between the posts.
Cut fence boards to match the spacing, minus ¼”.
Position the first fence board 20” up from the deck block, in front of the nailing strip. Use a level to ensure the fence board is straight and then drill it in place to the nailing strip.
Continue working your way up the post, using a level for each board.
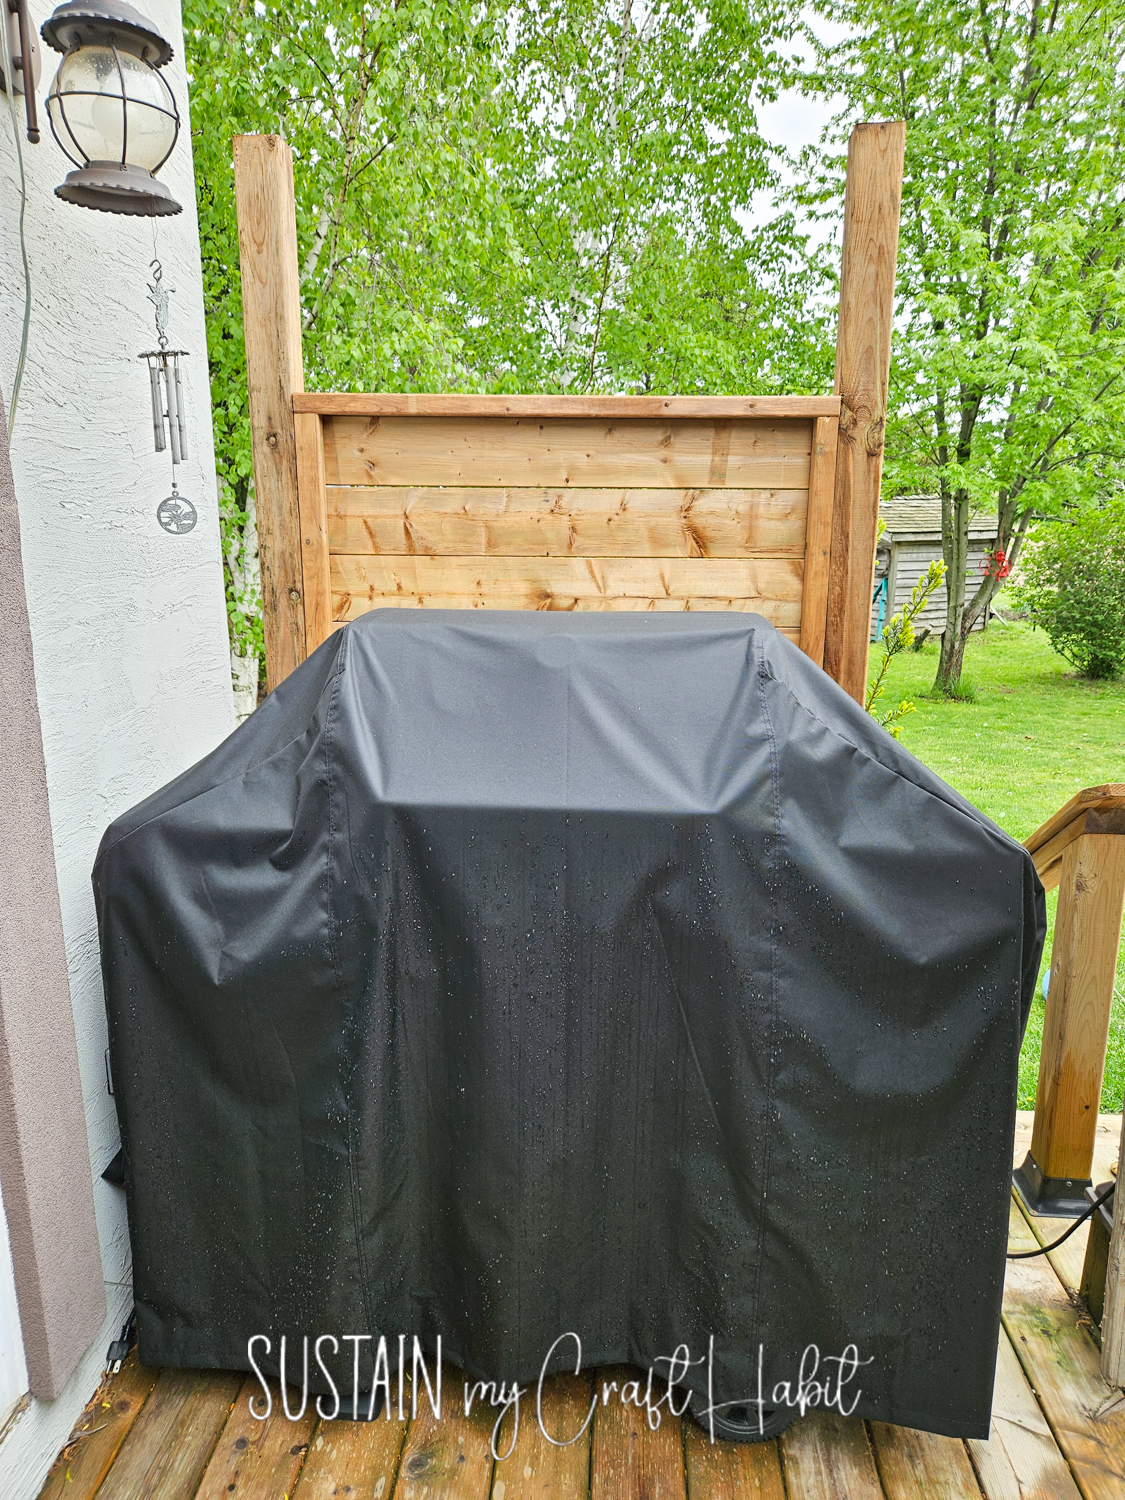
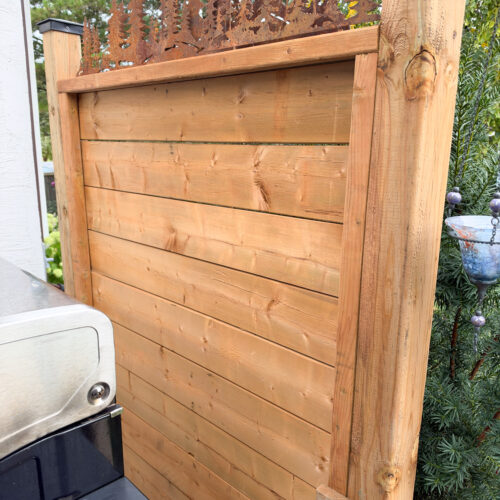
Add as many fence boards as you need. In our case, we made our windbreaker wall 6′ high.
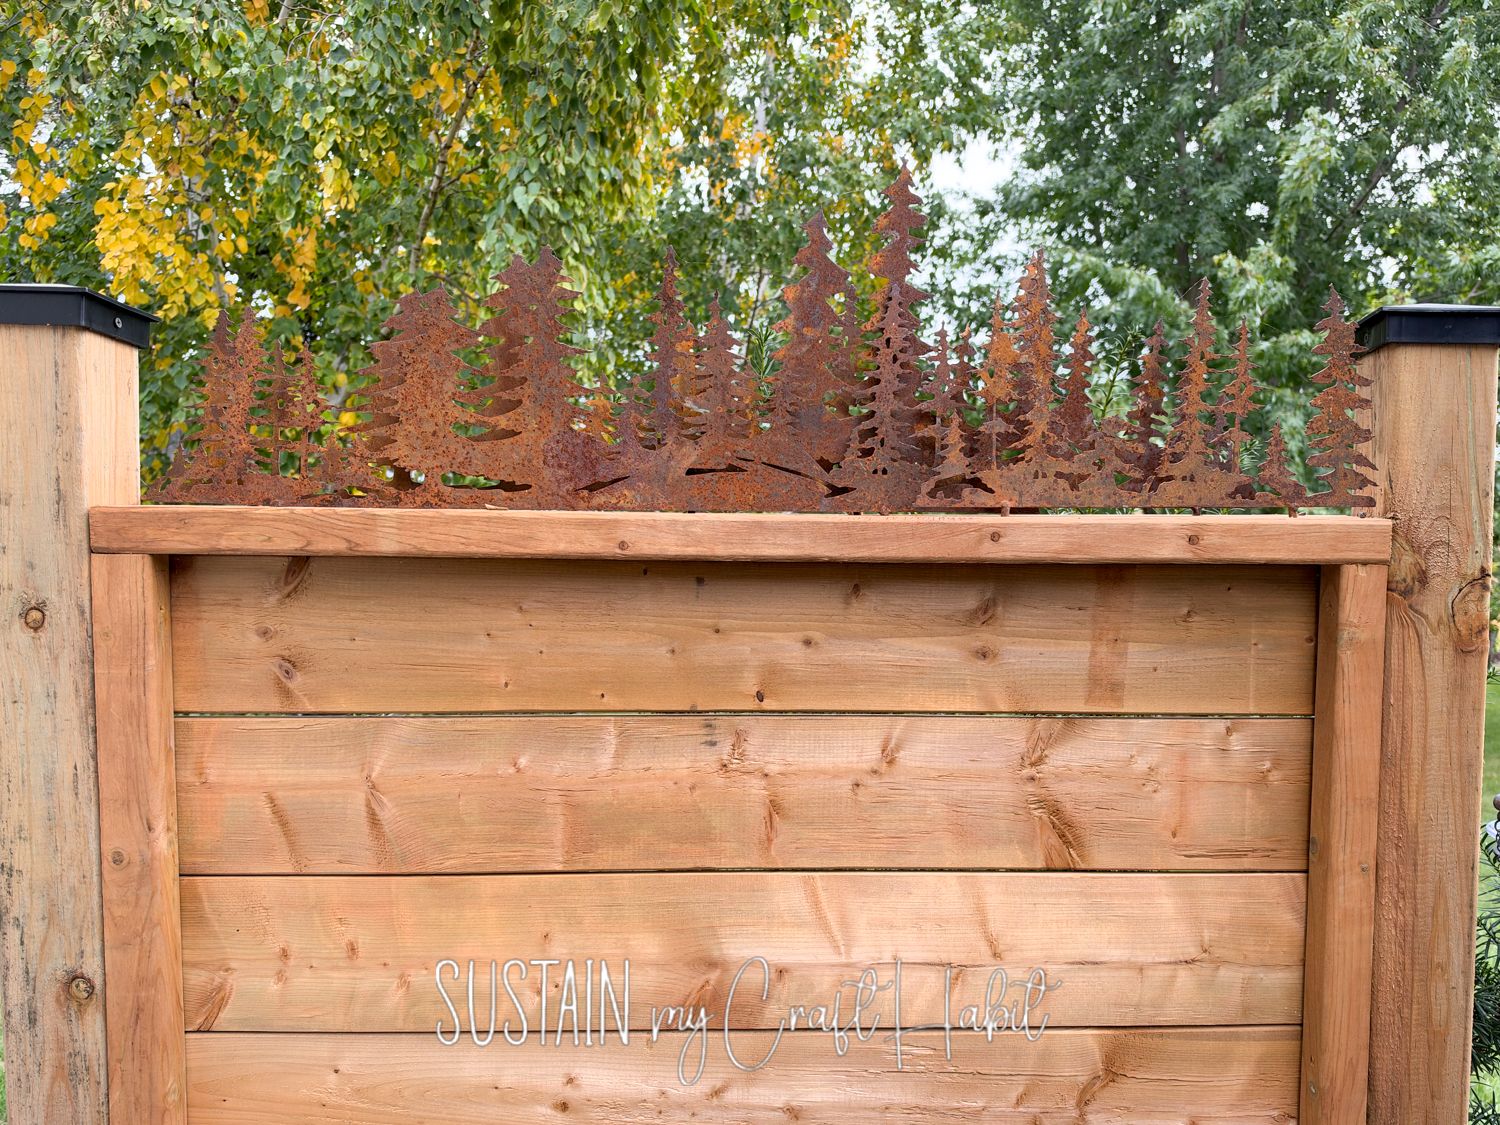
Cut the 4”x4” posts down to the height of the wall and finish them with post caps. In our case, we added a decorative metal art to the top for some added interest.
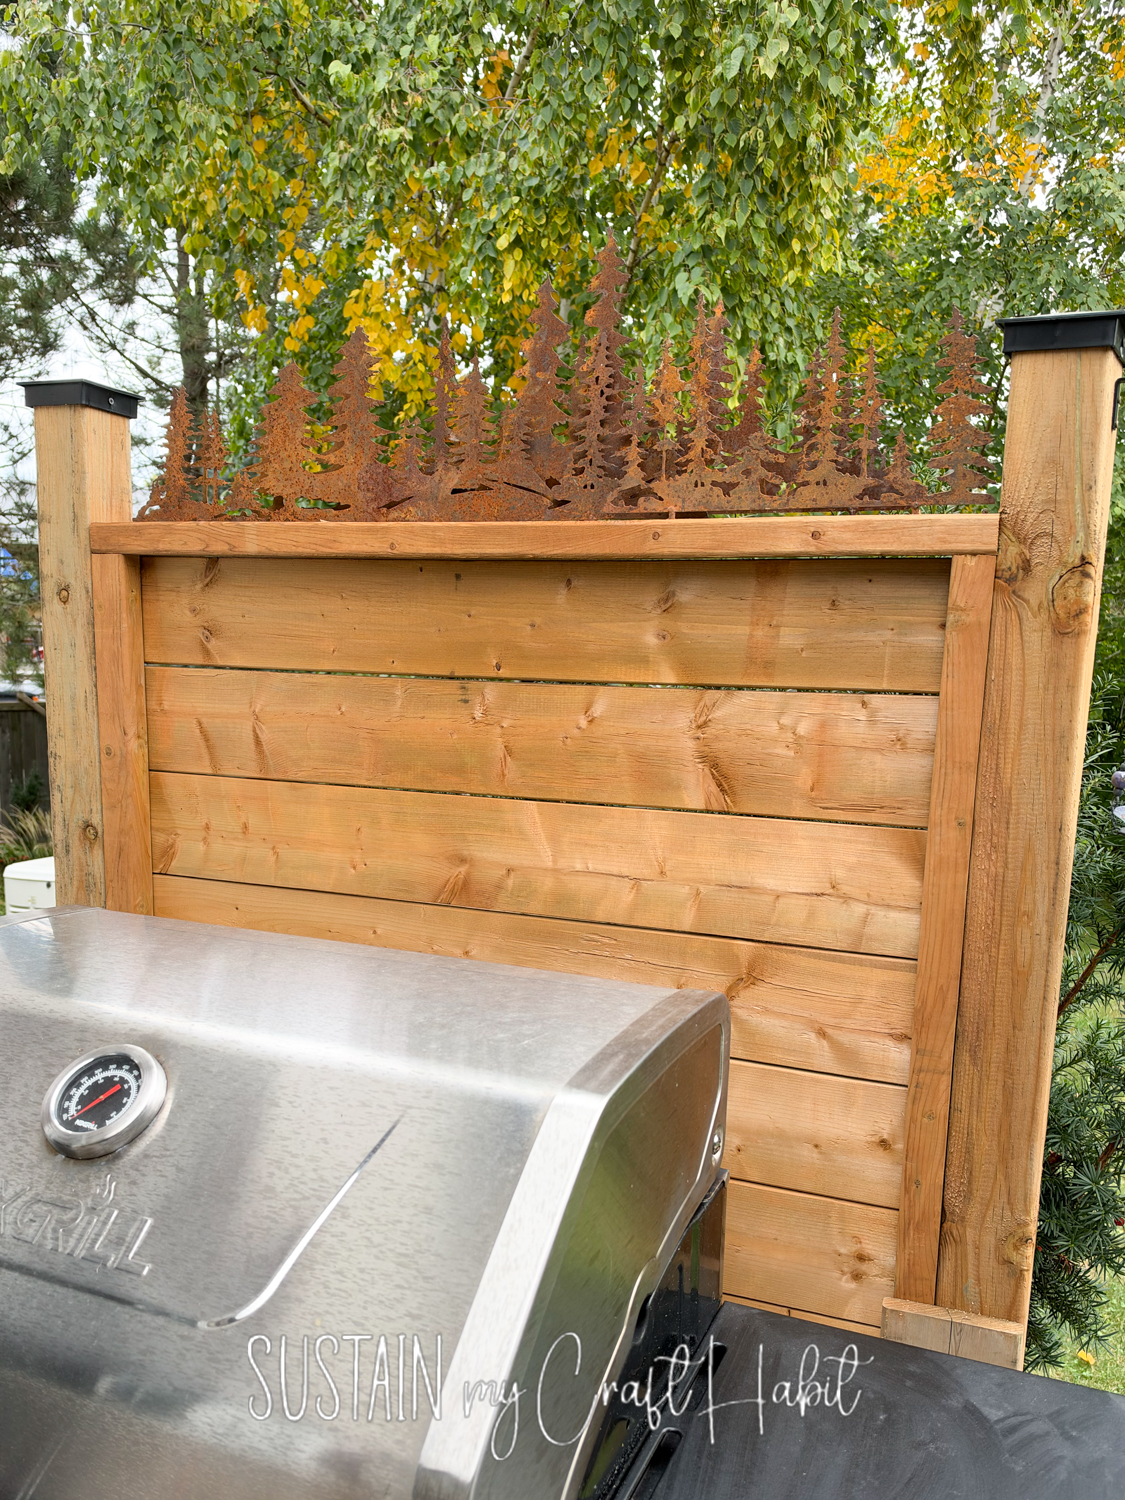
A temporary privacy wall needs to balance two competing requirements: it should be sturdy enough to remain upright but portable enough to move when necessary.
Before building yours, decide exactly what you want it to accomplish. A screen designed primarily to hide bins may be very different from a windbreaker protecting a patio table.
Build a Simple Wooden Frame
For a straightforward DIY version, construct the privacy wall from exterior-grade, pressure treated wood.
If you’re making an especially wide privacy wall, consider creating two or three narrower panels rather than one enormous screen. Individual panels are easier to move and store and can be positioned at different angles.
Adjust the Height for More Privacy
Before deciding on the dimensions, sit in the area you’re trying to screen and determine where the sightlines actually are.
You may discover that you don’t need an exceptionally tall privacy wall. If your main goal is to prevent people seeing directly into a seating area, a moderately sized screen positioned strategically may provide all the privacy you need.
Creating a DIY Windbreaker for a Patio
If blocking wind is your main objective, spend some time observing where the prevailing wind enters your seating area or outdoor BBQ area before deciding where to put your screen.
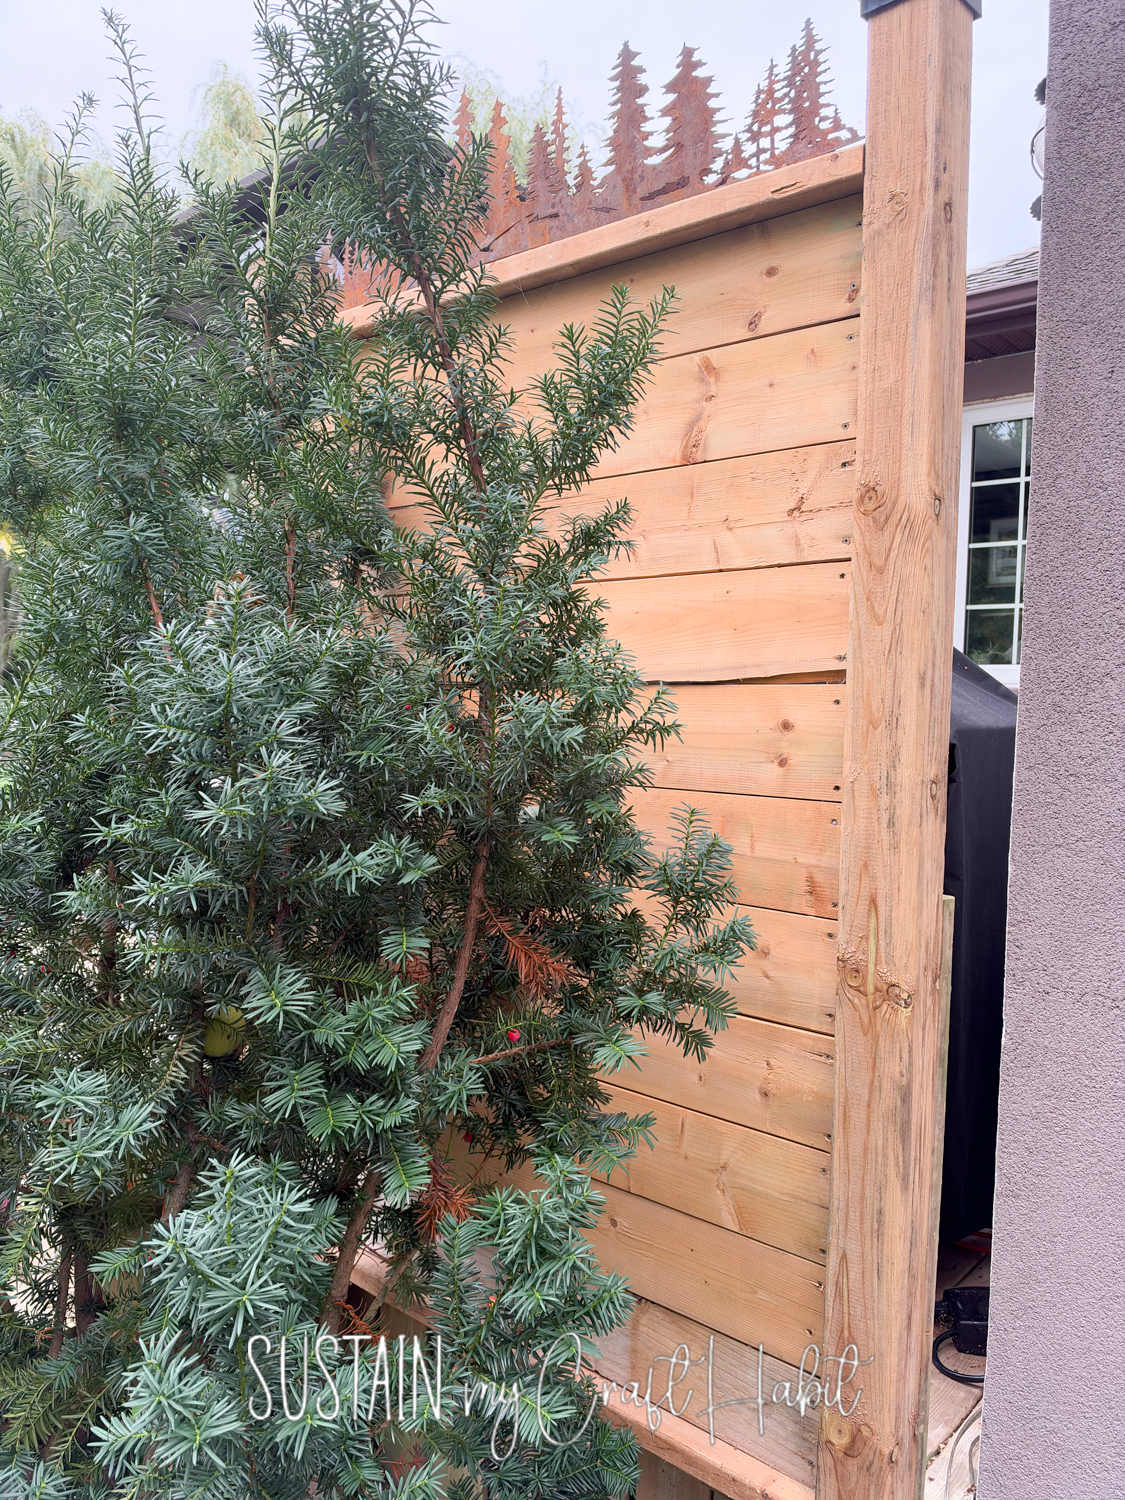
Make Your Area More Comfortable
A temporary outdoor privacy wall can be an inexpensive way to make an exposed garden, patio, or deck feel considerably more comfortable. Because it isn’t a permanent structure, you can experiment with its position, change the finish, add plants, or move it somewhere completely different as your needs change.
More DIY Home Projects
Looking to tackle your next weekend project? Be sure to explore our full library of DIY posts for more budget-friendly tutorials, upcycled furniture makeovers, and easy home improvement ideas!
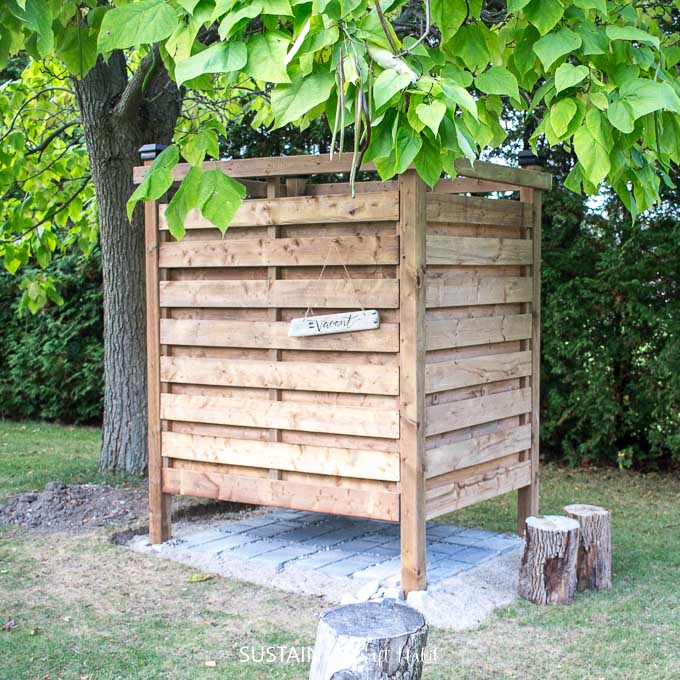
- DIY Outdoor Shower Enclosure Plans
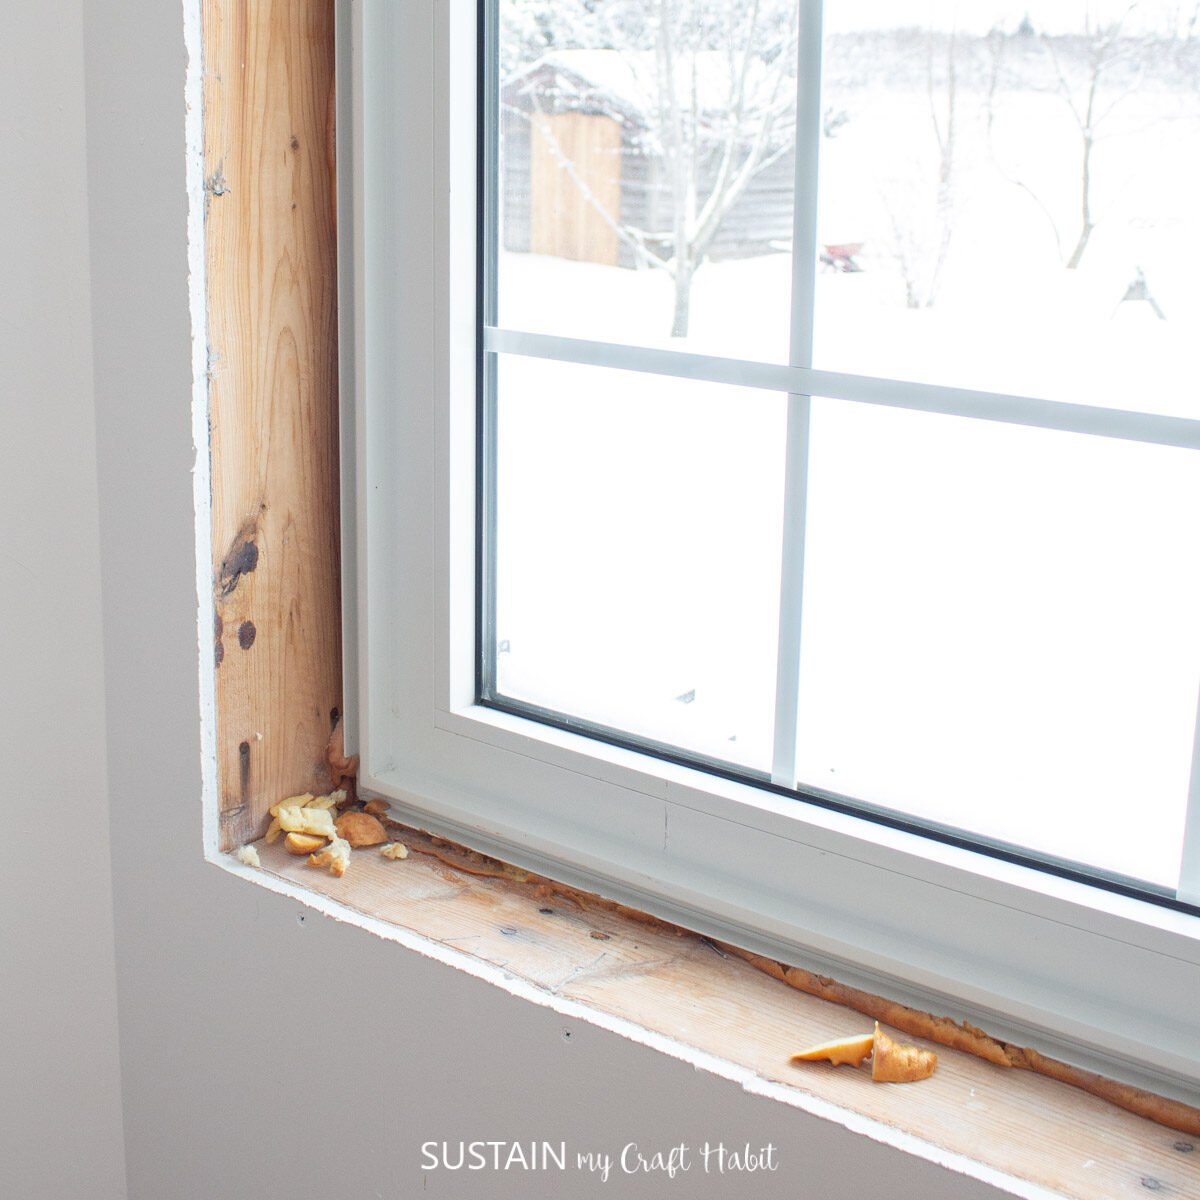
- How to Trim Interior Windows
- Contemporary Bathroom Makeover Reveal
- Tips for Planning a Small Bathroom Remodel
Thank you so much for visiting us here on the blog. You can get updates on the latest posts and more from Sustain My Craft Habit straight to your inbox by joining our weekly newsletter. We promise to send you only the good stuff!
Like it? Pin for later!
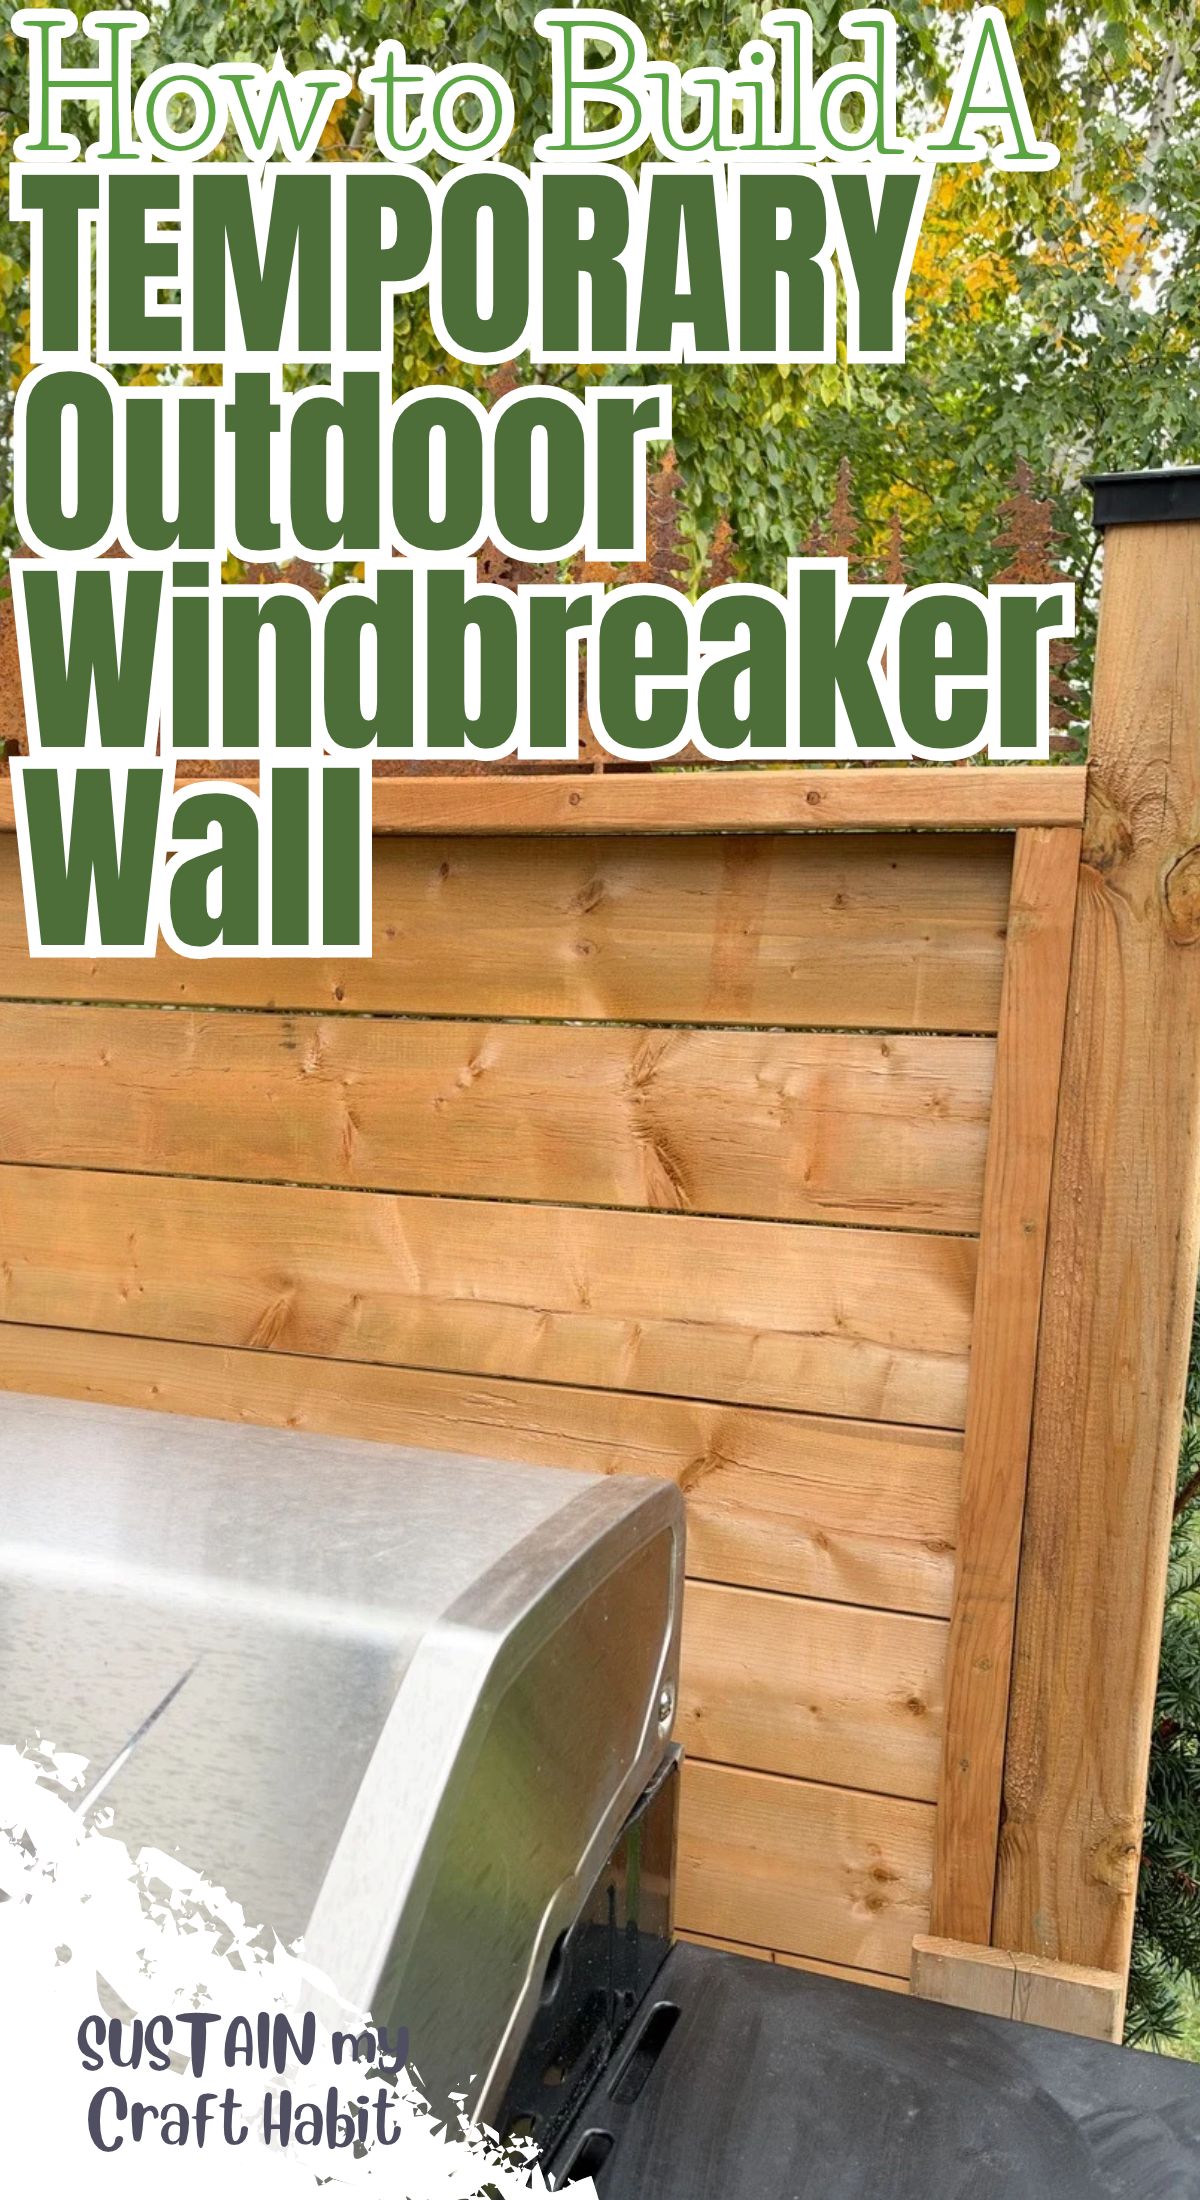
How to Build a Temporary Outdoor Privacy Wall (DIY Windbreaker)
Materials
- 10 Fence boards – knotty cedar boards 1”x6”x6’ long
- 2 4”x4”x8’ long post pressure treated
- 2 1”x1”x48” long nailing strip pressure treated
- 2 in. 11x 11 in. x 7 in. Grey Concrete Deck Blocks
- Drill and fencing screws
- Level
- 2 4”x4” fence caps
Instructions
- Position the deck blocks on a flat surface and space them apart the distance of your wall. In our case, we made our wall 4’ wide.
- When secure and levelled, insert a 4”x4” post into each deck block.
- Use a level to straighten the post and drill a temporary wood spacer between the two posts closer to the top.
- Align one of the nailing strips to the center of the post (along the inside edge of the wall) and drill into place. Again ensure to use a level to make sure it’s straight and evenly positioned.
- Do the same with the other nailing strip on the other inner edge of the 4”x4” post.
- Measure the space between the posts.
- Cut fence boards to match the spacing, minus ¼”.
- Position the first fence board 20” up from the deck block, in front of the nailing strip. Use a level to ensure the fence board is straight and then drill it in place to the nailing strip.
- Continue working your way up the post, using a level for each board.
- Add as many fence boards as you need. In our case, we made our windbreaker wall xx” high.
- Cut the 4”x4” down to the height of the wall and finish them with post caps.