
We’re going back to basics with this post on how to sew a button by hand including 2 hole buttons, 4 hole buttons, shank buttons and more! Learn how reattach those buttons on your shirts, pants and coats so they’ll never fall off again!
Why you Should Know How to Sew a Button
As someone who has worked in the apparel industry for almost 20 years, I don’t think there’s a type of button out there I’ve haven’t seen! You may not know this, but buttons sewn onto clothing that you buy are often either attached with a chainstitch machine or quickly by hand (ie. shank buttons). These will inevitably come loose as they’re used and are most likely the first ones that will fall off.
Knowing the best way to re-attach those buttons so that they won’t fall off again is a simple sewing skill that anyone can learn. Every now and then you’ll find a button starting to loosen on your garment – before it comes off sew that button back on so you don’t lose it! It’s so frustrating when a button falls off completely and you can’t find a matching one to replace it!
Or maybe you’re picking up sewing for the first time and aren’t sure which button is best to use. Whatever your situation, in our guide below, we’ll go over the four different types of button closures. We’ll also demonstrate the simple steps for sewing them on to shirts, pants, jackets or whatever other article of clothing or home accessory is needing it.
Be sure to check out all of our beginner sewing projects as well as our own sewing pattern collection.
What are the Different Types of Buttons?
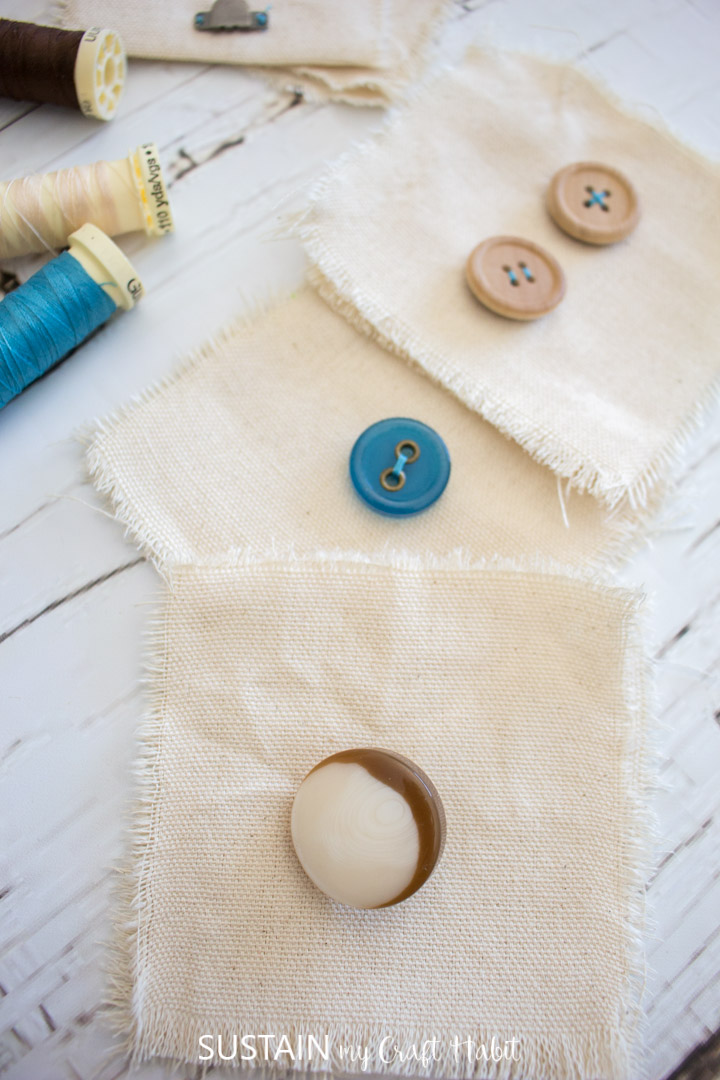
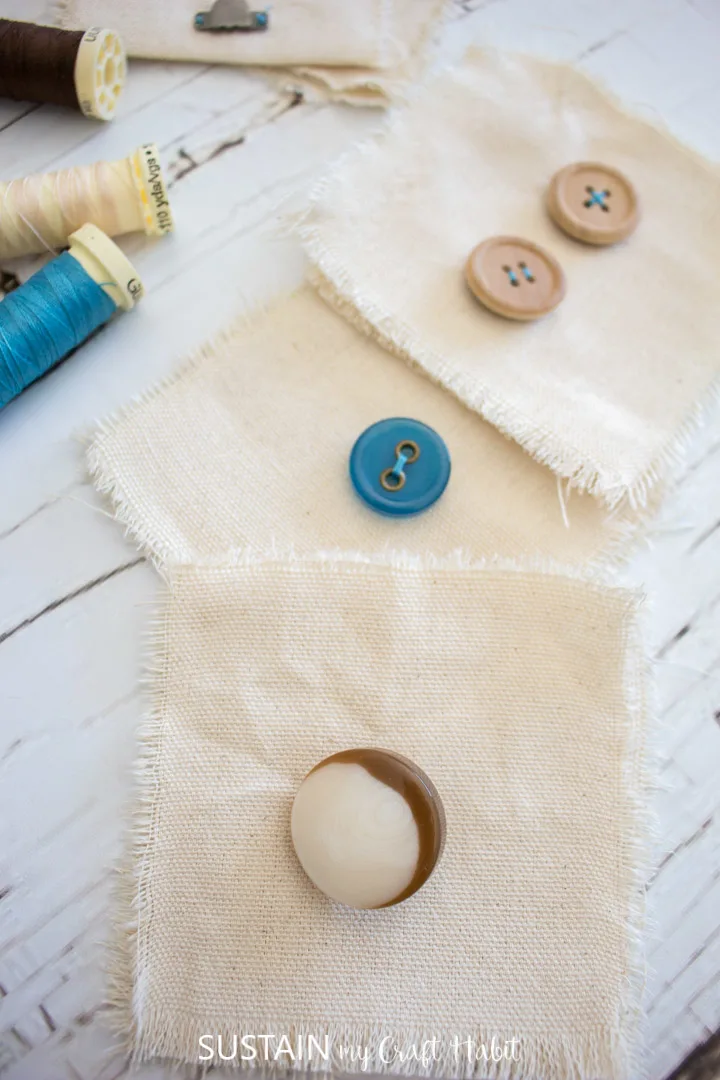
There are four most common buttons and closures you’ll come across:
- 2 Hole Button
- 4 Hole Button
- Shank Button
- Hook and Bar Closure

2-Hole Button 

4-Hole Button 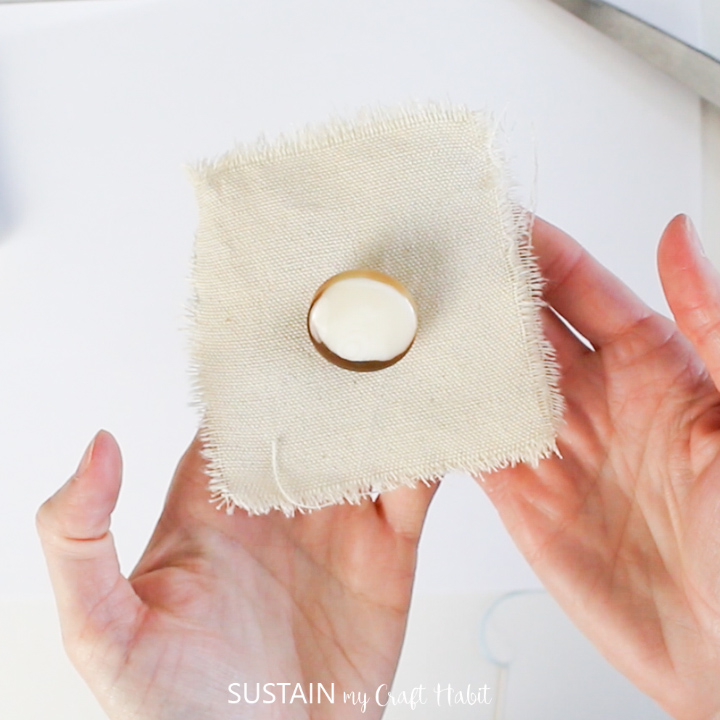
Shank Button 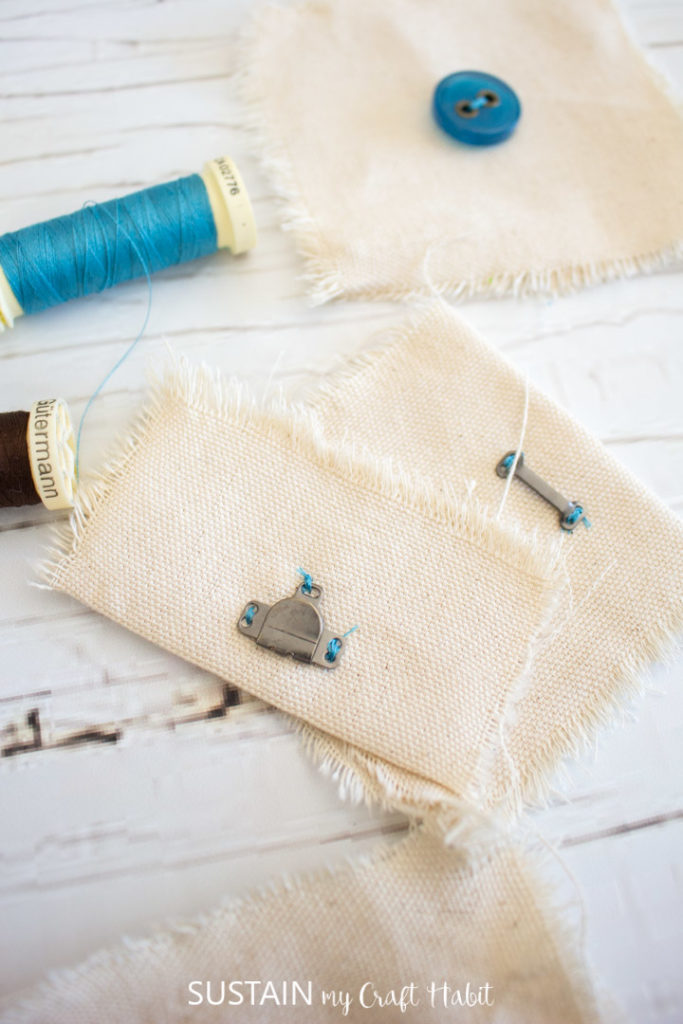

Hook and Bar Closure
We’re happy to share this video over on our YouTube channel with all the details on how to sew a button. If you prefer a written tutorial, keep on reading below.
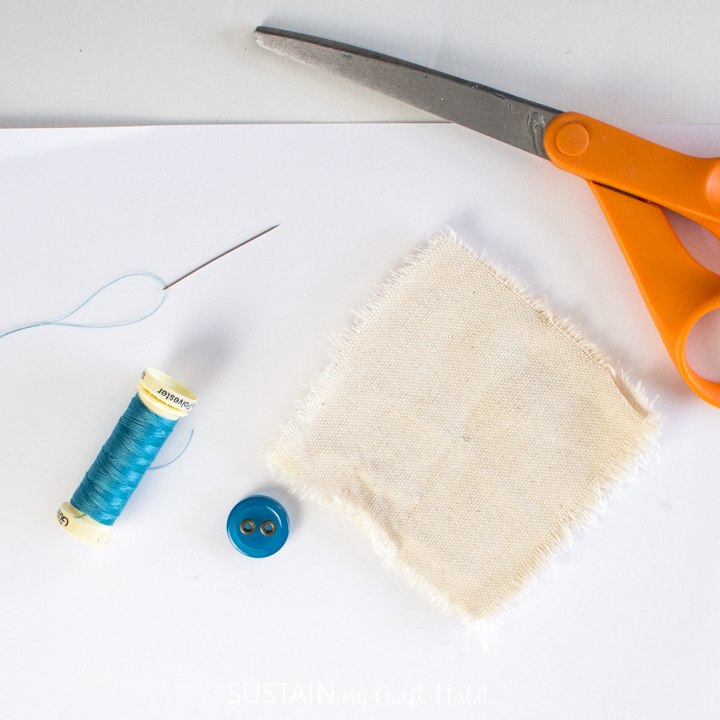
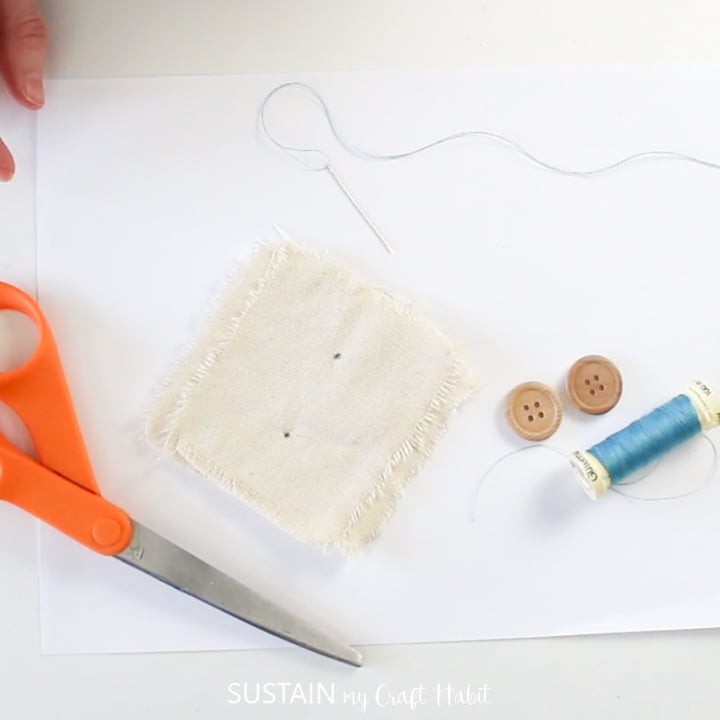
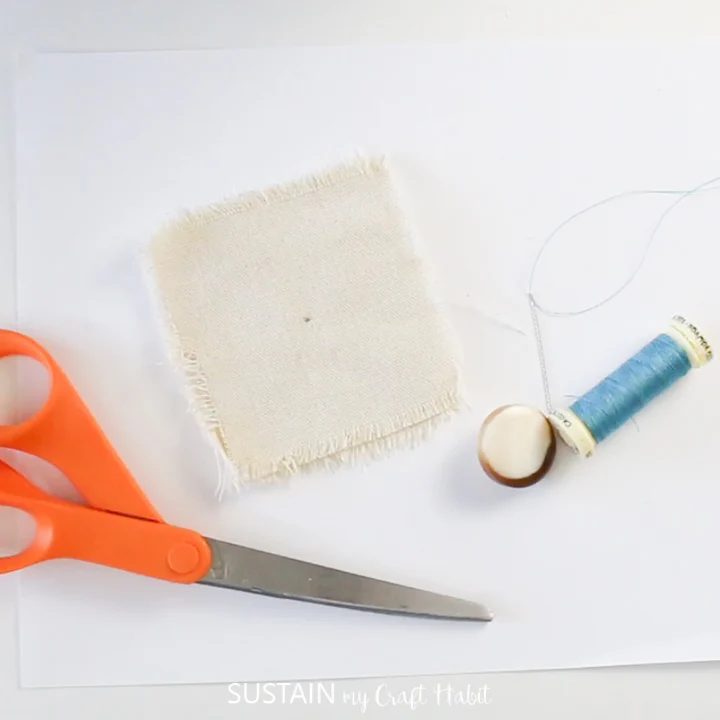
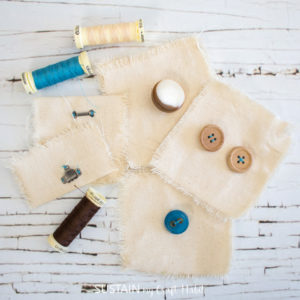
Materials Needed for Hand Sewing a Button:
Disclosure: This post continues affiliate links for your shopping convenience. You can find our full disclosure policy here.
- Replacement Button
- Thread
- Hand Sewing Needles
- Thread Wax (optional)
- Scissors
- Washable marker, chalk or wax
- Hands 🙂
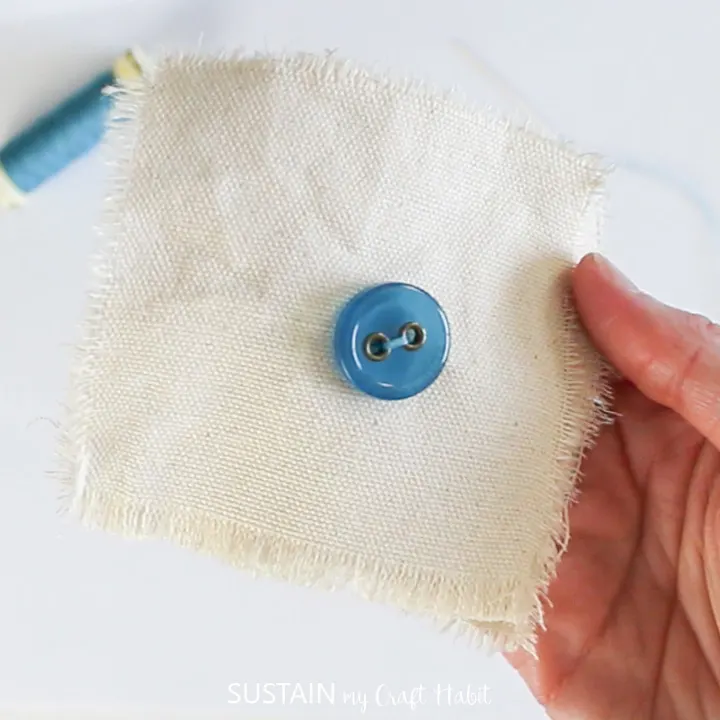
How to Sew a 2-Hole Button:
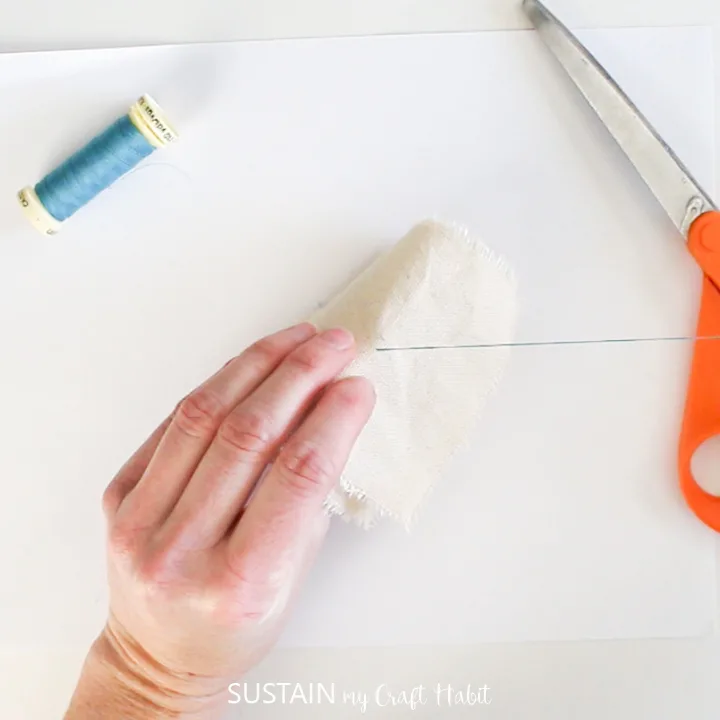
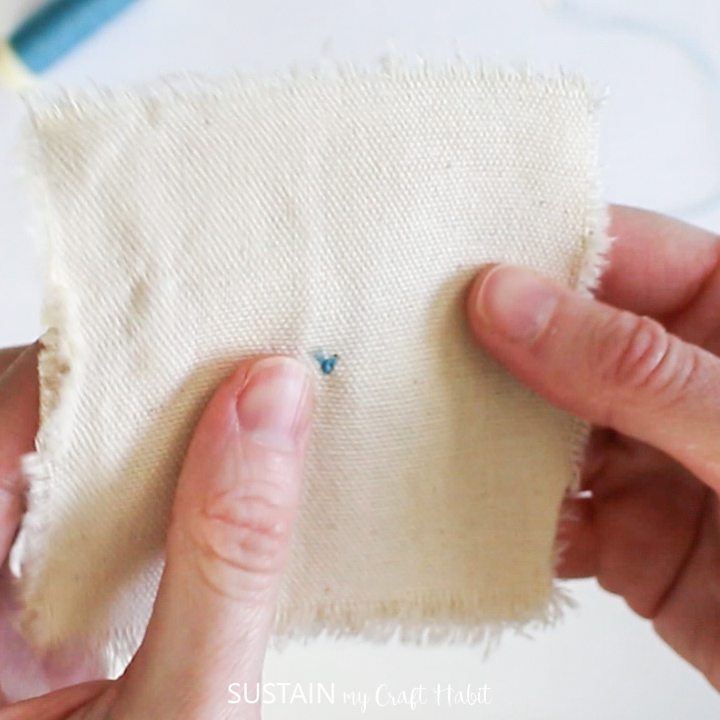
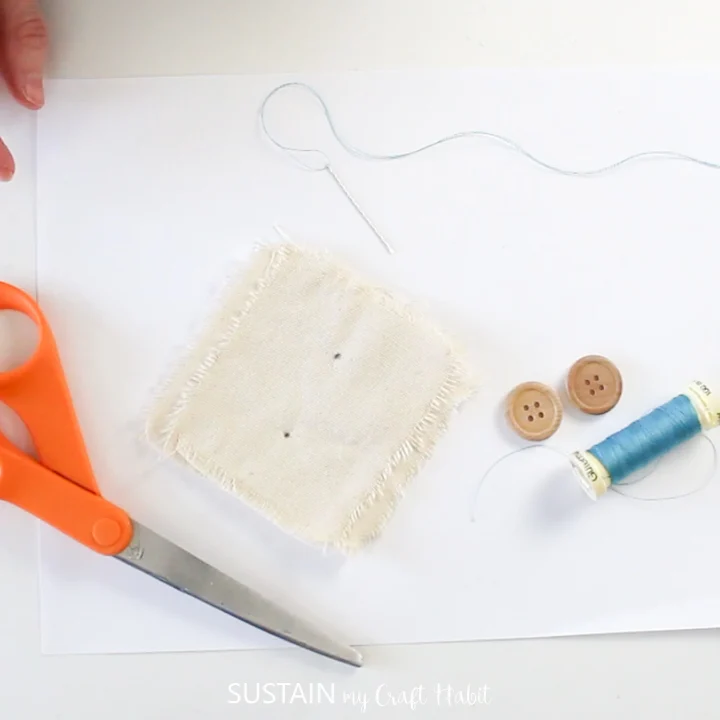
Mark the placement of your button with washable marker, chalk or wax.
Cut a single thread to 24” long and thread it through the eye of the needle. Pull the thread all the way through until the cut ends match up and knot the two ends together. This will form a double thread which is stronger for sewing the button on.

At the spot where you marked your button to go, insert the needle from the backside of the fabric towards the frontside. Push the needle all the way through the fabric from the back. Grab the needle from the front and gently pull the thread all the way until the knot catches against the underside of the fabric.

Although you could add your button at this point it’s better to reinforce the knot. Push the threaded needle back into the fabric (from the front) near the spot where you just came through. Grab the needle from teh back side and draw the thread all the way through.
Repeart this from back to front 2-3 times to have a secure knot in your fabric.
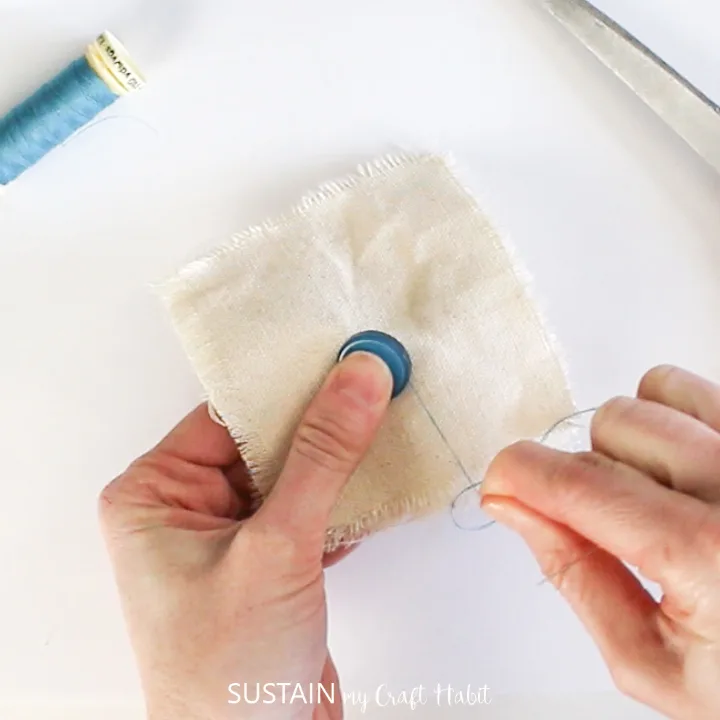
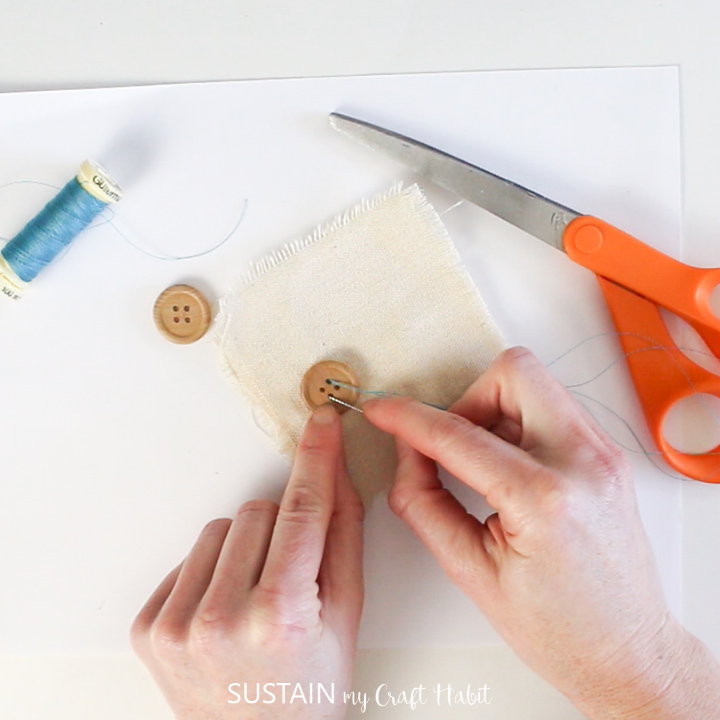
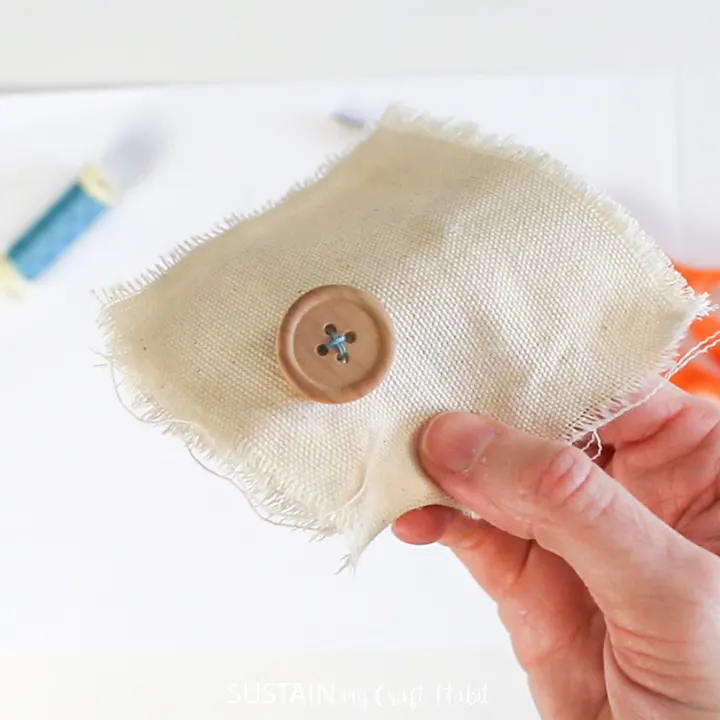
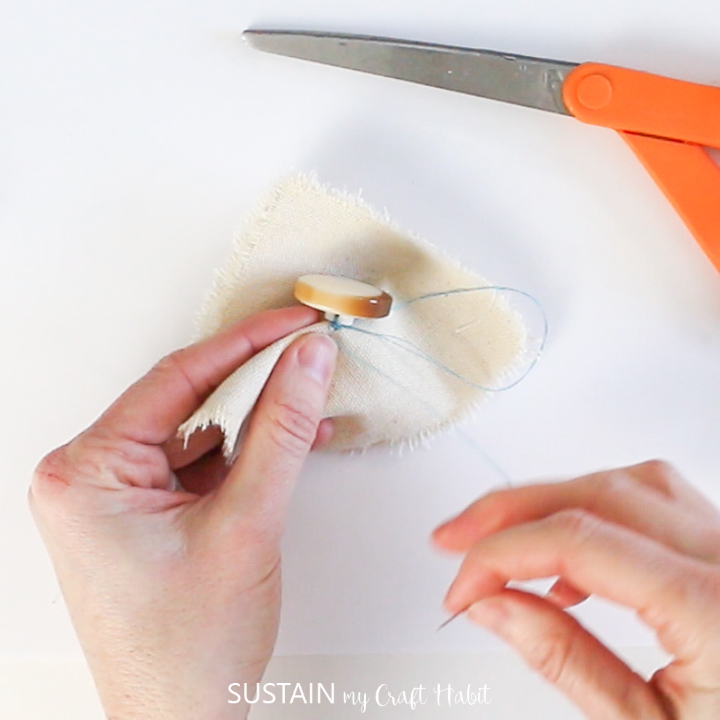
With the threaded needle on the right side of the fabric, grab the 2 hole button and thread the needle through one of the holes from the backside of the button. Pull the thread all all the way through and let the button settle onto the fabric.
Next, push the needle down through the other hole, into the fabric. Draw the needle and thread all the way through to the underside of the fabric. Pull the thread tight until the button lays flush with fabric. You should now have one stitch holding the button in place.
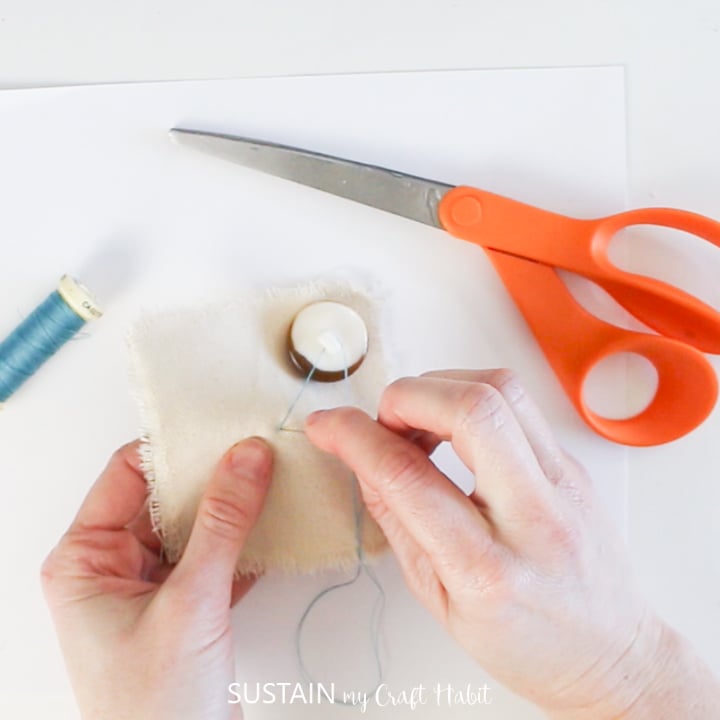
Repeat this 3 or 4 times, coming up through one hole and down through the other hole, until the button feels secure.
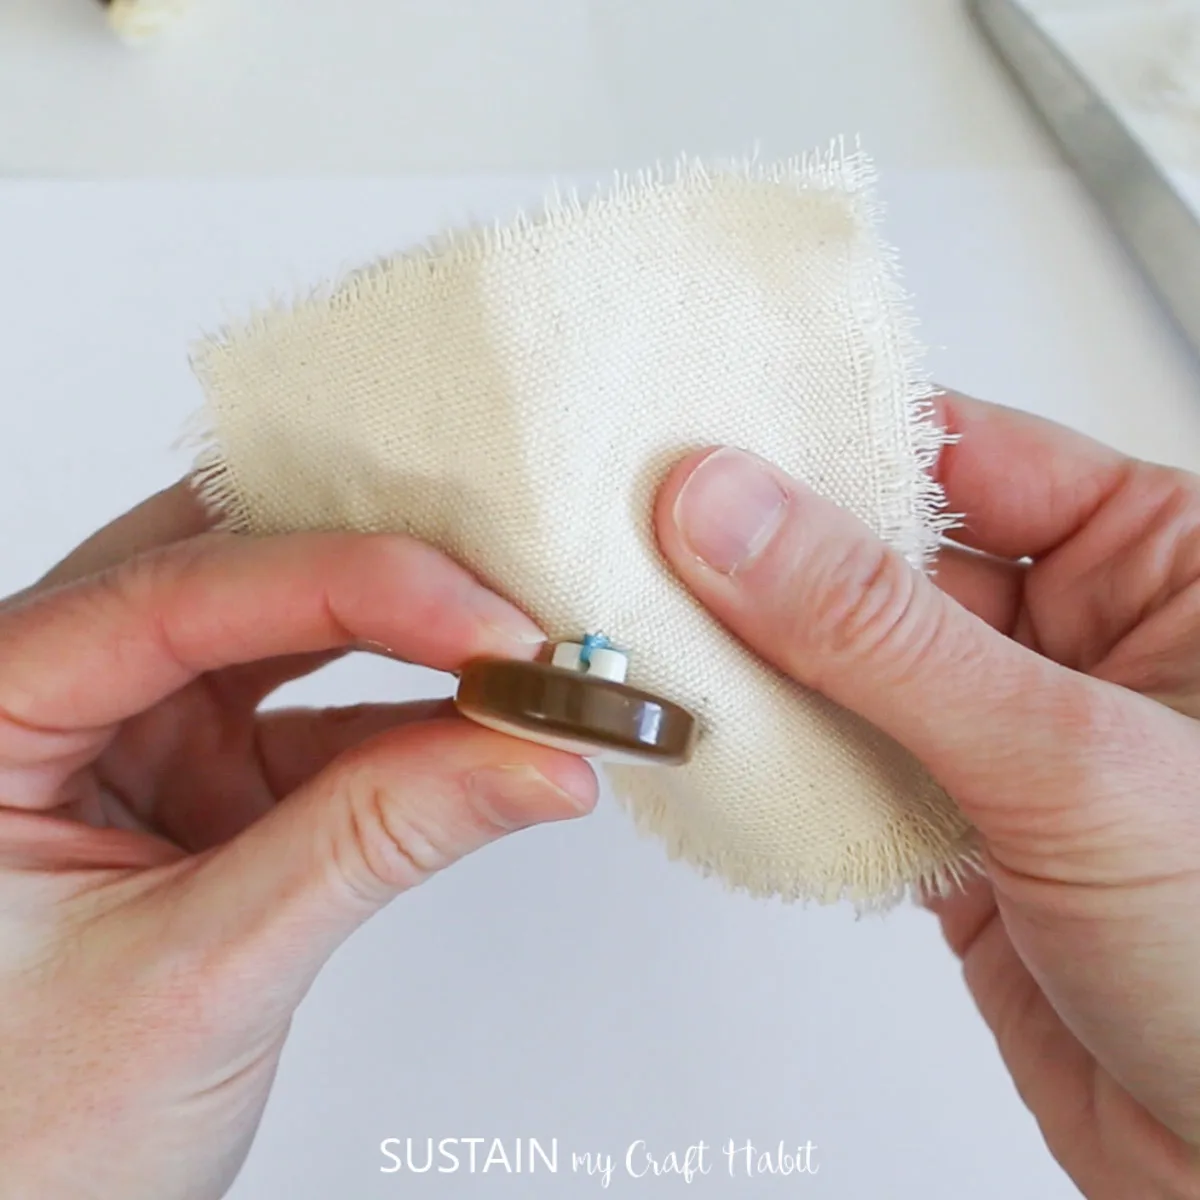
To finish, insert the needle back through to the front side of the fabric but not through the button. Wrap the thread around the back of the button two times.

Then creating a loop with the thread, bring the needle through to tie a knot in place. Repeat this twice to secure the thread.

Trim off the loose threads.
How to Sew a 4-Hole Button
There are two ways to attach a 4 hole button:
- Criss Cross Stitching; and
- Straight Stitching
1. 4-Hole Button: Criss-Cross Stitching
Mark the placement of your button with washable marker, chalk or wax.
Cut a single thread to 24” long and thread it through the eye of the needle. Pull the thread all the way through until the cut ends match up and knot the two ends together. This will form a double thread which is stronger for sewing the button on.
At marked placement, insert the needle through the fabric on the back side. Push the needle through all the way and gently pull until the knot catches against the fabric.
Secure the ends further by pushing the needle back down and up in the same area.
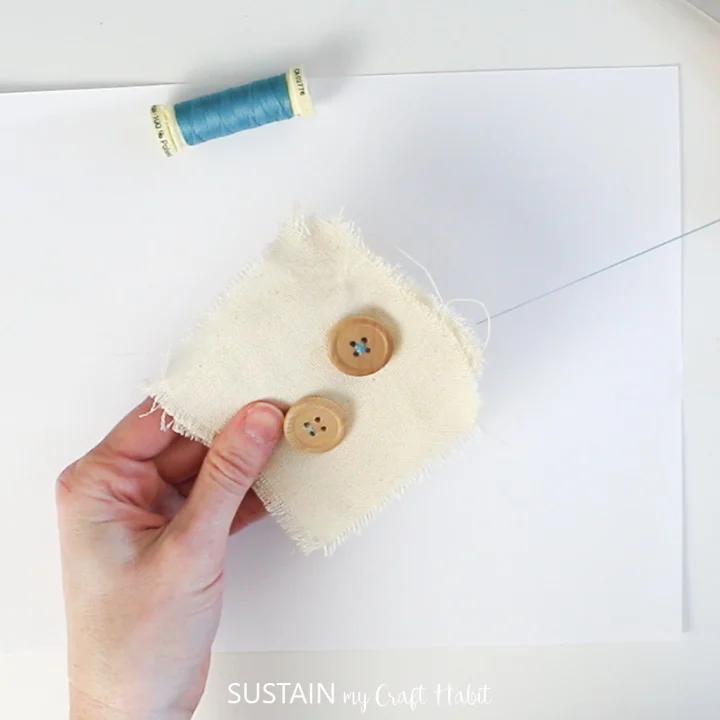
With the threaded needle on the right side of the fabric, grab the 4 hole button and thread the needle through one of the holes. Push it all the way through.
Next, thread the needle through the other hole on the diagonal in the opposite direction.

Push the needle through the fabric close to the same position. Pull needle and thread all the way through until the button lays flush with fabric.
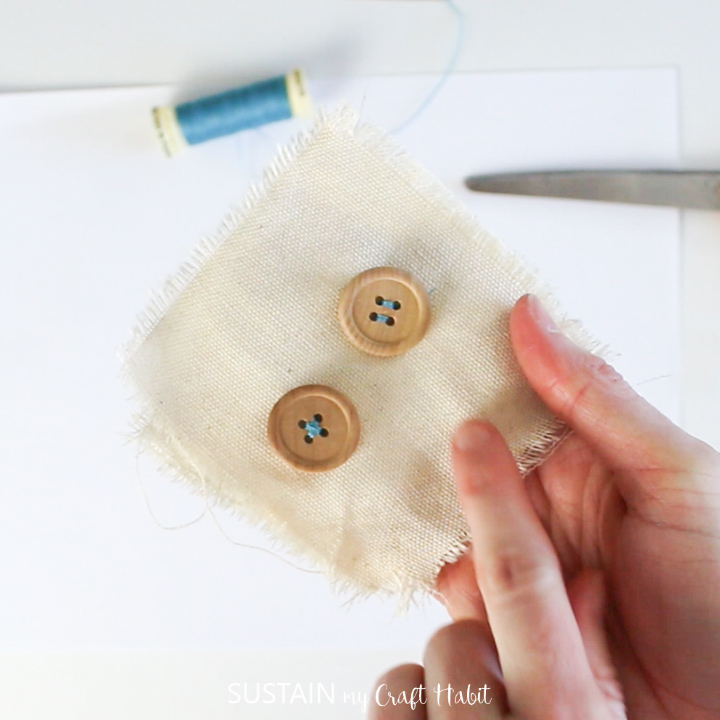
Push the needle back up through the fabric and insert through one of the other open buttonholes and then thread the needle back through the other hole on the diagonal in the opposite direction, creating a criss cross pattern.
Repeat this 3 times in the exact same pattern until the button feels secure.
To finish, insert the needle back through to the front side but not through the button.
Wrap the thread around the back of the button two times. Then creating a loop with the thread, insert the threaded needle through to knot it in place. Repeat this twice to make it secure and trim off the loose threads.
2. 4-Hole Button: Straight Stitching
Mark the placement of your button with washable marker, chalk or wax.
Cut a single thread to 24” long and thread it through the eye of the needle. Pull the thread all the way through until the cut ends match up and knot the two ends together. This will form a double thread which is stronger for sewing the button on.
At marked placement, insert the needle through the fabric on the back side. Push the needle through all the way and gently pull until the knot catches against the fabric.

Secure the ends further by pushing the needle back down and up in the same area.
With the threaded needle on the right side of the fabric, grab the 4 hole button and thread the needle through one of the holes. Push it all the way through.
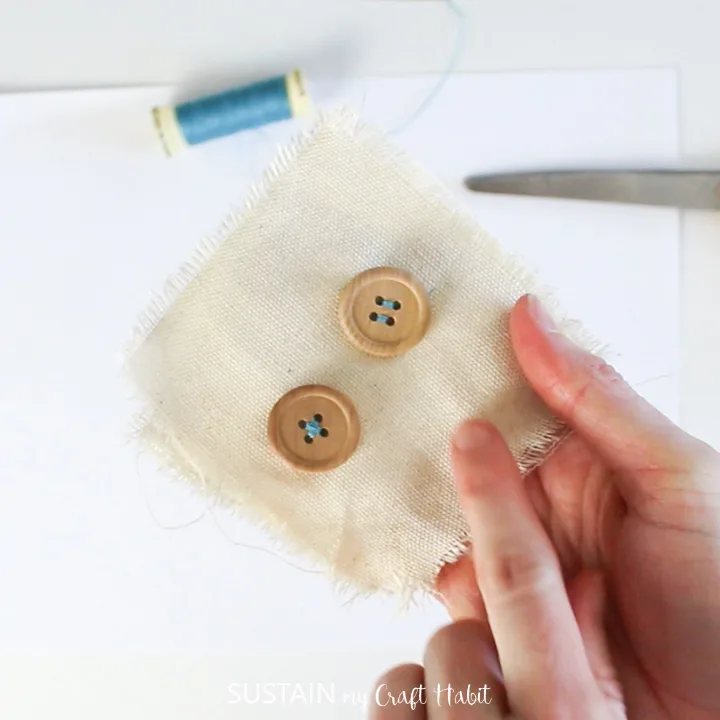
Next, thread the needle through the neighbouring hole (adjacent to the first hole) in the opposite direction.
Push the needle through the fabric close to the same position.
Pull needle and thread all the way through until the button lays flush with fabric.
Push the needle back up through the fabric and insert through one of the other open buttonholes and then thread the needle back through the remaining open hole, creating a straight pattern.
Repeat this 3 times in the exact same pattern until the button feels secure.
To finish, insert the needle back through to the front side but not through the button.
Wrap the thread around the back of the button two times.
Then creating a loop with the thread, insert the threaded needle through to knot it in place. Repeat this twice to make it secure.
Trim off the loose threads.
How to Sew a Shank Button
Mark the placement of your button with washable marker, chalk or wax.
Cut a single thread to 24” long and thread it through the eye of the needle. Pull the thread all the way through until the cut ends match up and knot the two ends together. This will form a double thread which is stronger for sewing the button on.

At marked placement, insert the needle through the fabric on the back side. Push the needle through all the way and gently pull until the knot catches against the fabric.
Secure the ends further by pushing the needle back down and up in the same area.

With the threaded needle on the right side of the fabric, grab the shank button and thread the needle through the ring hole on the back side. Push it all the way through.
Push the needle through the fabric close to the same position.

Pull needle and thread all the way through until the shank button lays flush with fabric.
Repeat this 3 times until the button feels secure.
To finish, insert the needle back through to the front side but not through the ring hole.
Wrap the thread around the back of the button two times.

Then creating a loop with the thread, insert the threaded needle through to knot it in place. Repeat this twice to make it secure. Trim off the loose threads.

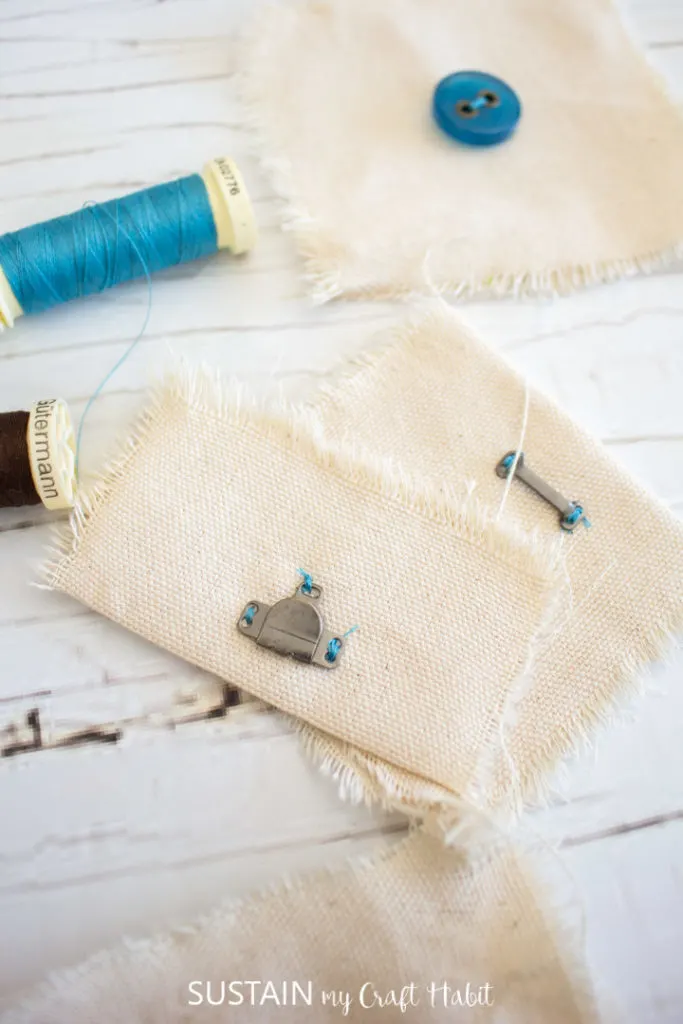
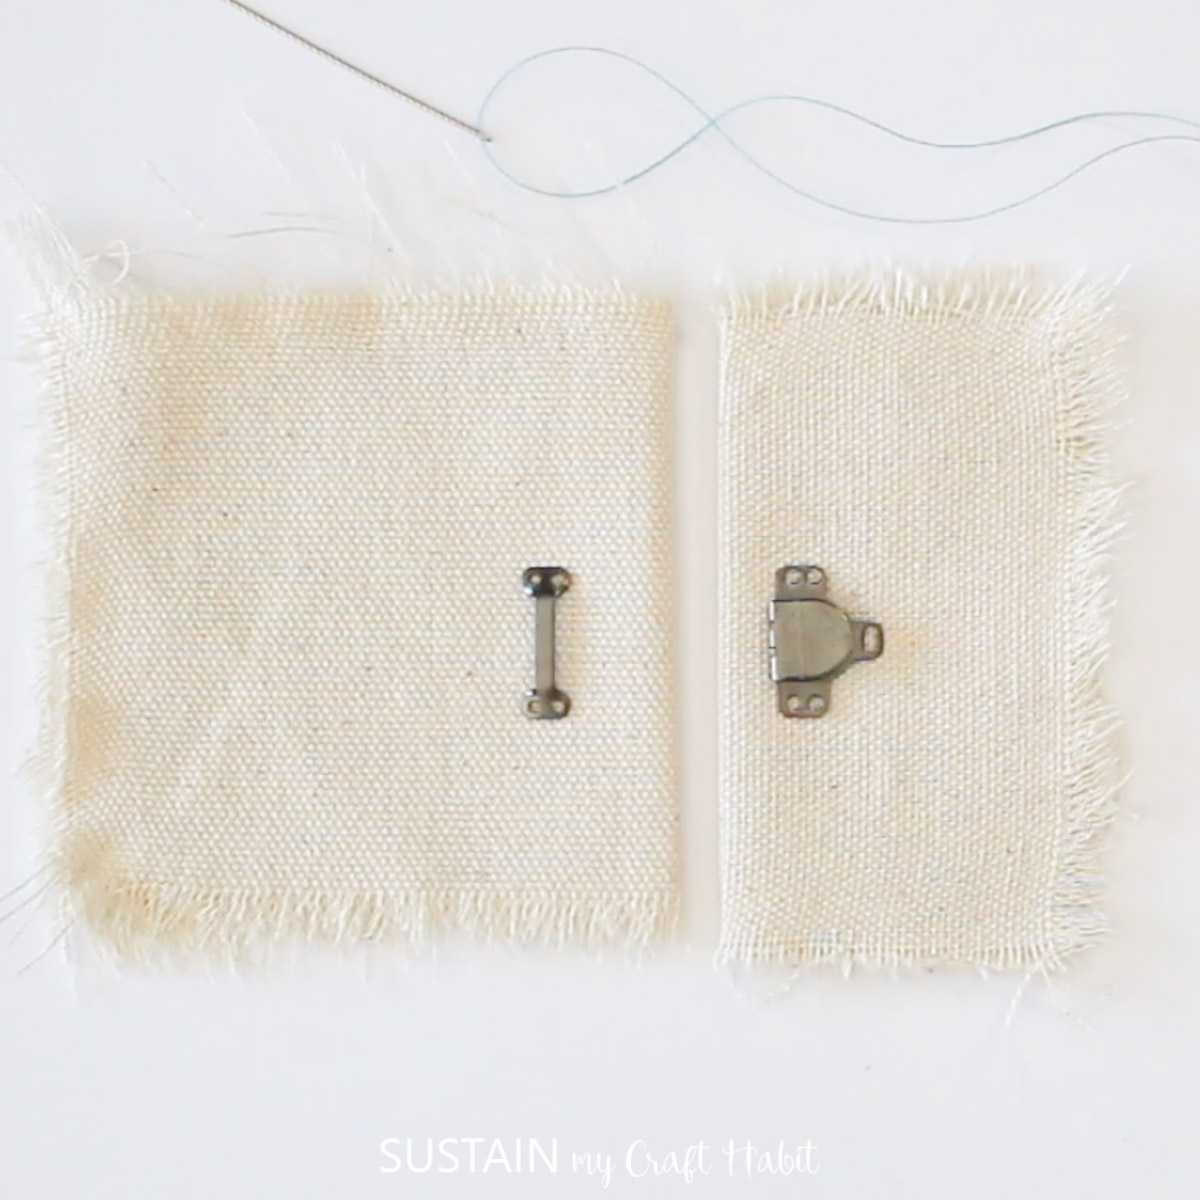
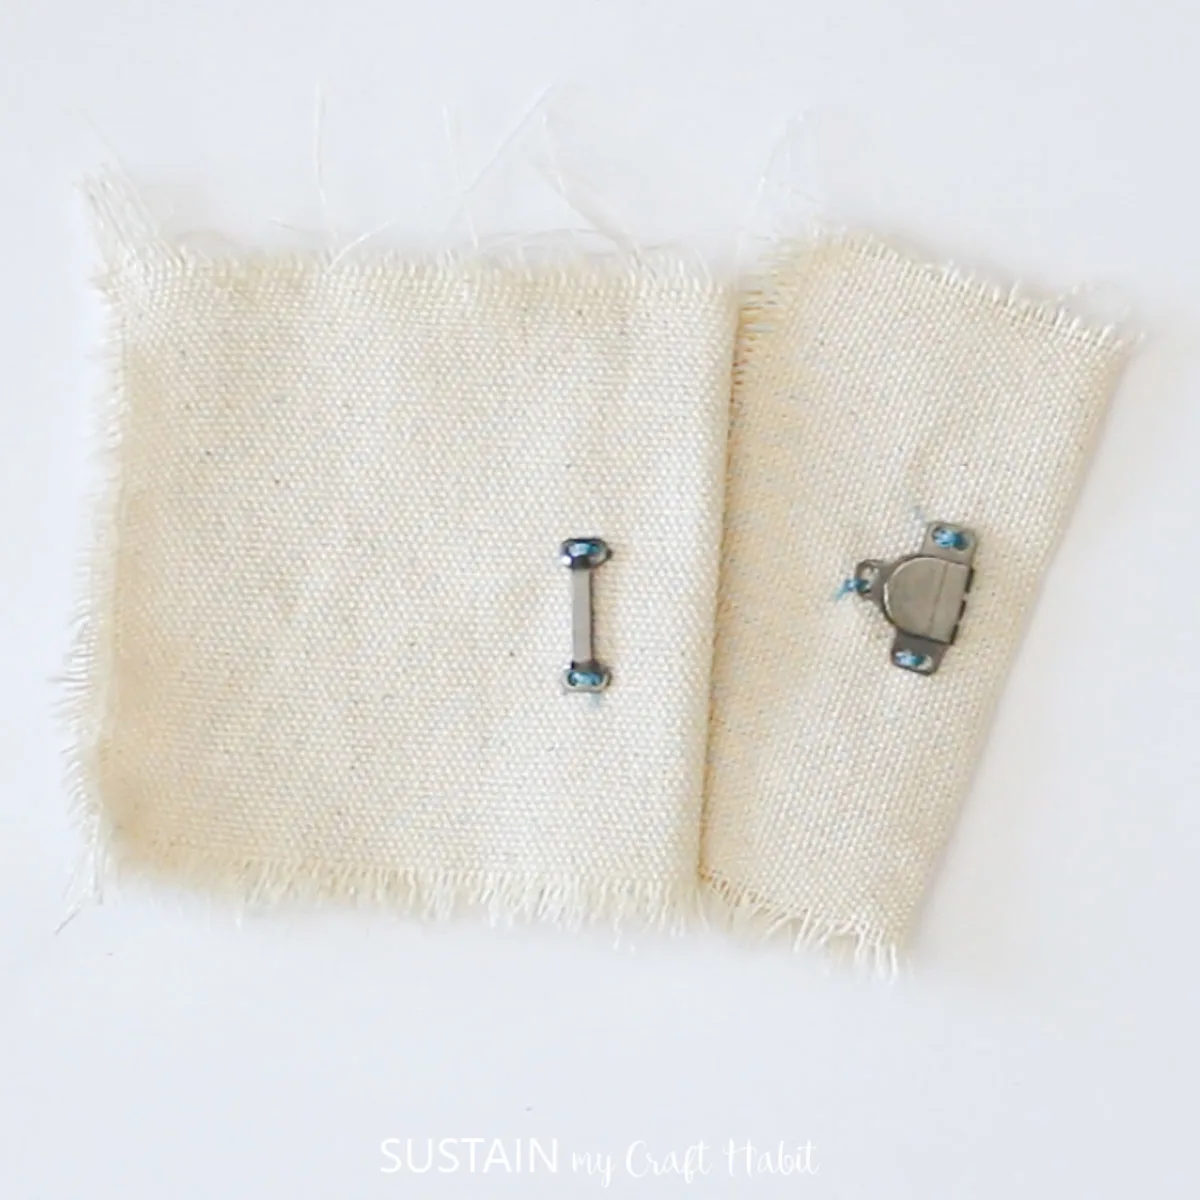
How to Sew a Hook and Bar Closure
Mark the placement of your button with washable marker, chalk or wax.
Cut a single thread to 24” long and thread it through the eye of the needle. Pull the thread all the way through until the cut ends match up and knot the two ends together. This will form a double thread which is stronger for sewing the button on.


Attaching the Hook
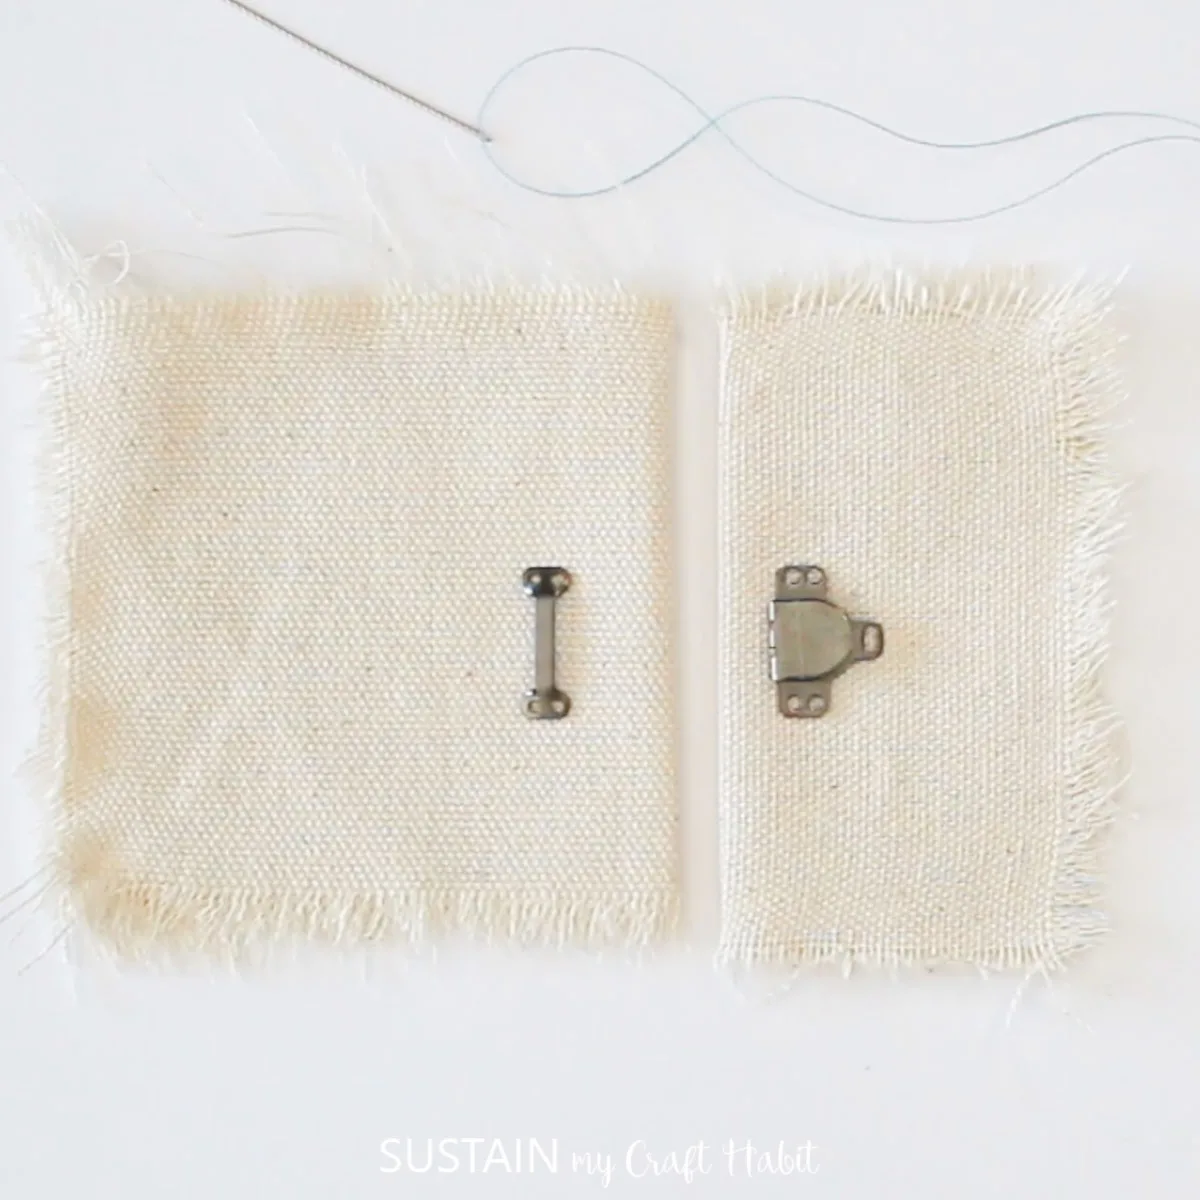
Mark the placement of the hook and bar at the inner front waistband of your pants. The hook should be placed on the side that overlaps the waistband (the side facing your body) while the bar should be on the side that faces outward.
At marked placement, insert the needle through the fabric on the inner waistband only. Don’t push the needle through to the top side otherwise the stitching will be visible. Instead push the needle back out about ⅛” away and push it through the fabric. Gently pull the thread until the knot catches against the fabric.
Secure the ends further by pushing the needle back down and up in the same area. Again avoid pushing through to the top layer of the waistband.
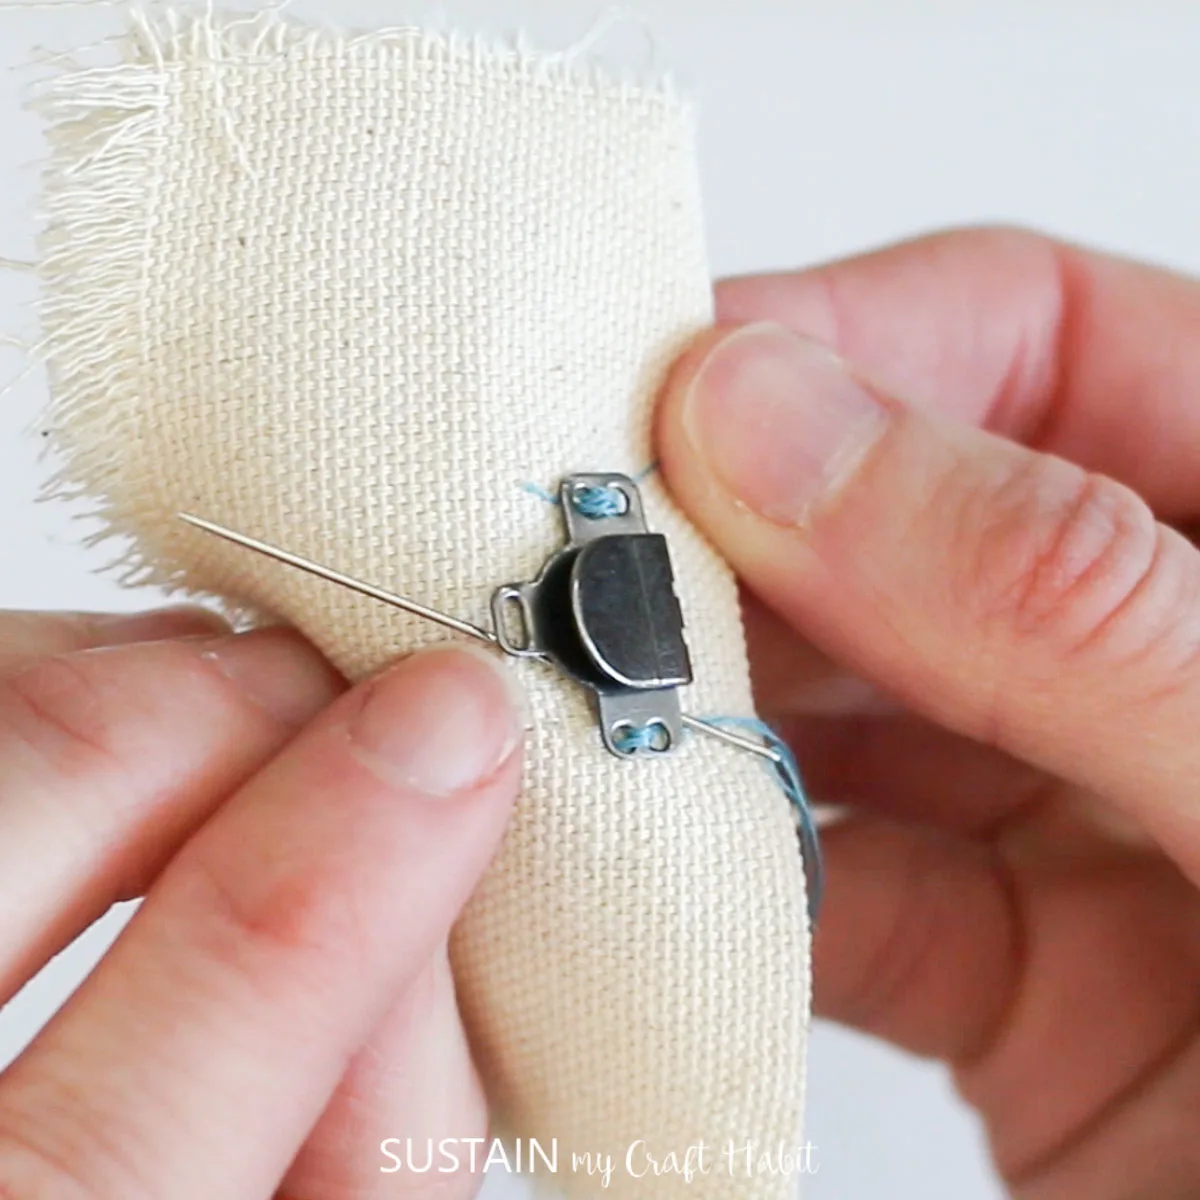
Grab the hook and thread the needle through the top hole and push it all the way through.
Insert the needle back through the fabric close to the same position, about ⅛” away and pull needle and thread all the way through until the hook lays flush with fabric.
Repeat this 3 times an continue this method with the other holes on the hook until it’s secure. Next, move on to the other holes on the hook and secure in the same way.

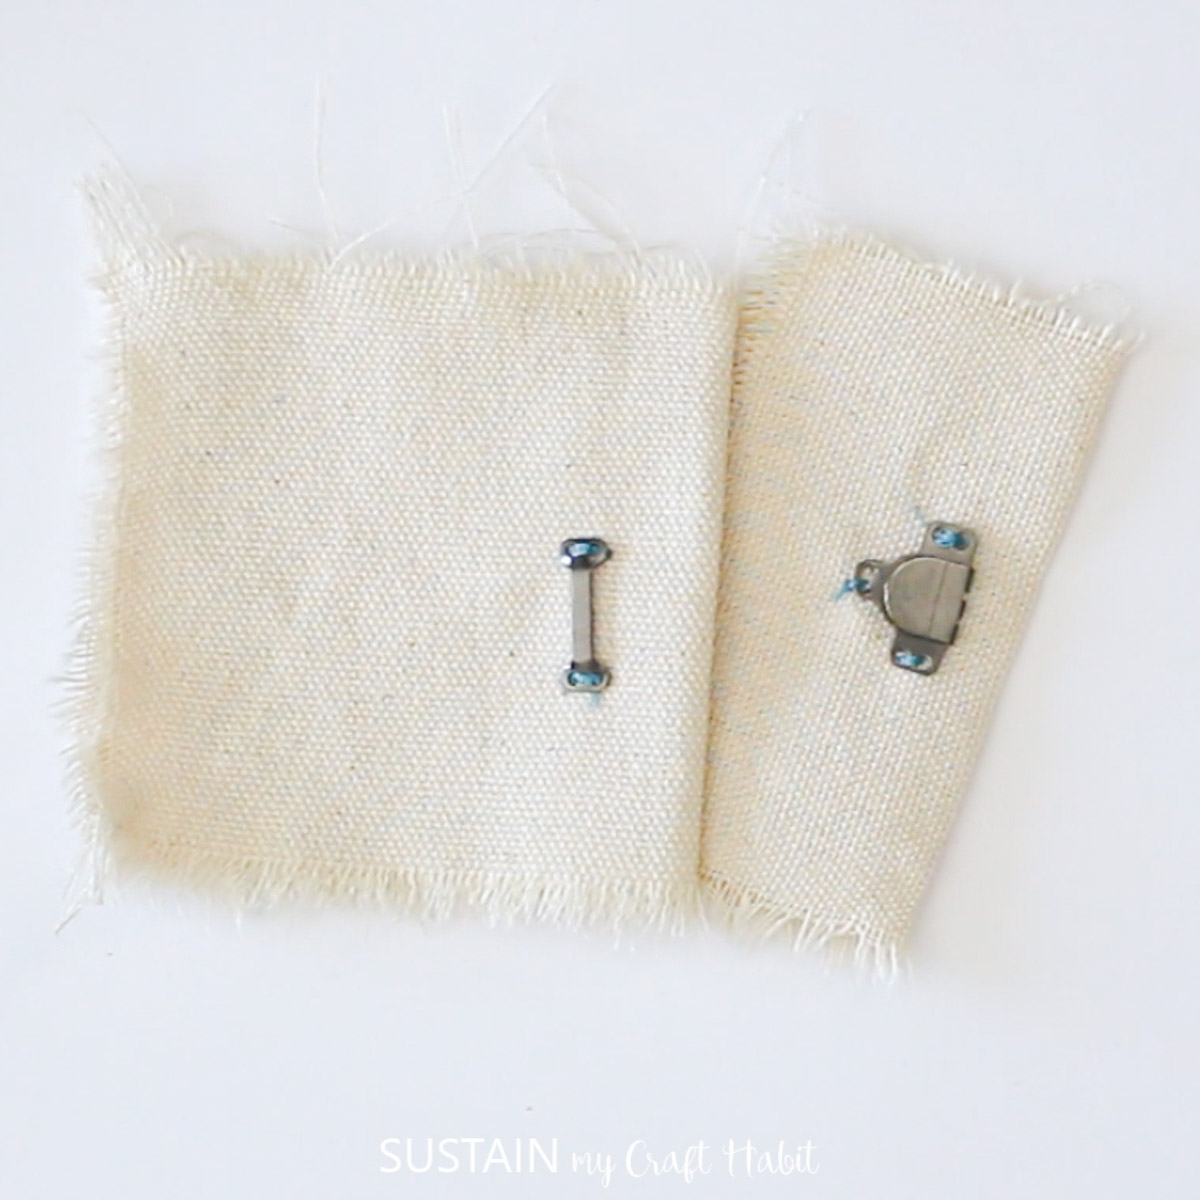
To finish, create a loop with the thread and insert the threaded needle through to knot it in place. Repeat this twice to make it secure. Trim off the loose threads.
Do the same steps with the bar component of the closure on the other side of the waistband.
Looking for More Sewing Tutorials?
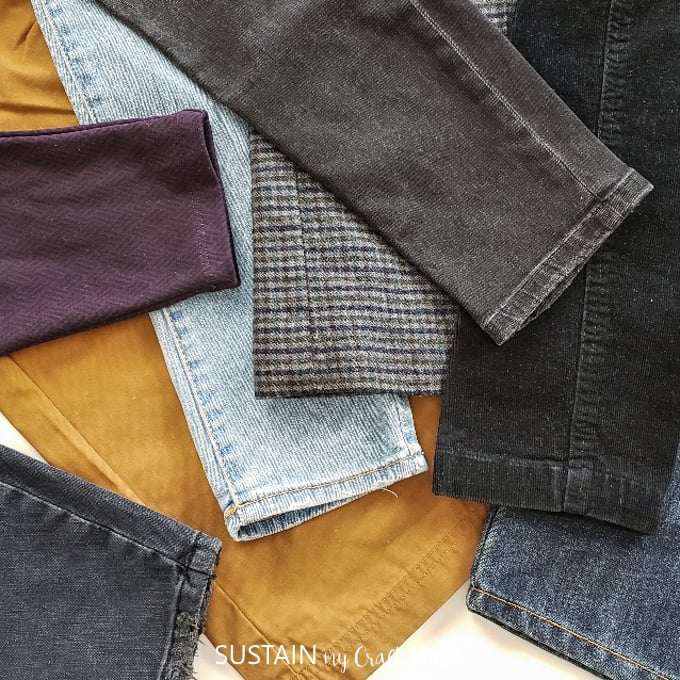
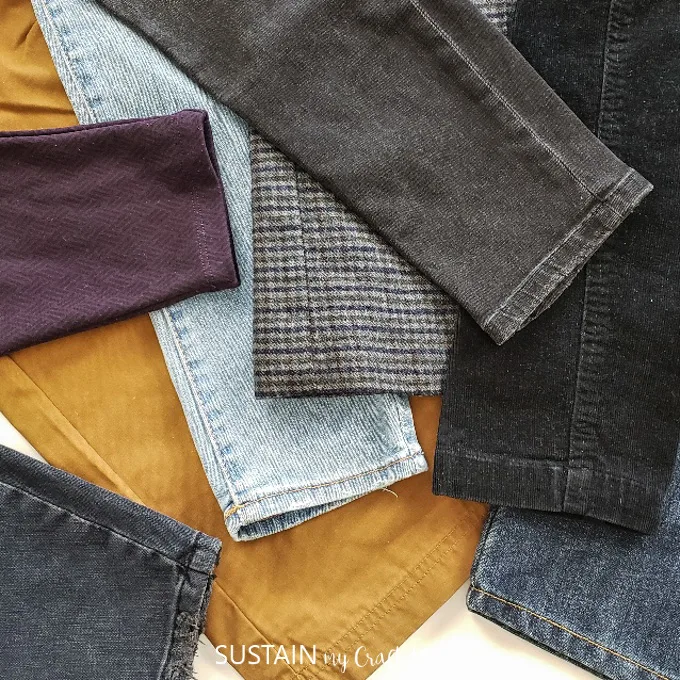
We’ve previously shared our ultimate guide for hemming pants; which includes step by step instructions for shortening and hemming all different types of pants from wide leg dress pants to skinny jeans. Also, if you’ve ever wondered how to hem a pair of jeans while maintaining the original hem, we have a post for that too!

Ultimate Hemming Pants Guide 
Hemming Jeans with Original Hem

Like it? Pin it for later!


How to Sew a Button – Beginner Sewing Series
Materials
- Thread
- Needles
- Thread Wax
Instructions
2 Hole Button
- Mark placement of button with washable marker, chalk or wax.
- Cut thread 24” long.
- Thread through the eye of the needle.
- Pull thread all the way through until cut ends match up.
- Knot the two ends together.
- At marked placement, insert the needle through the fabric on the back side. Push the needle through all the way and gently pull until the knot catches against the fabric.
- Secure the ends further by pushing the needle back down and up in the same area.
- With the threaded needle on the right side of the fabric, grab the 2 hole button and thread the needle through one of the holes. Push it all the way through.
- Next, thread the needle through the other hole in the opposite direction.
- Push the needle through the fabric close to the same position.
- Pull needle and thread all the way through until the button lays flush with fabric.
- Repeat this 3 or 4 times until the button feels secure.
- To finish, insert the needle back through to the front side but not through the button.
- Wrap the thread around the back of the button two times.
- Then creating a loop with the thread, insert the threaded needle through to knot it in place. Repeat this twice to make it secure.
- Trim off the loose threads.
4 Hole Button
- Two Ways: Criss Cross Stitching and Straight Stitching
- Method 1 – Criss Cross Stitching
- Mark placement of button with washable marker, chalk or wax.
- Cut thread 24” long.
- Thread through the eye of the needle.
- Pull thread all the way through until cut ends match up.
- Knot the two ends together.
- At marked placement, insert the needle through the fabric on the back side. Push the needle through all the way and gently pull until the knot catches against the fabric.
- Secure the ends further by pushing the needle back down and up in the same area.
- With the threaded needle on the right side of the fabric, grab the 4 hole button and thread the needle through one of the holes. Push it all the way through.
- Next, thread the needle through the other hole on the diagonal in the opposite direction.
- Push the needle through the fabric close to the same position.
- Pull needle and thread all the way through until the button lays flush with fabric.
- Push the needle back up through the fabric and insert through one of the other open buttonholes and then thread the needle back through the other hole on the diagonal in the opposite direction, creating a criss cross pattern.
- Repeat this 3 times in the exact same pattern until the button feels secure.
- To finish, insert the needle back through to the front side but not through the button.
- Wrap the thread around the back of the button two times.
- Then creating a loop with the thread, insert the threaded needle through to knot it in place. Repeat this twice to make it secure.
- Trim off the loose threads.
- Method 2 – Straight Stitching
- Mark placement of button with washable marker, chalk or wax.
- Cut thread 24” long.
- Thread through the eye of the needle.
- Pull thread all the way through until cut ends match up.
- Knot the two ends together.
- At marked placement, insert the needle through the fabric on the back side. Push the needle through all the way and gently pull until the knot catches against the fabric.
- Secure the ends further by pushing the needle back down and up in the same area.
- With the threaded needle on the right side of the fabric, grab the 4 hole button and thread the needle through one of the holes. Push it all the way through.
- Next, thread the needle through the neighbouring hole (adjacent to the first hole) in the opposite direction.
- Push the needle through the fabric close to the same position.
- Pull needle and thread all the way through until the button lays flush with fabric.
- Push the needle back up through the fabric and insert through one of the other open buttonholes and then thread the needle back through the remaining open hole, creating a straight pattern.
- Repeat this 3 times in the exact same pattern until the button feels secure.
- To finish, insert the needle back through to the front side but not through the button.
- Wrap the thread around the back of the button two times.
- Then creating a loop with the thread, insert the threaded needle through to knot it in place. Repeat this twice to make it secure.
- Trim off the loose threads.
Shank Button
- Mark placement of button with washable marker, chalk or wax.
- Cut thread 24” long.
- Thread through the eye of the needle.
- Pull thread all the way through until cut ends match up.
- Knot the two ends together.
- At marked placement, insert the needle through the fabric on the back side. Push the needle through all the way and gently pull until the knot catches against the fabric.
- Secure the ends further by pushing the needle back down and up in the same area.
- With the threaded needle on the right side of the fabric, grab the shank button and thread the needle through the ring hole on the back side. Push it all the way through.
- Push the needle through the fabric close to the same position.
- Pull needle and thread all the way through until the shank button lays flush with fabric.
- Repeat this 3 times until the button feels secure.
- To finish, insert the needle back through to the front side but not through the ring hole.
- Wrap the thread around the back of the button two times.
- Then creating a loop with the thread, insert the threaded needle through to knot it in place. Repeat this twice to make it secure.
- Trim off the loose threads.
Hook and Bar
- Mark placement of hook and bar with washable marker, chalk or wax.
- Cut thread 24” long.
- Thread through the eye of the needle.
- Pull thread all the way through until cut ends match up.
- Knot the two ends together.
- Attaching Hook
- Mark the placement of the hook and bar at the inner front waistband of your pants. The hook should be placed on the side that overlaps the waistband (the side facing your body) while the bar should be on the side that faces outward.
- At marked placement, insert the needle through the fabric on the inner waistband only. Don’t push the needle through to the top side otherwise the stitching will be visible. Instead push the needle back out about ⅛” away and push it through the fabric. Gently pull the thread until the knot catches against the fabric.
- Secure the ends further by pushing the needle back down and up in the same area. Again avoid pushing through to the top layer of the waistband.
- Grab the hook and thread the needle through the top hole. Push it all the way through.
- Push the needle through the fabric close to the same position and back up about ⅛” away.
- Pull needle and thread all the way through until the hook lays flush with fabric.
- Repeat this 3 times
- Continue this method with the other holes on the hook until it’s secure.
- To finish, create a loop with the thread and insert the threaded needle through to knot it in place. Repeat this twice to make it secure.
- Trim off the loose threads.
- Do the same steps with the bar component of the closure on the other side of the waistband.