How to Make a Busted Canvas Craft

In the world of DIY home decor, few projects are as versatile and rewarding as the busted canvas technique. This unique craft transforms ordinary canvas into an eye-catching piece of wall art that looks professionally made but costs just a fraction of store-bought decor. Whether you’re a seasoned crafter or just beginning your DIY journey, this tutorial will guide you through creating your own stunning busted canvas masterpiece.

Why You Will Love Make A Busted Canvas Craft
Creating busted canvas art is about to become your new favorite craft project, and here’s why. First, you’ll love how budget-friendly it is – all you need is a basic canvas, some paint, and a few common household tools.
The technique is incredibly forgiving, making it perfect for beginners who might be nervous about trying a new craft. Best of all, each piece turns out completely unique, reflecting your personal style and creativity. These pieces make thoughtful, handmade gifts that friends and family will treasure, and they’ll never guess how simple they were to make.
Can I Make A Busted Canvas Any Time Of Year?
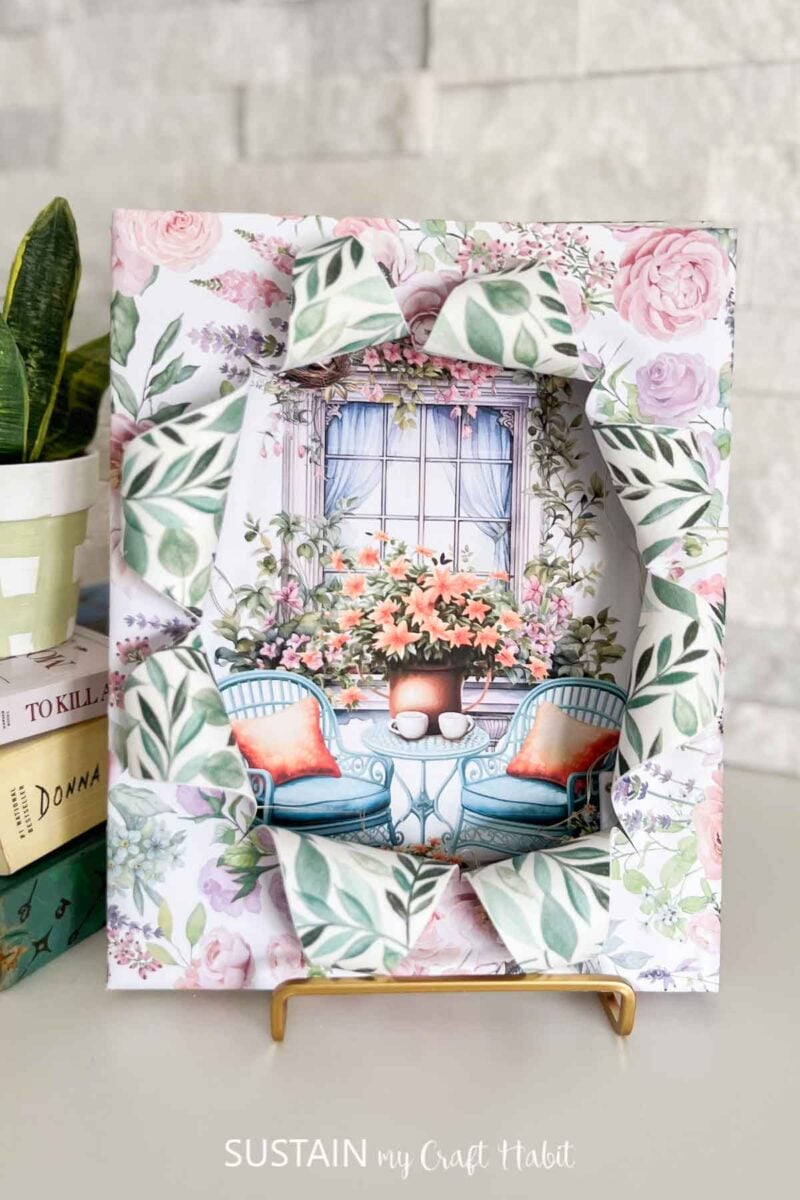
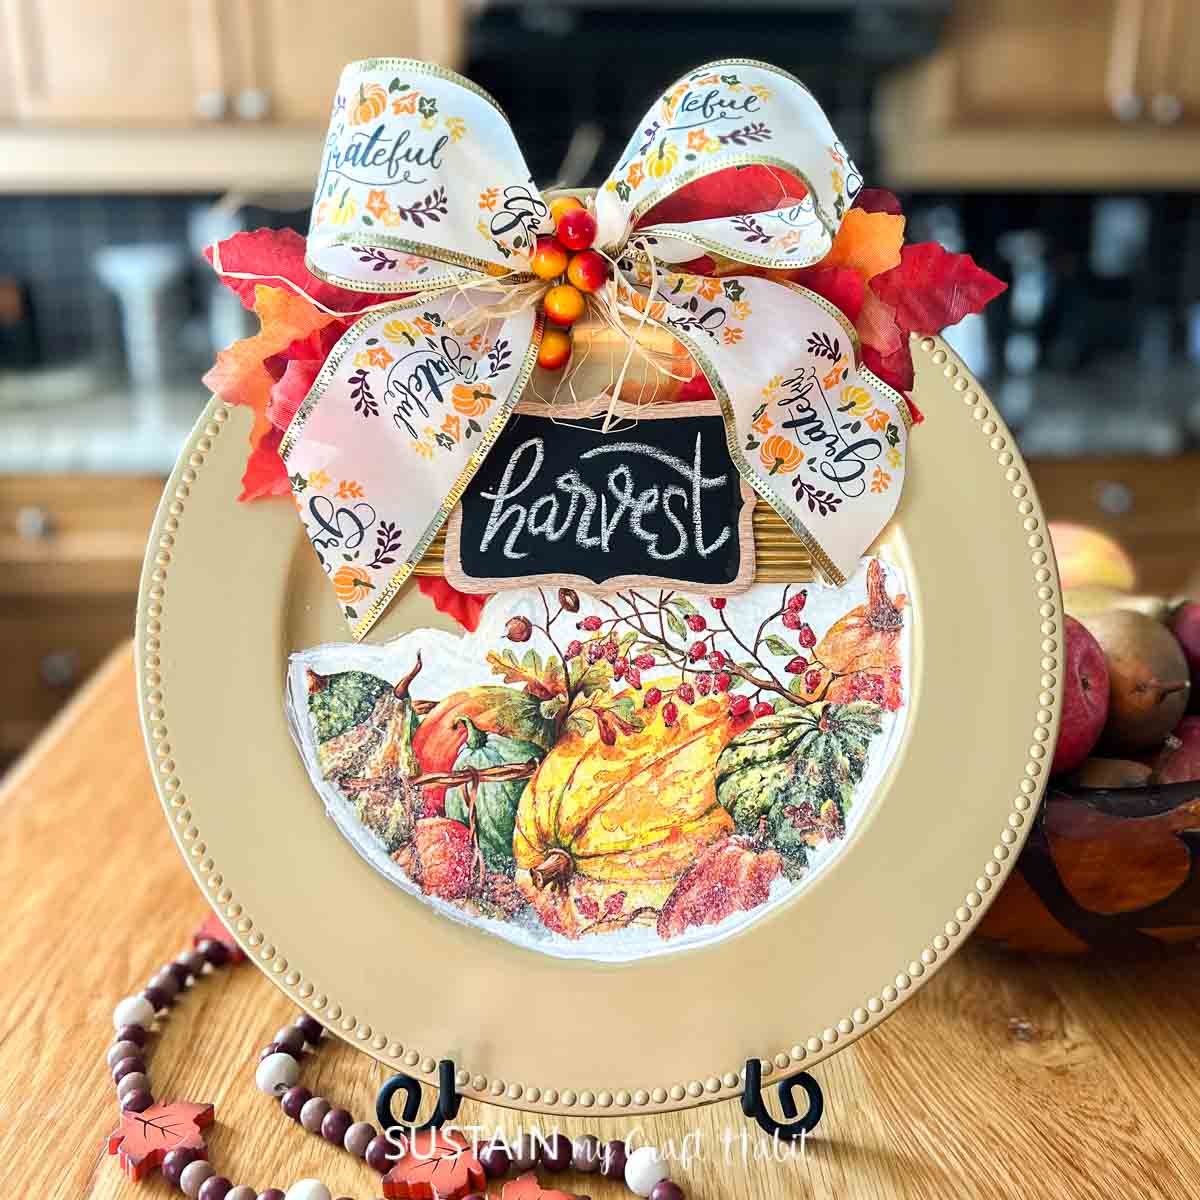
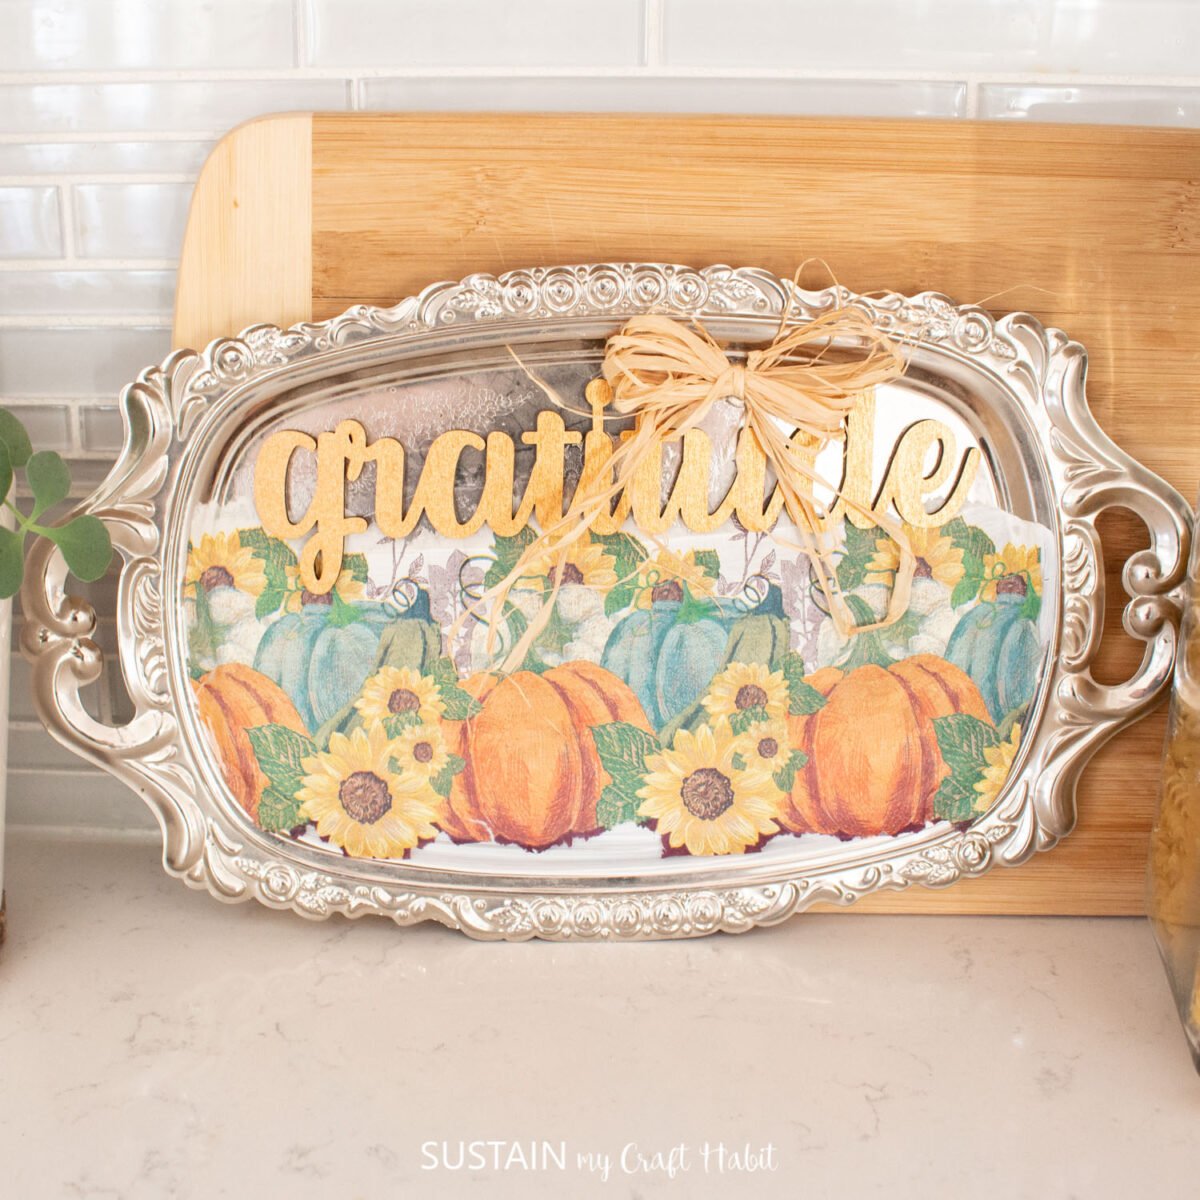
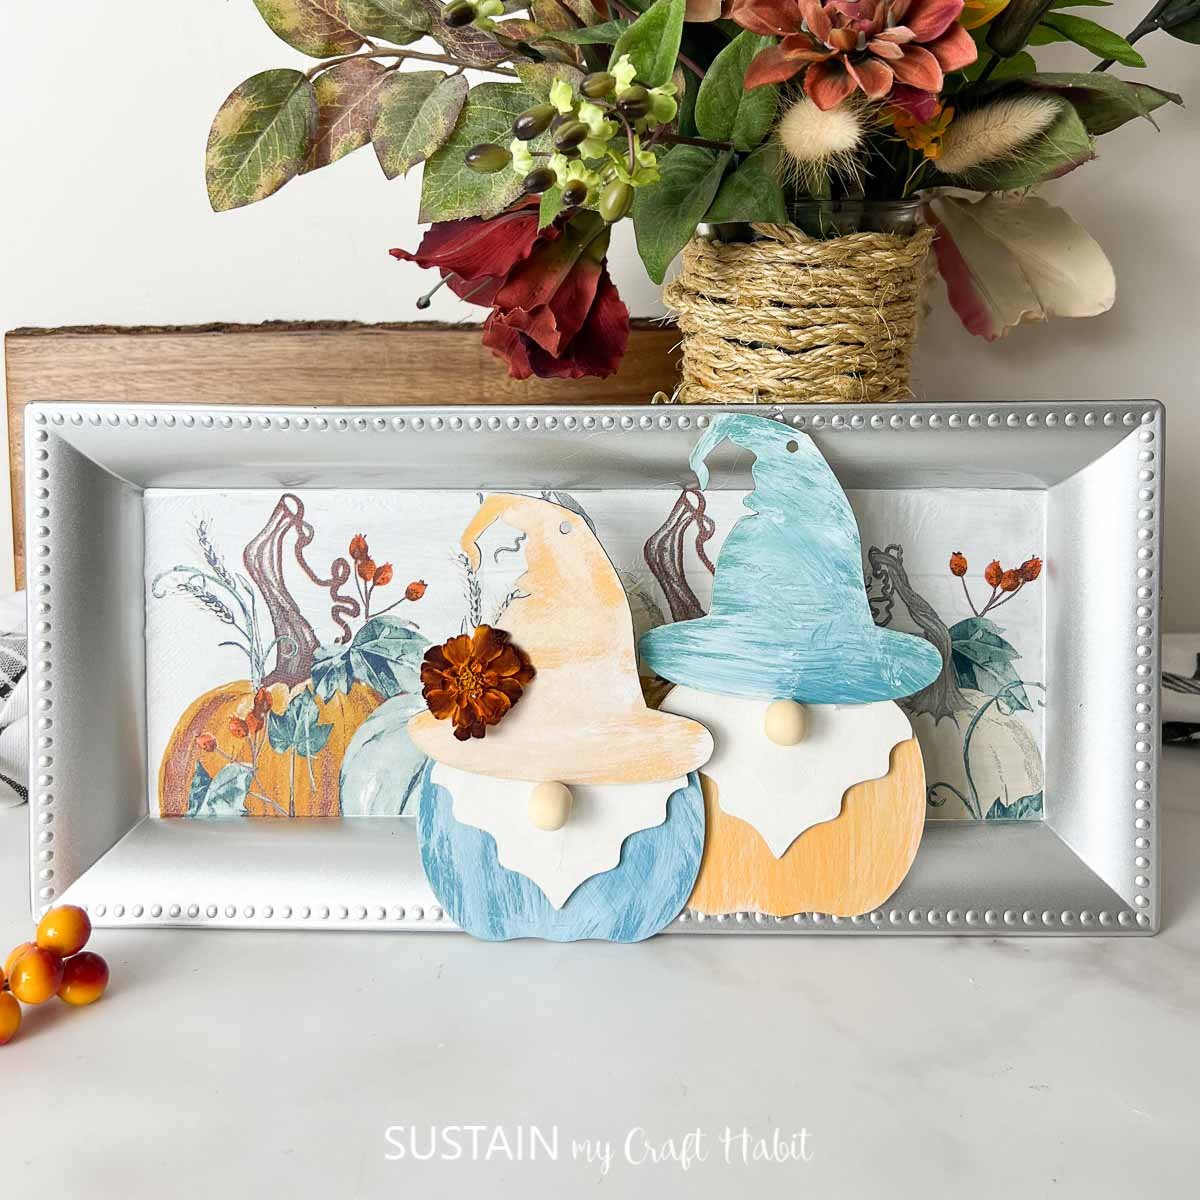
One of the best aspects of busted canvas art is its year-round versatility. While many crafts are seasonal, this technique adapts beautifully to any occasion or season. For spring, consider soft pastels and floral designs. Summer calls for bright, vibrant colors and beachy themes. Fall designs can incorporate rich earth tones and rustic elements, while winter pieces might feature metallics and holiday motifs.
You can coordinate your canvas with your existing decor or create special pieces for holidays and celebrations throughout the year. We’ve used this same technique to make these variations so far:

Want to receive a ton of inspiration and money saving ideas for decorating, gift-giving and crafting? Join HERE!
Materials Needed
Disclosure: This post contains affiliate links for your shopping convenience. Should you choose to purchase through them, we will make a small commission at no extra cost to you. You can read our full disclosure policy here.
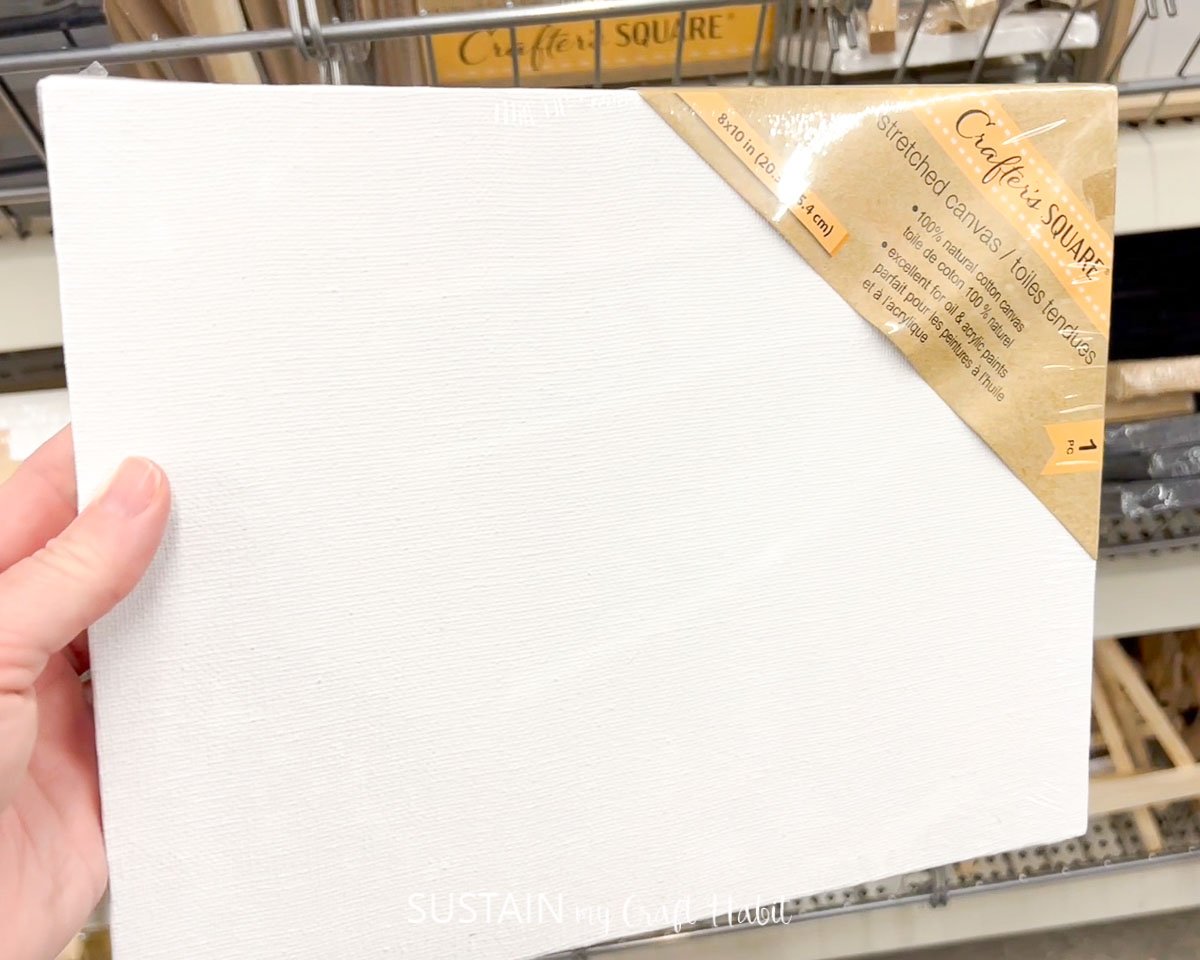
- Framed canvas (we got ours from Dollar Tree)
- Fall image (we got ours from Creative Fabrica)
- Decorative paper napkin
- Mod Podge
- Paint in rose gold and white
- Paintbrushes
- Hot glue gun
- Embellishments
How to Make a Busted Canvas Craft
I shared the tutorial for how to make this busted canvas craft on a Facebook live which you can watch here. Or if you prefer the photo tutorial, continue reading below.
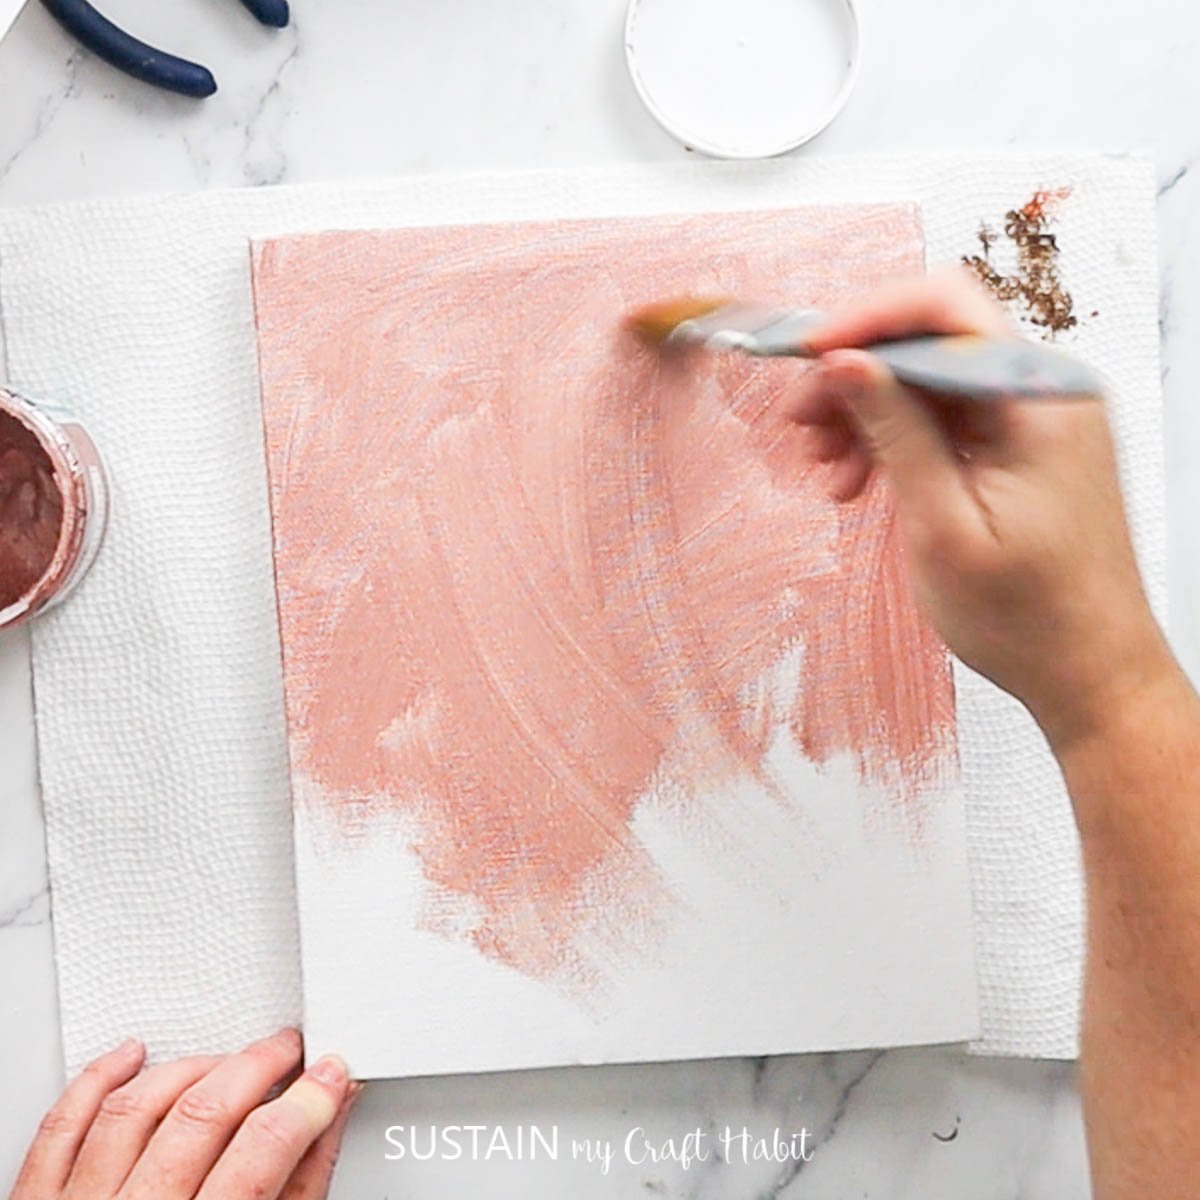
Start by painting the front of a canvas with rose gold paint and let dry.
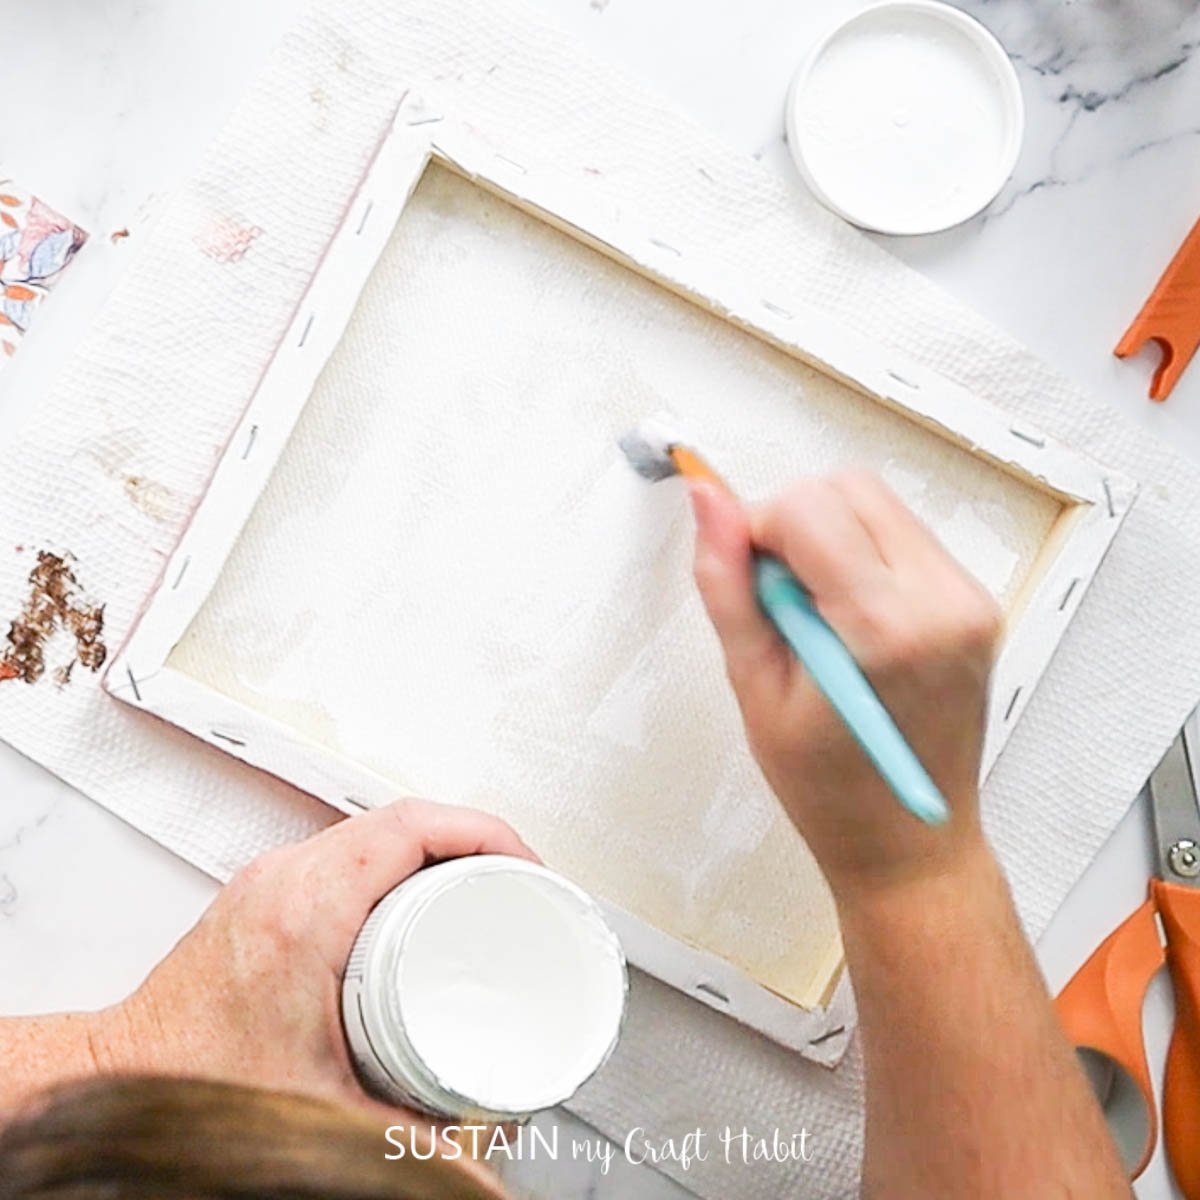
Next, turn the canvas over and paint the inside with white paint and let dry.
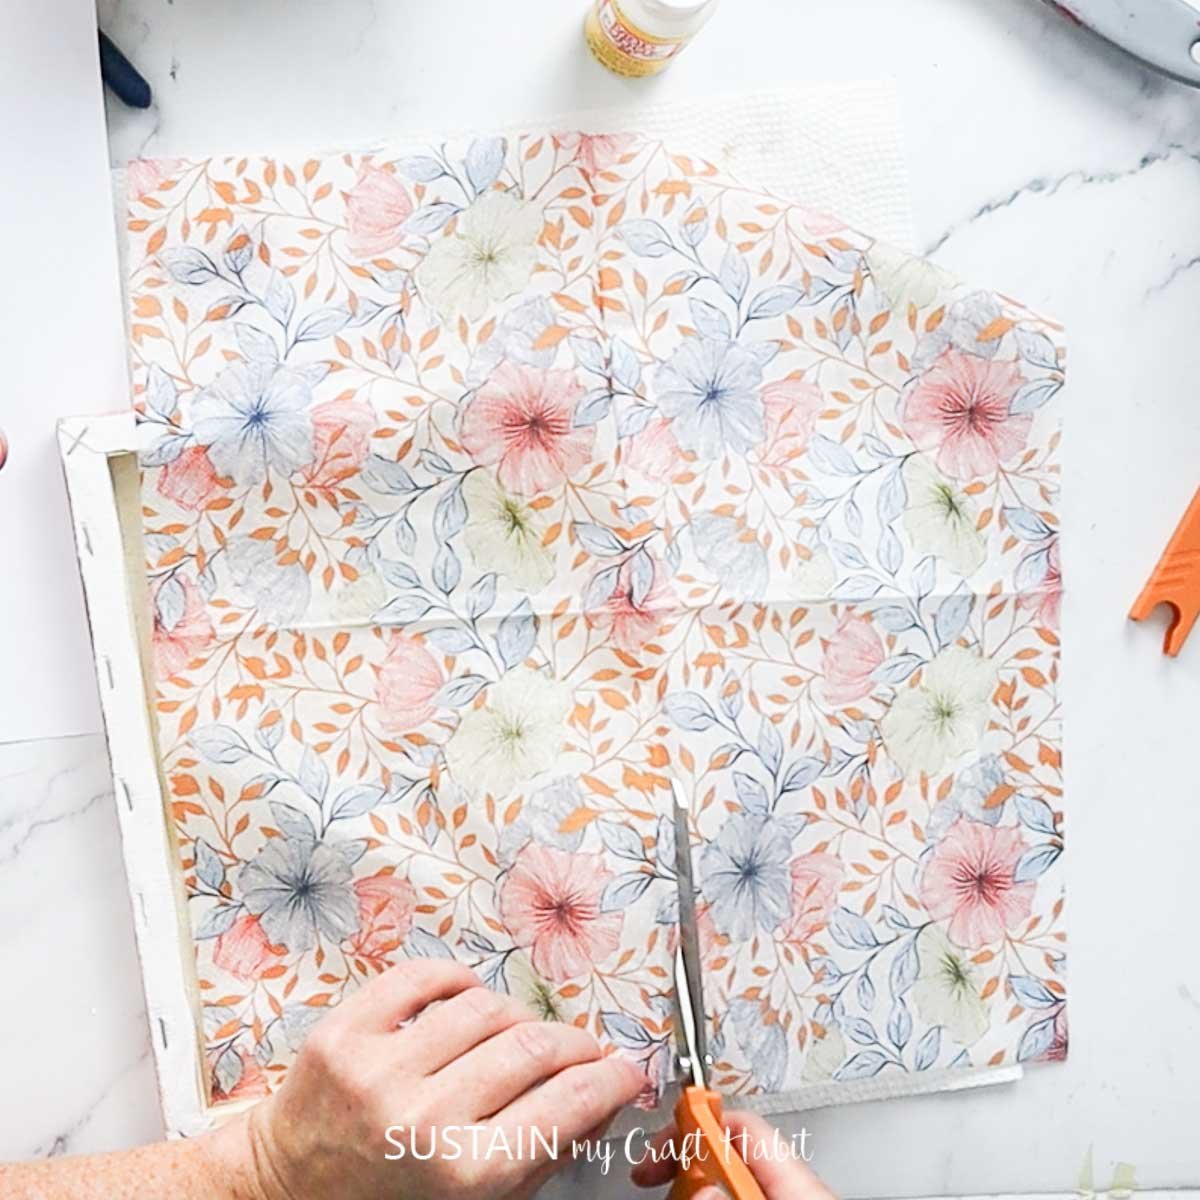
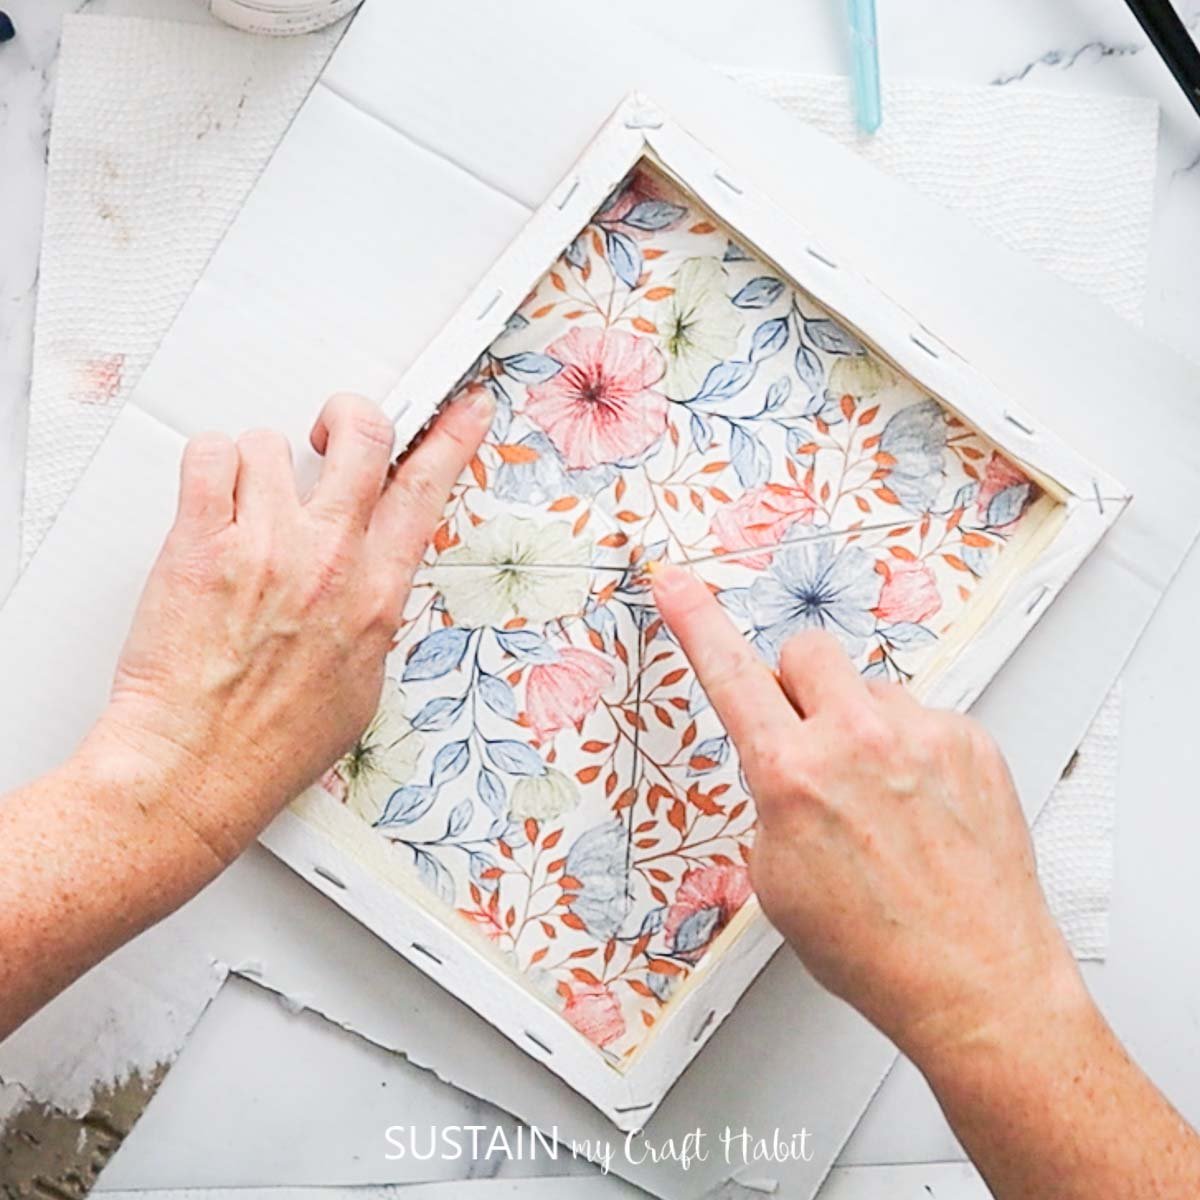
Separate the two plies of napkin using just the top layer and cut to fit into the canvas.
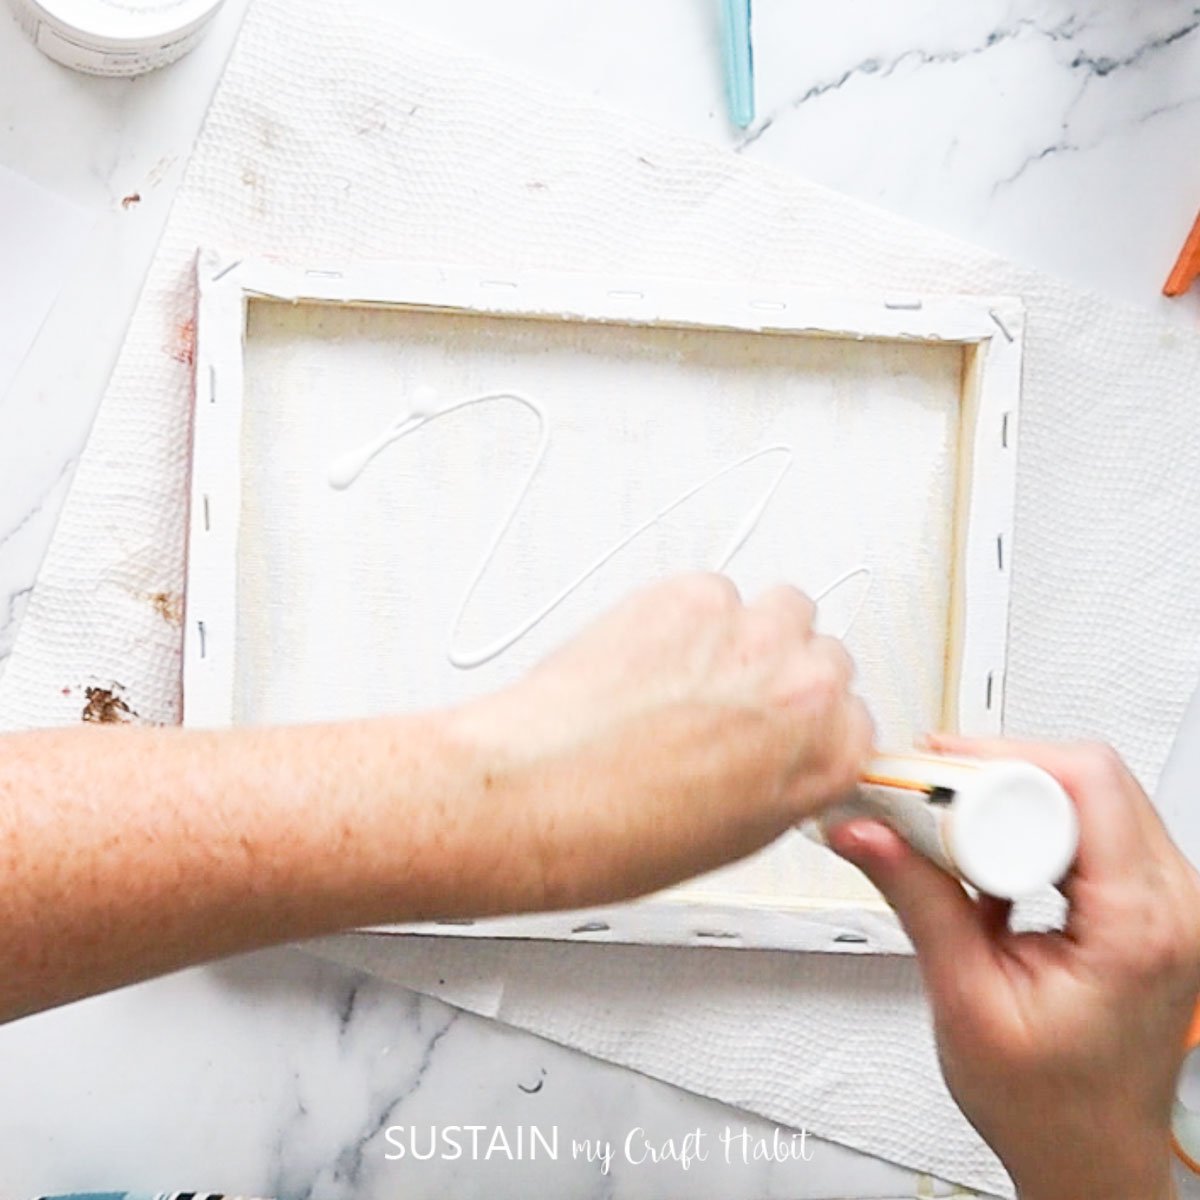
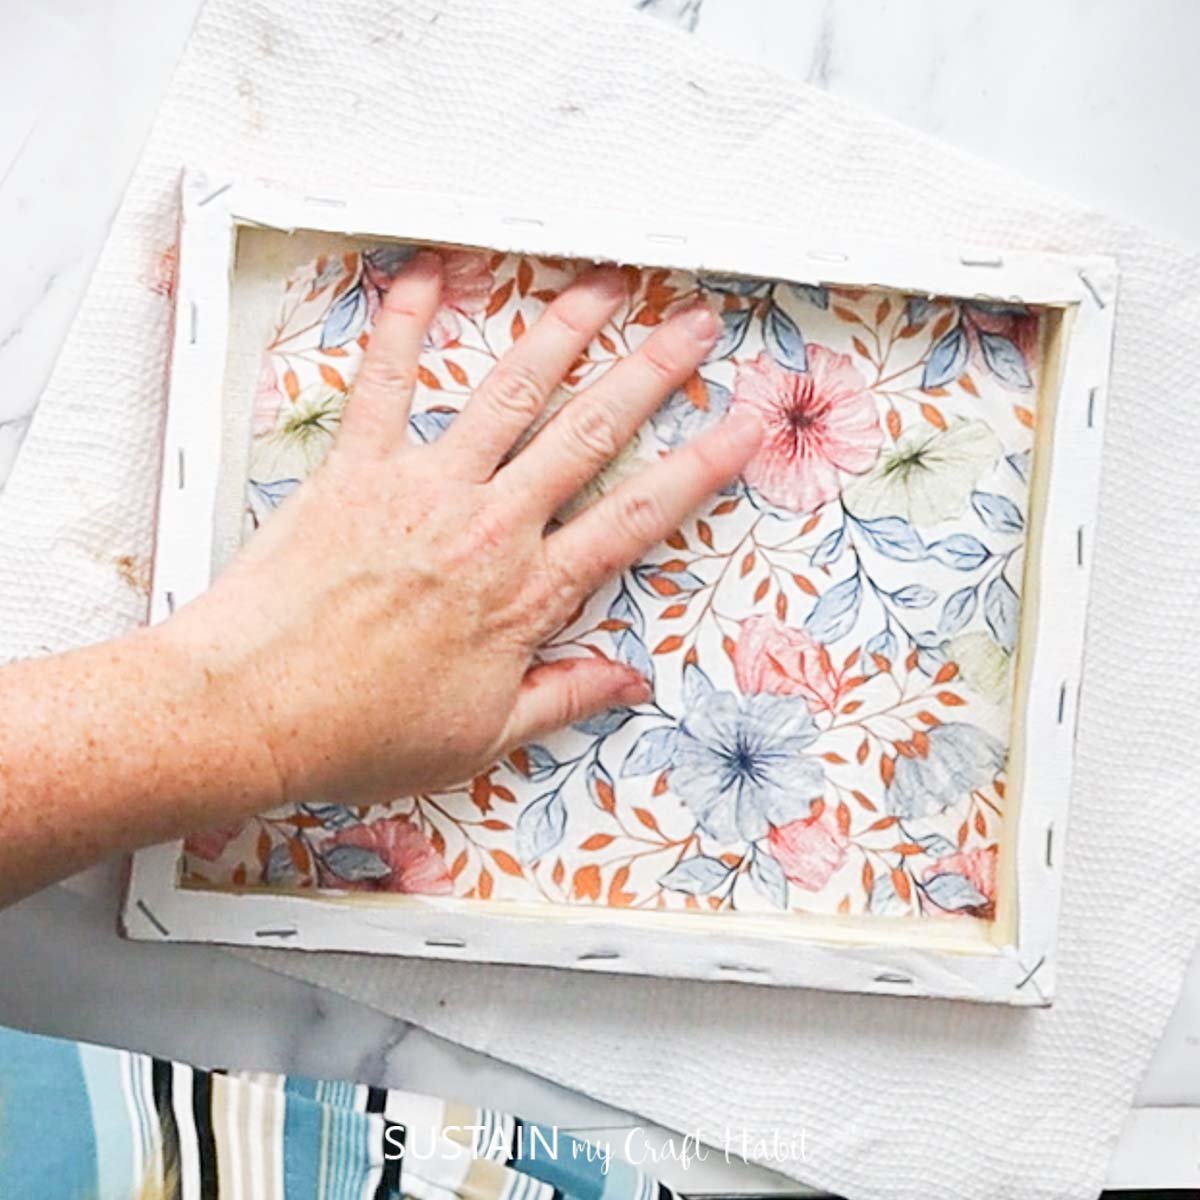
Add a coat of Mod Podge glue to the back of the canvas and gently press your paper napkin onto it.
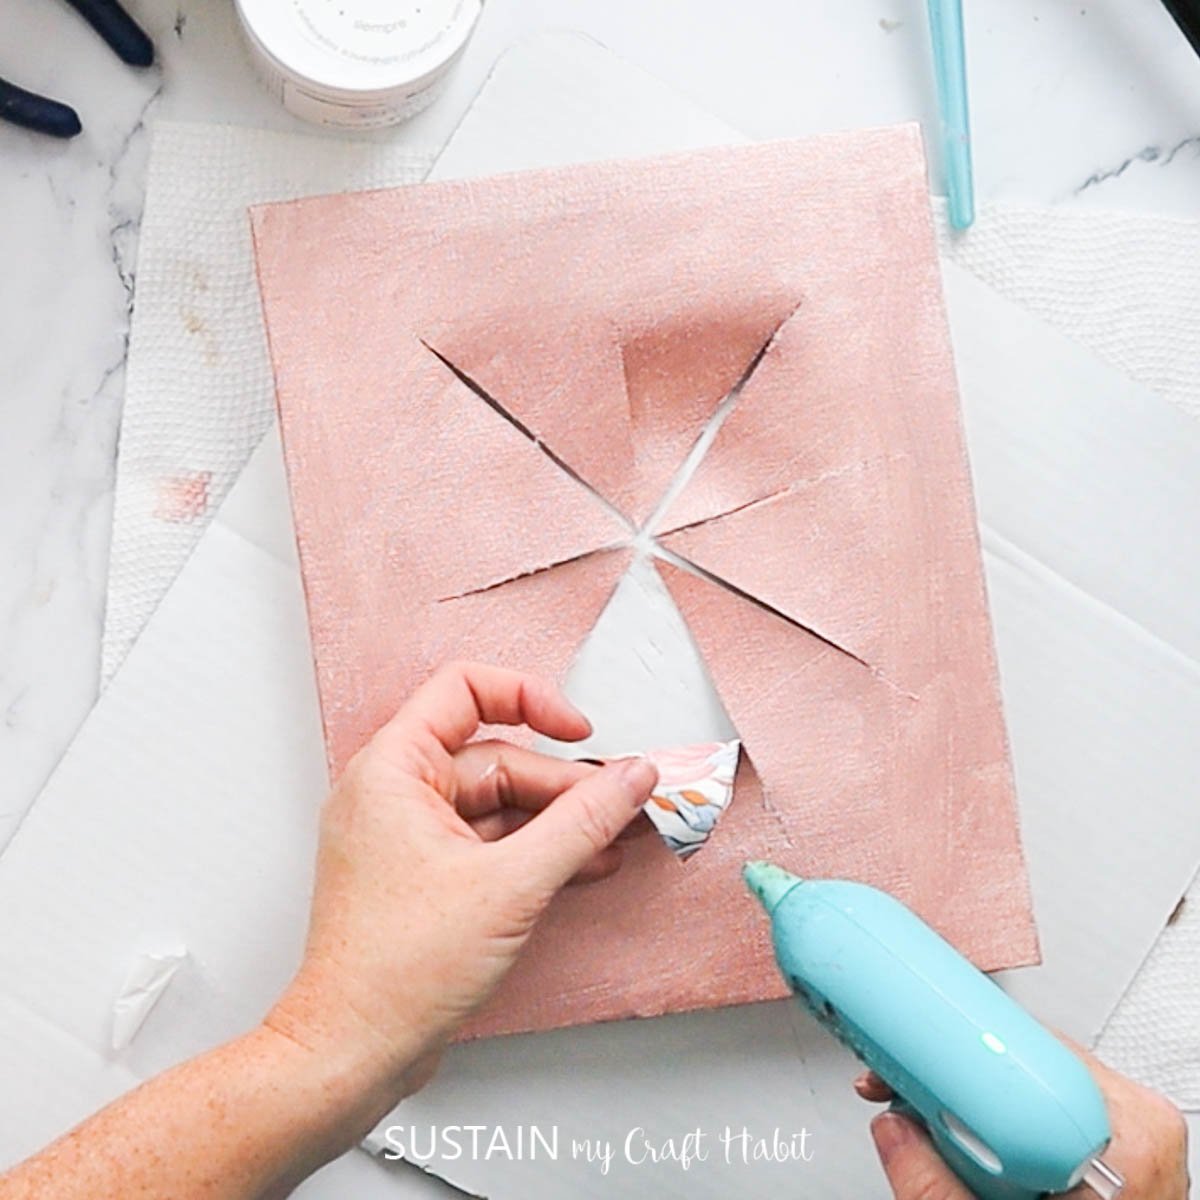
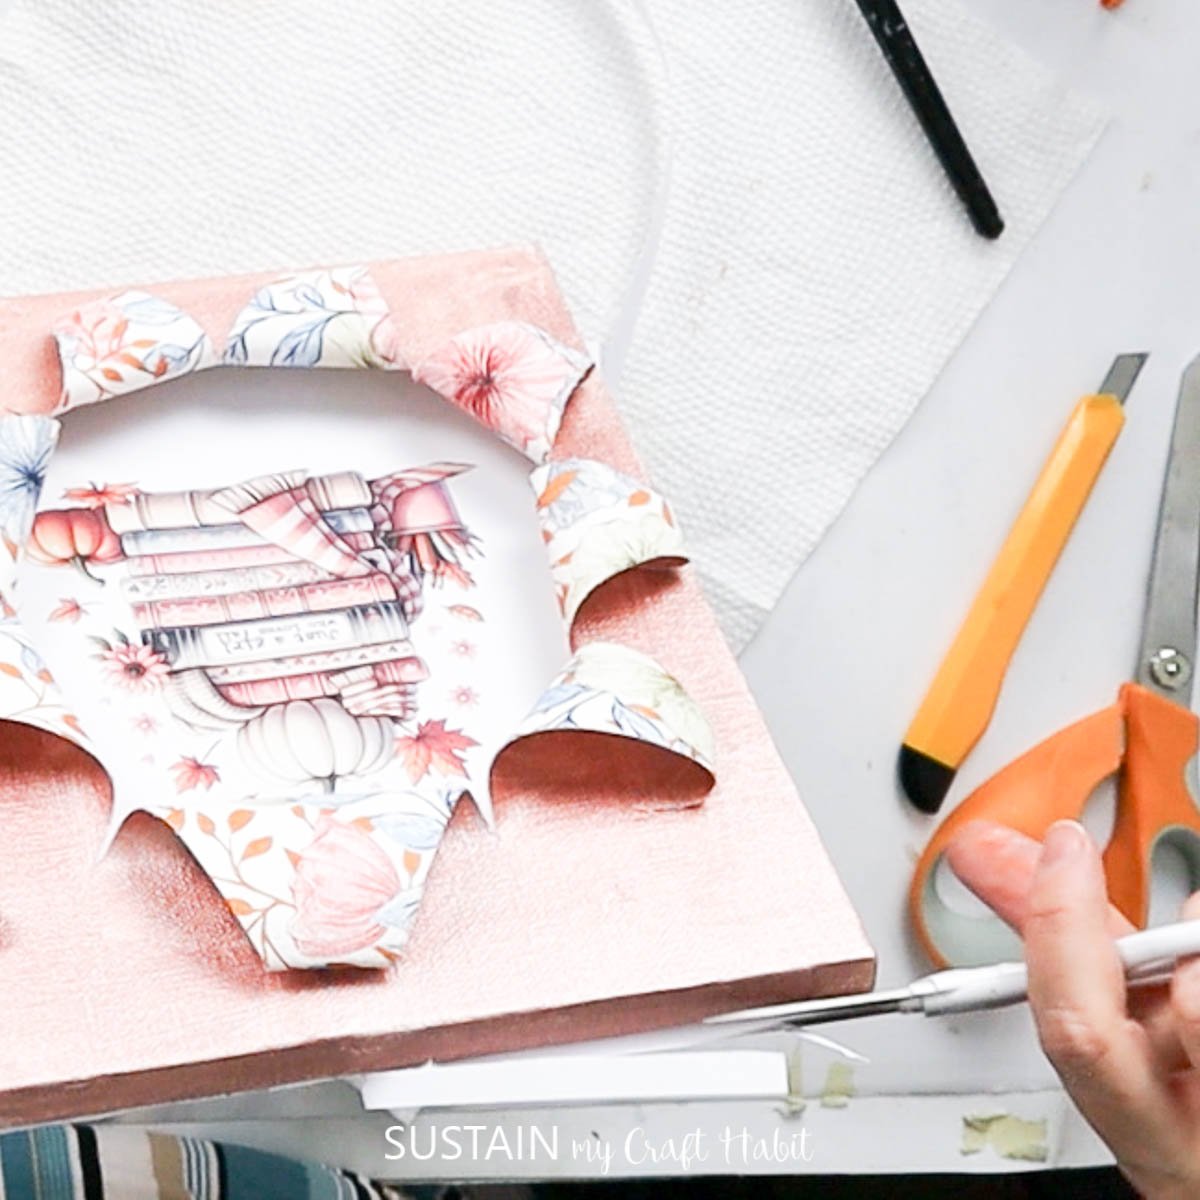
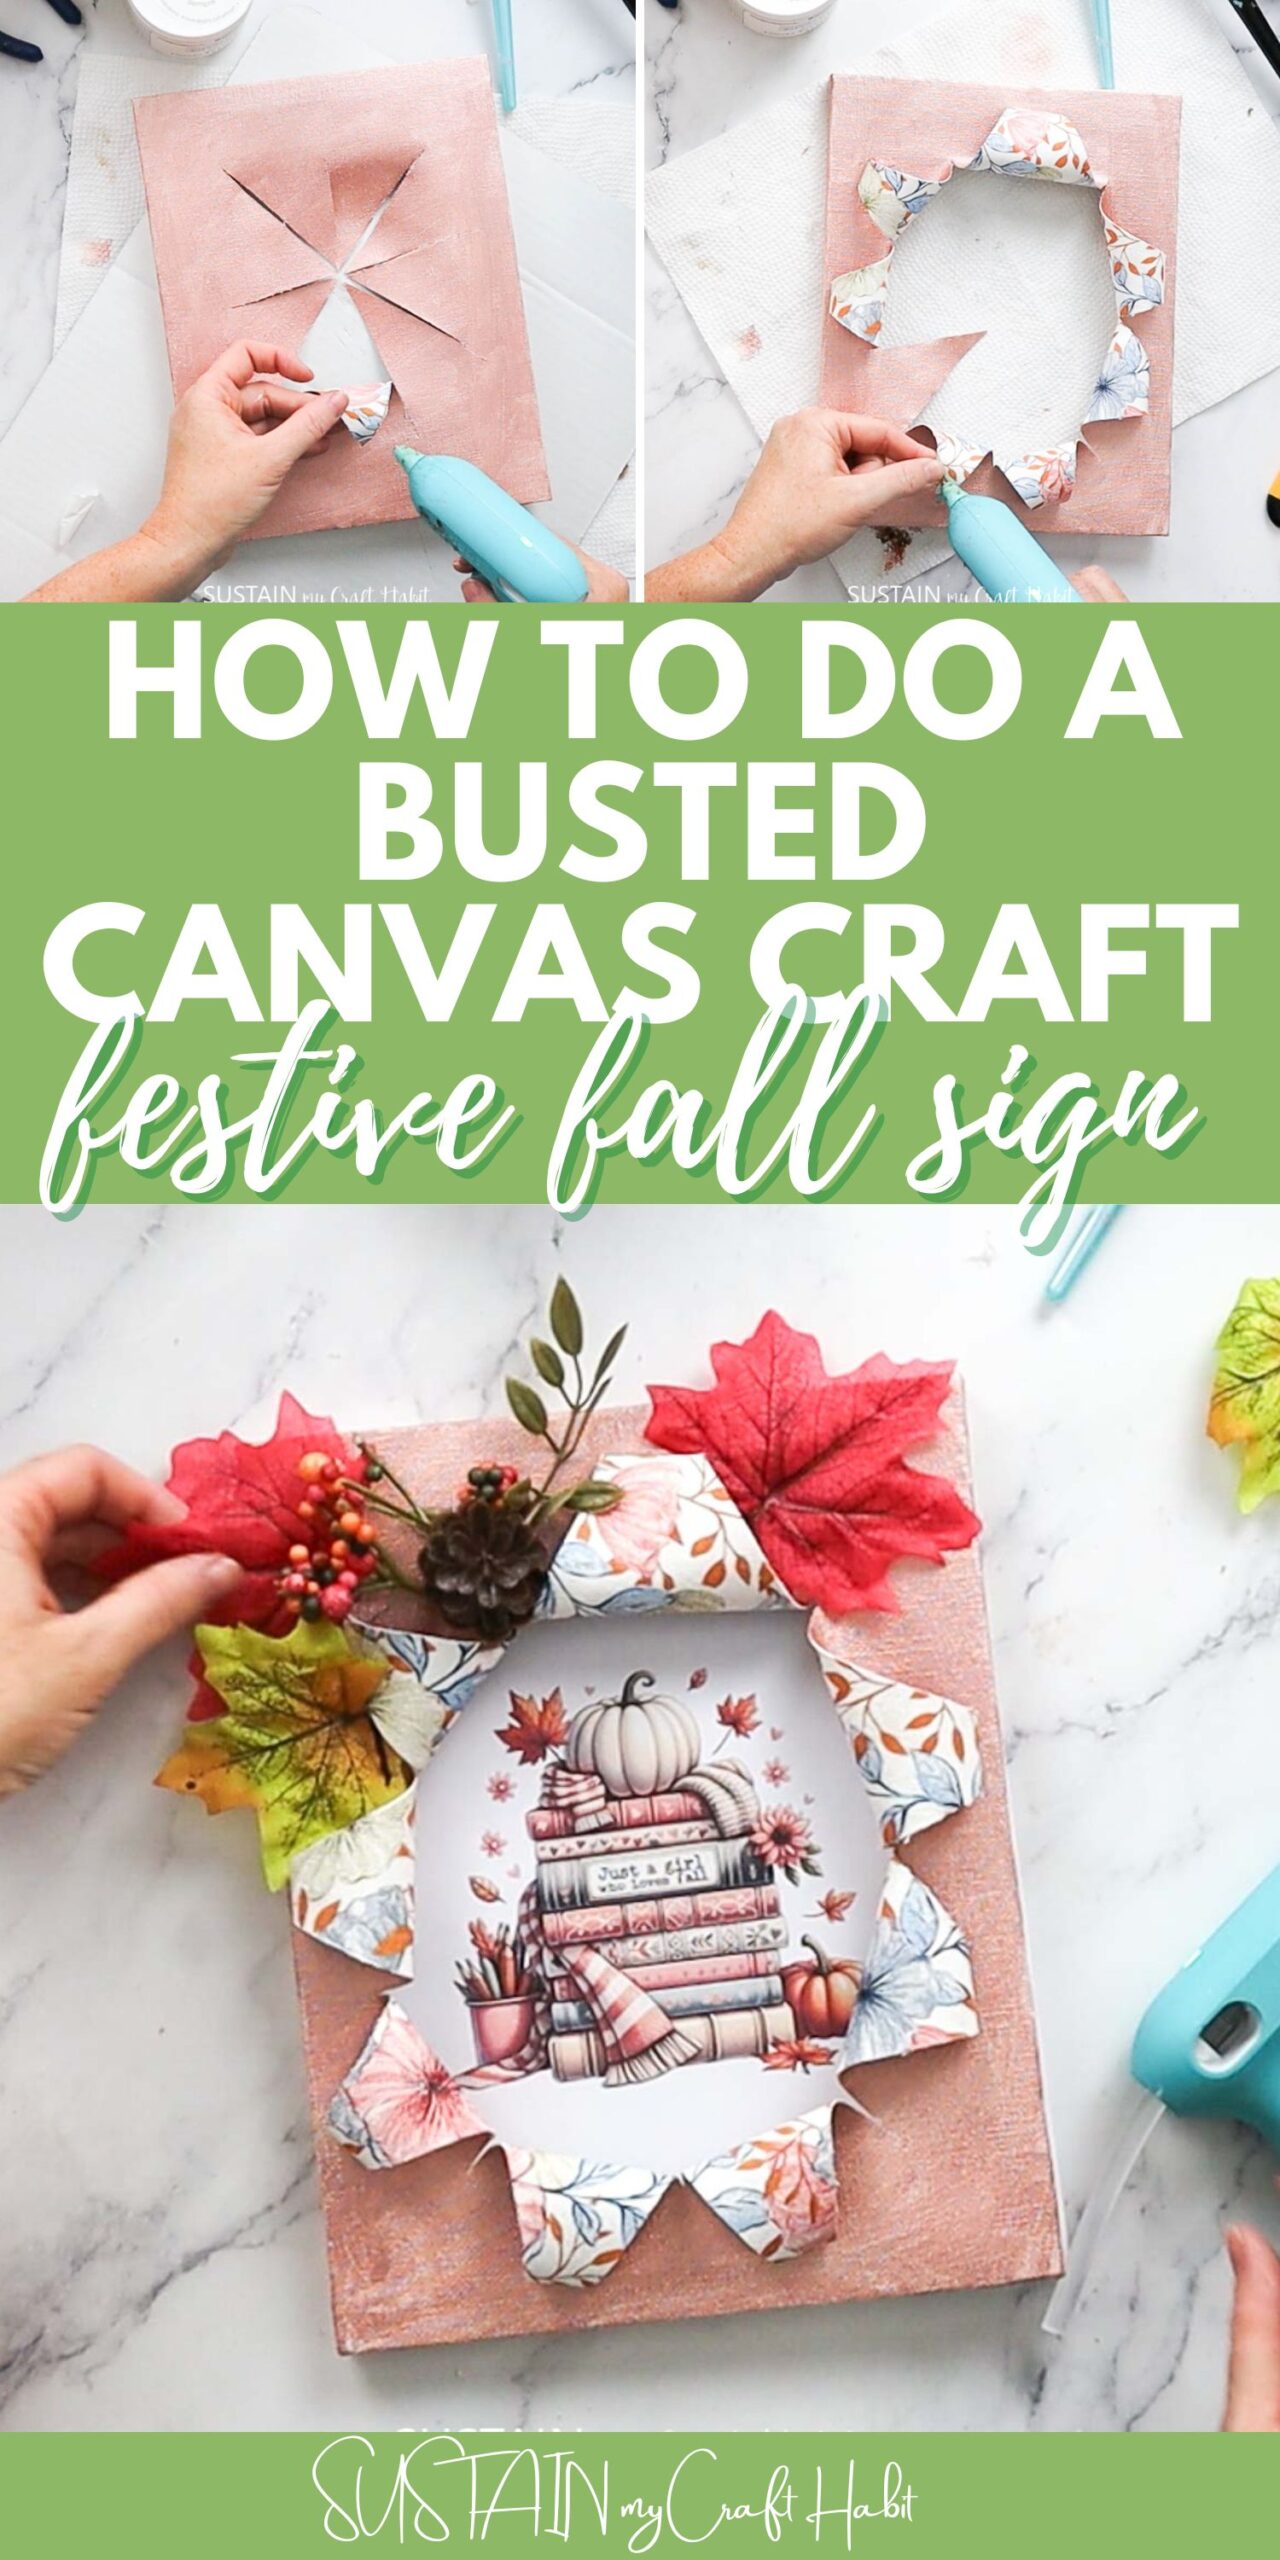
Take your craft knife or scissors and carefully cut slashes into the canvas in the center where you plan to place the image. Make sure not to cut all the way to the edges.
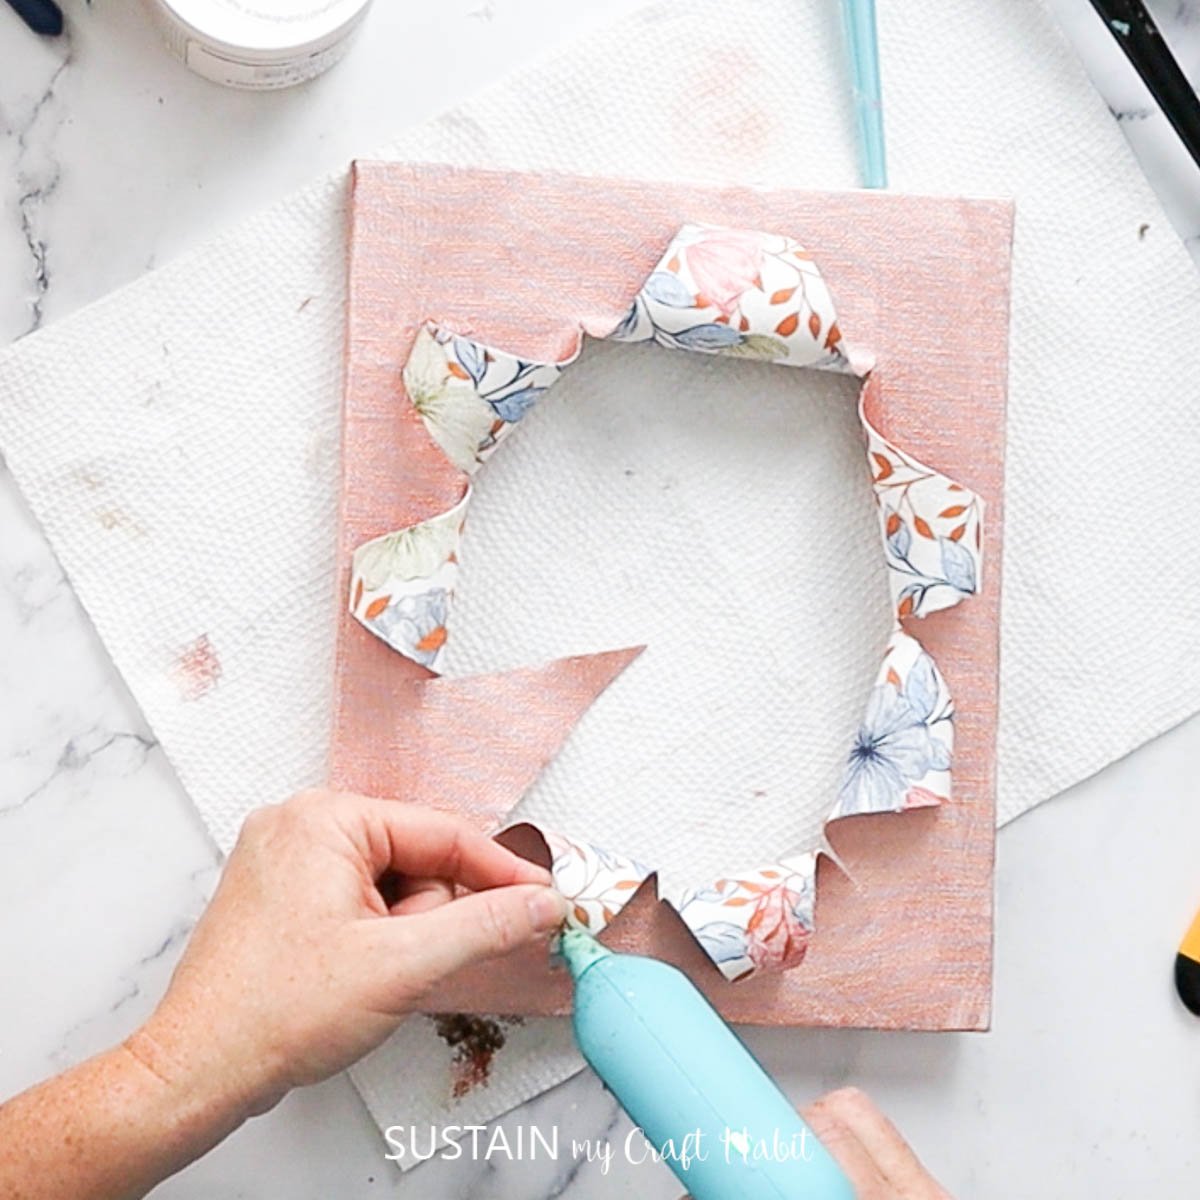
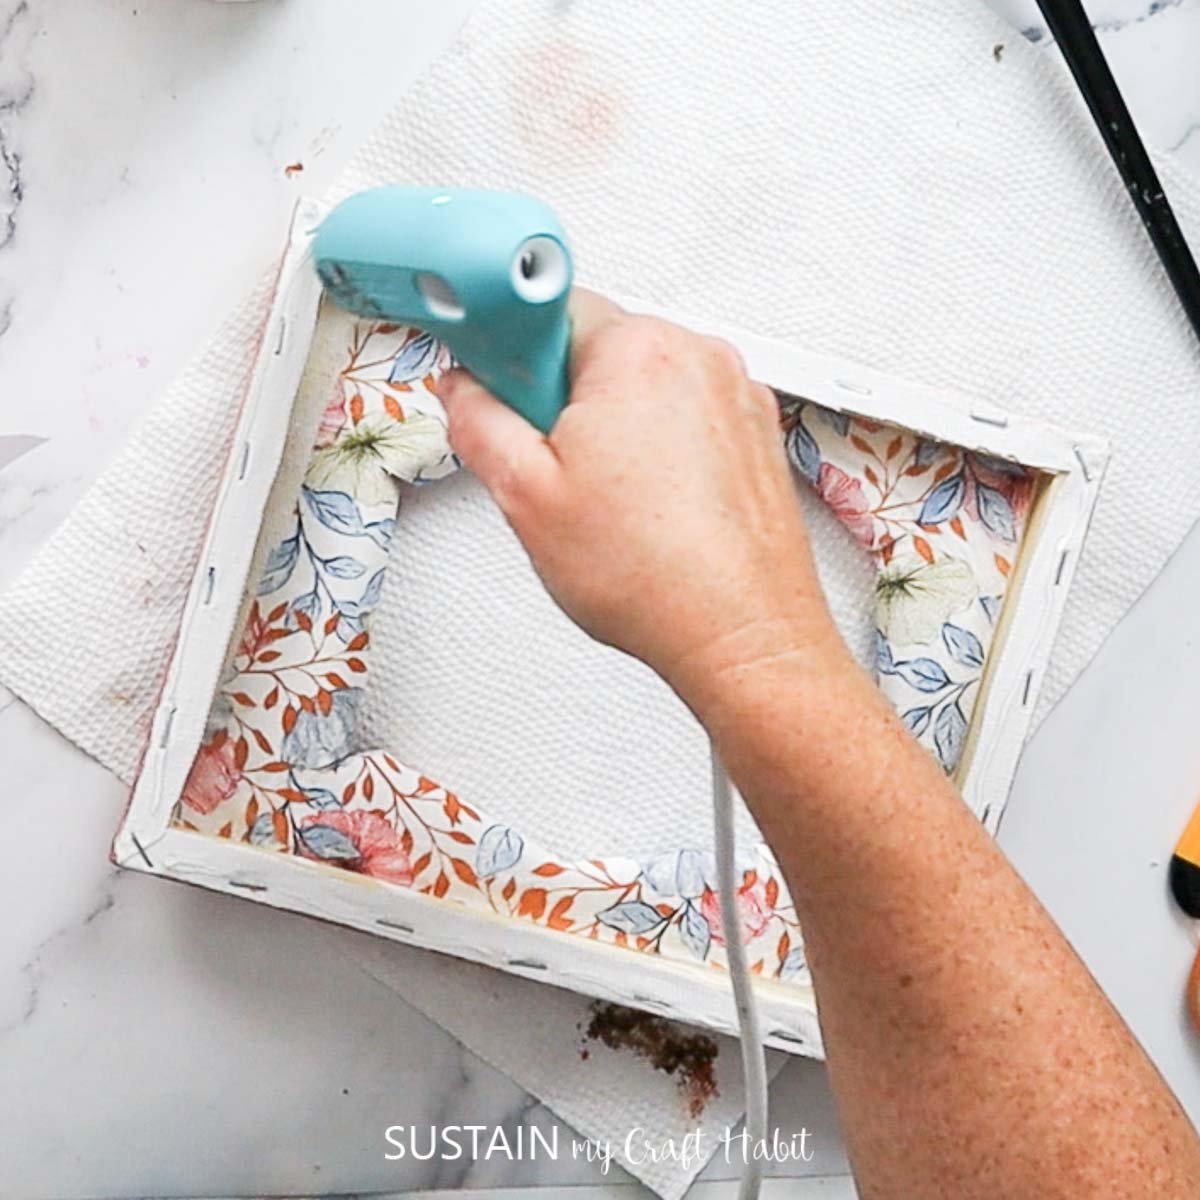
Flip the canvas over and gently fold back the edges of the slashes. Hot glue the ends to the front of the canvas.
Continue until all the edges have been folded over.
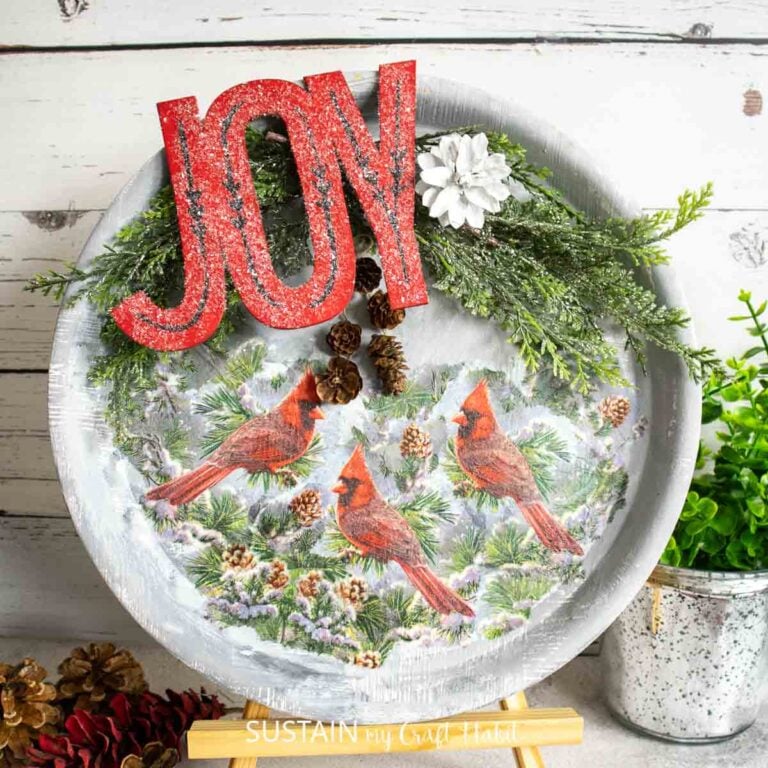
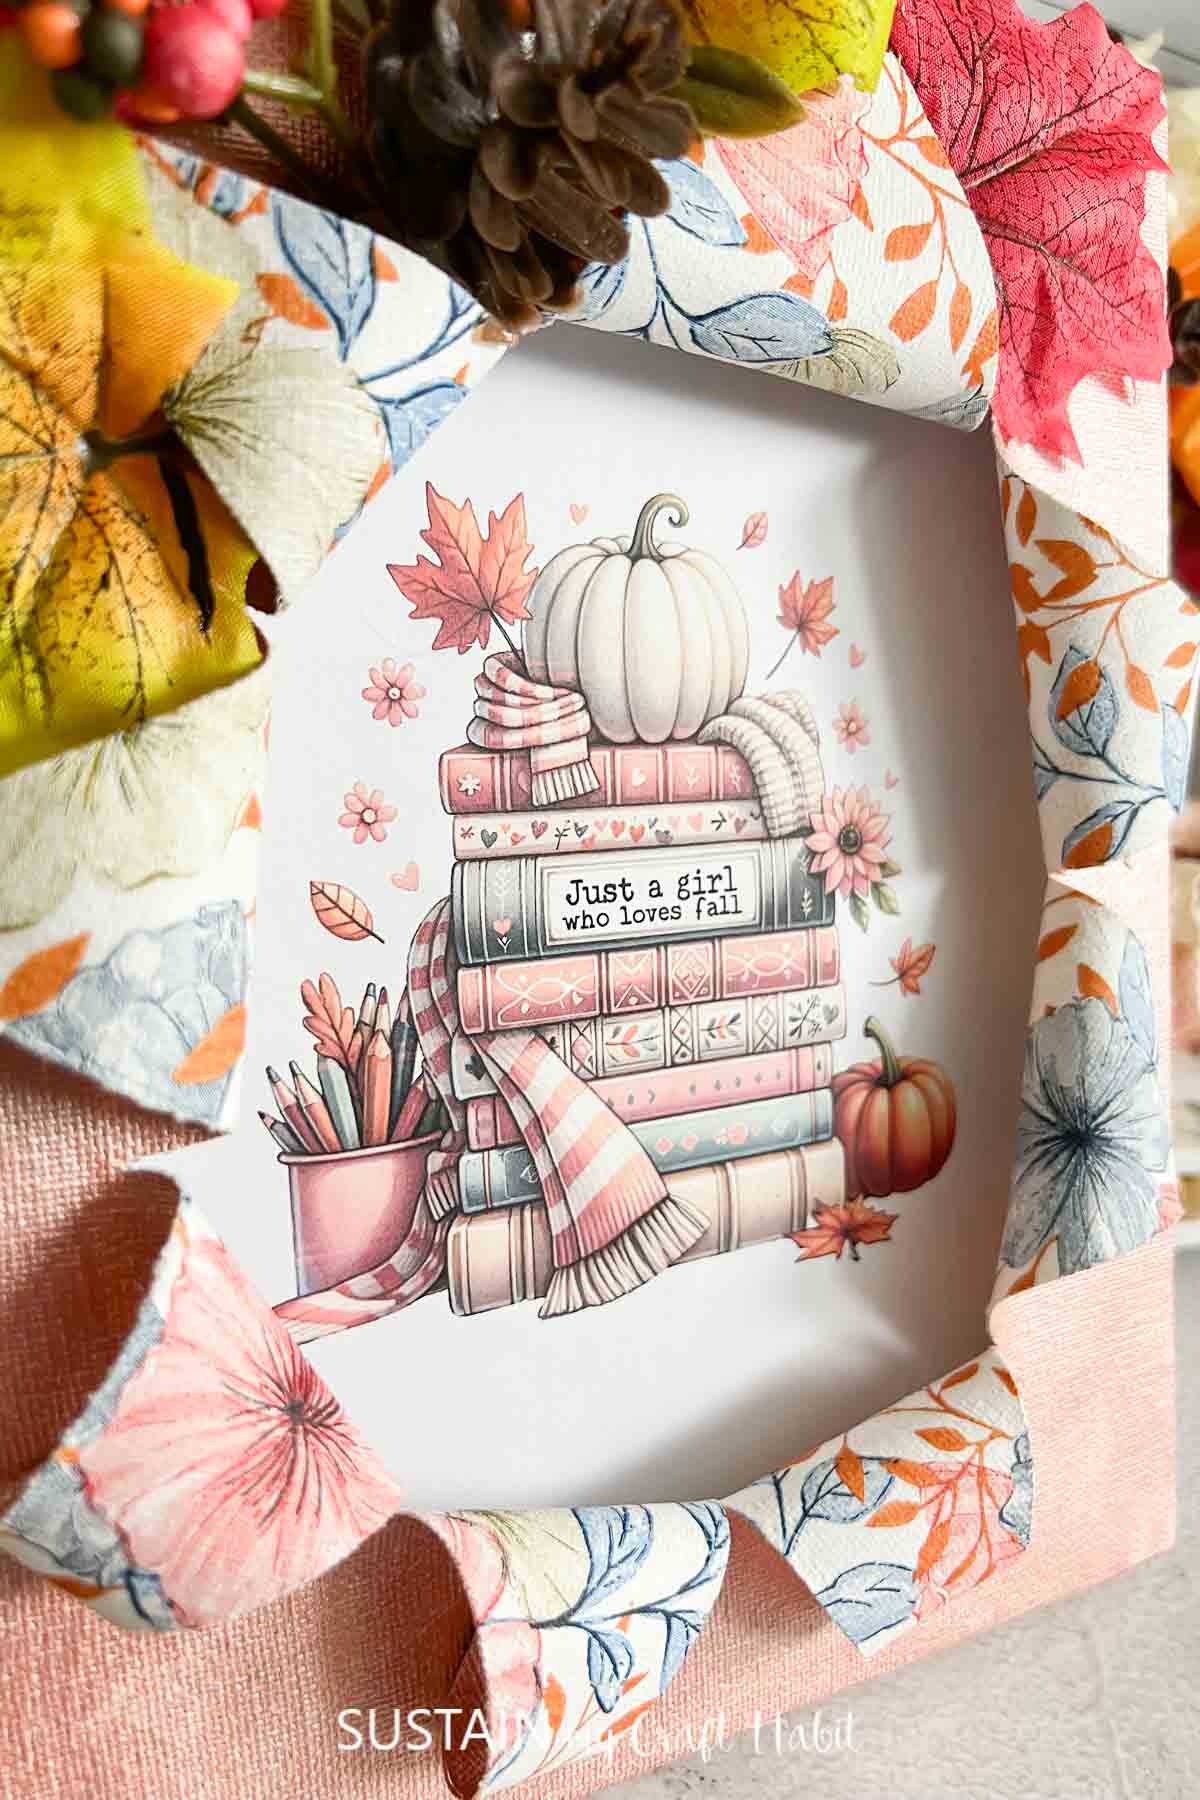
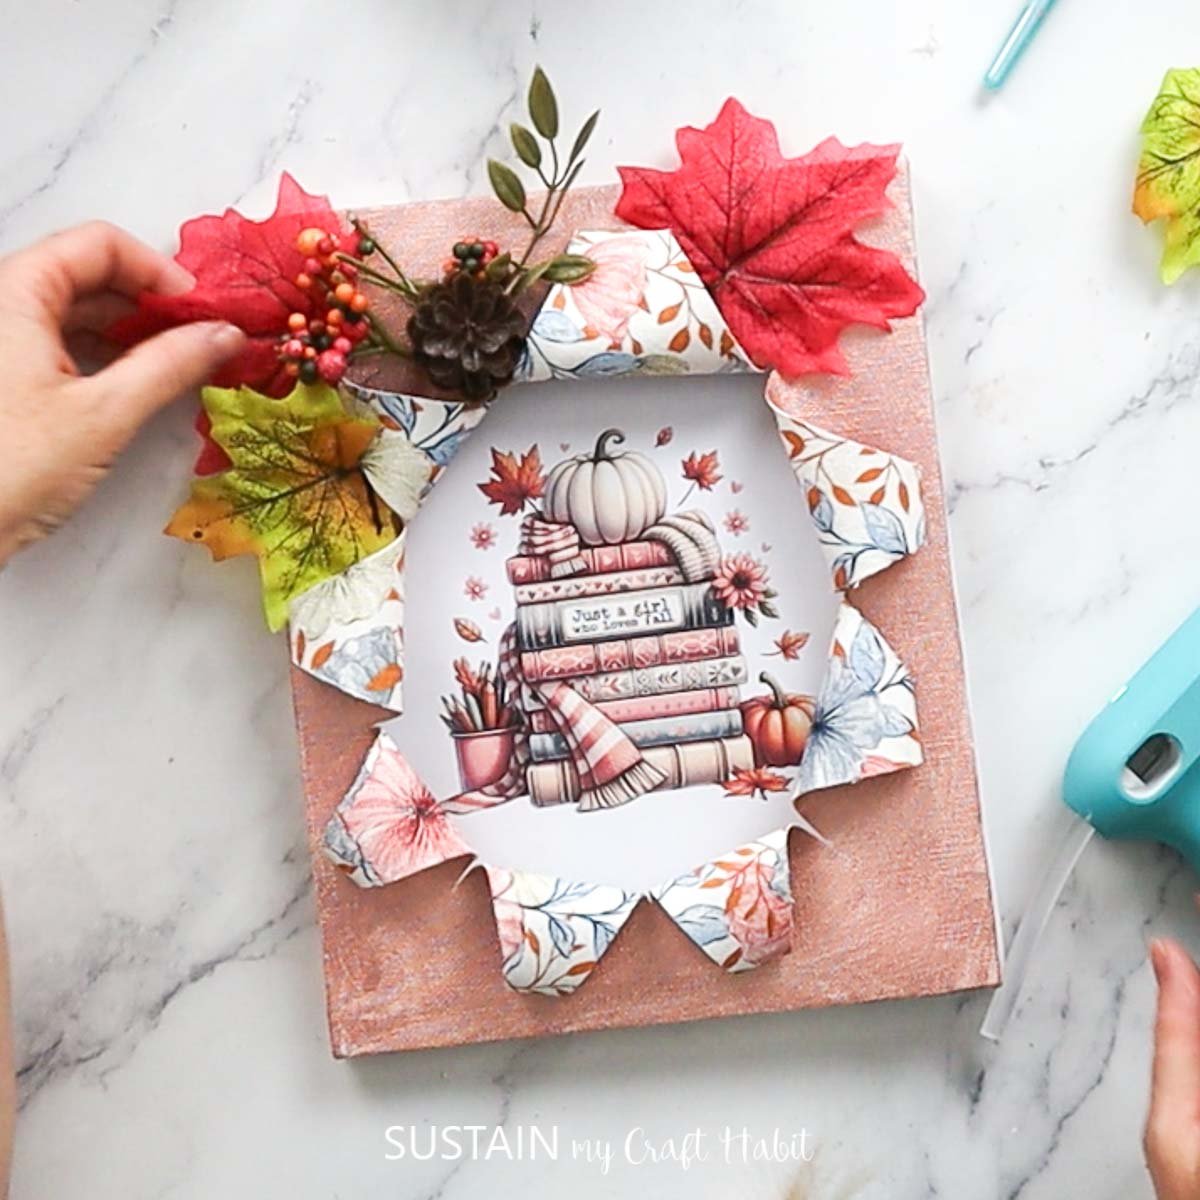
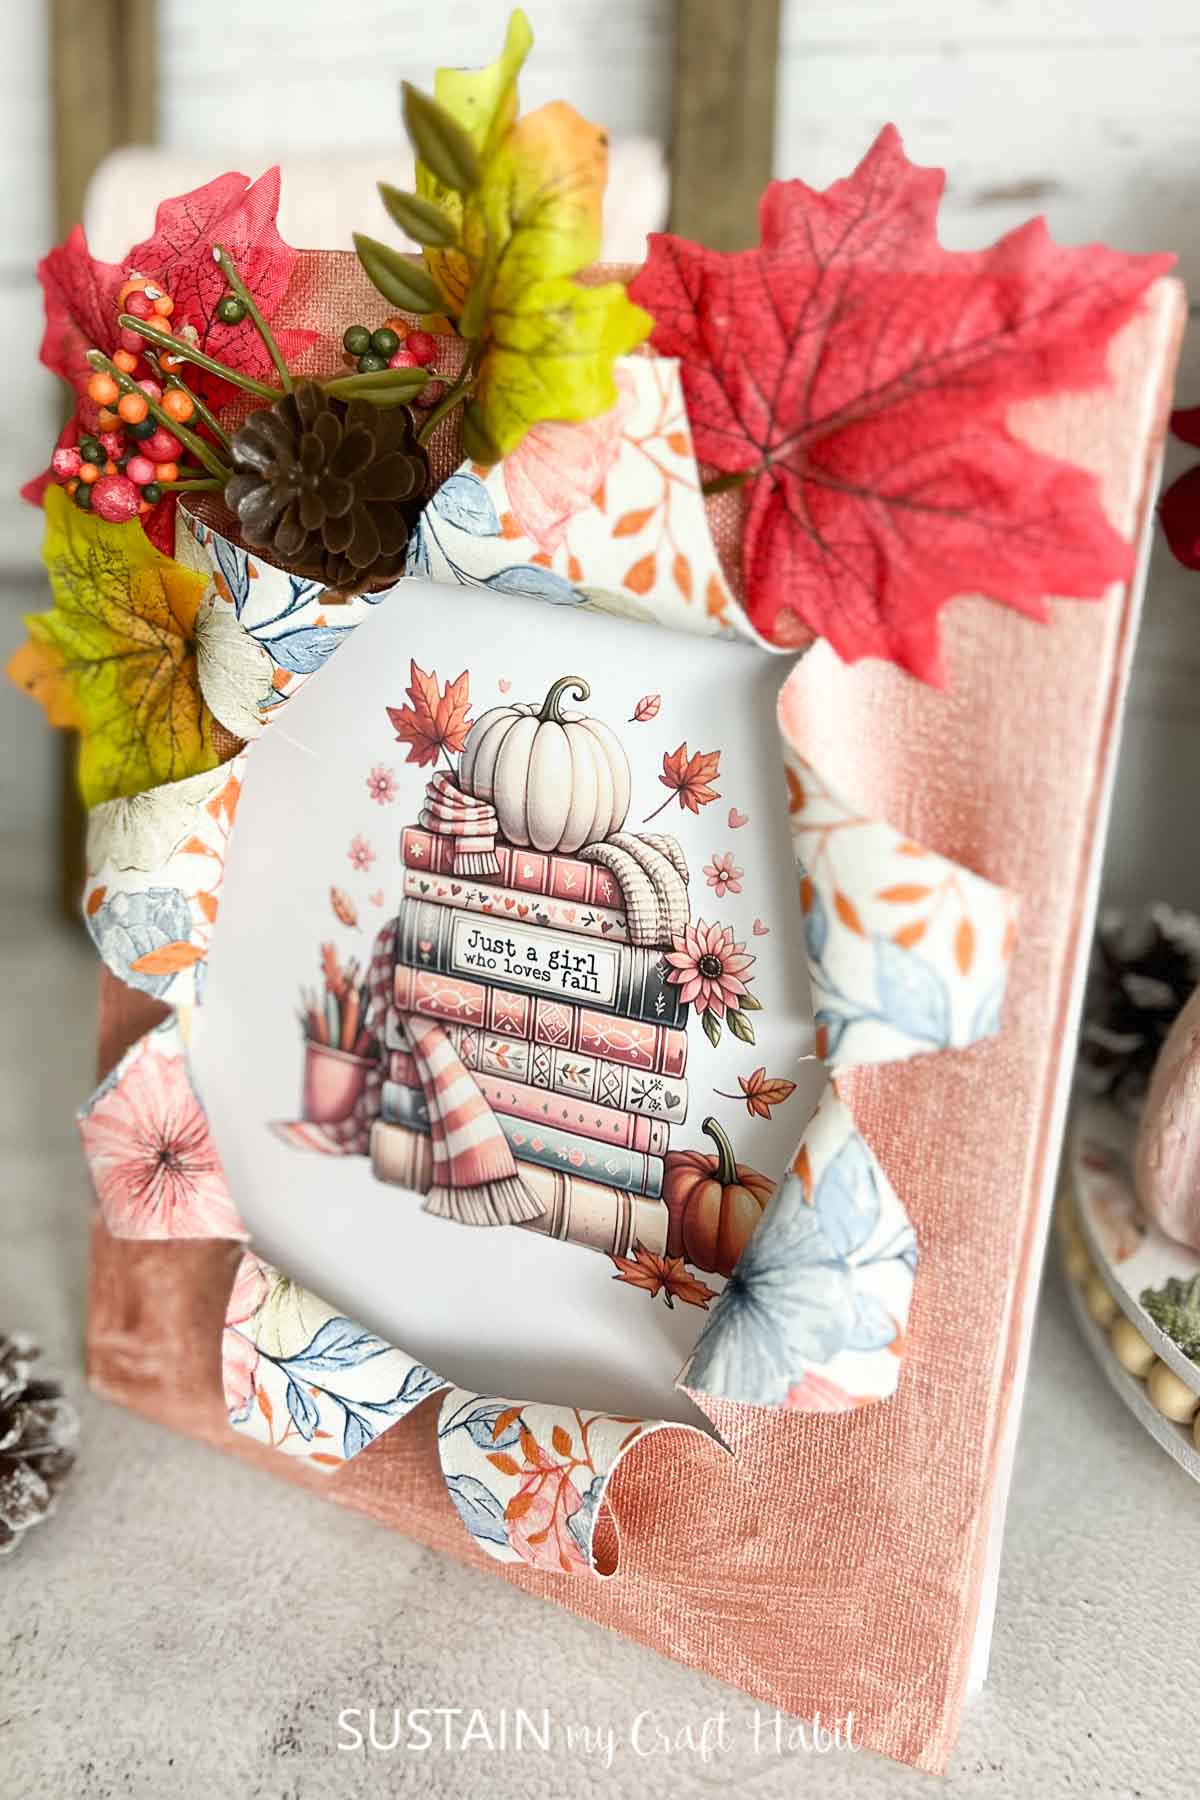
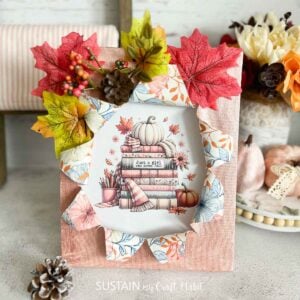
Finally, glue the printed fall image onto the frame of the canvas and trim off any excess.
Additionally, you can add embellishments or greenery to the top of the busted canvas.
Endless Possibilities
As you embark on your busted canvas journey, remember that the beauty of this craft lies in its imperfections. Don’t be afraid to experiment with different colors, textures, and techniques – there’s no wrong way to create these unique pieces. The skills you learn here will open up endless possibilities for creating beautiful, custom artwork for your home or as gifts.
More Fall Decor Crafts to Make
- Fall Harvest Dollar Store Charger
- Fall Wood Sign with Dollar Tree Supplies
- DIY Fall Shelf Sitter
- Fall Gnomes Craft
- Fall Trinket Box Craft


Get updates on the latest posts and more from Sustain My Craft Habit straight to your inbox by joining our weekly newsletter. We promise to send you only the good stuff.
Like it? Pin it for later!
How to Make a Busted Canvas Craft
Materials
- Framed canvas we got ours from Dollar Tree
- Fall image we got ours from Creative Fabrica
- Decorative paper napkin
- Mod Podge
- Paint in rose gold and white
- Paintbrushes
- Hot glue gun
- Embellishments
Instructions
- Paint the front of a canvas with rose gold paint and let dry.
- Turn the canvas over and paint the inside with white paint and let dry.
- Separate the two plies of napkin using just the top layer and cut to size.
- Add a coat of Mod Podge glue to the back of the canvas and gently press your paper napkin onto it.
- Take your craft knife or scissors and carefully cut slashes into the canvas in the center where you plan to place the image. Make sure not to cut all the way to the edges.
- Flip the canvas over and gently fold back the edges of the slashes. Hot glue the ends to the front of the canvas.
- Continue until all the edges have been folded over.
- Finally, glue the printed fall image onto the frame of the canvas and trim off any excess.
- Additionally, you can add embellishments or greenery to the top of the busted canvas.