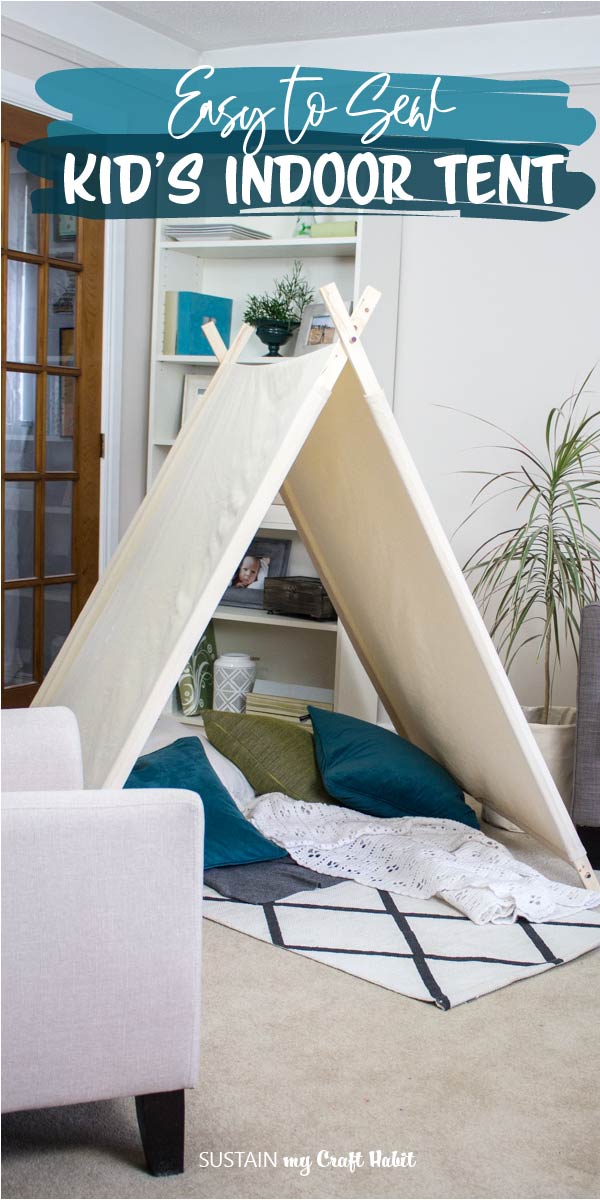
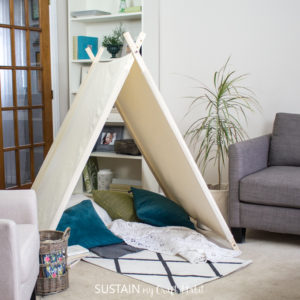
Easy to Sew Kids Indoor Tent
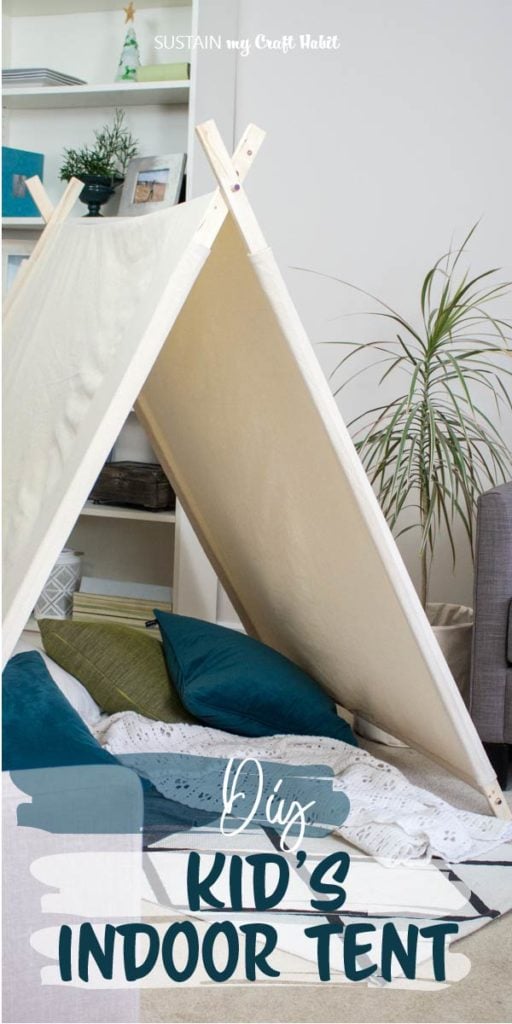
Encourage hours of fun with a cozy kid’s indoor tent that they’ll be sure to love. Head on below for a simple sewing tutorial using cotton canvas and a bit of hardware!

DIY Cozy Kid’s Reading Tent
Disclosure: This project is sponsored by Canvas Etc. All opinions are our own. Also, this post contains affiliate links for your shopping convenience. You can read our full disclosure statement here.
My daughter, like most children in her age group, has a huge imagination and it doesn’t take much to spark her creativity. She is often building play forts or pretend cars using cardboard boxes, bed sheets and whatever else she can find to use.
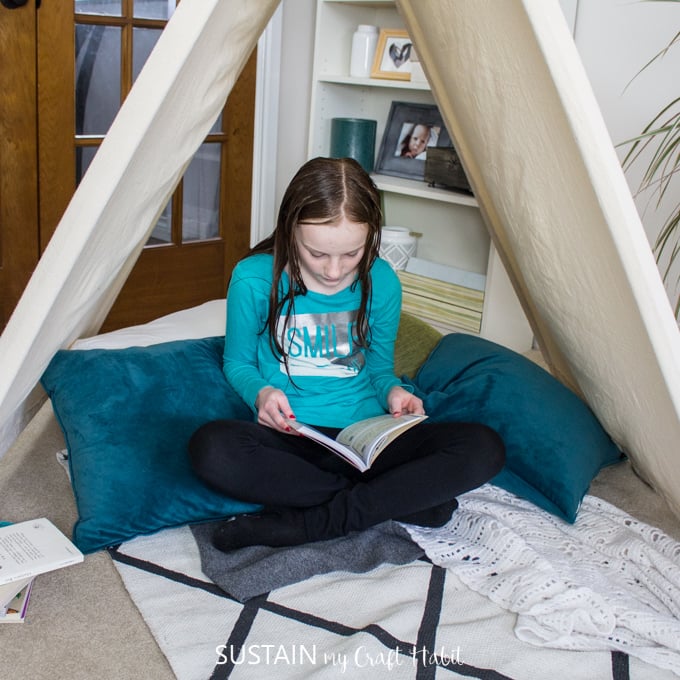
So I was so excited to make this kids indoor play tent for her and her friends to enjoy. Although I’m certain the kids will also take their devices into the tent, I know at times they’ll pick up a book and read. Or even better, start some creative pretend play with this pop up tent.
I’m using a medium weight canvas fabric from Canvas Etc. to make this simple a-frame tent. The tent itself requires just a few straight stitch lines making it a simple sewing project that’s perfect for beginner sewers. No master sewing skills needed here!
Additionally, the kids’ indoor tent is easy enough to assemble and disassemble quickly. So with that in mind, I think I’ll also pitch it outside when the weather becomes sunny and dry as a little camping tent.
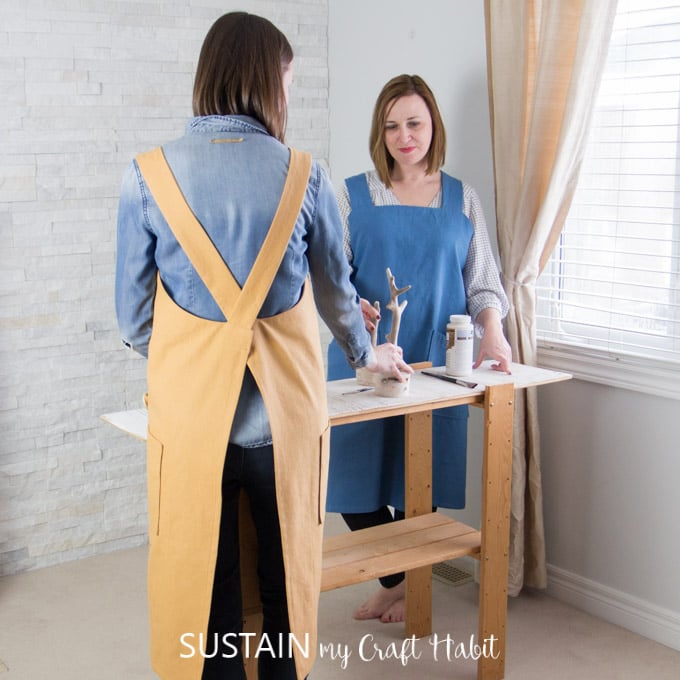
For more sewing projects using similar canvas for all sewing skill levels, check out these posts:
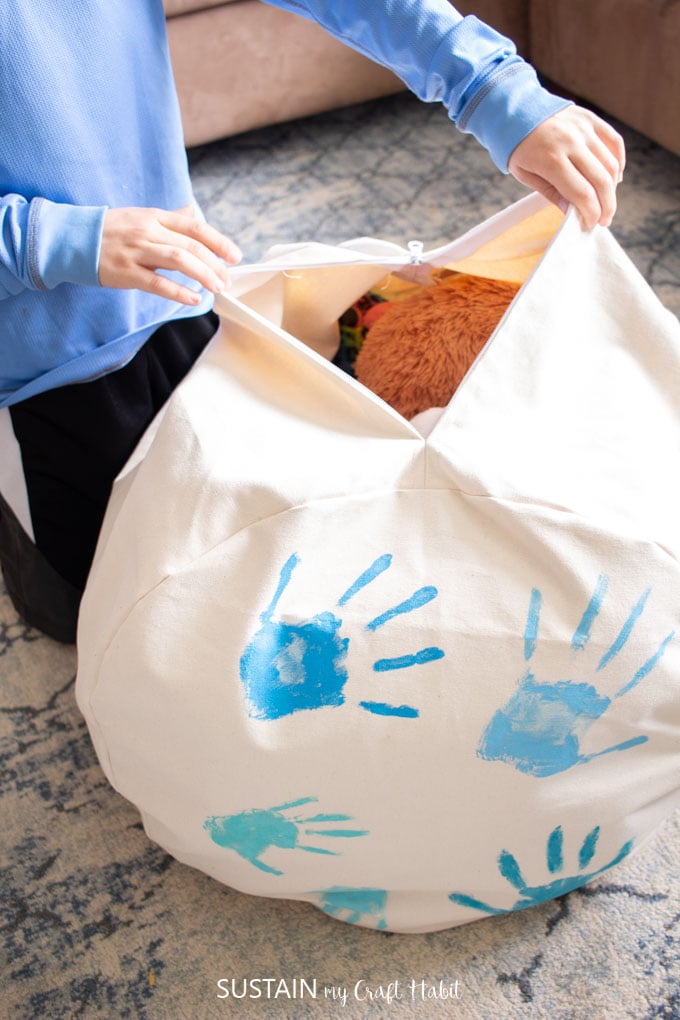
- DIY utility apron pattern
- storage ottoman
- painted Christmas ornaments
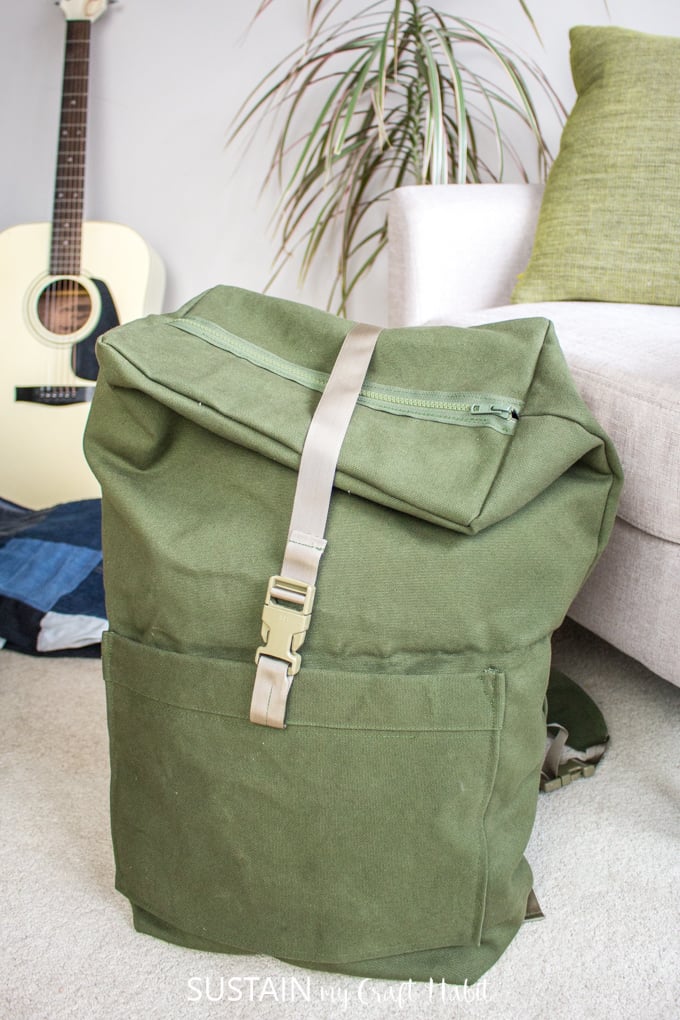
- rucksack pattern
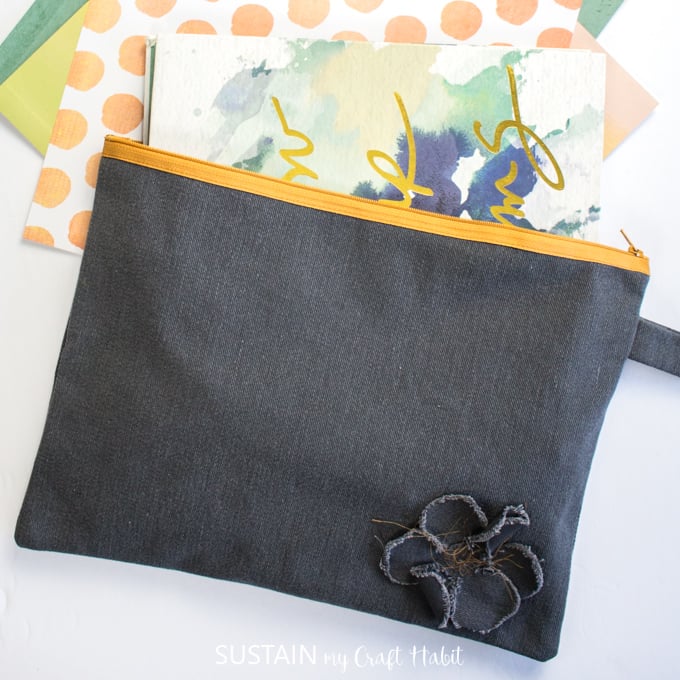
- oversized pencil case
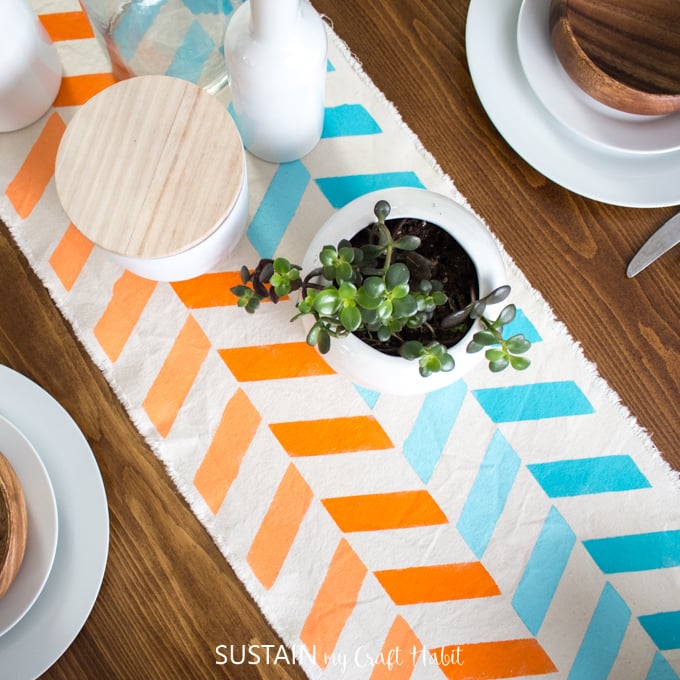
- painted modern table runner
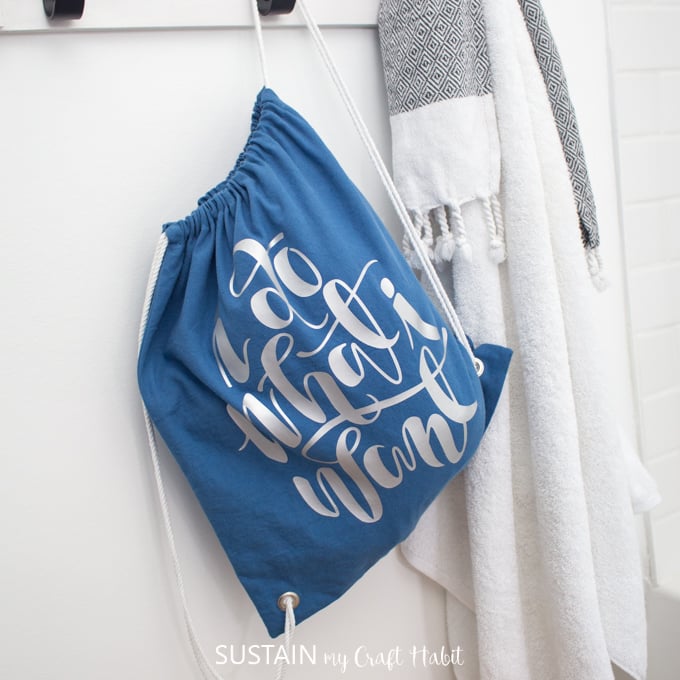
- drawstring bag
- canvas wall hanging
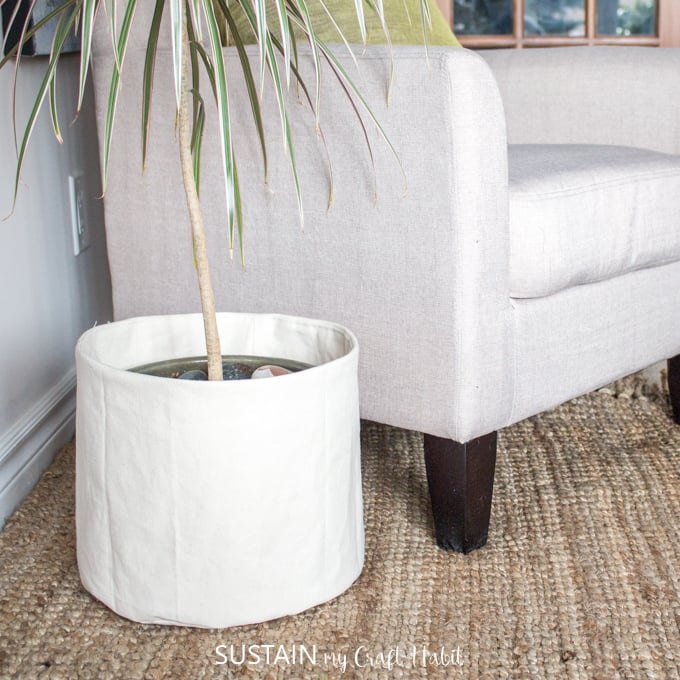
- modern canvas planter

Utility Apron Christmas ornaments 
Storage ottoman Drawstring bag Canvas wall hanging Rucksack Oversized pencil case Modern Stenciled Table Runner Modern Canvas Planter


Materials Needed for this Pop Up Play Tent:
- Canvas Duck, 7oz, 72″ wide, 4 yards
- Sewing machine and matching thread color
- Fabric scissors
- 4 pieces of 1″x 2″ wood strapping, cut to 62” long
- 2 wood dowels, 7/16” thickness, 48” long
- 1 wood dowel, 1/2″ thickness, 48″ long
- Drill and ½” drill bit
- Iron and ironing board
- Measuring tape, ruler and washable chalk
How to Make a Kids Indoor Tent:
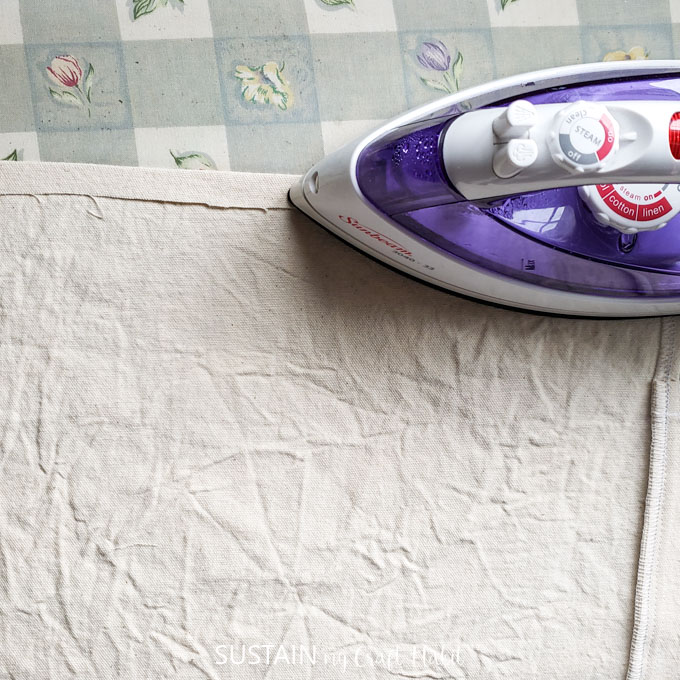
It’s best to wash and dry your canvas fabric prior to sewing for a few reasons. The main reason is to preshrink the fabric. This way when you need to wash it after it’s sewn, you won’t run in to problems with it no longer fitting. But be sure to remove the fabric promptly from the dryer to reduce wrinkles and iron out most creases and wrinkles prior to cutting.
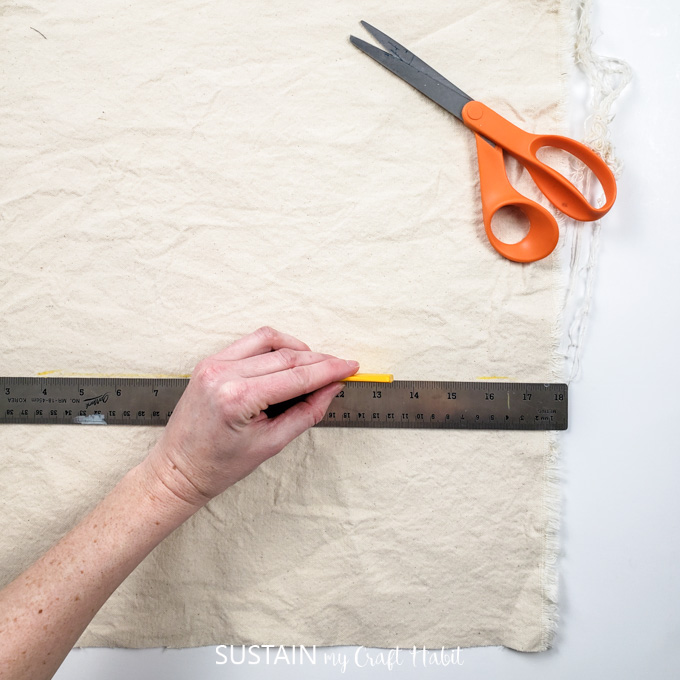
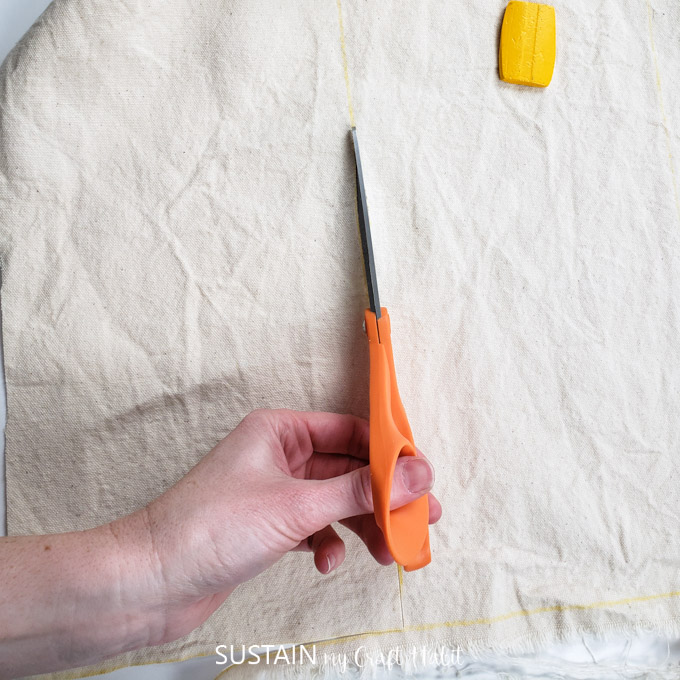
Step 1: Cut the Cotton Canvas Fabric
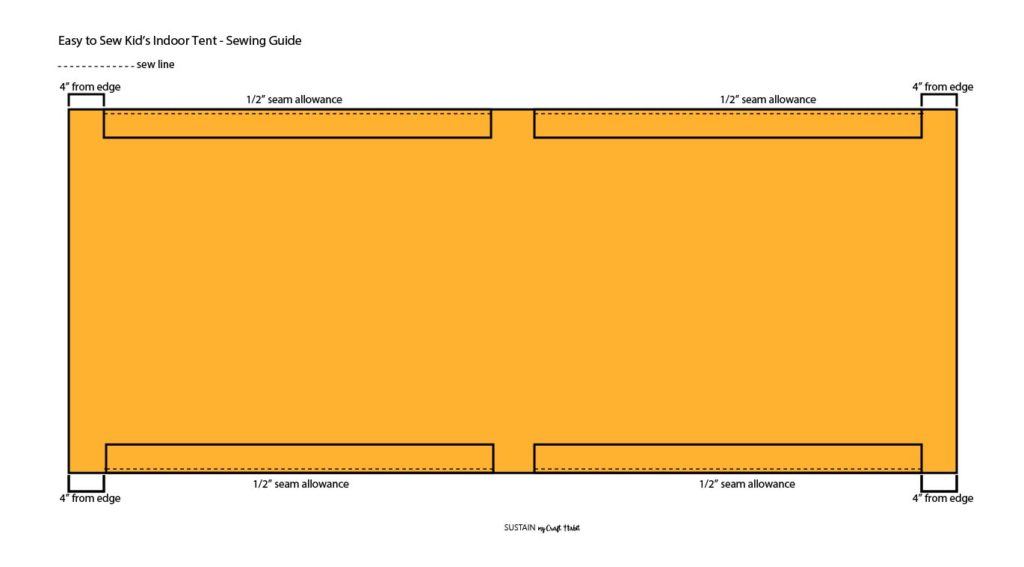
Cut ONE large rectangular piece measuring 45” wide x 110” long.
Cut FOUR additional rectangular pieces measuring 7” wide x 50” long.
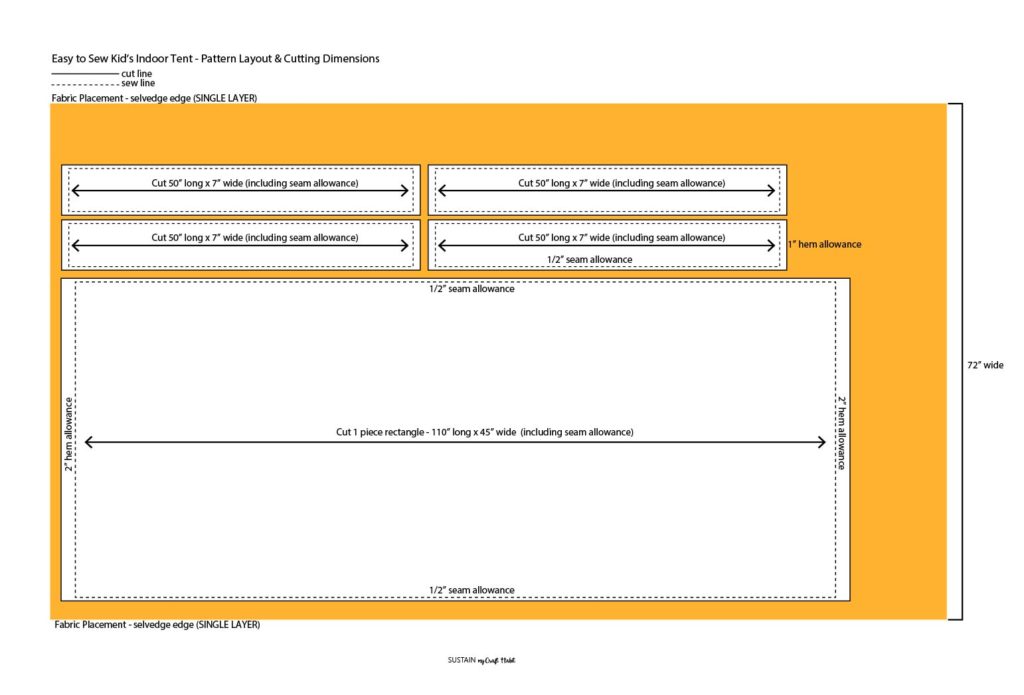
Since the pattern pieces for the kids indoor tent are simple rectangular shapes, it’s best to measure and mark directly on to the wrong side of the fabric using a ruler and washable wax or chalk.
Step 2: Sew the Tent Pieces
Working with the smaller rectangular pieces, finish the short ends by folding inwards ½” and pressing in place with an iron. Fold an additional ½” and sew the hem using a single needle stitch.
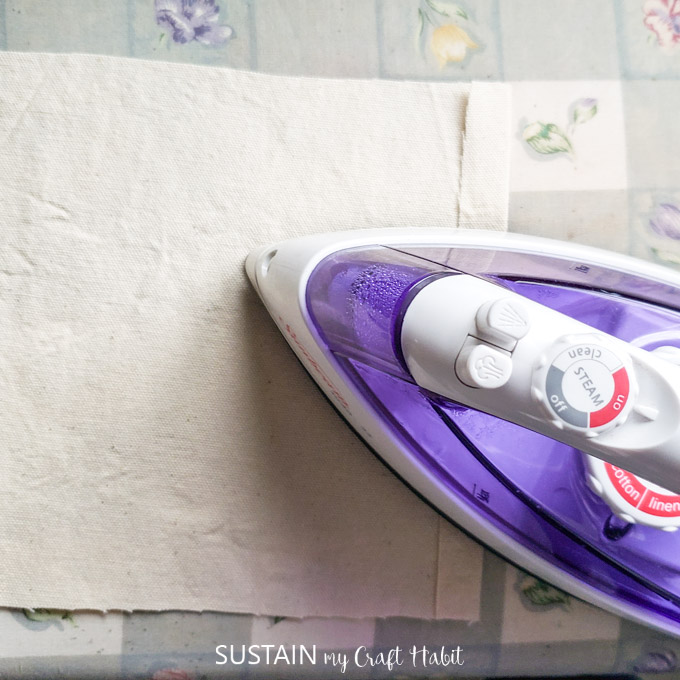
Repeat for all 4 rectangular pieces.
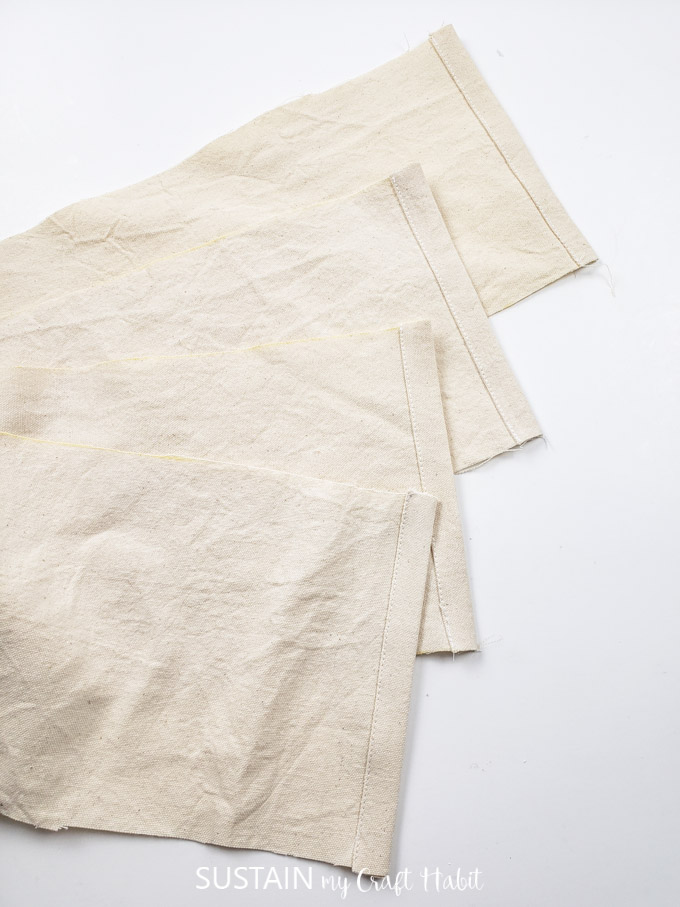
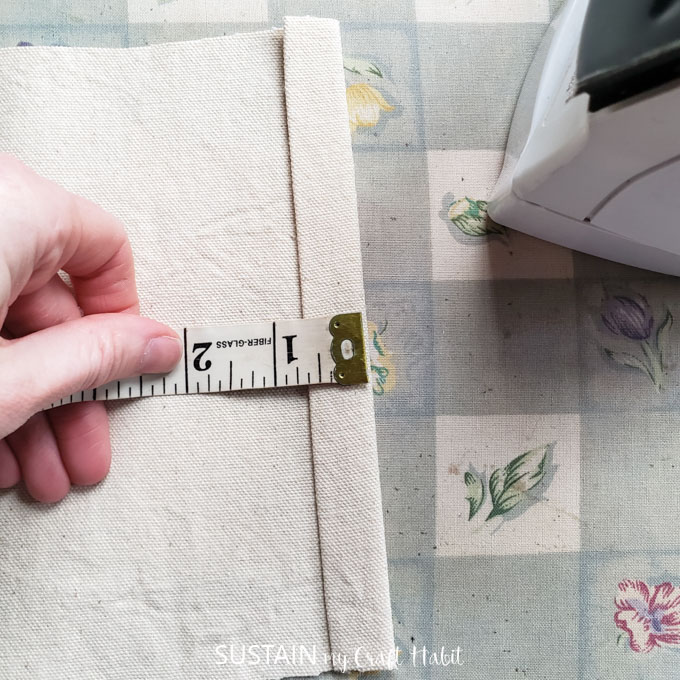
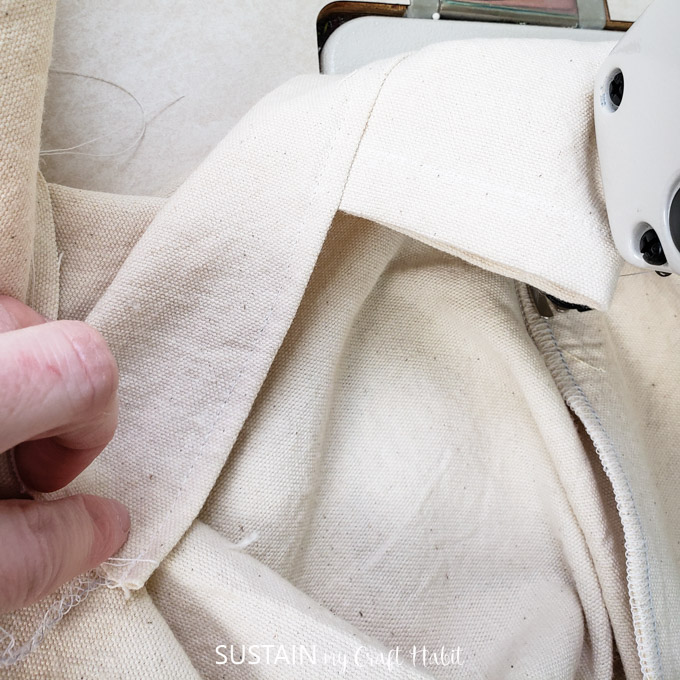
Afterwards, fold the four prepared pieces in half lengthwise with WRONG sides together.
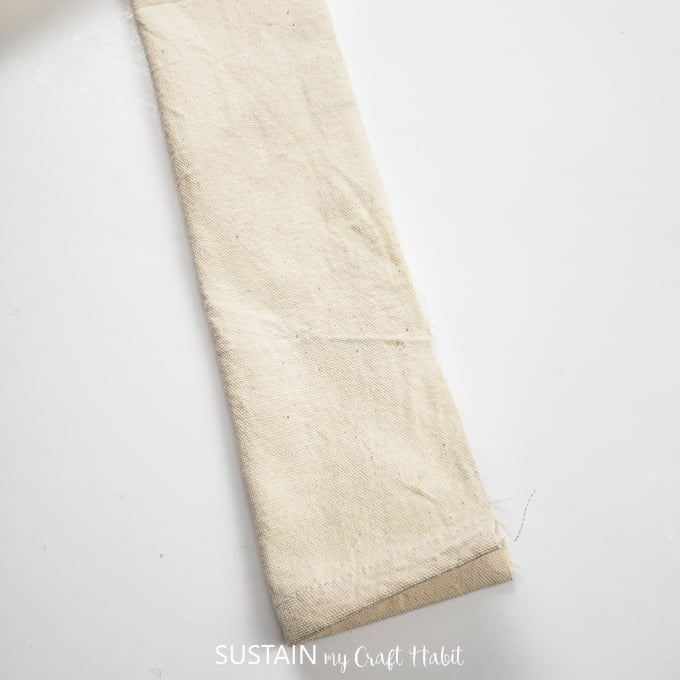
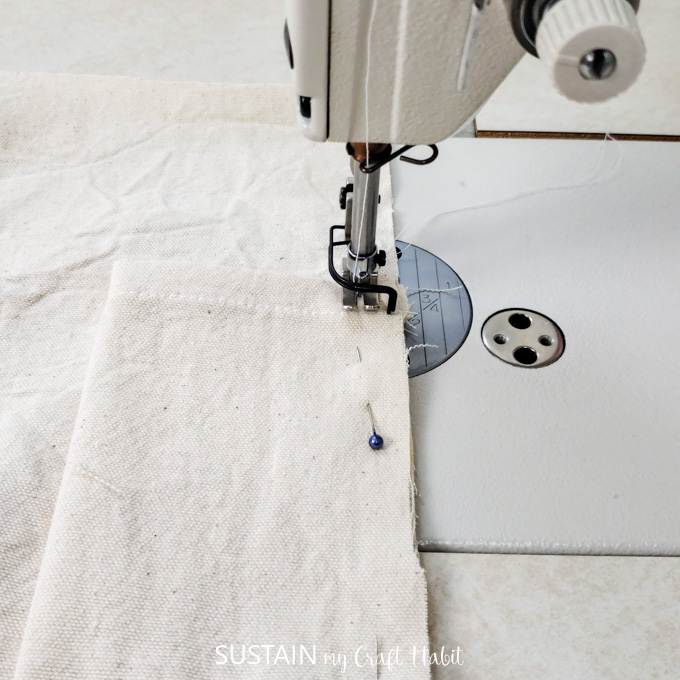
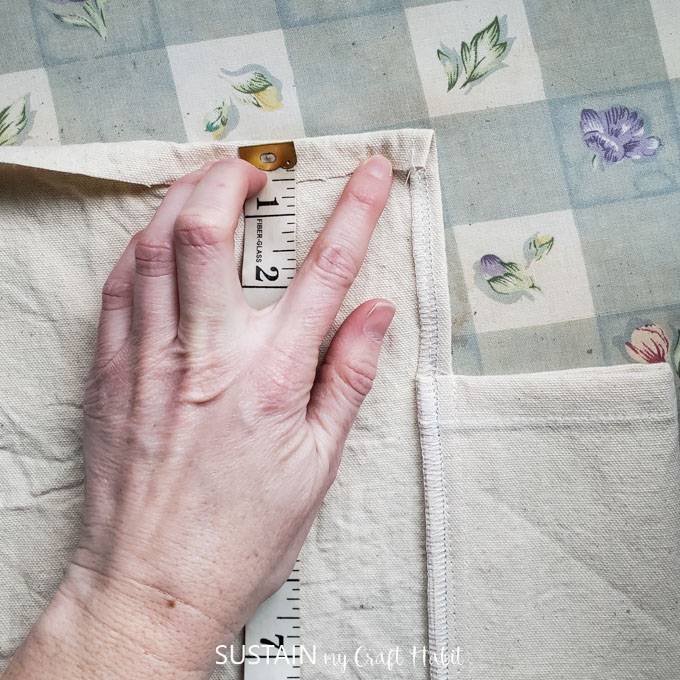
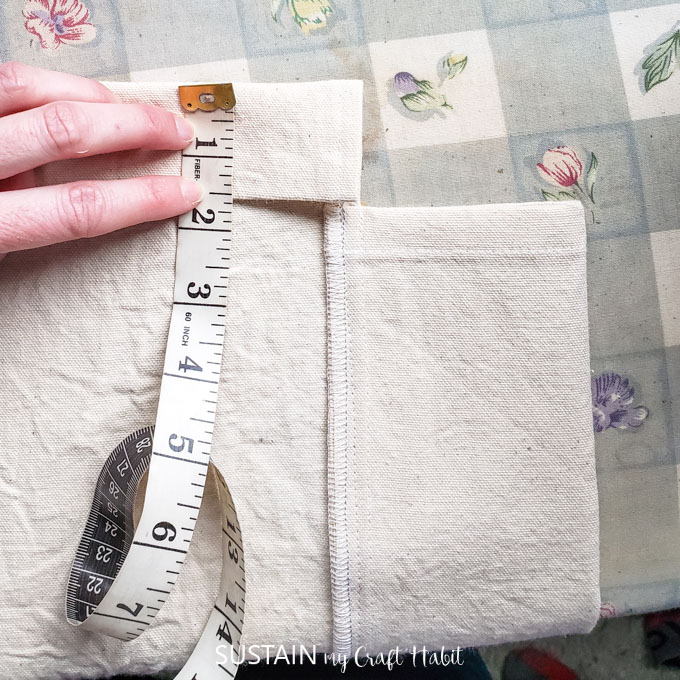
Working along the longest edges of the largest rectangular tent piece, position each of the folded pieces at 4” away from each of the four corners.

Align the unfinished edges and pin in place.
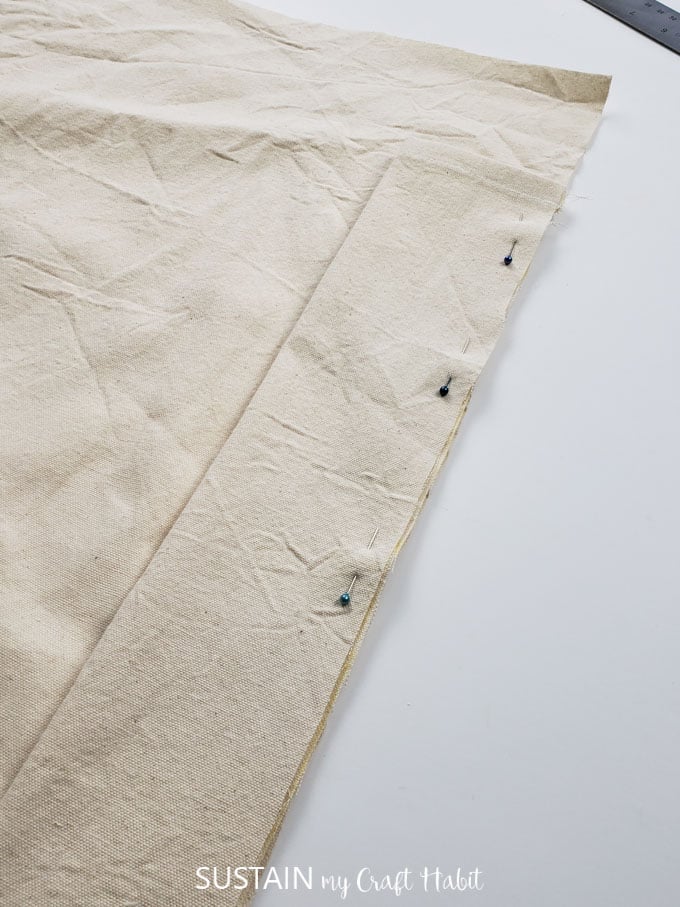
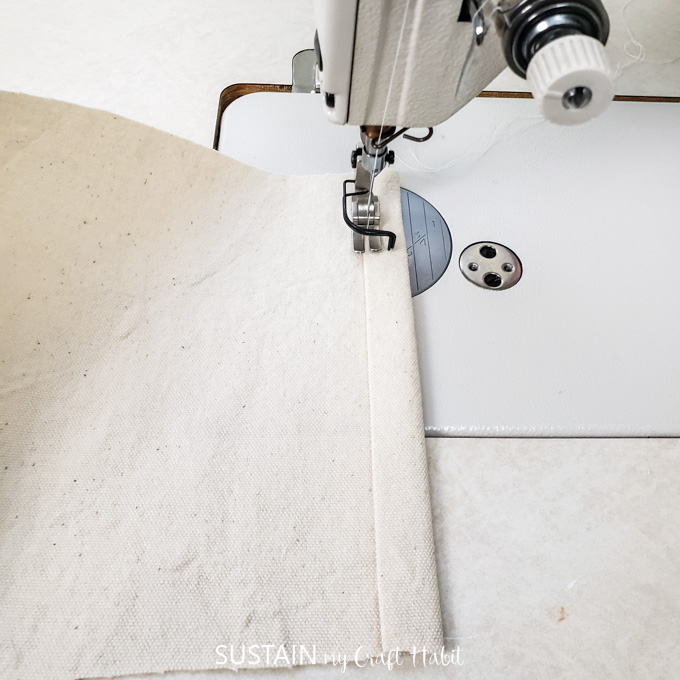
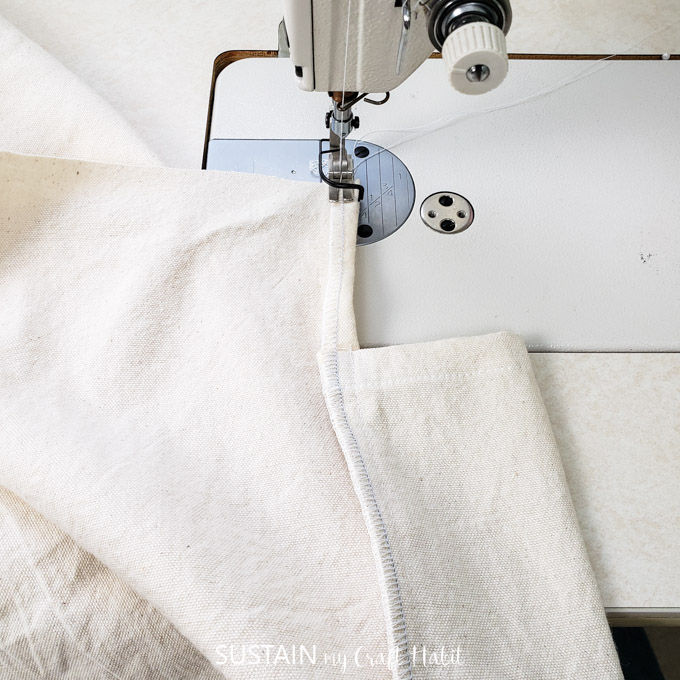
With a ½” seam allowance, sew the pinned cotton canvas pieces together. These pieces will form the channel to run the wood poles through.
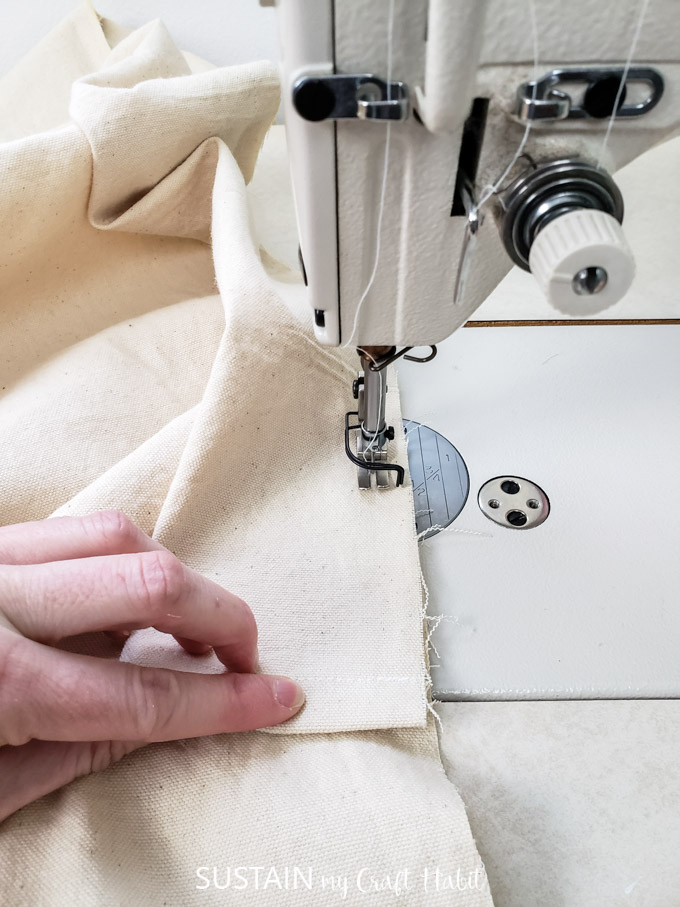
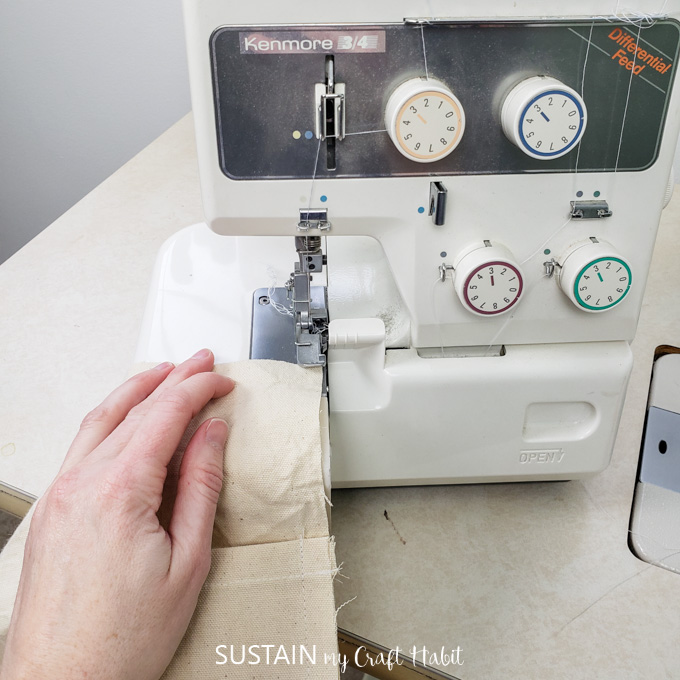
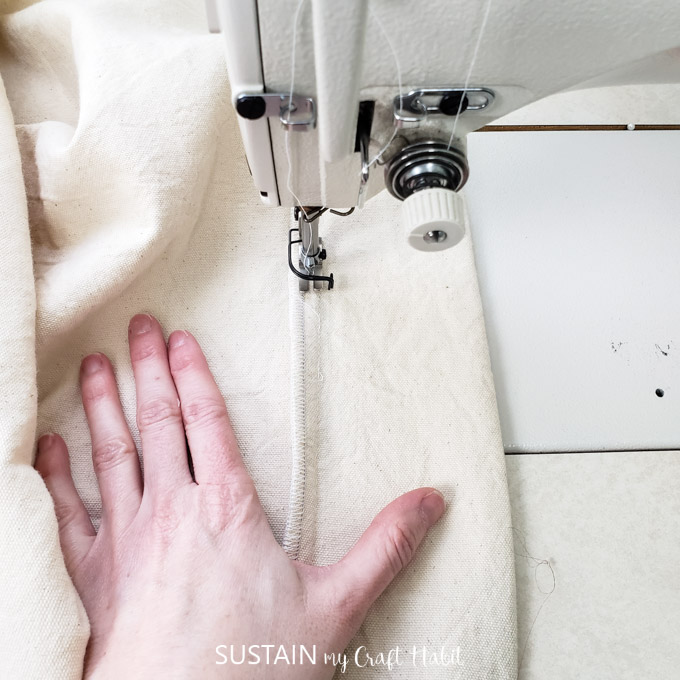
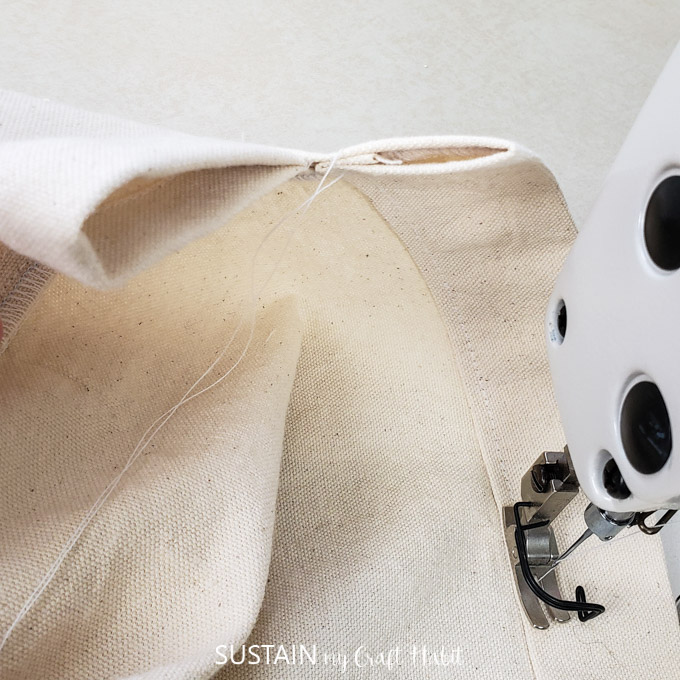
Finish the remaining cut edges (aka seam allowance) with a zig zag stitch or serger to prevent fraying.
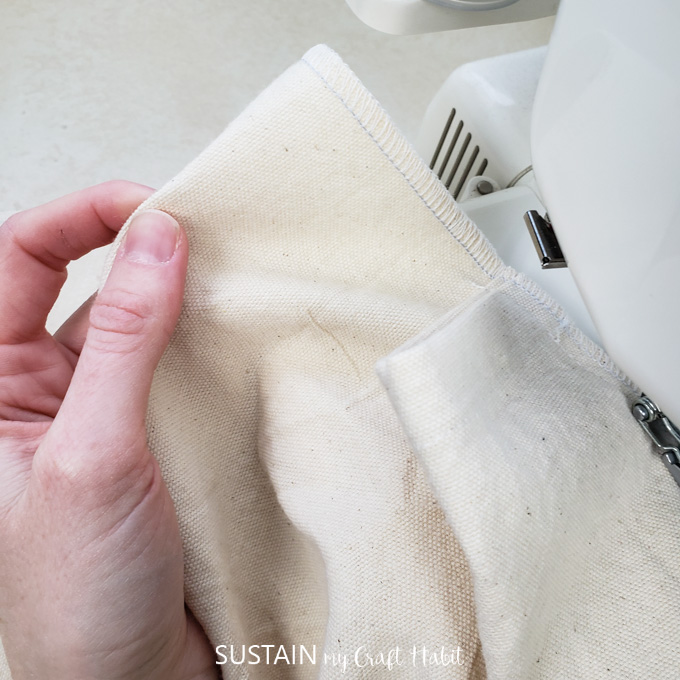
Fold the seam allowance in towards the large rectangular tent piece and topstitch in place.
Along the two shorter sides of the large rectangular piece (the sides measuring 45” long), fold edges under ½” (towards the WRONG side of the fabric) and press in place with an iron.
Then fold another 1 ½” and press in place.
At the sewing machine, sew the hem in place using a single needle stitch. This will create a channel for the dowels to be inserted.

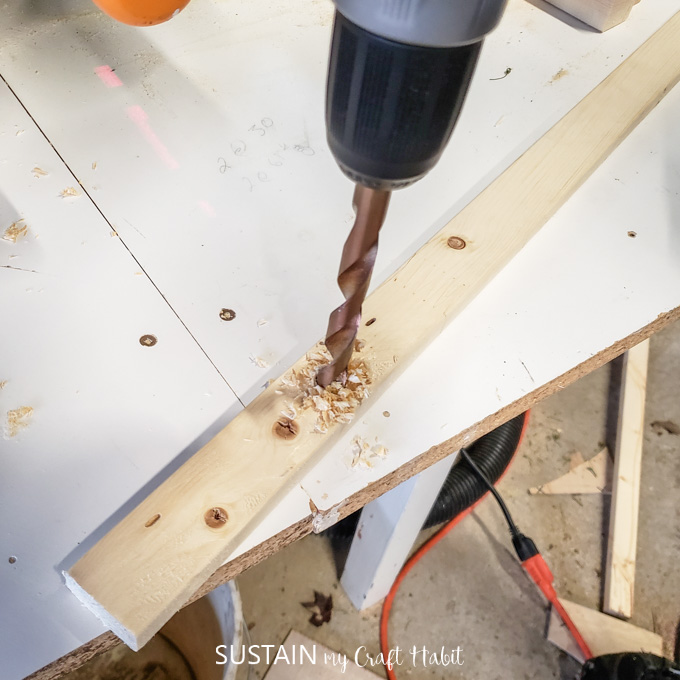
Step 3: Prepare the wood poles
Assemble all the wood pieces for the kids indoor tent.
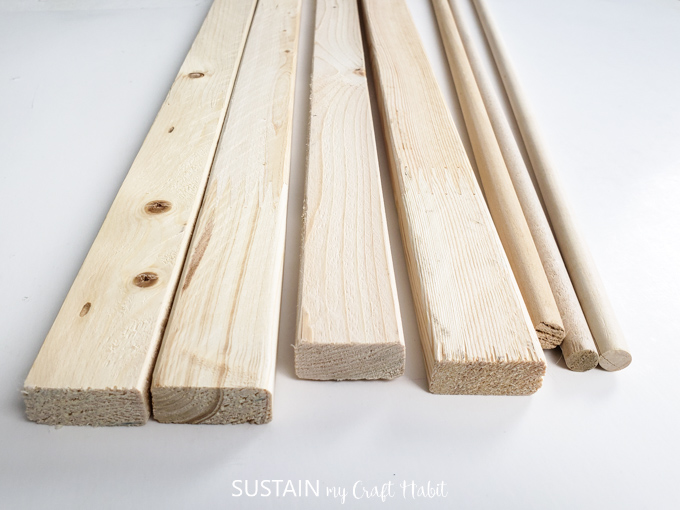
Cut the 1″x2″ wood strapping to measure 62” long and ensure the wooden dowels all measure 48″ long.
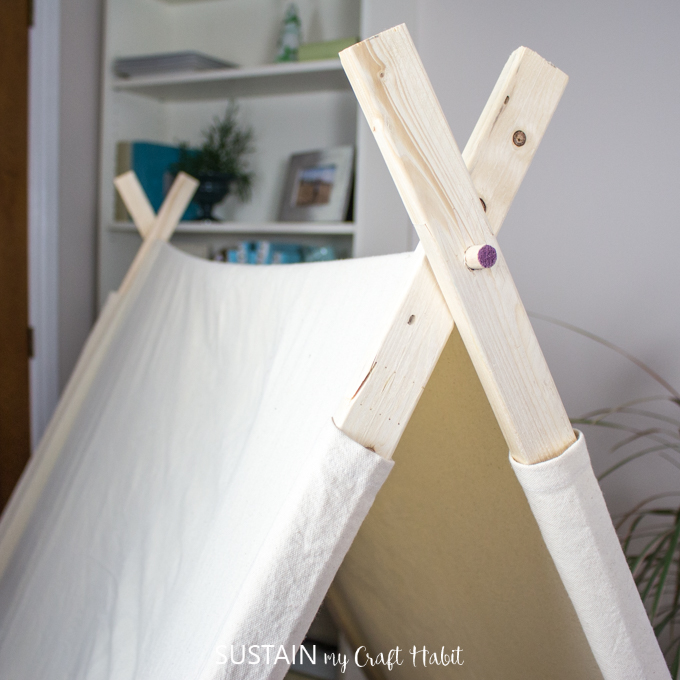
Using a ½” drill bit, drill a hole 2” away from the end of the strapping. Repeat for all 4 pieces.
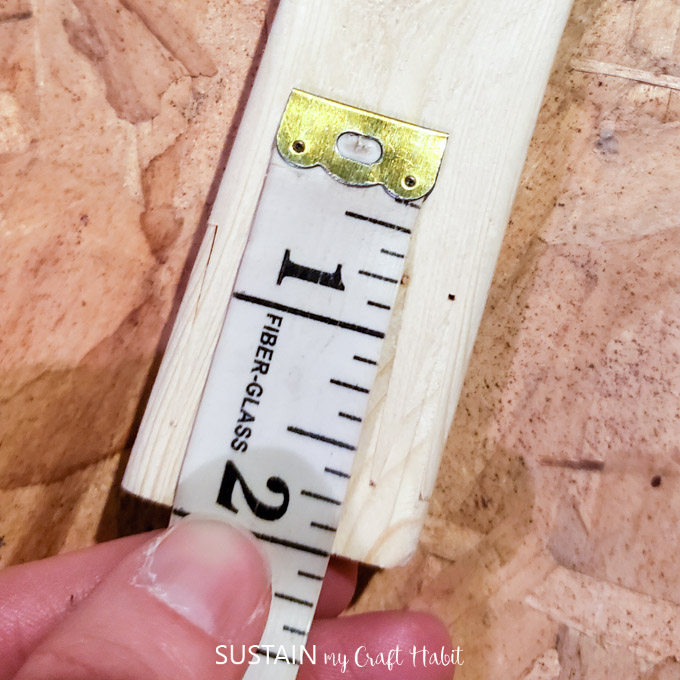
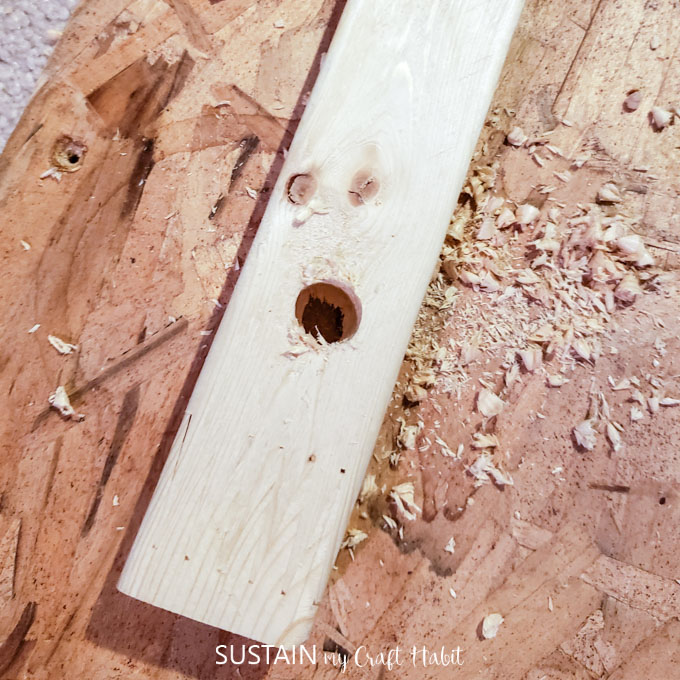
On the other ends of the strapping, and also using a ½” drill bit, drill a hole 5” away from the ends. Repeat for all 4 pieces.
Step 4: Assemble the kids play tent
Lay the large piece down on a flat surface with WRONG side facing down.
Place the center 1/2″ thick dowel underneath the large piece of the fabric through the middle.
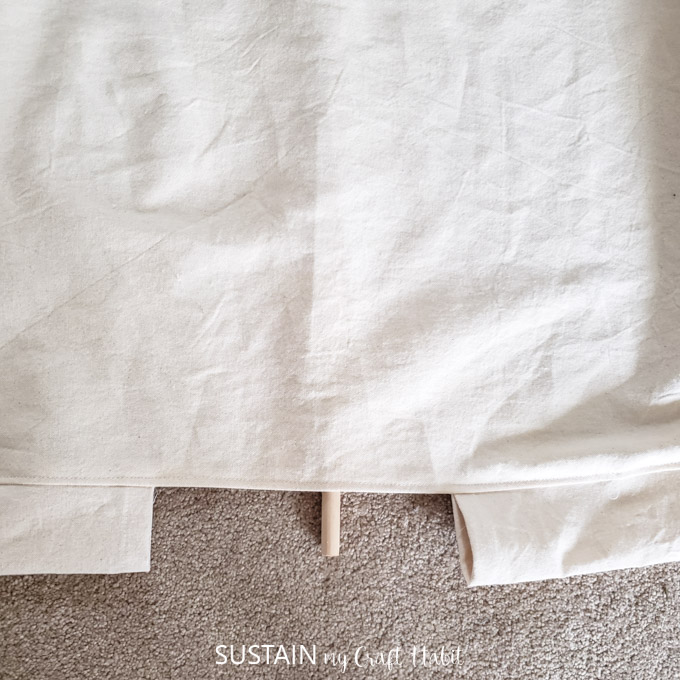
Insert the other two dowels through the bottom horizontal channels.
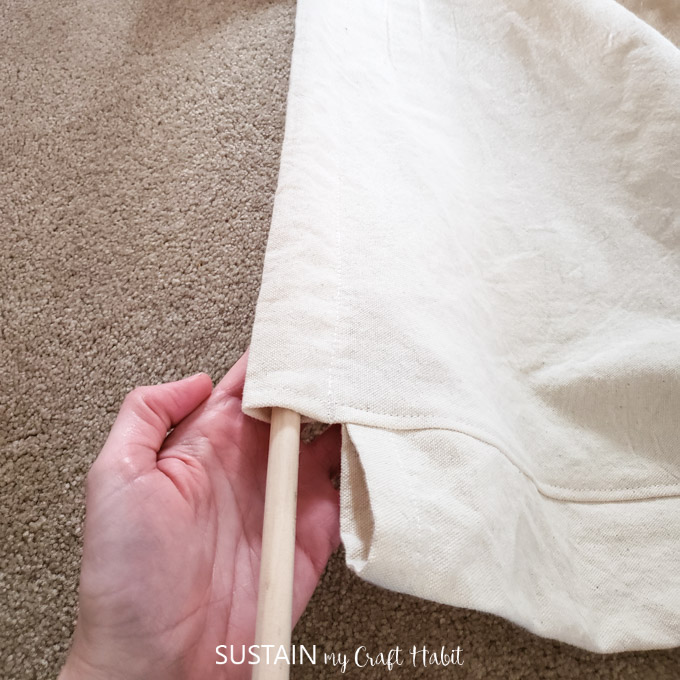
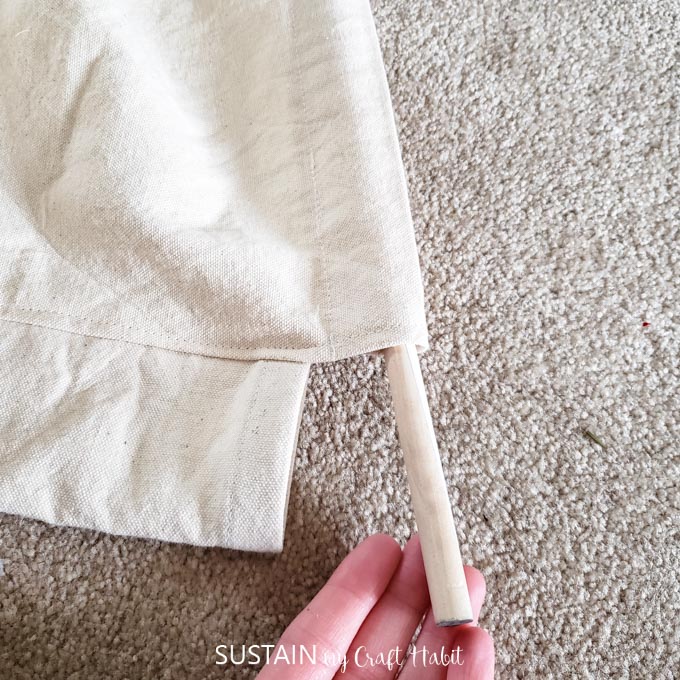
Insert one wood strapping through each of the four vertical channels of the tent.
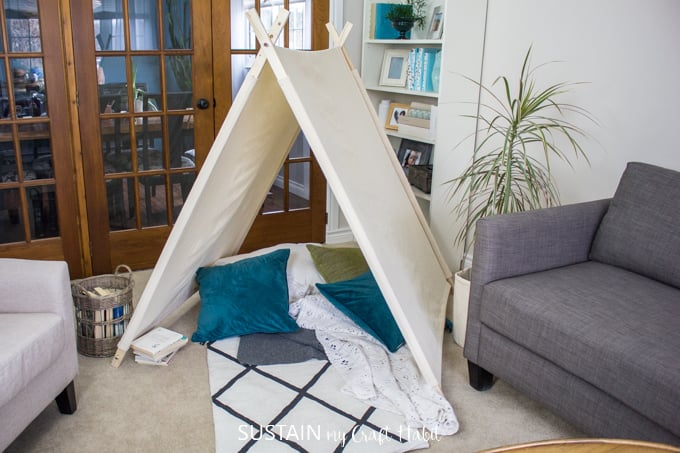
Push the dowels through the drilled holes lifting the tent as you go. Fold the tent in half creating a pitched frame, criss crossing the a-frame poles at the top.
Place the tent someplace with plenty of room. Add a soft rug or some comfy blankets and throw pillows to make the tent inviting and cozy.
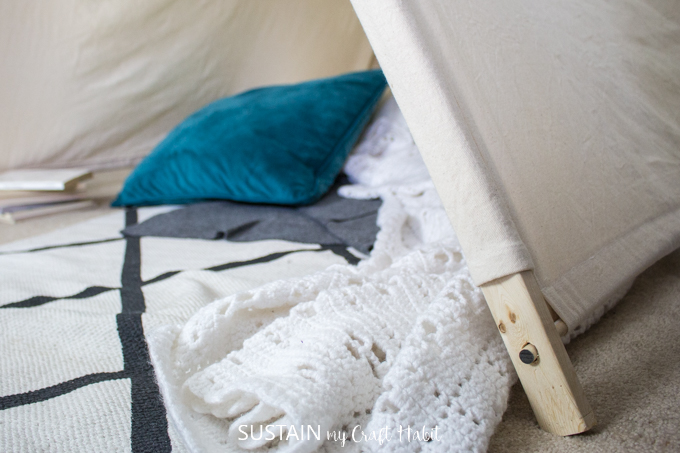
Our tent was perfectly sized for our living room. But as I mentioned above, it’ll be easy to move around and great for indoor or outdoor play time. It looks so cozy…I’ll just have to try it out!
I’m sure once I get a couple of these craft kits for kids, she may never come out of there!
Did you know that CanvasEtc. offers their fabric remnants for free! Just pay a nominal shipping fee for a 5lb box of remnants for your DIY and crafting projects!
Like it? Pin it for later!
Easy to Sew Kids Indoor Tent
Materials
- Canvas Duck 7oz, 72″ wide, 4 yards
- Sewing machine and matching thread color
- Fabric scissors
- 4 Wood strapping 1 x 2, cut to 62” long
- 2 Wood dowels 7/16” thickness, 48” long
- 1 Wood dowel 1/2″ thickness, 48″ long
- Drill and ½” drill bit
- Iron and ironing board
- Measuring tape
- Ruler
- Washable chalk
Instructions
- Cut ONE large rectangular piece following the measurement provided.
- Cut FOUR additional rectangular pieces following the measurement provided.
- Working with the smaller rectangular pieces, finish the short ends with a double fold hem.
- Afterwards, fold the four prepared pieces in half lengthwise with WRONG sides together.
- Position each of the folded pieces at each of the four corners along the long sides of the large rectangular piece.
- Sew the pieces together forming channels for the wood strapping.
- Finish the short ends of the large rectangle with a wide double hem to form more channels for wood dowels.
- Ensure 1×2 wood strapping measures 62" long and the wooden dowels all measure 48" long.
- Using a ½” drill bit, drill a hole 2” away from the end of the strapping. Repeat for all 4 poles.
- Using a ½” drill bit, drill a hole 5” away from the other ends of the strapping. Repeat for all 4 poles.
- Insert the prepared wood pieces into the channels as shown to pitch the tent.


If only I had known about this fun tutorial when my kids were younger. They would spend hours under a mess of blankets. But this is so much nicer.
Thanks Mary! I remember making those blanket forts too and they were always so much fun, although it’s true the play tent “looks” tidier!