Decorative DIY Pinecone Flower Garden Craft
For those looking for a pine cone flower craft, try creating these pinecone flowers to keep spring going on as long as you wish!
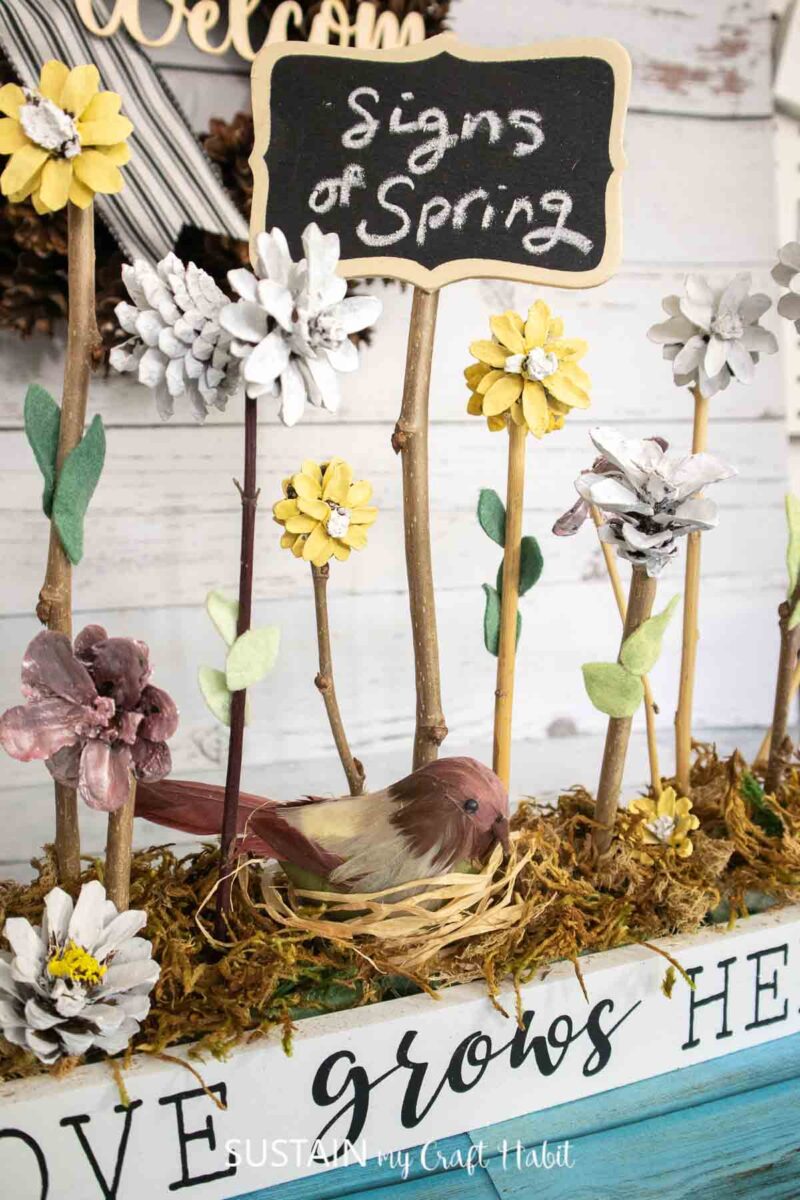
Pinecone flowers are beautiful and evergreen!
If spring is your favourite season (minus the allergies) then you most likely would love spring flowers to be constant.
Well, because we are crafters, we can make the decision to keep spring around forever!
This pine cone flower craft involves making spring flowers that will stay around as long as you want them to. They can be a beautiful decoration to set up in your house during springtime. Or you can decide to keep them year-round- it is up to you! Just switch out the saying on the little chalky sign.
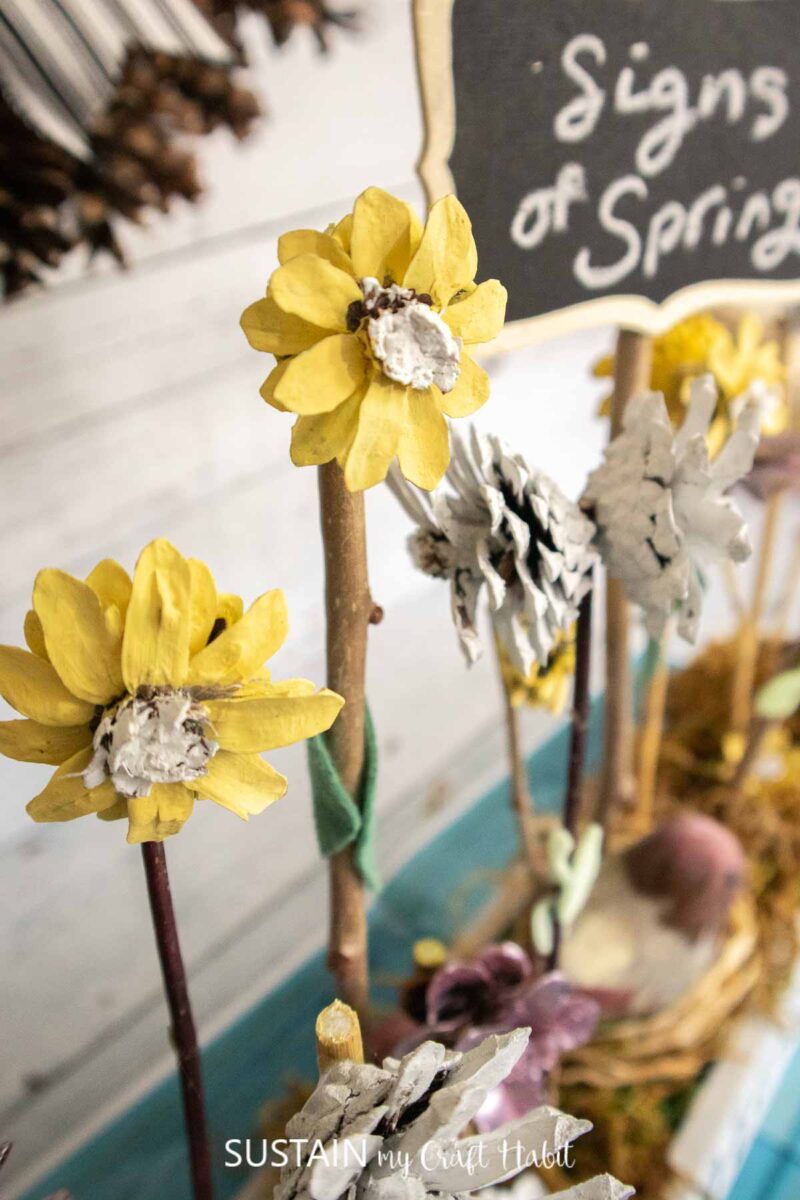
These would also make a beautiful gift for mom. They are easy to make and can be made in batches if you are looking for creating multiple gifts in one batch.
Join our crafting community to find more nature-inspired DIYs and upcycled craft ideas. It feels good to repurpose, upcycle and create with nature!
Materials Needed
Disclosure: This post contains affiliate links for your shopping convenience. Should you choose to purchase through them, we will make a small commission at no extra cost to you. You can read our full disclosure policy here.
- Pinecones florets (we sell these in our Sustain My Craft Habit Etsy shop)
- Twigs or Stems
- Wood base
- Paint in yellow, white and pink
Paintbrushes - Floral foam
Hot glue gu n - Snippers
- Raffia
- Moss
- Decorative bird
How to Make a Decorative DIY Pinecone Flower Garden Craft
I shared the tutorial for making this pinecone flower garden on a Facebook live which you can catch here. Or if you prefer the photo tutorial, continue reading below.
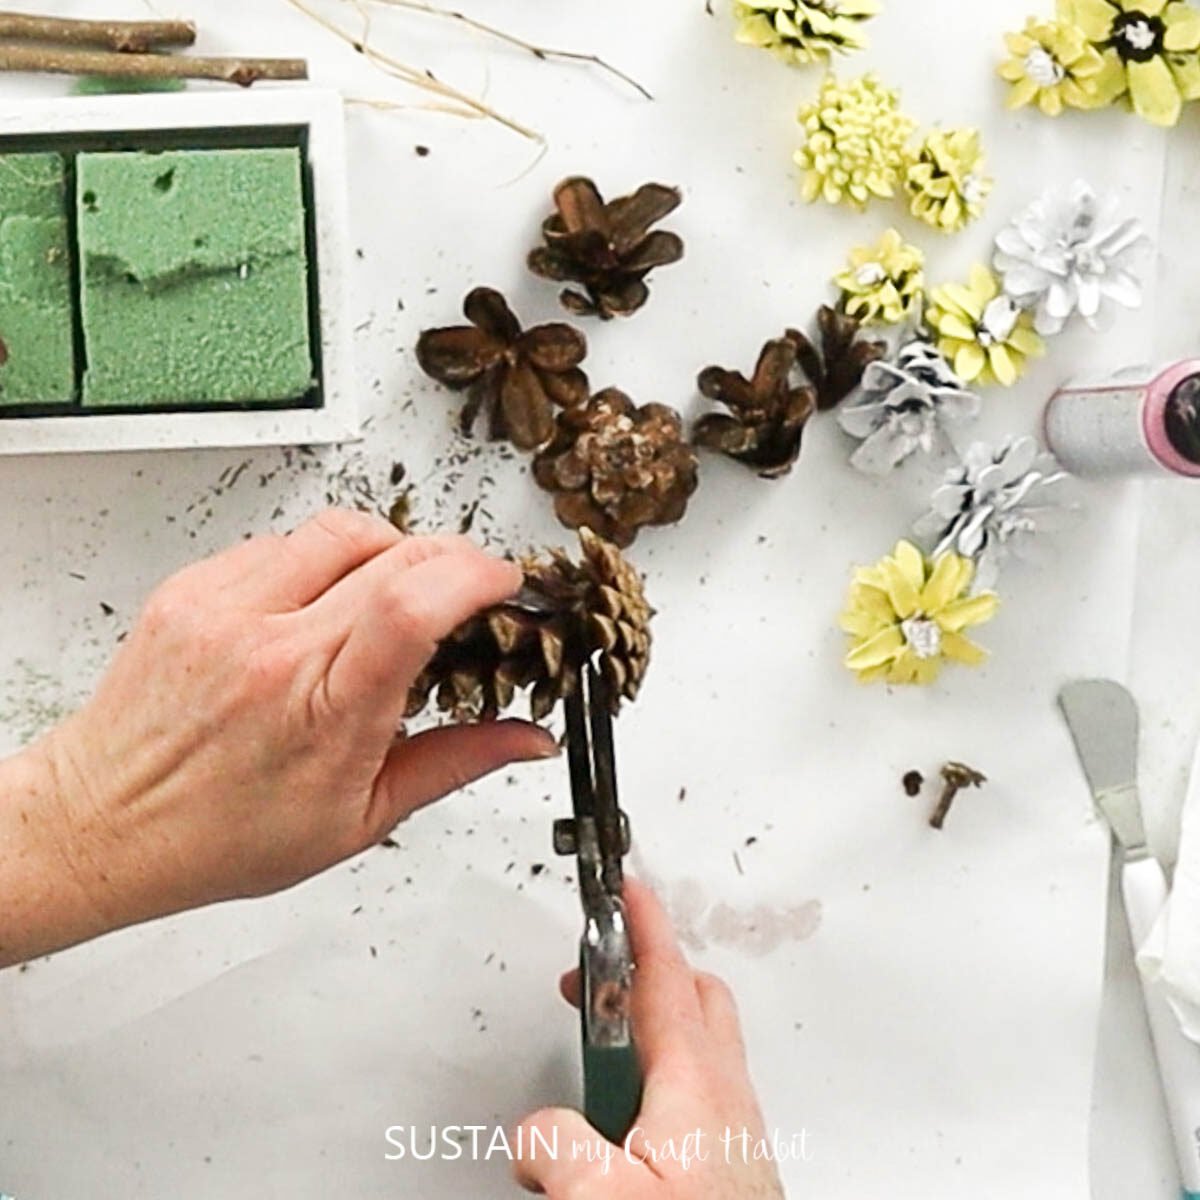
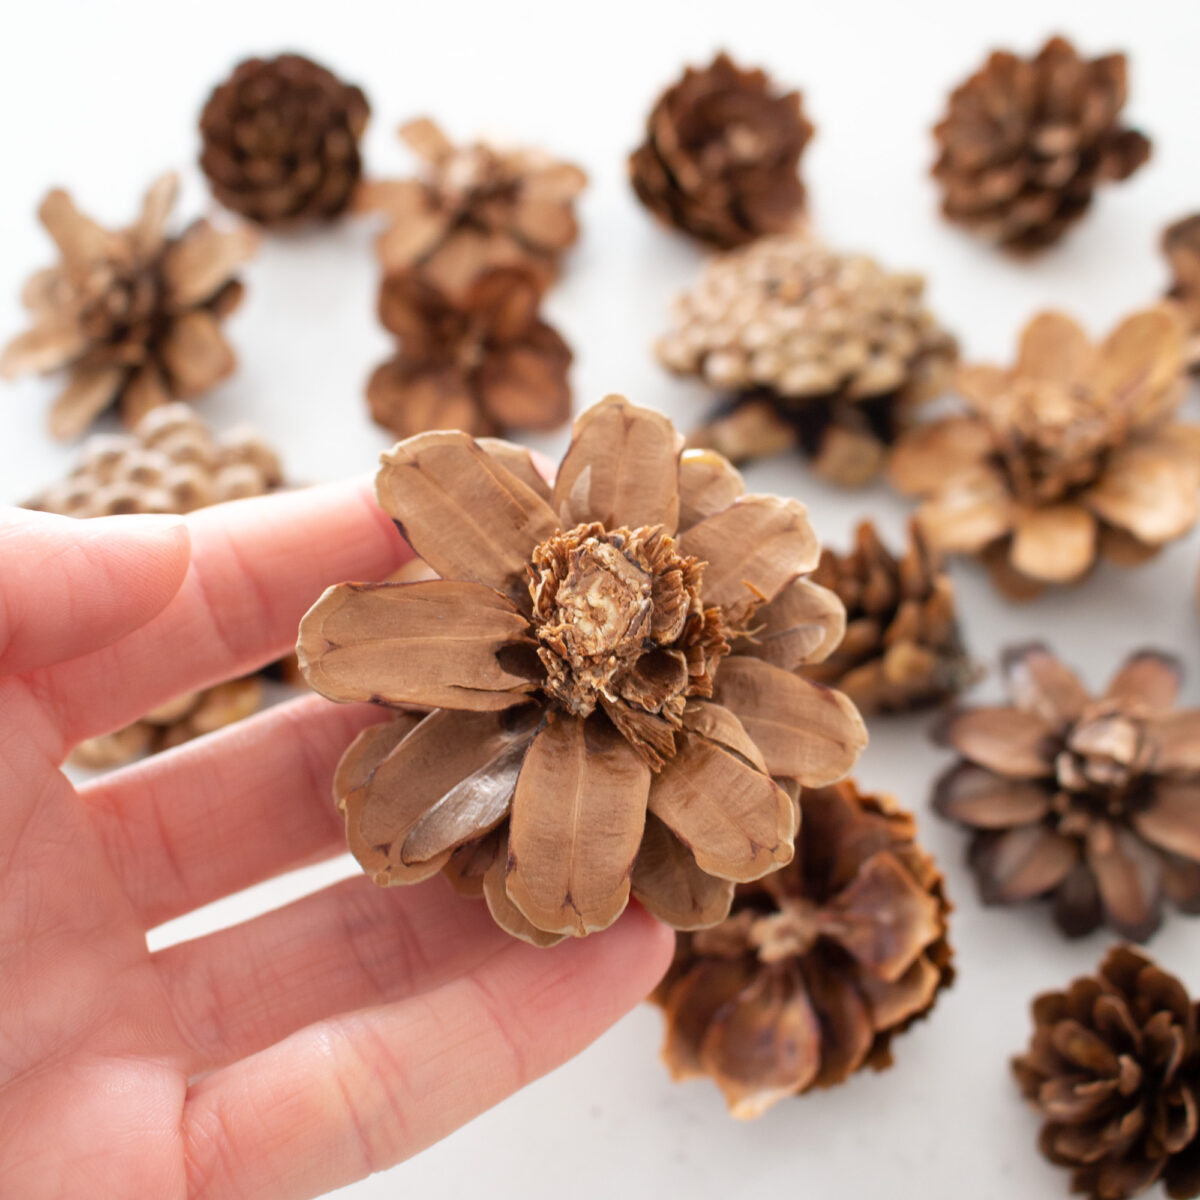
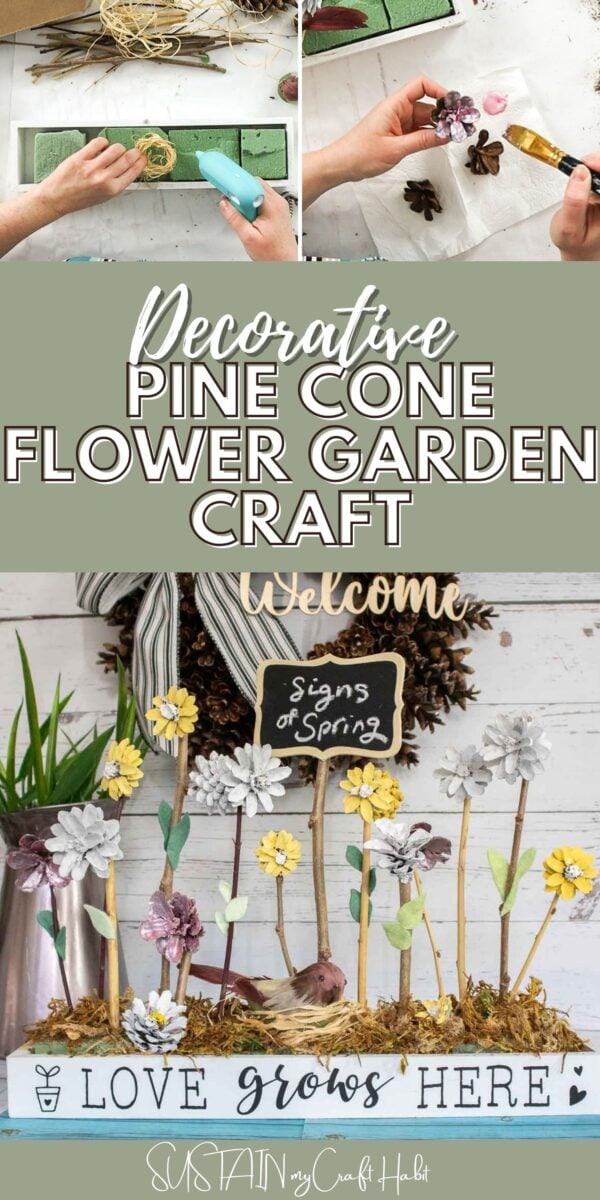
Start by making the pine cone flowers. Using a pair of snippers, clip the pine cone in half as shown.
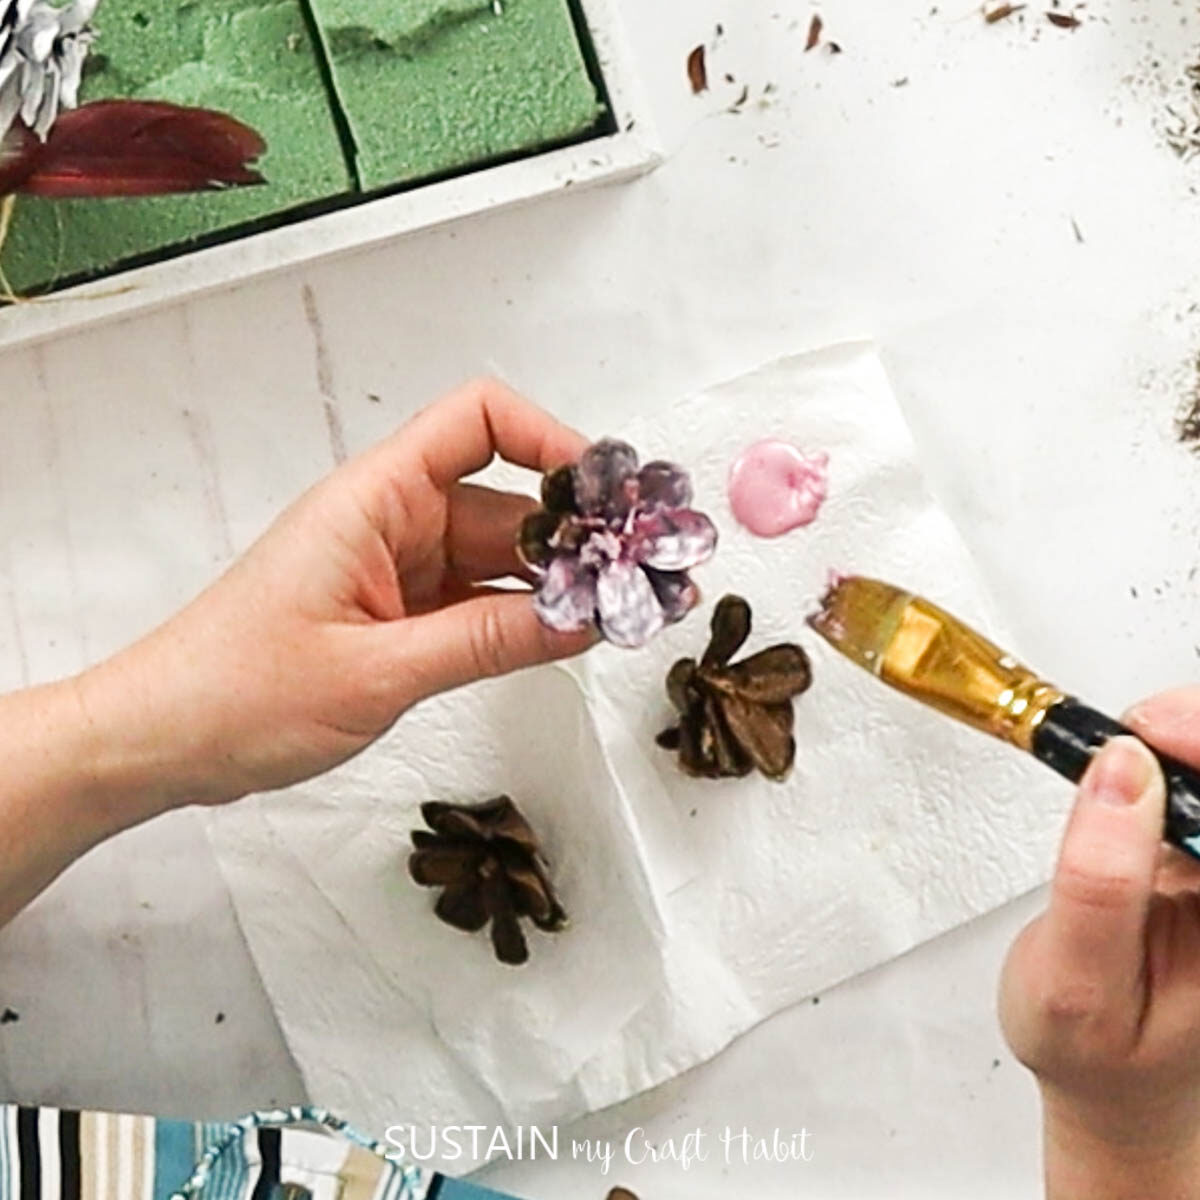
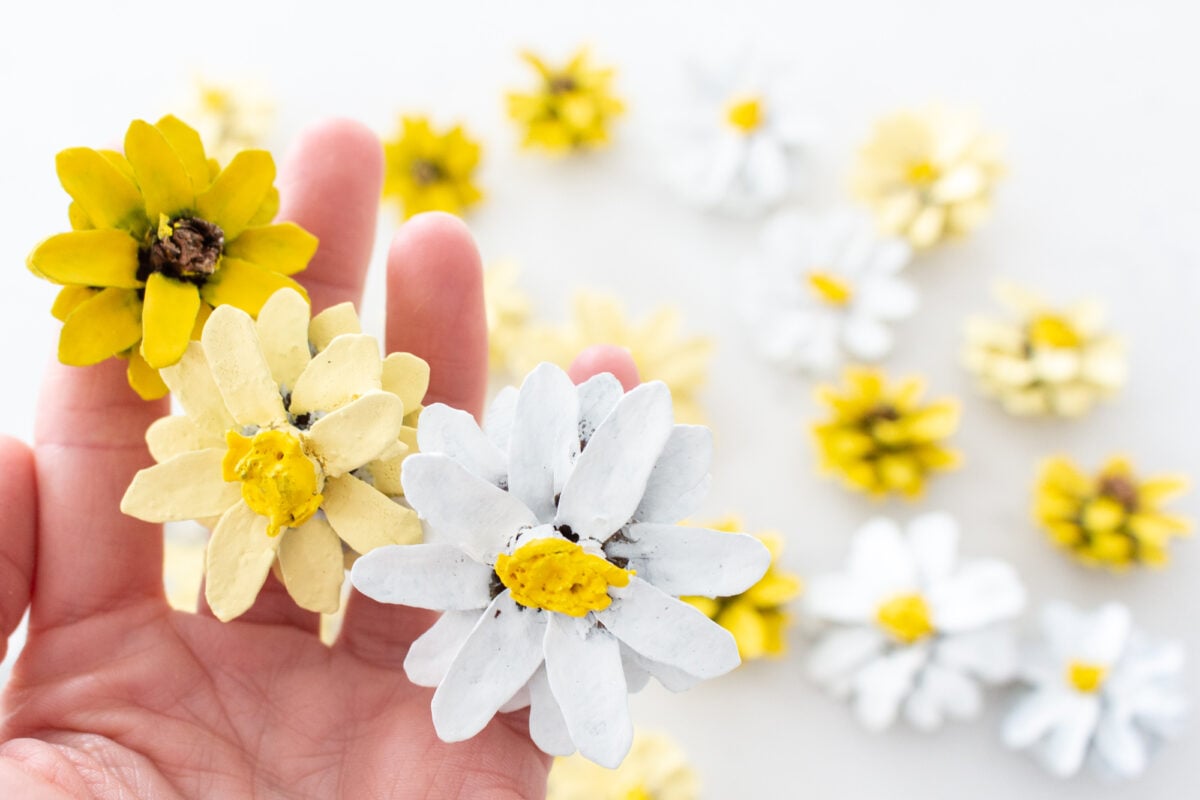
Next, paint the pine cone flowers in any color of your choosing. I used a mix of pink, white and yellow.
Or if you prefer, we sell craft-ready pine cone flowers in our Etsy shop. We even have painted pinecone daisies all set to go in our shop as well.
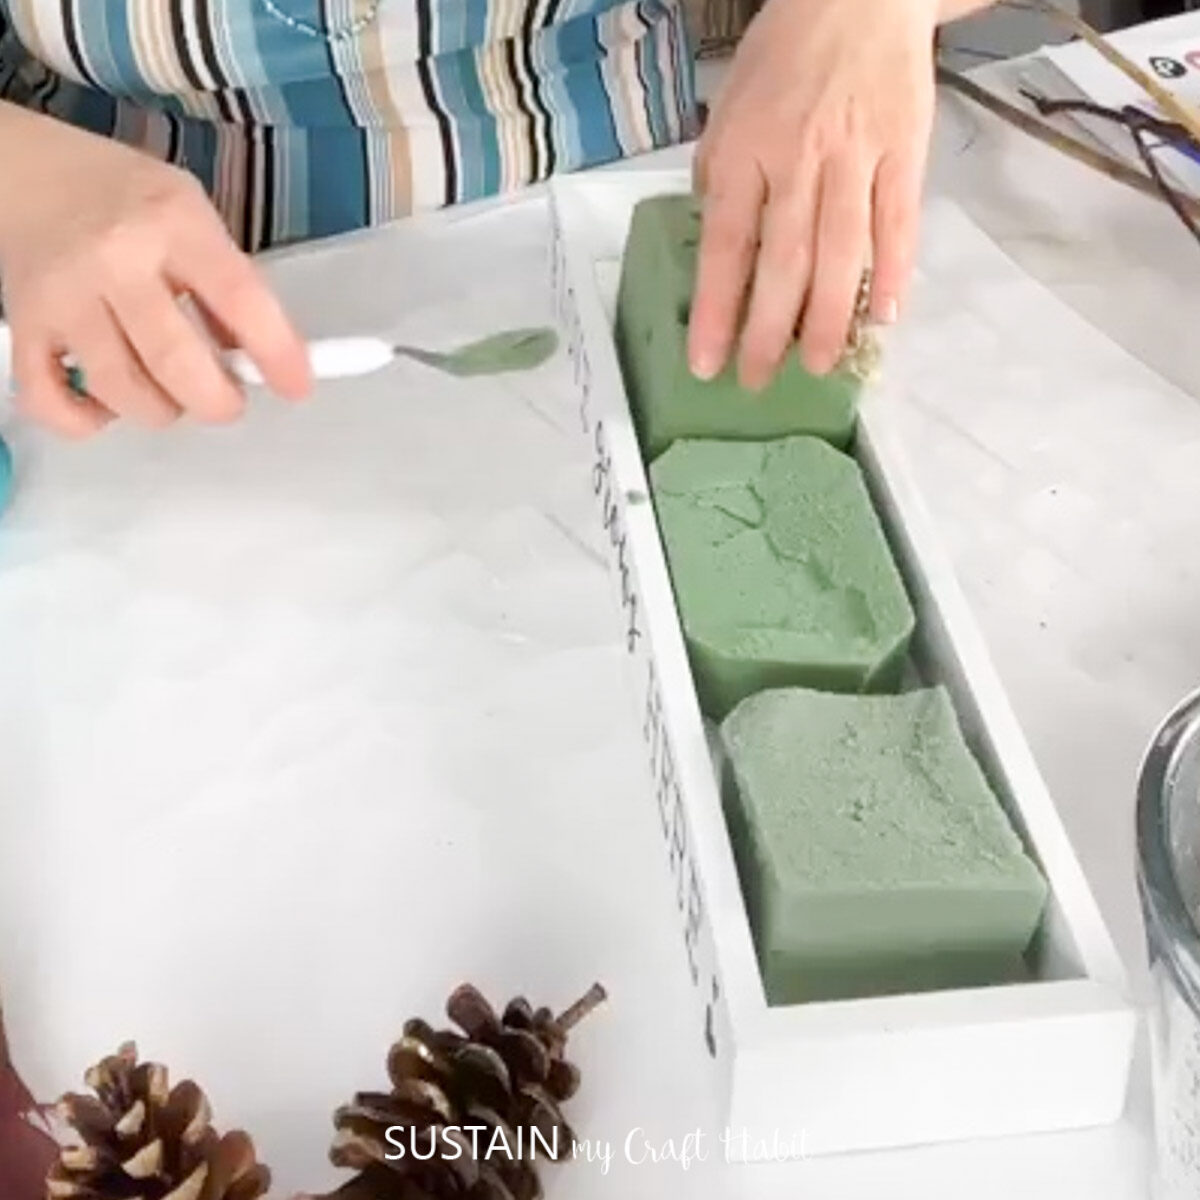
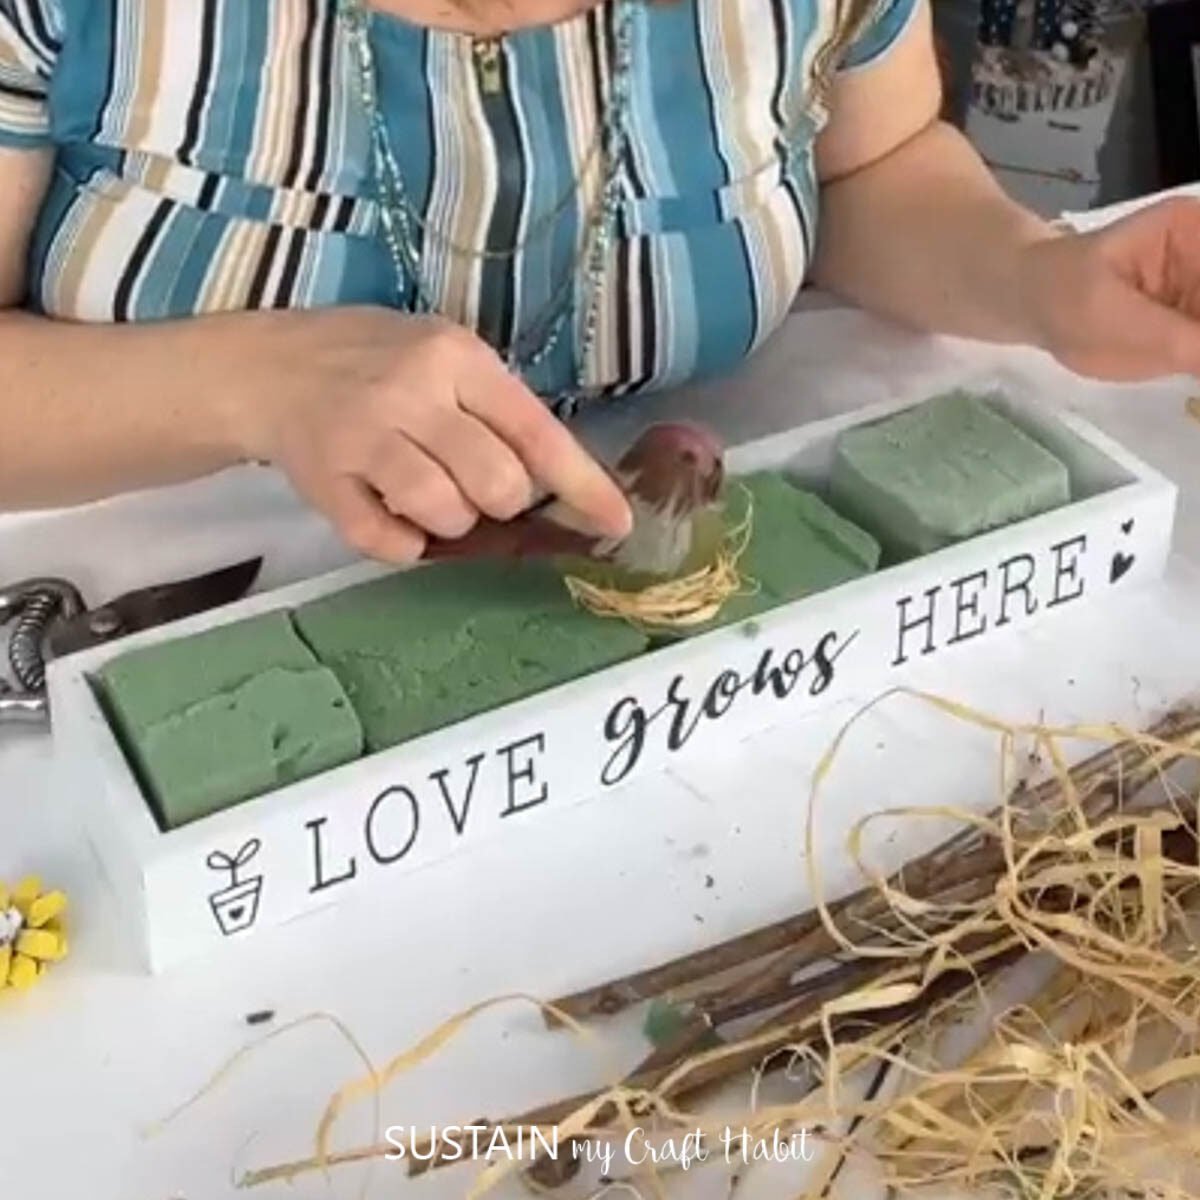
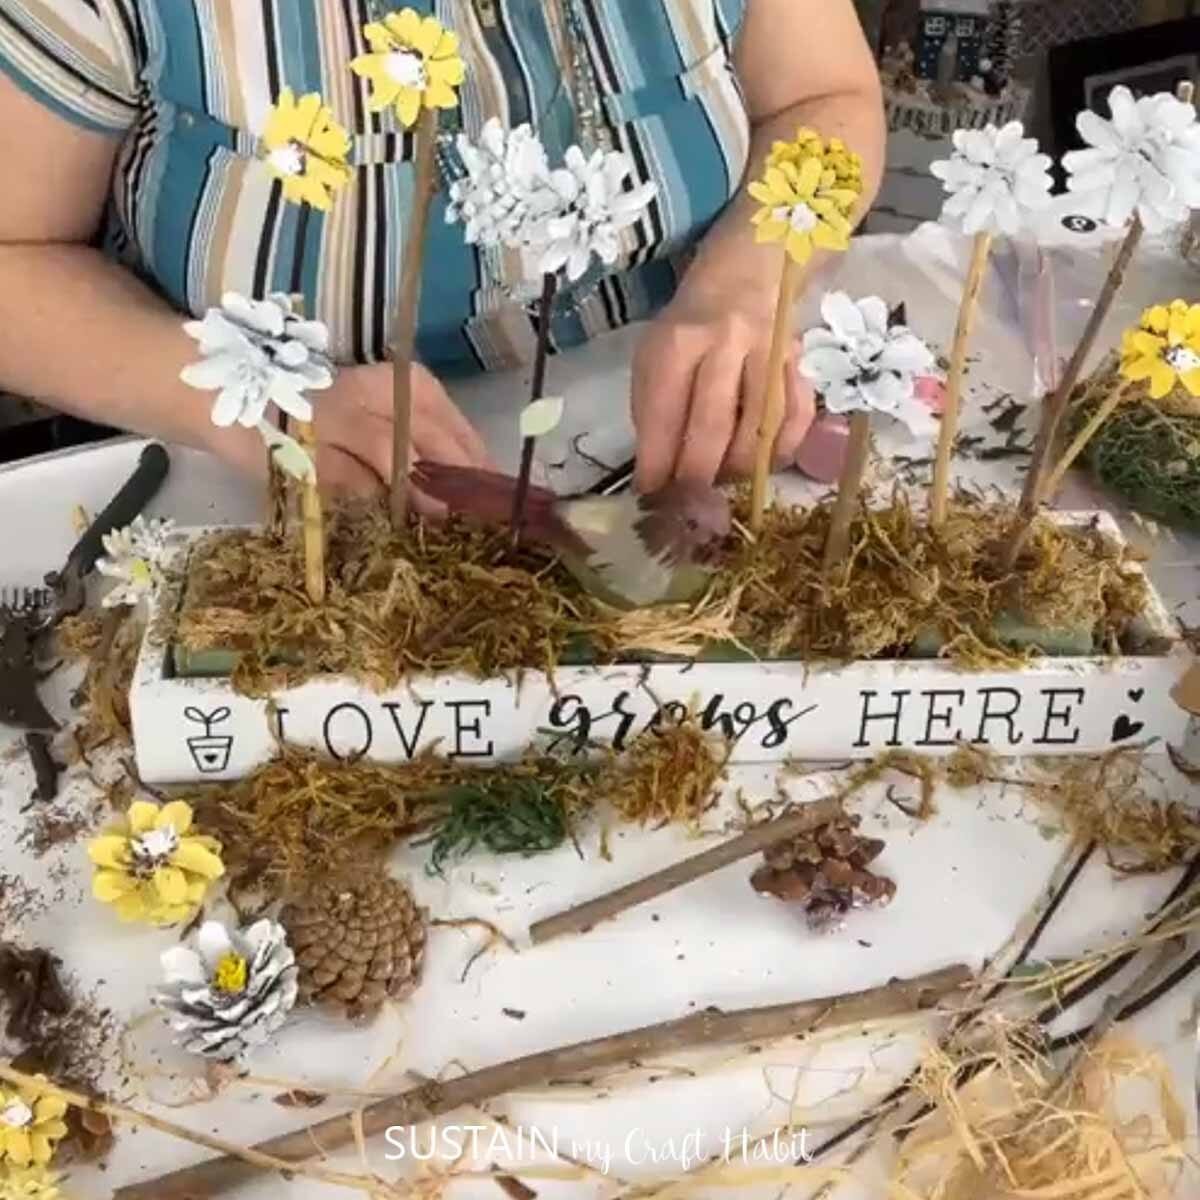
Place some floral foam inside the wooden base.
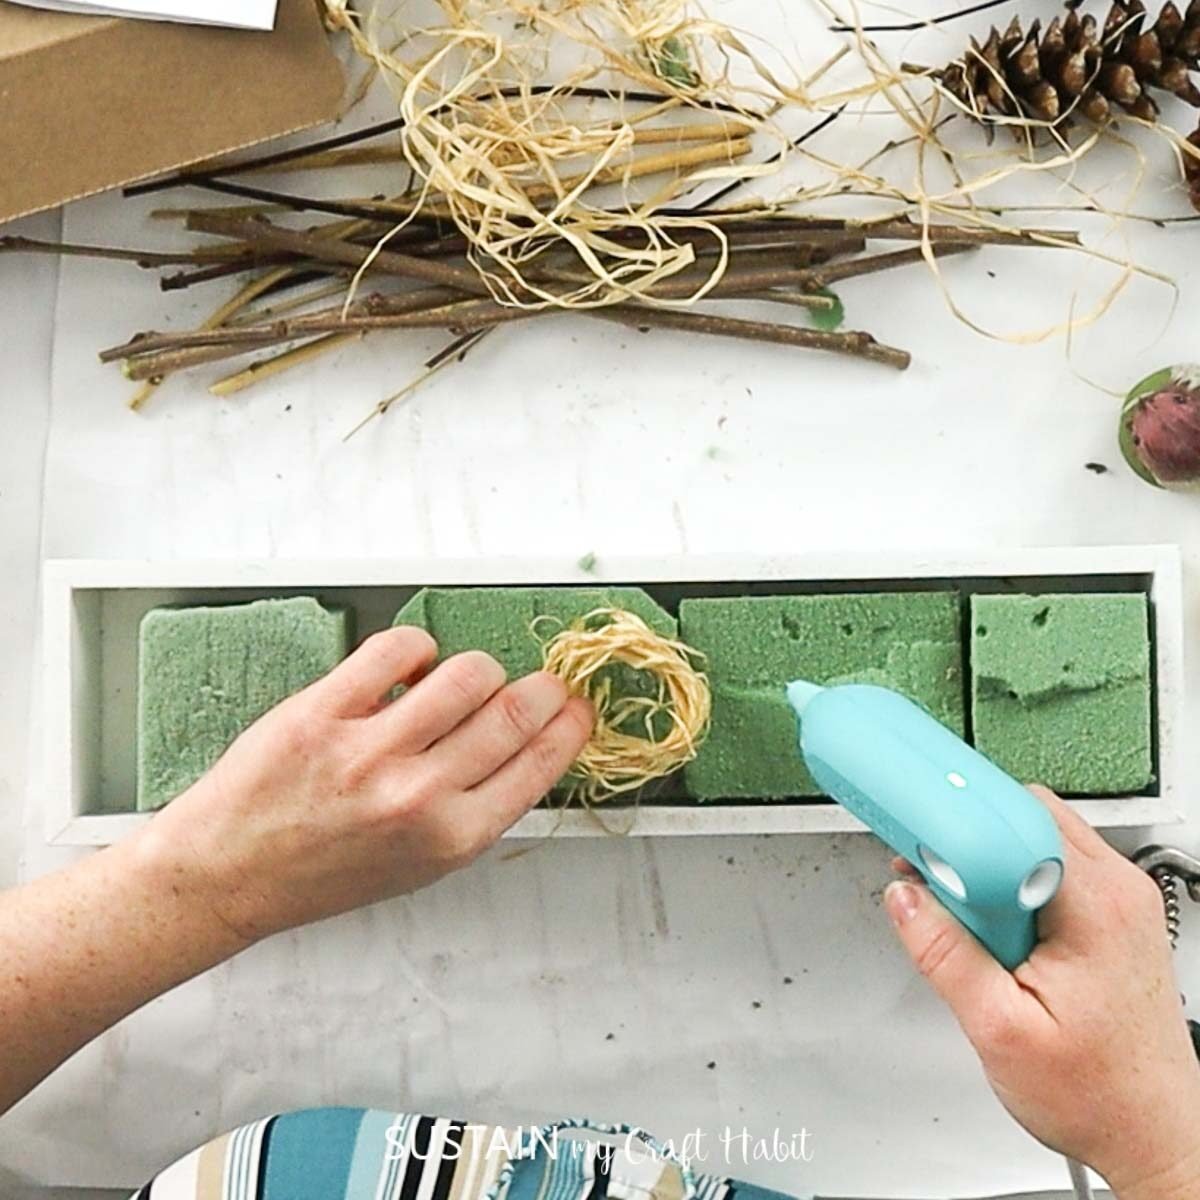
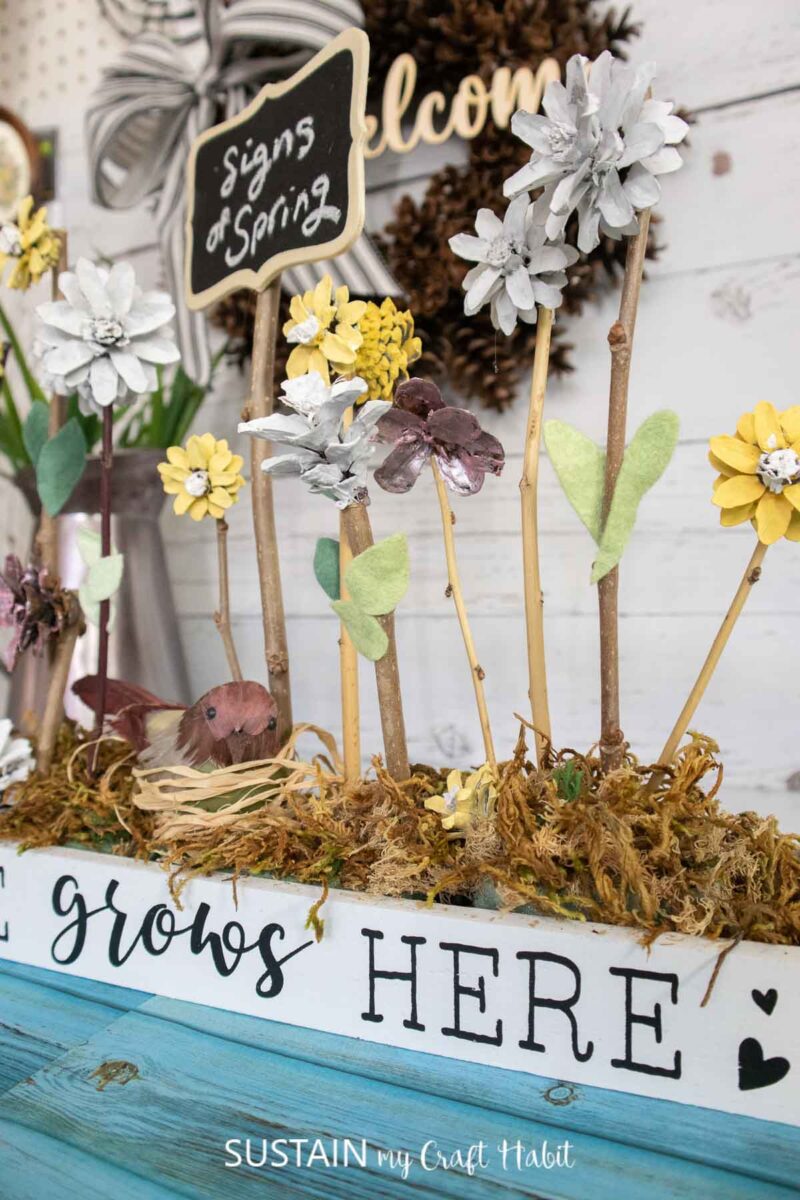
Add some decorative embellishments like a raffia nest and a little bird.
Cut assorted branches to about 6-8″ high and glue the pinecone flowers to one end of the cut branch.
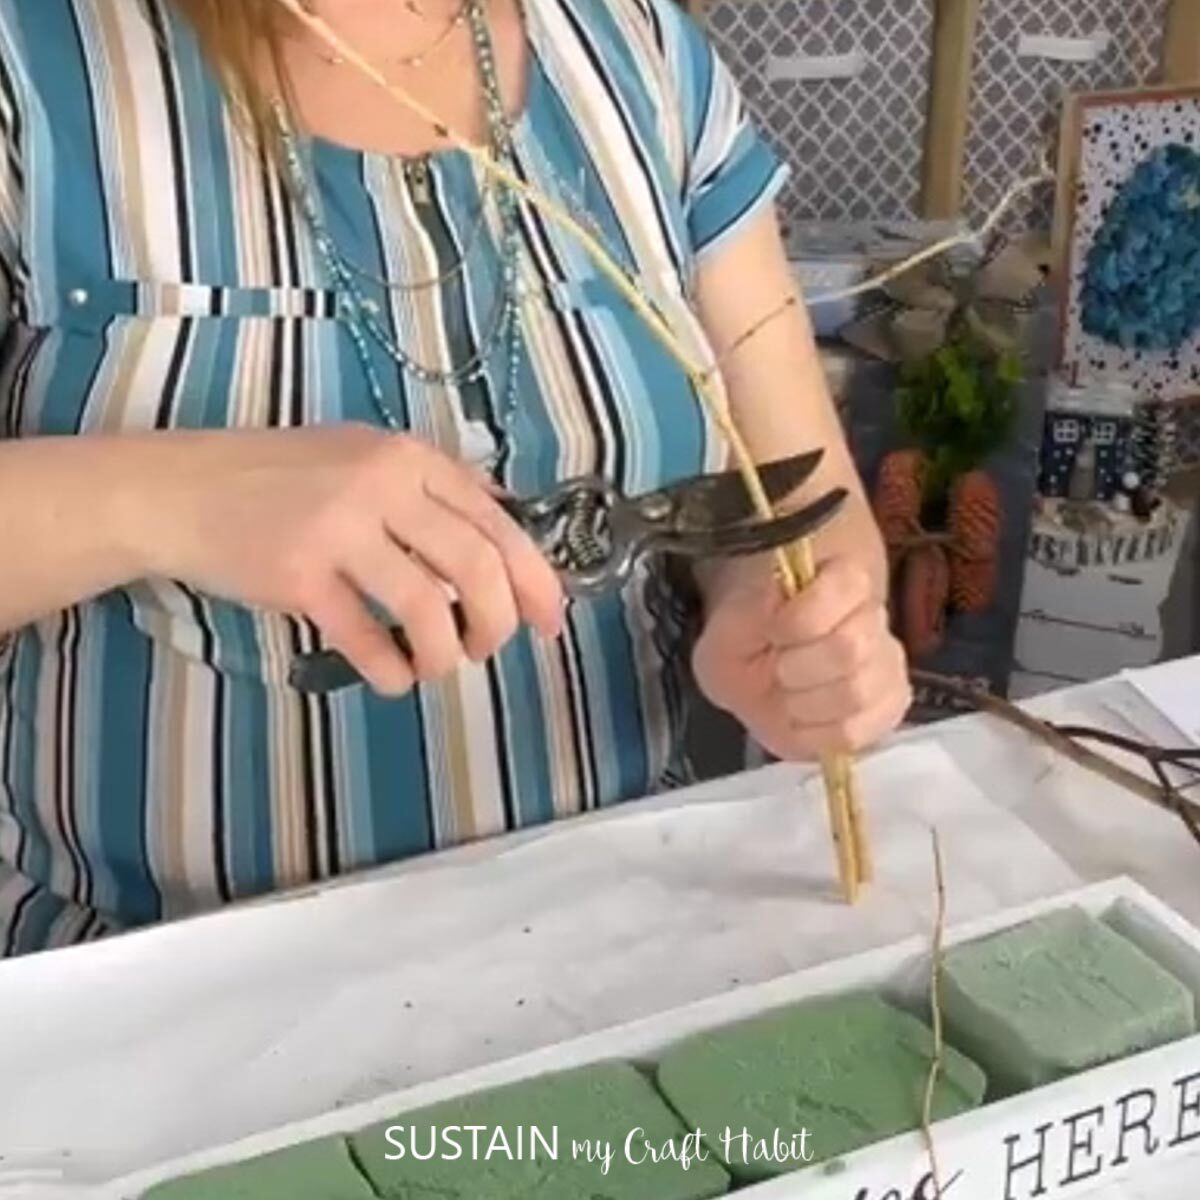
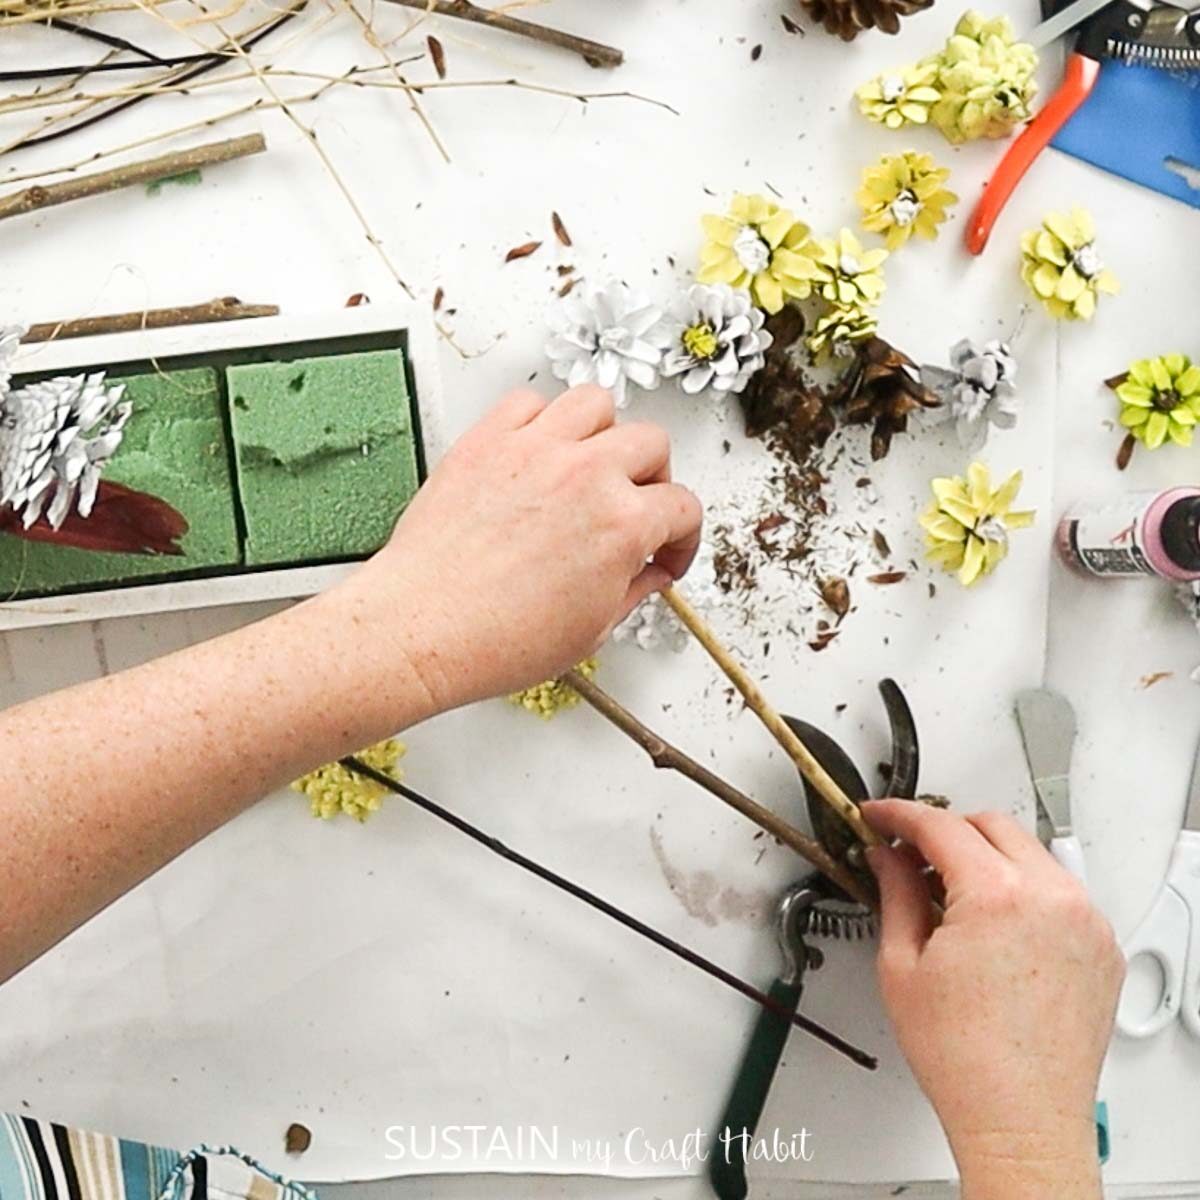
Insert the other end into the flower foam to make your little garden.
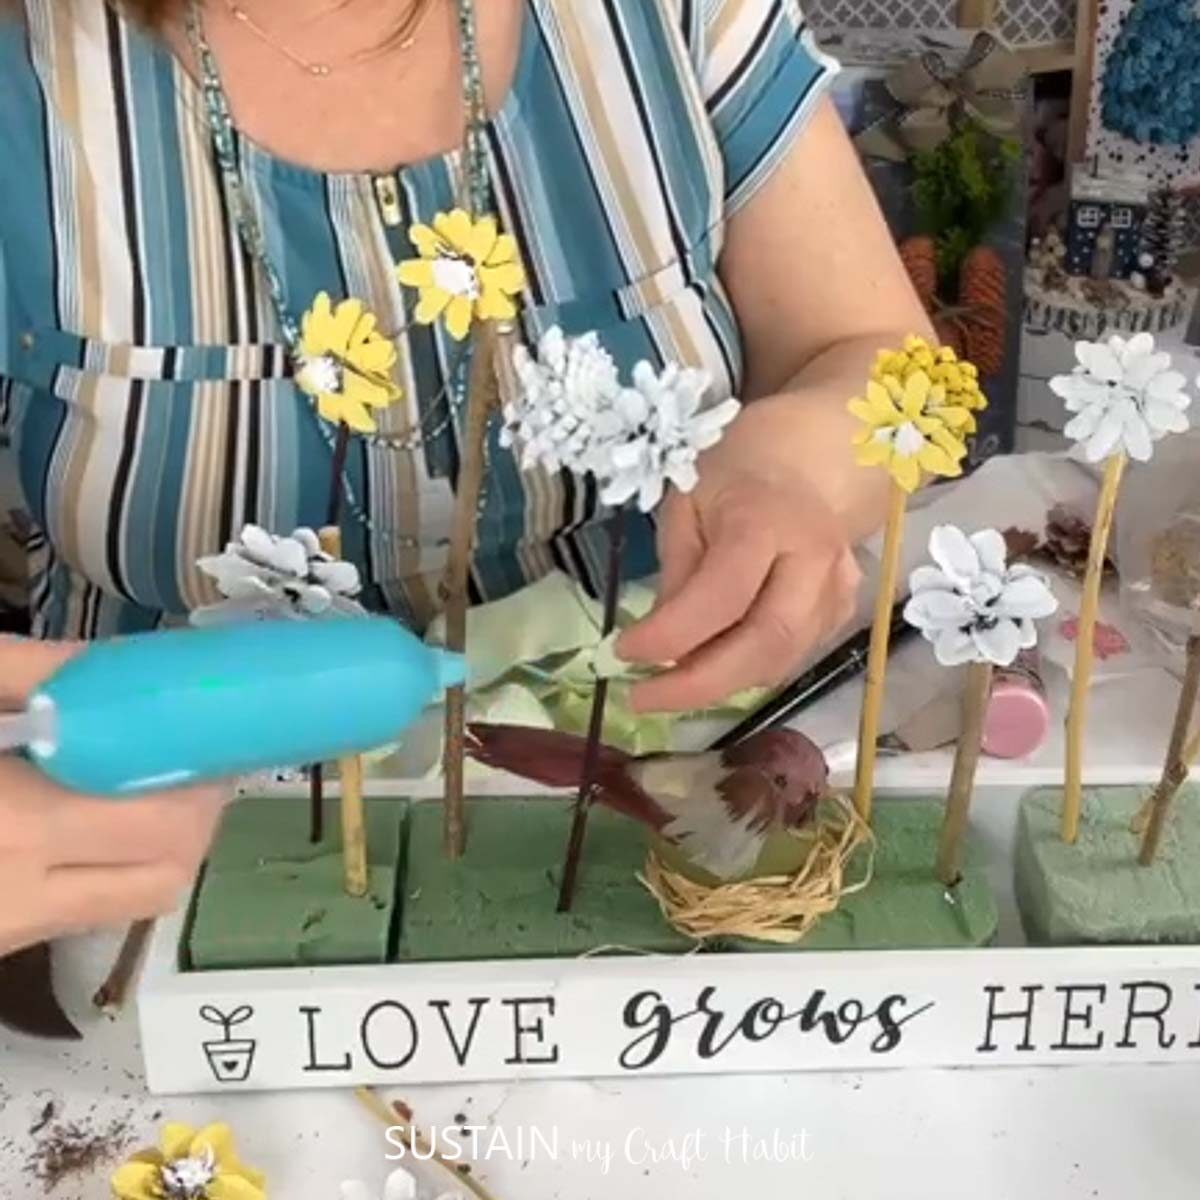
Cover the floral foam with decorative moss.
I added little felt leaves to the flowers and an adorable chalky signs of spring sign but this is totally optional. And that is it! The pinecone flower garden is complete.
More Pinecone Flower Crafts
- How to Make Pine Cone Flowers
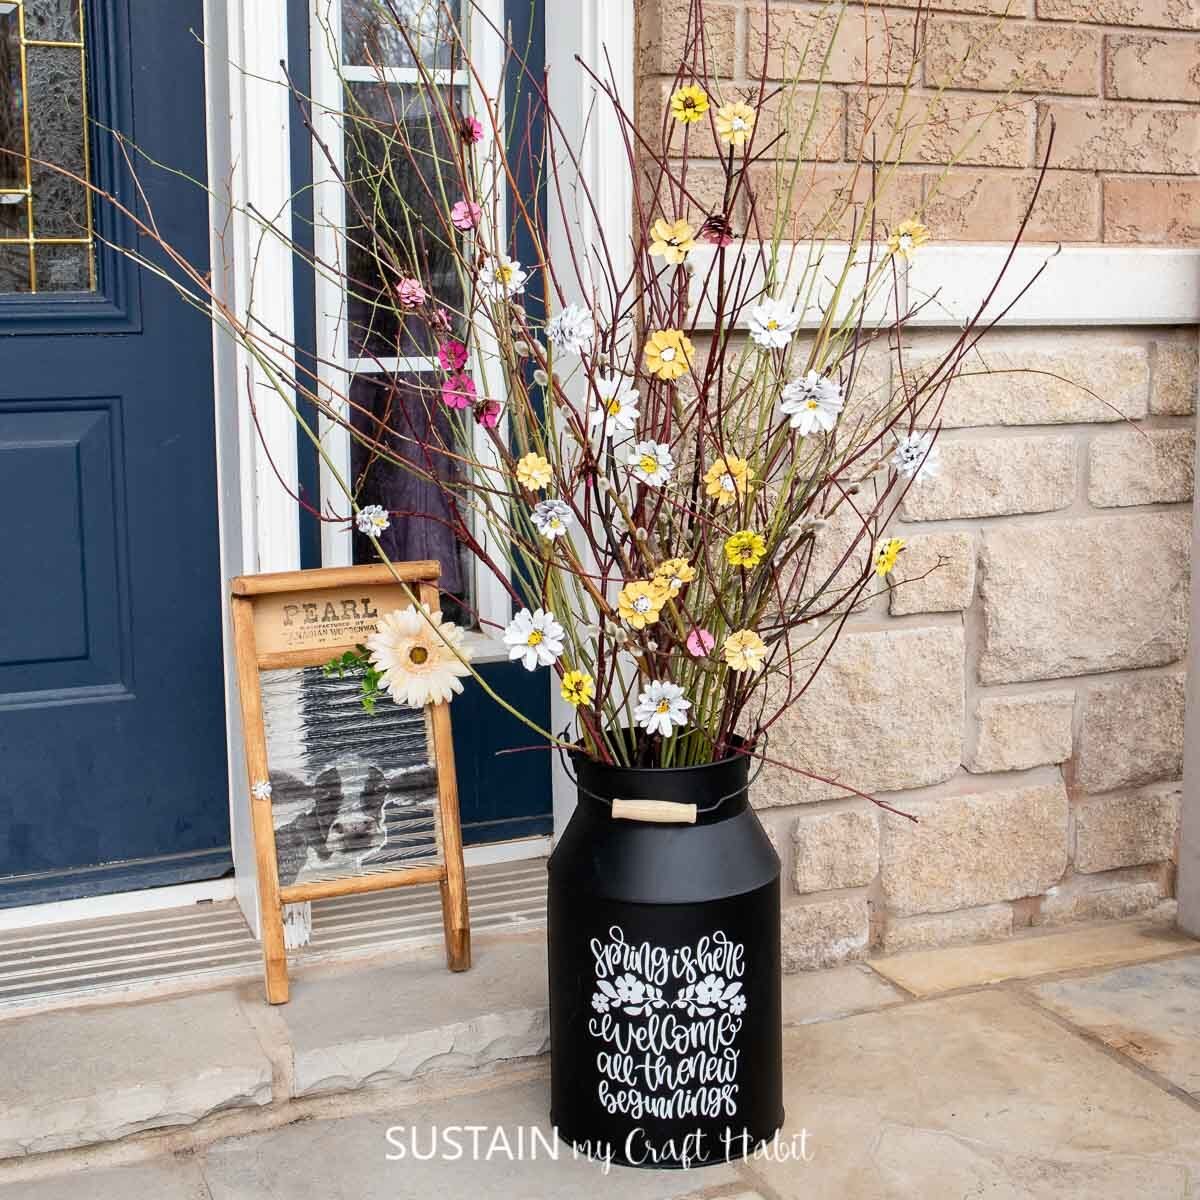
- Spring Pinecone Flower Arrangement
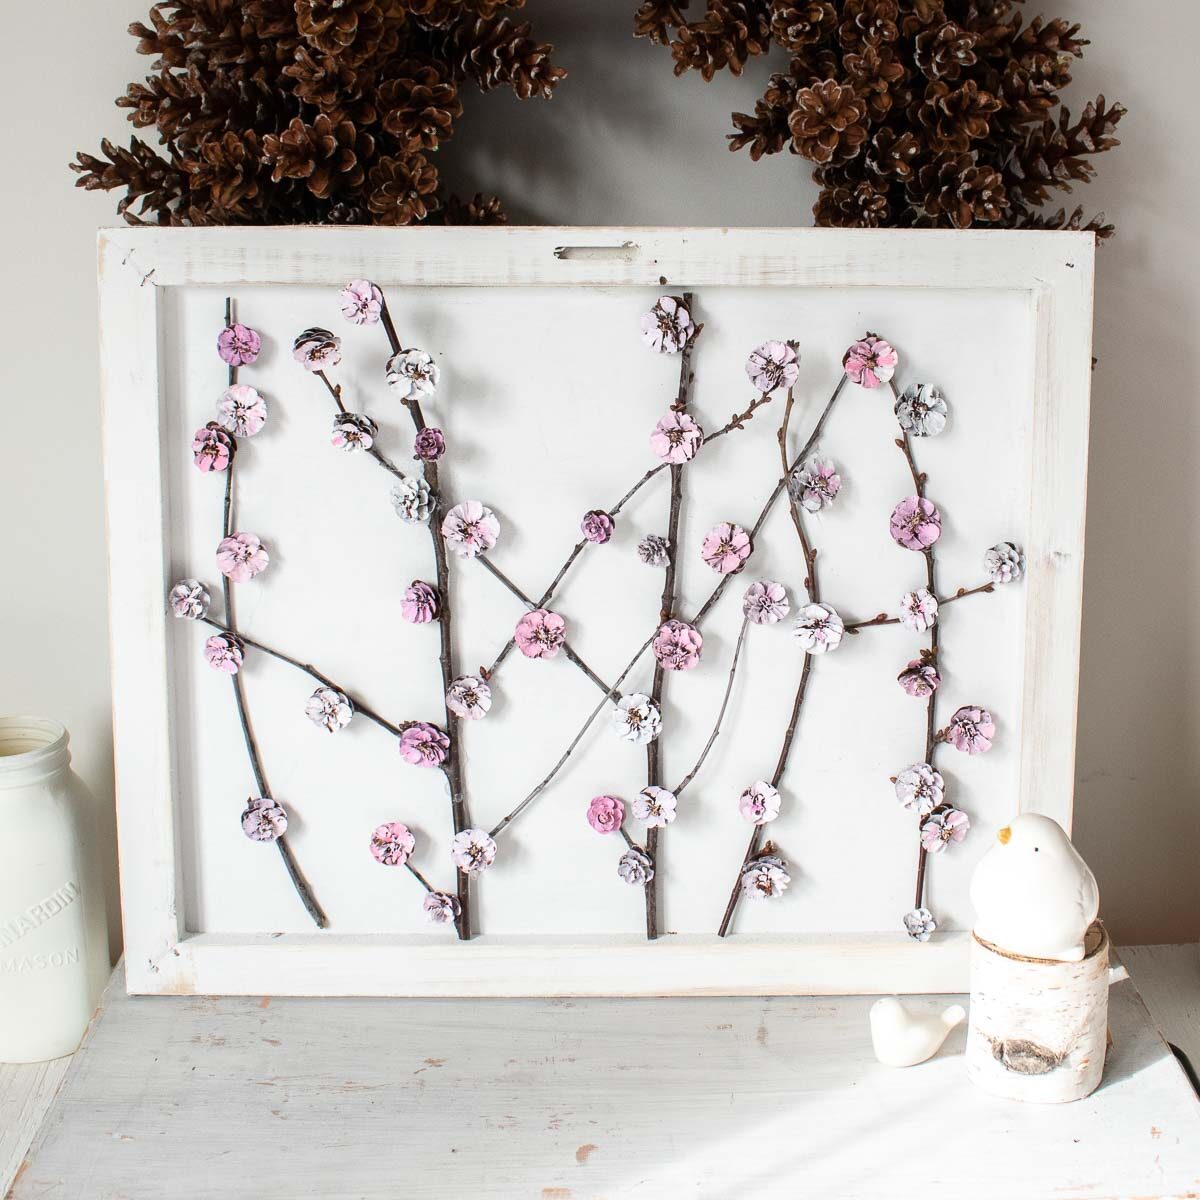
- Cherry Blossom Pinecone Art
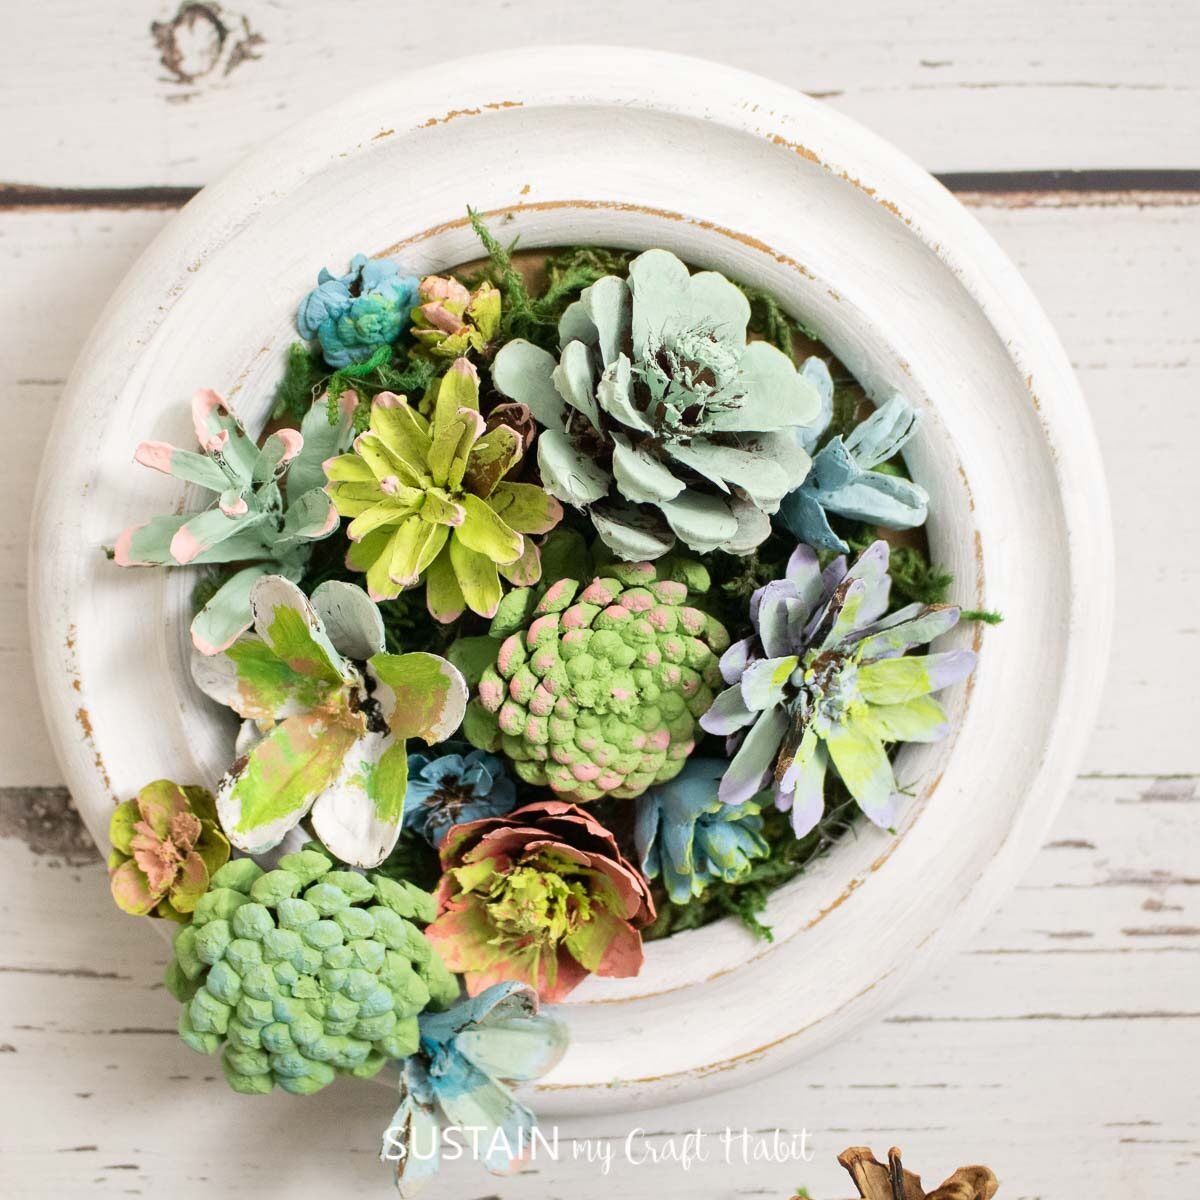
- Pine Cone Succulents
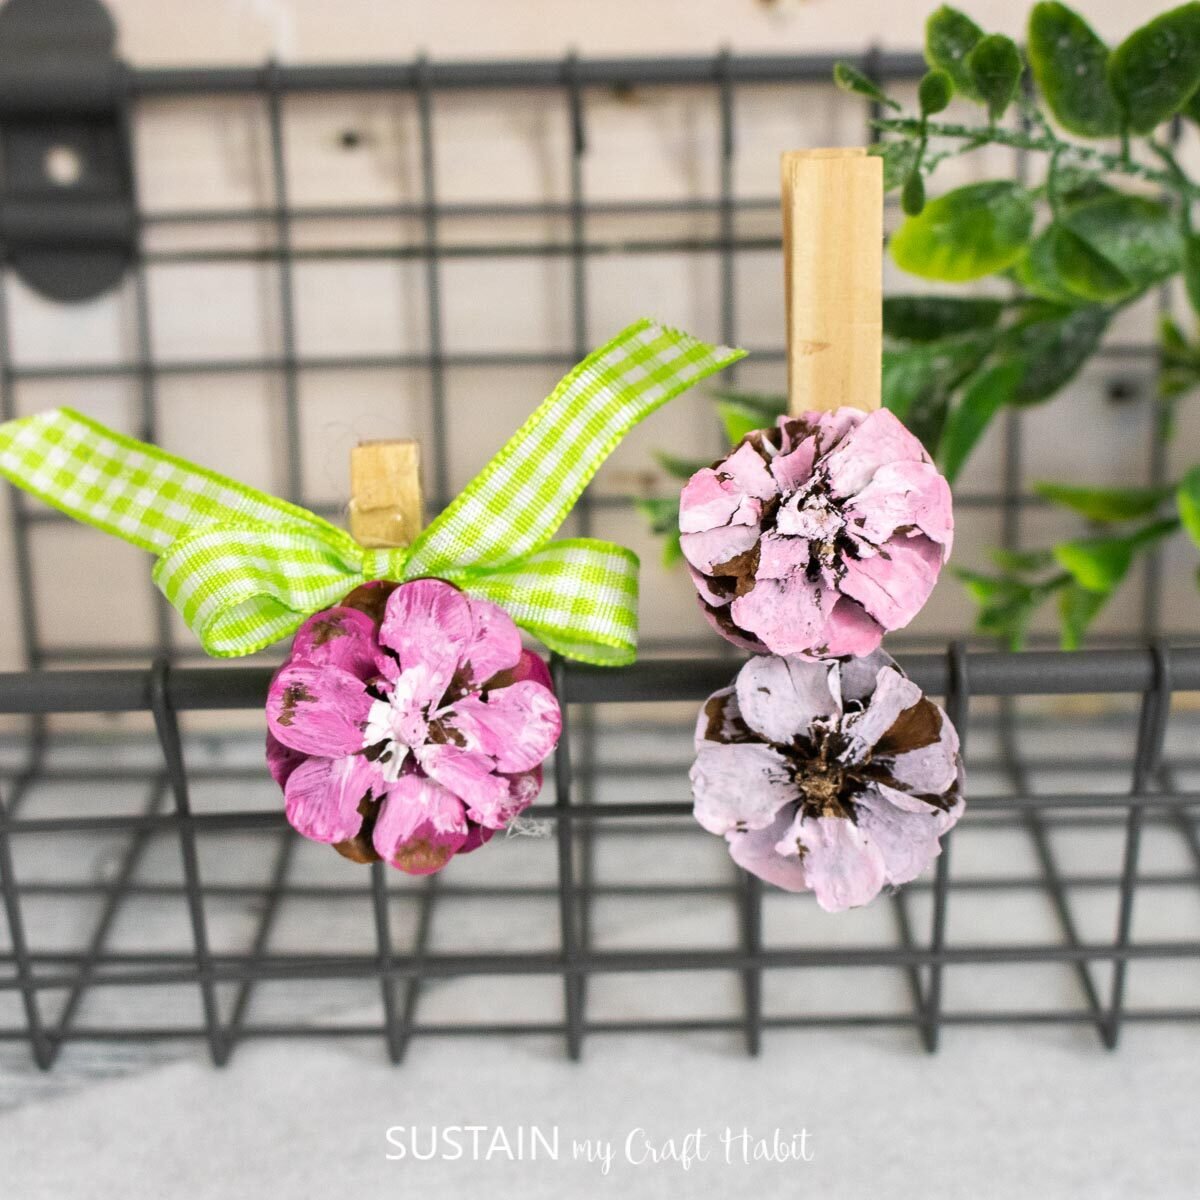
- Pretty Pinecone Clothespins

Once you get started making pinecone flowers, you will not want to stop. You’ll want to use them for multiple crafts, which is great! Make sure to show it off to us! Tag us on Facebook or Instagram– we can’t wait to see it!
Want to receive a ton of inspiration and money saving ideas for decorating, gift-giving and crafting? Join HERE!
Like it? Pin it for later!




How sweet! And perfect for those of us that don’t have green thumbs.