As we’re still enjoying the cool crisp Fall days, we wanted to share these beautiful DIY succulent arrangements made using pumpkins along with 5 other non-traditional succulent arrangements that you can easily make and enjoy!

Making Magical Succulent Arrangements to Enjoy
Fortunately for us, our mother has succulents growing in abundance which makes it easy and risk-free to transplant and create beautiful succulent arrangements! But in general, succulents are considerably low maintenance and easy to care for making them a great option for creative planting.
Here are some of our favourite examples of DIY succulent arrangements:
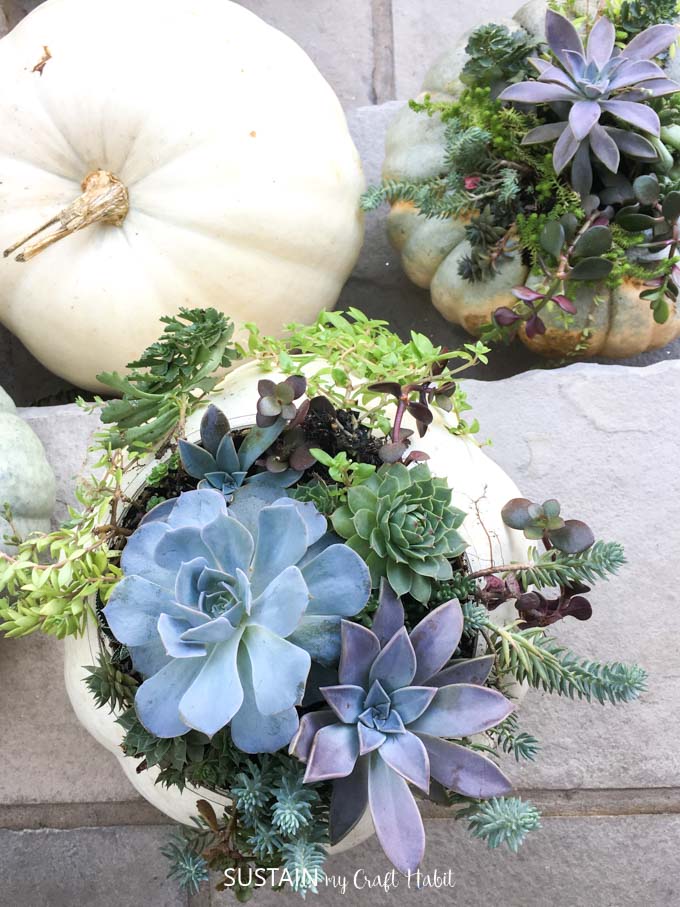
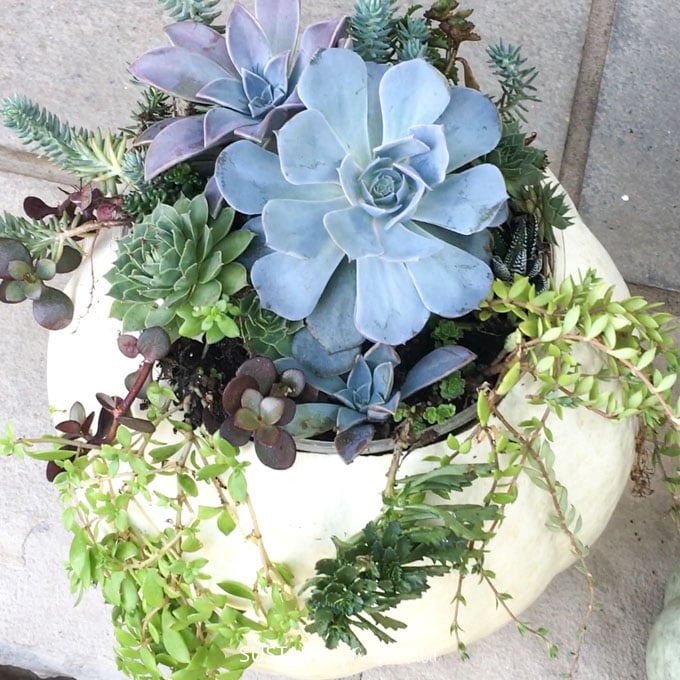
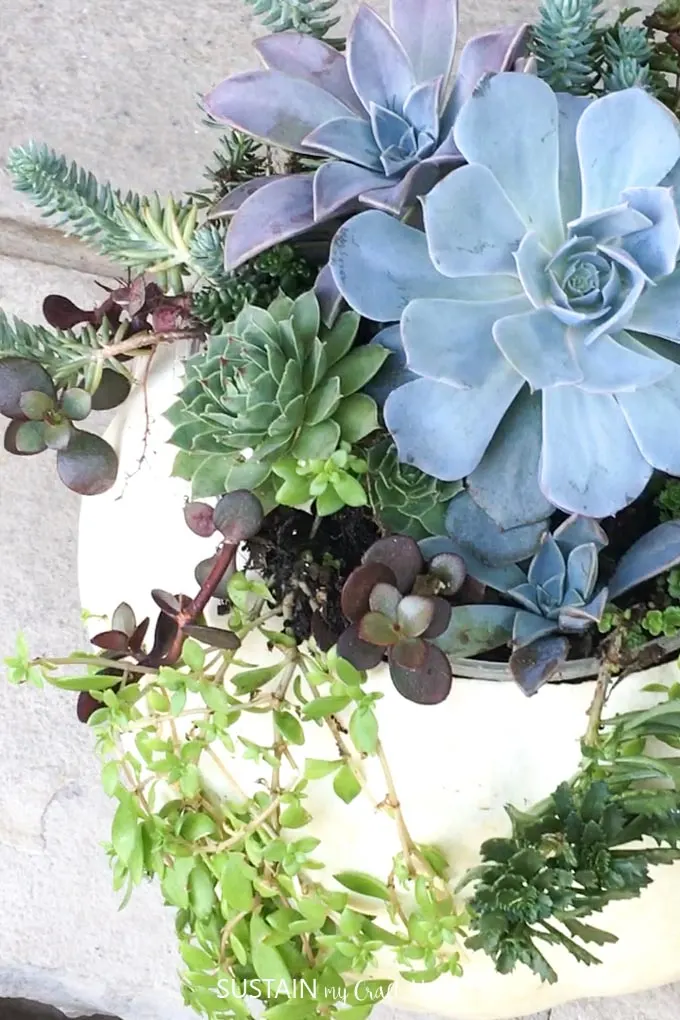
1. A Fresh Succulent Pumpkin Arrangement:
These pumpkin succulent arrangements turned out to be pretty magical! Continue reading below for the full how to instructions for making your own magical arrangement.

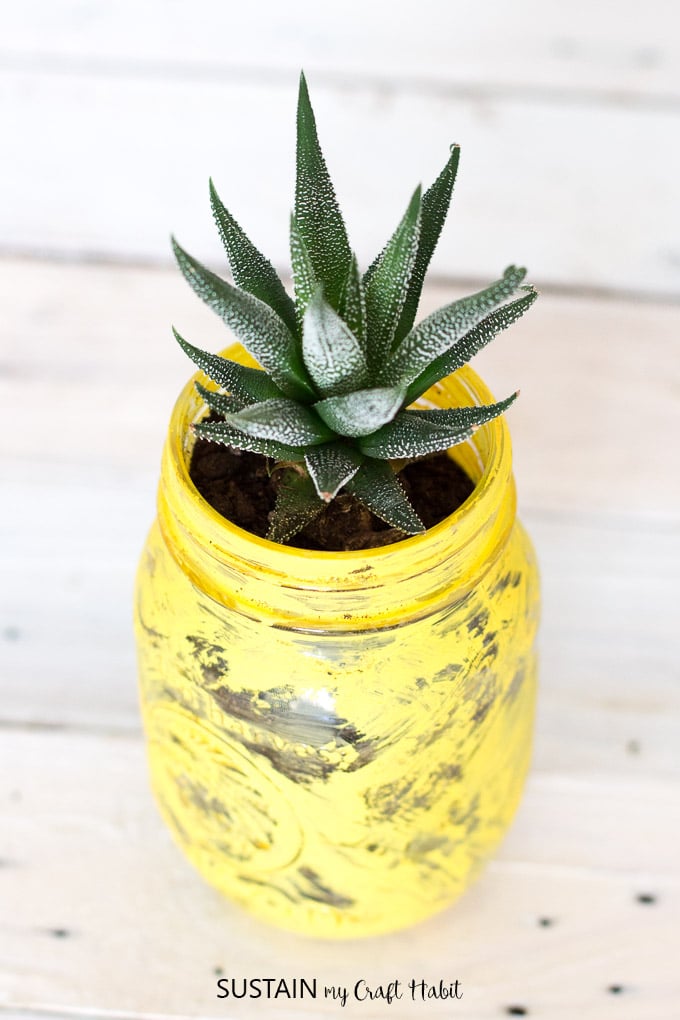
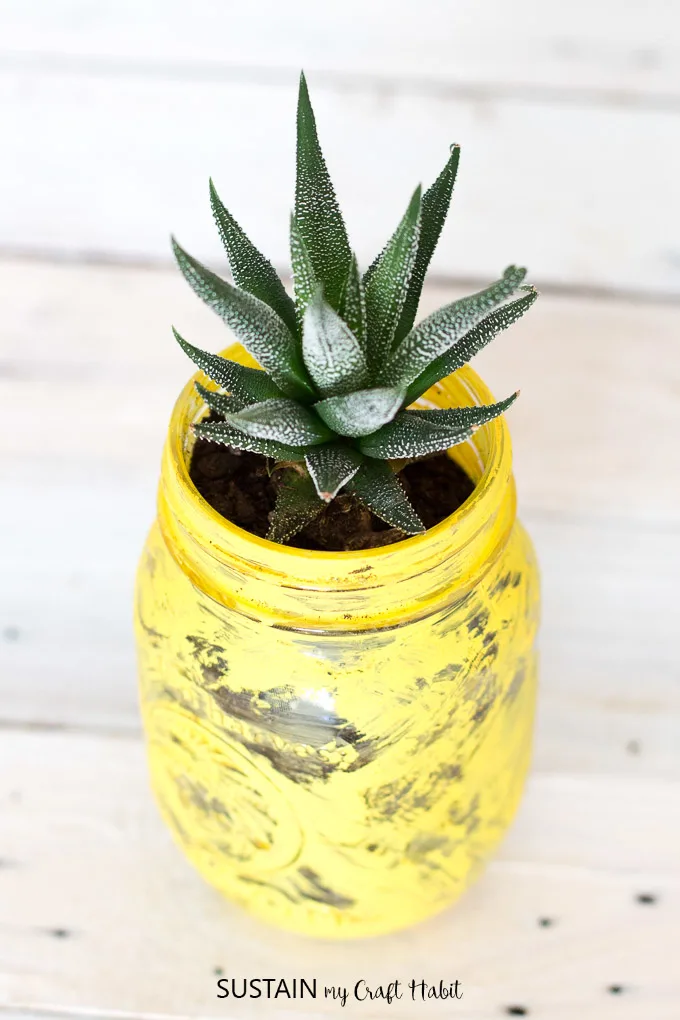
2. A Painted Mason Jar Succulent Arrangement:
Using mason jars for succulent arrangements is a creative and inexpensive way to enjoy those sweet succulents. Make your own pineapple inspired succulent planter with a mason jar and some paint! Plant one type of succulent or easily add in different varieties for more interest.

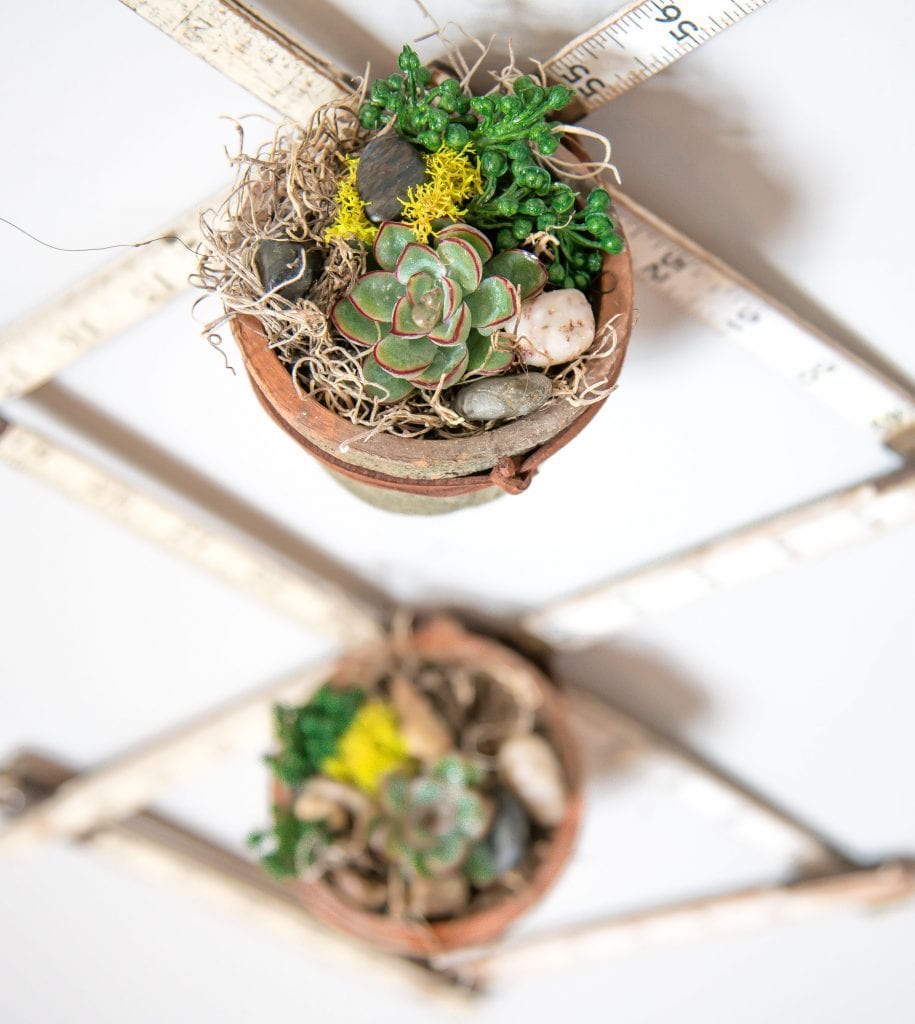
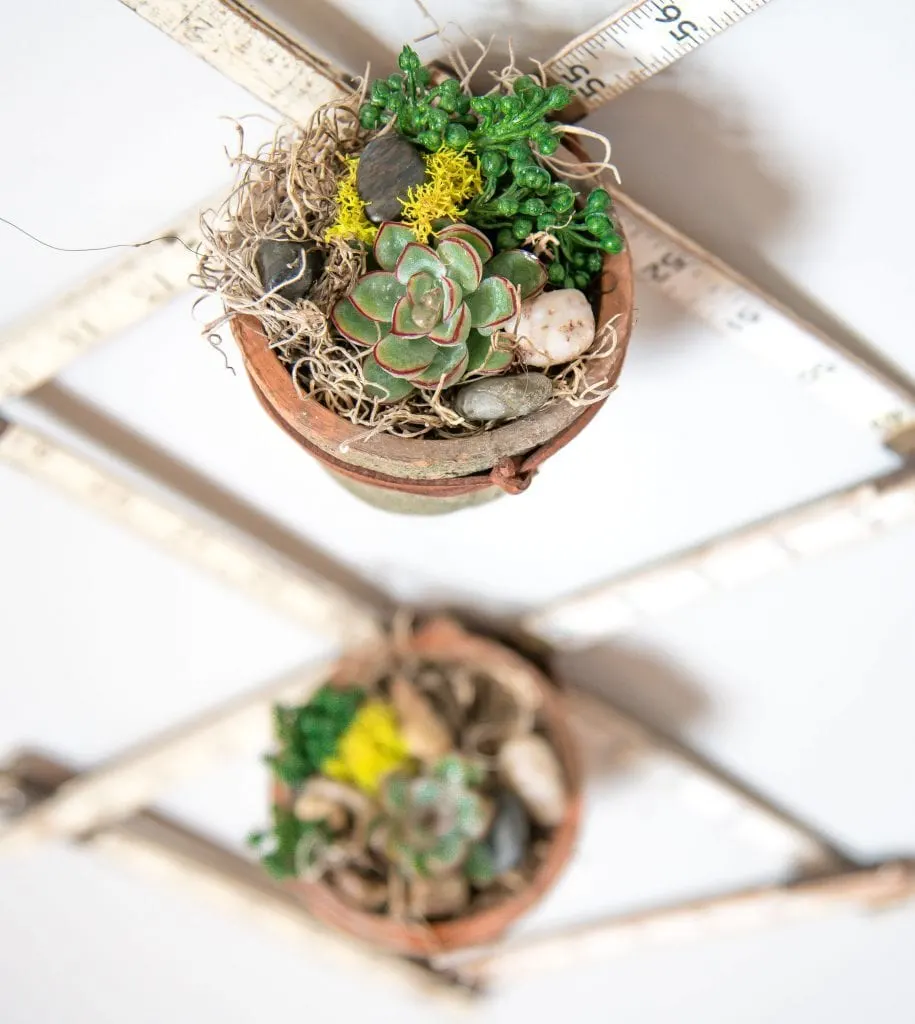
3. A Sweet Vintage Repurposed Succulent Planter Idea:
Get creative by repurposing some vintage wooden rulers to create a unique succulent planter.
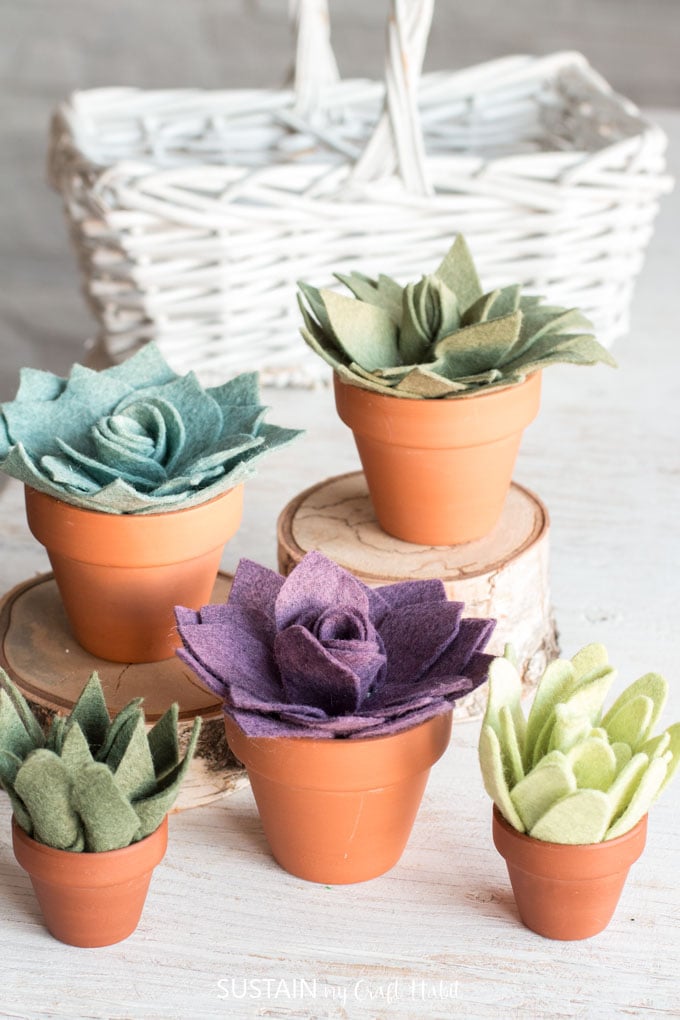
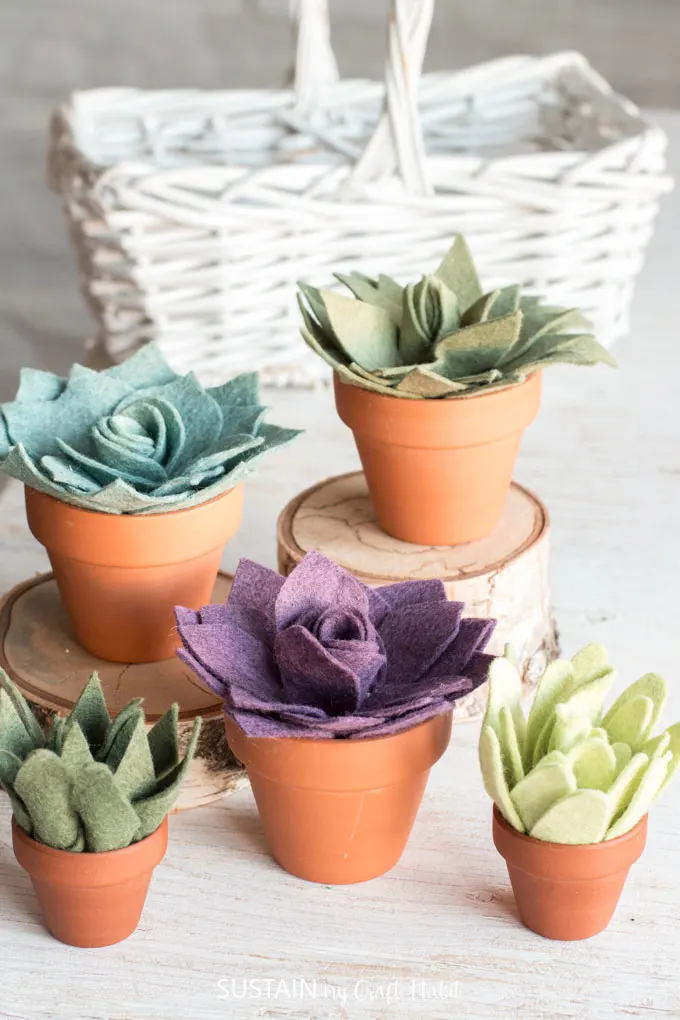
4. Easy Care Felt Succulent Arrangements:
And since we can’t get enough of succulents, we also created these felt succulent patterns for making potted felt succulents and other decor such as this modern felt succulent hoop wreath.
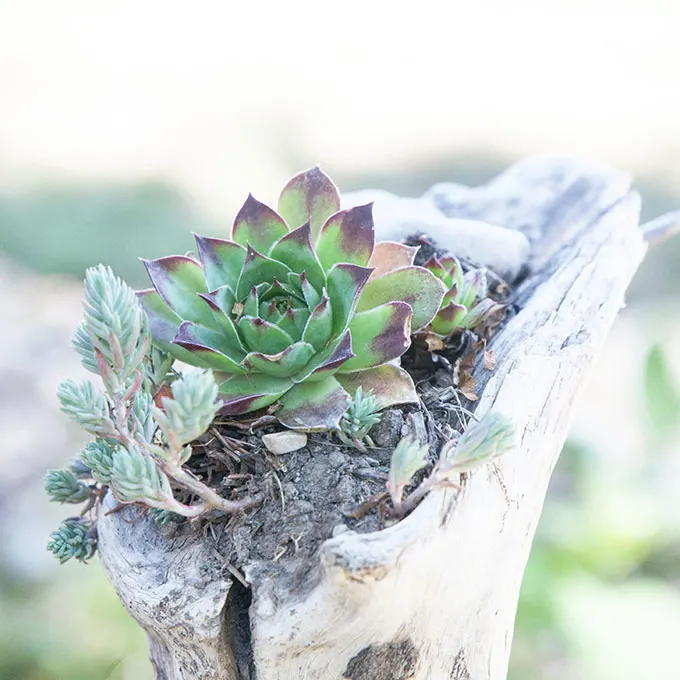
5. Succulents Arranged in a Driftwood Planter:
Since succulents require little soil to grow, most of ours are planted right inside of hollowed out driftwood pieces that we found on the beaches of Lake Huron.

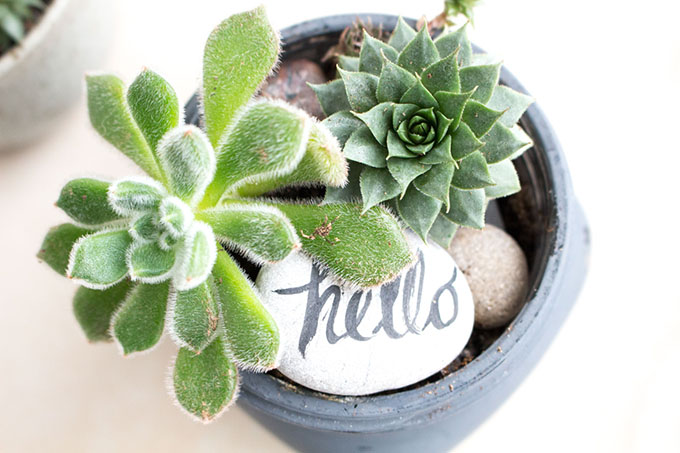
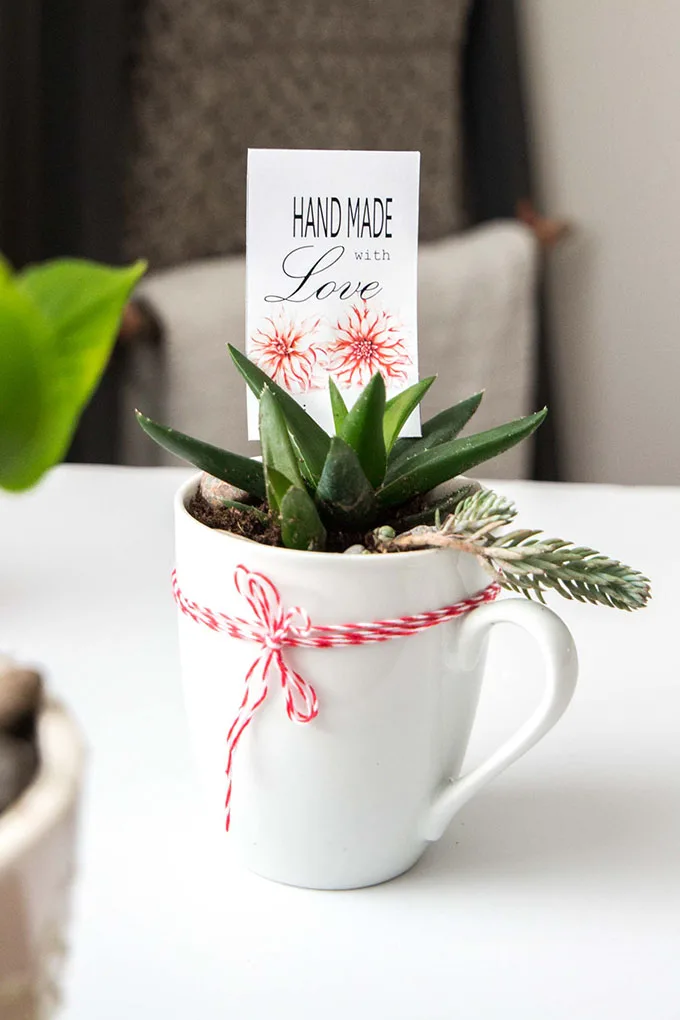
6. A Tea Cup Succulent Arrangement Gift Idea:
Creating a thoughtful gift doesn’t have to take a lot of money or effort. Simply arrange a variety of succulents inside a coffee mug or pretty tea cup, tie a ribbon around it and add a nature-inspired printable gift tag for a sweet gift this holiday season! Check out this post for other quick and easy last minute gifts you can make with items from your kitchen.

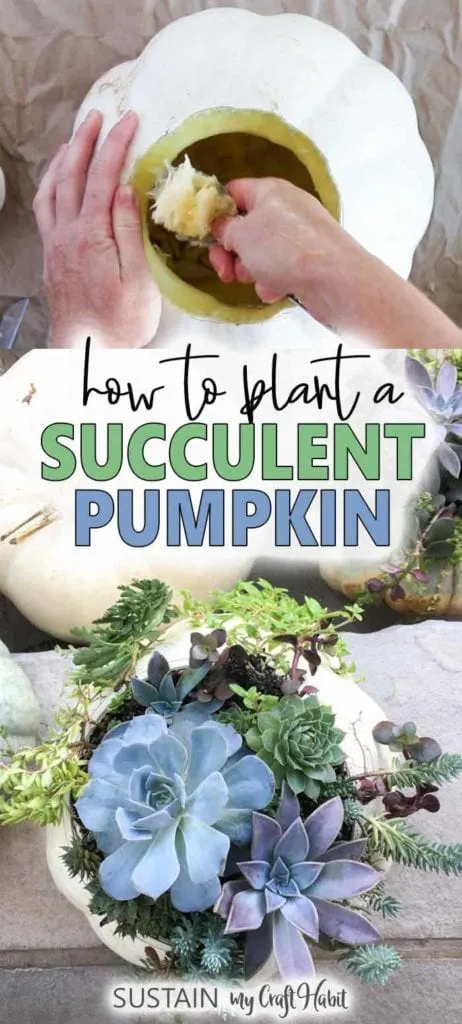
Making a fresh Succulent Pumpkin Arrangement
And now for the how-to instructions for making a succulent arrangement using fresh pumpkins.
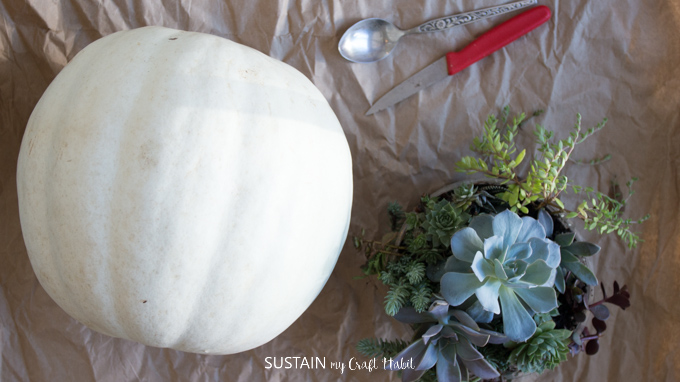
Materials Needed:
- A fresh medium sized Cinderella pumpkin
- Pen
- Sharp paring knife
- Spoon
- Bowl or other container that will fit inside of a pumpkin
- Pebbles or charcoal for drainage
- Succulents potting soil
- Various succulents of different sizes and colors

How to Make a fresh Succulent Pumpkin:
Begin by washing the outside surface of the pumpkin to remove any dirt and let dry.
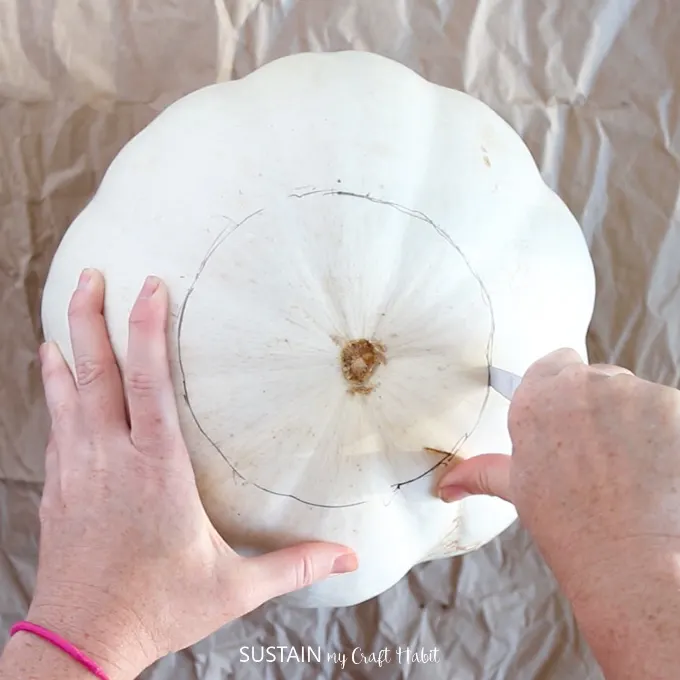
Use a pen or other writing utensil to outline the shape of the container that will be used to hold the succulents.
Using the paring knife carefully cut out the top of the pumpkin using your markings as a guide.

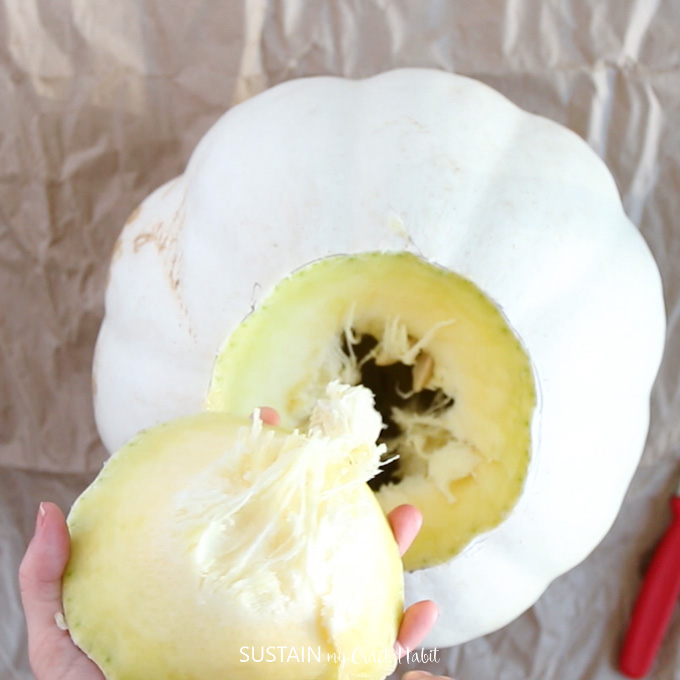
Remove the top flap of the pumpkin that you just cut out and discard.

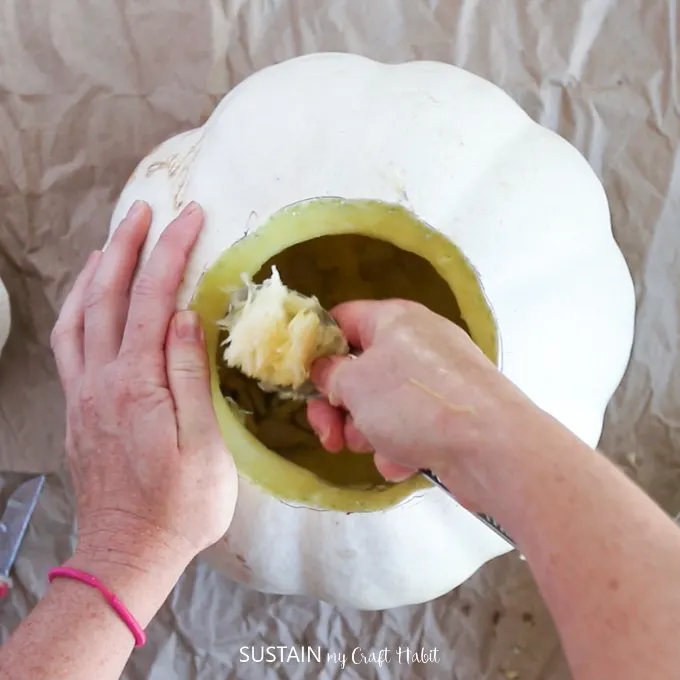
Use the spoon or your hands to scoop out all the seeds from the inside of the pumpkin.
Once the inside of the pumpkin is all cleared out place your container inside the opening. Ensure that it doesn’t fall right into the pumpkin as it needs to just sit on the top of the surface. You can place a large stone in the pumpkin if needed for height and additional weight.

Start planting your succulent arrangement. Begin by placing some pebbles or activated charcoal to provide drainage at the bottom of the container.
Fill the container to the top with loose succulent potting soil.
Carefully plant the largest focal point succulent into the center of the container.
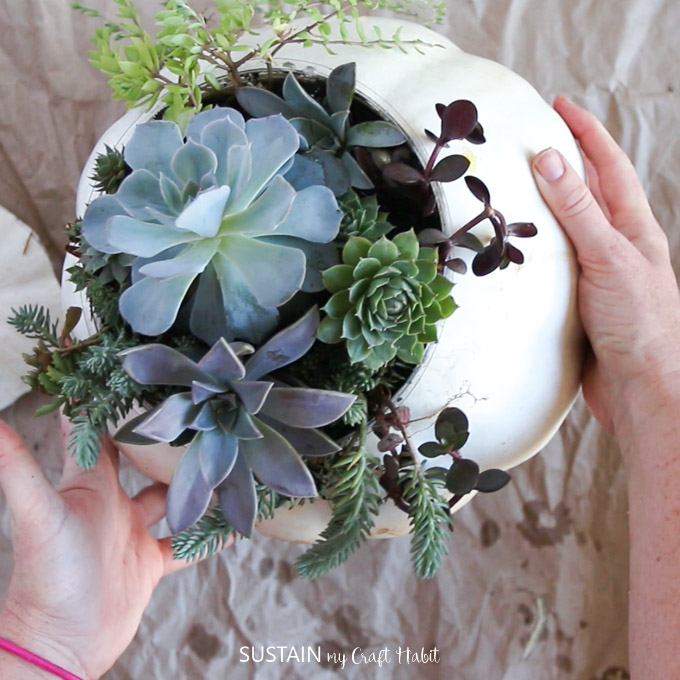

Continue growing the arrangement by placing a variety of other succulents around the center one. Thoroughly water your new succulent arrangement.

Overall, they lasted about two weeks before I had to put the pumpkins in to the compost. However, I was able to take the succulent arrangements and place them in different containers to continue growing. Alternatively, for longer lasting succulent pumpkin decor you may choose to use a plastic or foam pumpkin instead.
This project originally appeared on Crafts by Amanda.
We hope you’ve been inspired to make your own succulent arrangements! Look around you, what else could you use to plant succulents in?
Like it? Pin it for later!


DIY Succulent Pumpkin
Materials
- Fresh medium sized Cinderella pumpkin
- Pen
- Sharp paring knife
- Spoon
- Bowl or other container that will fit inside of a pumpkin
- Pebbles or charcoal for drainage
- Succulents potting soil
- Various succulents of different sizes and colors
Instructions
- Begin by washing the outside surface of the pumpkin to remove any dirt and let dry.
- Use a pen or other writing utensil to outline the shape of the container that will be used to hold the succulents.
- Using the paring knife carefully cut out the top of the pumpkin using your markings as a guide.
- Remove the top flap of the pumpkin that you just cut out and discard.
- Use the spoon or your hands to scoop out all the seeds from the inside of the pumpkin.
- Once the inside of the pumpkin is all cleared out place your container inside the opening. Ensure that it doesn’t fall right into the pumpkin as it needs to just sit on the top of the surface. You can place a large stone in the pumpkin if needed for height and additional weight.
- Start planting your succulent arrangement. Begin by placing some pebbles or activated charcoal to provide drainage at the bottom of the container.
- Fill the container to the top with loose succulent potting soil.
- Carefully plant the largest focal point succulent into the center of the container.
- Thoroughly water your new succulent arrangement
Michelle Leslie
Monday 25th of November 2019
That's gorgeous even if it only lasted a few weeks. The succulents got all the lovely nutrients they need to thrive in their new homes and I love your vintage ruler succulent display. I think I have a few of those somewhere ;-)
Jane and Sonja
Tuesday 26th of November 2019
Thank you so much Michelle! I'm always looking out for vintage rulers when I go thrift shopping.