Hand Lettered Wood Slice DIY Keychains with EnviroTex Lite Resin
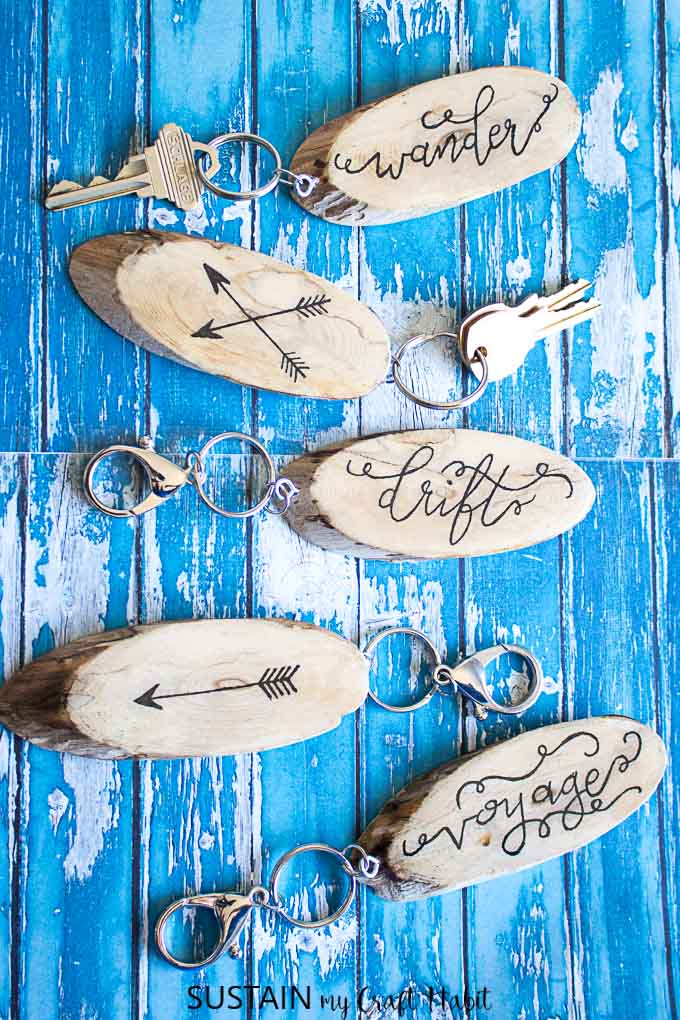
Does anyone else have the travel bug? We’re not sure if it’s the prospect of warmer days ahead or being couped up through a cold, long winter but we are ready to hit the road! These rustic chic DIY keychains put us in the perfect mood to daydream about backpacking through Europe.
“Disclosure: ETI-USA sponsored this post. All opinions expressed are our own. Also, some of the links in this post are advertisements (and will be indicated with *) for your shopping convenience. You can find our full disclosure here. ”
While it feels like just yesterday, it was almost 20 years ago that our cousin Steve asked me to come along on his backpacking trip through Europe. I foolishly declined: with school, work and other “responsibilities” it just wasn’t the right time. There would always be another opportunity to travel!
Well, I have yet to backpack through Europe. I’m not quite sure that I’d go the hostel route at this point, but I do still dream of visiting 10 countries in 20 days!
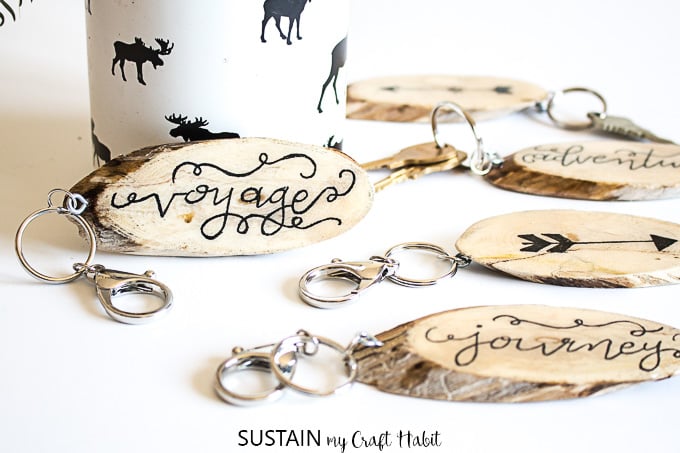
In the meantime, I’ll appease my wanderlust with staycations and trips to the cottage this summer. And when we saw these beautiful hand-lettered wood slice keychains, we had to make our own to keep that travel spark alive!
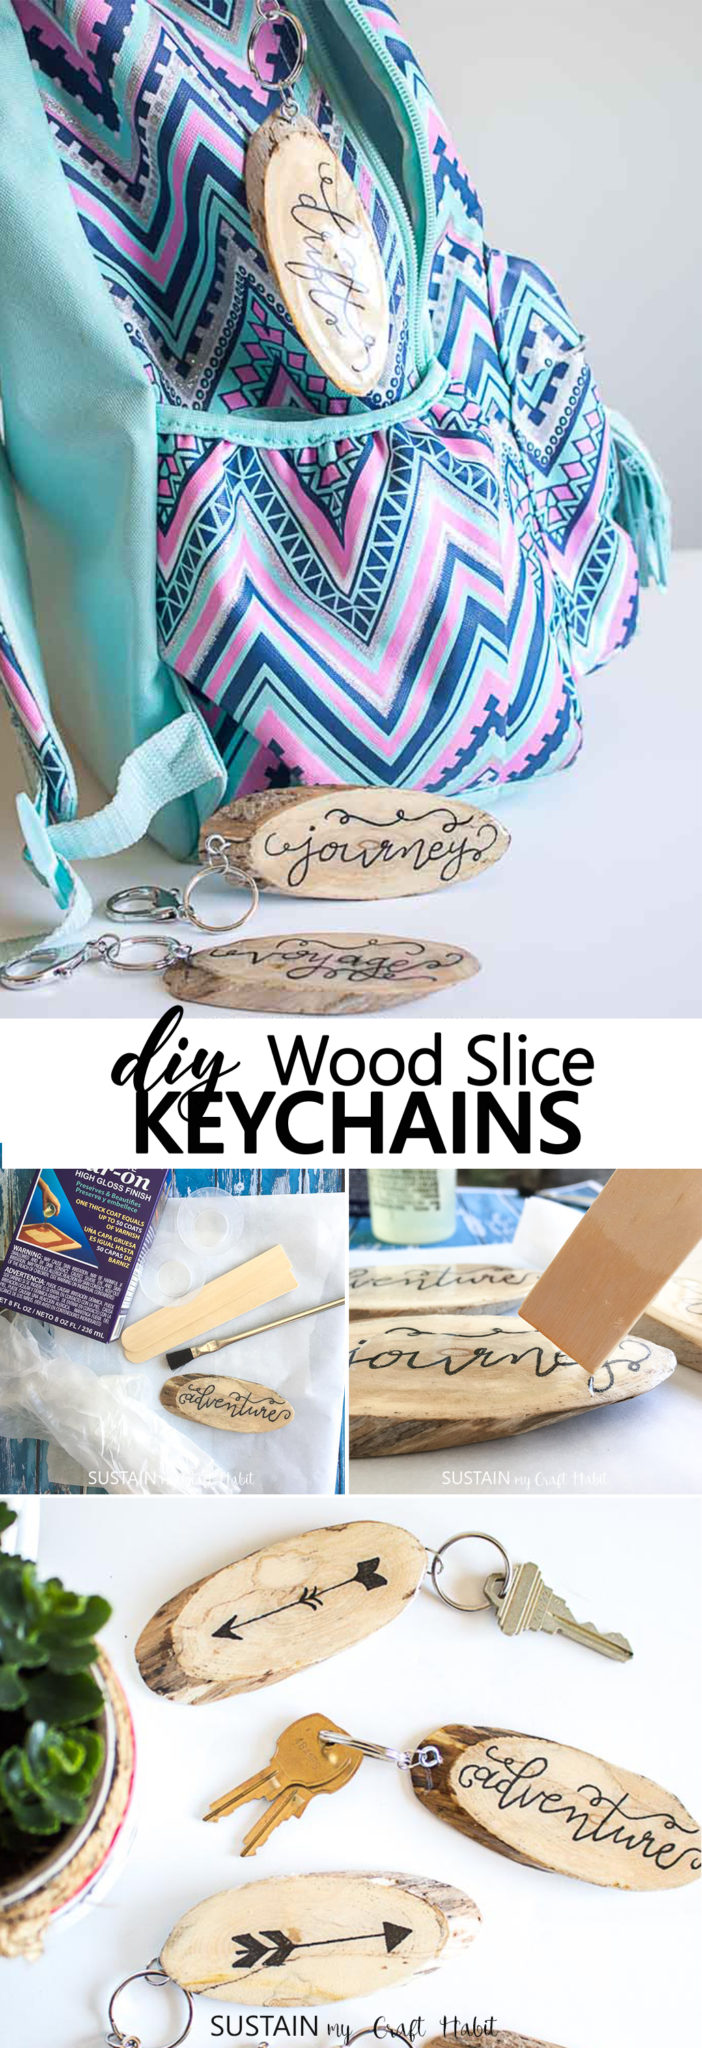
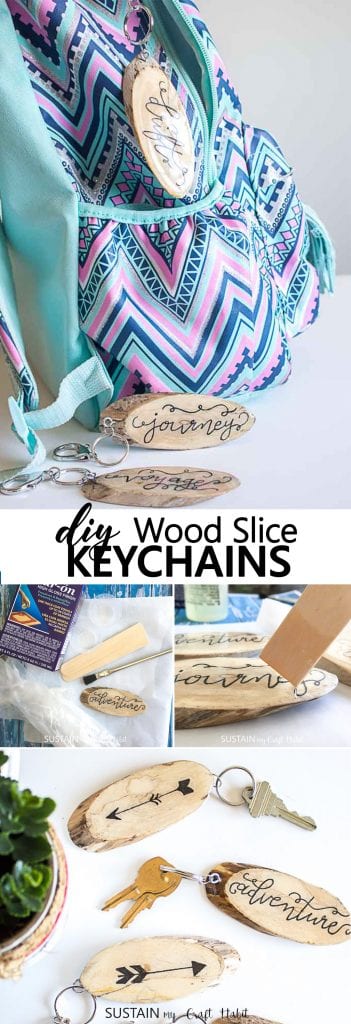
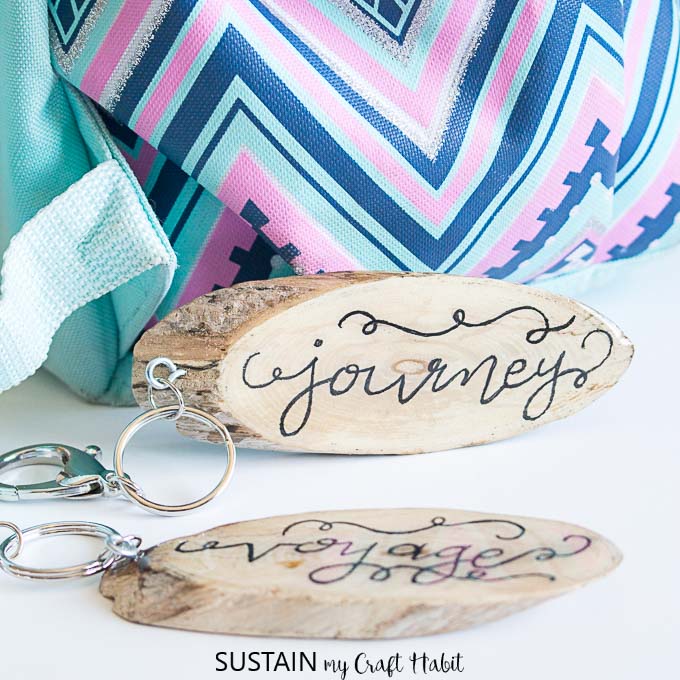
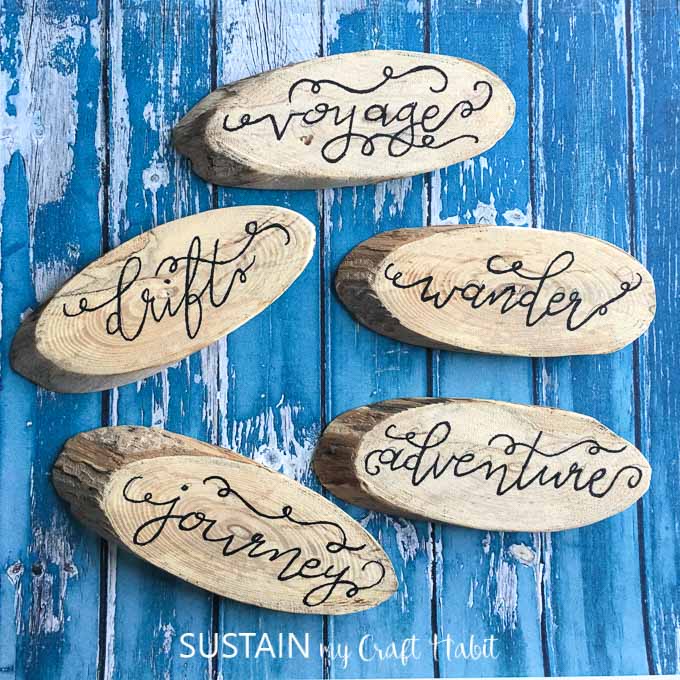
We used driftwood slices and Jane lettered these lovely phrases. We decided to give them a high gloss coat with EnviroTex Lite Pour On resin. The resin provides durability and accentuates the beautiful wood grain and hand-lettering. There’s so many different ways to use resin, from jewelry to home decor. We’ve been using this resin for over a year now on a variety of projects, such as our DIY serving tray with driftwood slices, birth month flower pendants and our woodland themed wood slice garland. We’re always amazed at the difference adding the resin makes to the final piece.
Materials Needed for the DIY Keychains:
Disclosure: This post continues affiliate links for your shopping convenience. You can find our full disclosure policy here.
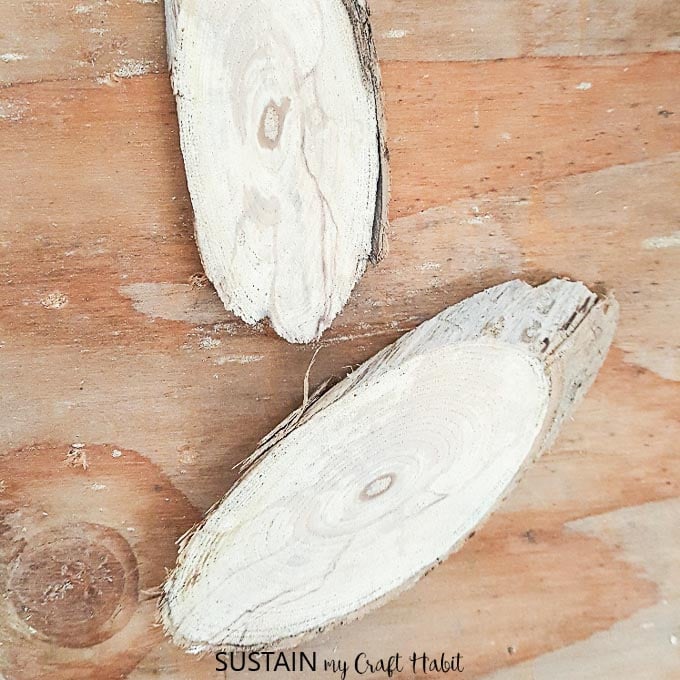
- Wood slice blanks (cut approximately 4” long x 1.5” wide x .25” thick)
- Sandpaper
- Pencil
- Fine-tip Sharpie marker
- Ultra-Seal Quick Decoupage (or other multipurpose sealer), paint brush
- EnviroTex Lite Pour On use the coupon code CRAFTHABIT10 for 10% off!
- Mixing cups, stir sticks, gloves
- Drill with small sized drill bit
- Small eyelet screws, 13mm, silver
- Keychain hardware
Instructions to make 5 Wood Slice DIY Keychains:
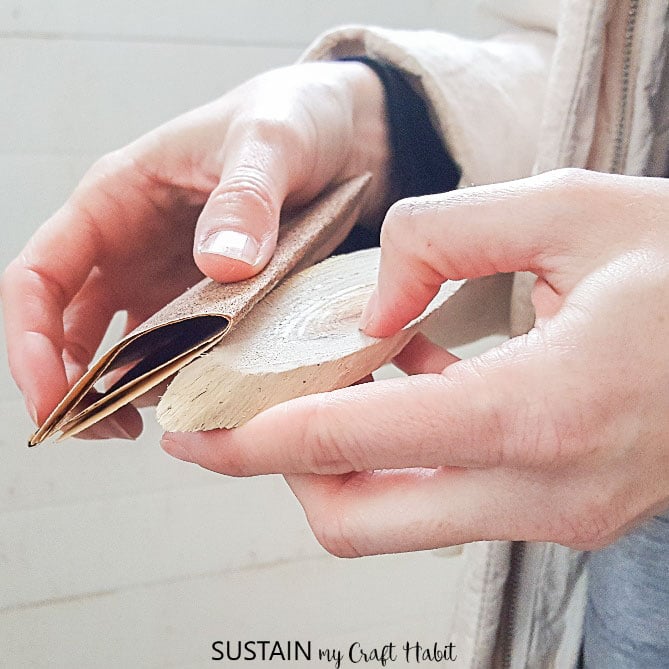
Prepare wood slices for crafting. Cut to desired size and sand any rough edges with 100 grit sandpaper.
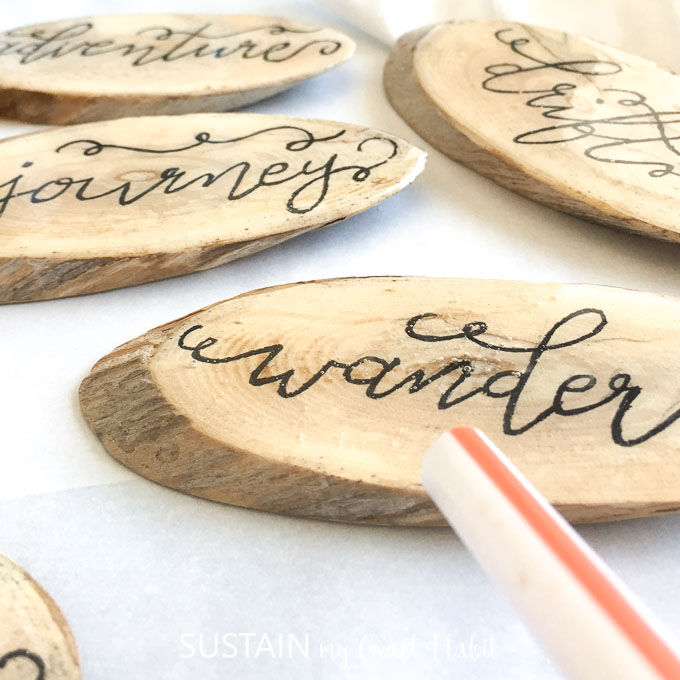
Decide which words or phrases you would like to write on your keychains. We felt inspired by the thought of travel this summer and chose “wander”, “journey”, “adventure”, “drift” and “voyage”.
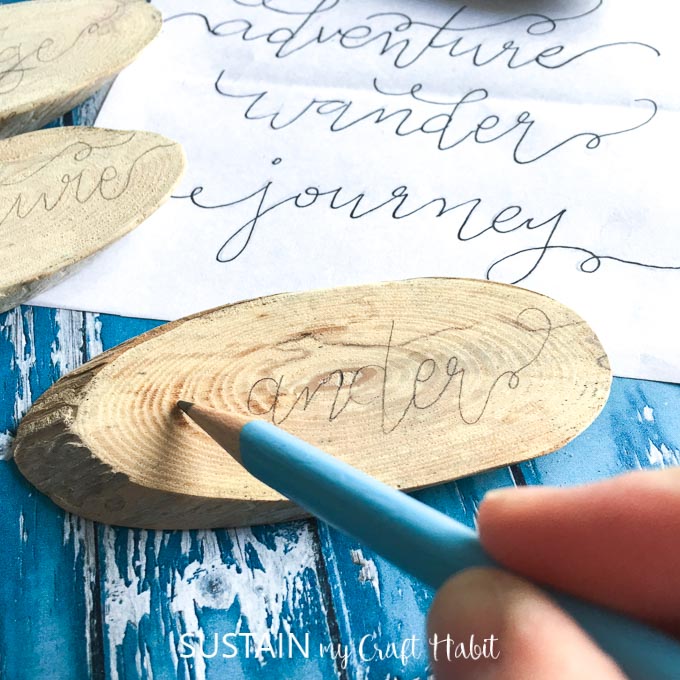
Carefully hand letter a word onto the center of the wood slice using a pencil.
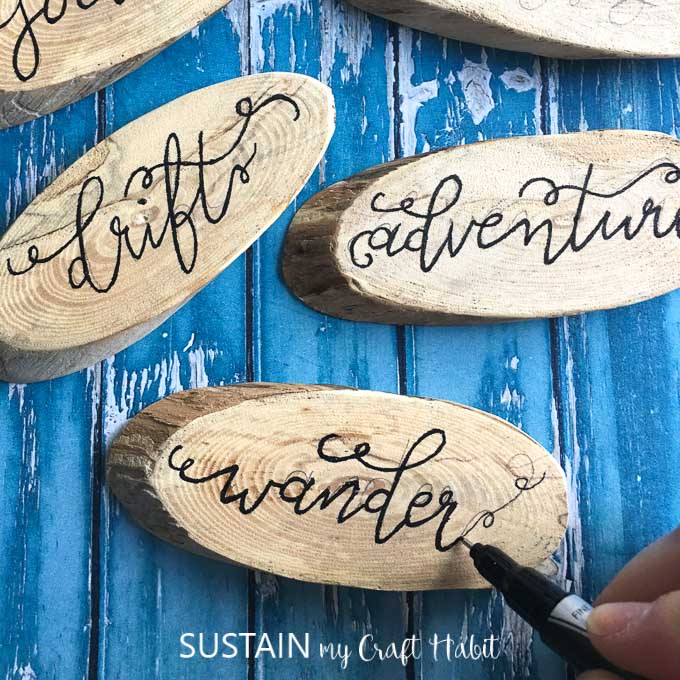
Trace the letter using a fine tip Sharpie pen. You may want to go over the lettering a few times to make it pop!
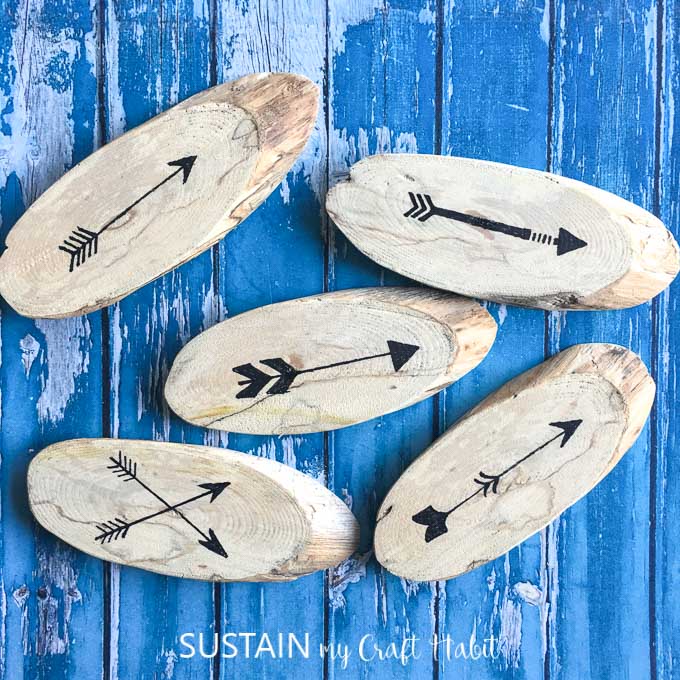
Repeat with different words or patterns on the back of the wood slice. We went with arrows to give us some direction in our travels 🙂 .
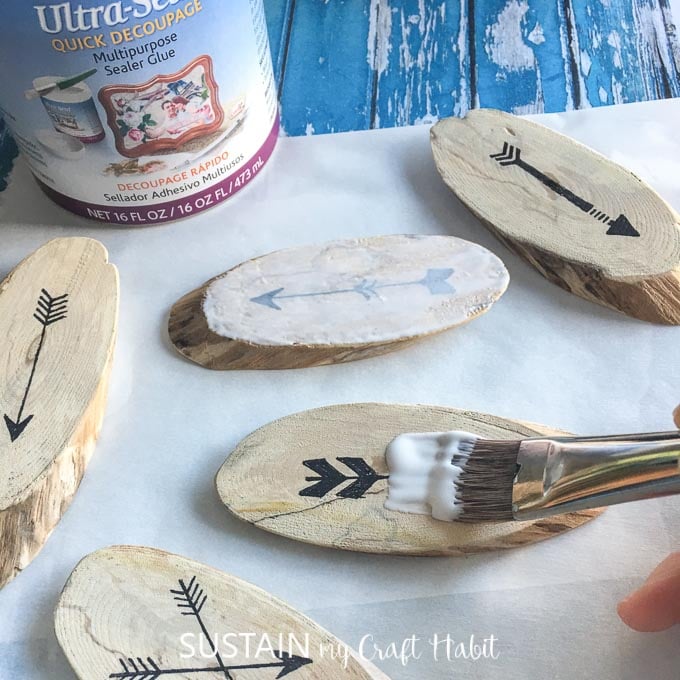
Seal the surface of each side of the wood slices with a multipurpose sealer. Let dry completely.
Pouring the Resin:
For best results be sure to read the instructions provided in the EnviroTex Lite Pour On packaging. Ensure your resin and hardener are at room temperature or warmer before mixing.
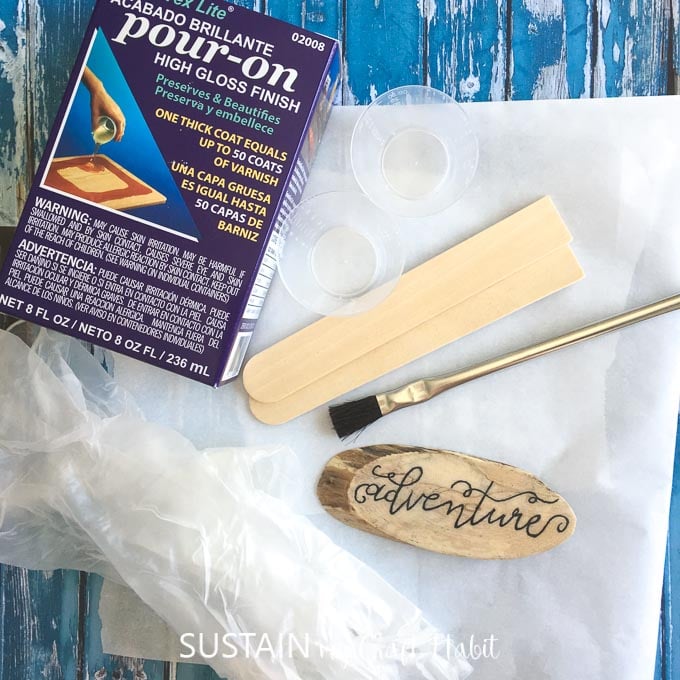
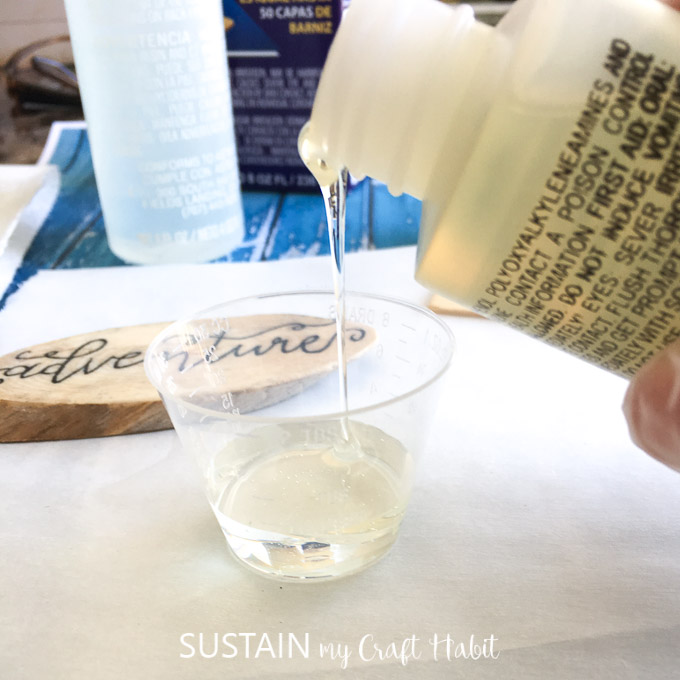
Mix exactly equal amounts of Resin and Hardener into one measuring cup. In my case, I poured a very small amount of the resin and equally small amount of the hardener. Stir together continuously for 2 minutes, scraping the sides of the container.
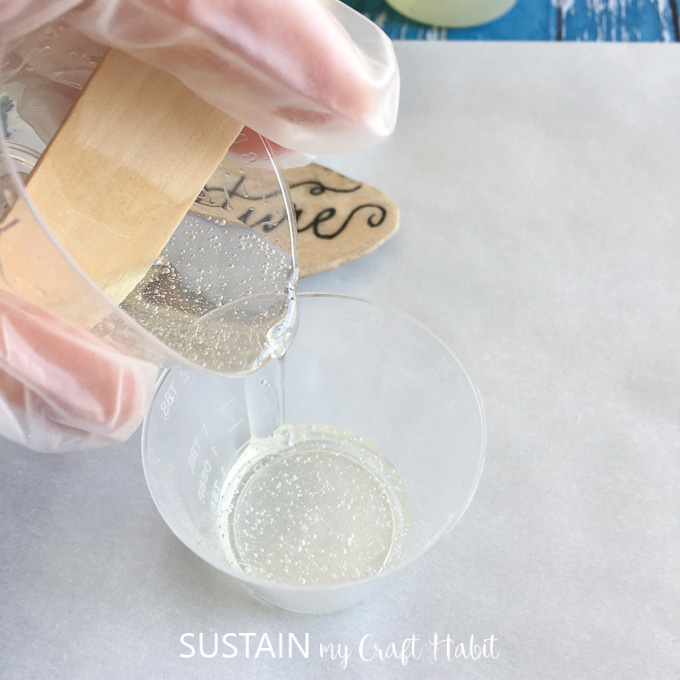
Pour the mixture into a second cup and stir for an additional minute, scraping the sides of the container and stir stick.
Dip the stir stick in to the mixture and carefully pour the resin over top of the surface of the wood slice. Work slowly so that the resin doesn’t flow over the sides of the wood slices.
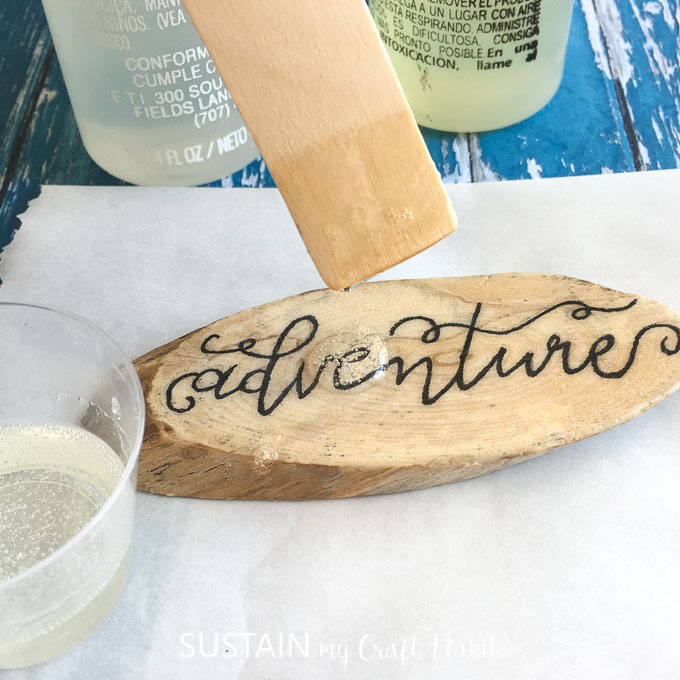
Use the wood stir stick to carefully draw resin to the edges of the wood without flowing over.
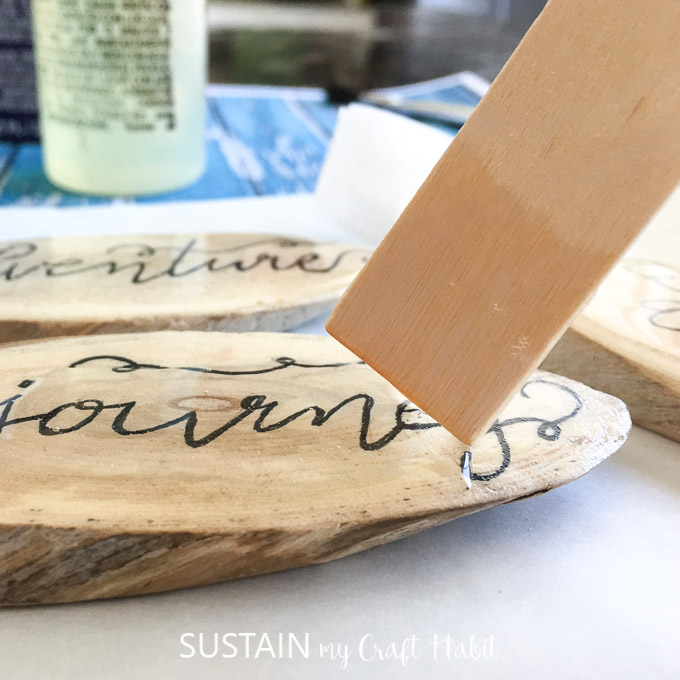
Blow off air bubbles by blowing through a straw over the surface of the wood slice.
Cover to keep dust from settling in and allow to cure for 24 hours.
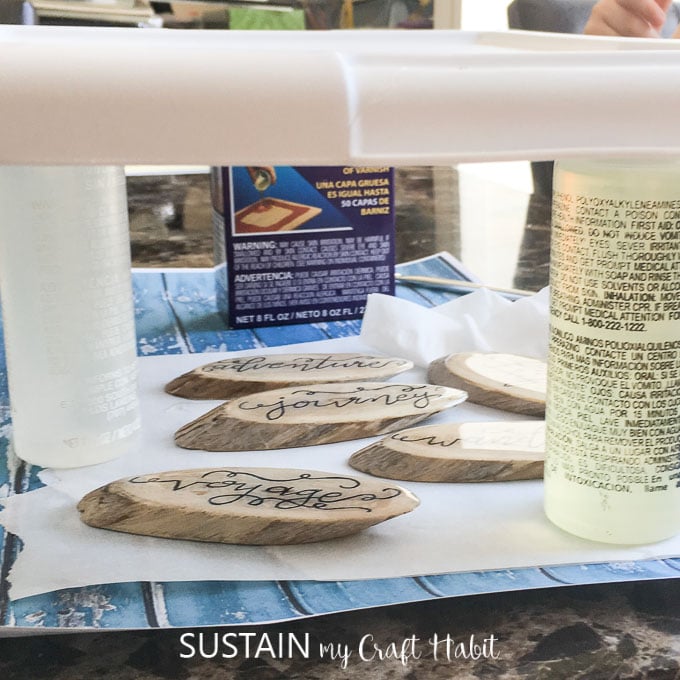
Repeat the process above on the opposite side of the wood slices.
Attaching the keychain fasteners:
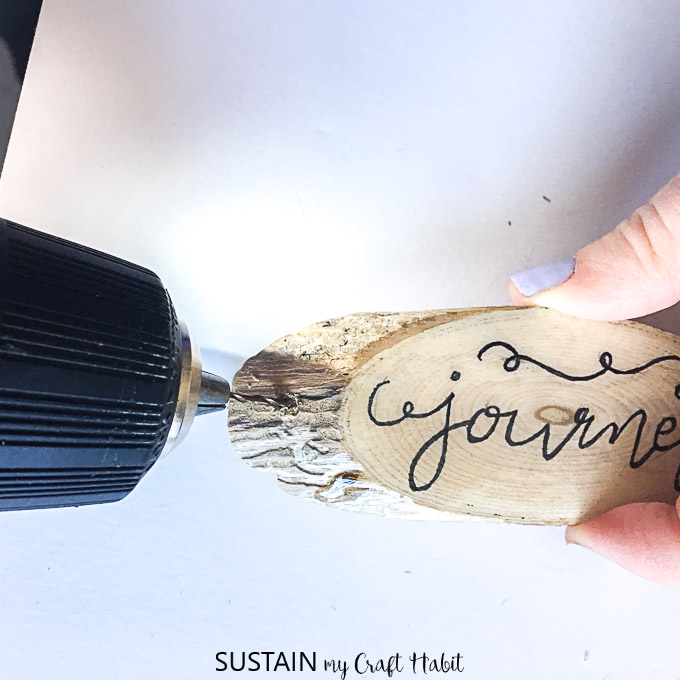
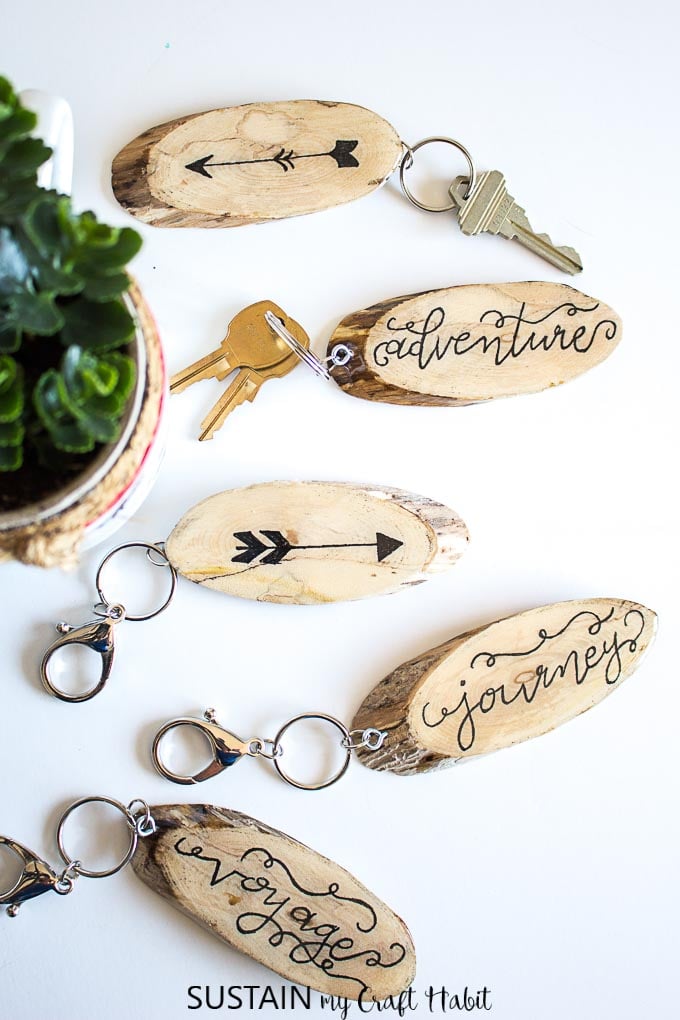
Drill one small pilot hole at the end of the wood slice.
Attach one eyelet screw into the pre-drilled hole using a pair of pliers.
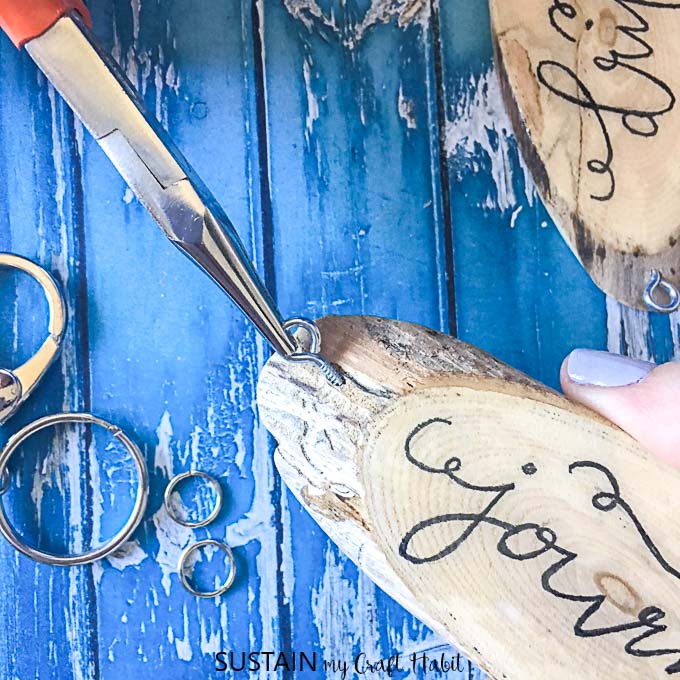
Attach a jump ring to the eyelet screw and loop one split ring on to the the jump ring before closing.
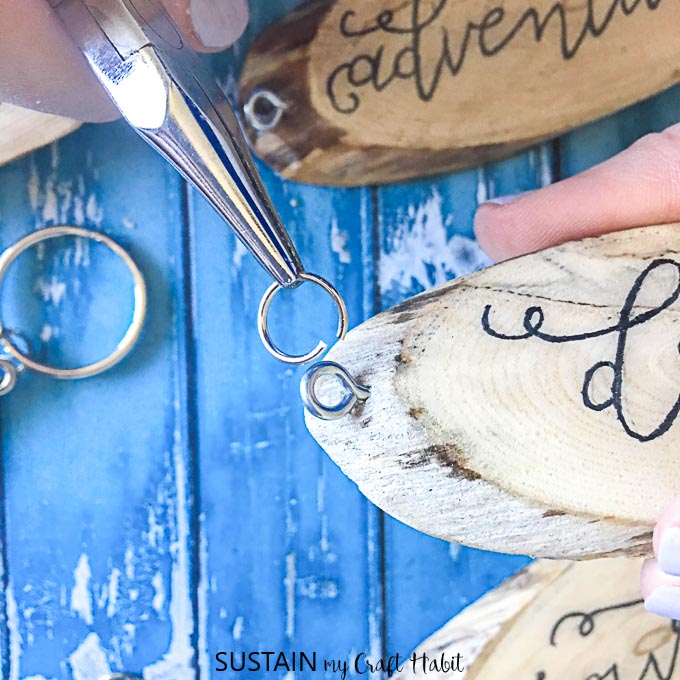
And that’s it! These hand lettered wood slice DIY keychains turned out even better than we had expected. Bon voyage, mon amis!
For additional DIY keychain ideas, check out these personalized keychains using a road map and resin and these DIY four leaf closer resin keychains.





where can I purchase the wood blanks for the wood slice keychains? thank you
Hi Brenda. Thank you for your message. We’ve recently added these slices to our Etsy shop here: https://www.etsy.com/ca/listing/678724033/10-oblong-driftwood-slices-oval-wood/ . Please let us know if you have any further questions. -Jane