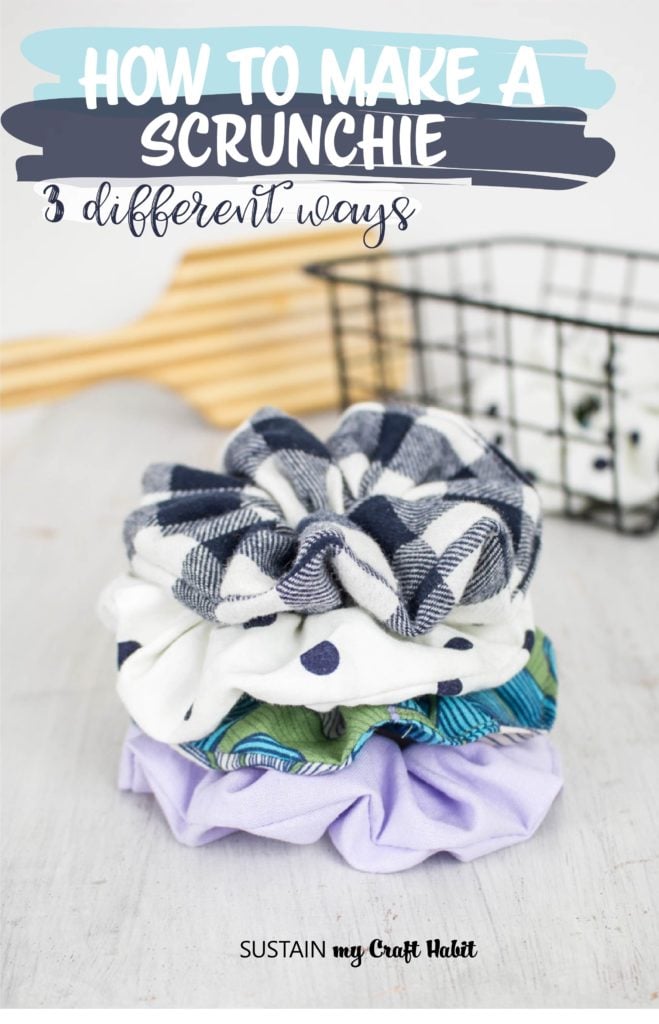
How to Make a Scrunchie 3 Different Ways
I never imagined I would be writing a post on how to make a scrunchie yet here I am:)
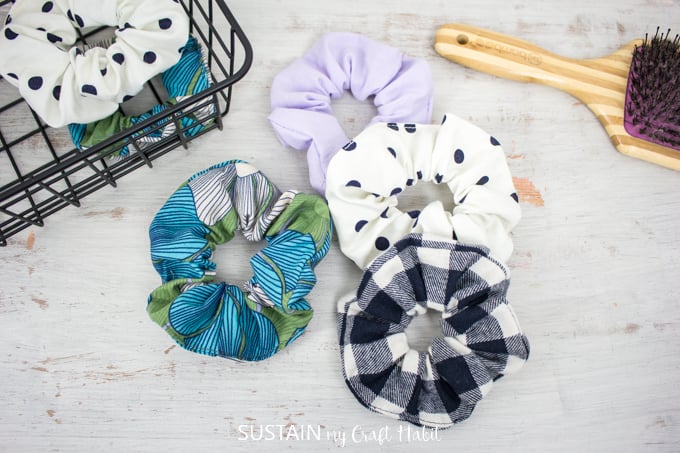
3 Different Ways to Make a Scrunchie
I can remember clear as day, making my own scrunchies over twenty-five years ago! I can hardly believe it when I think about it. Has it really been that long? And yet, these days, it’s my daughter that is obsessed with scrunchies!
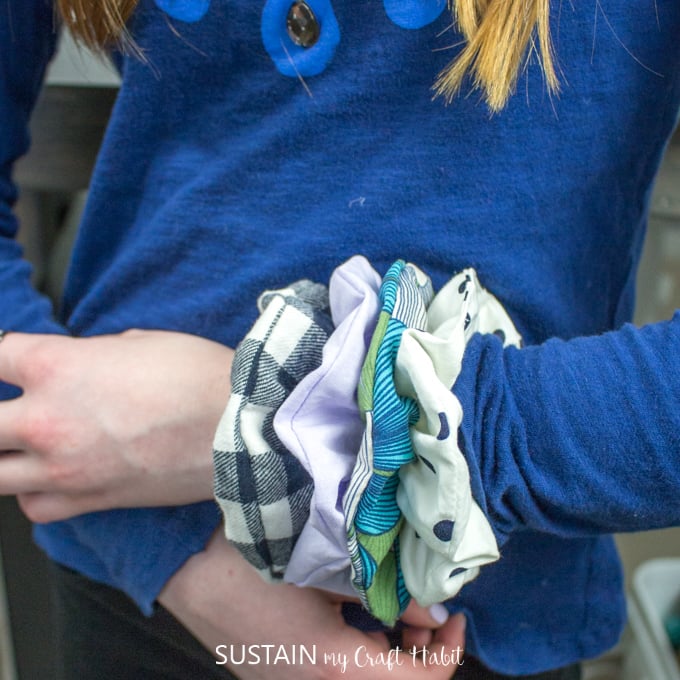
Although she tends to wear them on her wrist more than in her hair, I think I’ll have to teach her how to make her own scrunchies so this DIY can pass on to the next generation :). As we’re trying to get our teens more creative in general, we’ve also found these cool crafts for teens as well as some awesome paper crafts for them to try!
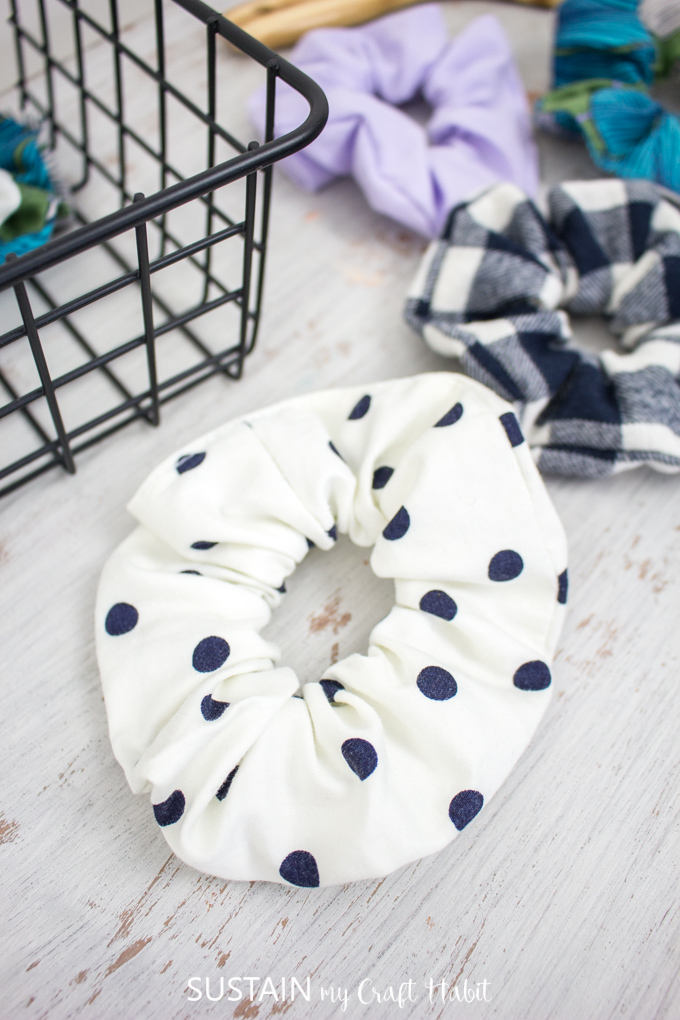
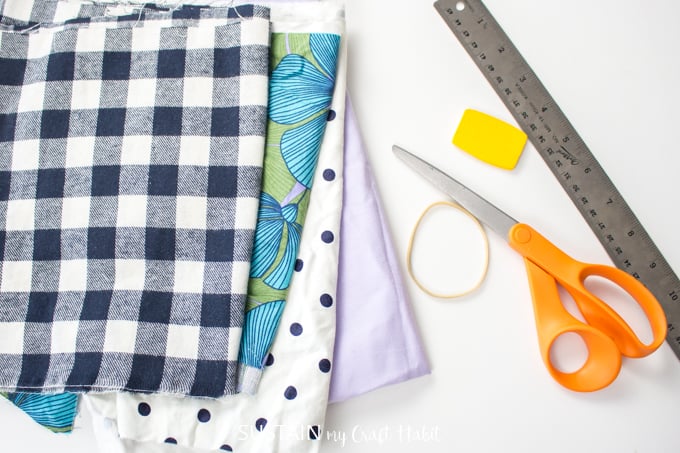
One of the best parts of making scrunchies, is choosing the fabrics to use. If you have leftover fabrics from other sewing projects or want to upcycle old clothes, scrunchies are the perfect DIY.
I still have some leftover pink silk floral print fabric from this DIY heart garland and heart wreath that would look amazing as a scrunchie! Fabric that is lightweight and “drape-y” (meaning not stiff) work the best so try to stick to those for best results. Fabrics like soft velour, thin flannel and light cotton in either a knitted or woven construction.
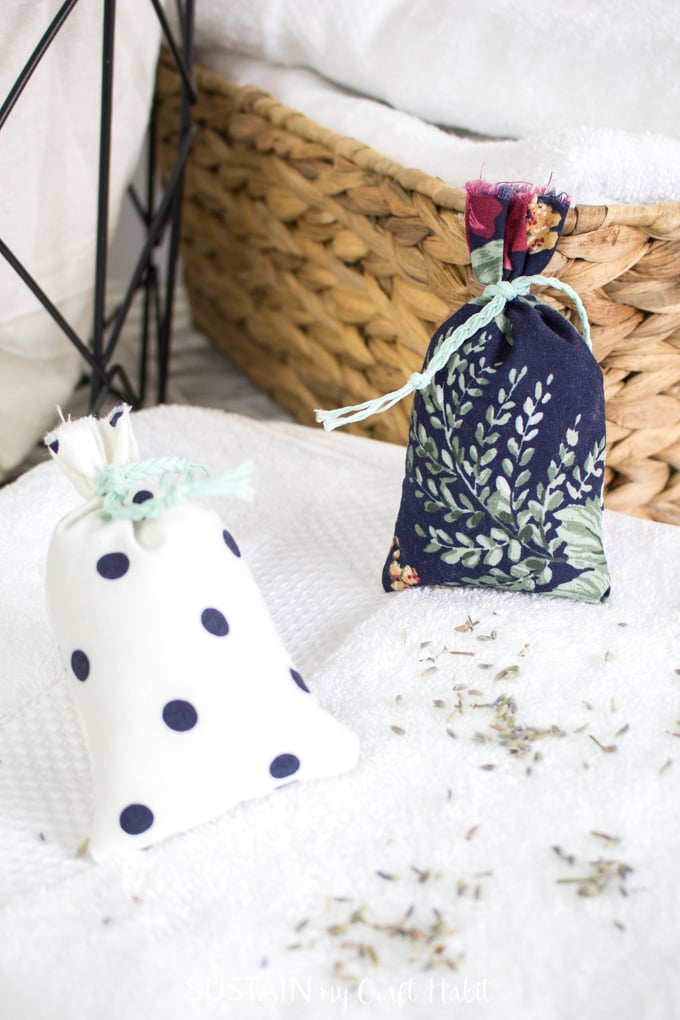
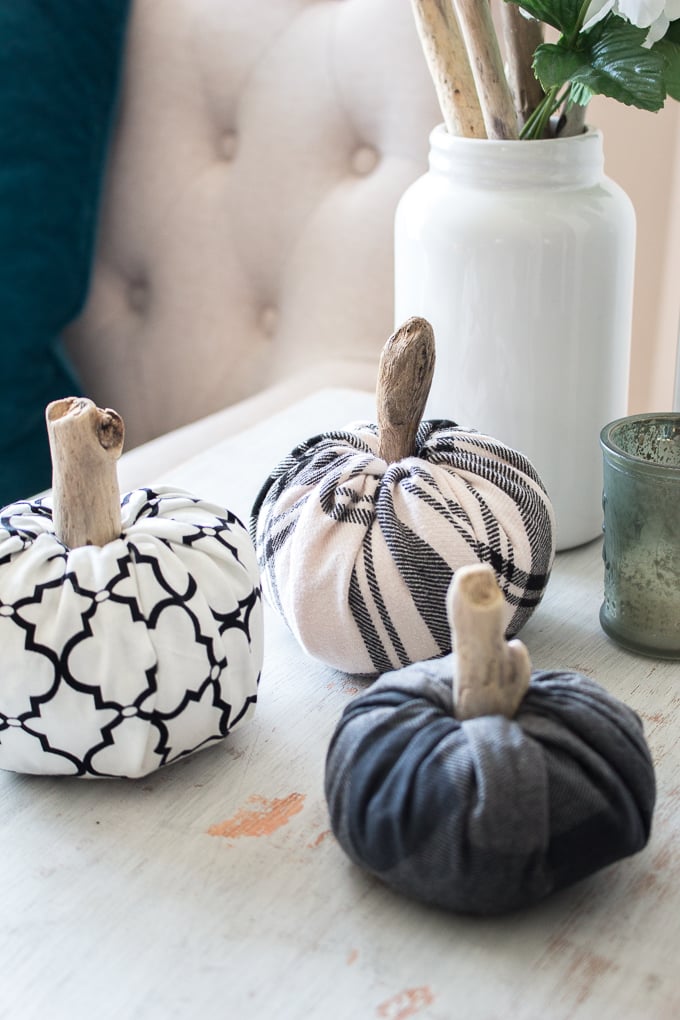
For other DIY sewing projects using scrap fabrics, check out this checkered denim picnic blanket; simple lavender sachet and these no-sew scrap fabric pumpkins.

1. Making a scrunchie with a flat elastic
This is my favourite option for making a scrunchie. The sewing is simple, quick and straightforward. If you don’t have a flat elastic, you can purchase them at any dollar store OR to use a hair tie (or rubber band) instead, see method #2 for how to make a scrunchie with a hair tie.
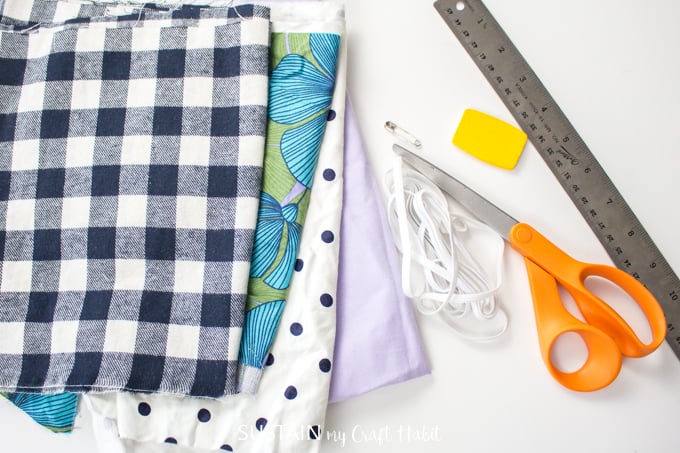
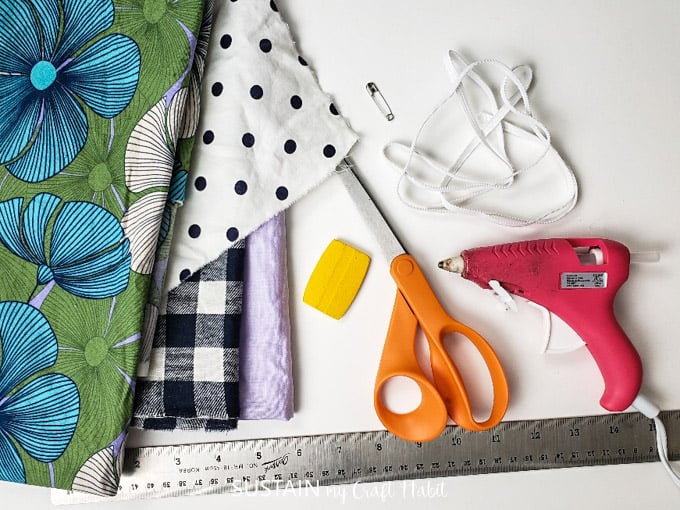
Materials needed
- Flat elastic band, ¼” wide
- Safety Pin
- Scrap Fabric
- Fabric Scissors
- Sewing Machine and matching thread color
- Measuring tape or ruler
How to make a scrunchie with a flat elastic
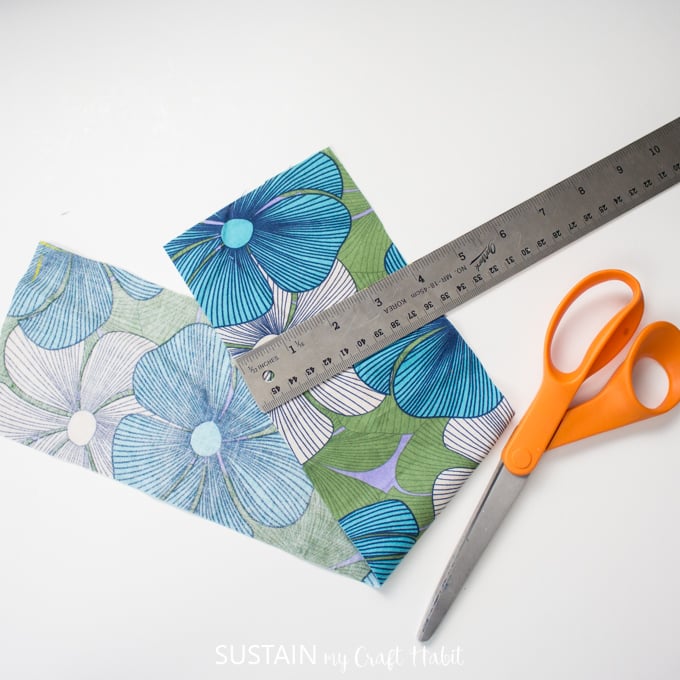
Cut your scrap fabric to measure 4” wide by 18” long. These measurements are meant as a guide, you can easily adjust the length and width to experiment with different sized scrunchies.
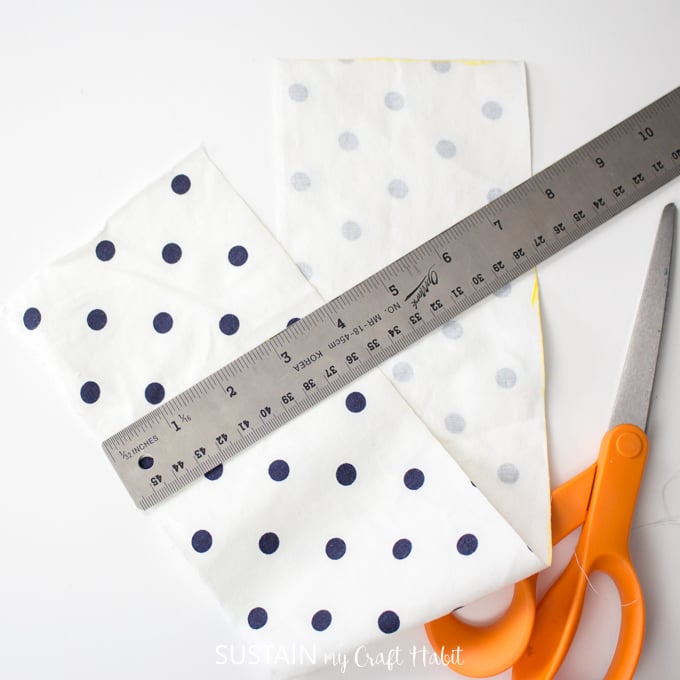
Tip #1: Always cut fabric along the grainline unless otherwise specified in the instructions.
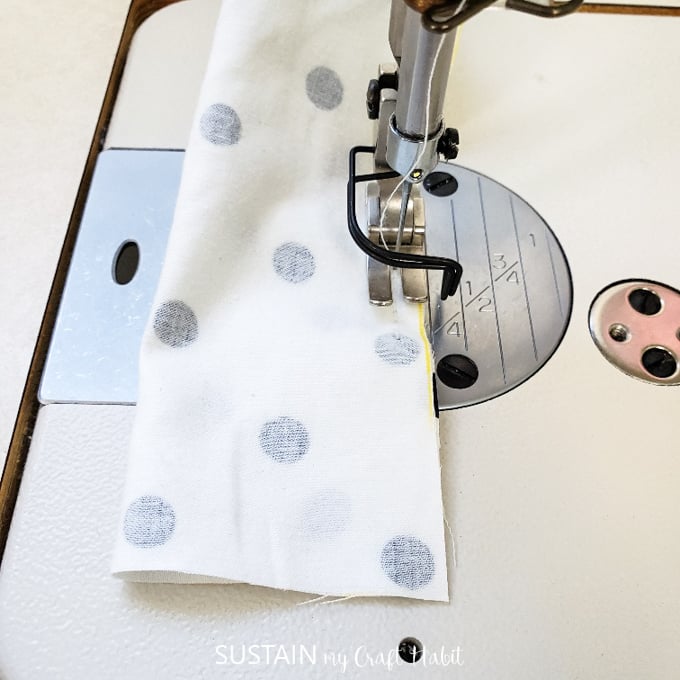
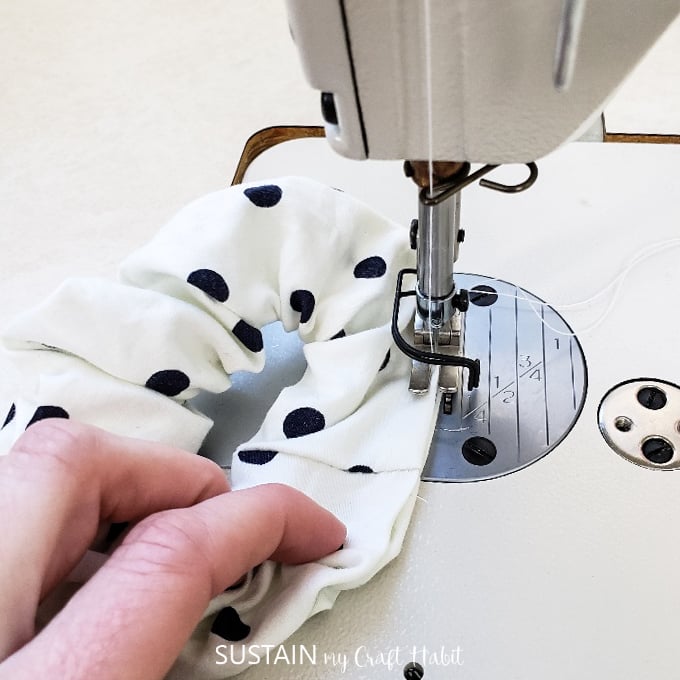
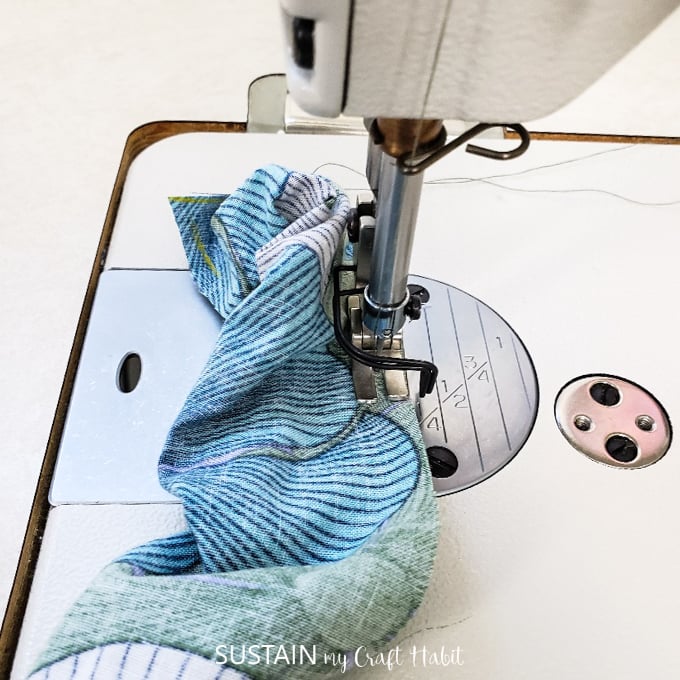
Next, fold the fabric in half widthwise with RIGHT sides together. Using a sewing machine set to single needle stitch, sew along the cut edge with a 1/4” seam allowance.
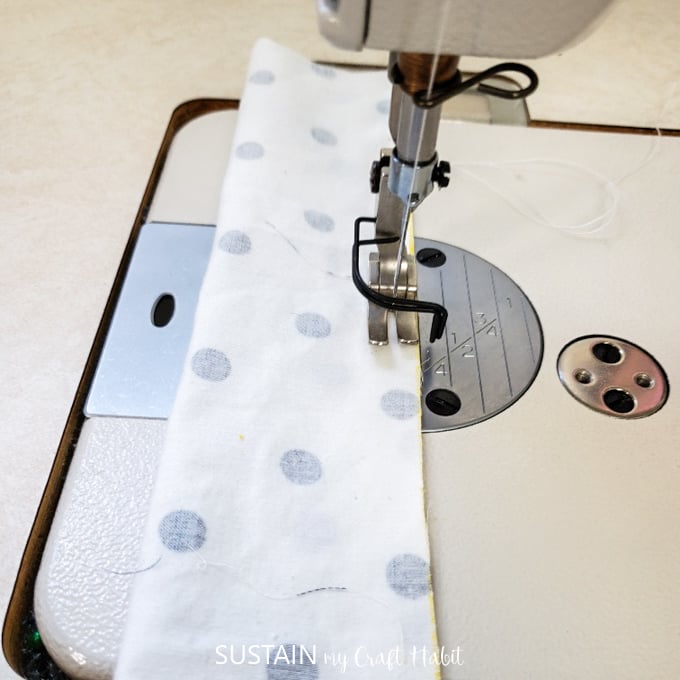
Start sewing 1” from the end and continue until you’re 1” from the end. Reinforce your stitches at the start and end with back stitching.
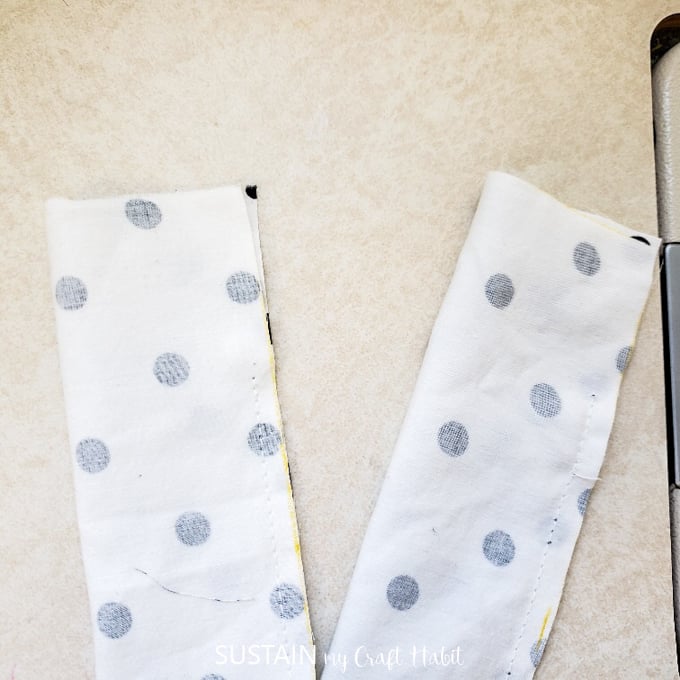
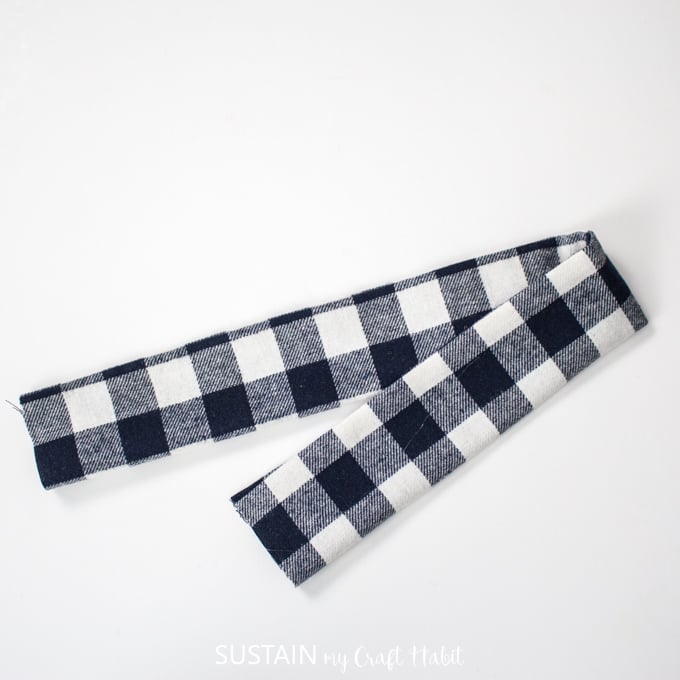
Turn the piece RIGHT side out.
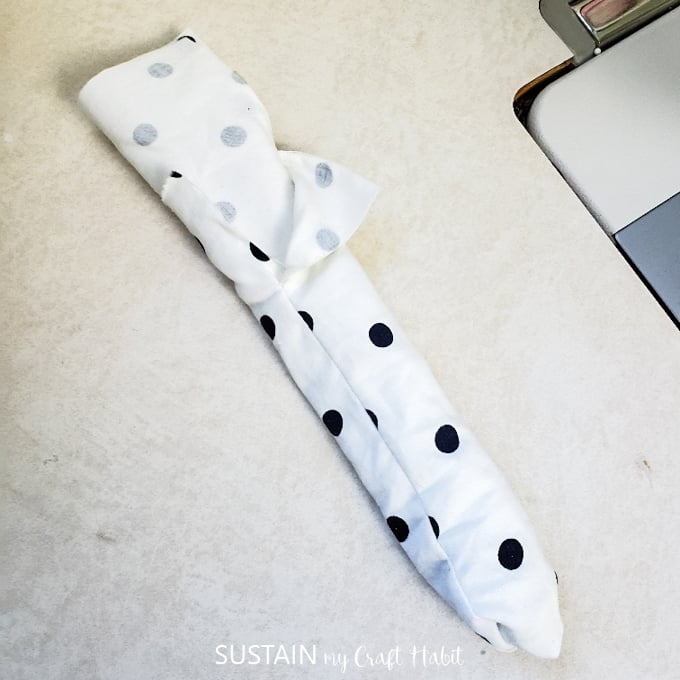
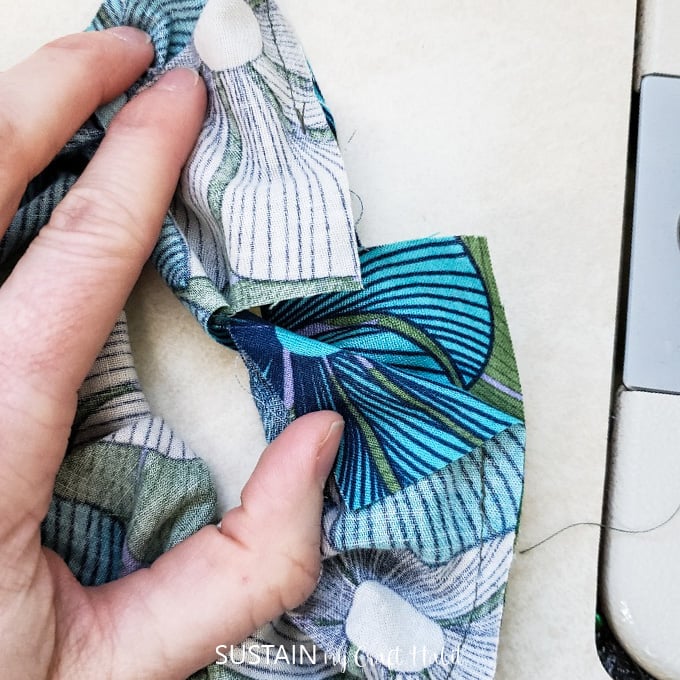
Match the short ends with RIGHT sides of the fabric together. Sew the ends together with a ¼” seam allowance. This will complete the scrunchie piece leaving about an 1 1/2″ opening for the elastic to be inserted.
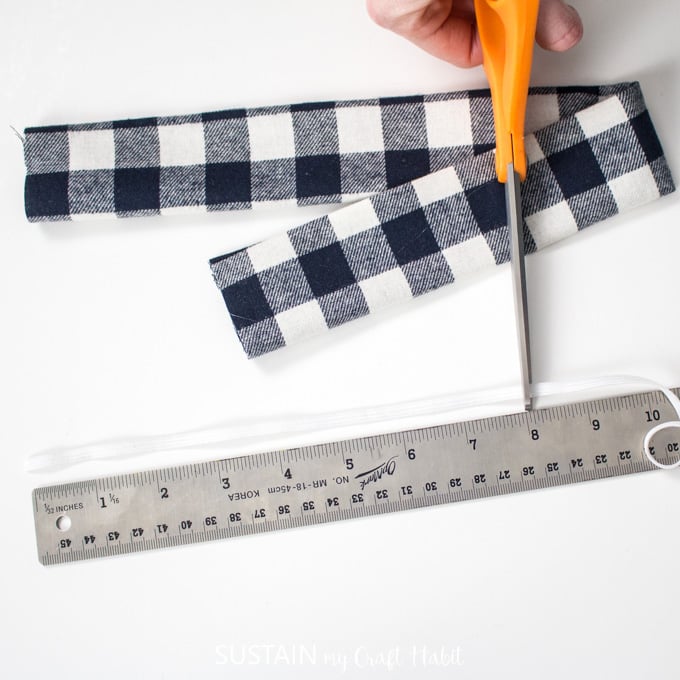
Cut flat elastic to 8” long.
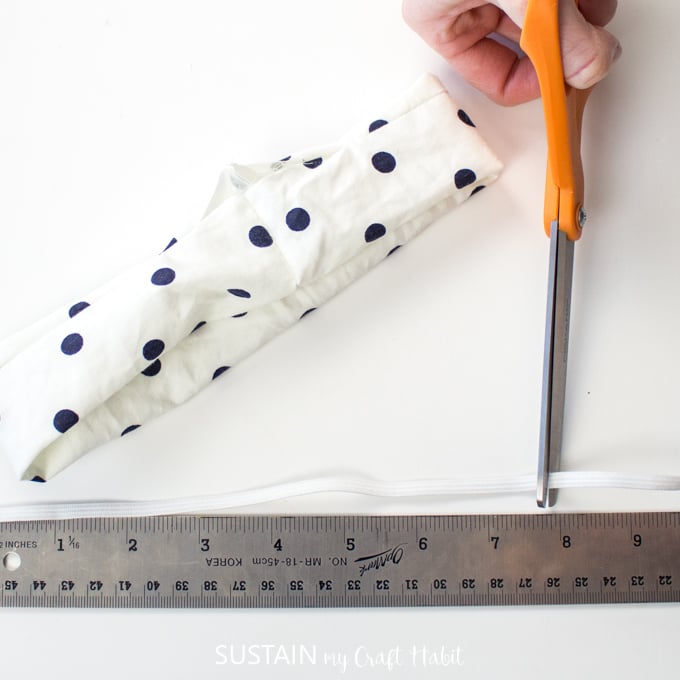
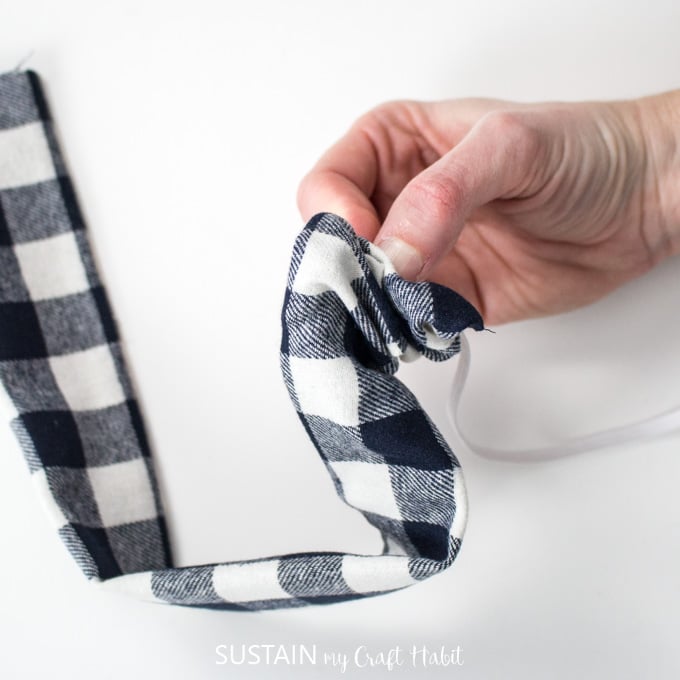
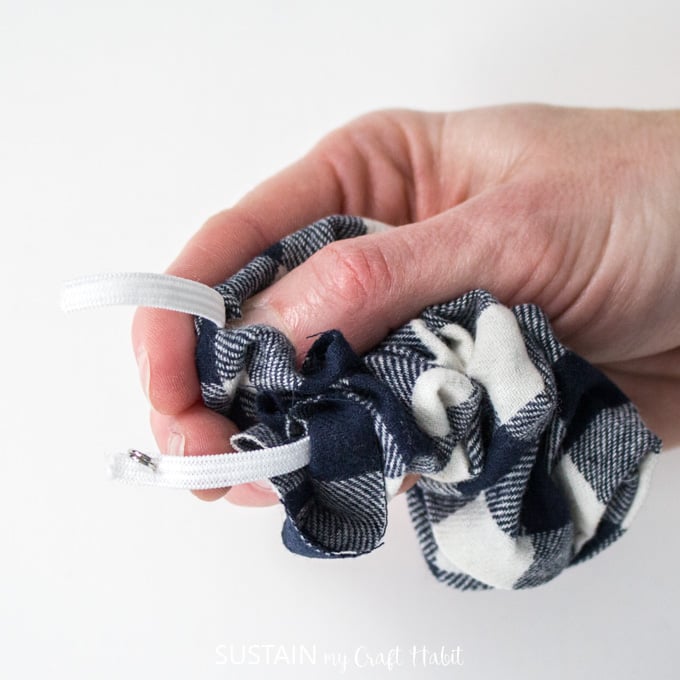
Secure a safety pin to one end of the cut flat elastic. Guide the safety pin into the unstitching opening and pull it through until the exits out the other end. Take care to hold on to the other end of the elastic.
Tip #2: If your elastic feels too flimsy and weak, you can simply double up on the flat elastic.
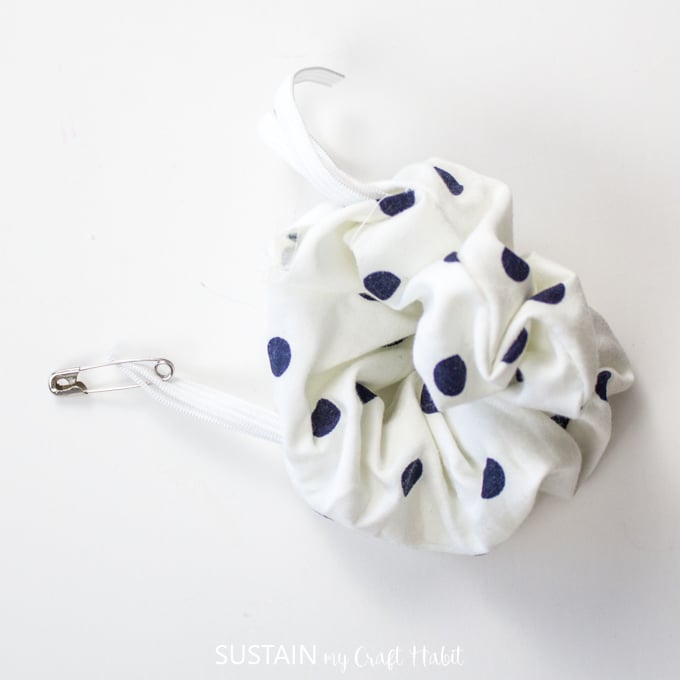
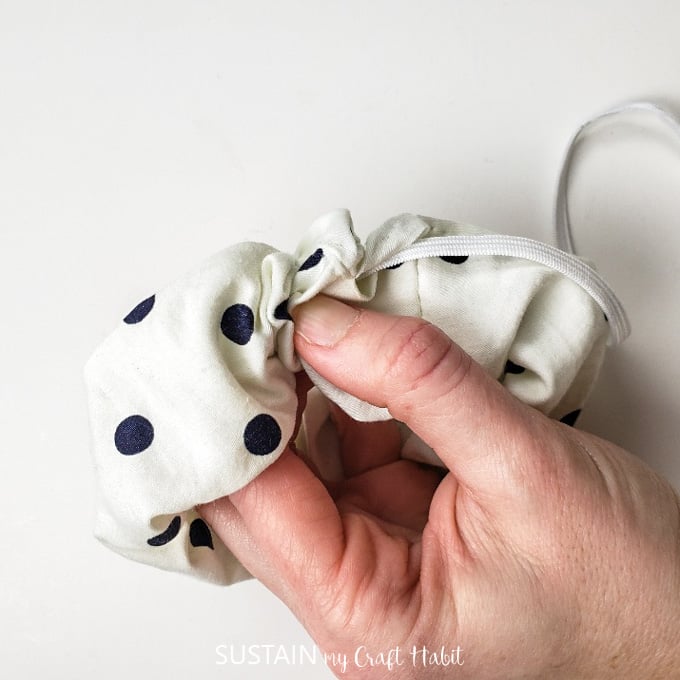
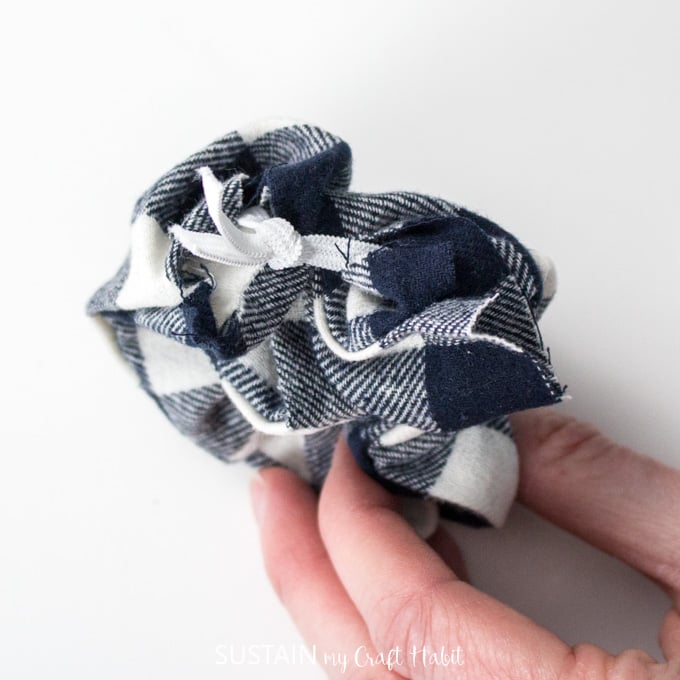
Knot the ends together as shown.
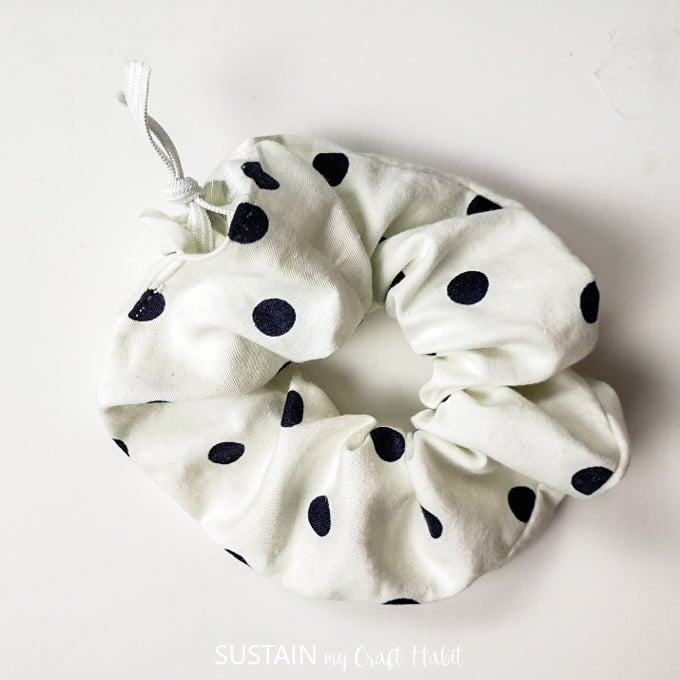
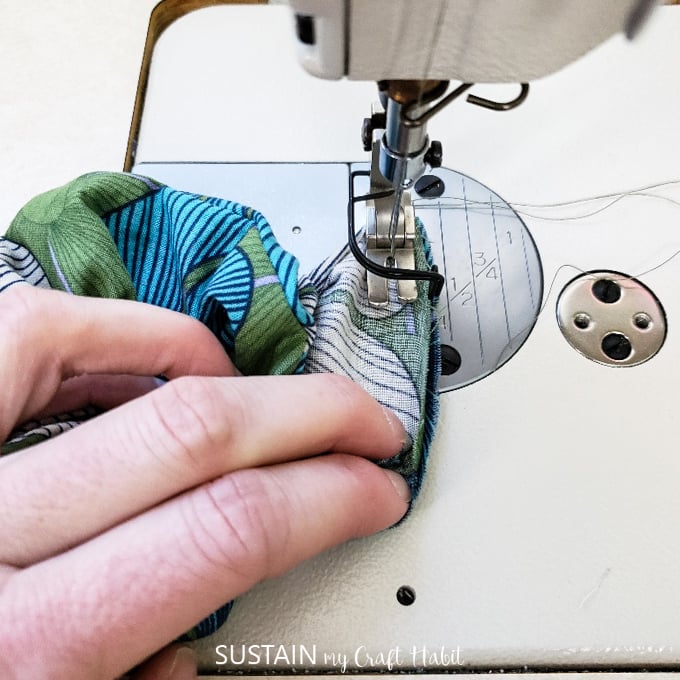
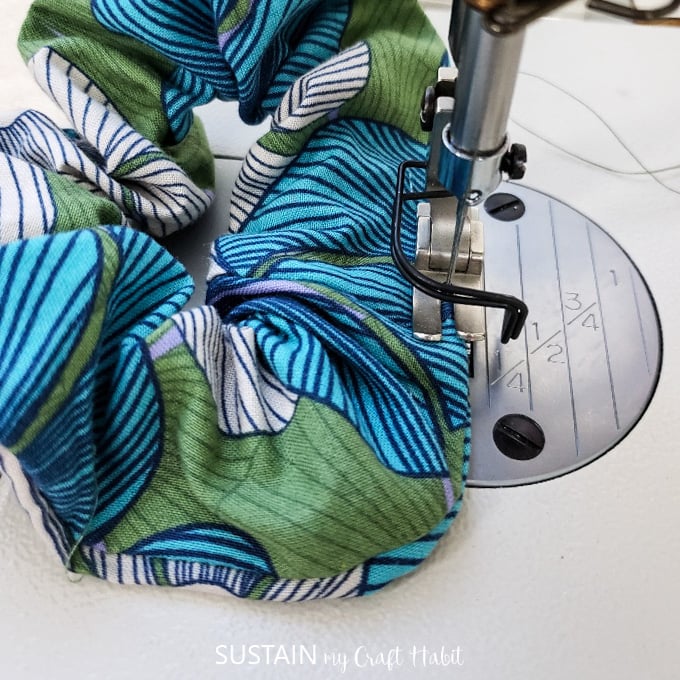
Extend the scrunchie forcing the elastic inside. Using a sewing machine, sew the opening closed along the folded edges.
2. Making a Scrunchie with a Hair Tie
If you have extra hair ties lying around, this is a great way to use them up. Tip #3: Make sure you’re using a good quality elastic! The last thing you want is the hair tie elastic to break when the scrunchie is being used.
Materials needed
- Elastic rubber band OR hair tie elastic (good quality, not easy to break)
- Scrap Fabric
- Fabric Scissors
- Sewing Machine and matching thread color
- Measuring tape or ruler
How to make a scrunchie with a hair tie
Cut your scrap fabric to measure 4” wide by 18” long. As mentioned above, this is just a guideline, you can adjust the measurements if you like.

Fold the fabric in half widthwise with RIGHT sides together through the elastic band as shown.
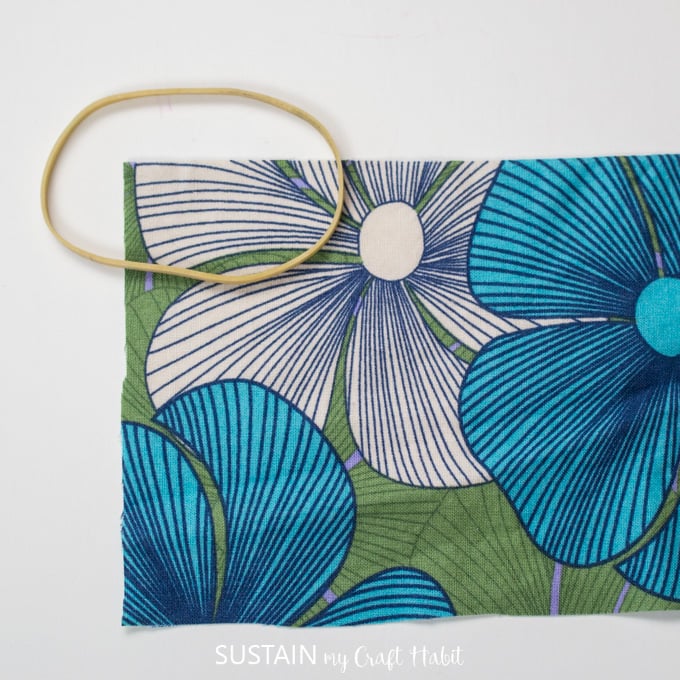
Using a sewing machine set to single needle stitch, sew along the cut edge with a 1/4” seam allowance, sandwiching the elastic band inside.
Start sewing 1” from the end and continue until you’re 1” from the end. Remember to do a back stitch at the start and end of your stitch line.
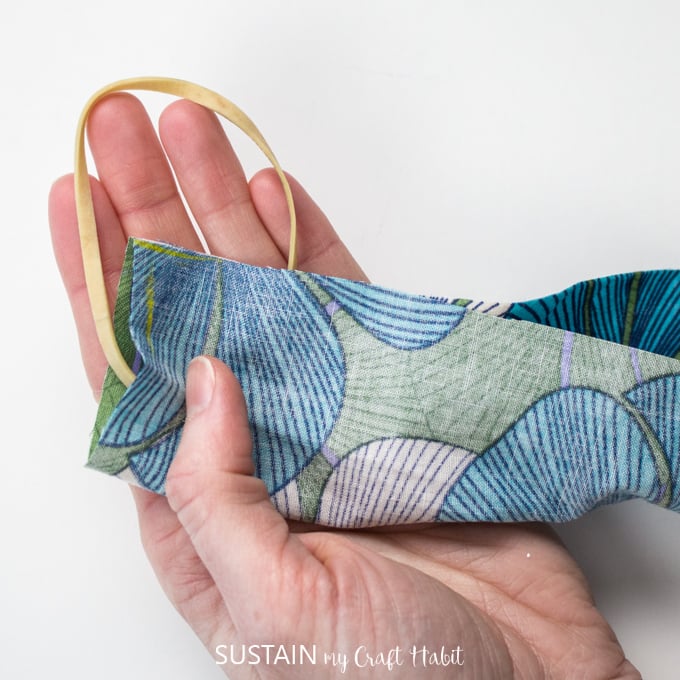
Turn the fabric RIGHT side out, with elastic encased inside.

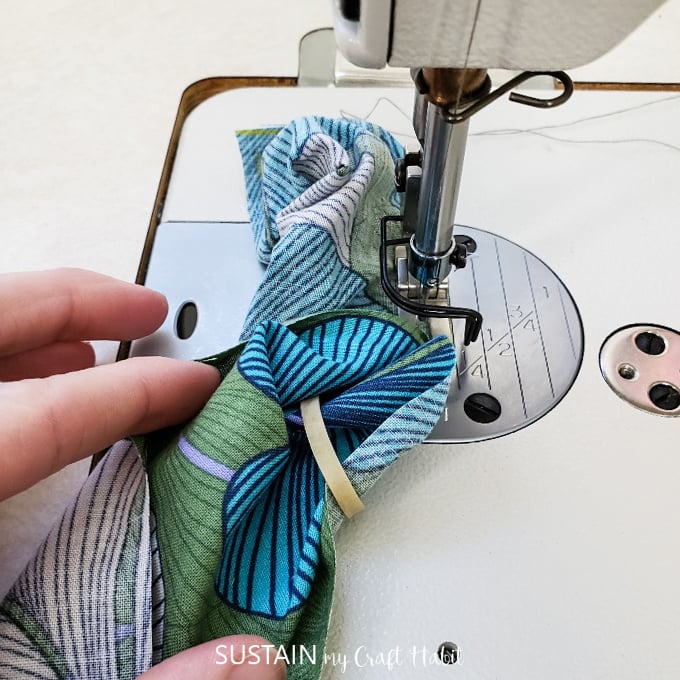
Match the short ends with RIGHT sides of the fabric together. Sew the ends together with a ¼” seam allowance making sure to keep the elastic band away from the sewing needle.

Tuck the seam allowance inside and your hair tie scrunchie will be formed.
To finish, fold the ends of the 1.5” gap inside and sew the hole closed along the edge.
3. Making a No Sew Scrunchie
This option is a good one for any non-sewers out there. Obviously, as a sewer I prefer the previous 2 ways BUT if sewing is not for you, using fabric glue will do the trick! The down side is the glued edges will feel stiffer than if sewed but not terribly if you don’t over do it on the amount of glue.
Materials needed
- Flat elastic band, ¼” wide
- Safety Pin
- Scrap Fabric
- Fabric Scissors
- Iron and ironing board
- Hot Glue Gun with clear glue sticks OR fabric adhesive (less stiff than hot glue but takes longer to dry)
- Measuring tape or ruler
How to make a scrunchie no sew
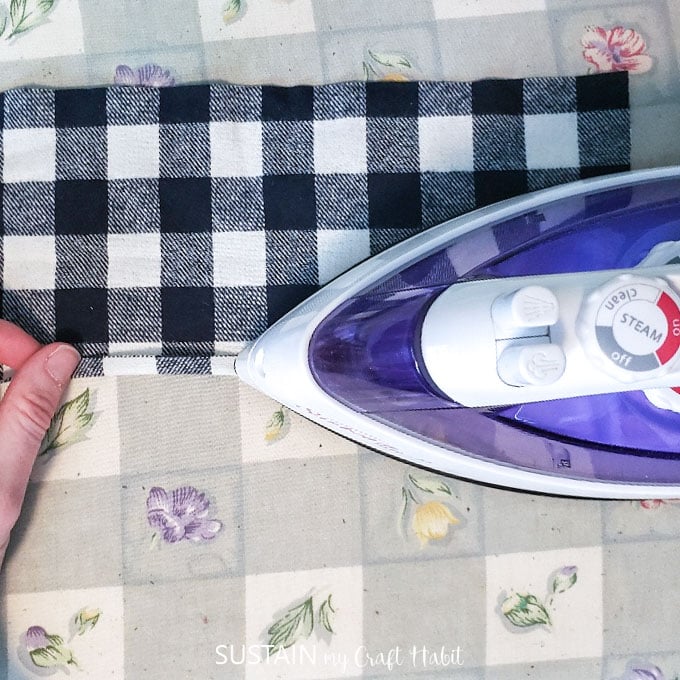
Same as the other two options, cut your scrap fabric to measure 4” wide by 18” long.

Fold the cut ends along the length by ¼” towards the wrong side. Press in place using a hot iron. Repeat along both sides.
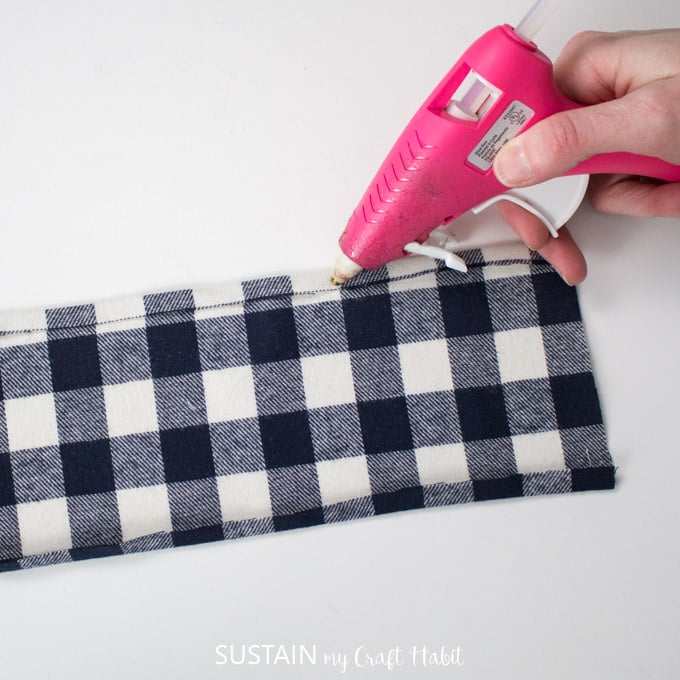
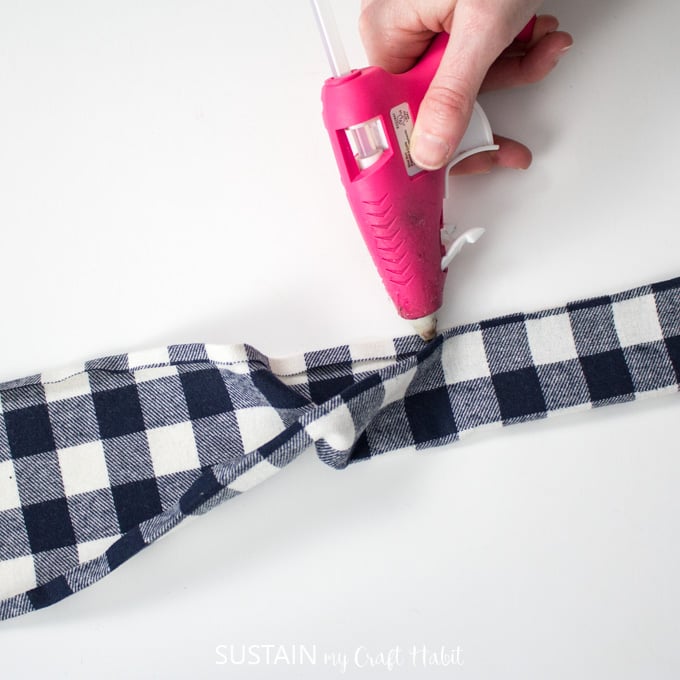
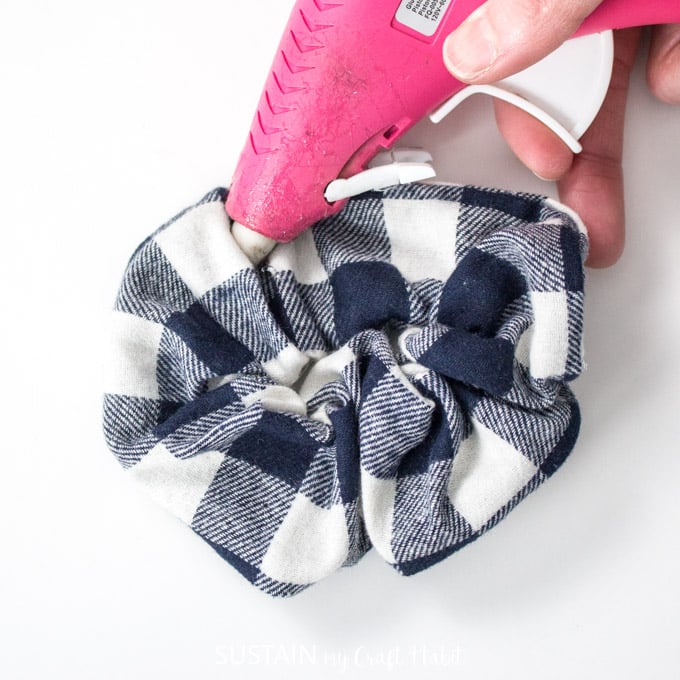
Apply a thin bead of glue along the folded edge, working small sections at a time.
Fold the piece in half widthwise pressing the folded edges together where glued.
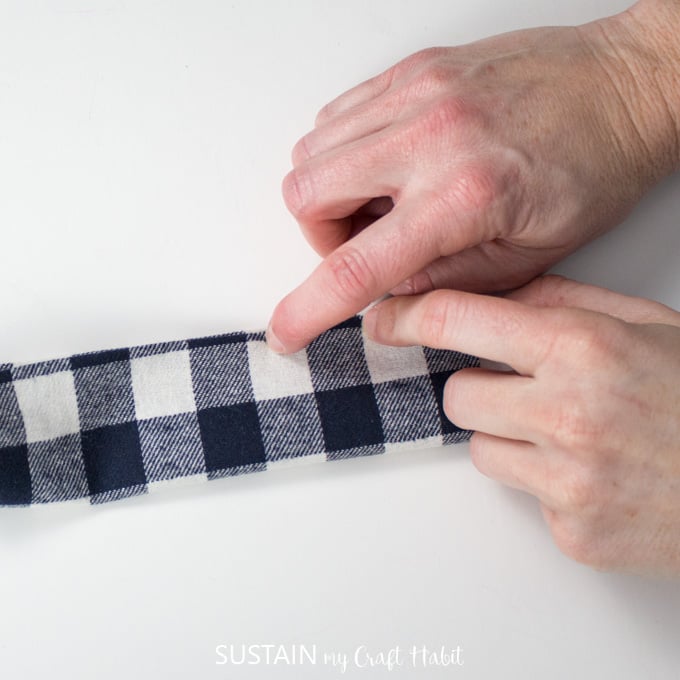
Continue along the entire length of the piece. Allow the glue to cool and set before proceeding.
Cut the flat elastic to 8” long.
Secure a safety pin to one end of the cut flat elastic.
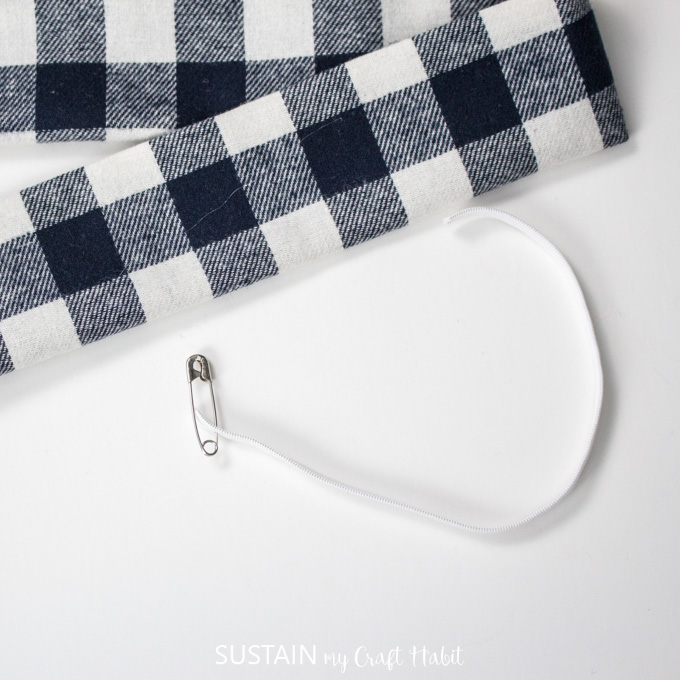
Guide the safety pin into one end and pull it through until the exits out the other end. Take care to hold on to the other end of the elastic.
Knot the ends together as shown.
Overlap one end with the other end forming a complete circle. Turn the cut edges under and glue in place. Allow the glue to cool and set before using.
And there you have it, 3 different ways to sew a scrunchie! Which method are you going to try?
If you enjoyed this project, be sure to check out our collection of 60 fun craft ideas for adults , 30+ creative crafts with clothespins and 21 of the best crafts for teens !
Like it? Pin it for later!
Scrunchie with a Flat Elastic
Materials
- Flat elastic band ¼” wide
- Safety Pin
- Scrap Fabric
- Fabric Scissors
- Sewing Machine and matching thread color
- Measuring tape or ruler
Instructions
- Cut your scrap fabric to measure 4” wide by 18” long.
- Next, fold the fabric in half width wise with RIGHT sides together. Using a sewing machine set to single needle stitch, sew along the cut edge with a 1/4” seam allowance.
- Start sewing 1” from the end and continue until you’re 1” from the end. Reinforce your stitches at the start and end with back stitching.
- Turn the piece RIGHT side out.
- Match the short ends with RIGHT sides of the fabric together. Sew the ends together with a ¼” seam allowance. This will complete the scrunchie piece leaving about an 1 1/2" opening for the elastic to be inserted.
- Cut flat elastic to 8” long.
- Secure a safety pin to one end of the cut flat elastic. Guide the safety pin into the unstitching opening and pull it through until the exits out the other end.
- Knot the ends together.
- Extend the scrunchie forcing the elastic inside. Using a sewing machine, sew the opening closed along the folded edges.
Scrunchie with a Hair Tie
Materials
- Elastic rubber band OR hair elastic good quality, not easy to break
- Scrap Fabric
- Fabric Scissors
- Sewing Machine and matching thread color
- Measuring tape or ruler
Instructions
- Cut your scrap fabric to measure 4” wide by 18” long.
- Fold the fabric in half width wise with RIGHT sides together through the elastic band.
- Using a sewing machine set to single needle stitch, sew along the cut edge with a 1/4” seam allowance, sandwiching the elastic band inside.
- Start sewing 1” from the end and continue until you’re 1” from the end.
- Turn the fabric RIGHT side out, with elastic encased inside.
- Match the short ends with RIGHT sides of the fabric together. Sew the ends together with a ¼” seam allowance making sure to keep the elastic band away from the sewing needle.
- Tuck the seam allowance inside and scrunchie will be formed.
- To finish, fold the ends of the 1.5” gap inside and sew the hole closed along the edge.
No Sew Scrunchie
Materials
- Flat elastic band ¼” wide
- Safety Pin
- Scrap Fabric
- Fabric Scissors
- Iron and ironing board
- Hot Glue Gun with clear glue sticks OR fabric adhesive
- Measuring tape or ruler
Instructions
- Cut your scrap fabric to measure 4” wide by 18” long
- Fold the cut ends along the length by ¼” towards the wrong side. Press in place using a hot iron. Repeat along both sides.
- Apply a thin bead of glue along the folded edge, working small sections at a time.
- Fold the piece in half width wise pressing the folded edges together where glued.
- Continue along the entire length of the piece.
- Cut the flat elastic to 8” long.
- Secure a safety pin to one end of the cut flat elastic.
- Guide the safety pin into one end and pull it through until the exits out the other end.
- Knot the ends together.
- Overlap one end with the other end forming a complete circle. Turn the cut edges under and glue in place.


Scrunchies are really trending right now. My girls wear them all the time. I need to make a few of these for them. Thanks for the great tutorial ladies.
You’re very welcome! And I would never have thought they’d become so trendy…again!
Loved this post but in the instructions you don’t have how to attach the ends together before you sew the elastic into the scrunchie
Oh thanks Julie, you are right, I missed that one step in the write up! Basically, before cutting the elastic but after turning the sewn scrunchie right side out, you’ll need to match the short ends with RIGHT sides of the fabric together. Sew the ends together with a ¼” seam allowance. This will complete the scrunchie piece leaving about an 1 1/2″ opening for the elastic to be inserted. Thank you for you comment.
@Jane and Sonja, I don’t know if I’m doing something wrong but when attaching the ends together mine doesn’t come out I’ve re done it so many times. I’d love to see a visual of that step?
Hi Maria, which method are you attempting for the scrunchie? I can definitely add some more visuals in the post to assist you. Are you using a flat elastic? And when you say you’re attaching the ends together, are you referring to the elastic ends or the ends of the fabric?