Easy DIY Advent Calendar with Ribbon and Burlap: #12MonthsofDIY
Have you ever wanted to make your own advent calendar? Growing up, Christmas wouldn’t have been the same without our chocolate calendars, you know, those little chocolate-filled plastic molds that we had to rip the cardboard square to get into?
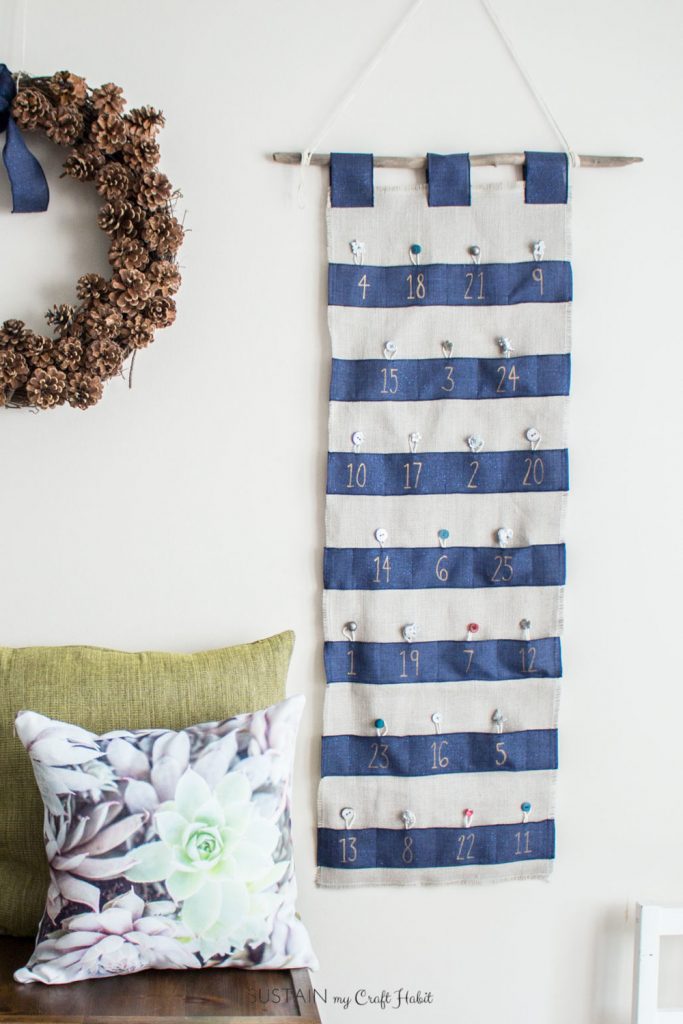
We still like to get the chocolate advent calendars for each of the kids. However, my son is allergic to peanuts so we look for non-candy alternatives. He’d be pretty ecstatic to get one of these LEGO advent calendar building kits*.
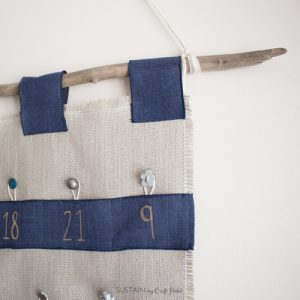
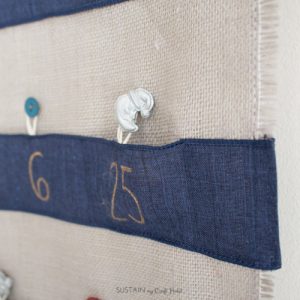
DIY Advent Calendar
I’ve always loved the idea of hanging a large calendar on the wall to see every day and count-down to Christmas. Last year Sonja purchased a DIY advent calendar kit, similar to these ones on Etsy* and made her own. Seeing it hanging in her living room made me want one!
So, when we were trying to think of what to make with ribbon for this month’s #12MonthsofDIY challenge, the idea of an advent calendar for the kids came to mind! With so many variations of ribbon it can be hard to choose just one project idea. You can see all the diverse and amazing ribbon crafts made by our fellow Canadian bloggers below.
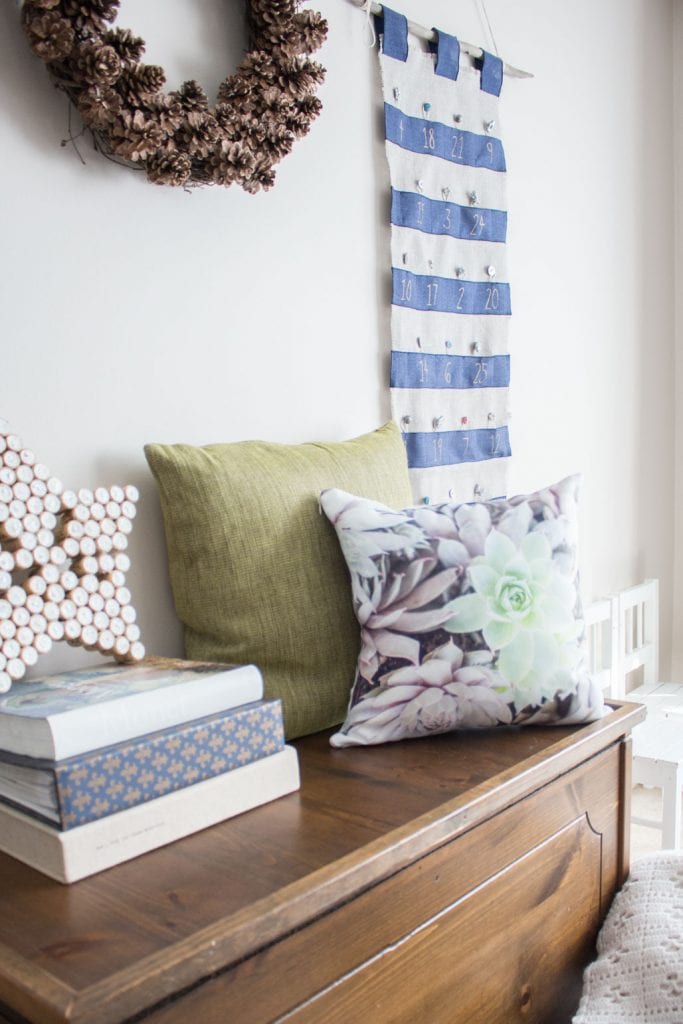
[BTW: you can find the tutorial to make the Sparkling Wine Cork Star here and the succulent throw pillow in our Society6 shop.]
Materials Needed to Make your own Advent Calendar with Fabric and Ribbon:

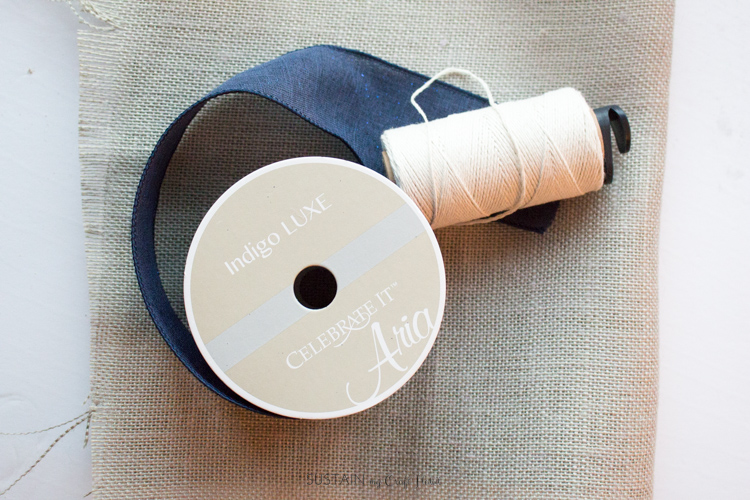
- 3″ wide Ribbon
- Burlap or Felt (or any solid woven fabric for the base of the calendar)
- Scissors
- Measuring Tape
- Straight Pins
- Sewing Machine
- Sewing Needle and thread
- Buttons
- Tree branch
- Twine (or substitute with more ribbon if you like!)
How to make an advent calendar with ribbon
1. Cut the base of the wall hanging to measure 14” wide x 42” long. Since we used burlap, we kept the edges frayed. To ensure the burlap doesn’t over unravel, run two lengths of straight stitches about ½” from the edge. Pull away at the loose burlap yarn.
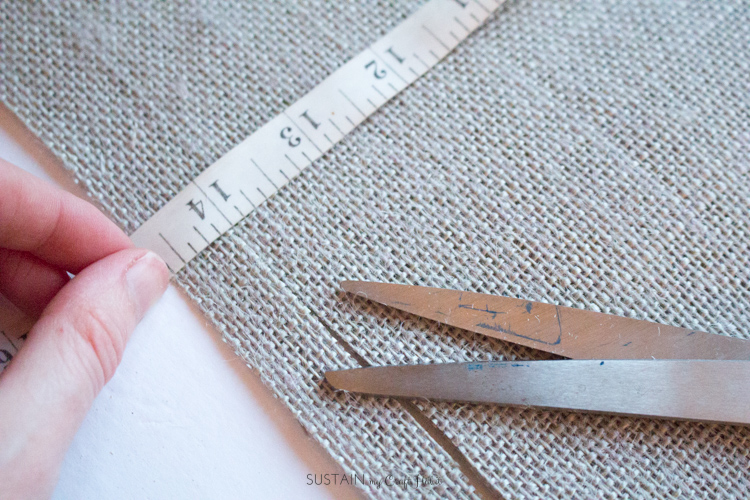
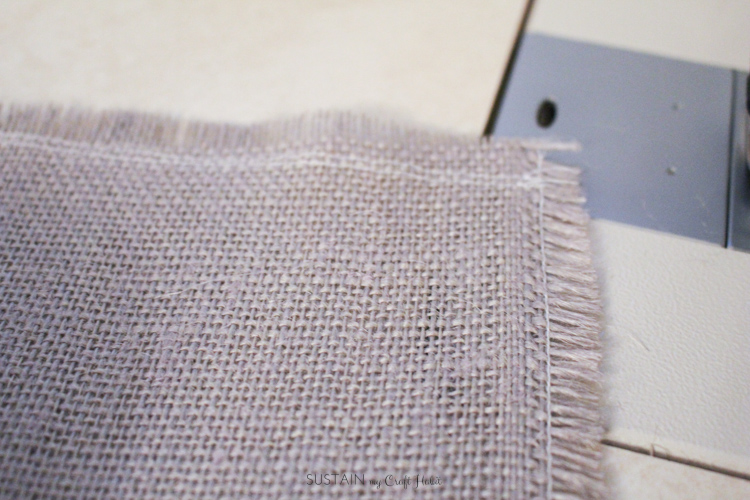
3. Cut the ribbon into seven 16” long strips. These will make the pockets for your calendar.
4. Cut three more lengths of ribbon into 9” long strips. These will make the loops for the tree branch to hang from.
5. Cut 25 lengths of twine to 6” long each. Fold each piece in half and knot at the mid-point. These loops will form the button toggles.

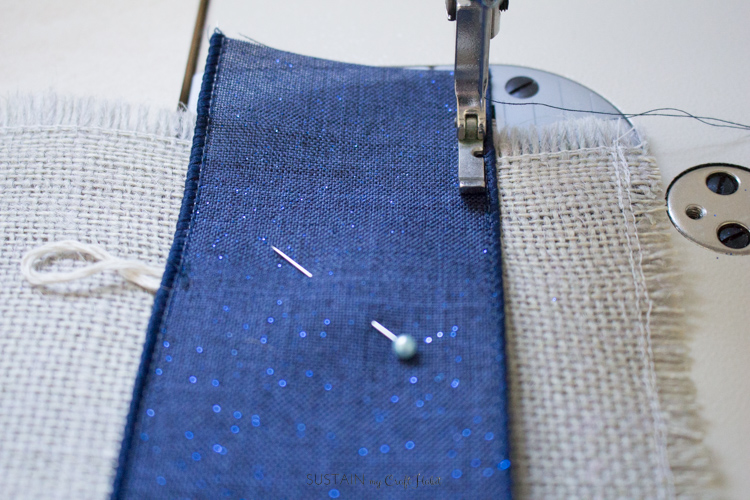
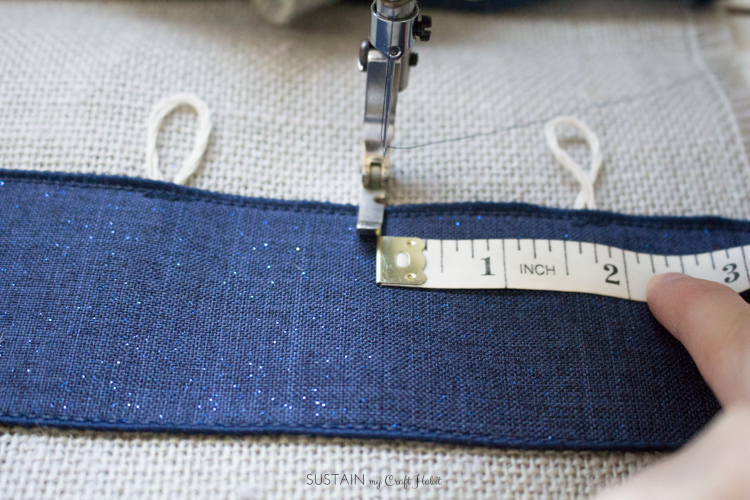
6. Mark the placement of the toggles on each of the seven pieces of 16″ ribbon. Take note: four lengths of ribbon will have four toggles on them and three pieces will have three toggles (25 toggles in total). Space the toggles about 3 ½” apart on each length of ribbon. Pin in place and stitch to ribbon as shown.
7. Position one of the ribbons with four toggles at the base of the calendar, 1” from the bottom. Position the second ribbon with three toggles at 3” away from the 1st ribbon. Continue to alternate between the ribbon pieces with three and four toggles spacing them out 3” apart.
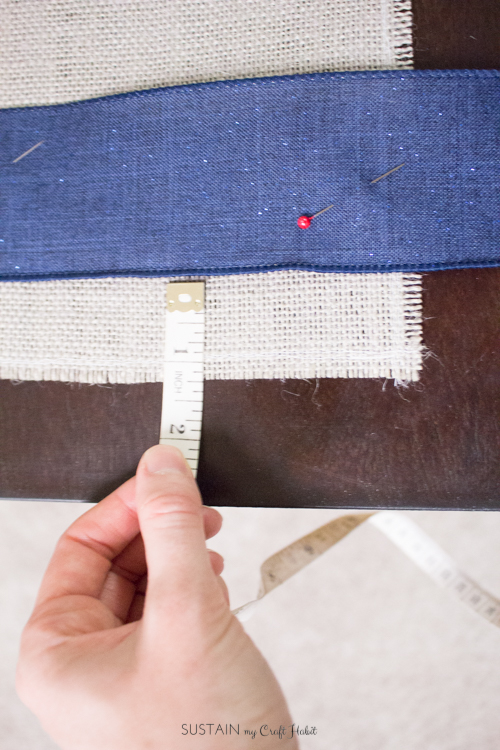
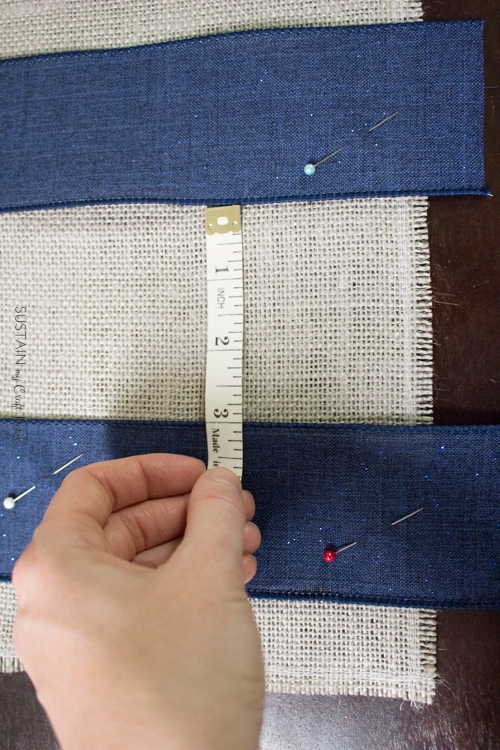
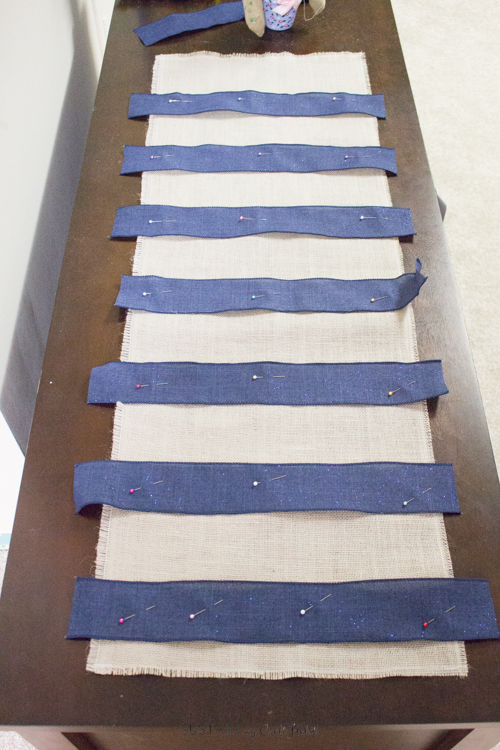
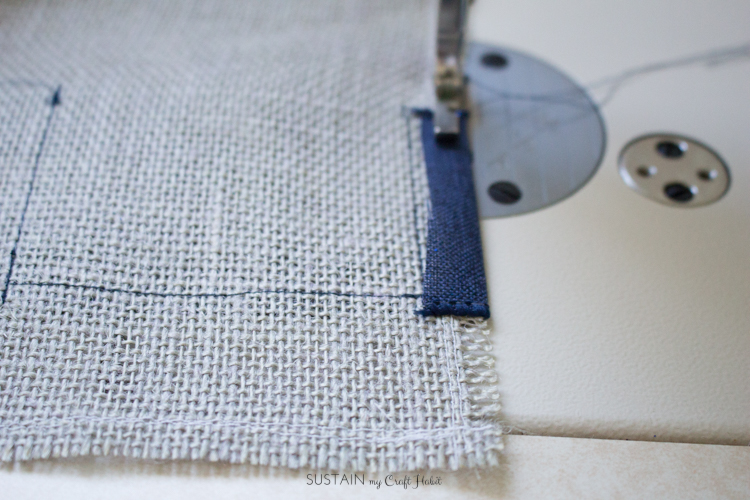
8. Stitch along the bottom edge of each ribbon row. Stitch vertical sections to form pocket at 1 ¾” from the toggle position. Wrap ribbon ends around the back and stitch in place.
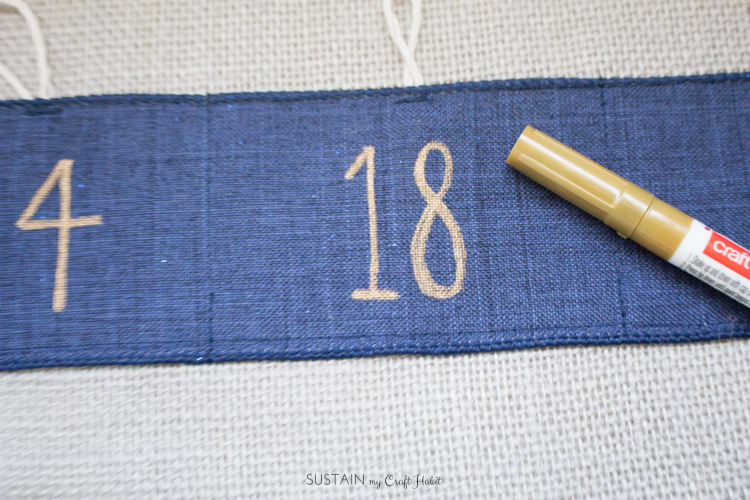
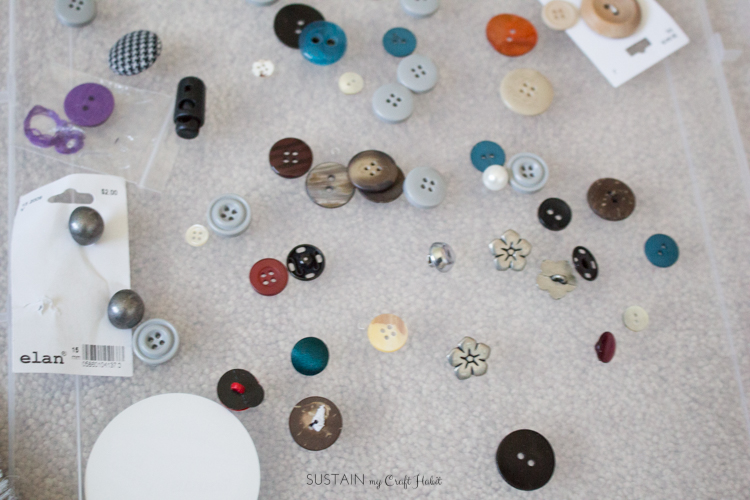
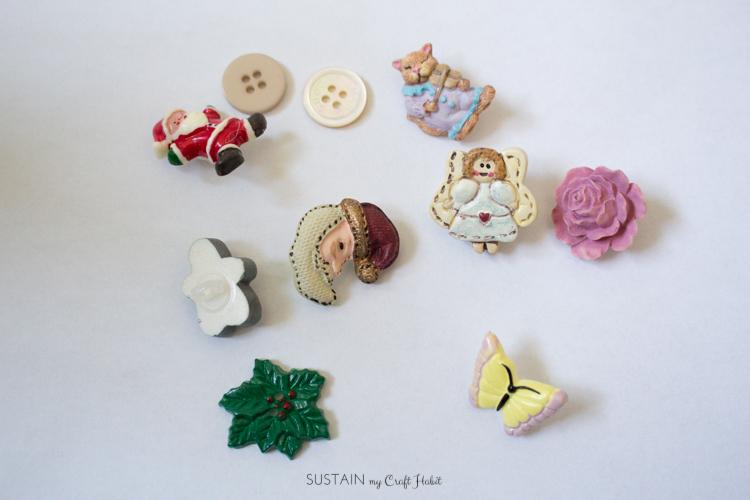
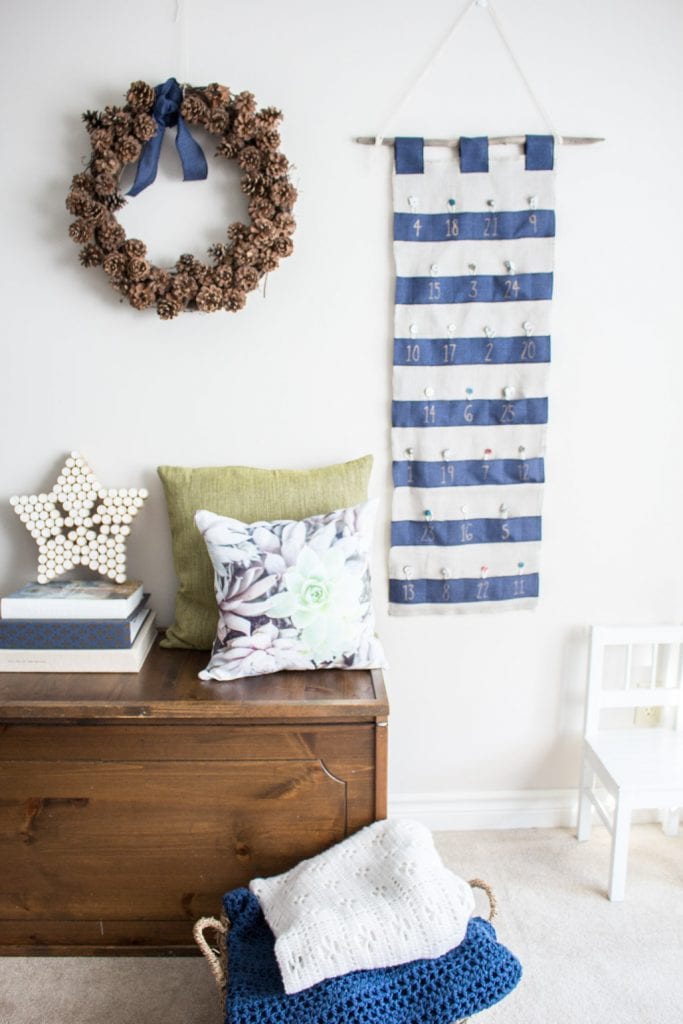
9. Use a gold metallic paint pen and write the numbers 1-25 on the pockets in order or randomly like us! Hand sew buttons in place. We gave some old mismatched buttons an update with silver metallic spray paint.
10. Fold the three 9″ ribbon strips in half and attach to top of calendar by evenly spacing them apart along the top edge. Run a tree branch through all three loops and tie a long piece of twine to the ends for hanging.
Hang on wall and add candies or treats inside each one of the pockets!
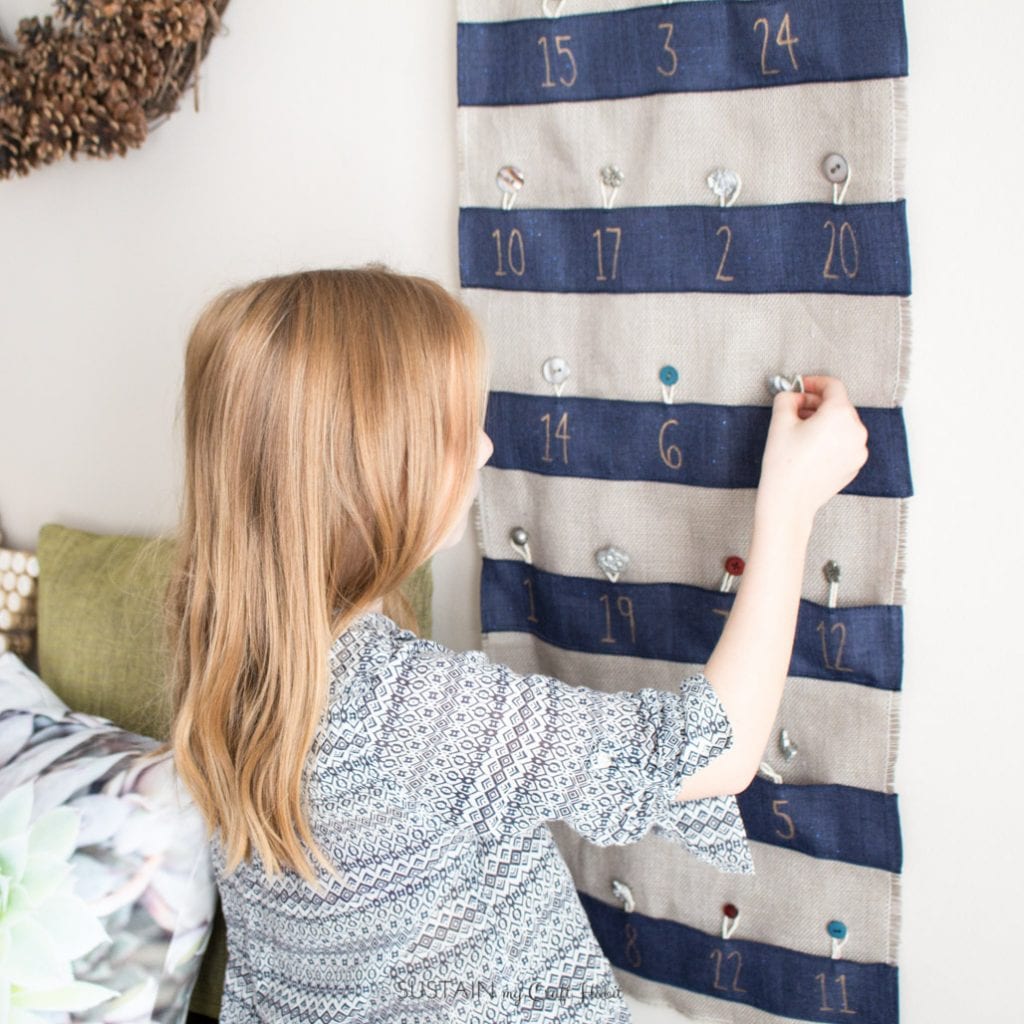
I love how our homemade advent calendar turned out! The pockets are large enough to be able to put a little treat, toy or sticker in for each of the four kids. Here’s a handy list of non-candy fillers in case you’re stuck for advent calendar ideas.
Would you make your own advent calendar? What other family traditions do you share around Christmas time?
And be sure to pop over and check out these inspiring ribbon craft and DIY ideas from our talented Canadian blogger friends!
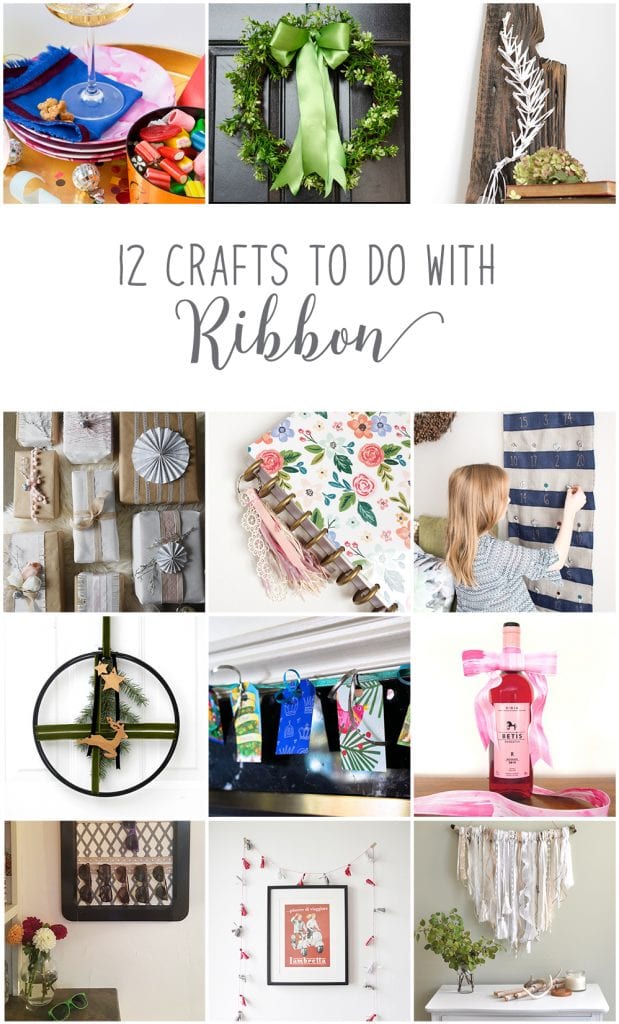
From the top left, they are:
Upcycled Ribbon Cocktail Napkins from PMQ for Two
Faux Greenery Big Satin Bow Grapevine Wreath from Time With Thea
DIY String Art Using Ribbon from Vin’yet Etc.
Shabby Chic Christmas Wrapping Ideas from The DIY Mommy
Ribbon Tassel Keychain from Brooklyn Berry Designs
Make Your Own Advent Calendar with Ribbon from Sustain My Craft Habit
Modern Christmas Wreath from Love Create Celebrate
DIY Gift Tag Ribbon Garland Made With Old Christmas Cards from Woman In Real Life
Hand Painted Ribbon from Fresh Crush
DIY Sunglasses Storage & Display Organizer from Heather in Heels
DIY Ribbon Tassel Garland from Lifeovereasy


I LOVE a good advent calendar and this one is so awesome! All of my fav things, burlap, buttons and pretty ribbon oh and presents!!!
Loving this! So beautiful and also functional. We made an Advent calendar using twigs and little drawstring bags. I love putting it up each year. My kids got the LEGO ones last year too and really loved them – something to construct every day. They also got chocolate ones. Haha. So many treats for kids now.
I LOVE this project! I love the ribbon you used too! This is such a great project 🙂
I think you are really on to something with this advent calendar design! I love easy it was to make and how it turned out. I love the mixed up numbers making it so much fun to do the countdown to Christmas! This will be a wonderful family tradition!
So cute, and I love how it matches your style perfectly. Great ribbon project.
this is beautiful! I have so many memories of our advent calendars and love how this can easily be made to work with the home decor too:)
this is amazing! I love the attention to detail and the work that went into it. It’s a fabulous project for sure 🙂
I love advent calendars and this one is so pretty. Love the blue!
I agree with you…
great idea…I had something similar for my son when he was younger that my sister made for him. Sometimes I would just put a note in the pocket telling him where his treat was hidden in the house. Good memories!
Girls you are so talented