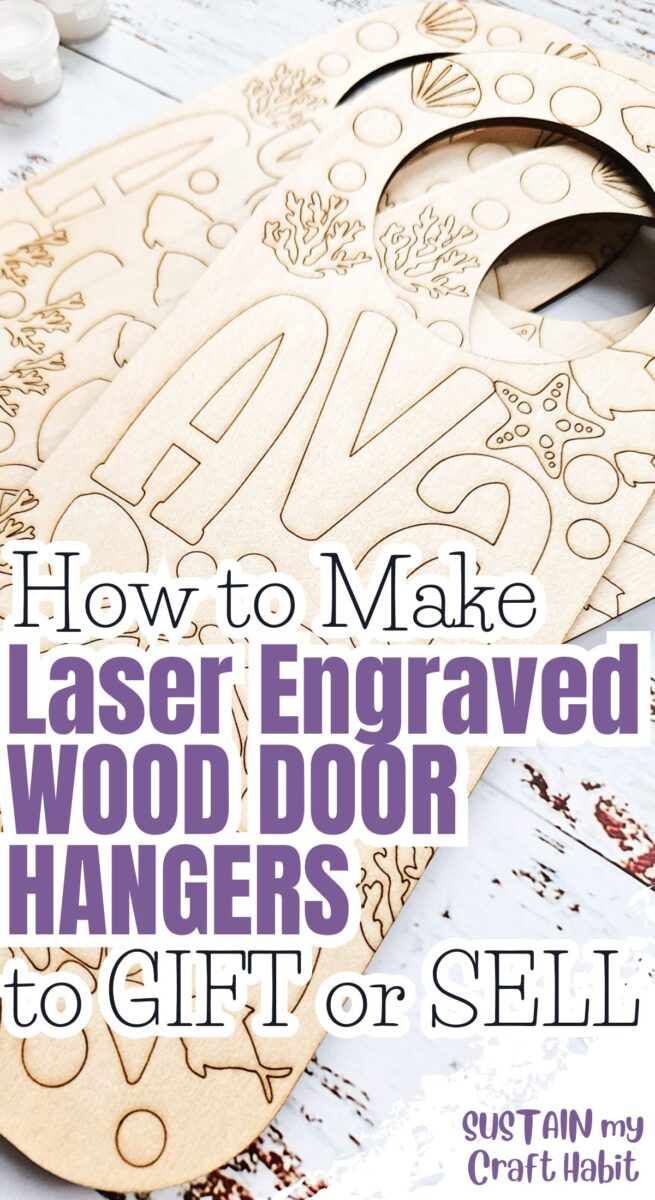
How to Make Laser Engraved Wood Door Hangers to Gift or Sell
Creating laser engraved wood door hangers is a fun and rewarding craft that combines creativity with practicality.
Whether you’re making personalised gifts for friends and family or looking for a profitable handmade product to sell at craft fairs or online, these DIY wooden door hangers are stylish, versatile, and surprisingly simple to create.
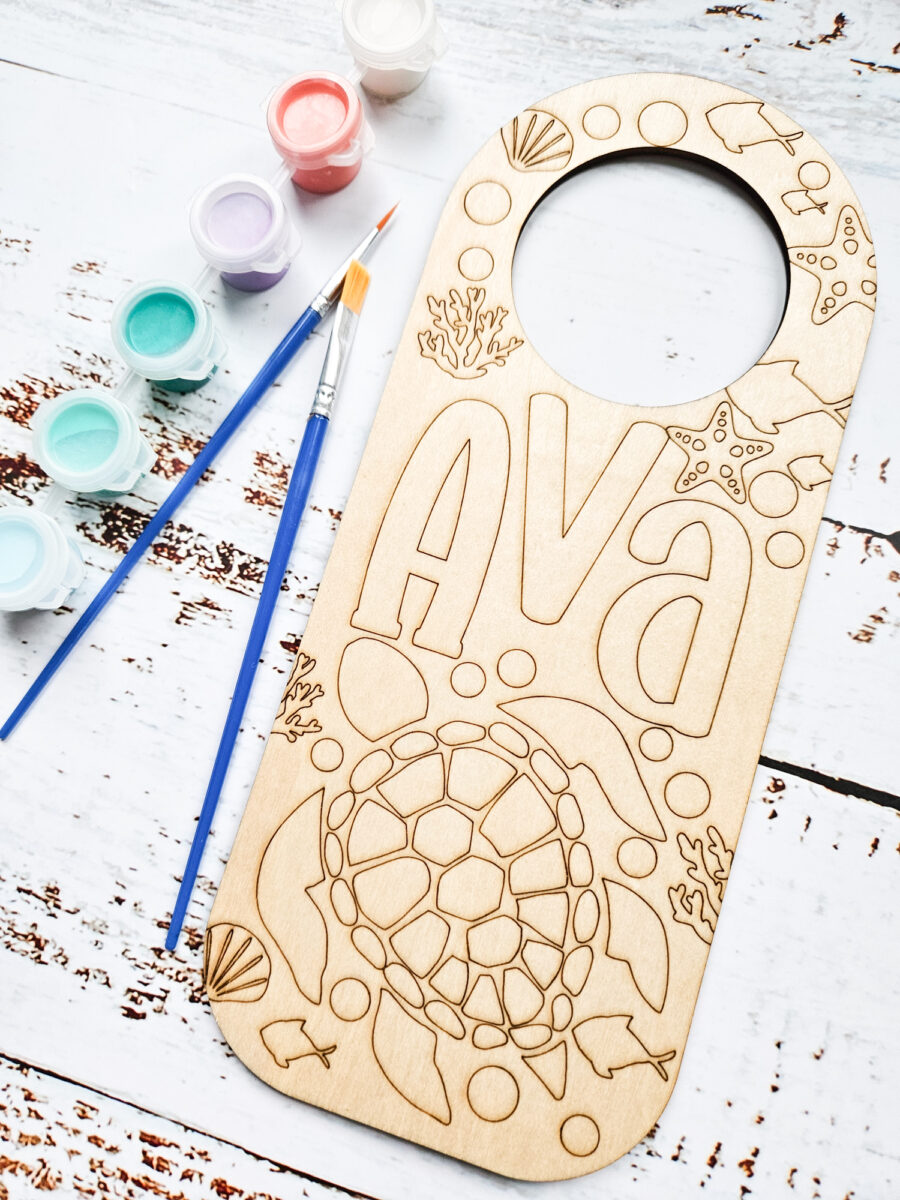
With the right materials, a laser engraver, and a few finishing touches, you can produce professional-quality décor that customers love. In this guide, you’ll discover helpful tips, creative ideas, and practical advice to make beautiful laser engraved wood door hangers that stand out. Let’s get started!
Why You’ll Love Making Laser Engraved Wood Door Hangers
- Perfect for creating laser engraved wood door hangers for gifts, home décor, or small business sales.
- Easy to customise with family names, seasonal designs, inspirational quotes, or children’s room themes.
- Uses affordable wood blanks and finishes, making it a budget-friendly craft.
- Great for beginners and experienced makers alike, with endless design possibilities.
- Makes an excellent handmade product for Etsy shops, craft markets, and personalised gift businesses.
Get access to our resource library filled with SVG cut files and laser cutting craft ideas!
Materials Needed
- xTool P2 or other laser engraver
- Blank wood door hanger or laser cut the door hanger shapes
- SVG file of your choosing or personalized text / design
For this particular project, we cut out the doog hanger shapes using an svg file from Creative Fabrica.
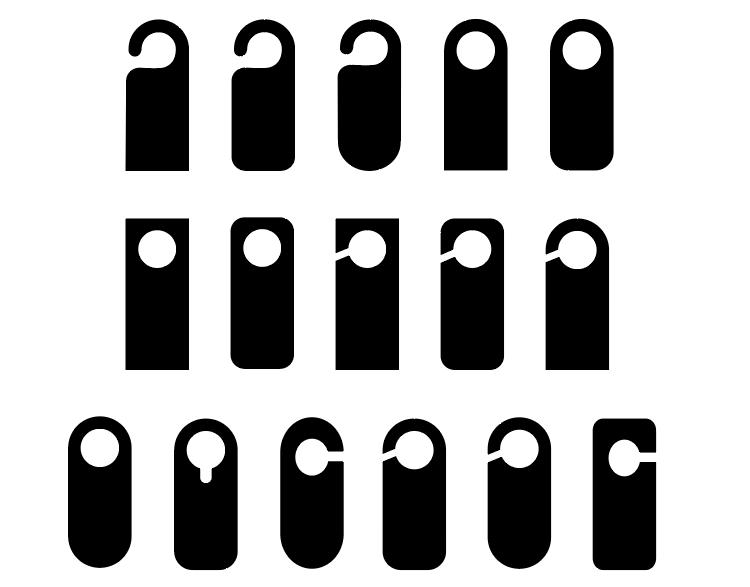
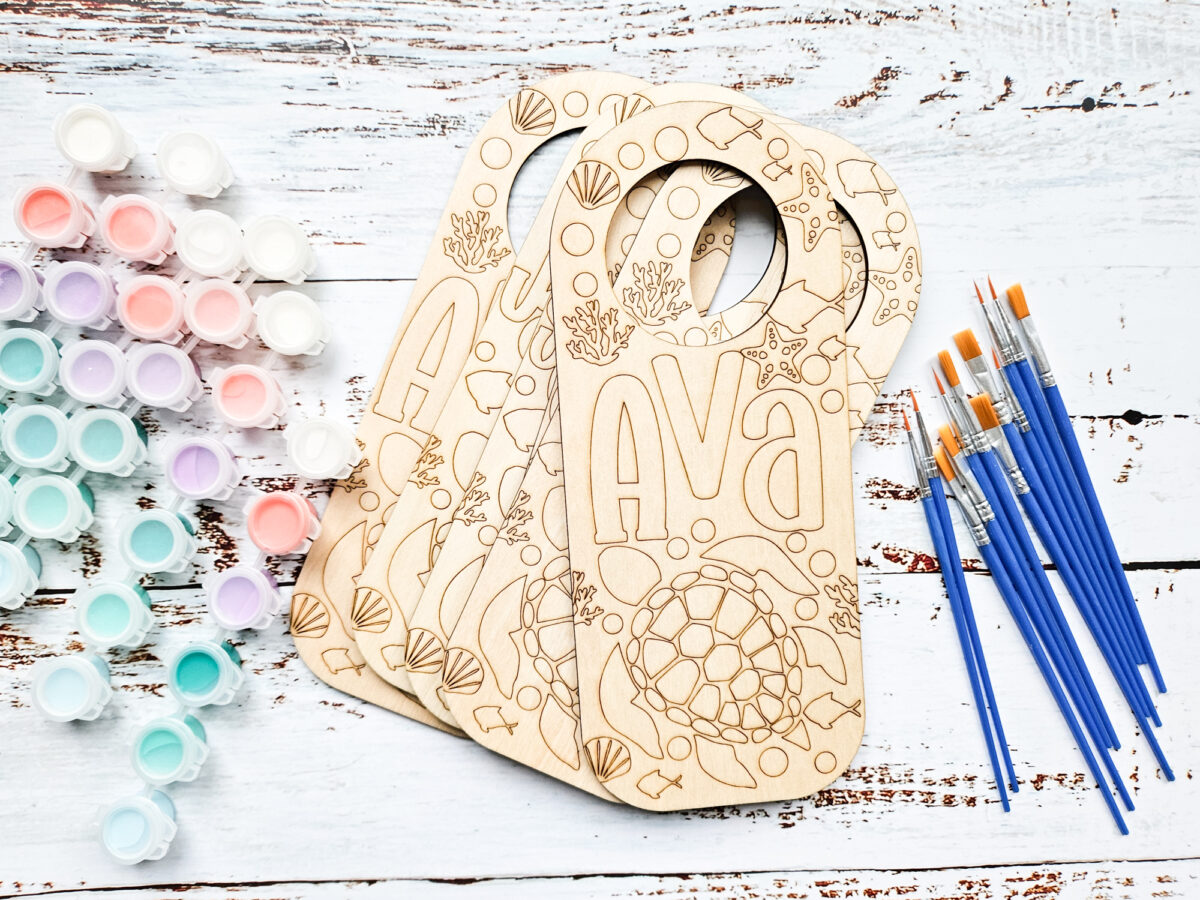
Alternatively, these wood door hanger blanks are also available for buying in large quantities if you plan to make many of them. Additionally, we love that they are lightweight, budget-friendly, and perfect for quick personalized projects such as a DIY “do not disturb” home office dor hanger!
How to Make Laser Engraved Wood Door Hangers
How To Create a Personalized Design
Open the Creative Space app and turn on xTool P2. Connect Creative Space app to machine and click on “+” button to create new project.
Import an image/phrase or create your own in Creative Space on a blank canvas.
Creative Space has free design in their menu that you can use and size up or down accordingly.
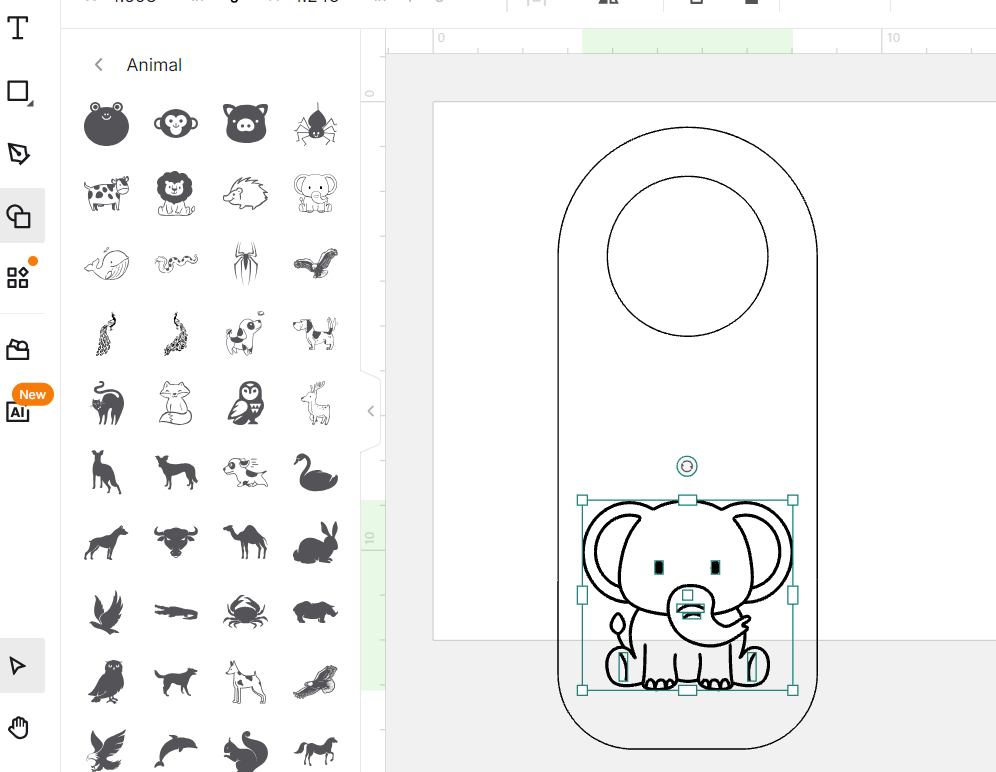
You can also get svg designs from Creative Fabrica. This is where I found the sea turtle design.
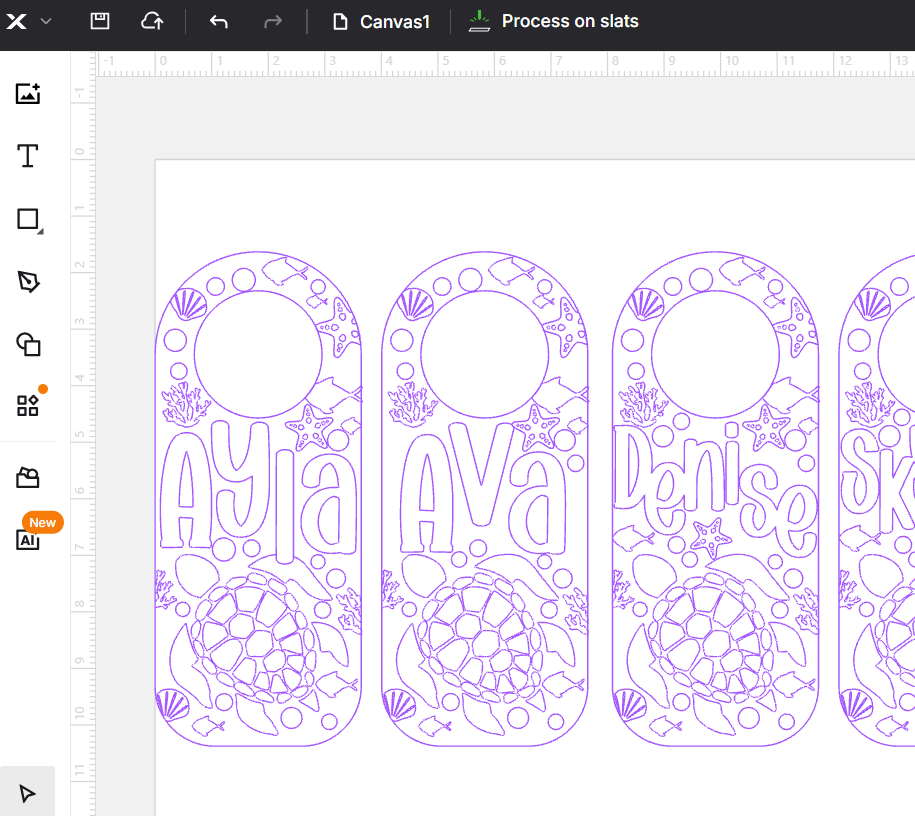
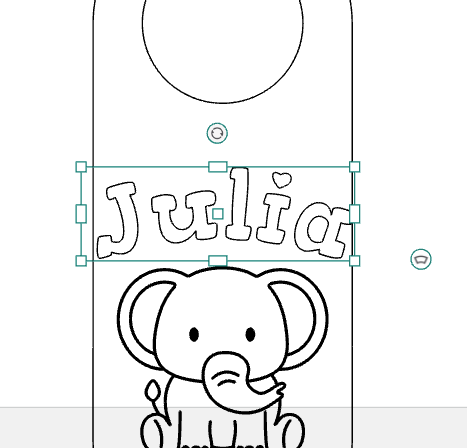
Add a name or text of your choosing. Select the text icon and type out the word or phrase you want to include. Change the font using the drop down menu and then resize the text to fit.
Using the XTool P2 for Laser Engraving
Place the door hanger inside the machine on top of the slats.
Refresh the screen and select the measure tool to manually check the thickness of the door hanger.
Size the design to fit on the door hanger.
With the design selected, ensure the parameter is set to engrave and then assign the settings for the machine to follow. In our case, we found 40% power with 18mm/s and 1 pass the ideal setting.
If your engraving appears too light, increase your laser power slightly or reduce the engraving speed according to your machine’s recommendations.
Hit process and then remove when engraving is complete.
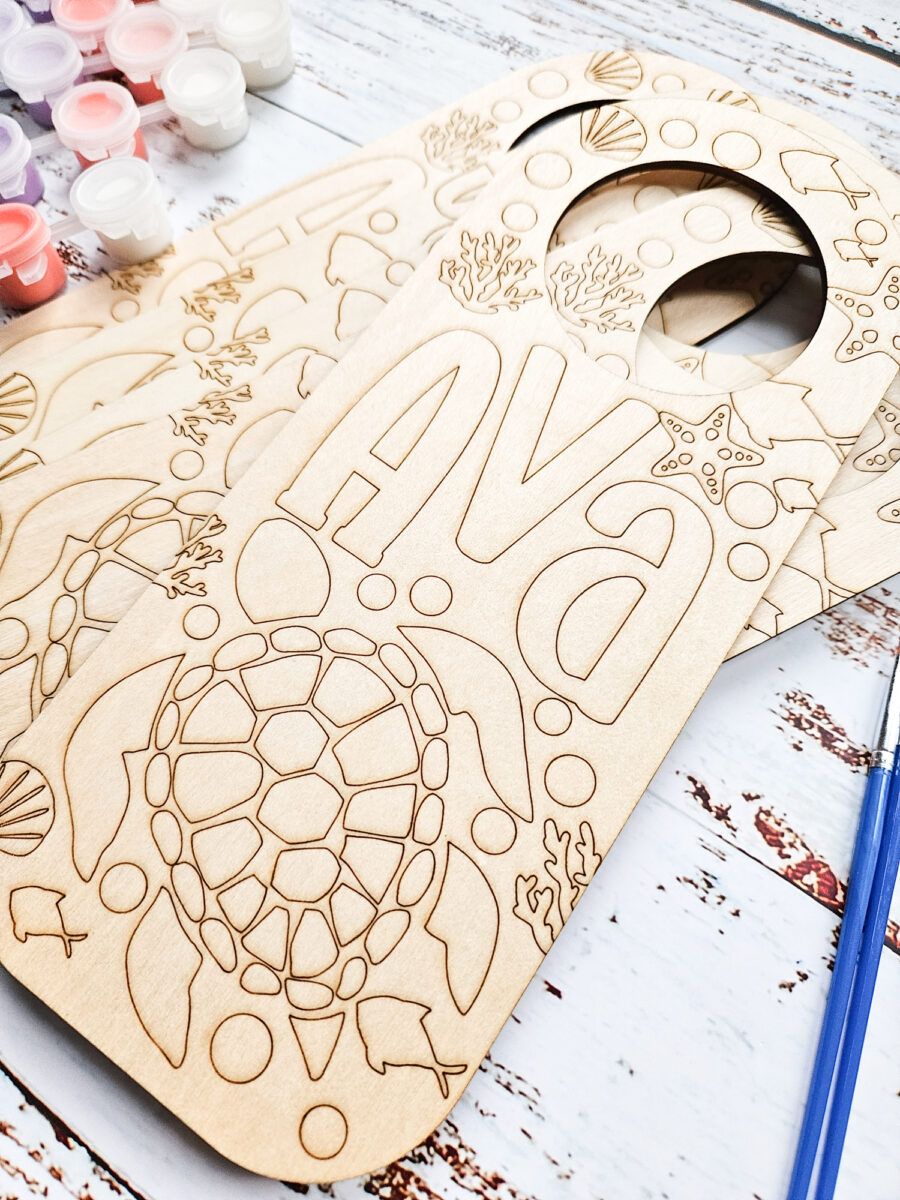
Wipe away some of the fine dust on the surface of the door hanger.
Personalise for Every Occasion
Offering personalised names, family monograms, or custom messages can make your products even more appealing if you’re selling them!
One of the biggest advantages of laser engraved wood door hangers is how easy they are to customise. Try designs for:
- “Do Not Disturb” or “Please Enter” signs for a home office (or studio)
- a seasonal welcome sign on your front door as a stylish home décor idea that can be changed throughout the year.
- personalised nursery or children’s bedroom signs as a memorable gift décor idea for baby showers or birthdays.
- back to school teacher’s classroom doors
- display multiple coordinating door hangers together on a craft fair stand or market display to showcase different themes, colours, and personalisation options. Include high-quality images in your listings or promotional materials to help customers visualise the finished product in their own homes.
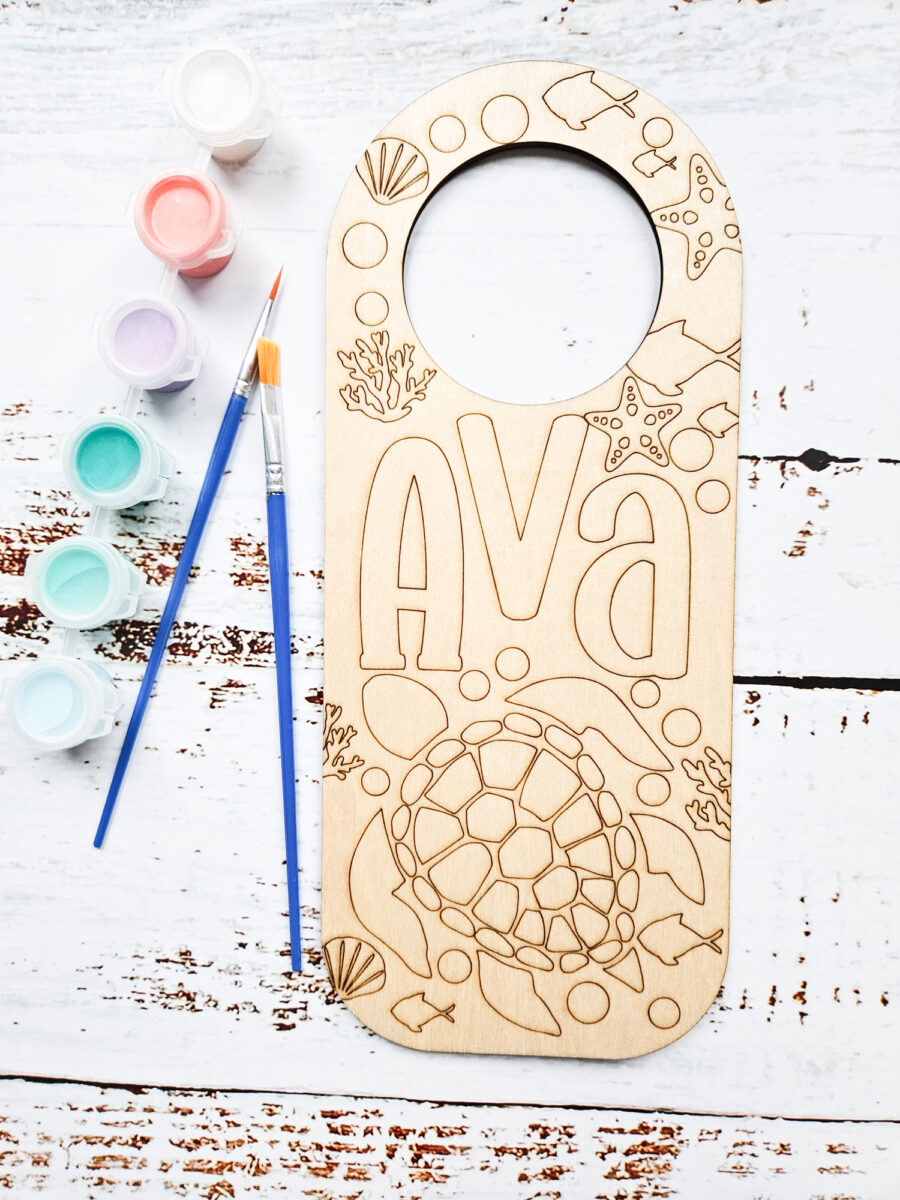
- kid’s paint-ready craft project like we did with our personalized door hangers by including paint brushes and washable paints.
Experiment with Shapes, Sizes & Colours
- Finish your engraved wood with natural oil, white paint, rustic stain, or soft pastel colours to match different decorating styles.
- Adding ribbon, faux greenery, bows, or layered acrylic accents can create a premium finished look.
Endless Customisation Options
Laser engraved wood door hangers are a wonderful project for anyone who enjoys crafting personalised home décor or creating handmade products to sell. With endless customisation options, affordable materials, and professional-looking results, they’re a fantastic addition to any laser engraving collection.
Whether you’re making one for your own home or building inventory for your small business, these beautiful wooden signs are sure to impress. If you found these ideas helpful, don’t forget to save or pin this guide for inspiration on your next laser engraving project.
How to Make Laser Engraved Wood Door Hangers to Gift or Sell
Materials
- xTool P2 or other laser engraver
- Blank wood door hanger
- SVG file of your choosing or personalized text/design
Instructions
To Create a Personalized Design
- Creative Space has free designs in their menu that you can use and size up or down accordingly.
- You can also get svg designs from Creative Fabrica.
- Add a name or text of your choosing. Select the text icon and type out the word or phrase you want to include. Change the font using the drop down menu and then resize the text to fit.
- Group all together and size it to fit on the blank door hanger.
Using the XTool P2 for Engraving
- Open the Creative Space app and turn on xTool P2.
- Connect Creative Space app to machine.
- Click on new project.
- Import an image/phrase or use the design created in Creative Space.
- Place the blank door hanger inside the machine on top of the slats.
- Refresh the screen and select the measure tool to manually check the thickness of the door hanger.
- Size the design to fit on the door hanger.
- With the design selected, ensure the parameter is set to engrave and then assign the settings for the machine to follow. In our case, we found 40% power with 18mm/s and 1 pass the ideal setting.
- Hit process.
- Remove when engraving is complete.
- Wipe away some of the fine dust on the surface of the door hanger.
More Personalized Laser Engraving Crafts to Make
When it comes to personalized laser engraving projects, we have a library full of creative and unique ideas. Check out these few projects to get you motivated and inspired!
- Personalized Garden Tools
- Personalized Trinket Trays
- Personalized DIY Nightlight
- Personalized Wood Engraving
- DIY Stocking Tags



Like it? Pin for later!