Personalized Garden Tools: How to Engrave Garden Tools with xTool
If you’re looking for the perfect gift for a plant lover in your life or want to add some personality to your own indoor gardening tools set, laser engraving with xTool makes it very easy and quick! And we’ll show you just how to do it in this tutorial.
With a laser engraving machine, you can personalise wooden handles to give character to your gardening kit or to create a unique gift in just one afternoon.
We’ll teach you how to custom engrave garden tool handles with xTool with a step by step photo tutorial below.
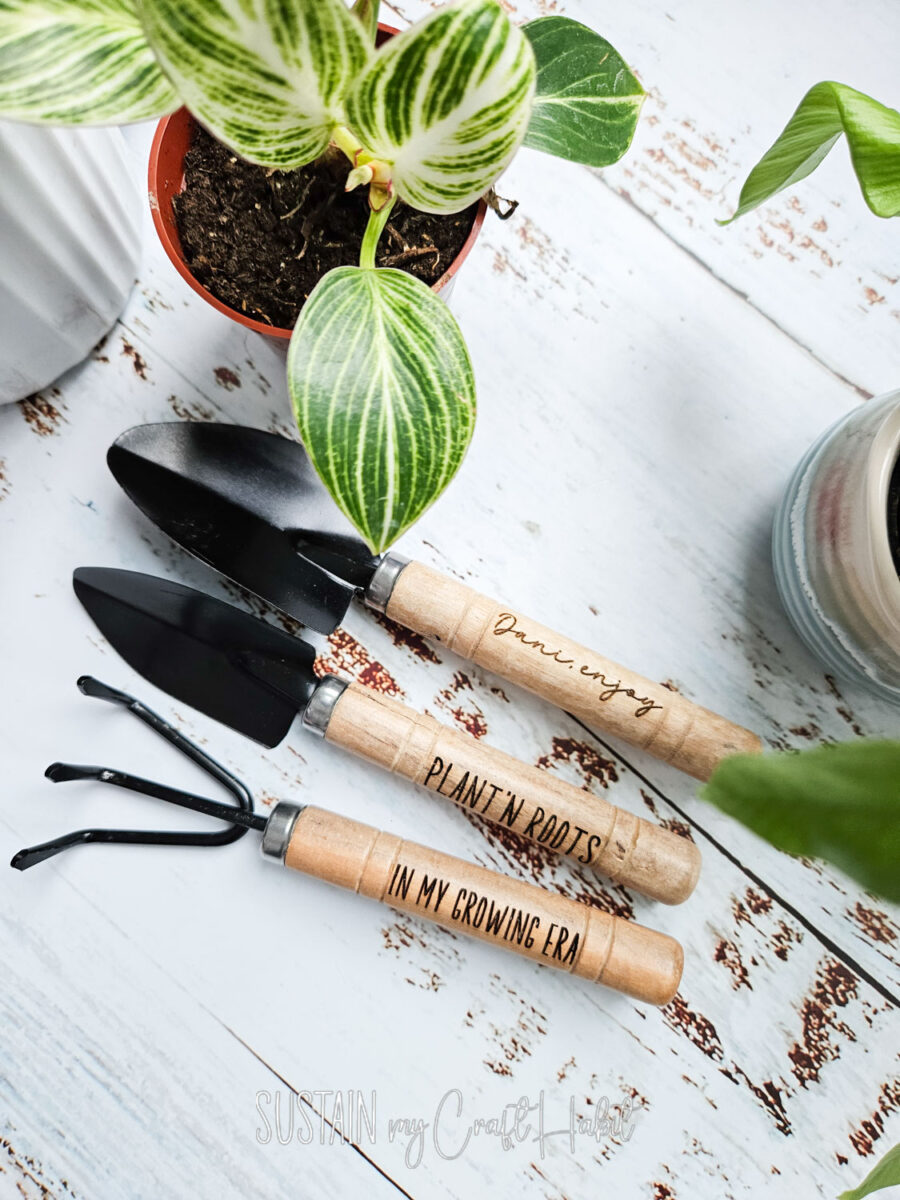
Having a niece with a passion for indoor plants, I’m always on the look out for thoughtful garden-themed gifts so these personalized garden tools are just the ticket.
I’ll walk you through the step-by-step process of engraving wooden tool handles, plus share simple design ideas and tips to get clean, crisp results.
Why You’ll Love This Project
- Easy and inexpensive materials – use tools you already own
- Full step-by-step tutorial using xTool P2 laser engraving machine
- Perfect personalised gardening gift idea for birthdays, Mother’s Day and Father’s Day
- Great way to label garden tools for allotments or shared sheds
- Works beautifully on wooden handles and even coated metal surfaces
Want to receive a ton of inspiration and money saving ideas for decorating, gift-giving and crafting? Join HERE!
Materials Needed
- xTool P2 CO2 laser engraver and cutting machine – to learn more about the xTool P2 and it’s capabilities, check out our post here
- Mini Gardening Tools Set with wooden handles
- SVG file of your choosing or personalized text

How to Laser Engrave Wooden Tool Handles
Open the Creative Space app and turn on xTool P2 and connect the Creative Space app to the machine.
Click on create project and import an image/phrase you like to use or create your own in Creative Space on a blank canvas using the text icon.
Place the garden tools inside the machine on top of the slats. Prop the handle end so it is a level surface for engraving.

Refresh the screen and select the measure tool to manually check the thickness of the handle.

Size the design to fit on the handle. In our case, the text had to be sized to less than 2” wide.

With the design selected, ensure the parameter is set to engrave and then assign the settings for the machine to follow. In our case, we found 40% power with 18mm/s and 1 pass the ideal setting.

Hit process and then remove when engraving is complete.
Wipe away some of the fine dust on the surface of the handle.
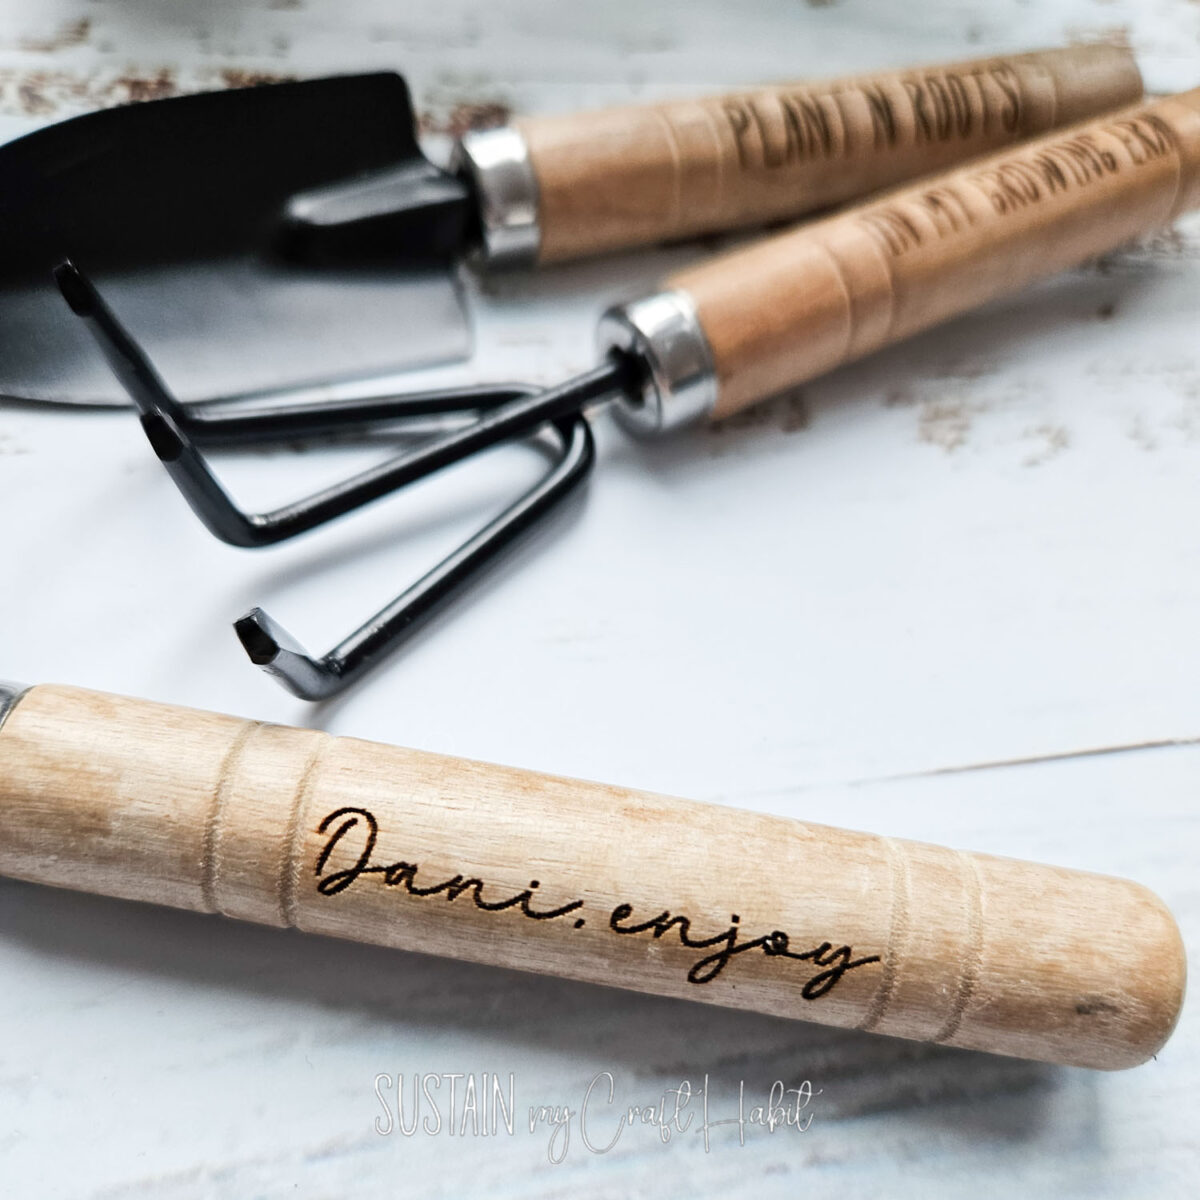
Engraving Wooden Garden Tool Handles
If your laser etching looks faint:
- Make sure the handle is perfectly in focus
- Increase power slightly
- Slow down the speed
Engraving Metal Garden Tools
Many garden tools have coated or painted metal heads, which engrave beautifully. Bare stainless steel usually requires marking spray for a dark finish.
Tips for engraving metal garden tools with xTool:
- Clean the surface thoroughly before starting
- Use marking spray on stainless steel for a permanent black mark
- Test settings on a scrap piece first
If the result looks patchy, check that the tool surface is flat and your laser focus is accurate.

Design Ideas for Personalised Garden Tools
Keep it simple and bold. Some favourites:
- First name or family surname
- “Grandad’s Garden” or “Mum’s Sanctuary”
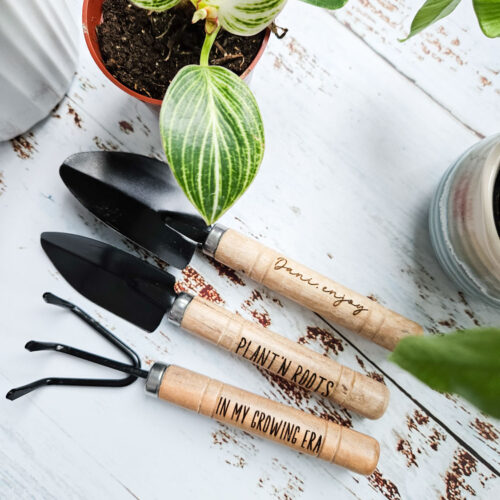
- Short gardening quotes like we used: “plant n’ roots”; “in my growing era”
- Small botanical icons like leaves or flowers also look really sweet
- Simple monogram
How to Display Your Engraved Gardening Tools
Engraved tools aren’t just practical — they look lovely on display too.
Hang them on visible hooks inside your shed as a simple home décor idea for a tidy, styled gardening space. Or add them to a whimsical DIY Spring door decoration like this none here!

They also make a thoughtful gift décor idea. Tie a ribbon around a personalised hand trowel and pair it with seed packets, garden gloves and twine for a ready-made gardener’s hamper.
Meaningful Garden Gift
Once you engrave your first garden tool with xTool, it’s hard to stop. It’s quick, practical, and feels genuinely personal.
Whether you’re labelling your own kit or creating a meaningful gardening gift, this is one of those projects that’s simple to make but looks beautifully finished.
More Engraved XTool Crafts to Make
- Personalized Trinket Trays
- Laser Engraving on Driftwood
- How to Laser Engrave Handwritten Recipes on Cutting Boards
- Engraved Slate Coasters
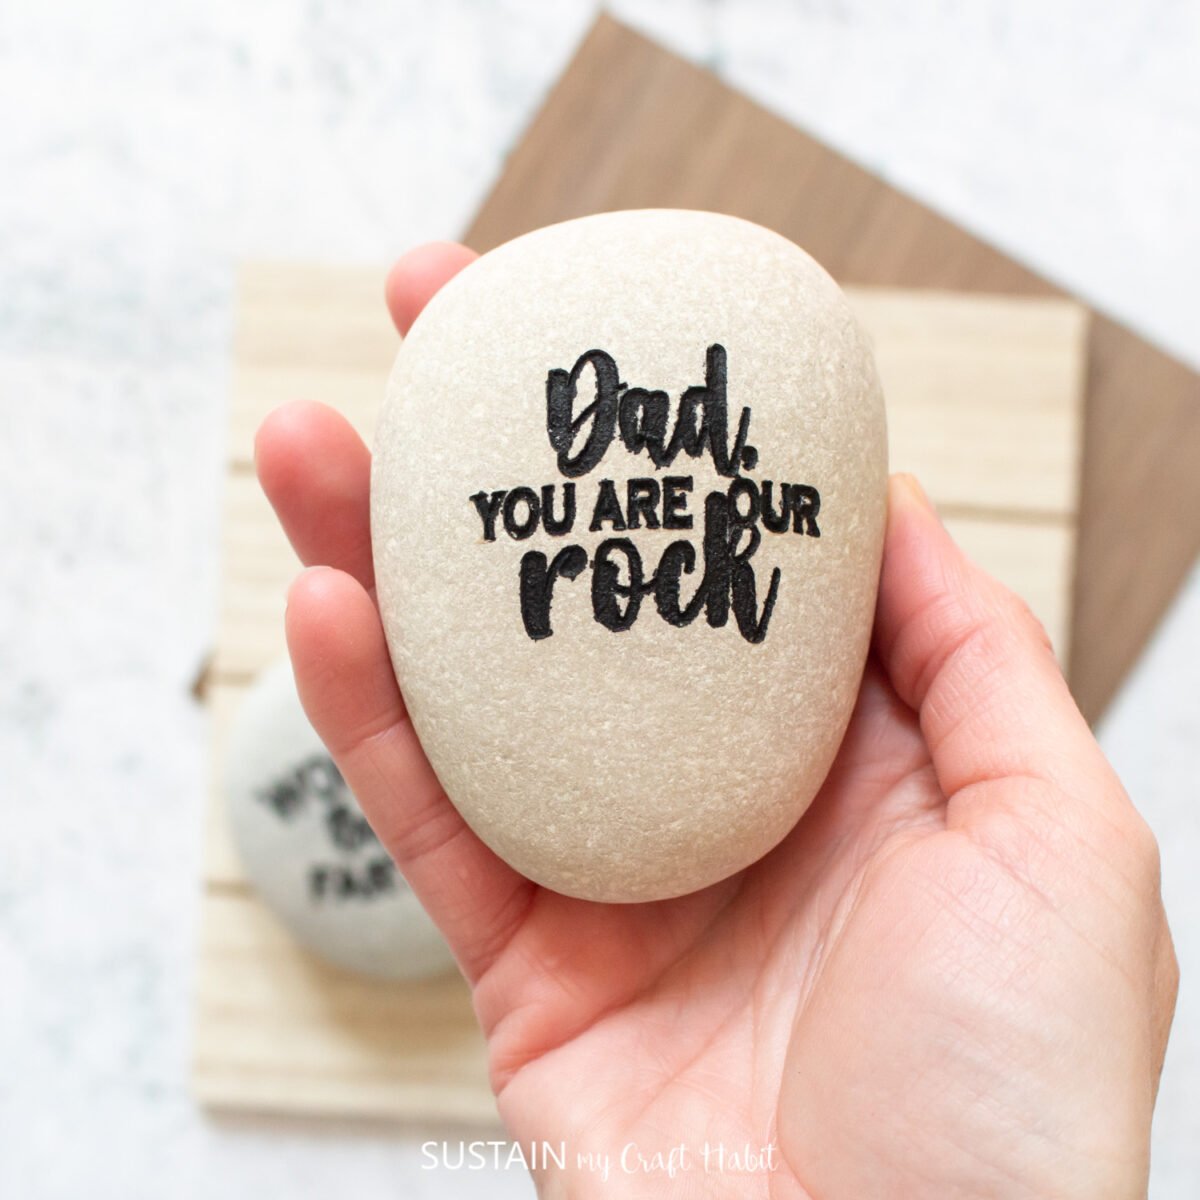
- How to Engrave Rocks
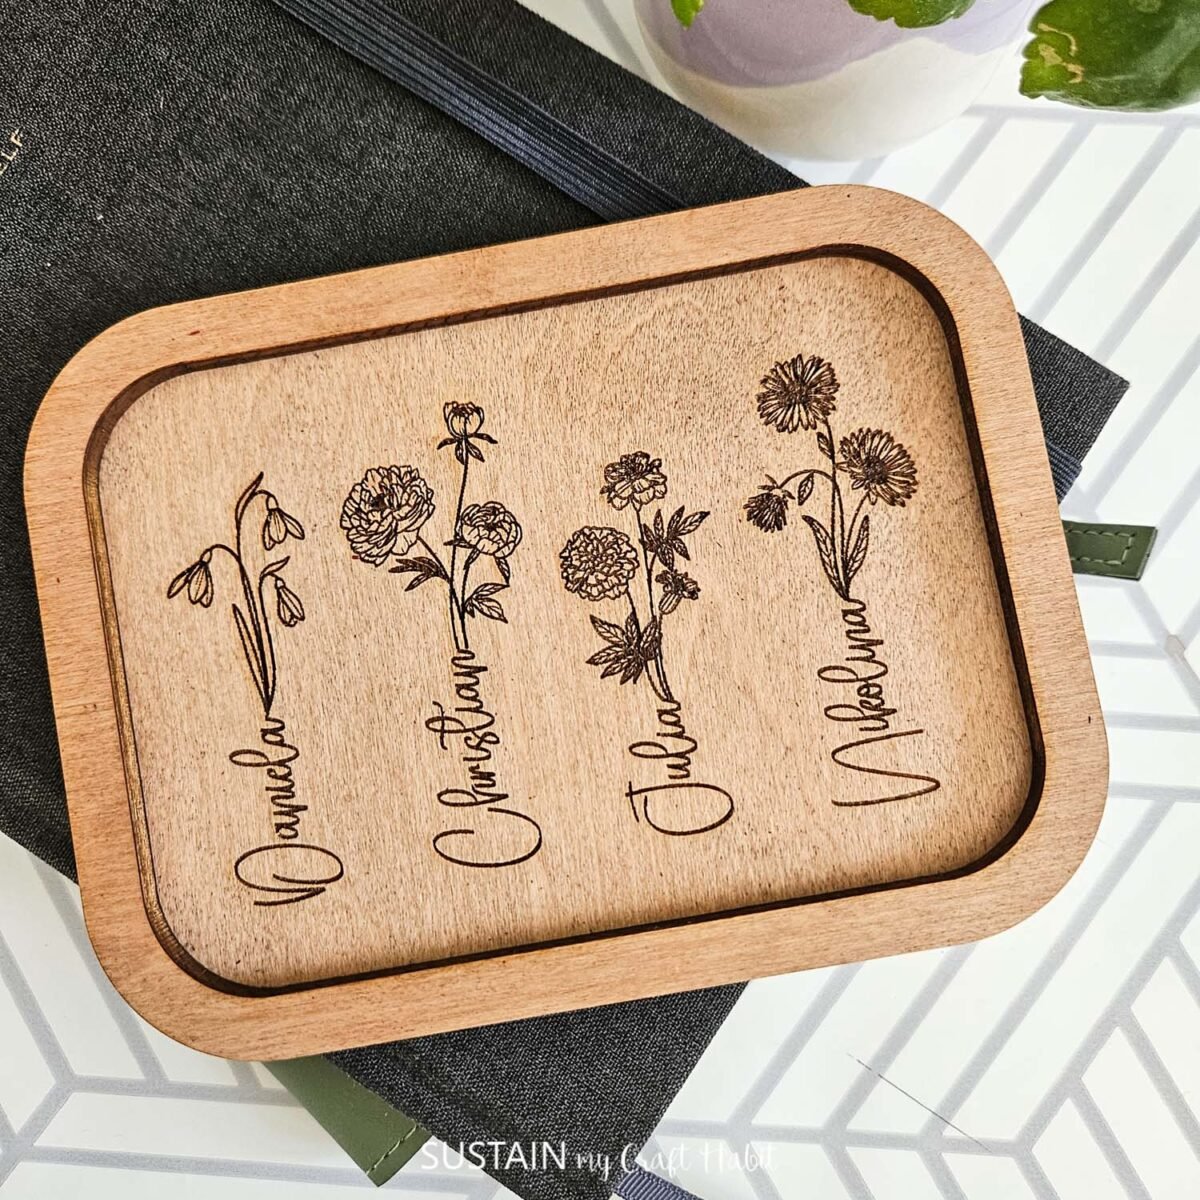
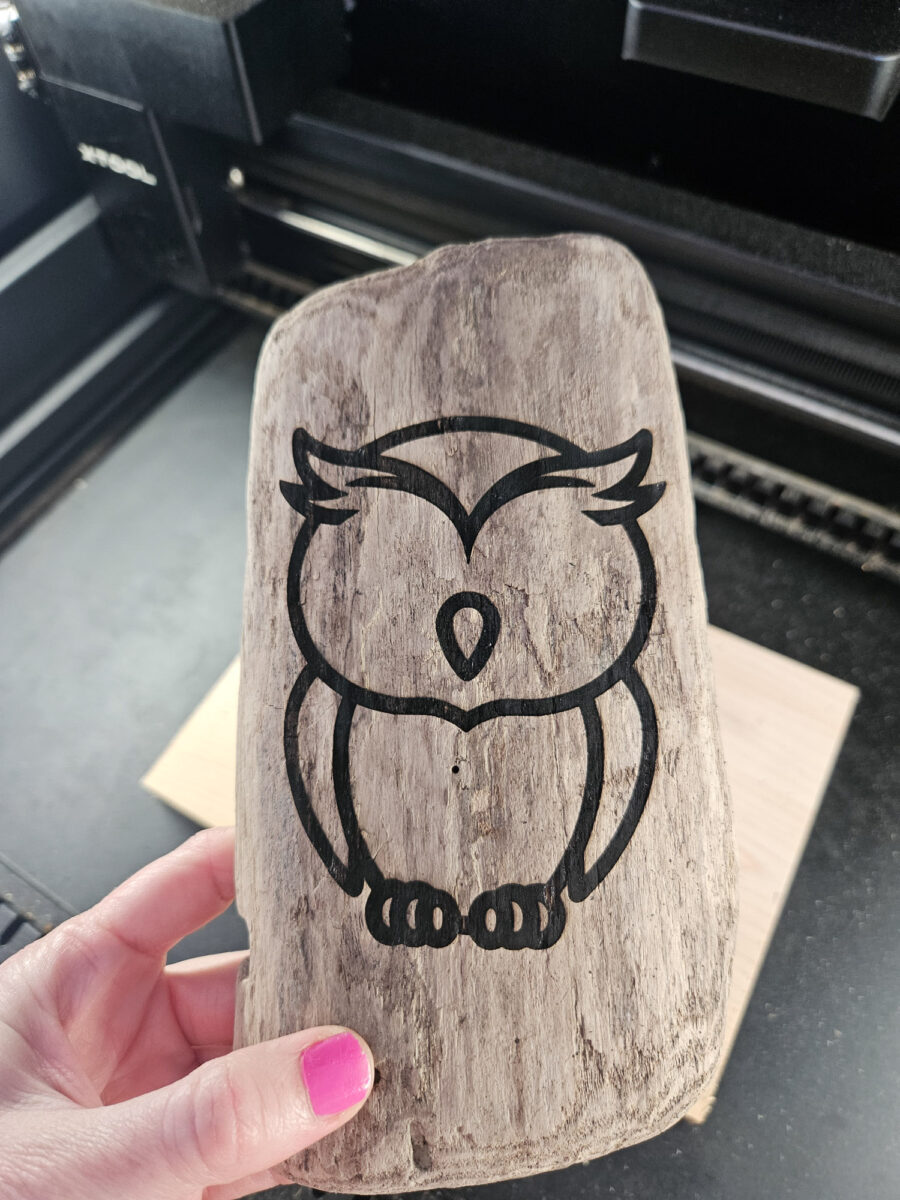
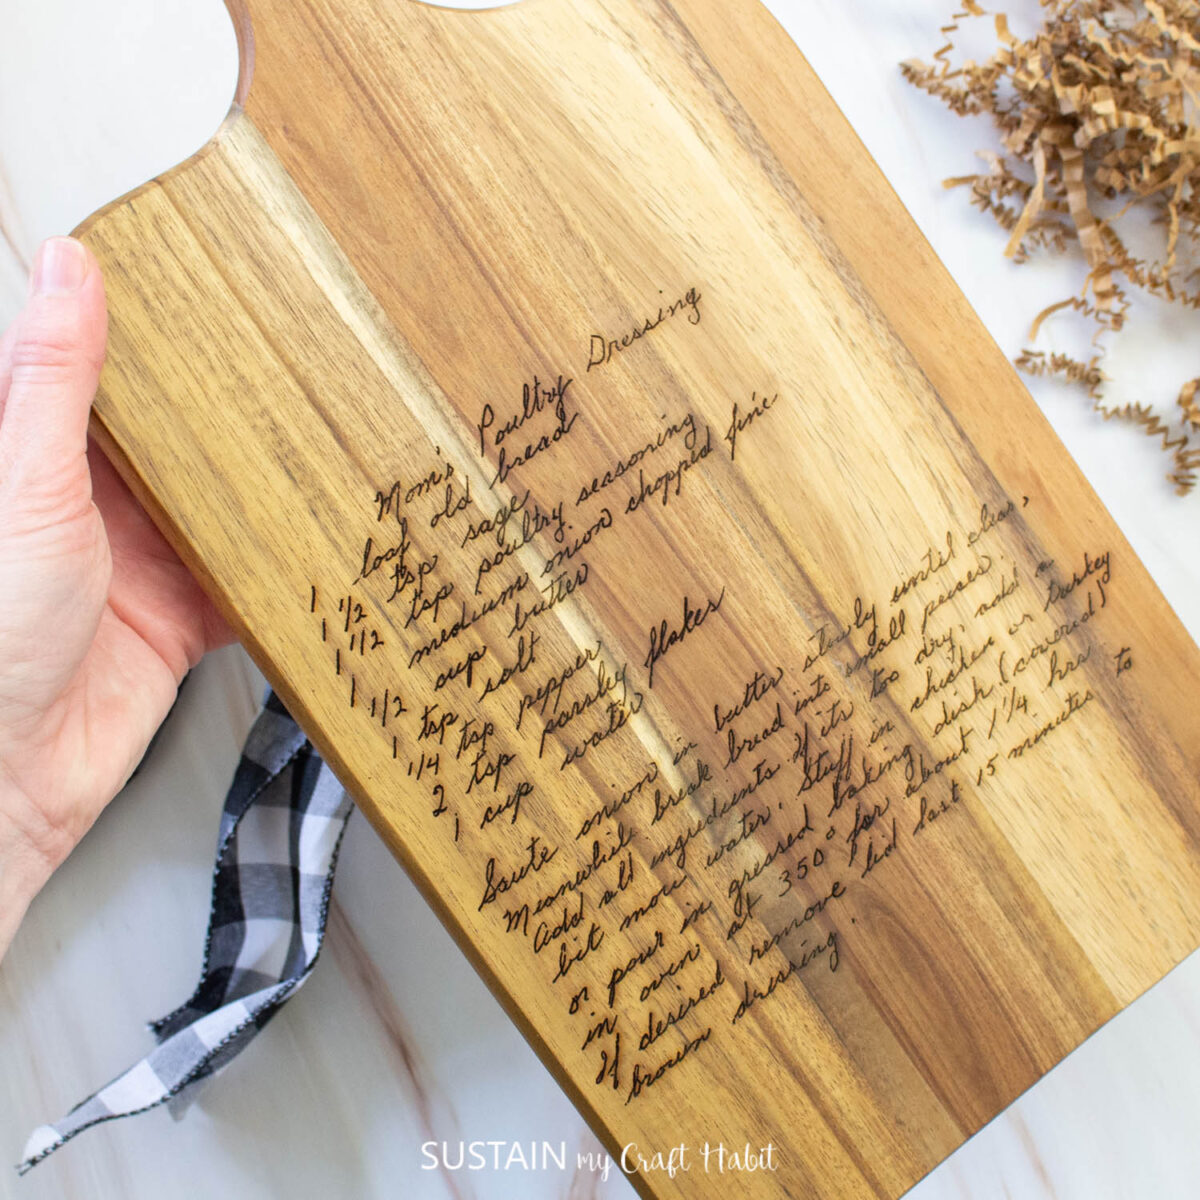
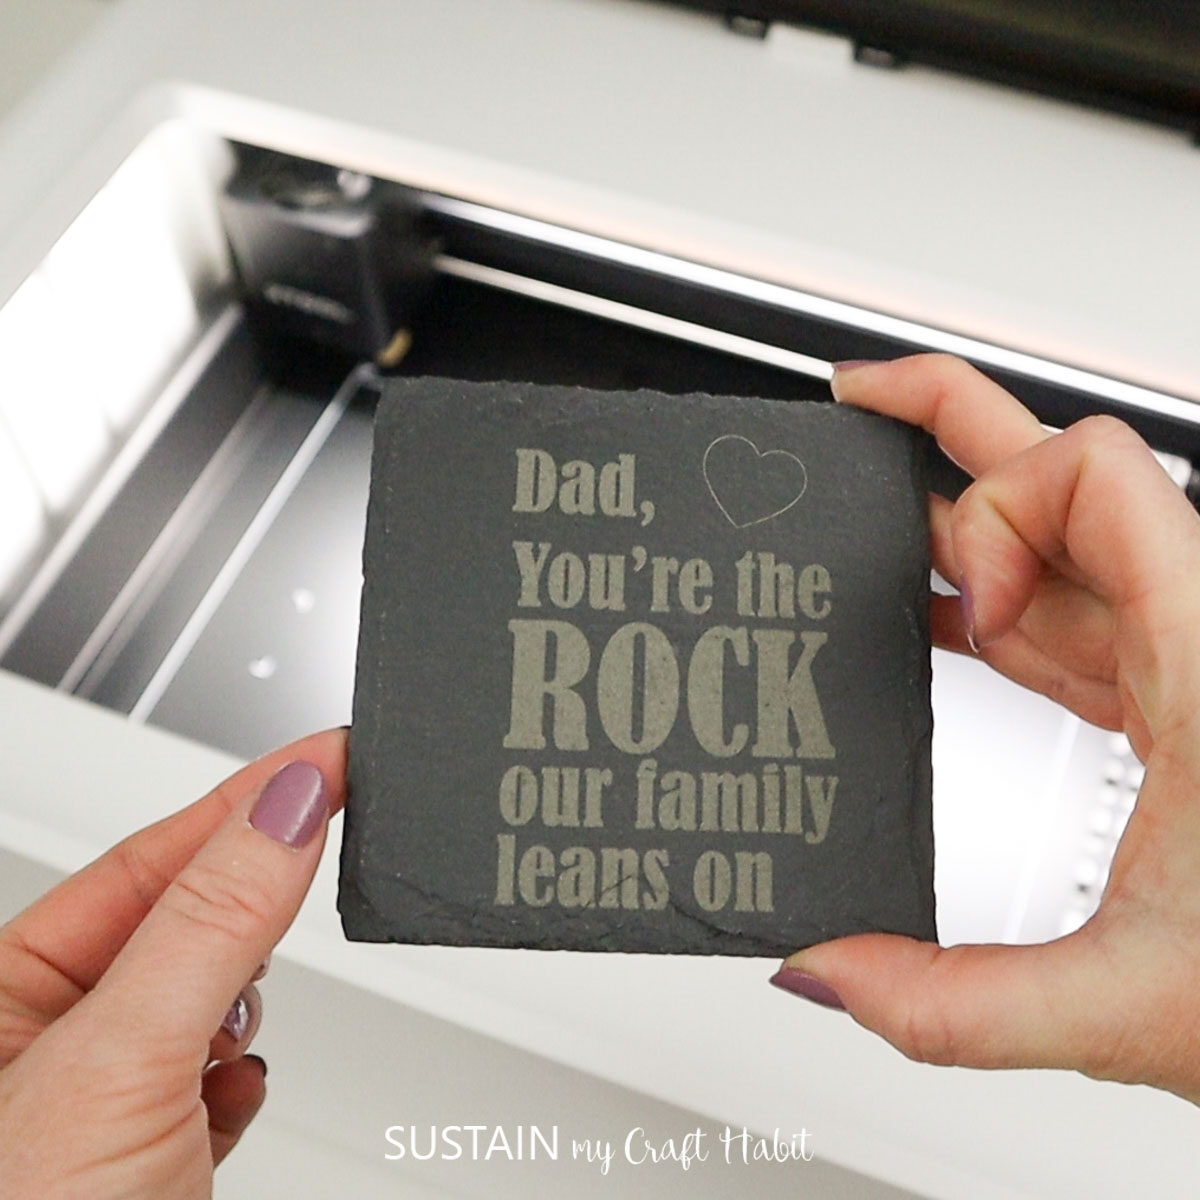
Get access to our resource library filled with cut files and other xTool craft ideas!
Like it? Pin for later!

How to Engrave Garden Tools with xTool
Materials
- xTool P2
- Mini Gardening Tools Set
- SVG file of your choosing or personalized text
Instructions
- Open the Creative Space app and turn on xTool P2.
- Connect Creative Space app to machine.
- Click on create project.
- Import an image/phrase or create your own in Creative Space on a blank canvas.
- Place the garden tools inside the machine on top of the slats. Prop the handle end so it is a level surface for engraving.
- Refresh the screen and select the measure tool to manually check the thickness of the handle.
- Size the design to fit on the handle.
- With the design selected, ensure the parameter is set to engrave and then assign the settings for the machine to follow.
- Hit process.
- Remove when engraving is complete.
- Wipe away some of the fine dust on the surface of the handle