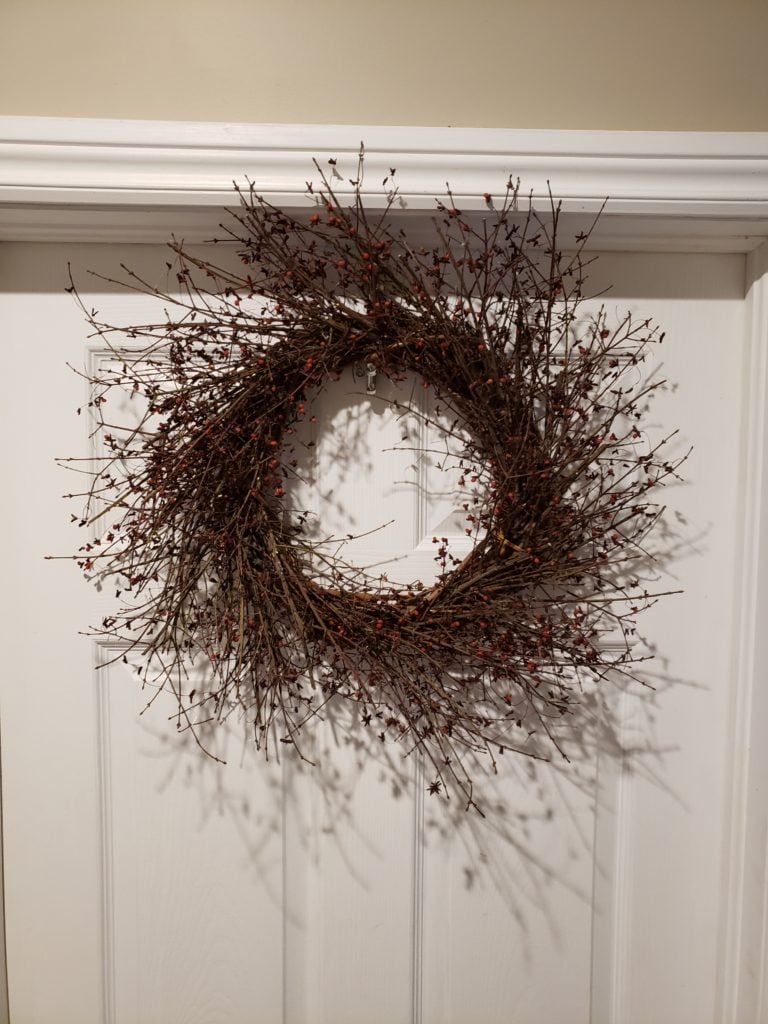
Rustic Birds Nest Twig Wreath
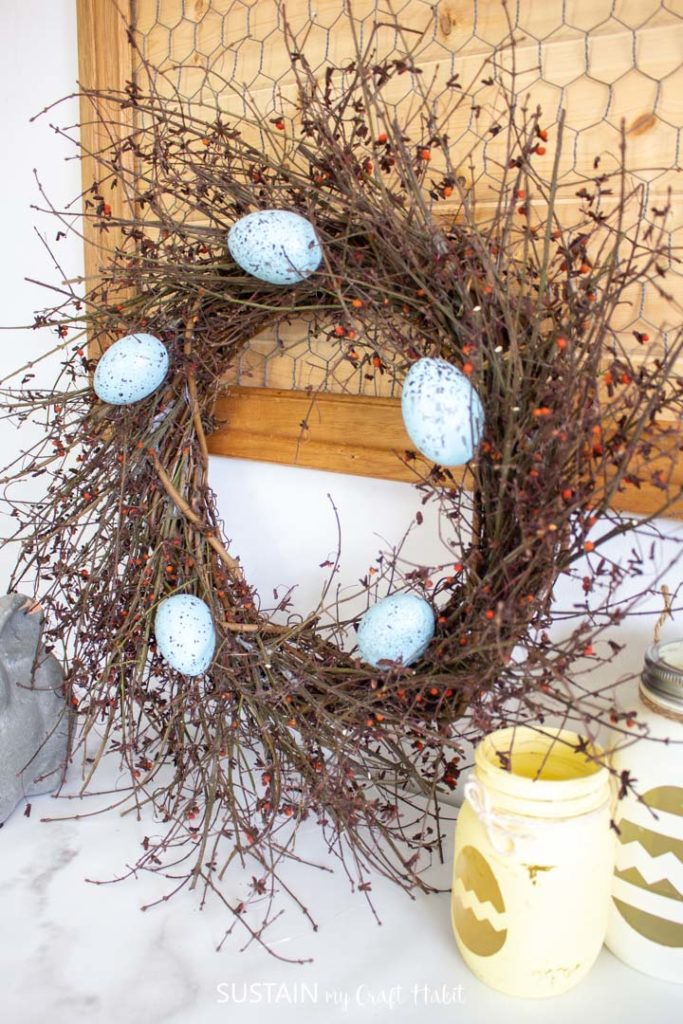
Using dried branches from a burning bush plant, we’ve created a perfectly rustic twig wreath for welcoming Spring.
Making a Rustic Twig Wreath
Last Fall, as my mom was trimming some bushes that had become over grown in her backyard, she put aside the twigs from the burning bushes. Always considering how she can reuse the things she has, she decided they would look really pretty as a rustic wreath. And although I added the decorative eggs, the wreath could be left without or embellished in a different way for another season.
More Creative DIY Rustic Wreaths
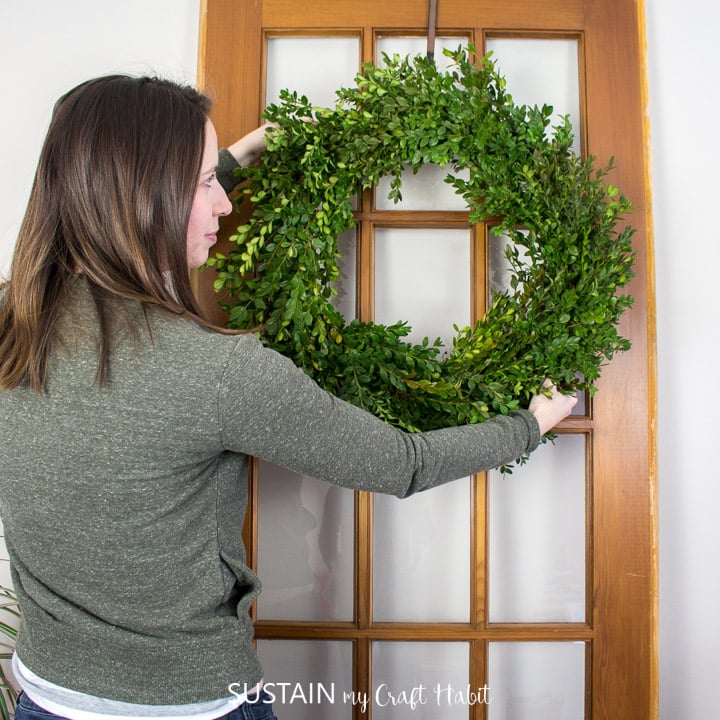
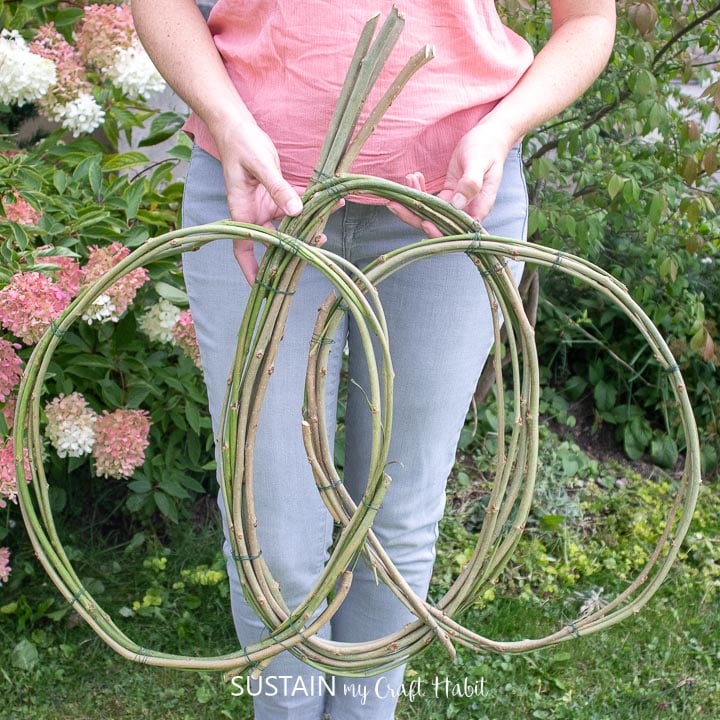
Using cut branches and other materials found in nature for making wreaths is a really creative (and inexpensive way) to craft something beautiful. Take this boxwood wreath we made recently as well as this mulberry branch Spring wreath and this mulberry pumpkin vine wreath form as a few examples! For more ideas and step by step tutorials, visit our library of DIY wreaths to make.

Boxwood Wreath Mulberry Vines Wreath 
Crochet Flowers Wreath

Materials Needed to Make a Rustic Twig Wreath from a burning bush plant:
Disclosure: This post continues affiliate links for your shopping convenience. You can find our full disclosure policy here.
- Grapevine wreath (or make your own mulberry vine)
- Burning bush twigs
- Gardening shears
- Floral wire
- Plastic speckled Easter eggs
- Hot glue gun with clear glue sticks
How to Make a Rustic Birds Nest Twig Wreath
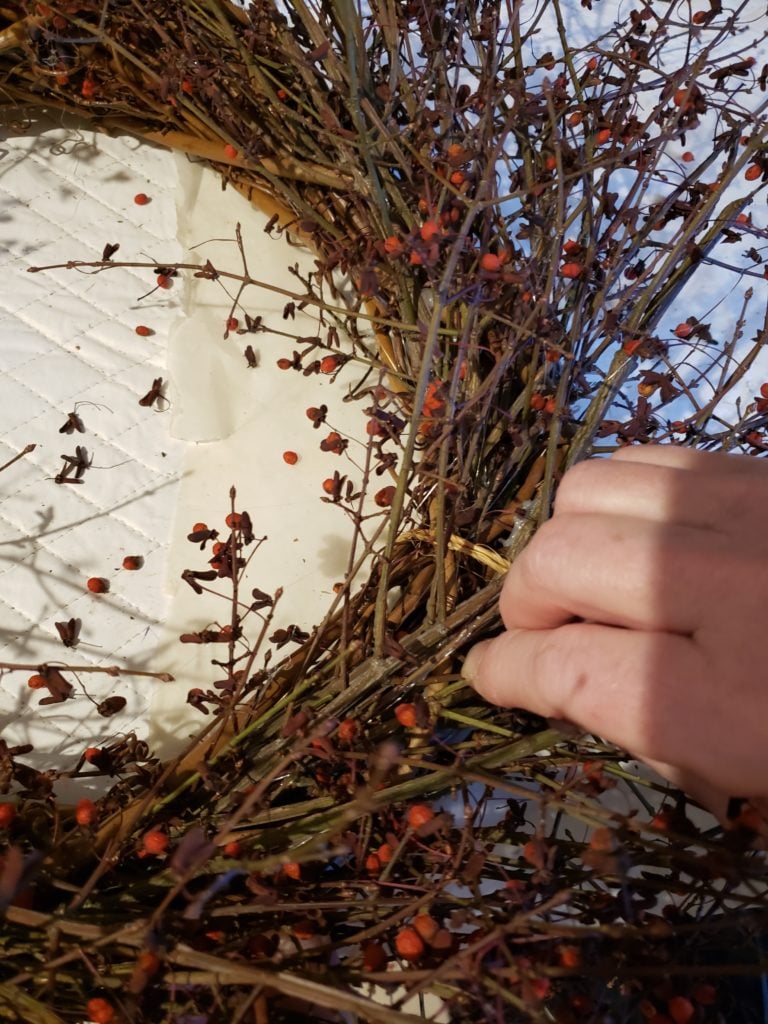
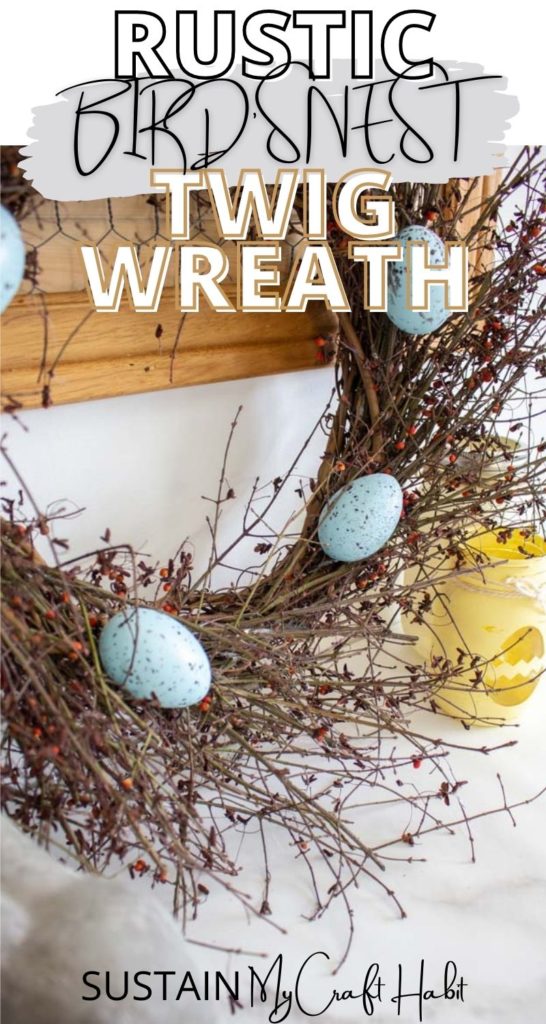
In the Fall or Winter seasons, cut bunches of overgrown burning bush branches to use for making a twig wreath. Cut enough to fully cover a grapevine wreath form or a mulberry vine form whatever size you use.
Holding a few bunches in your hand, place it against the wreath form and secure it in place with floral wire.
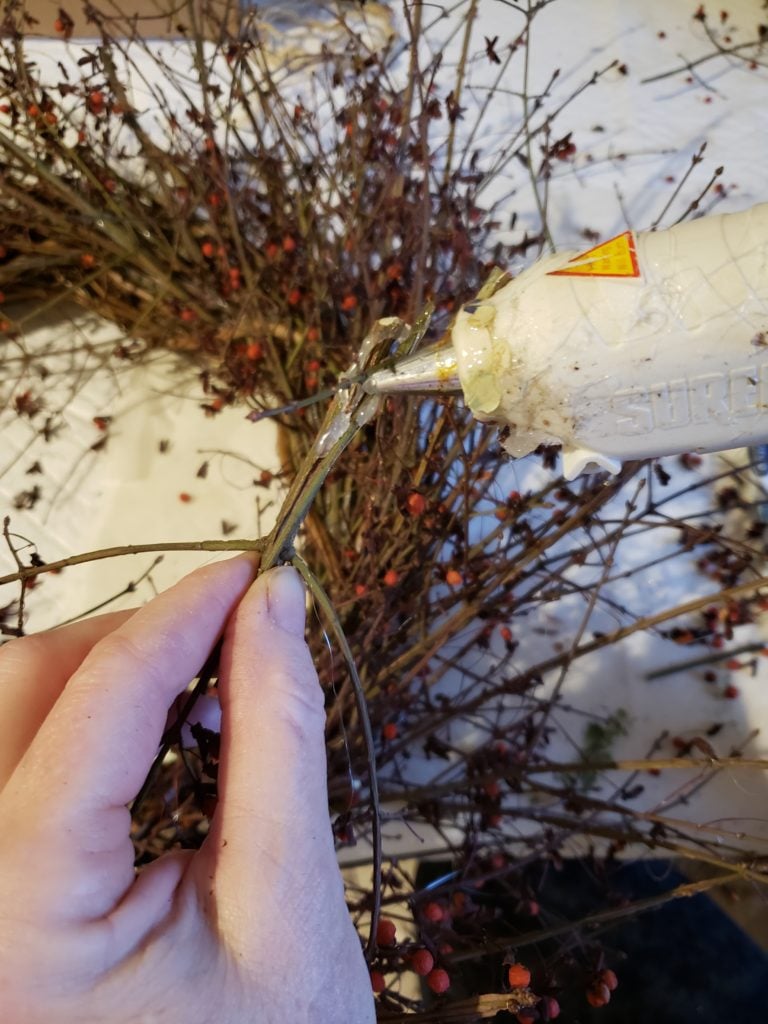
Continue all the way around the wreath, layering more twigs. For some of the looser pieces, we glued them in place with a hot glue gun and clear glue sticks.
After the wreath is covered, hang it on a door or wall and give it a trim. It will likely be uneven and lopsided so cut off any long parts.
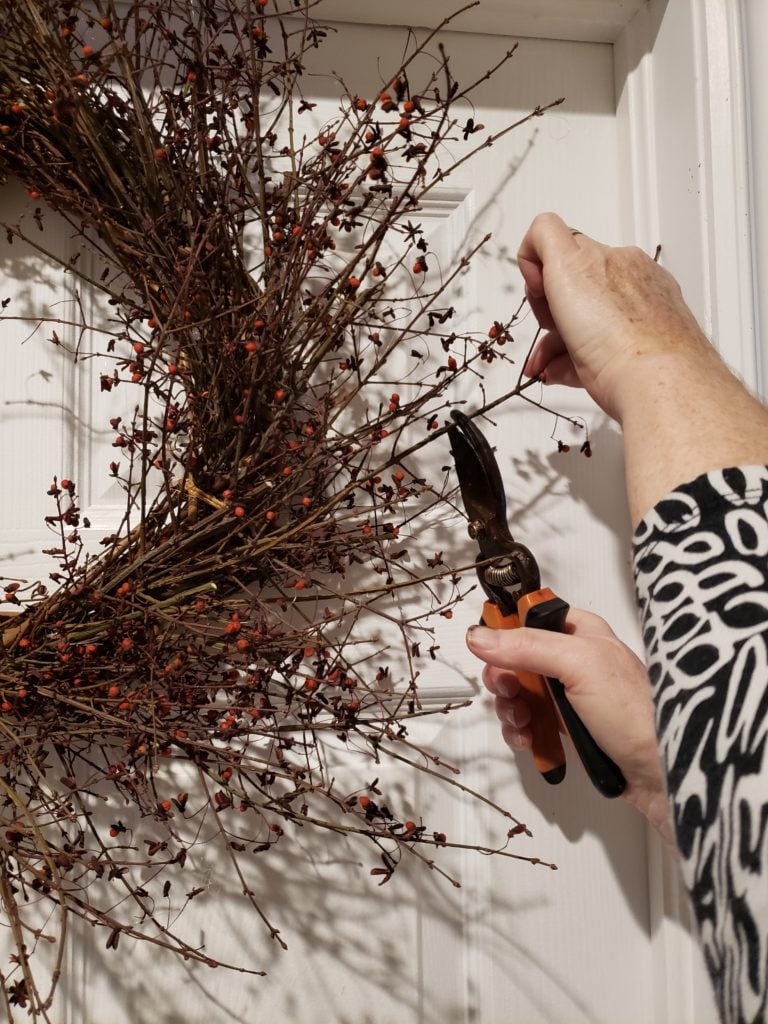
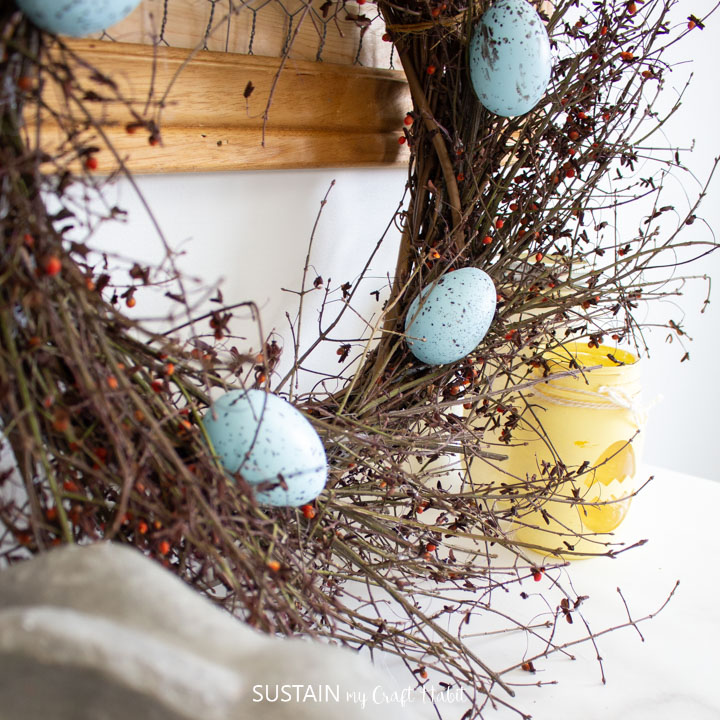
The dried berries tend to fall off when handling the wreath so it can be a bit messy while crafting but once it’s hung in place, the pieces stay in tact.
Adding the Plastic Eggs (optional)
If you’re making this rustic wreath for Spring, then you can easily add a few plastic eggs on top to resemble a bird’s nest. These plastic eggs were the perfect color pale blue with dark speckles throughout but you could also use chalky paint on some colorful plastic eggs to soften the look.
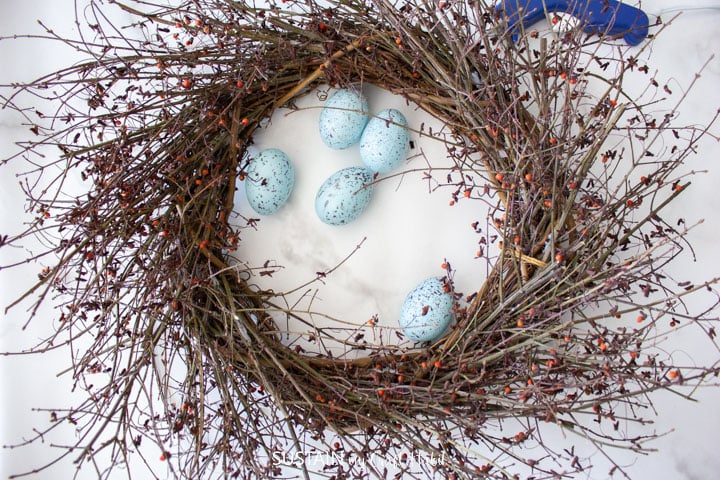
Preheat the glue gun and apply a dab of glue to the back side of the plastic egg. Press it against the twig wreath and hold it until the glue dries.
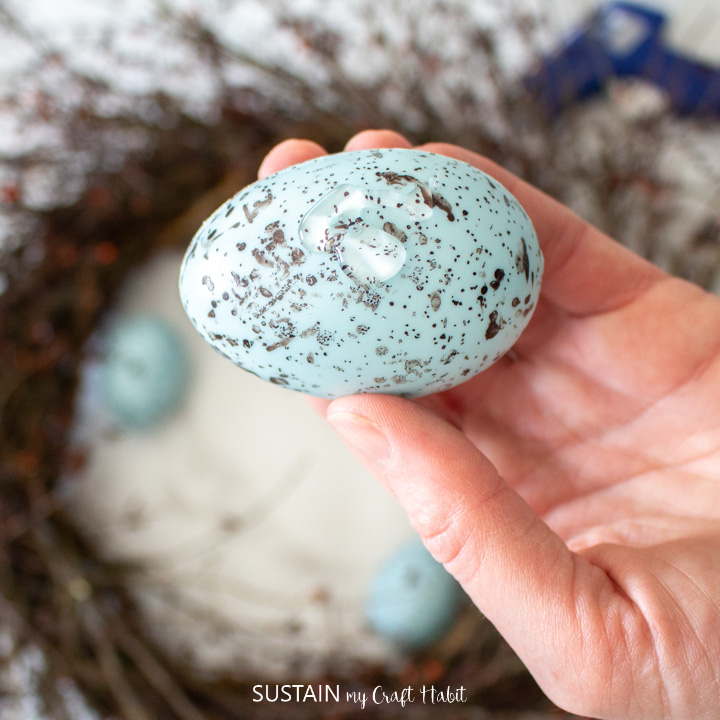

Afterwards, the eggs can be removed from the wreath and reused for another craft project later on.
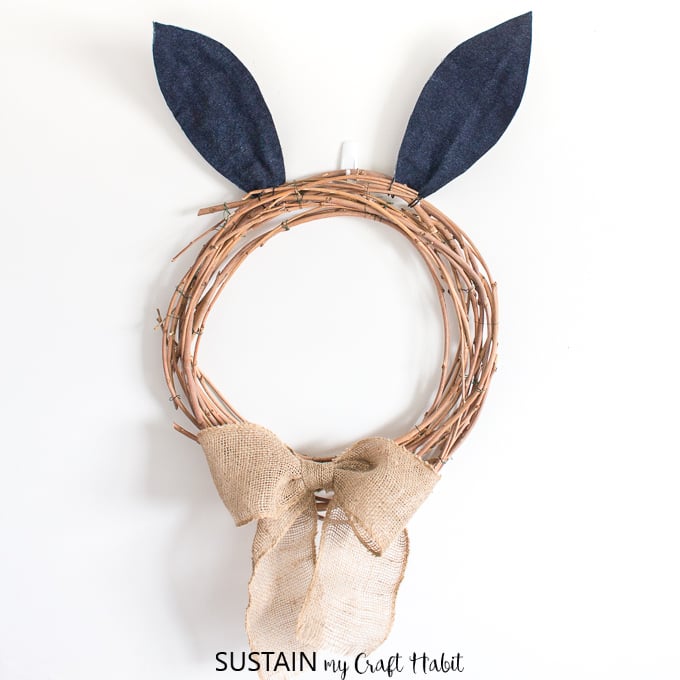
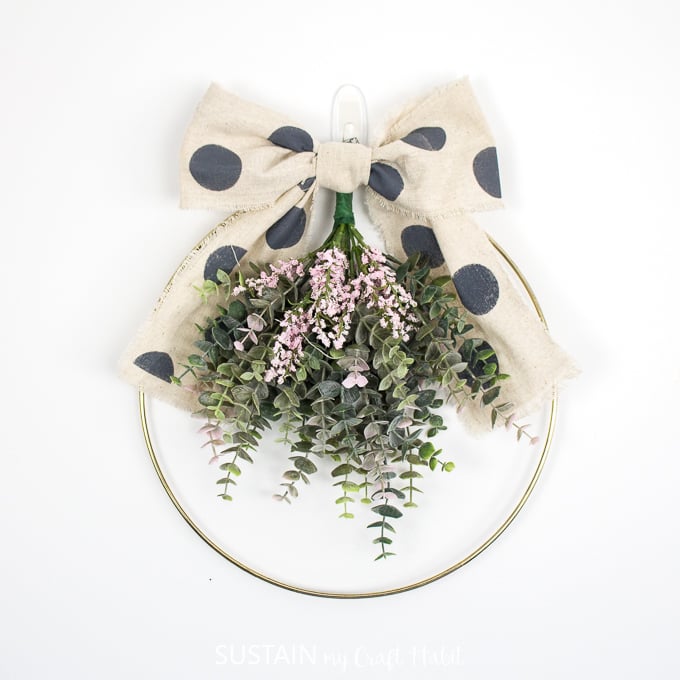
Looking for More DIY Spring Wreaths?
- Bunny ears Easter wreath
- Floral hoop wreath
- Spring flower wall decor
- Easter wreath with chalky painted eggs

Spring Wreath with Bunny Ears Floral Hoop Wreath Spring Flower Wall Decor Easter Wreath

Like it? Pin it for later!

Rustic Birds Nest Twig Wreath
Materials
- Grapevine wreath or make your own mulberry vine
- Burning bush twigs
- Gardening shears
- Floral wire
- Plastic speckled Easter eggs
- Hot glue gun with clear glue sticks
Instructions
- In the Fall or Winter seasons, cut bunches of overgrown burning bush branches to use for making a twig wreath. Cut enough to fully cover a grapevine wreath whatever size you use.
- Holding a few bunches in your hand, place it against the wreath form and secure it in place with floral wire.
- Continue all the way around the wreath, layering more twigs.
- After the wreath is covered, hang it on a door or wall and give it a trim. It will likely be uneven and lopsided so cut off any long parts.
- Preheat the glue gun and apply a dab of glue to the back side of the plastic egg. Press it against the twig wreath and hold it until the glue dries.