How To Dry Leaves for Crafts [The Easy Way!]
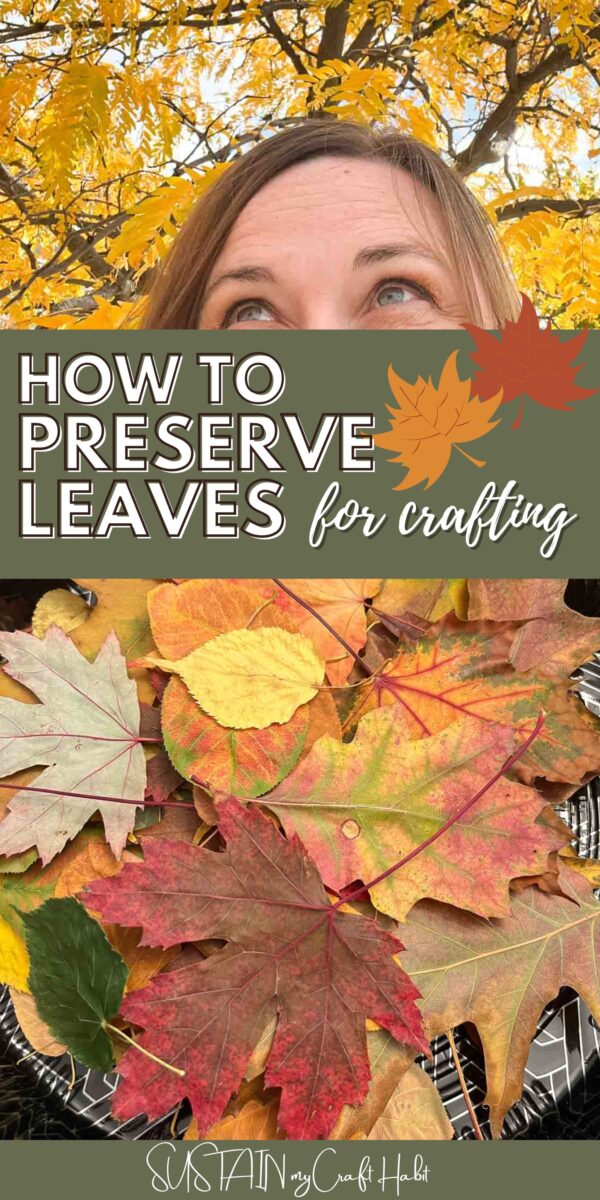
If you want to learn how to dry leaves for crafting the best and easiest way, follow these step-by-step instructions. We provide some examples at the end too for specific crafts you can make with your preserved leaves!
Dry Leaves Are Great For Crafts!
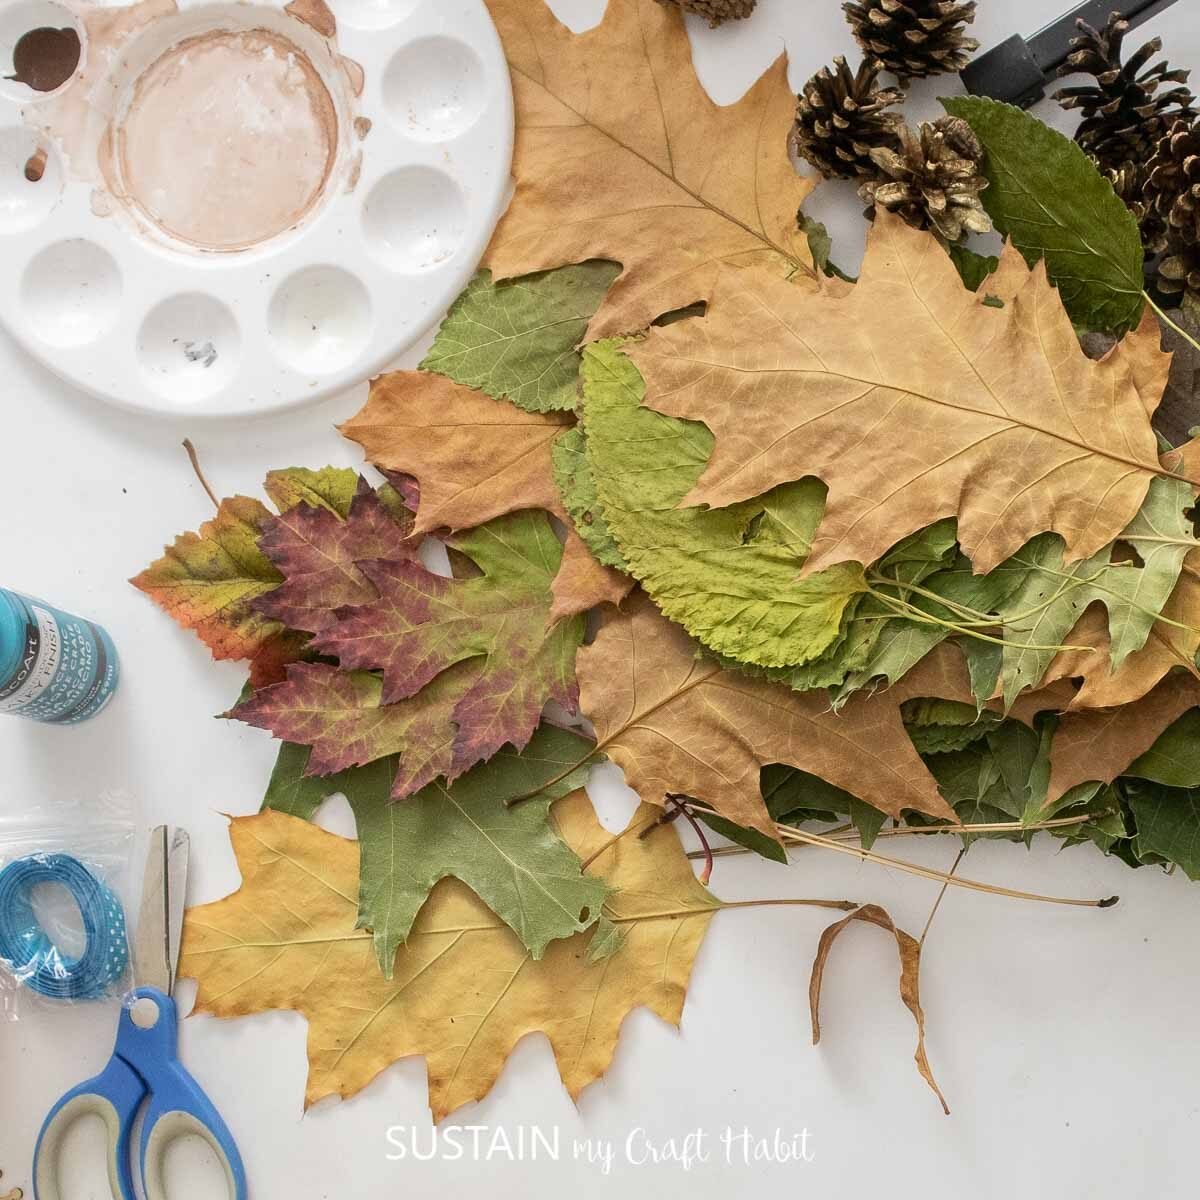
There are few things in life as amazing as taking a walk while looking at the beautiful fall leaves. How amazing is it that we live in a world where the leaves turn into vibrant colors? Sometimes, the colors are so amazing that I want to bottle it all up for the rest of the year.
Fortunately, we can! By learning how to dry leaves, we can turn them into upcycling projects and create any craft out of them! Drying the leaves is actually easier than you may think. Below, we give you step-by-step, each with a picture, instructions to make sure that you preserve them so they will last for years to come. What better way is there to save the most beautiful part of autumn?

Want to receive a ton of inspiration and money-saving ideas for decorating, gift-giving and crafting? Join HERE!
Materials Needed for Leaf Pressing
- fresh leaves
- paper towels
- weight (ie. thick and heavy books, cookie sheet)
- airtight container (for storage)
How To Dry Leaves for Crafting
Collect the leaves when they’re at the color you’d like to preserve. Avoid particularly wet days (ie. after a rainfall).
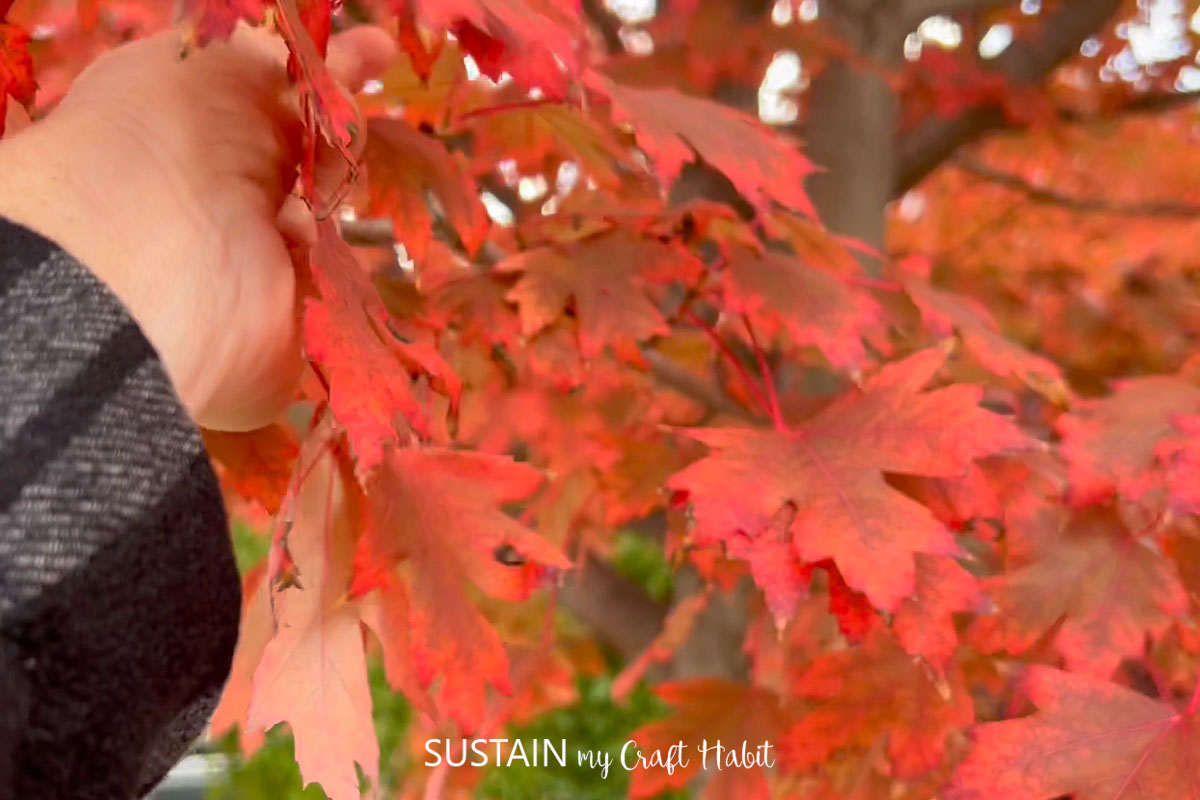
If possible, collect the leaves directly off the tree or bush rather than fallen ones. The ones on the tree will be most supple. Once they fall, the leaves will start to curl up, making them harder to press.
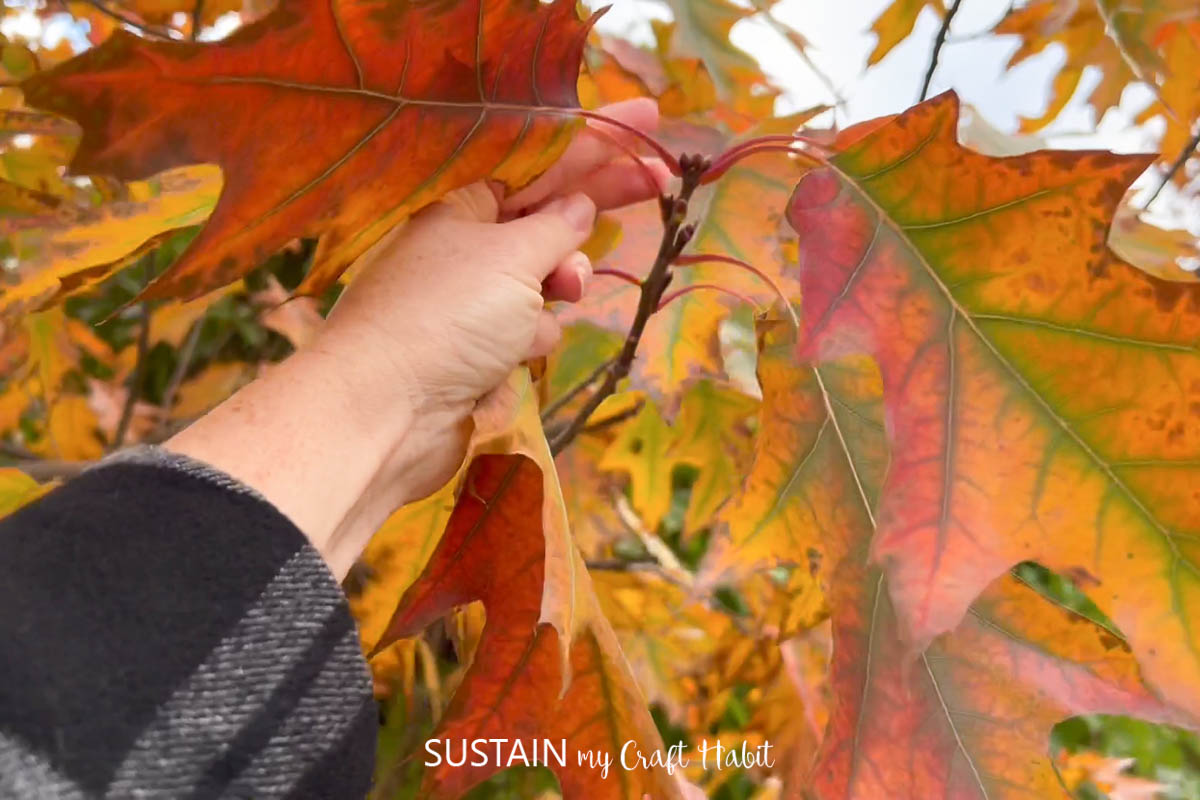
Be sure to press the leaves as soon as possible after you’ve collected them. They will start to dry right away and will curl up if they not pressed flat.
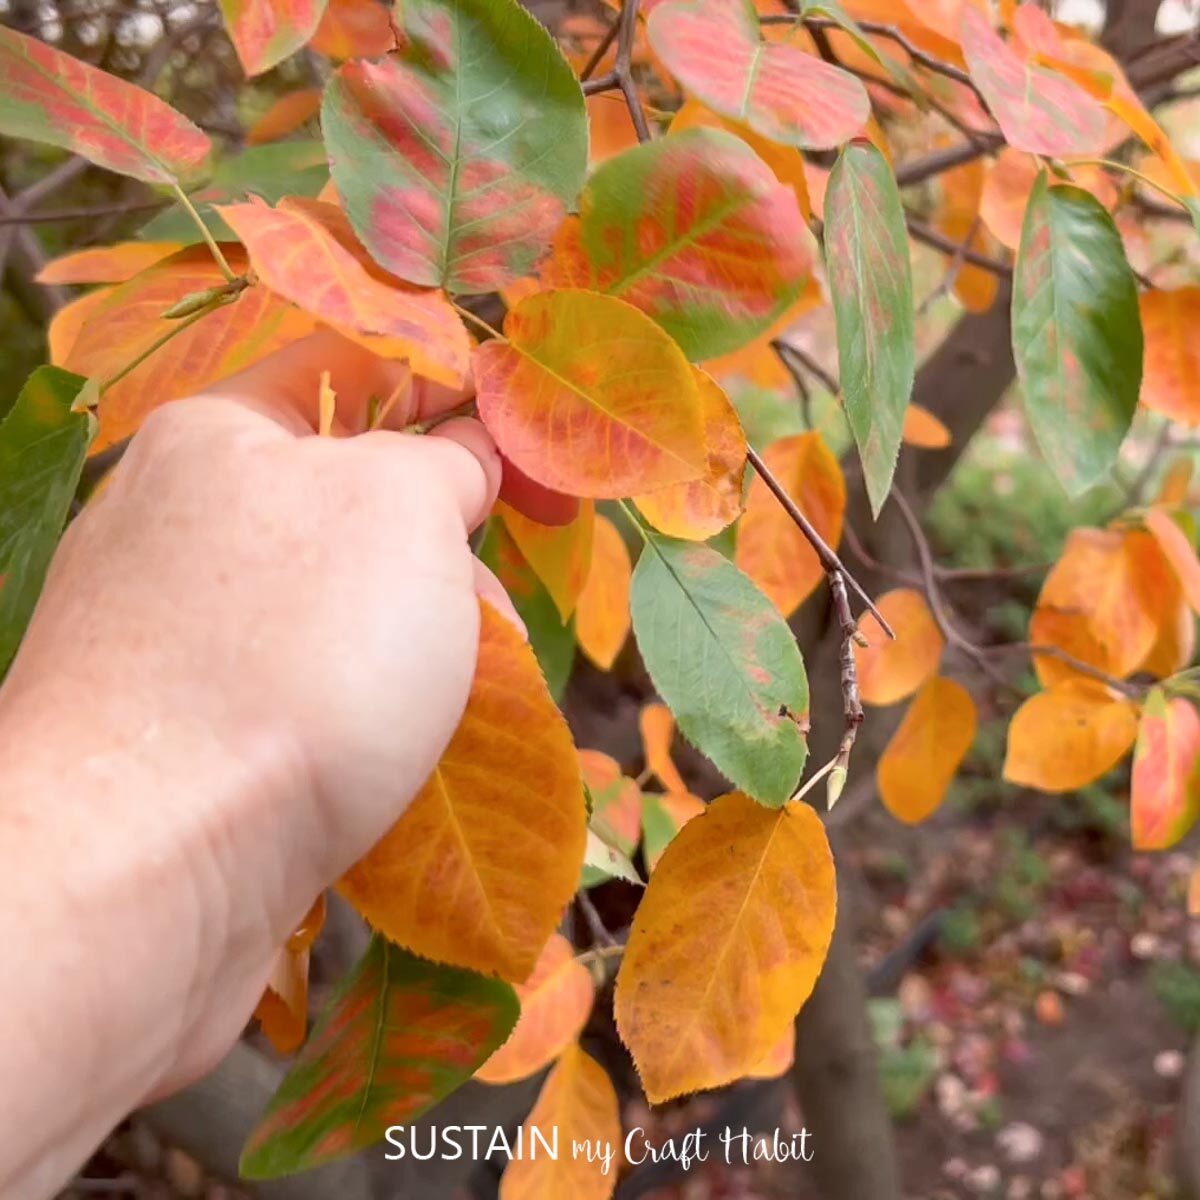
Put down a layer of an absorbent paper towel. Thicker paper towels will work better as they’ll pull more moisture from the leaves faster.
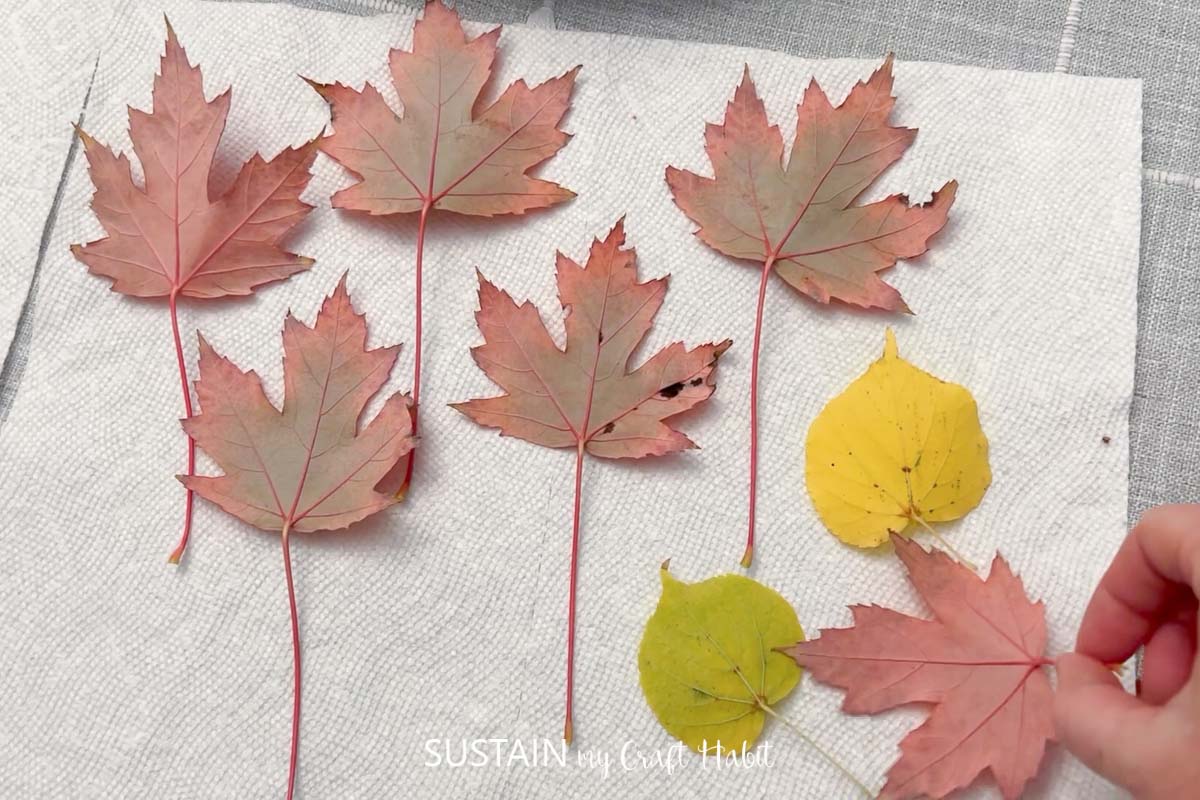
Arrange the leaves on the paper towels so that they’re not overlapping. It’s better to leave more space than overfill the sheet. I like to place my leaves face down so that the leaf doesn’t fold on itself when I place the next layer over top.
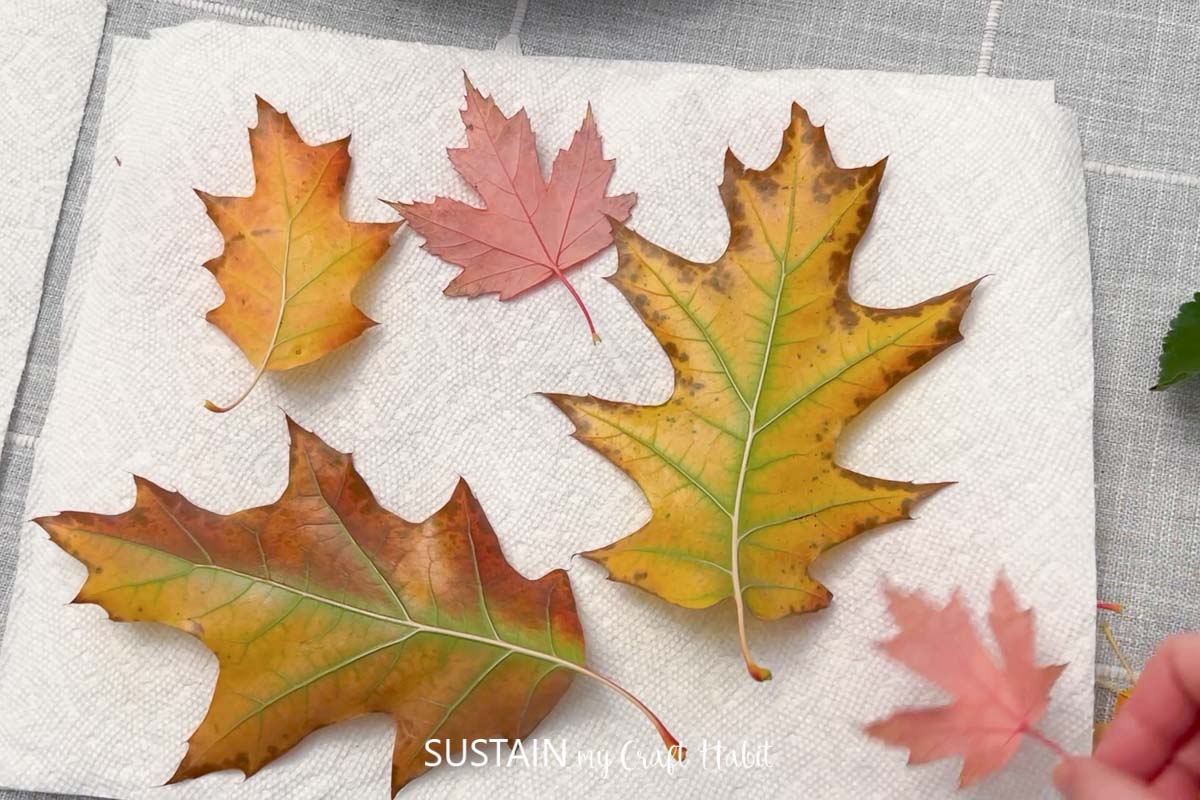
Cover your layer of leaves with another sheet of paper towels. If you have more leaves to dry, arrange them on the paper towel (no overlapping). Cover with another sheet of paper towels.
Continue this process until all your leaves are arranged between the sheets of the paper towel.
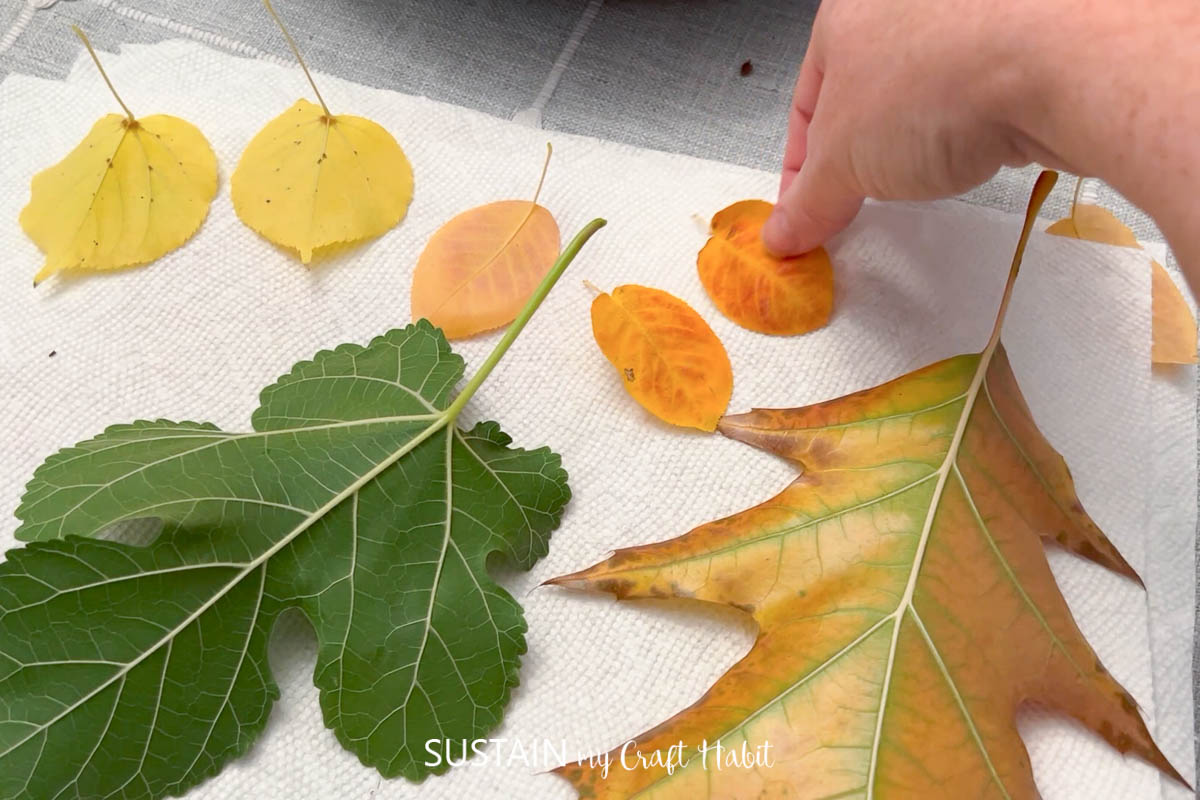
Next, place a heavier object on top such as a book. I like to use a large cookie sheet and then place heavy glasses or mugs on top but anything heavy will work.
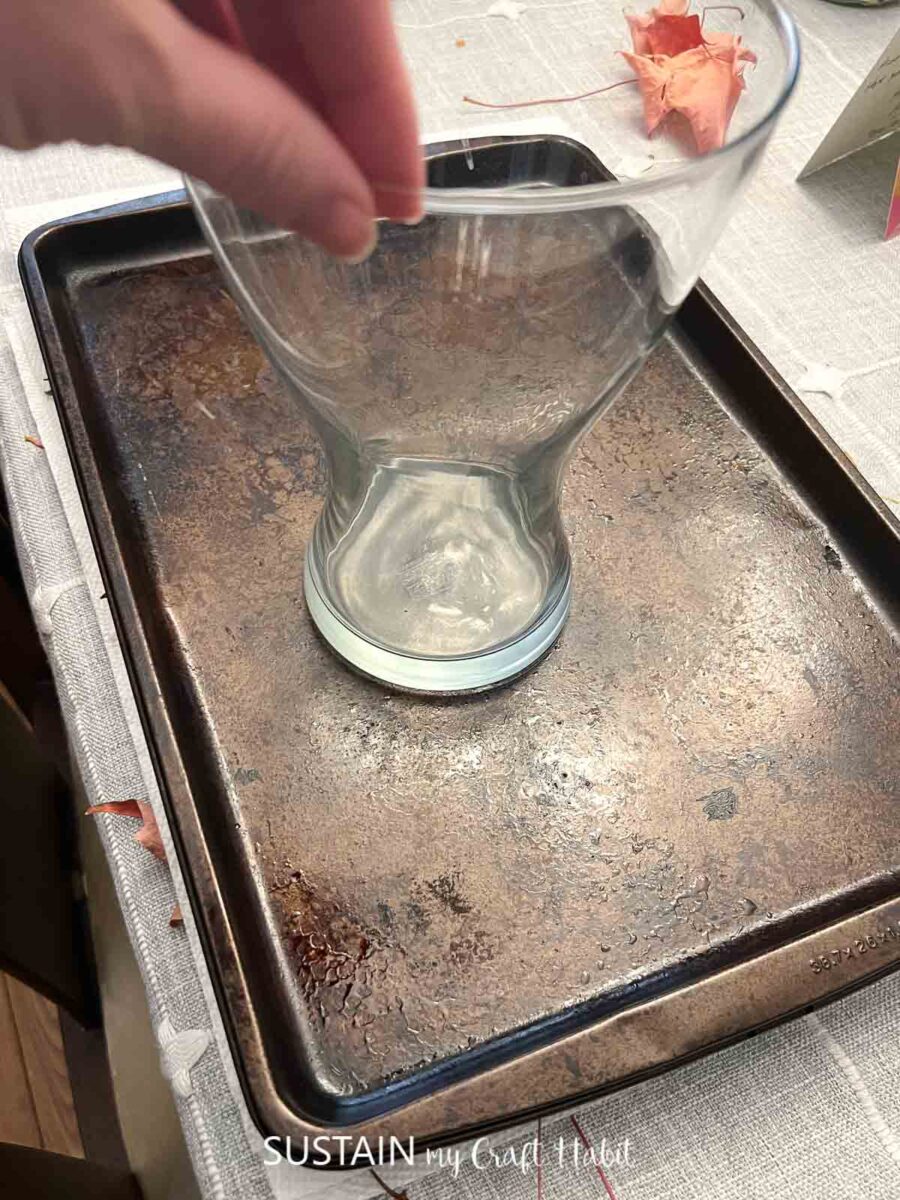
The stack of pressed leaves will need about 5-8 days to dry. Small, thin leaves will dry faster than large, thick leaves. You’ll know that the leaves are dried completely by feel – they’ll lose their flexibility and start to feel more “paper” like.
If you’re unsure about whether your leaves are completely dry, err on the side of leaving them in the paper stack for a few more days (you can’t over-dry them).
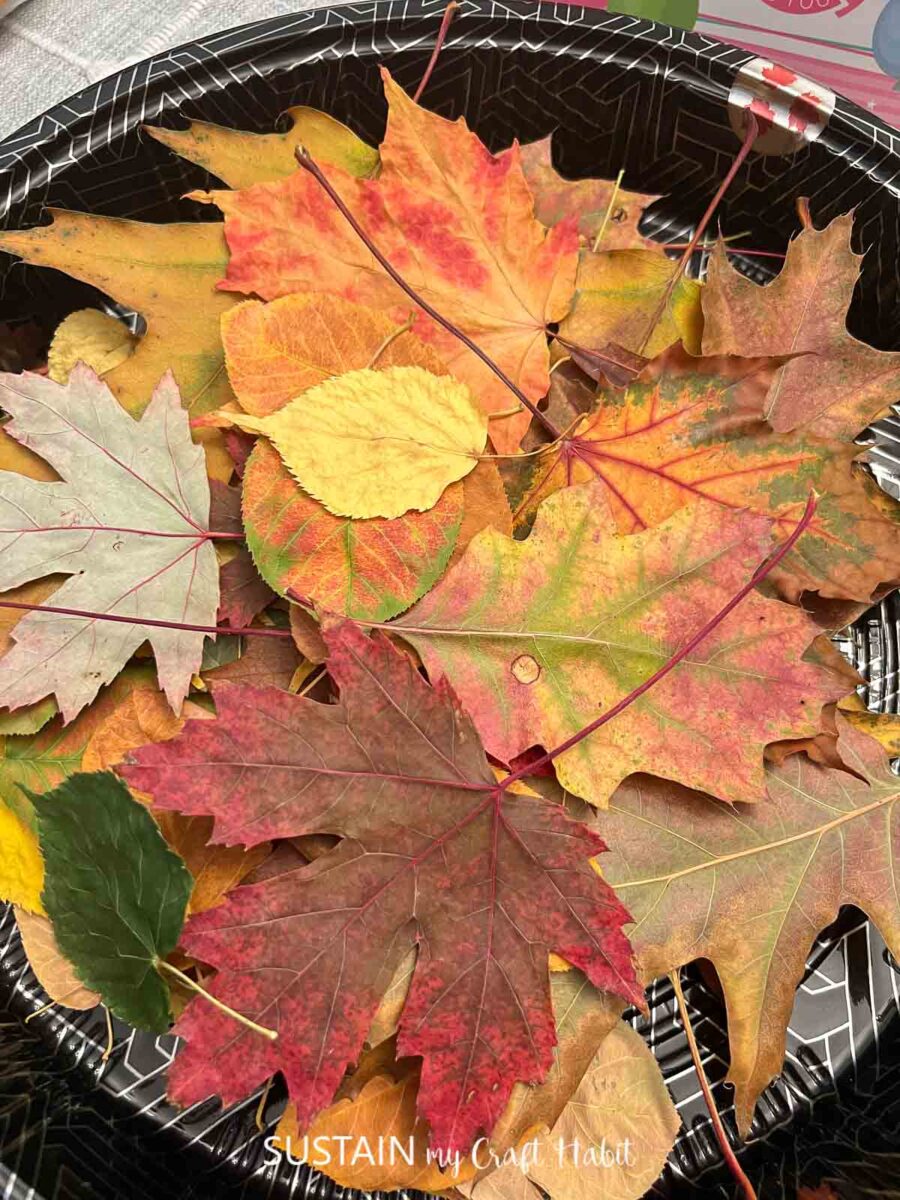
Once your leaves are dried, place them in a container with a lid for storage. If you have a silica packet (like the ones included in shoe boxes) add it in there. As long as your leaves are completely dry, and stored in a dry area, your preserved leaves will last indefinitely.
Tip For Success
- The goal is to dry the leaves as quickly as possible. Moisture trapped on the leaves can cause discoloration. Every day or do, lift the layers of the paper towels to release any moisture and help with air flow.
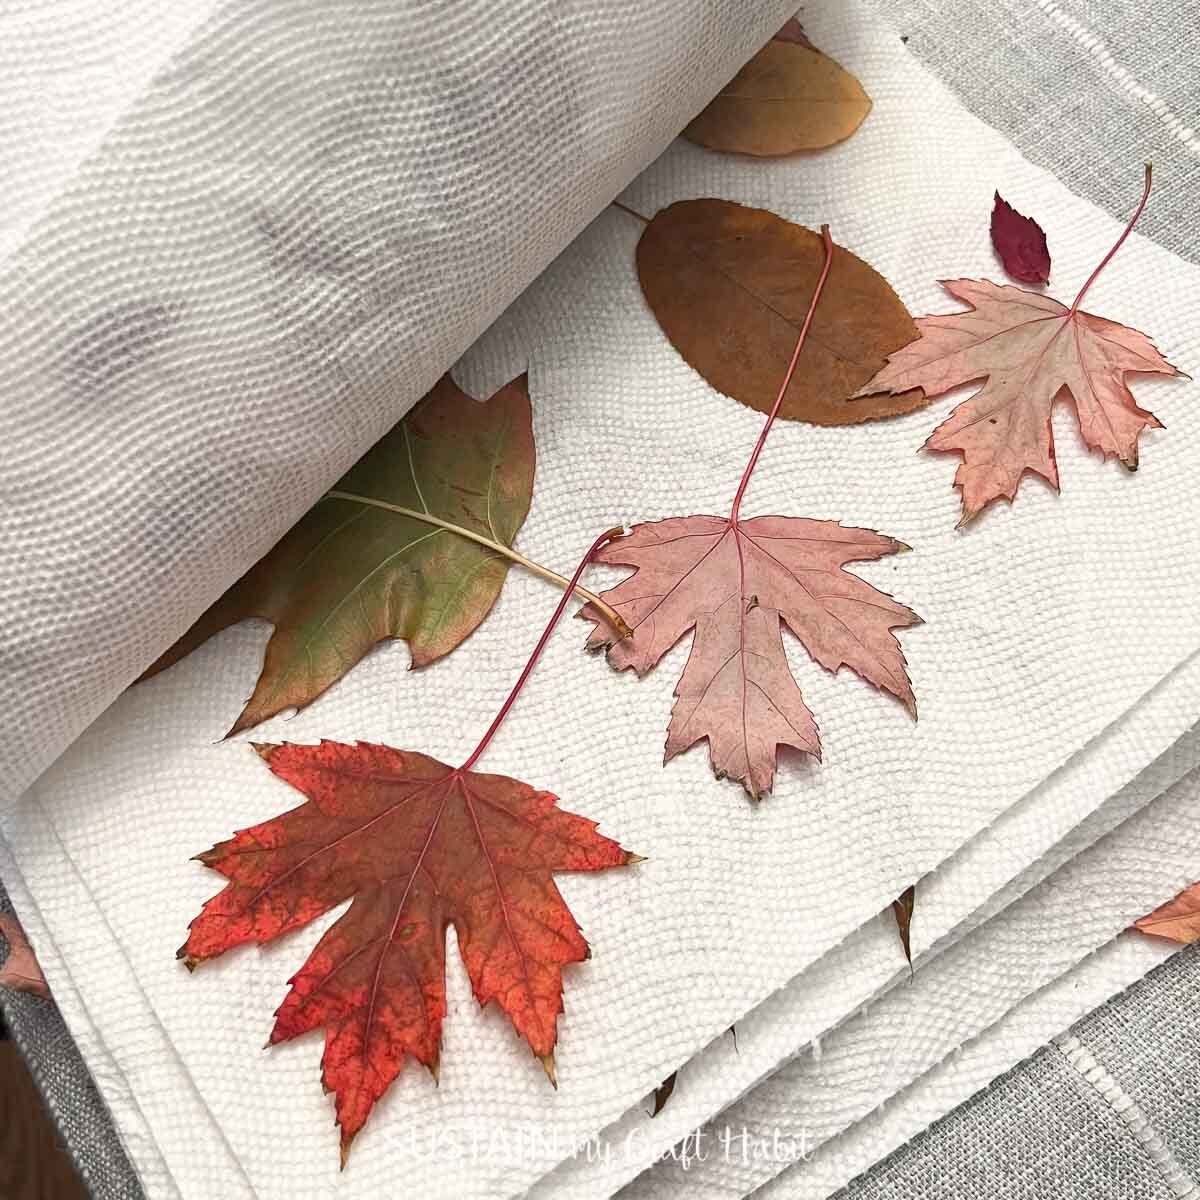
What to Make With Dried Leaves
There are plenty of ideas of what you can make with your newly preserved leaves! Here are a few:
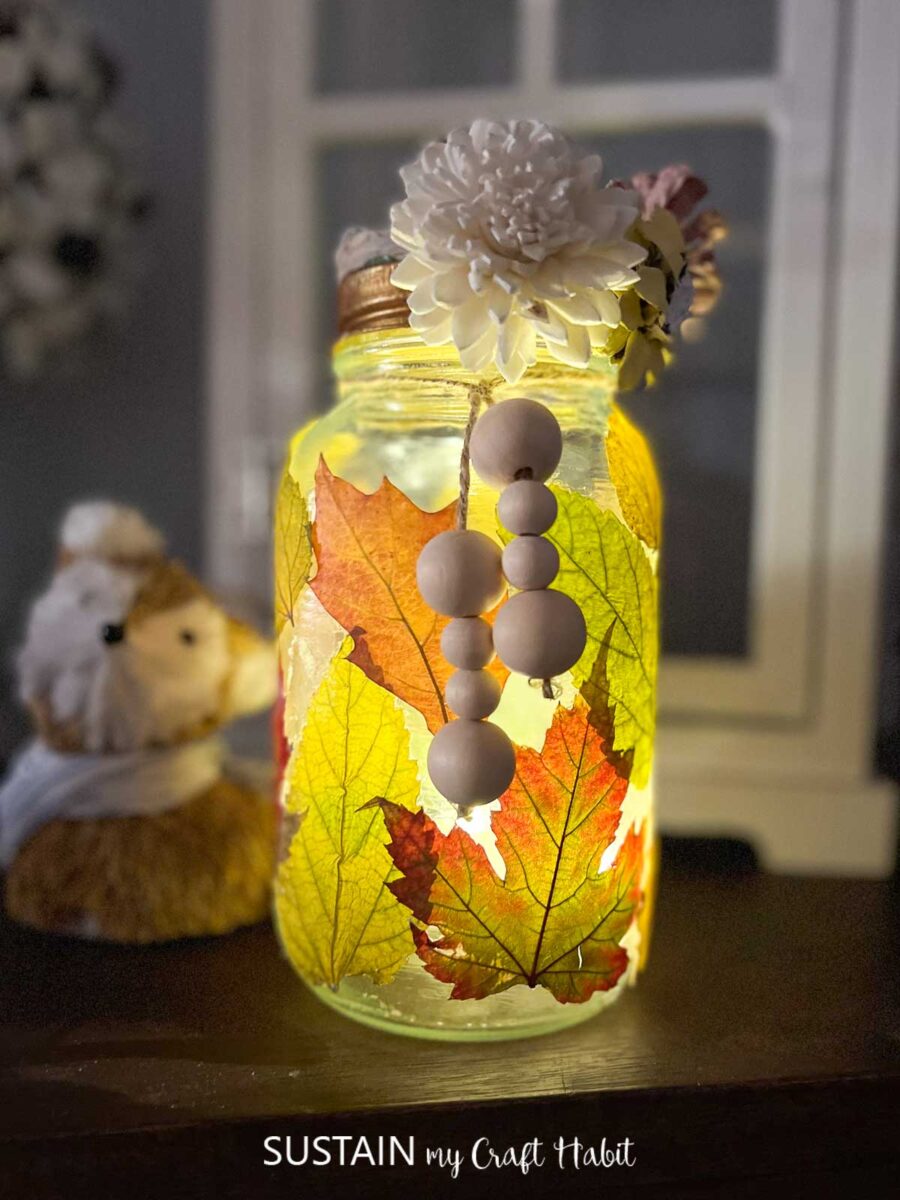
- Pressed leaf glass luminary (craft coming soon)
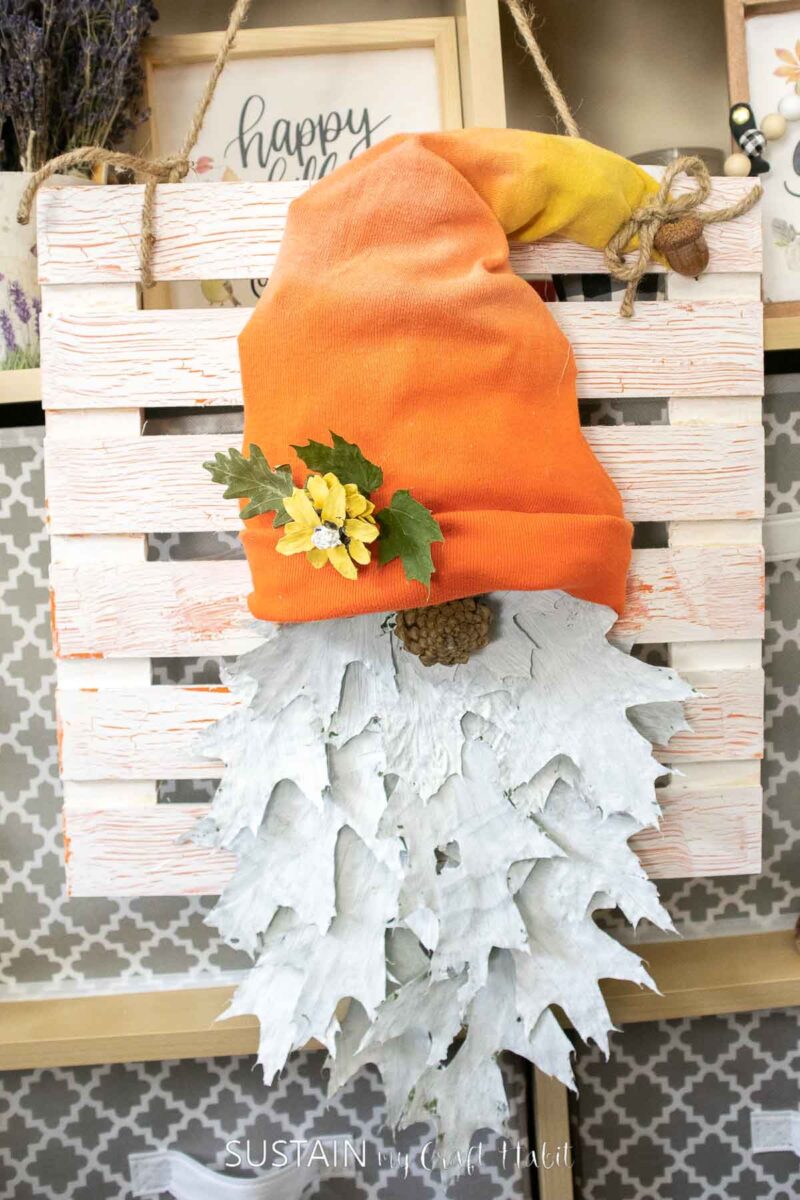
- DIY Gnome Decor Using Pressed Leaves
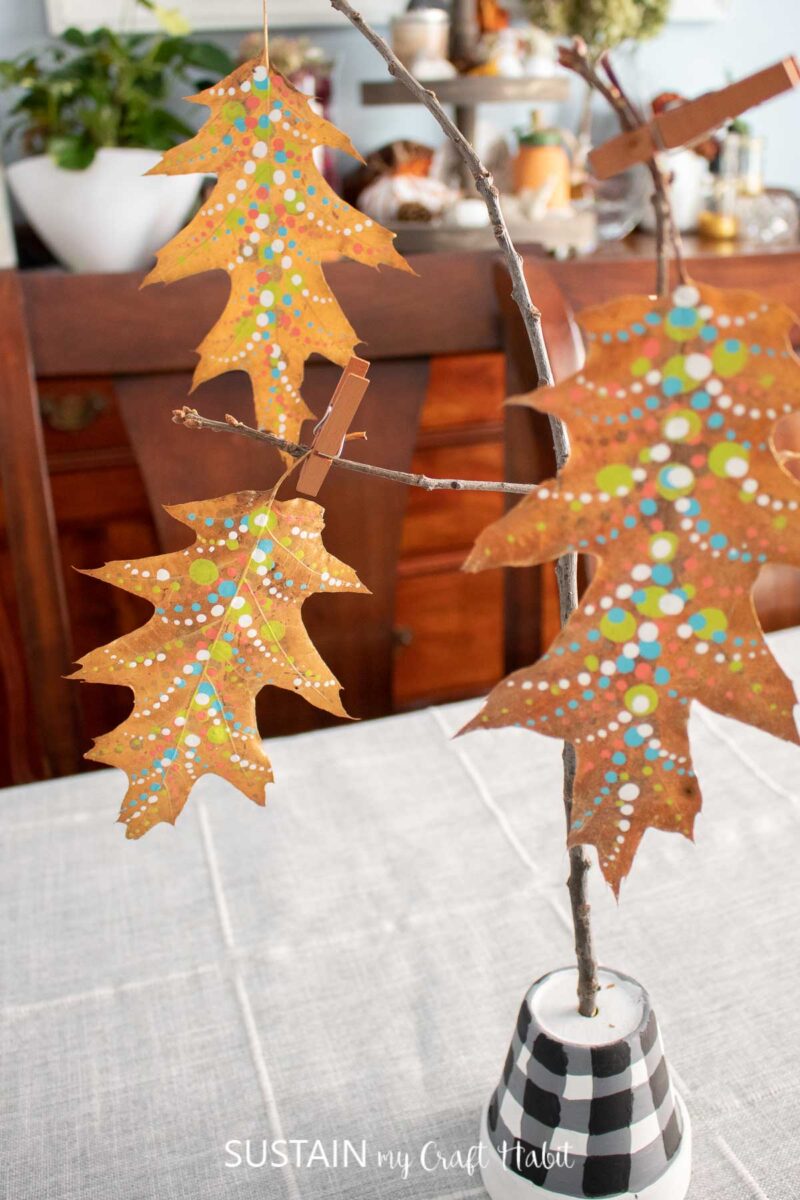
- Painted Dried Leaves Halloween Garland
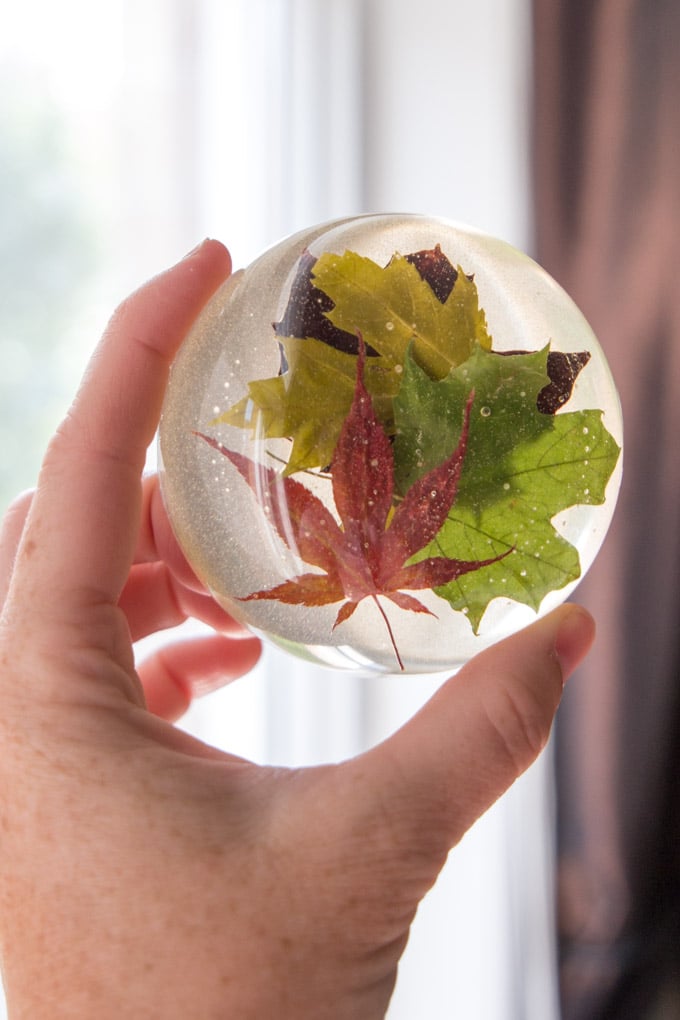
- DIY Leafy Resin Paperweight Office Decor

While this one isn’t leaves, you can also learn how to dry hydrangeas for crafting here!
There it is- how to preserve leaves for crafting! We know that there are multiple creations you can make now that you have this knowledge. We would love to see yours! Tag us on Facebook or Instagram– we can’t wait!
Like it? Pin it for later!
