How to Use Printable Iron-On Vinyl for a Custom Fall Throw Pillow
Give your living room a cozy autumn refresh with this easy tutorial on how to use printable iron-on vinyl for a custom fall throw pillow!
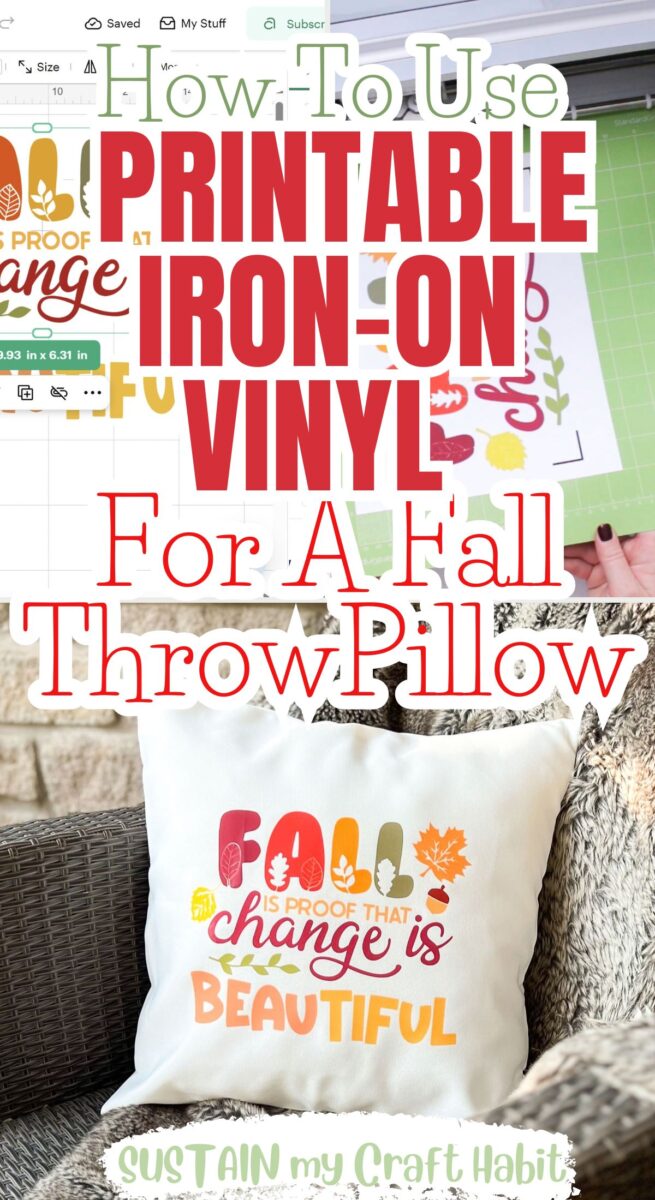
Creating a cosy autumn home doesn’t have to mean spending a fortune on seasonal decorations. With printable iron-on vinyl, you can transform a plain cushion cover into a beautiful custom fall throw pillow featuring pumpkins, autumn leaves, seasonal quotes or your favourite fall-inspired designs.
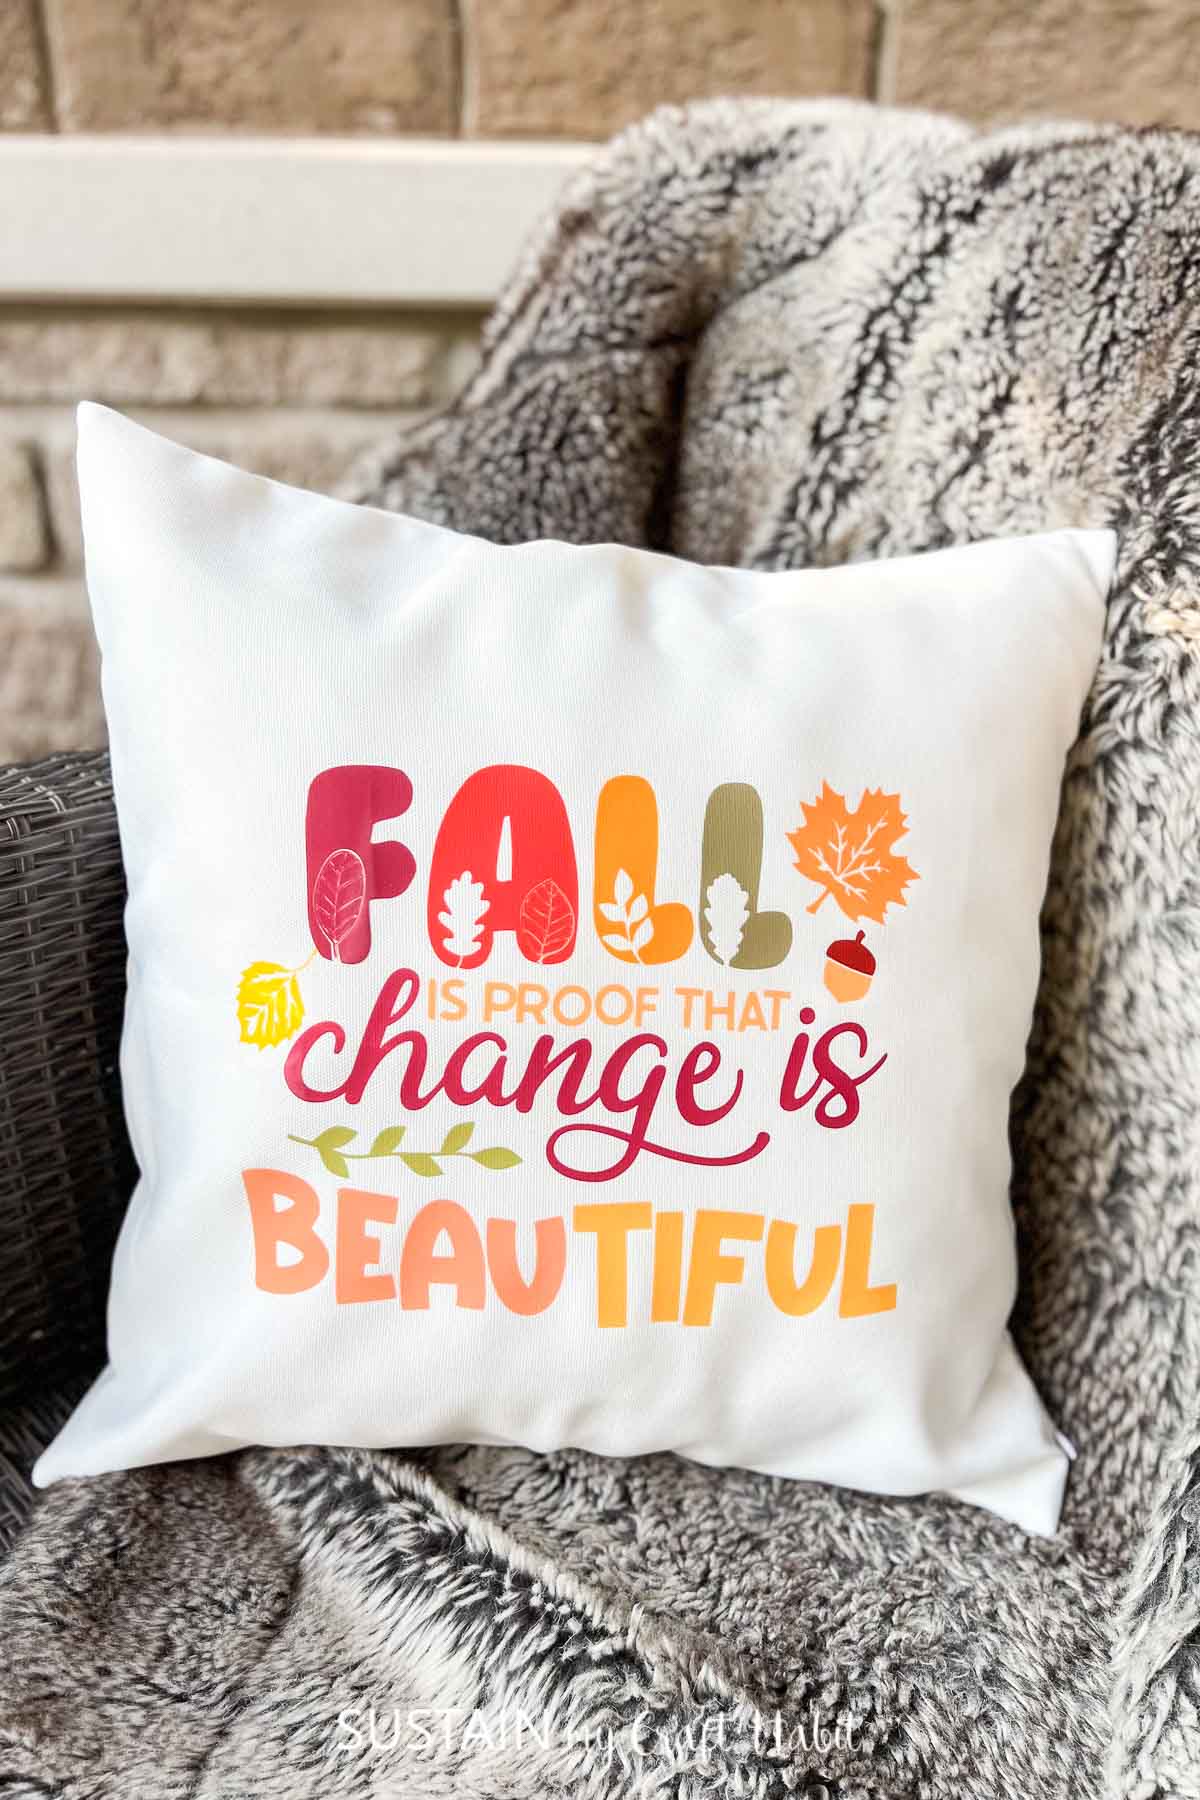
This easy DIY fall pillow project is perfect for adding a personal touch to your living room, bedroom or entryway without buying expensive seasonal cushions.
When you’re using a Cricut machine, creating printable heat transfer vinyl makes it simple to create colourful, professional-looking results at home.
Why You’ll Love This Printable Iron On Throw Pillow Craft
- Budget-friendly autumn decorating: Transform an inexpensive plain cushion cover into a stylish seasonal accessory using printable iron-on vinyl and a few basic craft supplies.
- Endless customisation options: Create personalised fall throw pillows with pumpkins, woodland animals, autumn foliage, cosy sayings or colourful seasonal patterns that match your home décor.
- Beginner-friendly DIY project: Printable heat transfer vinyl is easy to work with, even if you’re new to Cricut crafts or iron-on projects. Simply print your design, cut it out and apply it using heat.
- Perfect for gifts and seasonal décor: Handmade autumn cushion covers make thoughtful housewarming gifts, Thanksgiving decorations or personalised presents for friends and family.
- Reusable year after year: With the correct application and gentle care, your DIY fall pillow cover can become a favourite autumn decoration that you bring out every September.
Get access to our resource library filled with SVG cut files and other Cricut craft ideas!
Materials Needed
- Cricut Maker 3
- Cricut Standard Grip Mat
- Scissors
- Design Space fall template or custom design your own
- Printable Iron On Vinyl
- EasyPress 2
- EasyPress Mat
- Throw Pillow cover, 16”x16” (purchase one like this or make your own)
- Pillow Form Insert (purchase one to fit or upcycle your old pillows to make one)
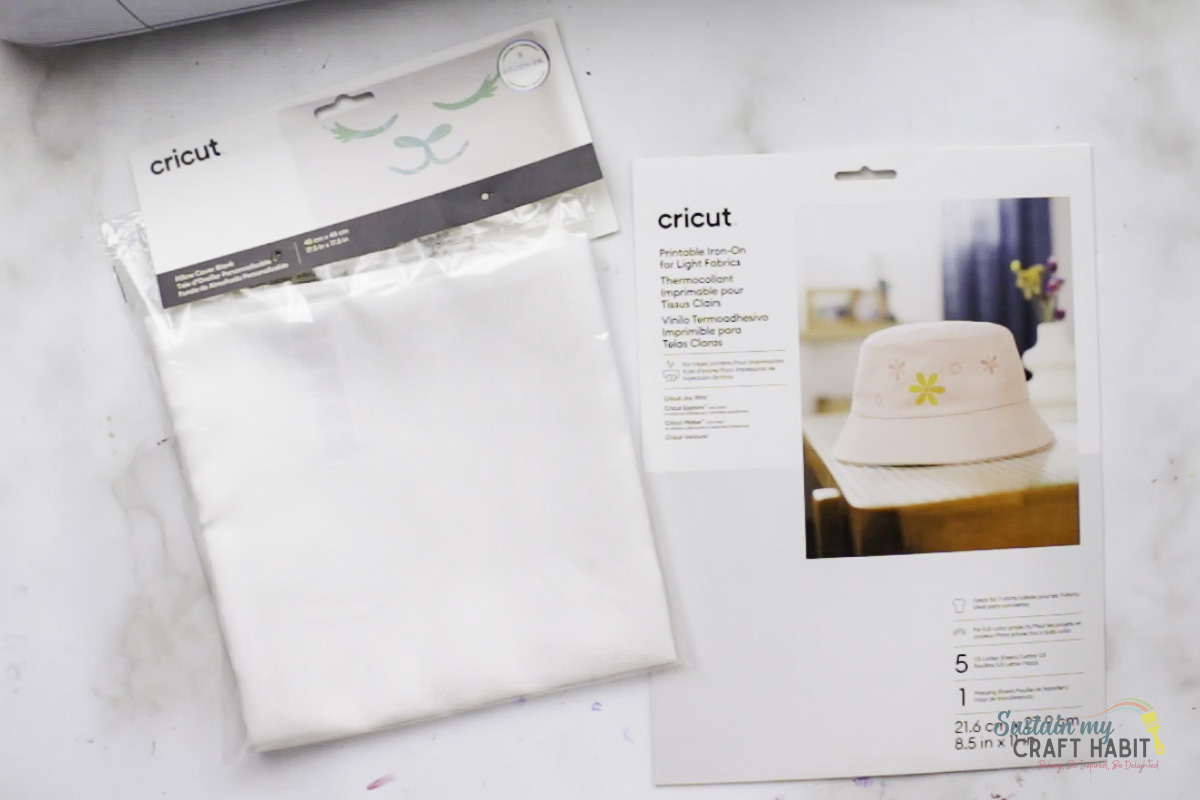
How to Make a Custom Fall Throw Pillow with Printable Iron-On Vinyl
Printing the Iron-on Vinyl with a Cricut Maker
Upload the design template from Design Space.
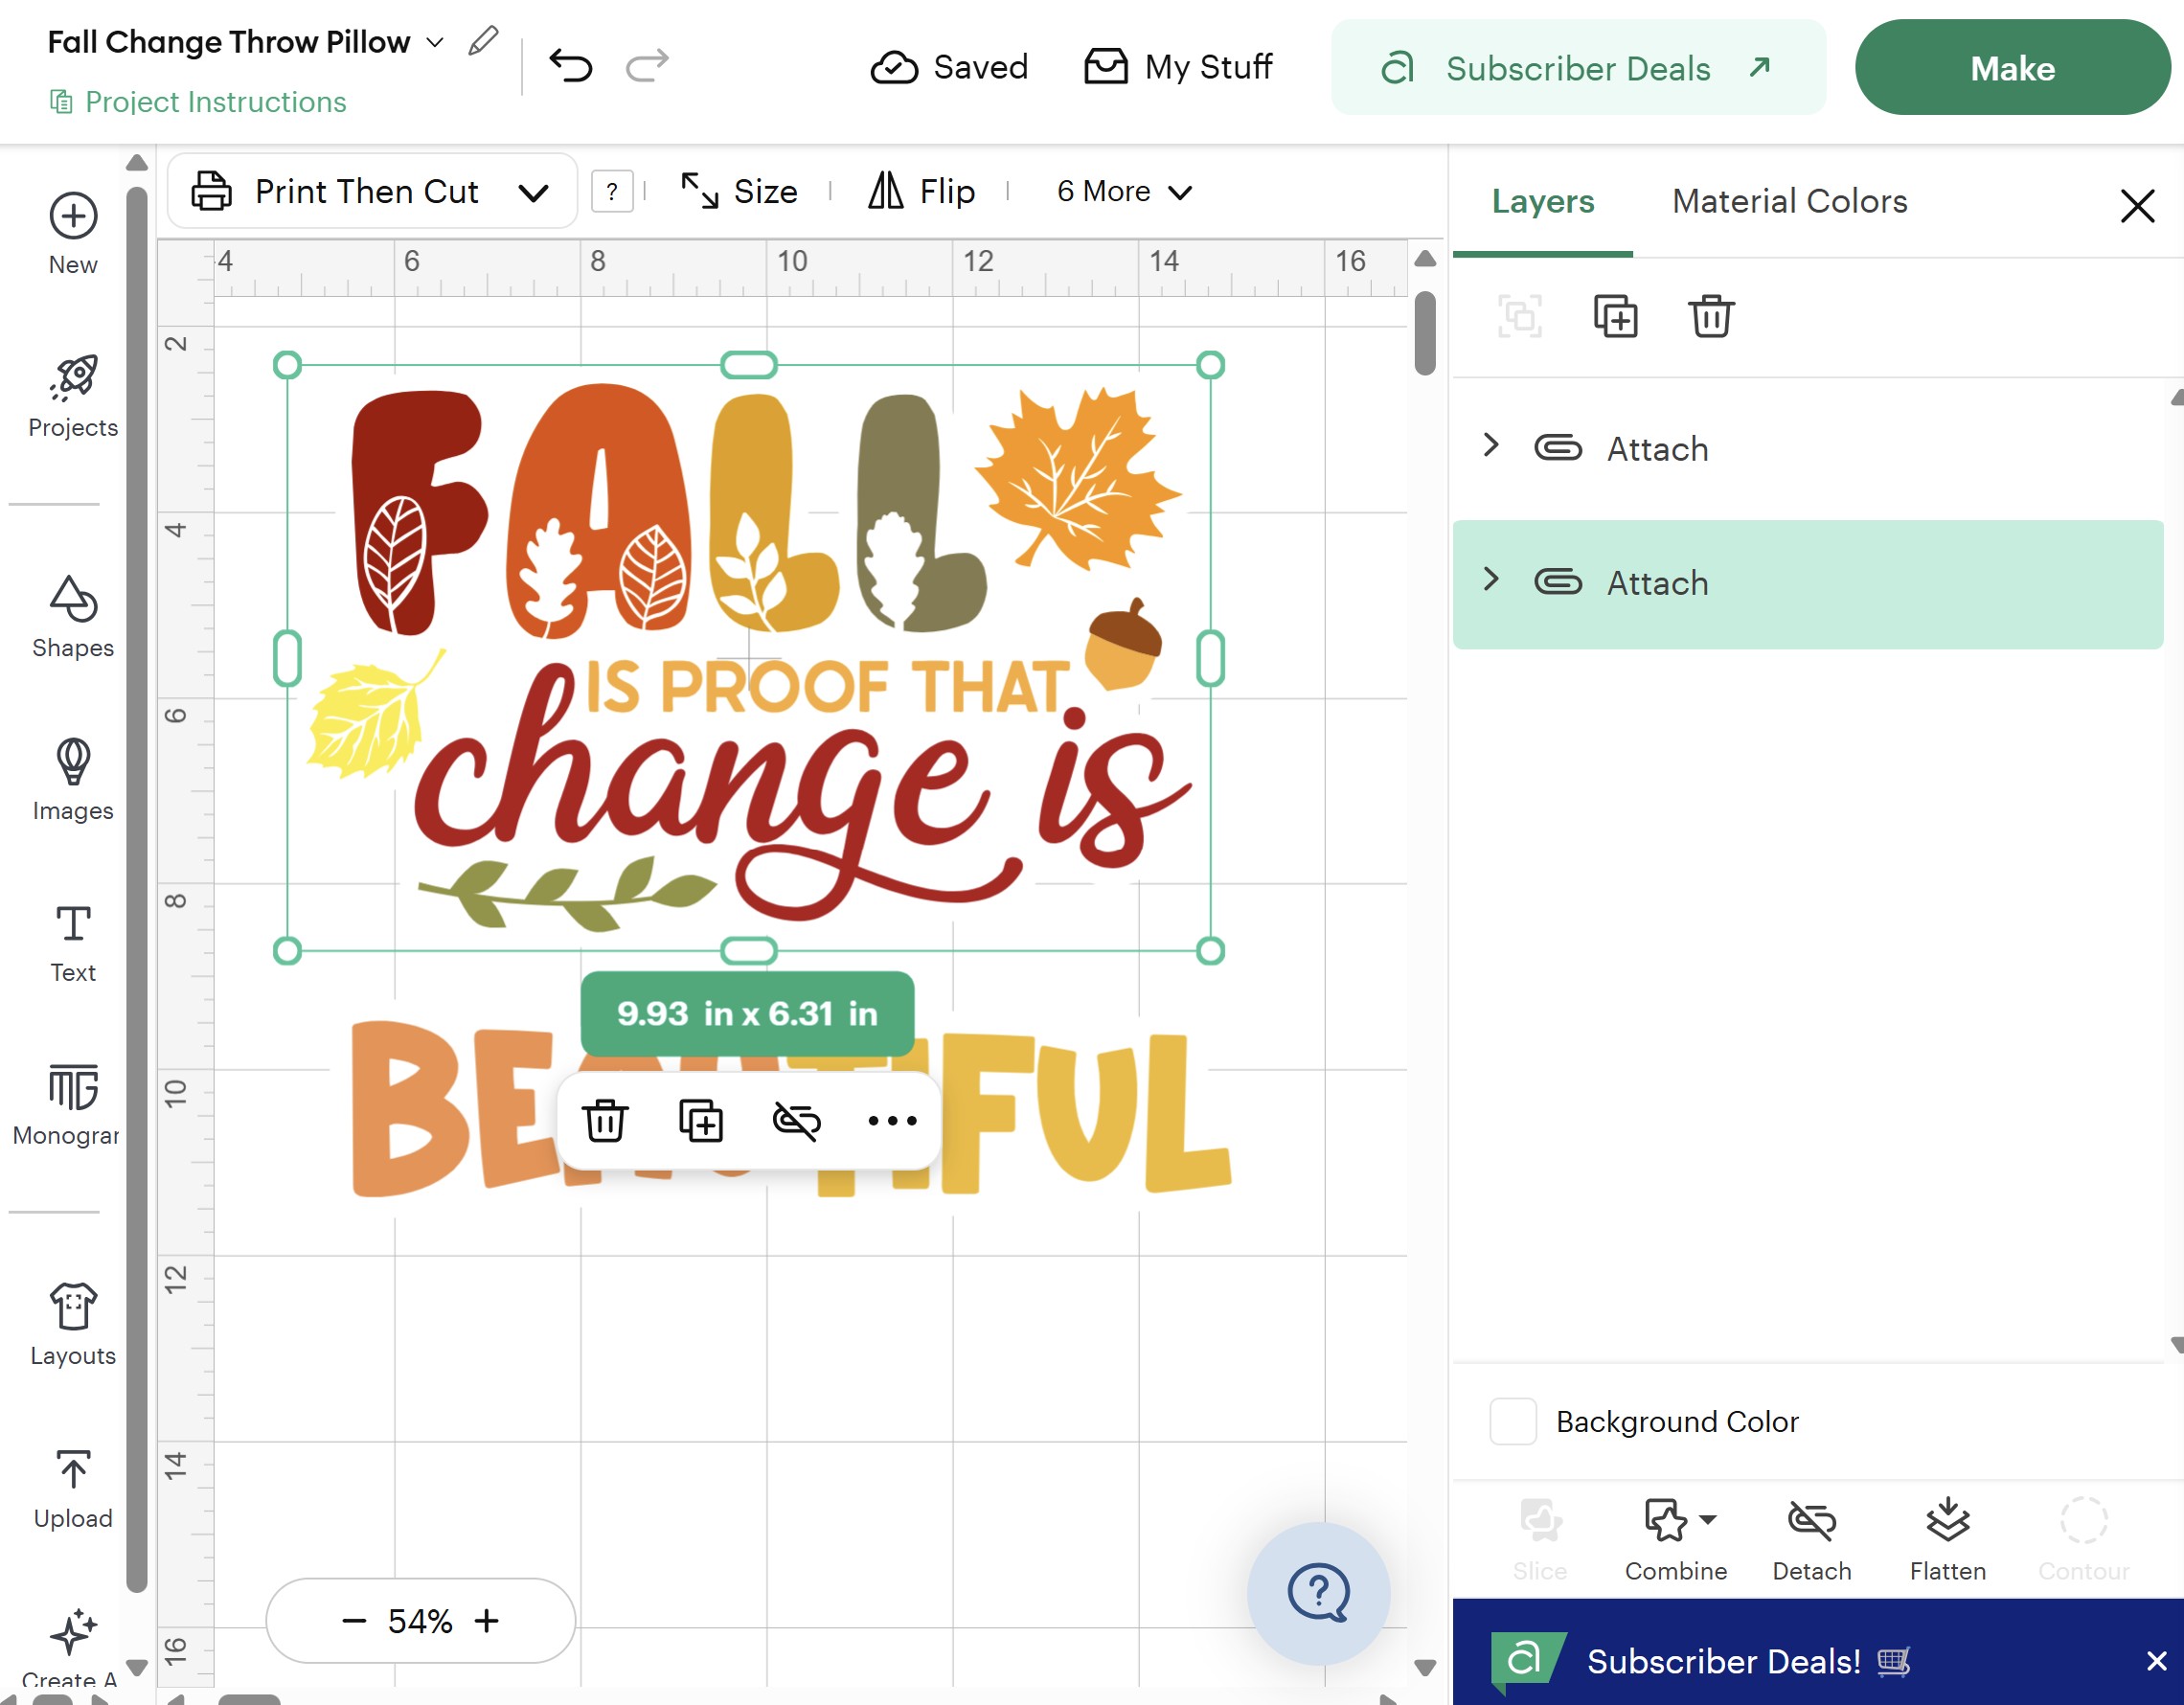
Select Customize to adjust the text or hand print patterns.
Set the material option to Printable Iron-On vinyl.
Place a sheet of the printable iron-on vinyl on to a mat and insert it into the machine. Follow the prompts to insert the correct tool.
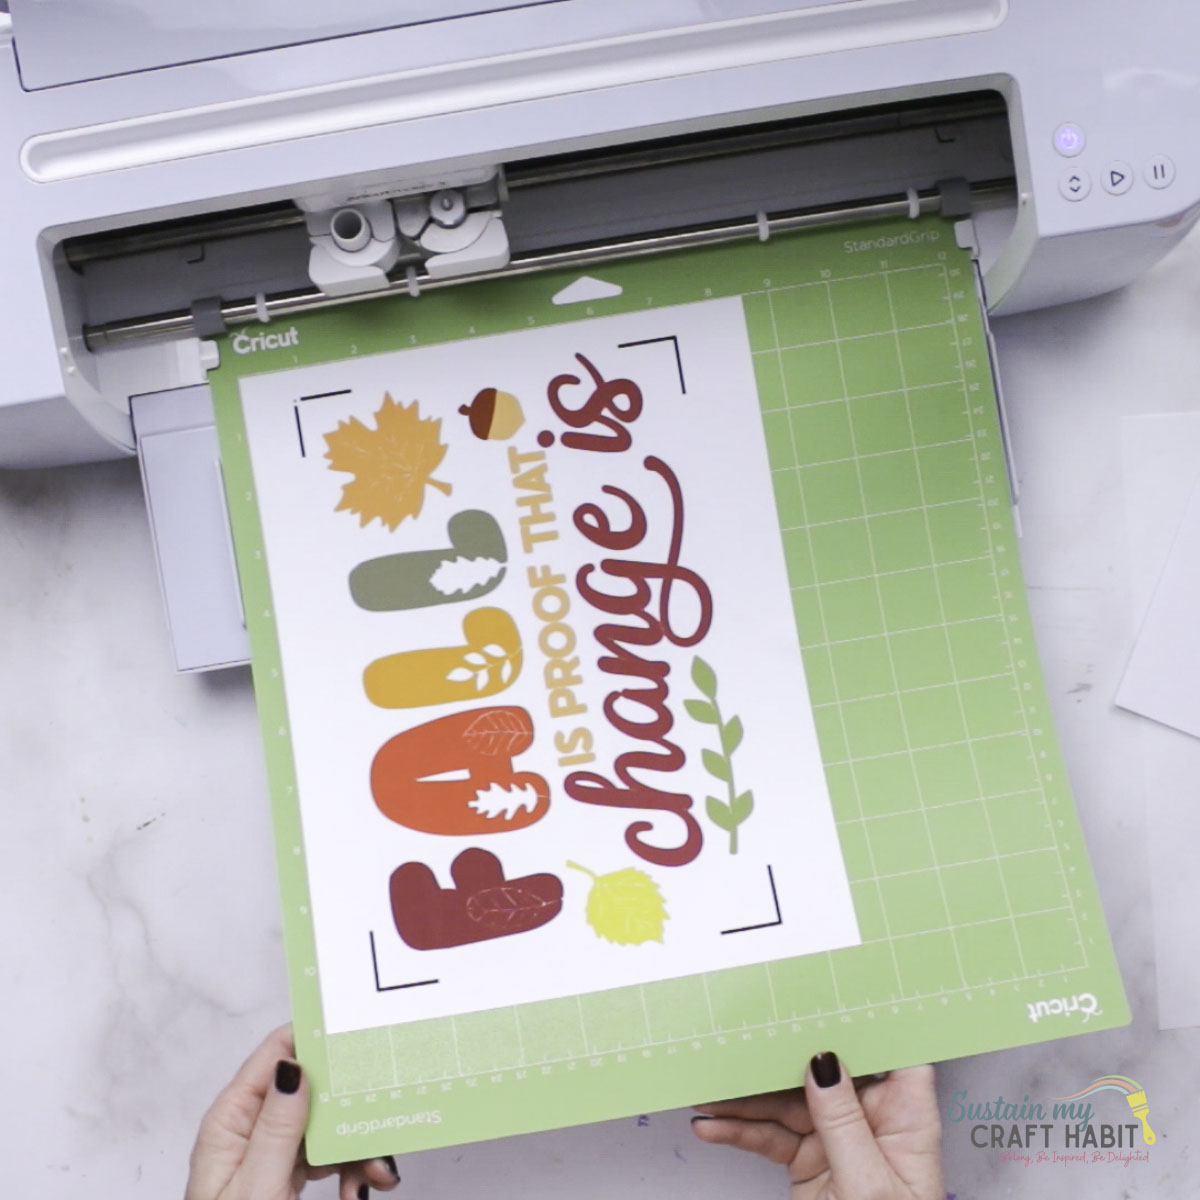
When complete, unload the mat and peel off the vinyl sheet.
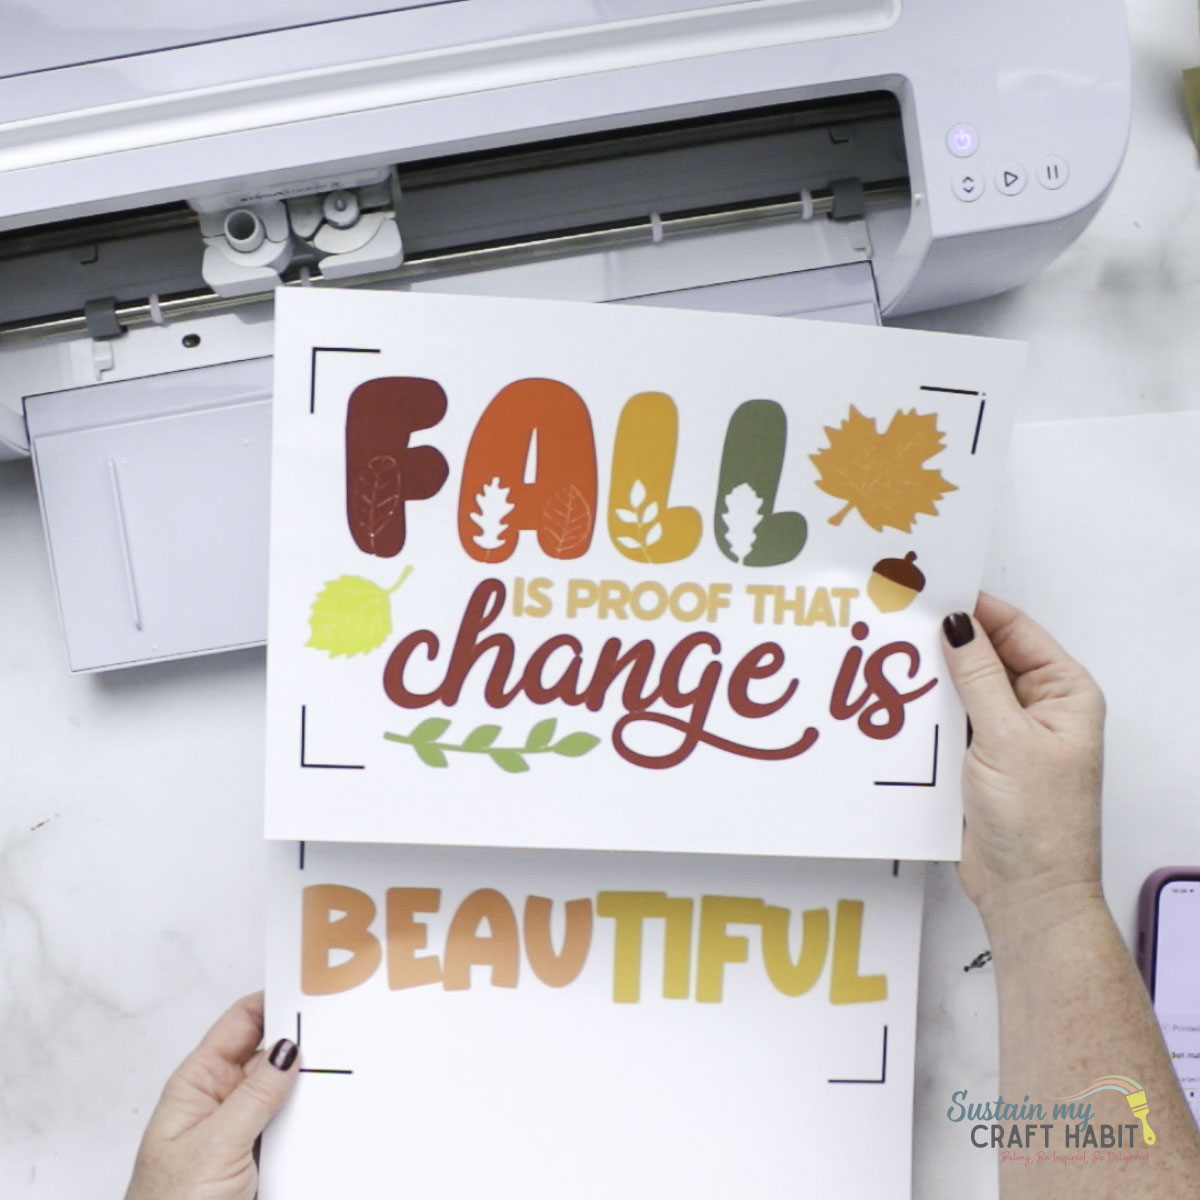
Applying the Iron-on Vinyl with the EasyPress 2
Place the throw pillow cover on top of the EasyPress 2 mat and use the lint roller over the throw pillow to eliminate any loose fibers before heat pressing.
Preheat the fabric for 5 seconds.
Position the vinyl onto the pillow cover.
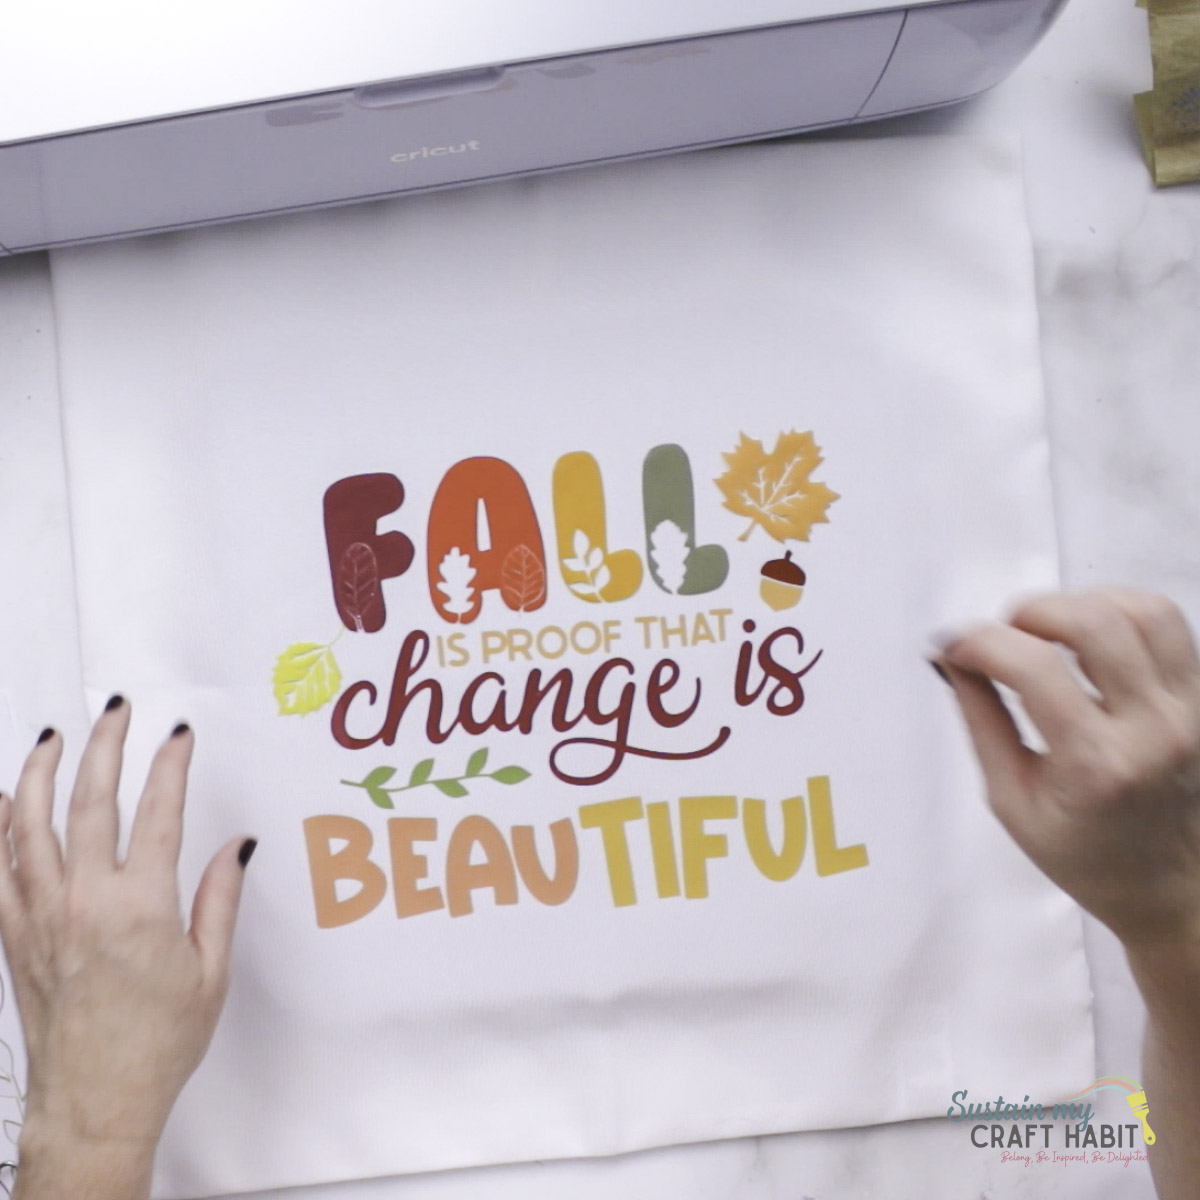
Next, refer to the EasyPress Reference Guide for instructions and heat press settings for applying the printable iron-on vinyl onto the pillow cover.
The Heat Guide suggests setting the temperature to 315F for at least 30 seconds.
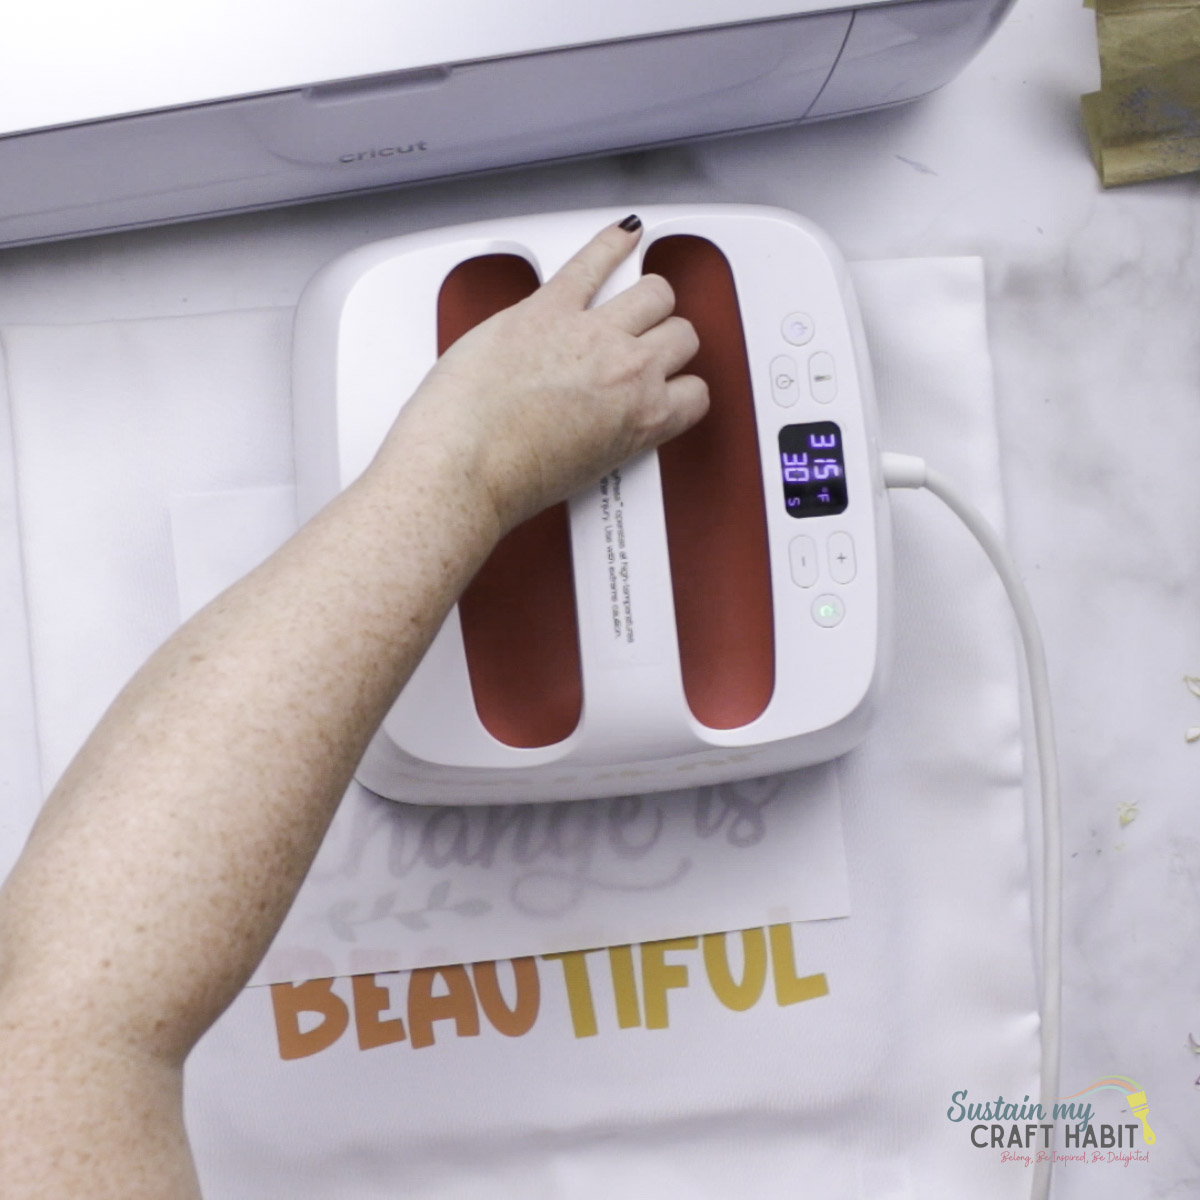
While still warm, peel away the plastic cover and discard.
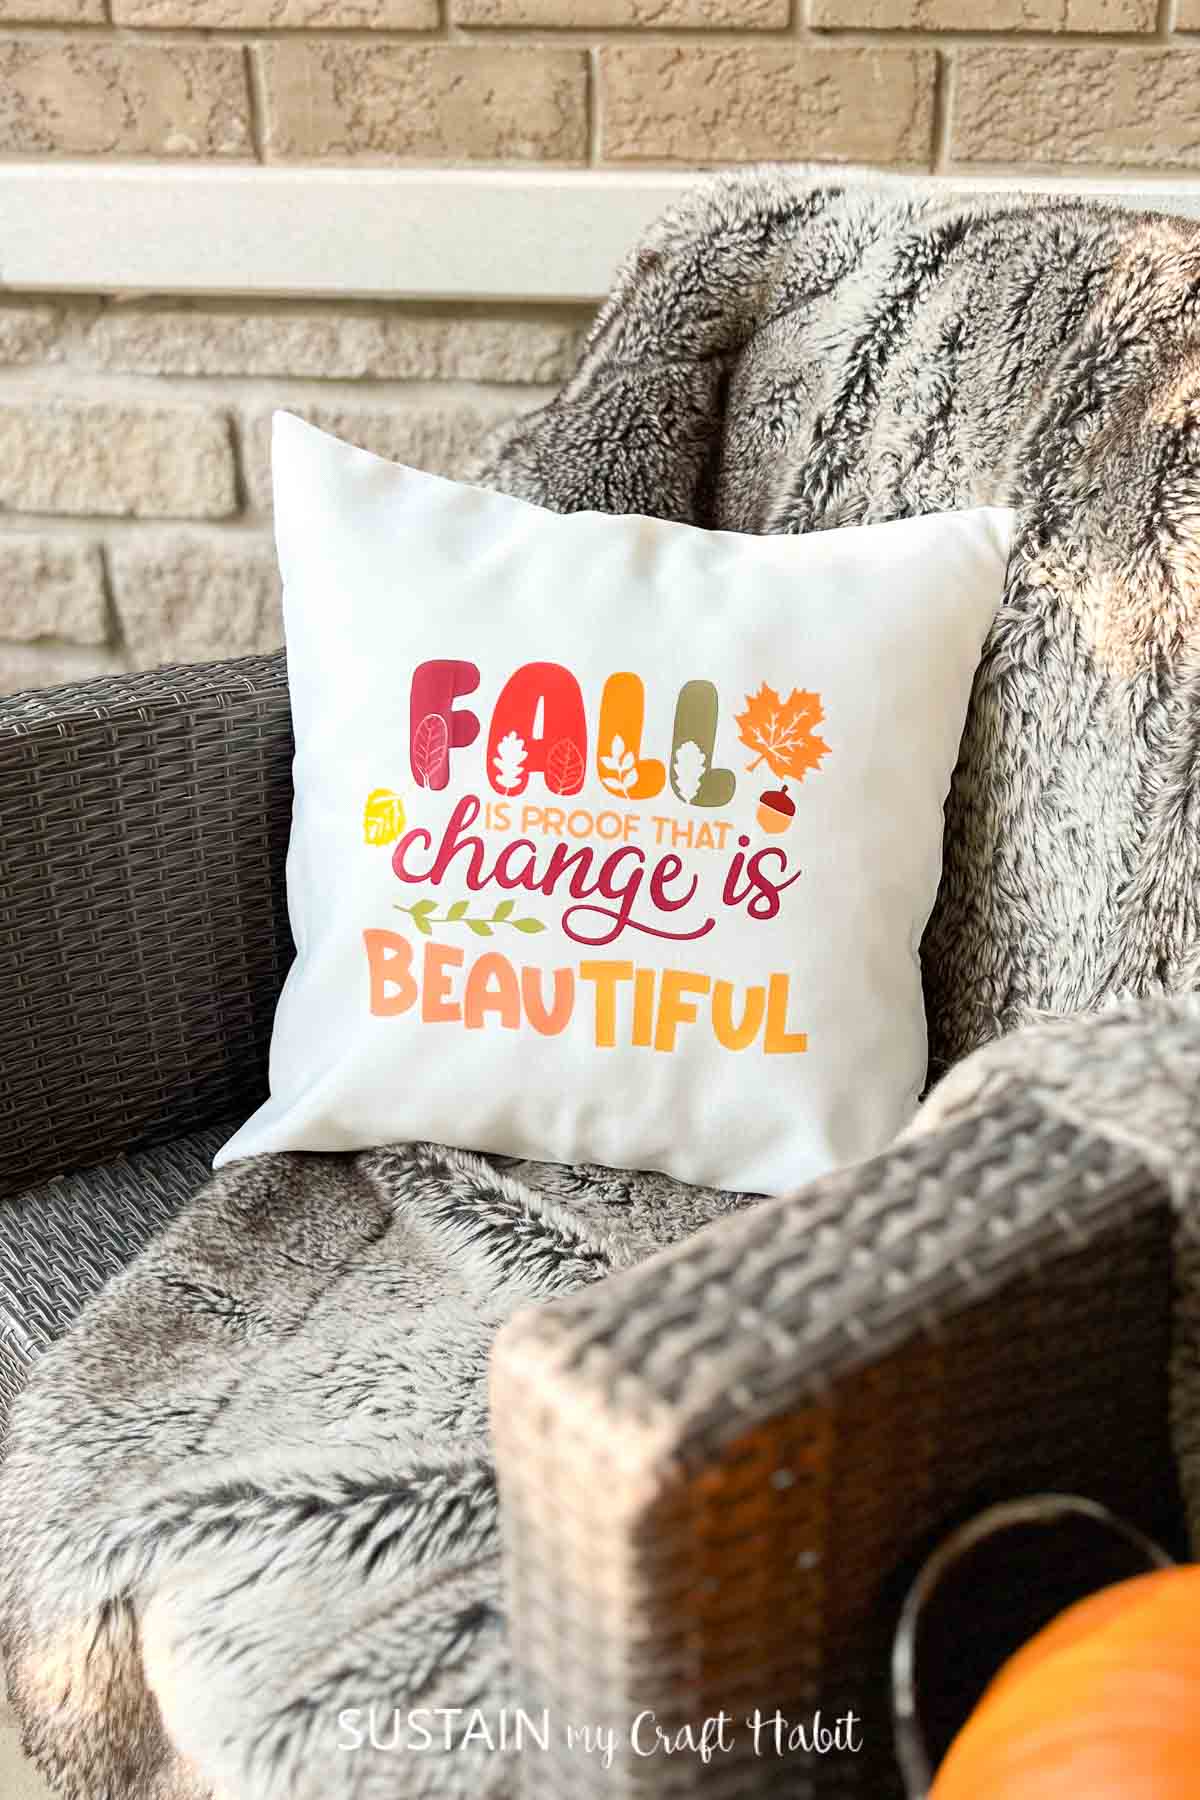
Place the pillow insert inside the pillow cover and it’s ready to use or in our case, ready to gift wrap!
Choosing the Best Printable Iron-On Vinyl for Pillow Covers
Not all printable iron-on vinyl is the same, so choosing the right material is essential for a successful project.
Look for printable heat transfer vinyl designed for fabric, and check whether it’s compatible with your inkjet or laser printer. Many printable iron-on products are made specifically for inkjet printers and won’t work with laser printers.
Creative Fall Pillow Design Ideas
One of the best things about making a custom fall throw pillow is being able to create something that perfectly matches your decorating style.
For a classic farmhouse look, try a simple pumpkin illustration with the words “Hello Autumn” or “Pumpkin Patch” in a rustic font.
Choosing Colours and Sizes for Your DIY Fall Pillow
Traditional autumn colours such as burnt orange, mustard yellow, burgundy and deep brown work beautifully for seasonal cushion designs.
However, you don’t have to stick to classic fall shades. Sage green, cream, dusty pink and muted terracotta can create a softer autumn look that blends with modern home décor.
Troubleshooting Common Printable Iron-On Vinyl Problems
The vinyl isn’t sticking properly
This can happen when the temperature, pressure or pressing time isn’t suitable for the material. Double-check the manufacturer’s application settings and ensure your cushion cover is compatible with the vinyl.
The edges are lifting
Uneven pressure or insufficient heat may cause edges to lift. If the product instructions permit repressing, protect the design with the recommended cover sheet and apply heat again.
The colours look faded
Check your printer settings and ensure you’re using the correct printable side of the vinyl. High-quality print settings and suitable artwork can help produce brighter, clearer results.
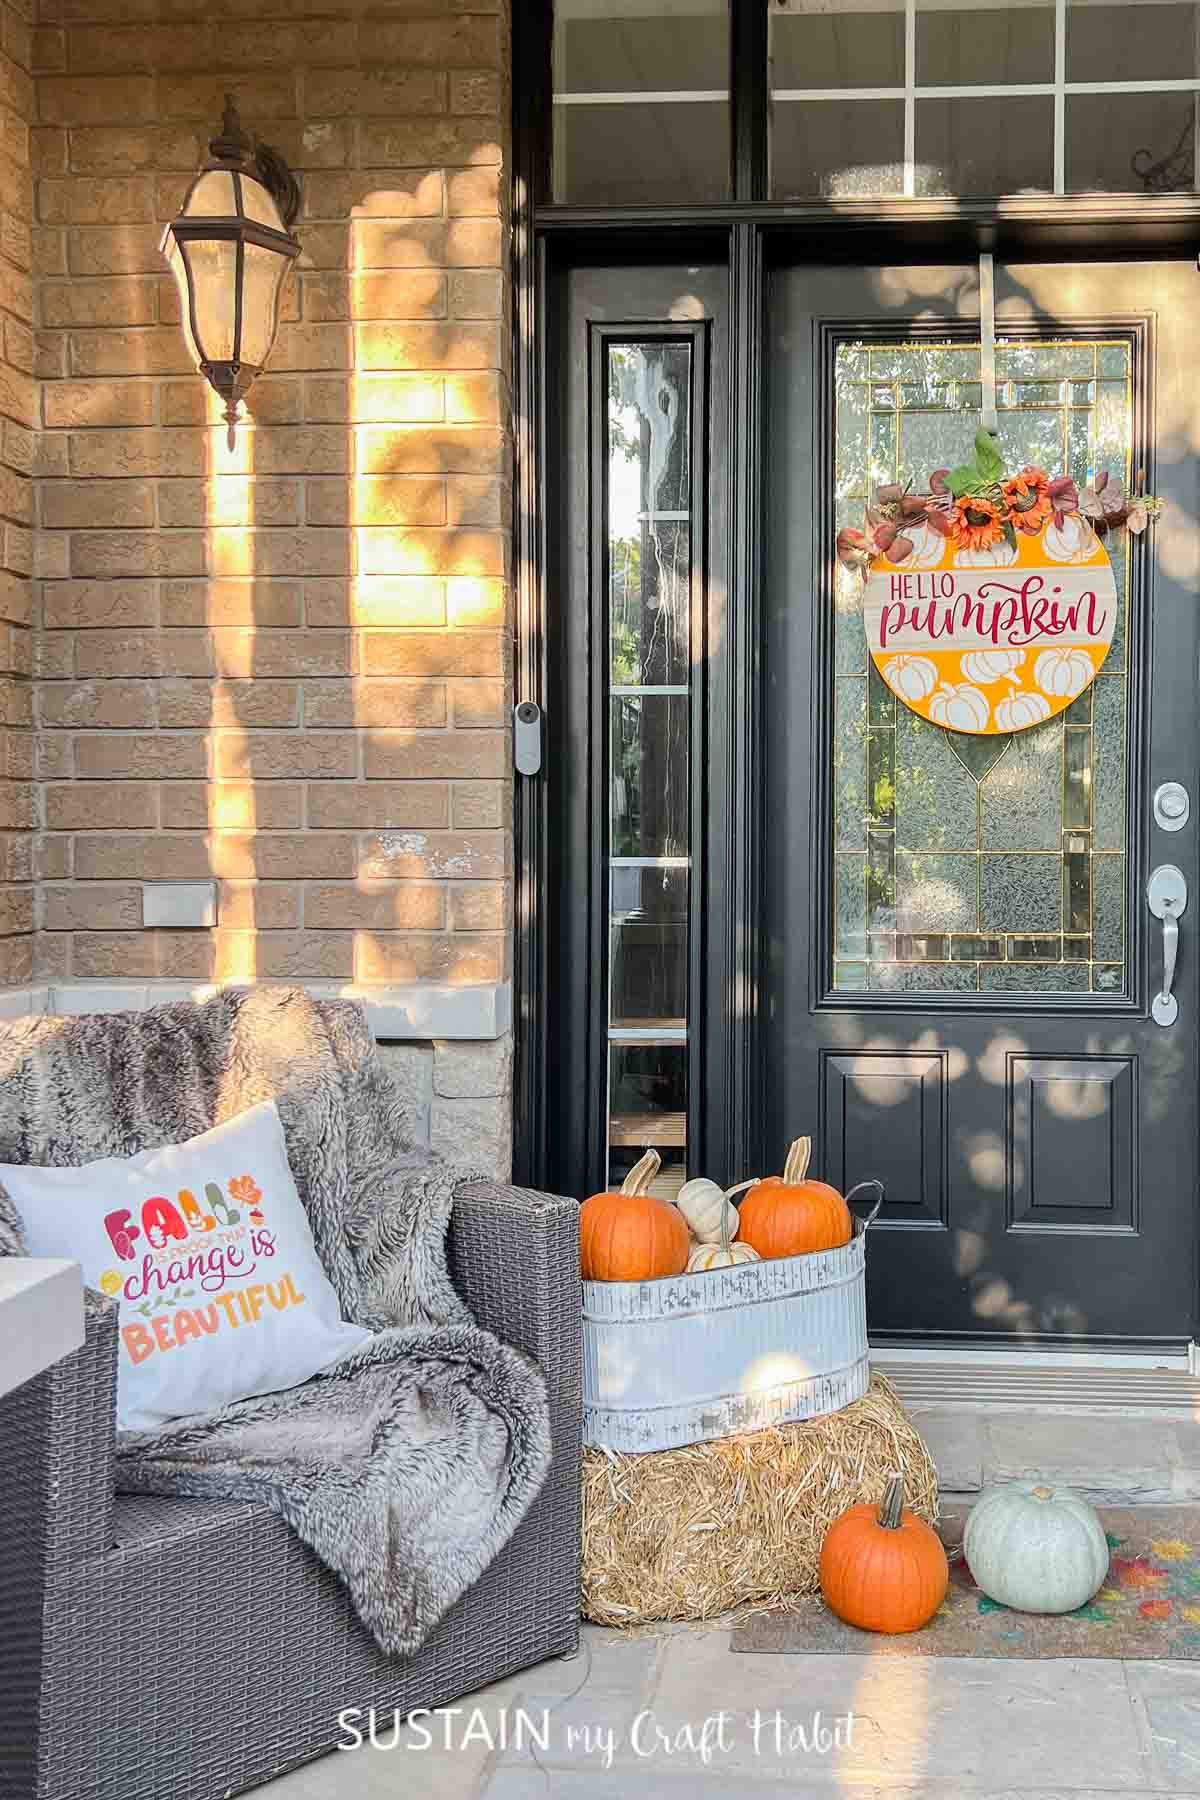
Wonderful Seasonal Accent
Making your own seasonal decorations is a wonderful way to refresh your home while keeping costs low. With printable iron-on vinyl, a plain cushion cover and a little creativity, you can create a custom fall throw pillow that feels completely personal.
Whether you love traditional pumpkin designs, rustic farmhouse style or modern autumn colours, this easy DIY project offers endless possibilities!
More Fall Crafts with Cricut
Check out our favorite Autumn Cricut craft projects to discover simple, budget-friendly ways to transform vinyl, iron-on, and cardstock into festive seasonal decor!
- Fall Tea Towels with Iron On Vinyl
- Pumpkin Art Craft with Cricut
- Infusible Ink Pens on Mugs
- Iron On Spider Web Art


Want to receive a ton of inspiration and money saving ideas for decorating, gift-giving and crafting? Join HERE!
Like it? Pin for Later!
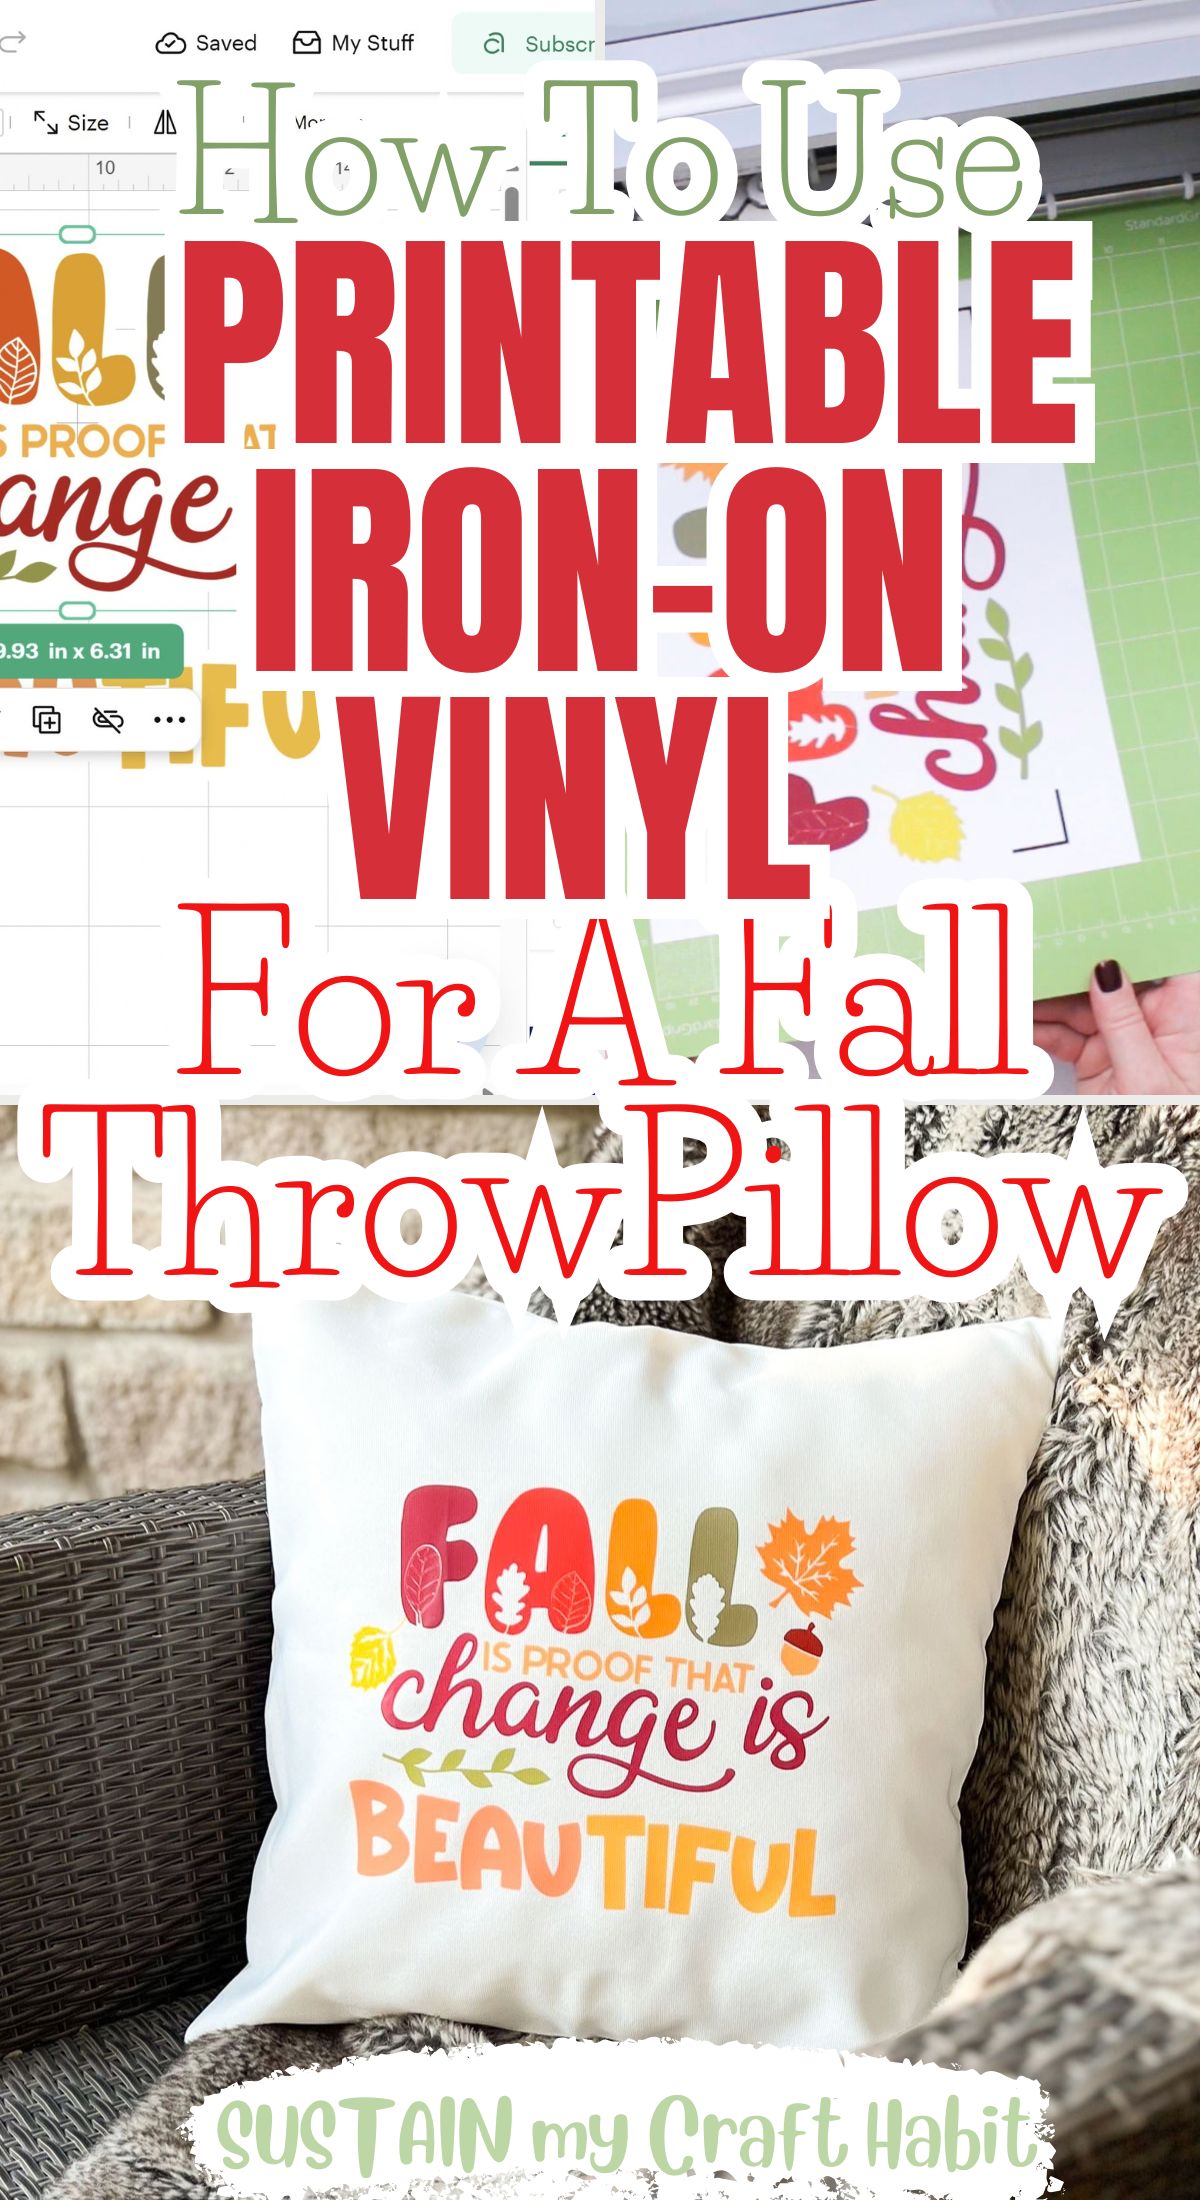
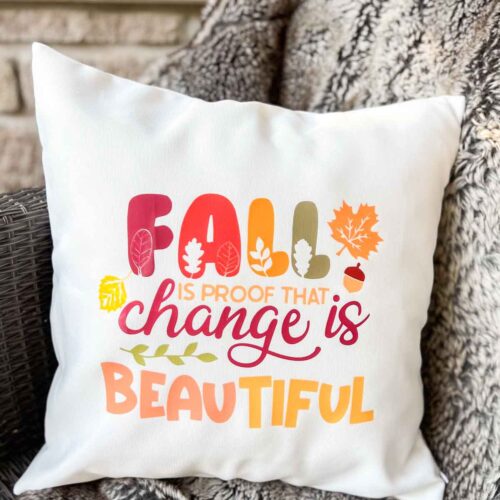
How to Use Printable Iron-On Vinyl for a Custom Fall Throw Pillow
Materials
- Cricut Maker 3
- Cricut Standard Grip Mat
- Scissors
- Design Space fall template or custom design your own
- Printable Iron On Vinyl
- EasyPress 2
- EasyPress Mat
- Throw Pillow cover 16”x16”
- Pillow Form Insert purchase one to fit or upcycle your old pillows to make one
Instructions
- Printing the Printable Iron-on Vinyl with the Cricut Maker
- Upload the design template from Design Space.
- Select Customize to adjust the text or hand print patterns.
- Set the material option to Printable Iron-On vinyl.
- Place a sheet of the printable iron-on vinyl on to a mat and insert it into the machine. Follow the prompts to insert the correct tool.
- When complete, unload the mat and peel off the vinyl sheet.
Applying the Iron-on Vinyl with the EasyPress 2
- Place the throw pillow cover on top of the EasyPress 2 mat and use the lint roller over the throw pillow to eliminate any loose fibers before heat pressing.
- Preheat the fabric for 5 seconds.
- Position the vinyl onto the pillow cover.
- Next, refer to the EasyPress Reference Guide for instructions and heat press settings for applying the printable iron-on vinyl onto the pillow cover.
- The Heat Guide suggests setting the temperature to 315F for at least 30 seconds.
- While still warm, peel away the plastic cover and discard.
- Place the pillow insert inside the pillow cover and it’s ready to use or in our case, ready to gift wrap!