Upcycled Tulip Board with Decoupage
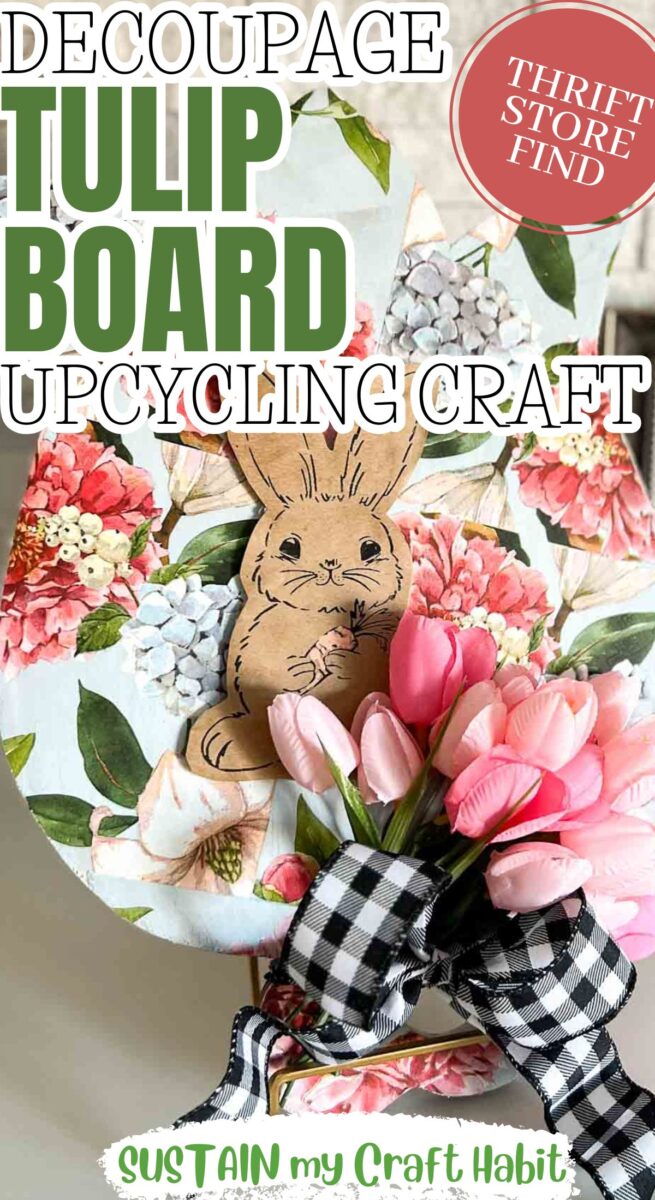
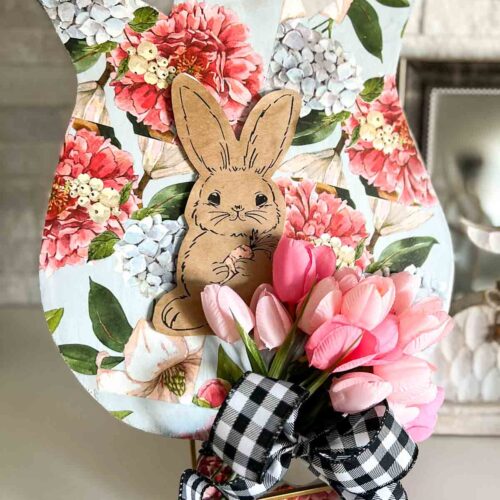
This upcycled tulip board with decoupage is a simple way to turn an old wooden board into cheerful spring décor without buying anything new.
This upcycled tulip board with decoupage is a simple way to turn an old wooden board into cheerful spring décor without buying anything new. If you’ve got a plain chopping board, scrap wood, or a forgotten plaque tucked away, this project gives it a fresh purpose.

Decoupage lets you add colour, pattern, and personality with very little effort, making it ideal for relaxed crafting sessions or weekend projects.
In this tutorial, you’ll see how to layer paper, seal it neatly, and finish a tulip-shaped board that looks polished but still handmade. It works just as well for your own home as it does for thoughtful handmade gifts. I’ll walk you through the steps and share a few handy tips along the way. Let’s get started!
Why You’ll Love This Project
- Uses items you already have, perfect for upcycling and budget crafting
- Easy decoupage technique suitable for beginners
- Customisable colours, papers, and finishes
- Great for seasonal décor, handmade gifts, or craft fairs
Want to receive a ton of inspiration and money saving ideas for decorating, gift-giving and crafting? Join HERE!
Materials Needed
- Tulip Wood Cutout or Board
- Paint Brush and pencil
- Spring Floral Paper
- Mod Podge
- Cricut Easy Press Mini
- 1.5” wide Checkered Ribbon for Bow
- Bunny Stamp or printed image on craft paper or upcycled Amazon packaging
- Faux Tulips
- Scissors
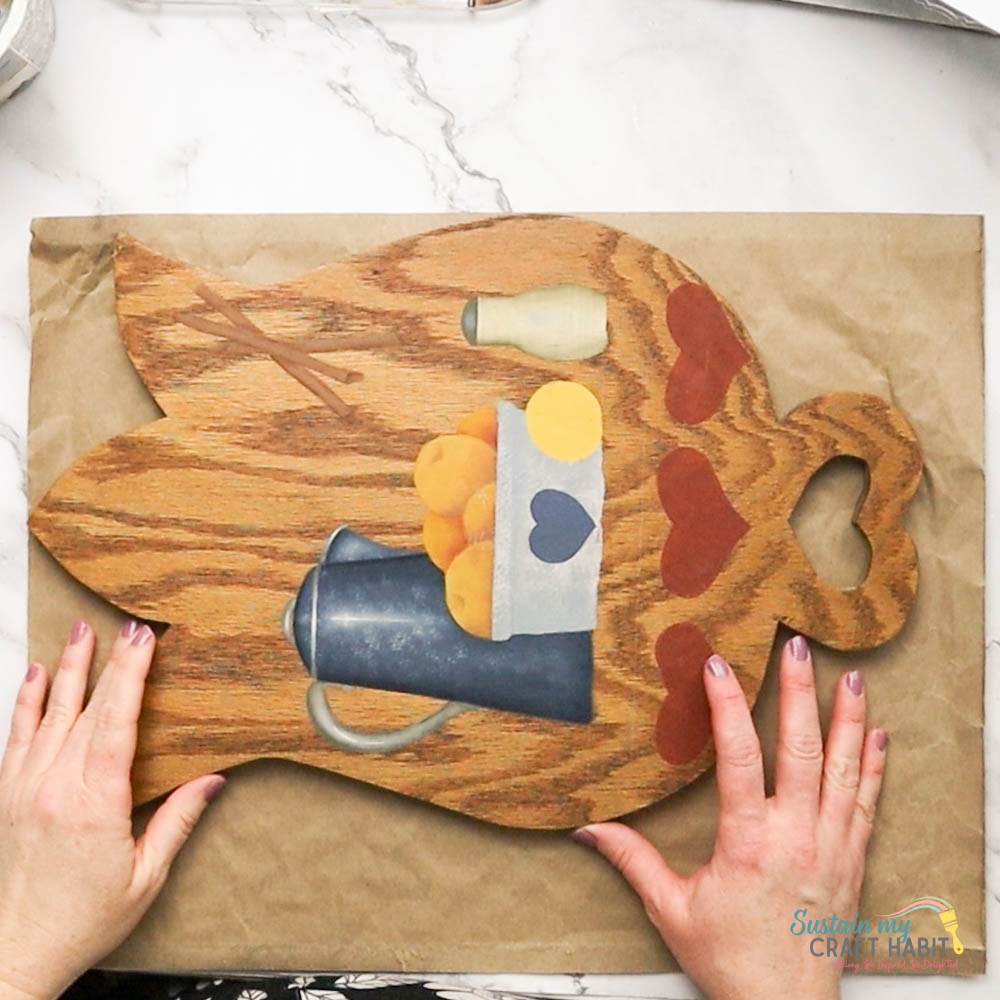
How to Make an Upcycled Tulip Board with Decoupage
I shared the tutorial for making this upcycled tulip board on Facebook Reels, which you can watch here or if you prefer the photo tutorial, continue reading below.
Trace the tulip board around the sheet of decorative paper. Layer and align several sheets if needed if it’s not large enough to cover the board fully.
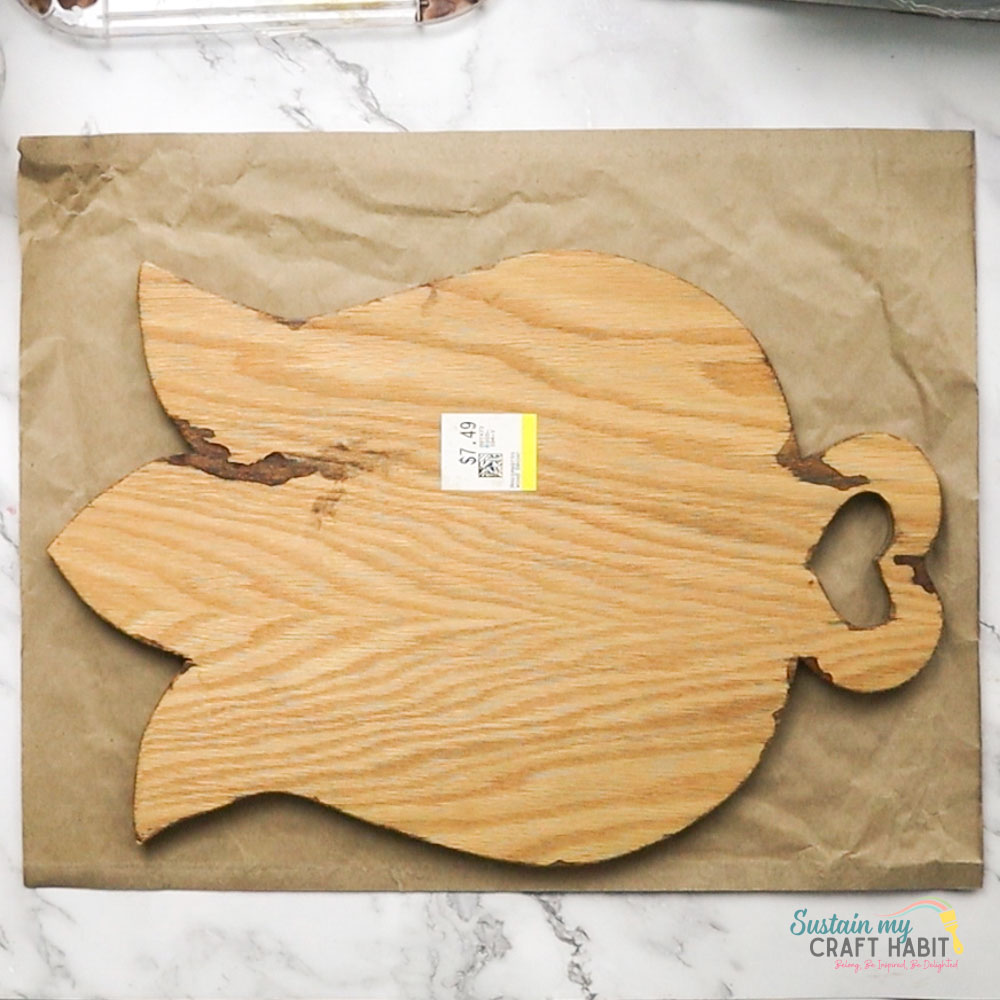
Be careful to match up the floral pattern as best as you can.
Cut out the paper along the tracking lines.
Take some modge podge and paint it on the tulip board. Apply a coat of Modge Podge to the underside of the paper as well.
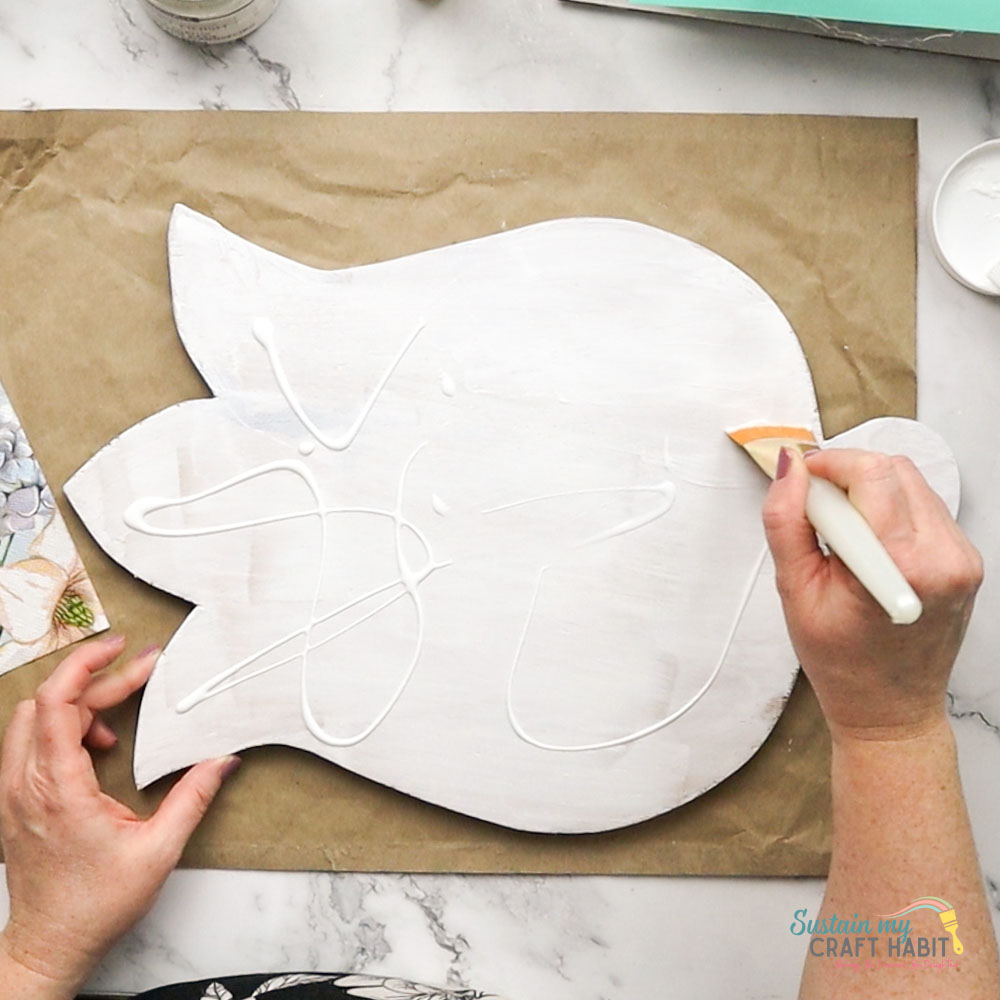
Press the back side of the paper onto the tulip board.
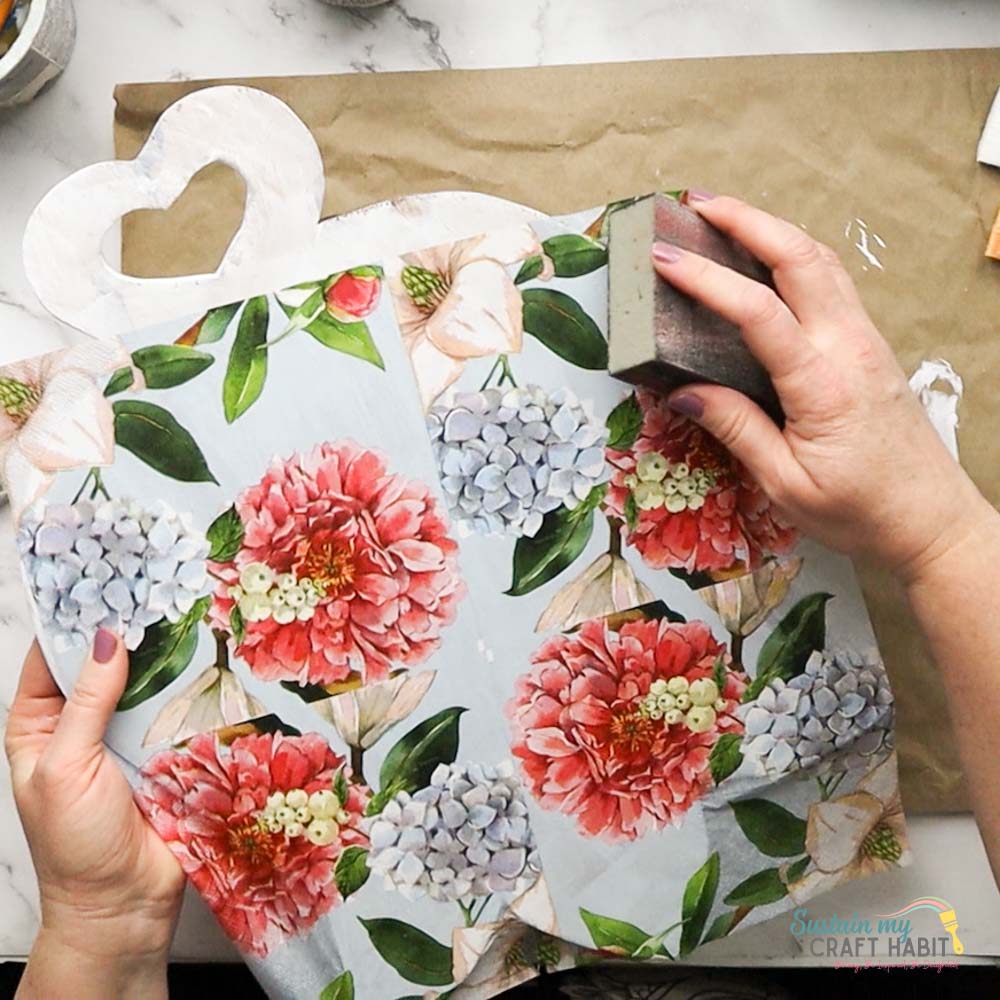
Using an iron or mini press, heat press the paper onto the tulip board.
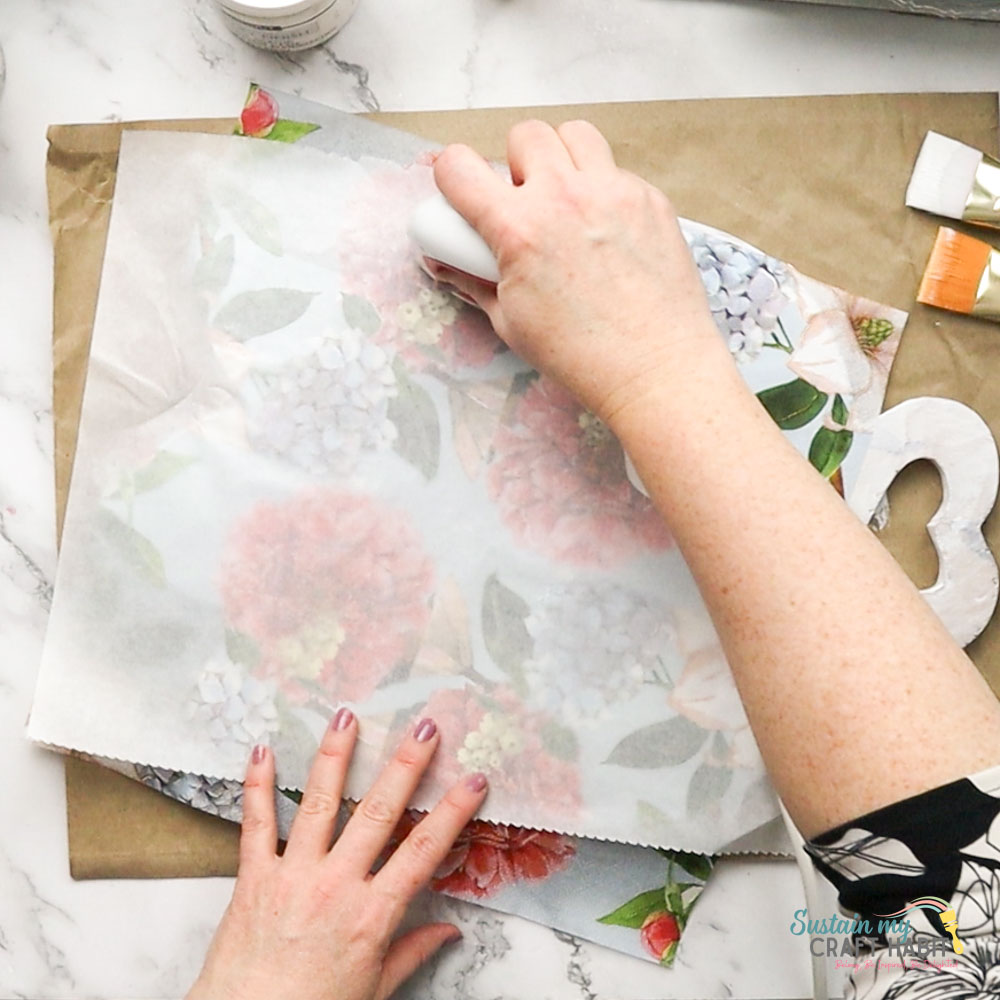
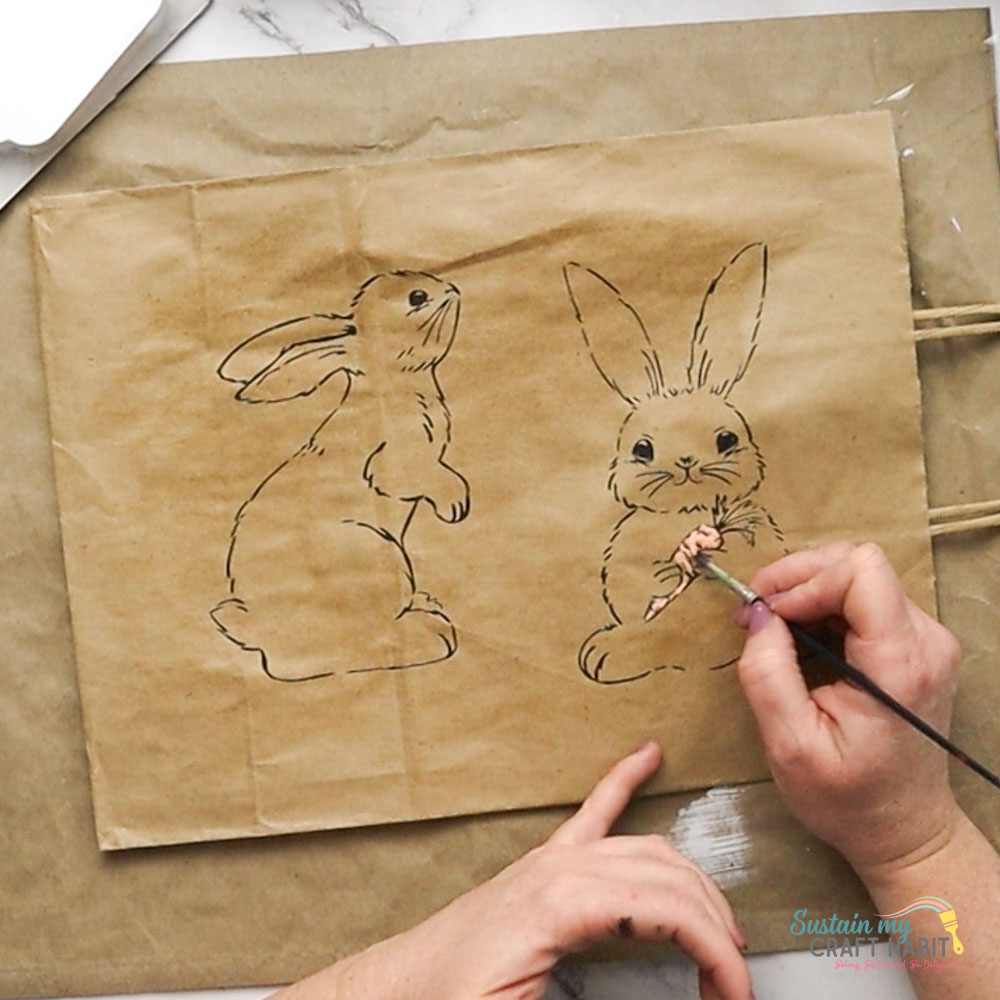
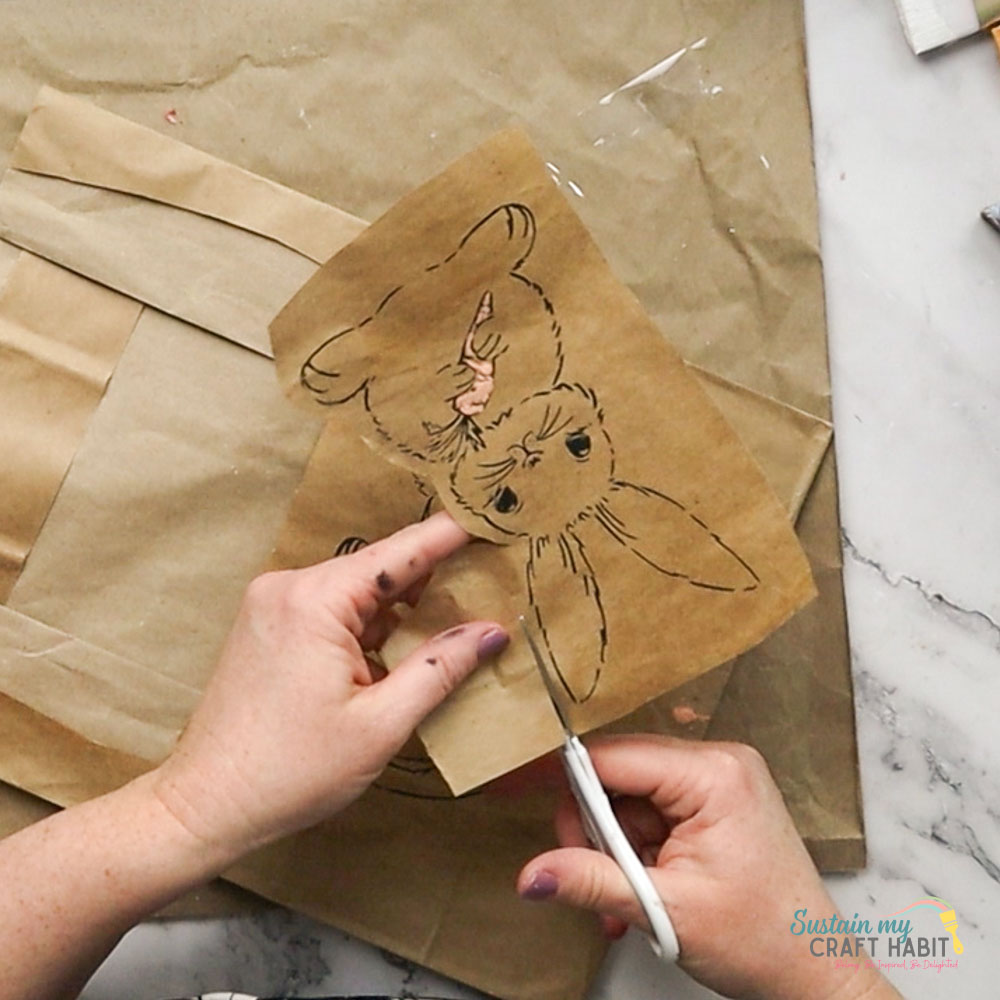
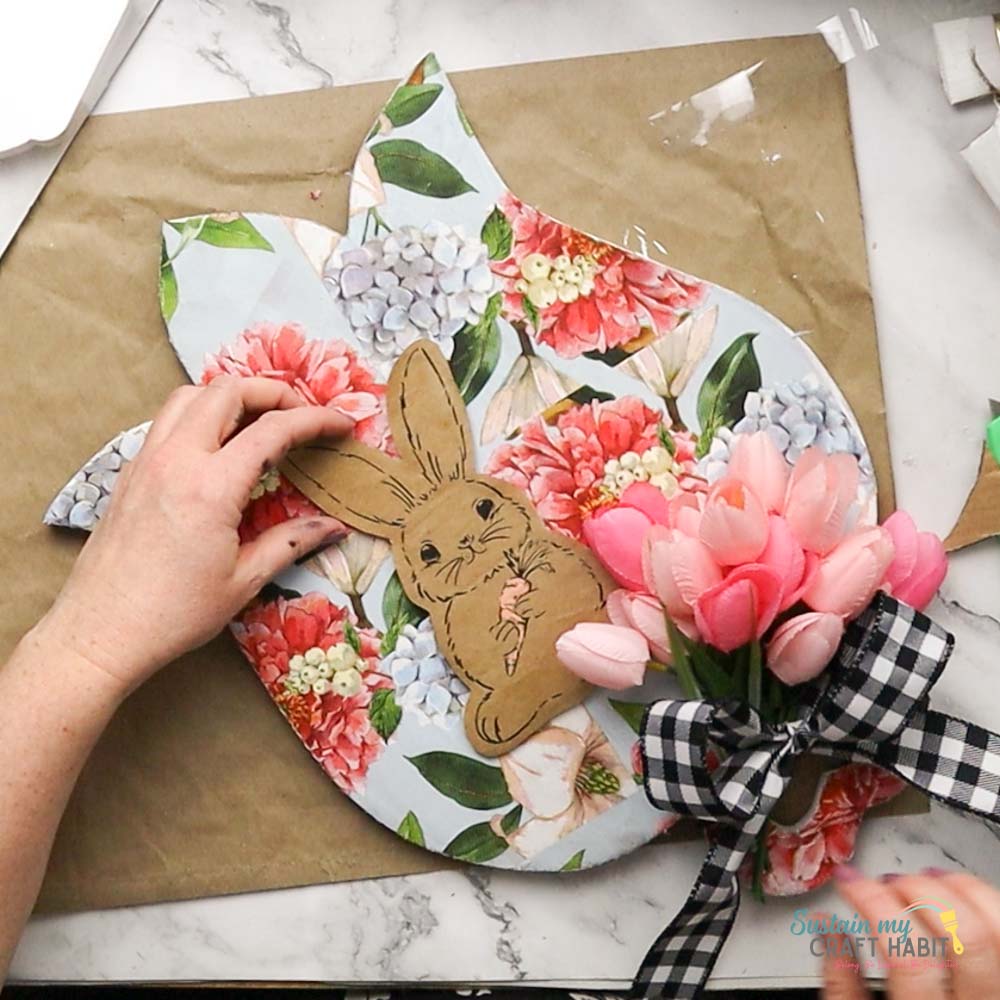
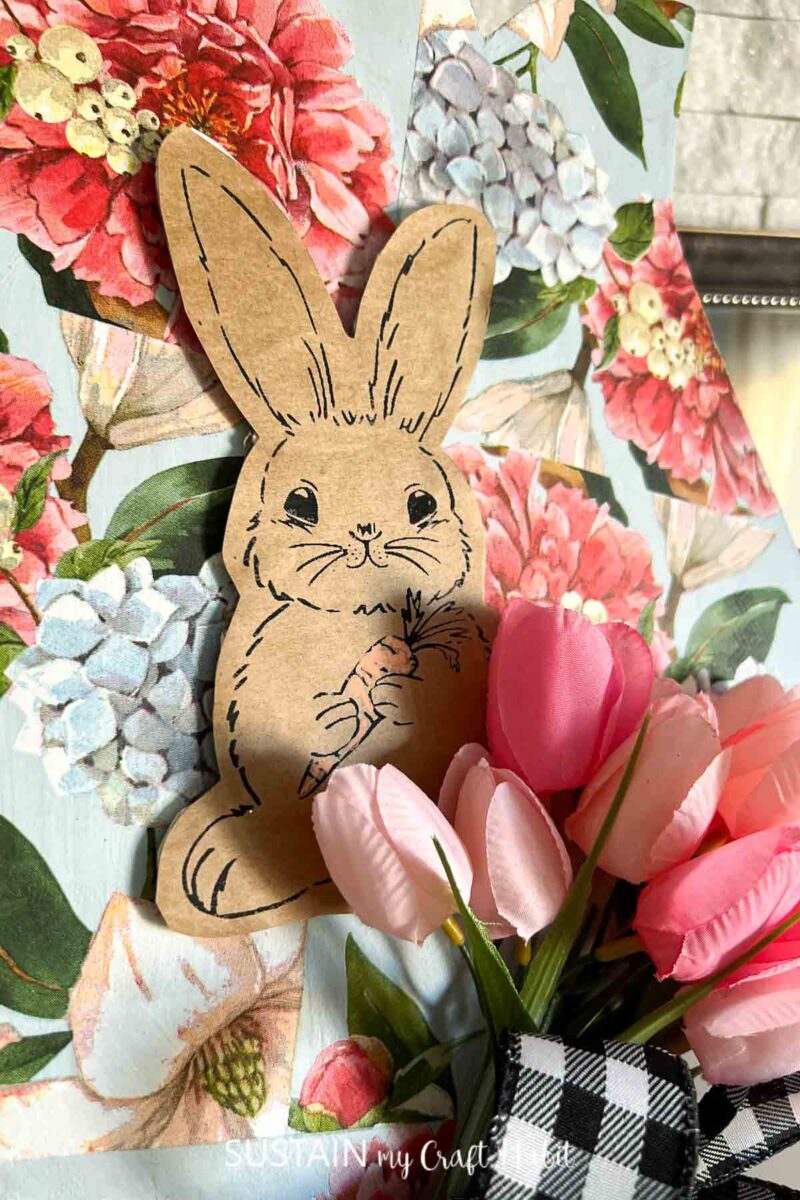
Cut out a little bunny shape from a stamp, Chalk couture stencil or even a bunny print out.
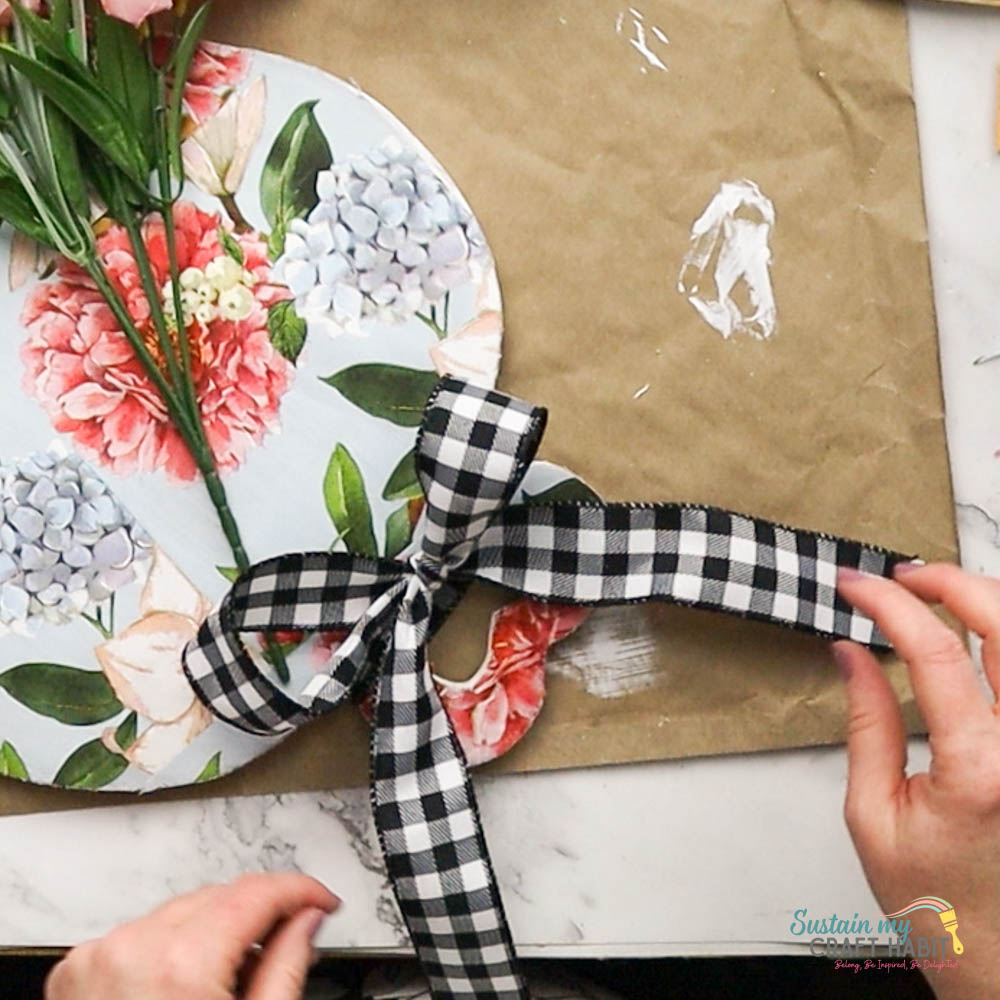
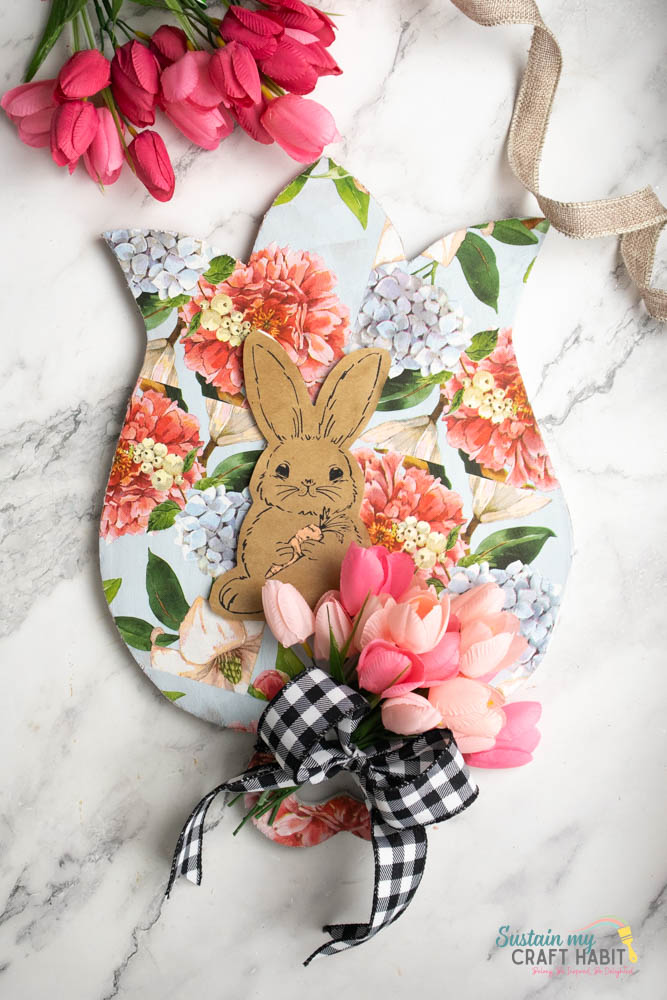
Cut the stems of the tulips, leaving about 2-3” stem remaining. Bundle together and glue to the bottom of the tulip board. Cover the overlapping stems with a large single bow. Glue the bow in place.
Layer in the bunny cutout for the final touch.
Display and enjoy!
Tips, Variations & Troubleshooting
Size and Shape Options
If you don’t have a tulip-shaped board, draw and cut a tulip shape from scrap wood or MDF. Smaller boards make lovely shelf sitters, while larger ones work well as wall décor. This technique also transfers nicely to hearts, houses, or seasonal shapes.
Troubleshooting Tips
Wrinkles usually mean too much glue or moving the paper too much. Work gently from the centre outward and use a soft brush or sponge. If bubbles appear once dry, lightly sand and add another thin sealing layer. We have a great tutorial on how to decoupage (napkins) without the wrinkles here.
How to Display / Style Your Project
This upcycled tulip board looks lovely leaning on a shelf, tucked into a spring vignette with faux flowers and candles for a cosy home décor idea. You can also hang it on a hook in a kitchen or hallway for a pop of seasonal colour.
Small Project, Big Impact
This upcycled tulip board with decoupage is proof that small projects can still make a big impact. It’s relaxing to make, easy to personalise, and a great excuse to use up scraps you already own. If you give it a try, don’t forget to share your version or save it for later—this is one of those crafts you’ll want to repeat in different styles.
More Spring Crafts
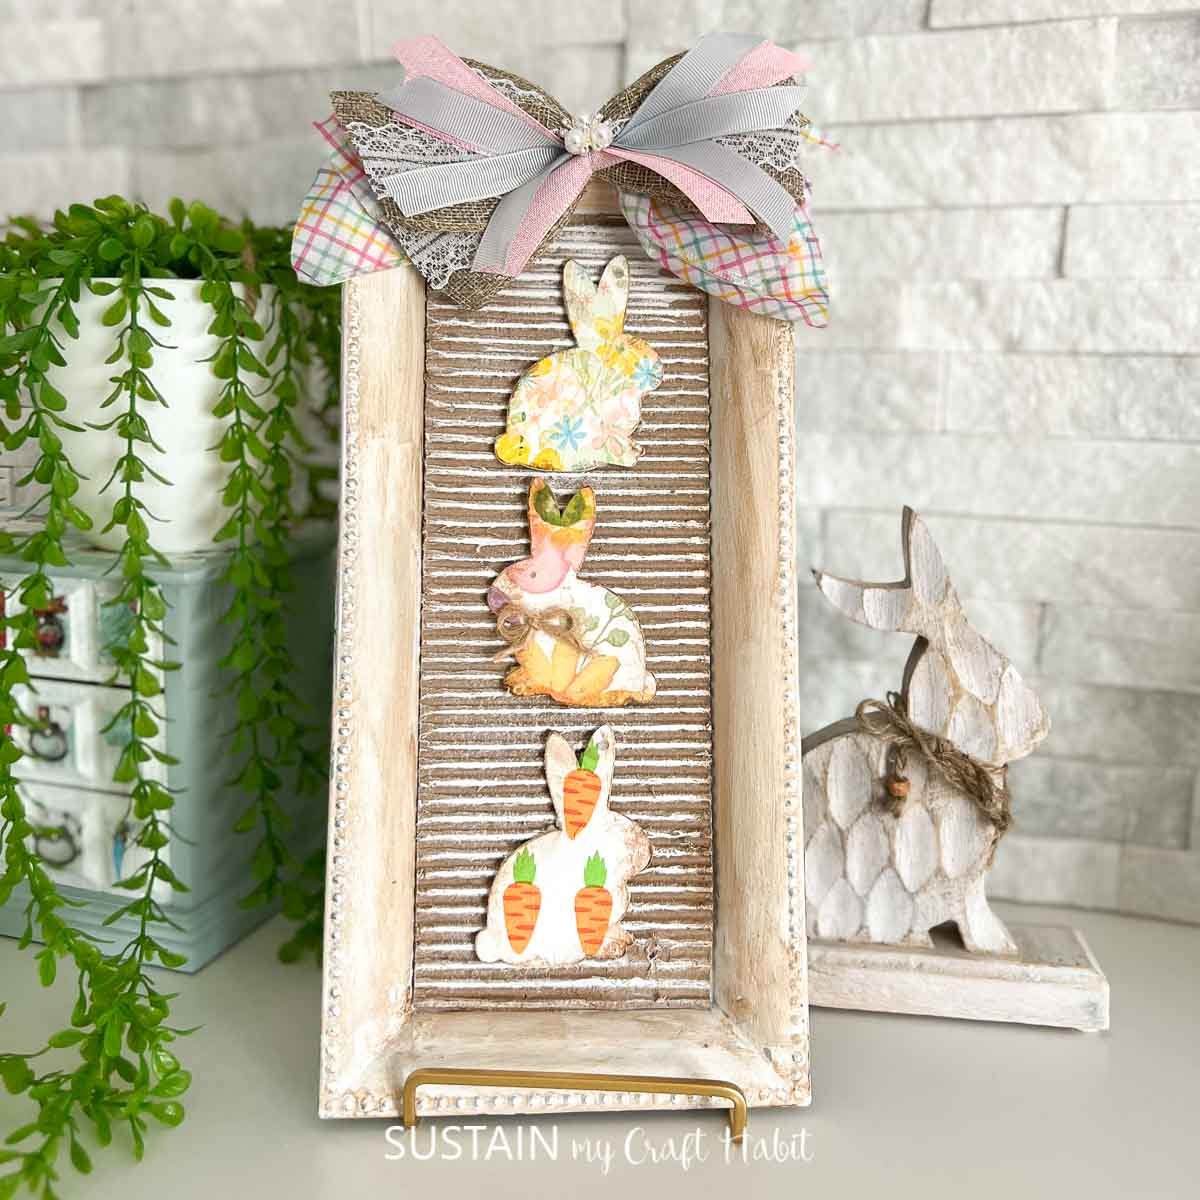
- Upcycled Silver Platter Spring Decor
- Dollar Tree Easter Bunny Decor
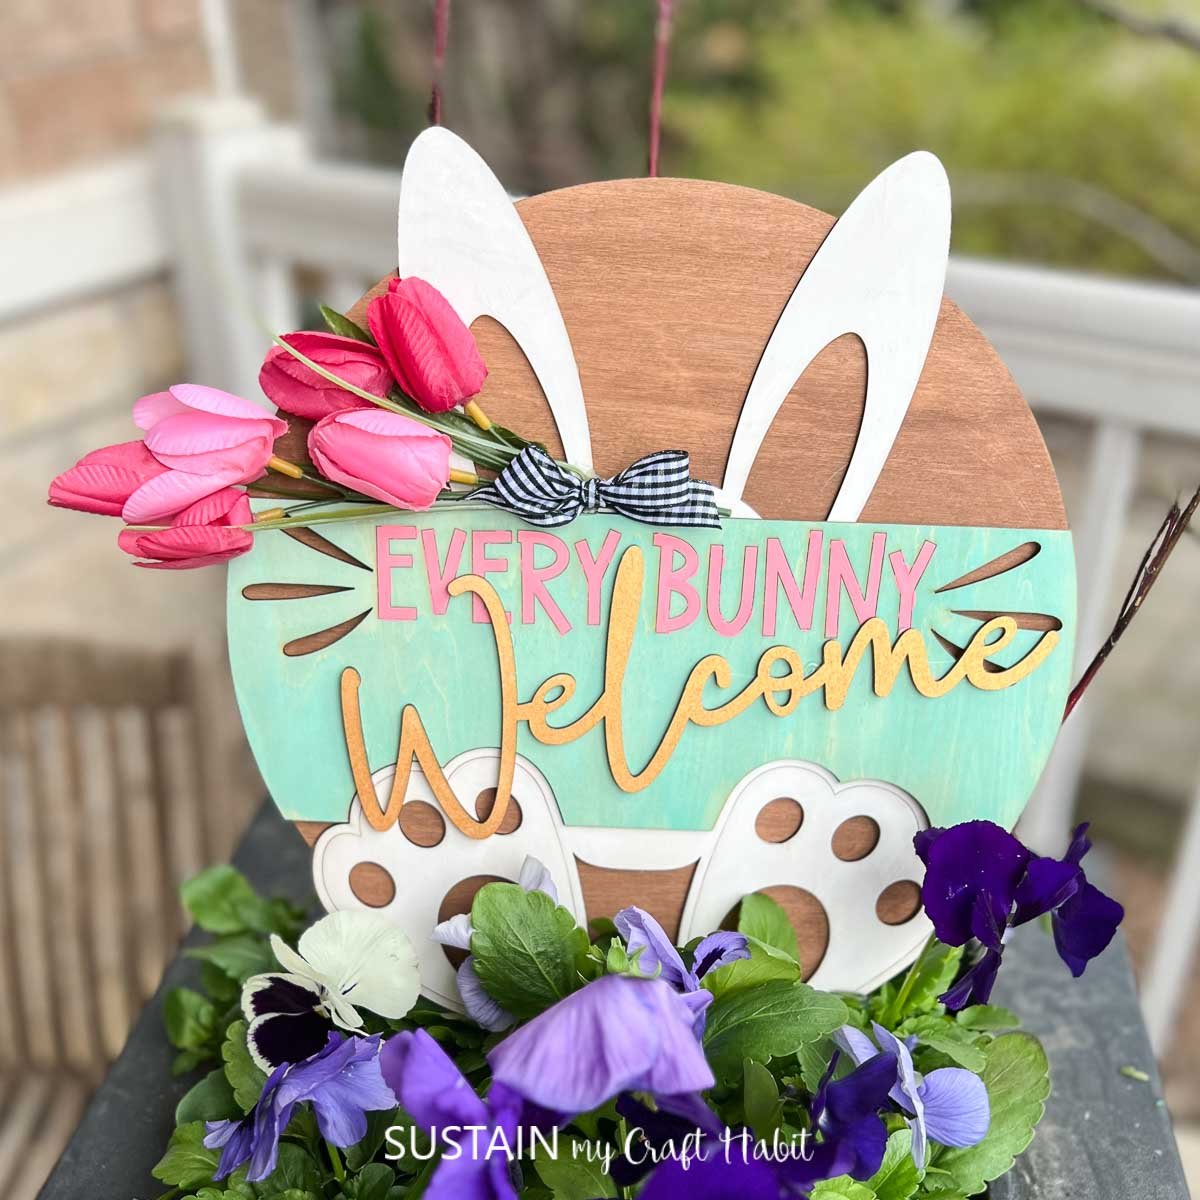
- Crafting a Welcome Sign
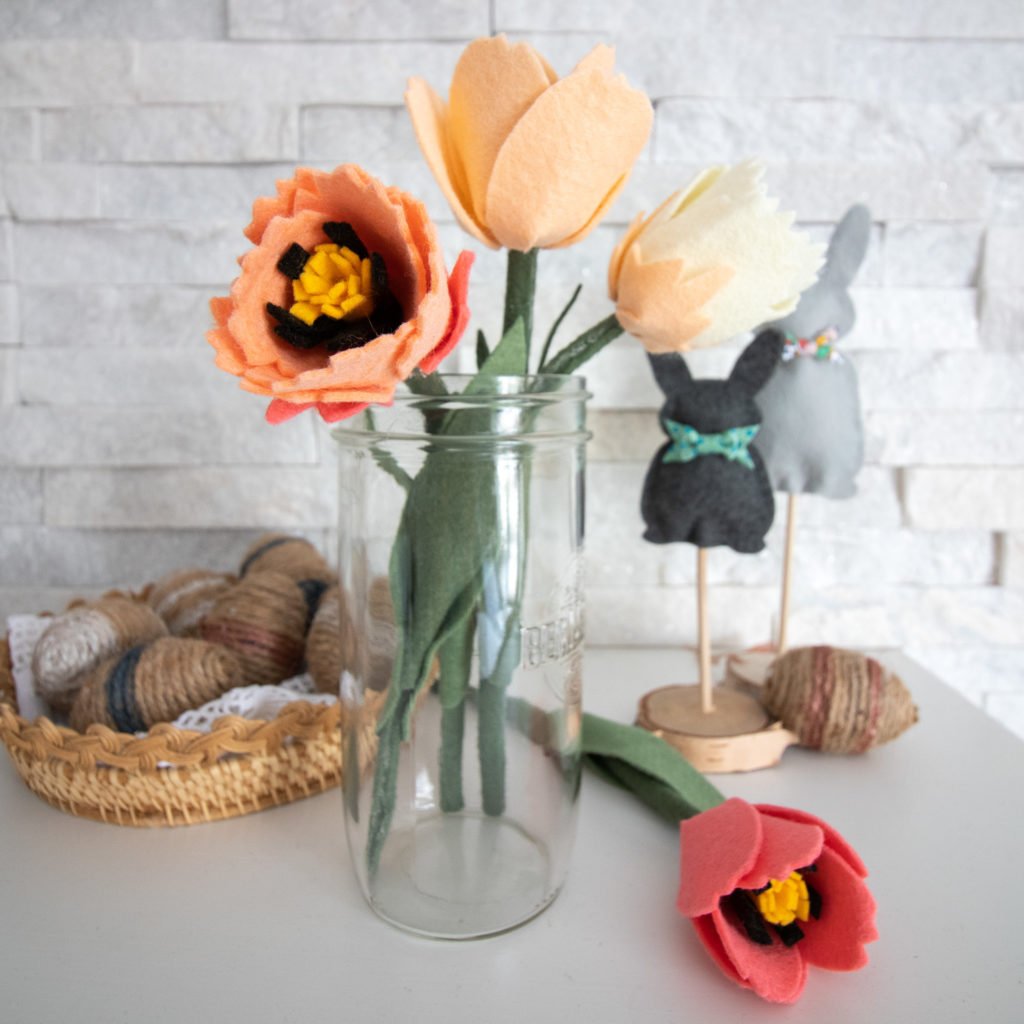
- Making Beautiful Felt Tulips
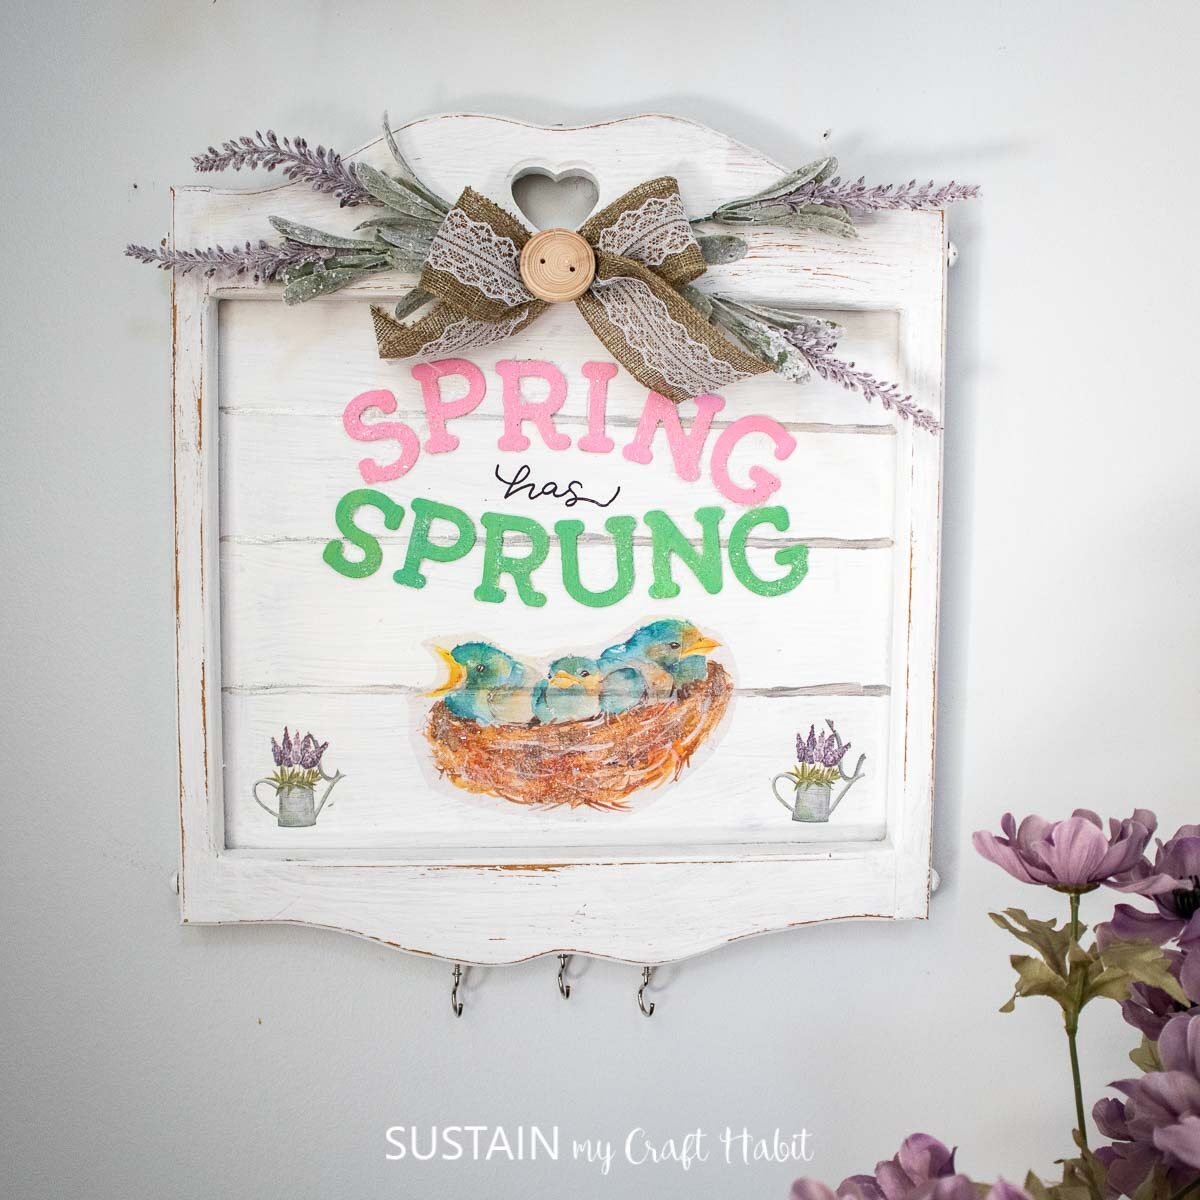
- Spring Has Sprung Upcycled Sign
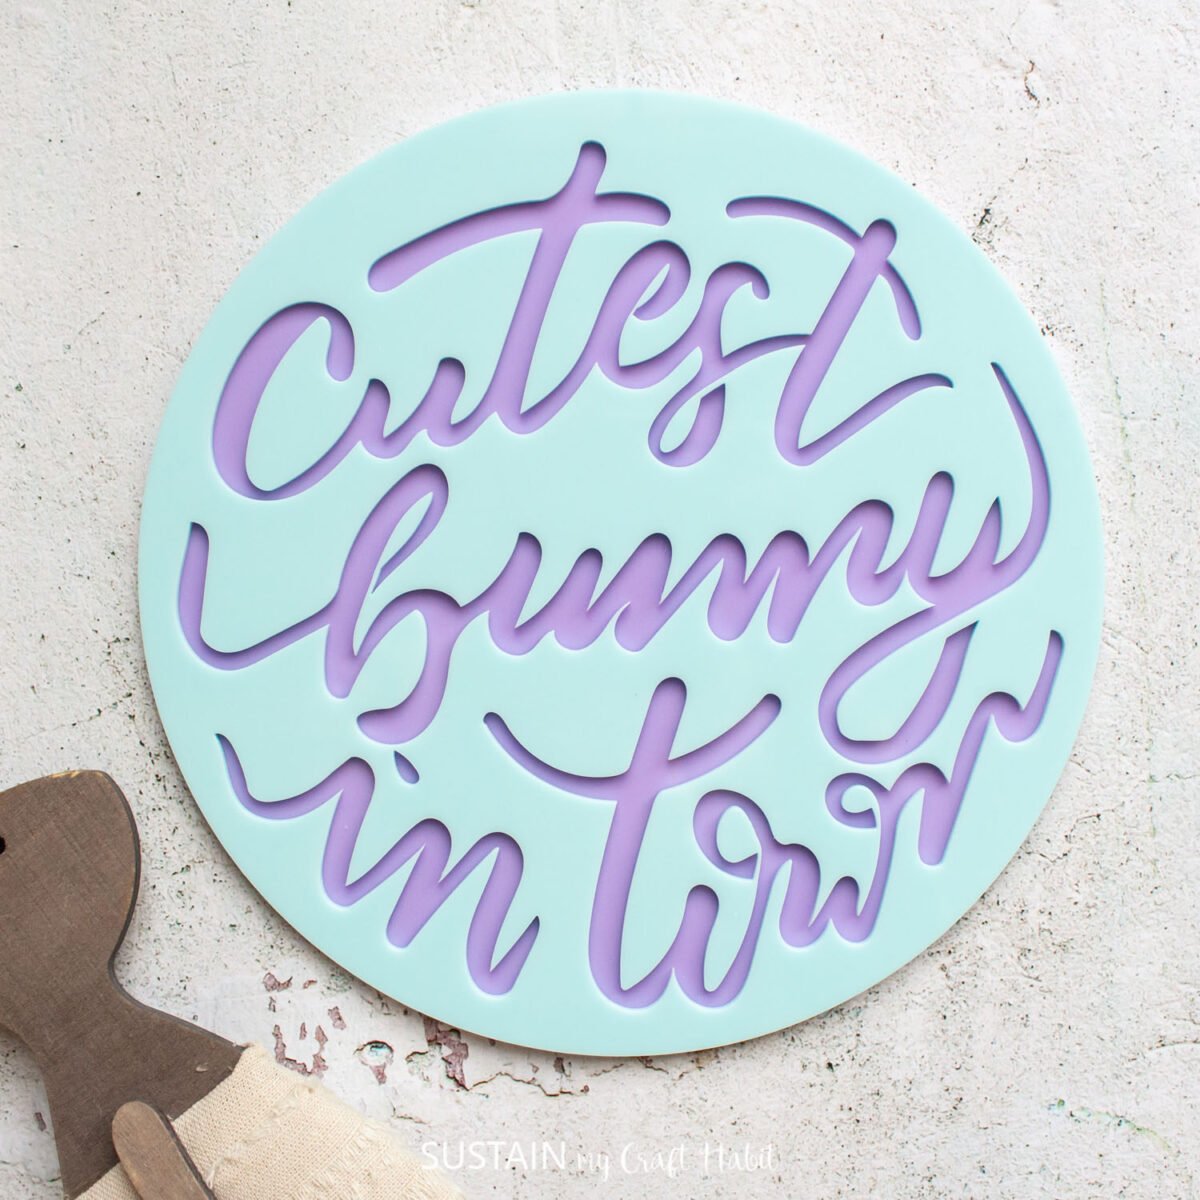
- Easter Photo Prop with Free SVG

Join our crafting community to find more DIYs and upcycled craft ideas. It feels good to repurpose and upcycle!
Like it? Pin for later!
Upcycled Tulip Board with Decoupage
Materials
- Tulip Cutout or Board
- Paint Brush and pencil
- Spring Floral Paper
- Mod Podge
- Cricut Easy Press Mini
- 1.5" wide Checkered Ribbon for Bow
- Bunny Stamp or printed image on craft paper or upcycled Amazon packaging
- Faux Tulips
- Scissors
Instructions
- Trace the tulip board around the sheet of decorative paper. Layer and align several sheets if needed.
- Cut out the paper along the tracking lines.
- Take some modge podge and paint it on the tulip board. Apply a coat of Modge Podge to the underside of the paper as well.
- Press the back side of the paper onto the tulip board.
- Using an iron or mini press, heat press the paper onto the tulip board.
- Cut out a little bunny shape from a stamp, Chalk couture stencil or even a bunny print out.
- Cut the stems of the tulips, leaving about 2-3” stem remaining. Bundle together and glue to the bottom of the tulip board. Cover the overlapping stems with a large single bow. Glue the bow in place.
- Layer in the bunny cutout for the final touch.
- Display and enjoy!