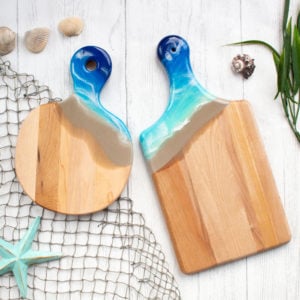
Making a Resin Cutting Board: Beachy Themed

If you want to learn how to make a resin cutting board, we don’t just teach you how to make one- we provide you with how to make a beautiful beach-themed resin board!
So if you’d like to add a coastal scene to either your beach house, or just in your kitchen to make the beach feel closer to you, this is a great place to start.

Resin Cutting Boards
The beautiful part of resin cutting boards is the fact that it is multi-functional. Not only can this be used for beautiful decor, but it can also make a great charcuterie board! The board could be used for anything beach themed, or just for fun summertime house parties.
The materials needed to create the resin cutting boards are materials that you can also use in future crafts. If you love DIY beach decor, the acrylic paint listed below can be used multiple times! This would also be a fun craft if you wanted to host a DIY party or a wine-and-craft party. This is an easier craft for multiple people to do while chit-chatting or catching up on life.
And while you’re here, we’d love for you to become a Sustain My Craft Habit insider to receive fun freebies!
Materials Needed
Disclosure: This post contains affiliate links for your shopping convenience. Should you choose to purchase through them, we will make a small commission at no extra cost to you. You can read our full disclosure policy here.
- Envirotex Lite Pour-On
- Wooden cutting boards
- Painter’s tape
- Utility knife
- Decoart Americana Acrylics Paint in ultra deep blue, ocean blue, bahama blue and desert sand
- Paint brush
- Castin’ Craft Opaque Pigment in White
- Alcohol and dropper
- Small and large mixing cups, wooden stir sticks, small kitchen torch, hair dryer or heat gun
- Disposable work surface, disposable brush, gloves
How to Make a Beachy Resin Cutting Board
You can refer to the original project shared on the Resin Crafts blog project gallery for the full how to instructions with step by step photo instructions. Here are some of the images of the resin cutting boards coming together.
Preparing the Cutting Boards
Place pieces of painter’s tape to the back side of the cutting board directly behind the area you will be painting and resin pouring to keep the back side protected from resin.

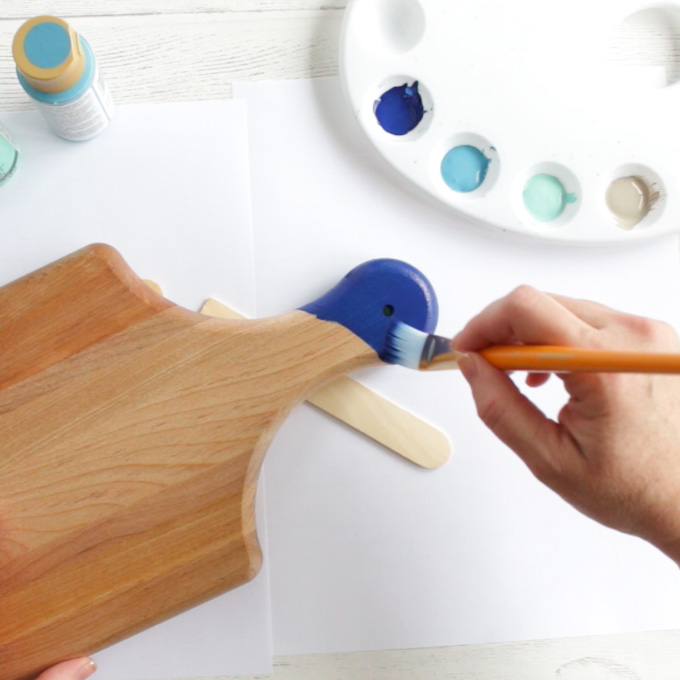
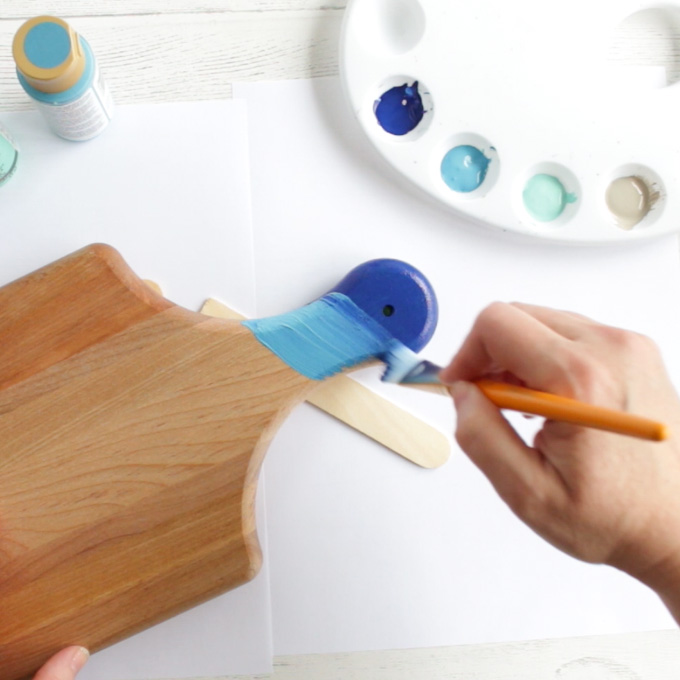
Painting the Coastal Scene
Raise the cutting board slightly off of the surface of the table (we simply wedged a stir stick underneath to raise it slightly) while you work.
Using a combination of acrylic paint colors, brush on the paint in diagonal stripes working quickly.
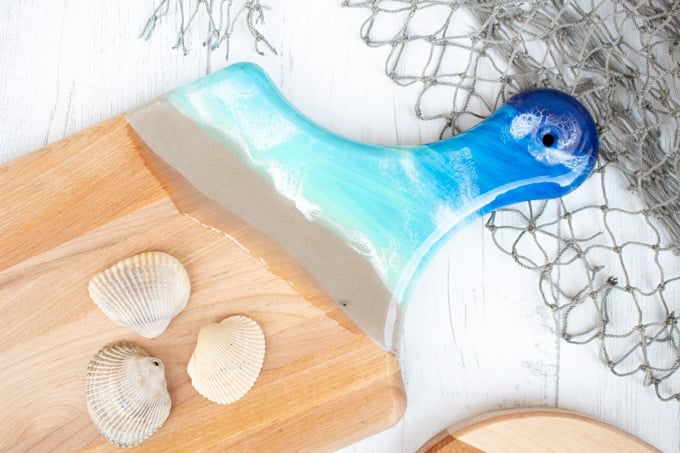
Pouring the Resin “Sand”
Mix equal parts of resin and hardener in a clean measuring cup and pour about 1 oz of the mixed resin into a smaller measuring cup. Add a few drops of the sand paint color to the resin and stir together. Using the end of a wide mixing stick pour the mixture along 1/2 to 3/4 of the width of the sand painted cutting board.

After 10-15 minutes blow off any air bubbles rising to the surface of the resin using a small kitchen torch or hair dryer and repeat as necessary. Aim the direction of the torch or dryer towards the cutting board handle.

Pouring the Clear Resin “Water”
Pour about 1 oz of the mixed resin into another smaller measuring cup and put it aside for use after this step (see pouring the resin “crashing waves” below).
Pouring the Resin “Crashing Waves”
With the smaller cup of the prepared resin, add a few drops of the opaque white color pigment to the resin and stir together. With the end of the stir stick, apply the white resin mixture in uneven diagonal stripes over the cutting board where the colors transition.
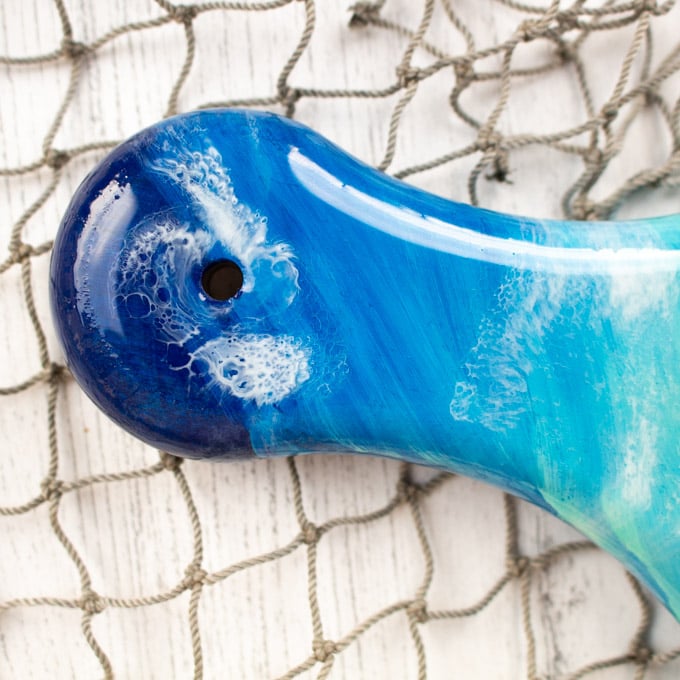
Immediately after pouring the white resin mixture, use the hair dryer or kitchen torch to blow the resin causing the white “crashing waves” to disperse and blend. The heat and blowing air will create a pretty realistic wave-like effect.

Place the cutting boards on a level surface and cover to keep dust from settling in. Leave to cure overnight (24 hours for a soft cure, 72 hours for full cure).
We originally shared this project on the Resin Crafts blog project gallery.
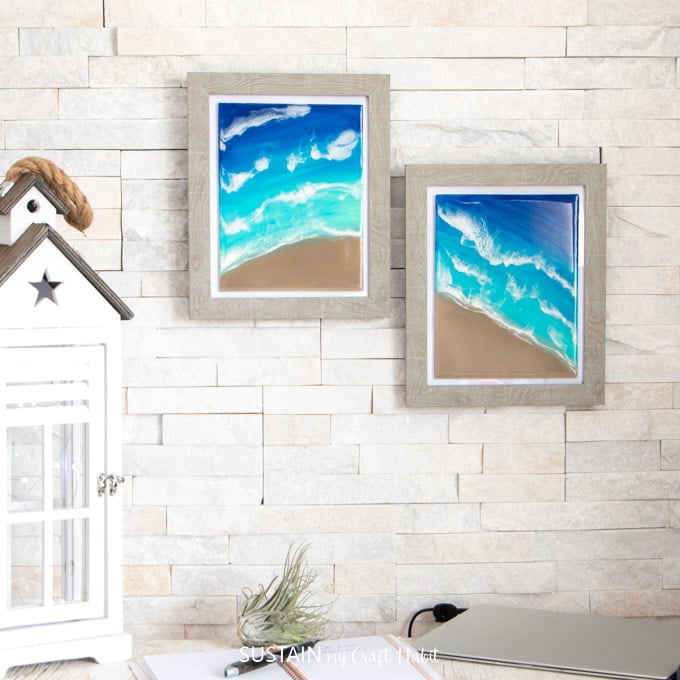
More Resin Beach Crafts
If “beachy-themed” is your kind of theme, then you’ll love these other crafty coastal project ideas:
- DIY Ocean Resin Art
- Resin Pour Memento Box
- Resin Seaglass Wall Hanging
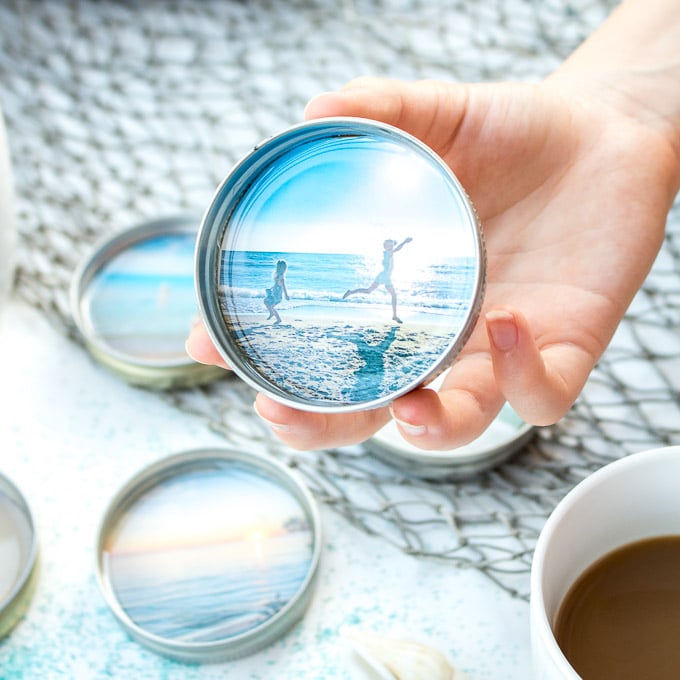
- Photo Coasters with Resin
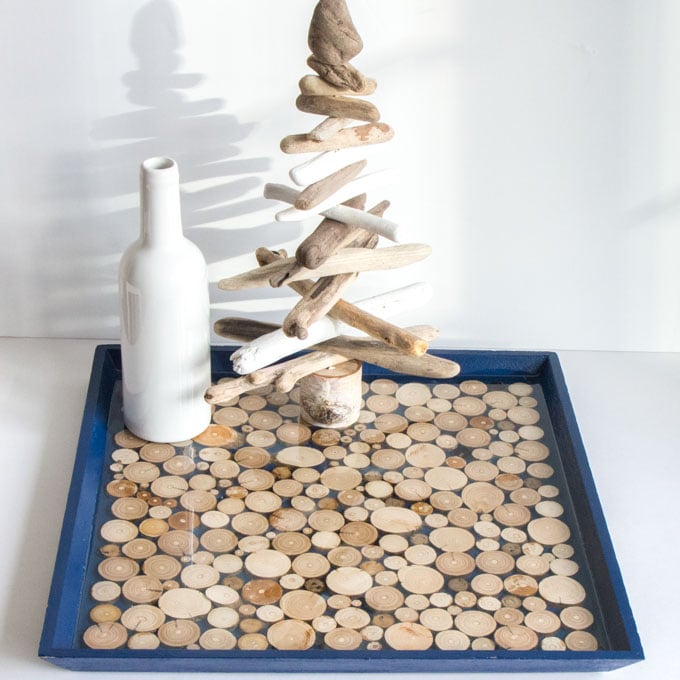
- Resin Tray with Driftwood
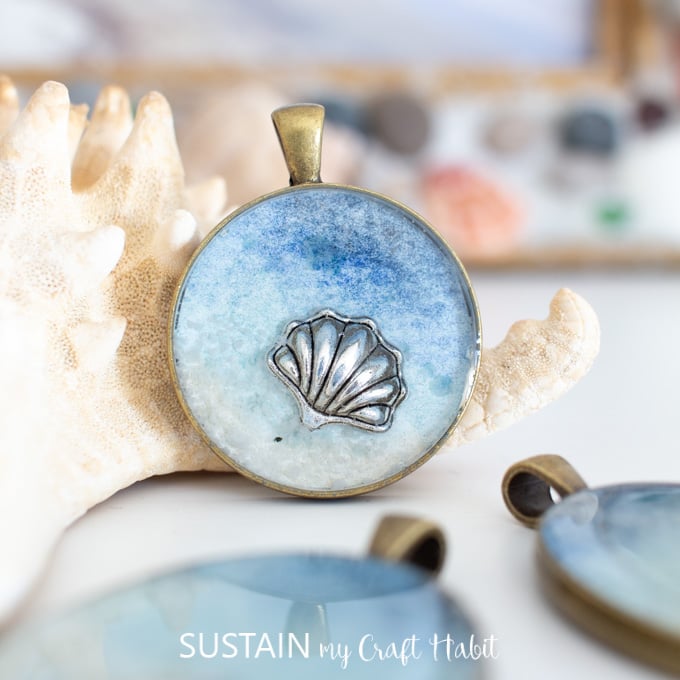
- Beach Themed Jewelry Pendants with Resin

Thankyou so much for stopping by to visit. Get updates on the latest posts and more from Sustain My Craft Habit straight to your inbox by joining our weekly newsletter. We promise to send you only the good stuff.
Like it? Pin it for later!

And there it is, your beach-themed resin cutting board! As we said, it is easier than it seems! We would absolutely love to see how yours turned out. Tag us on Facebook or Instagram– we can’t wait to see it!
Making a Resin Cutting Board: Beachy Themed
Materials
- Envirotex Lite Pour-On
- Wooden cutting boards
- Painter’s tape
- Utility knife
- Acrylic paints in ultra deep blue, ocean blue,bahama blue and desert sand
- Paint brush
- Castin’ Craft Opaque Pigment in White
- Alcohol and dropper
- Small and large mixing cups wooden stir sticks, small kitchen torch, hair dryer or heat gun
- Disposable work surface disposable brush, gloves
Instructions
Preparing the Cutting Boards
- Apply strips of painter’s tape to the back side of the cutting board directly behind the area you will be painting and resin pouring.
Painting the Coastal Scene
- Prop the cutting board slightly off of the surface of the table.
- Using a combination of acrylic paint colors, brush on the paint in diagonal stripes working quickly. First, brush on the deep blue color on the cutting board handle. Next, apply the ocean blue paint color in a diagonal direction as shown. And follow that layer with the bahama blue paint color. Lastly, brush on a diagonal stripe with the desert sand color. Leave the cutting board to dry before moving on to the next step.
Pouring the Resin “Sand”
- Mix equal parts of resin and hardener in a clean measuring cup.
- Stir for 2 minutes then transfer into a second clean measuring cup. Stir with a clean stir stick for another minute.
- Pour about 1 oz of the mixed resin into a smaller measuring cup. Add a few drops of the sand paint color to the resin and stir together. Using the end of a wide mixing stick pour the mixture along 1/2 to 3/4 of the width of the sand painted cutting board.
- After 10-15 minutes blow off any air bubbles rising to the surface of the resin using a small kitchen torch or hair dryer. Repeat as necessary over the next 1-2 hours. Aim the direction of the torch or dryer towards the cutting board handle.
Pouring the Clear Resin “Water”
- Pour about 1 oz of the mixed resin into another smaller measuring cup and put it aside for use after this step (see pouring the resin “crashing waves” below).
Pouring the Resin “Crashing Waves”
- With the smaller cup of the prepared resin, add a few drops of the opaque white color pigment to the resin and stir together. With the end of the stir stick, apply the white resin mixture in uneven diagonal stripes over the cutting board where the colors transition.
- Immediately after pouring the white resin mixture, use the hair dryer or kitchen torch to blow the resin causing the white “crashing waves” to disperse and blend. The heat and blowing air will create a pretty realistic wave-like effect.
- After 10-15 minutes blow off any air bubbles rising to the surface of the resin using a small torch or hair dryer. Repeat as necessary over the next 1-2 hours.
- Place the cutting boards on a level surface and cover to keep dust from settling in. Leave to cure overnight (24 hours for a soft cure, 72 hours for full cure).