Pressed Leaf Ephemera: DIY Botanical Accents for Junk Journals
Add a touch of natural beauty to your paper crafts with this easy DIY pressed leaf ephemera tutorial!
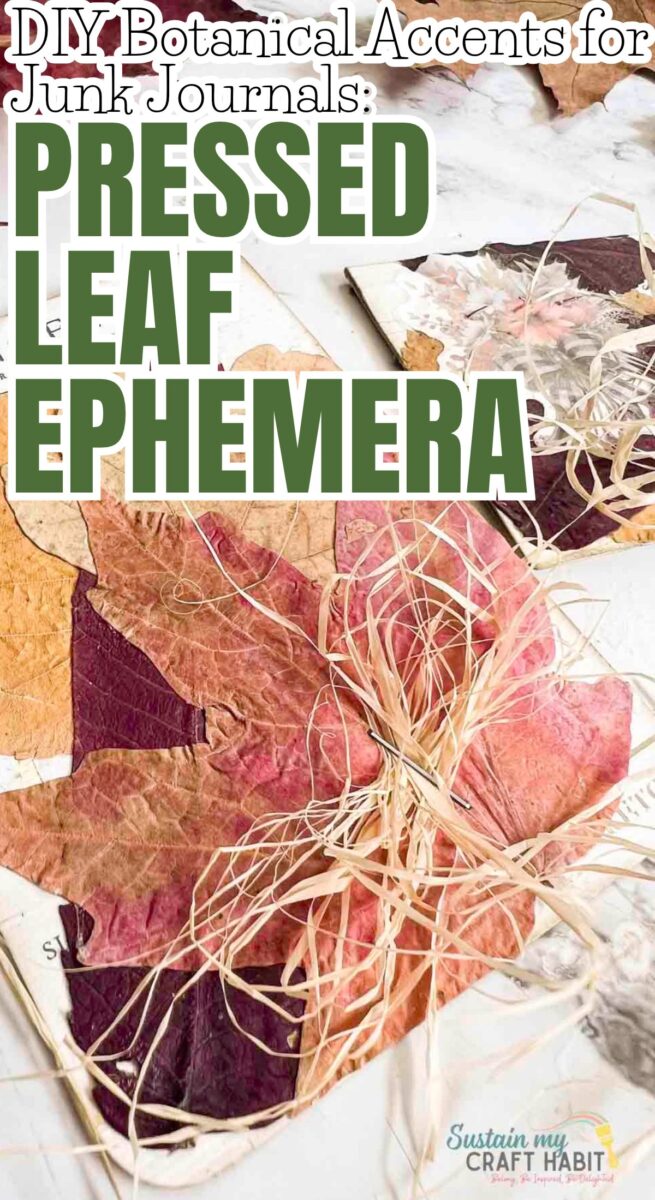
Pressed leaf ephemera is a beautiful way to bring the colors, textures, and tiny imperfections of nature into your junk journals. Instead of buying packs of manufactured botanical embellishments, you can turn leaves gathered from your garden, neighborhood, or favorite walks into one-of-a-kind accents.
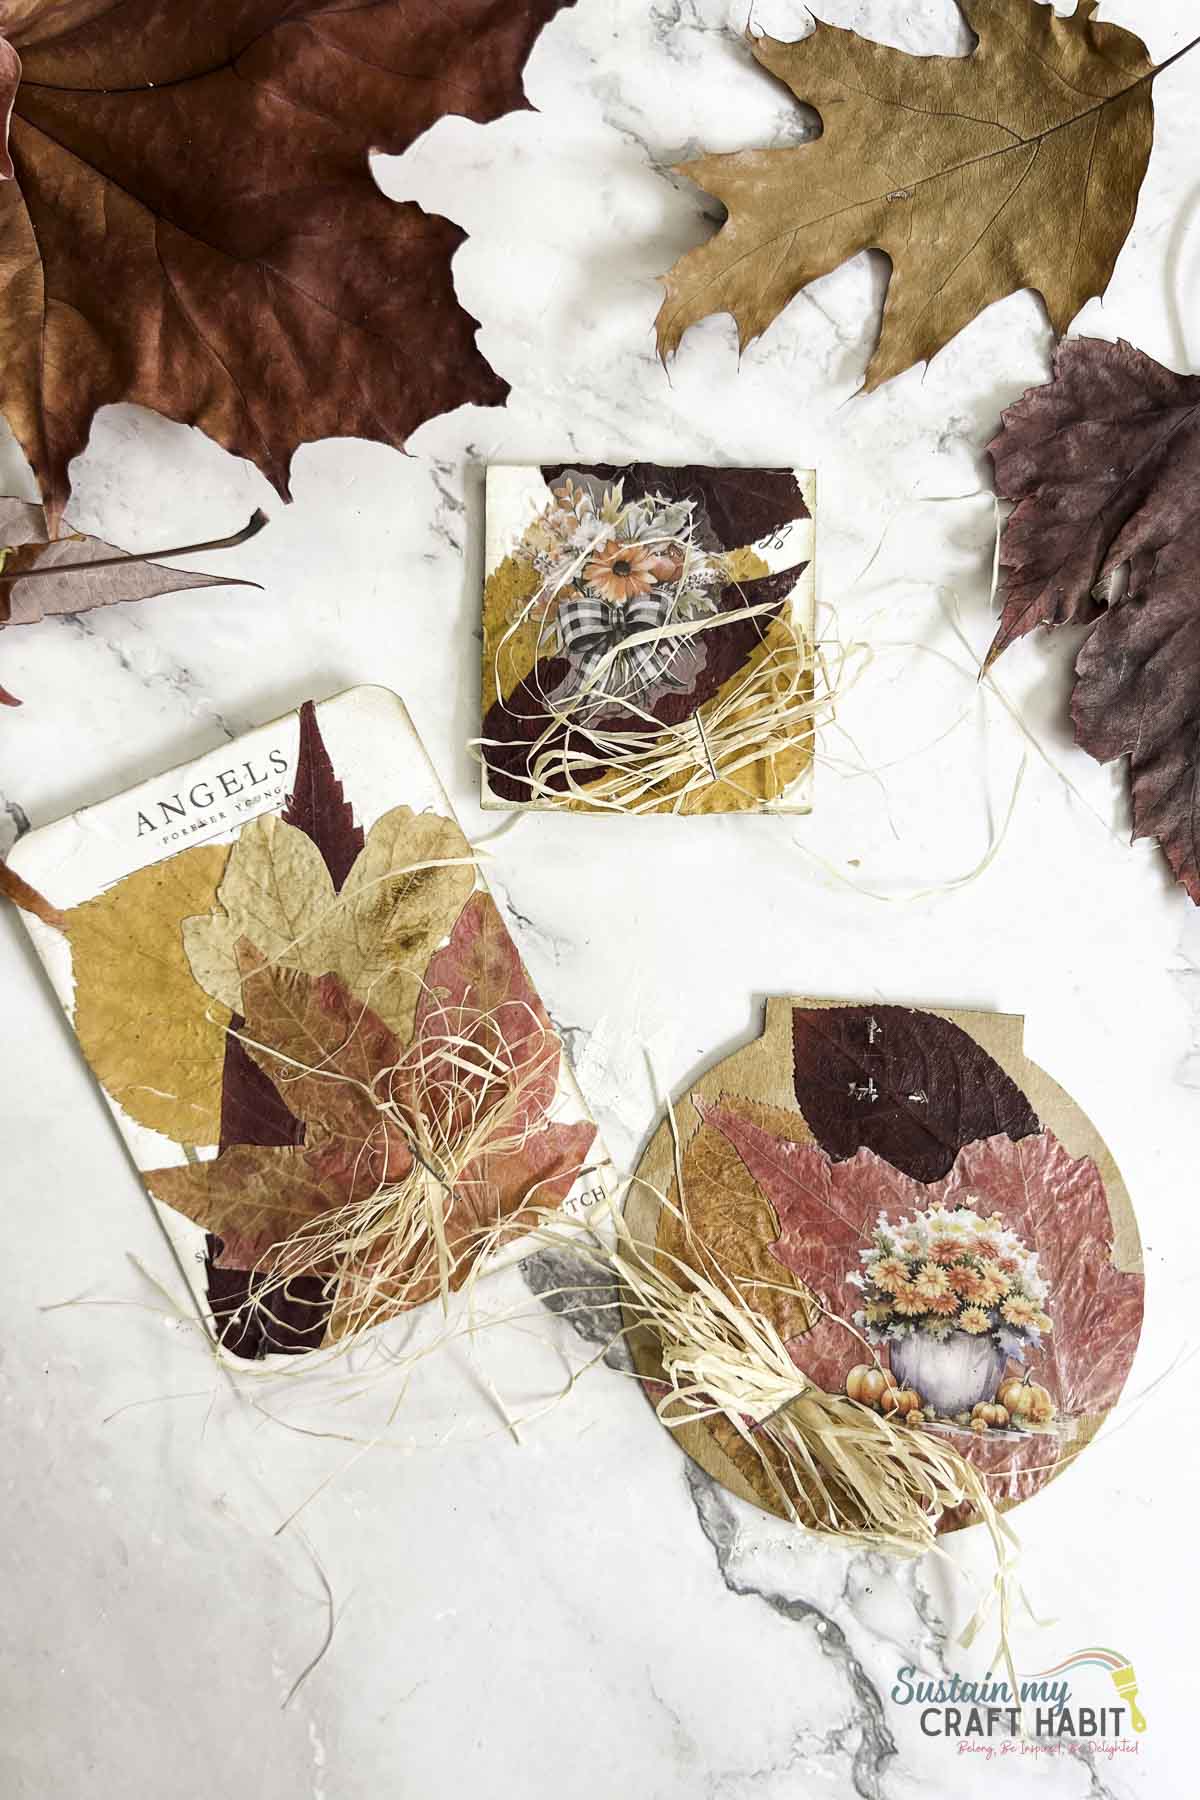
This simple craft is inexpensive, relaxing, and perfect for using alongside vintage papers, book pages, handwritten notes, and other collected treasures. Better still, no two pieces will ever look exactly alike. With a little preparation, ordinary leaves can become delicate botanical details that make journal pages feel wonderfully personal and layered.
Discover simple pressing techniques, aging methods, and creative ideas to incorporate real nature into your paper art projects!
Why You’ll Love DIY Pressed Leaf Ephemera
- Almost free to make: Fallen leaves can become beautiful DIY junk journal ephemera without buying expensive craft supplies.
- Every piece is unique: Natural variations in shape, veins, color, and texture give your botanical journal accents plenty of character.
- Perfect for scraps: Pair pressed leaves with leftover cardstock, old book pages, envelopes, tags, and small pieces of decorative paper.
- Easy to customize: Create delicate neutral botanical ephemera or use colorful autumn leaves for a richer seasonal look.
- Useful in many projects: These handmade botanical accents work beautifully in junk journals, scrapbooks, handmade cards, tags, and memory books.
Join our crafting community to find more nature-inspired DIYs and upcycled craft ideas. It feels good to repurpose, upcycle and create with nature!
Materials Needed
- Paper scraps – things like old ticket stubs, receipts, lined papers, product tags, etc
- Paper scissors
- Pressed leaves
- Mod Podge and paintbrushes
- Raffia
- Stapler
- Paperclips (optional)
- Paper distresser
How to Make Pressed Leaf Ephemera
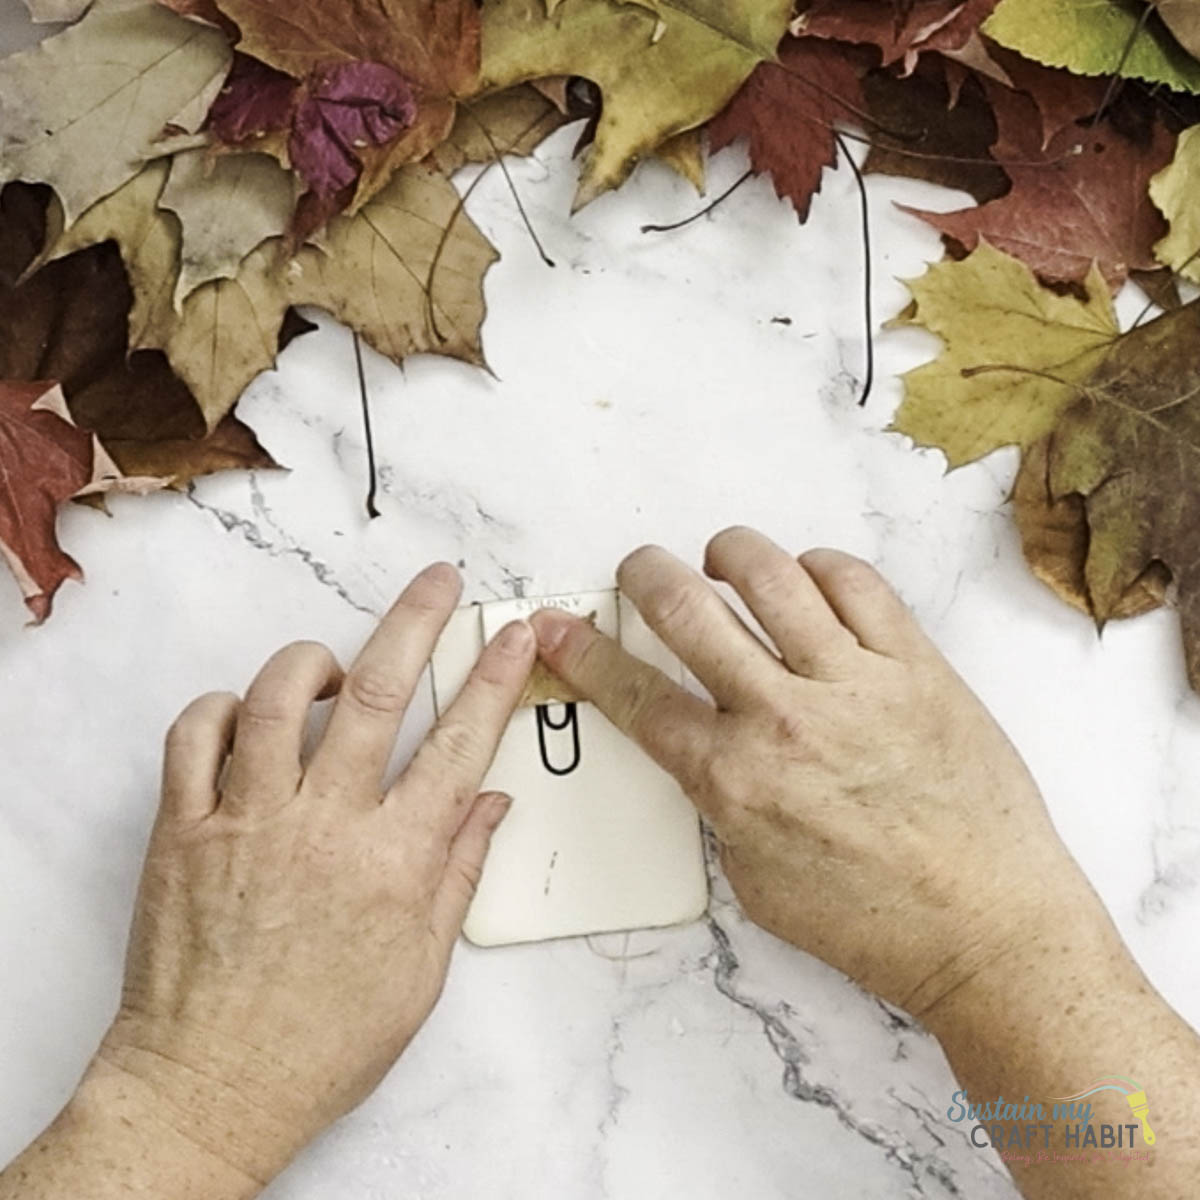
Apply a coat of mod podge to the back of the dried (aka pressed) leaf. Turn it and press it down onto your chosen paper scrap. In my case, I’m using a paper product tag I had from a recent purchase. I like the weight, shape and thickness of the tag.
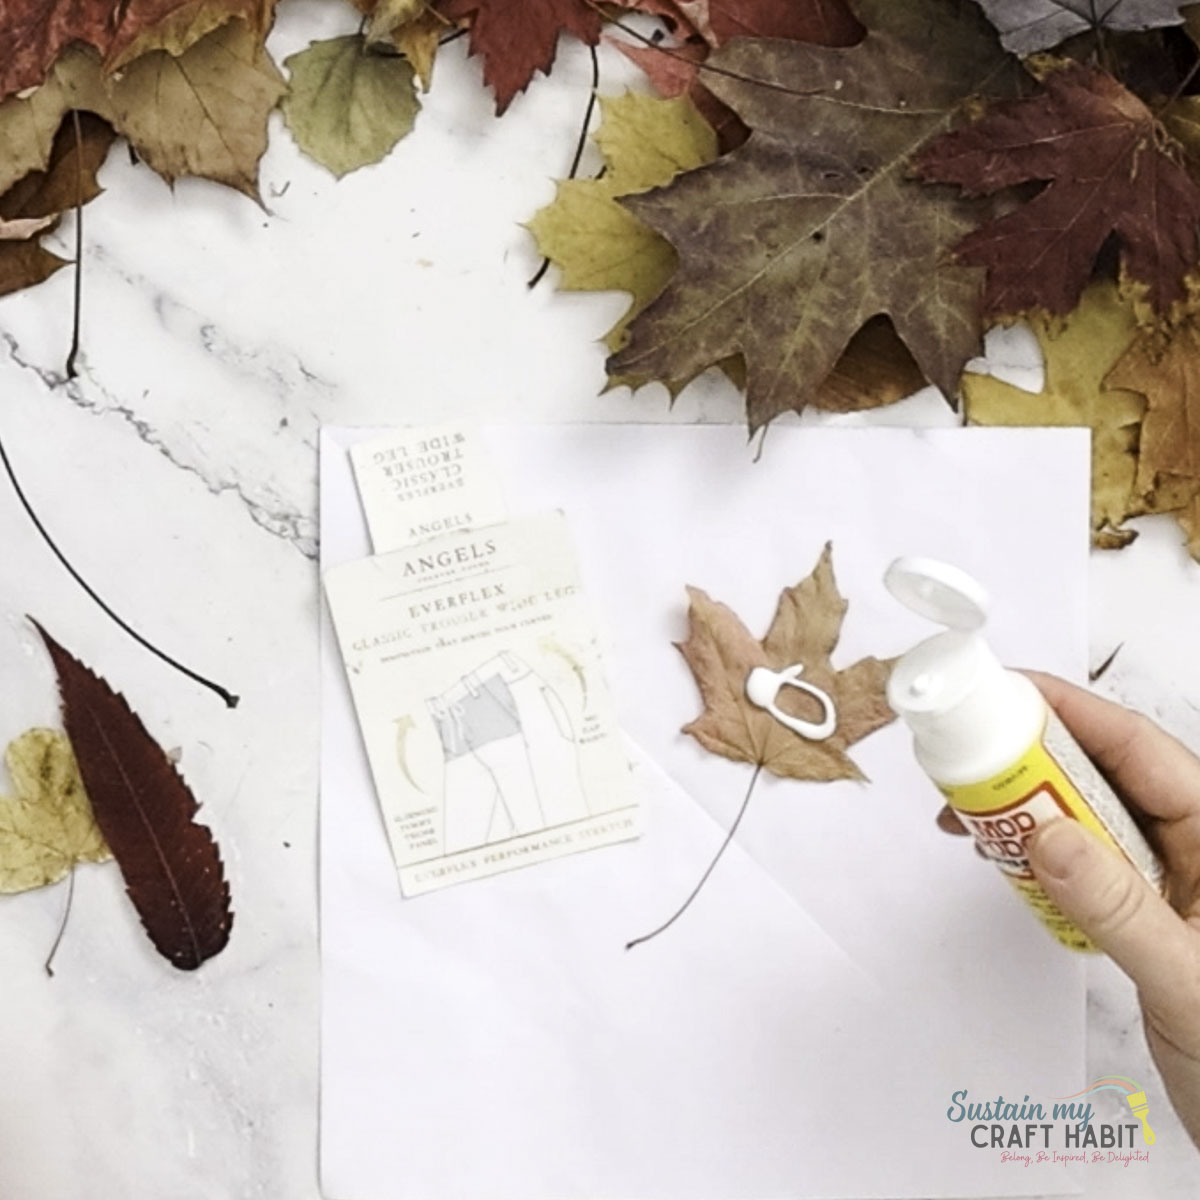
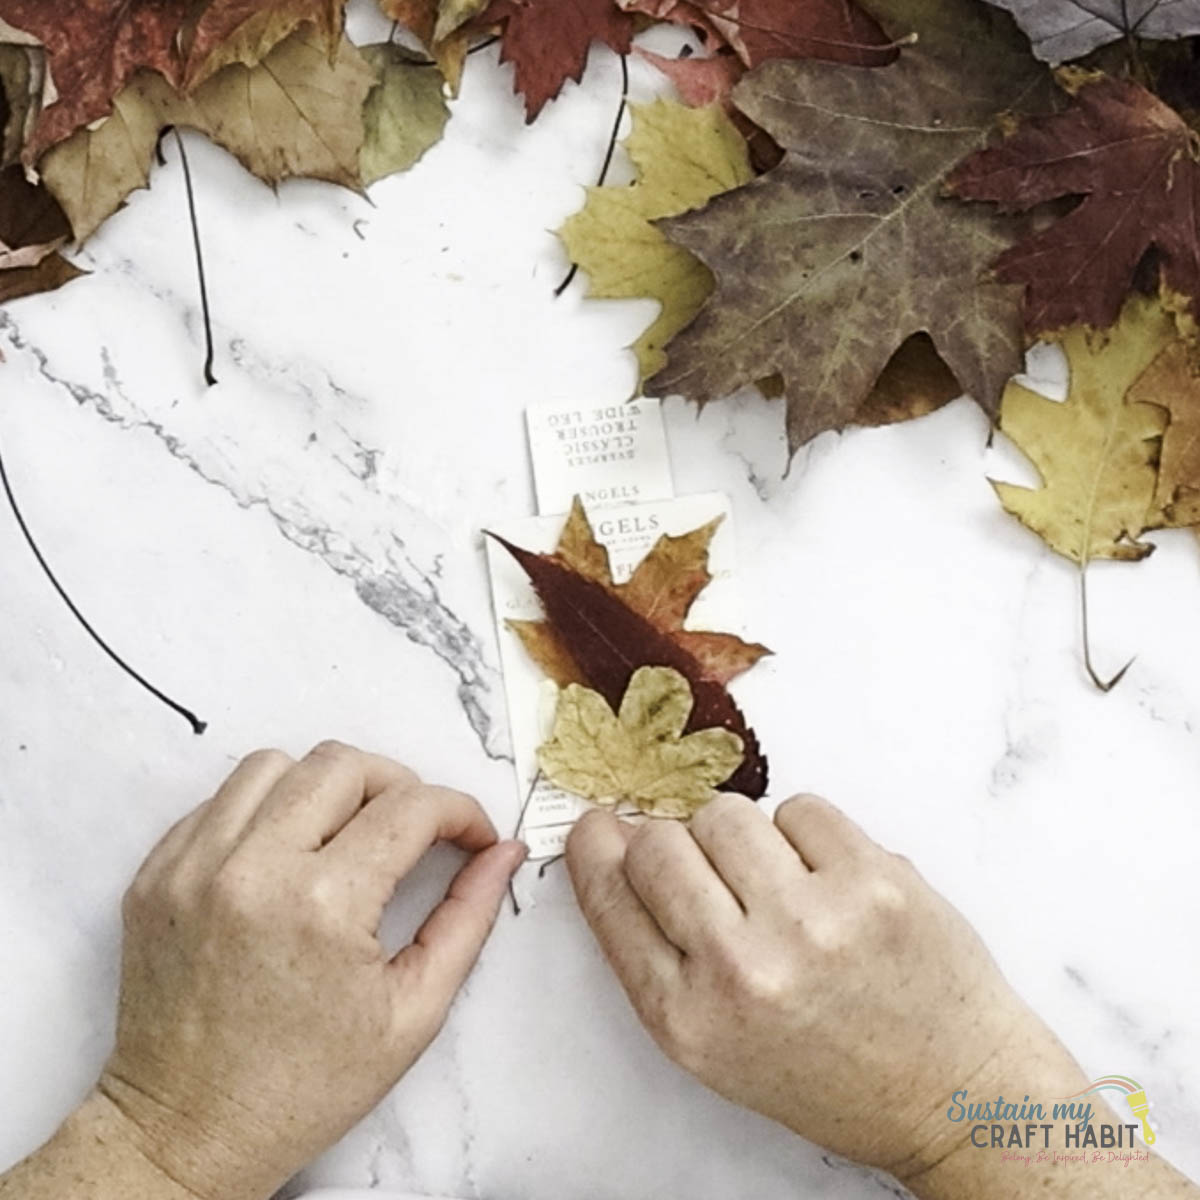
Next, layer on other pressed leaves in the same way.
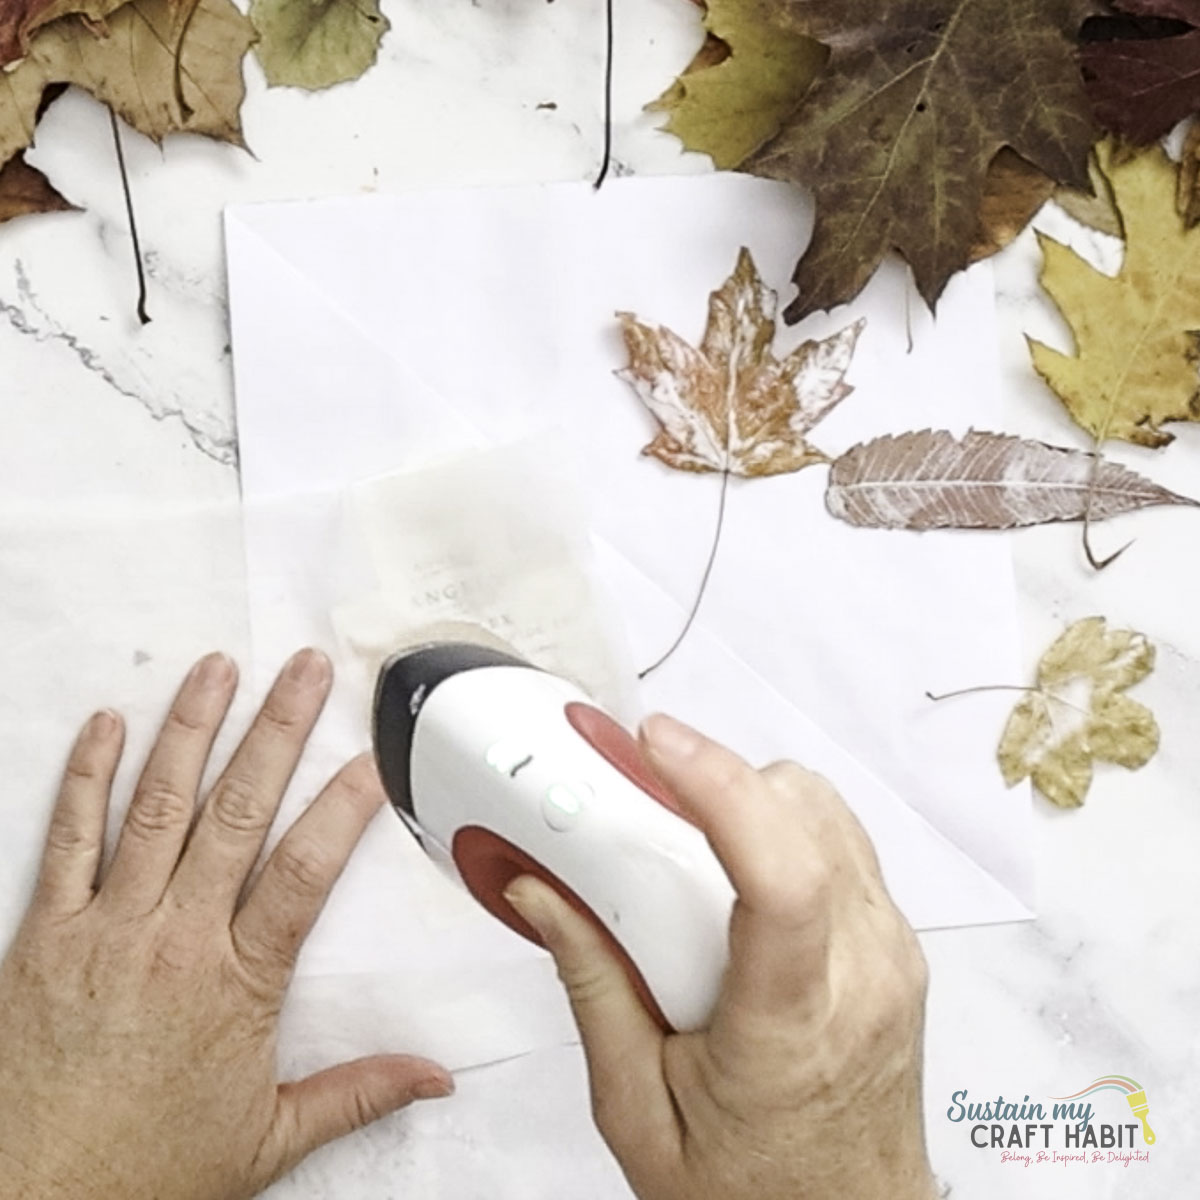
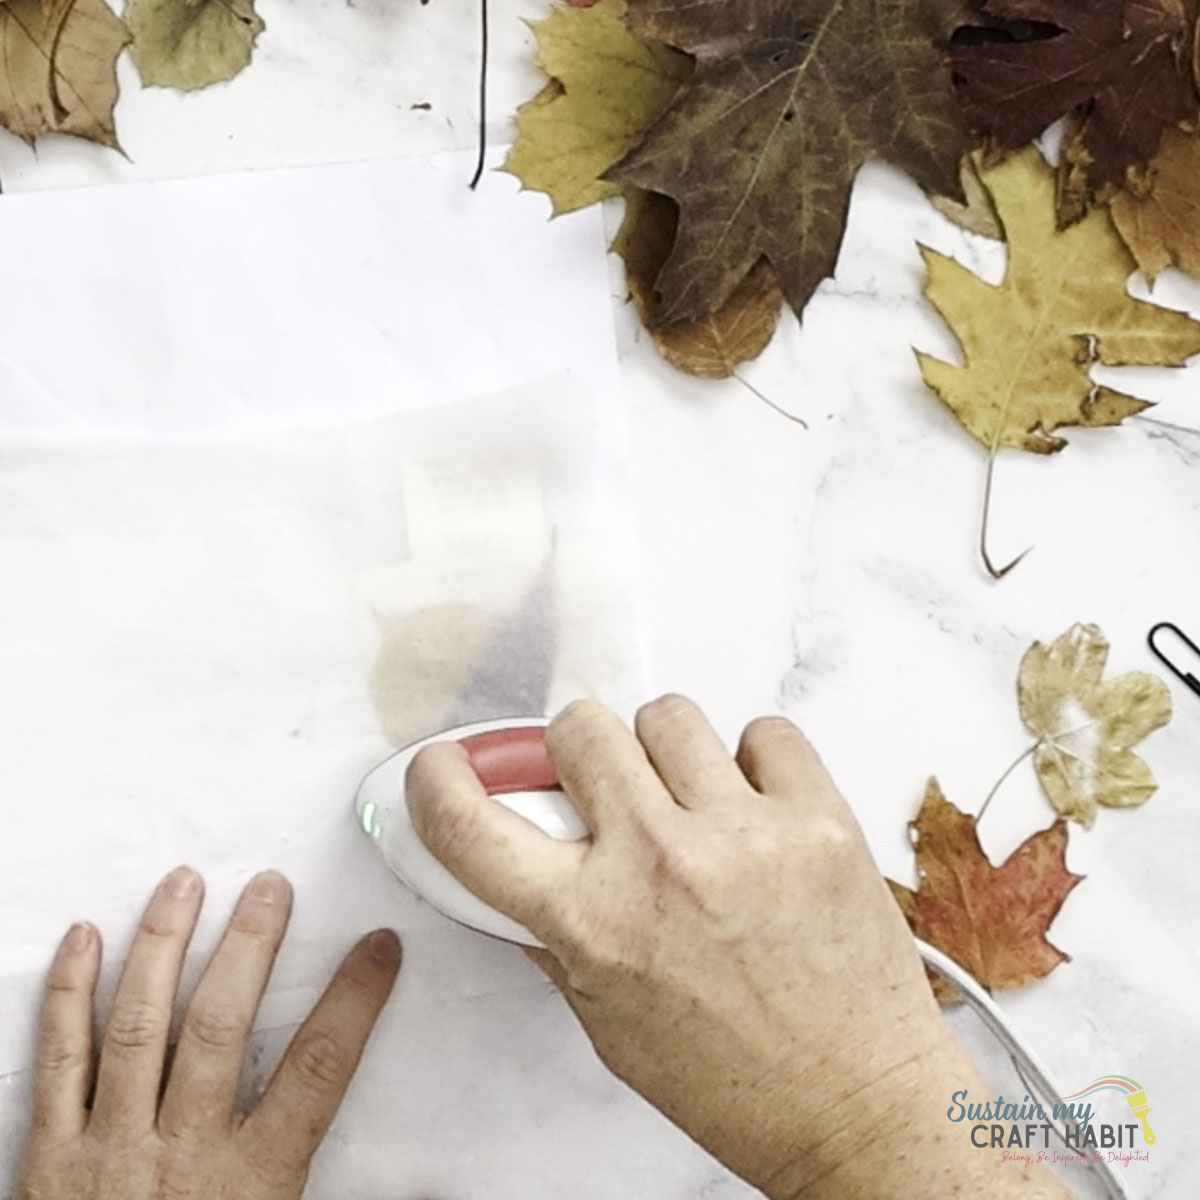
Press the excess mod podge away and if you have a mini iron, you can press over top of the leaves with a layer of parchment paper to protect them. This will ensure the botanical ephemera remains flat.
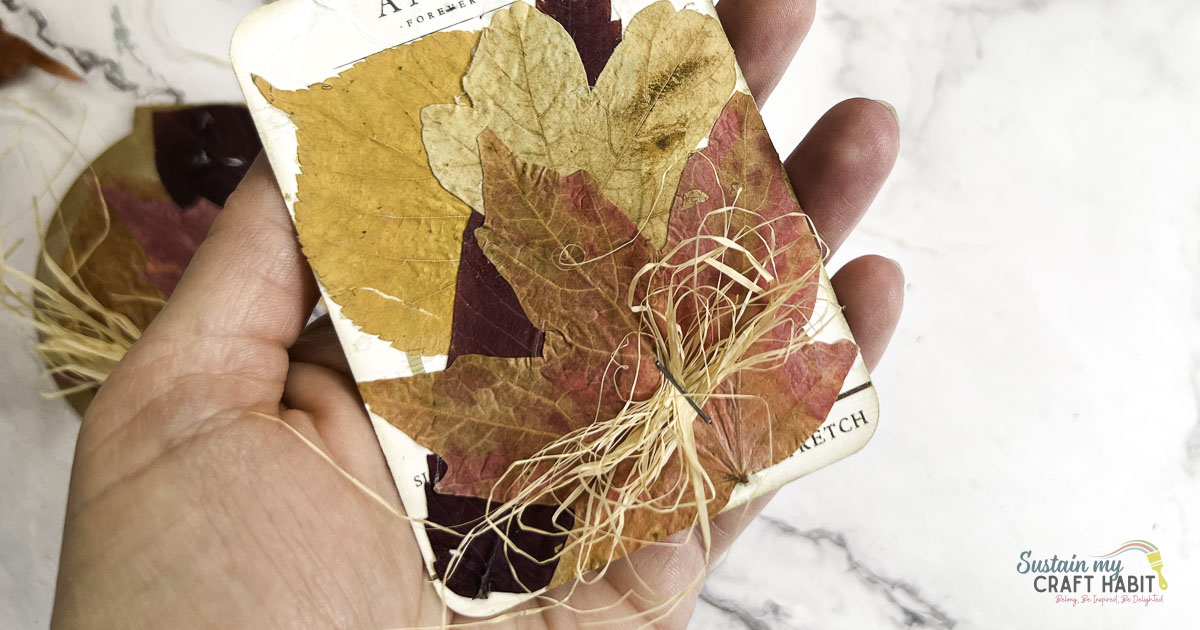
Fold some raffia and staple it onto the tag over top of the leaves.
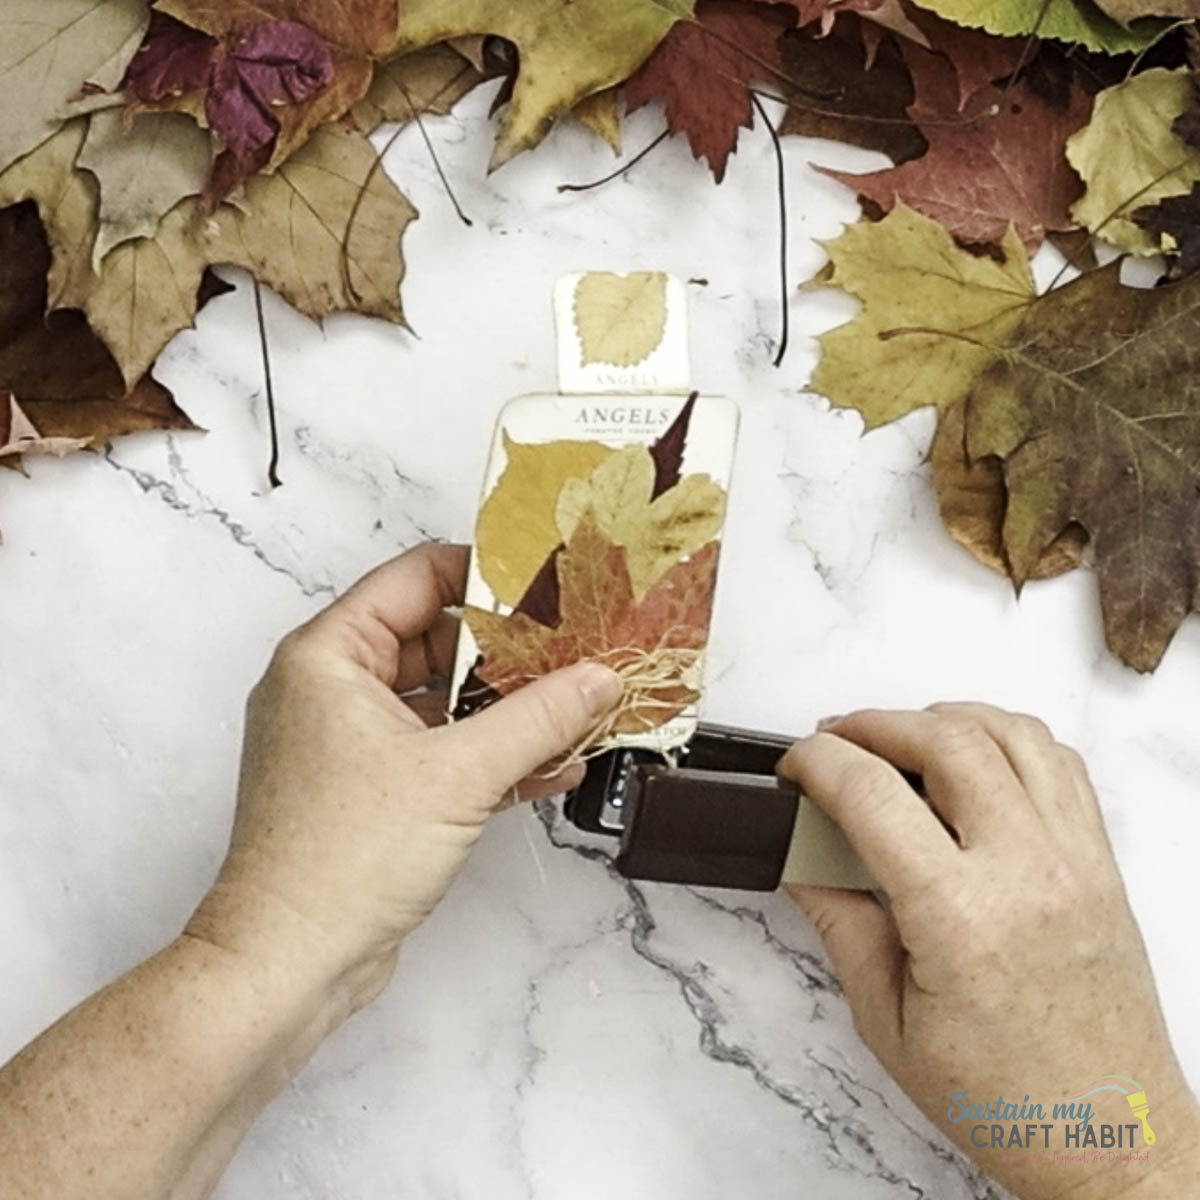
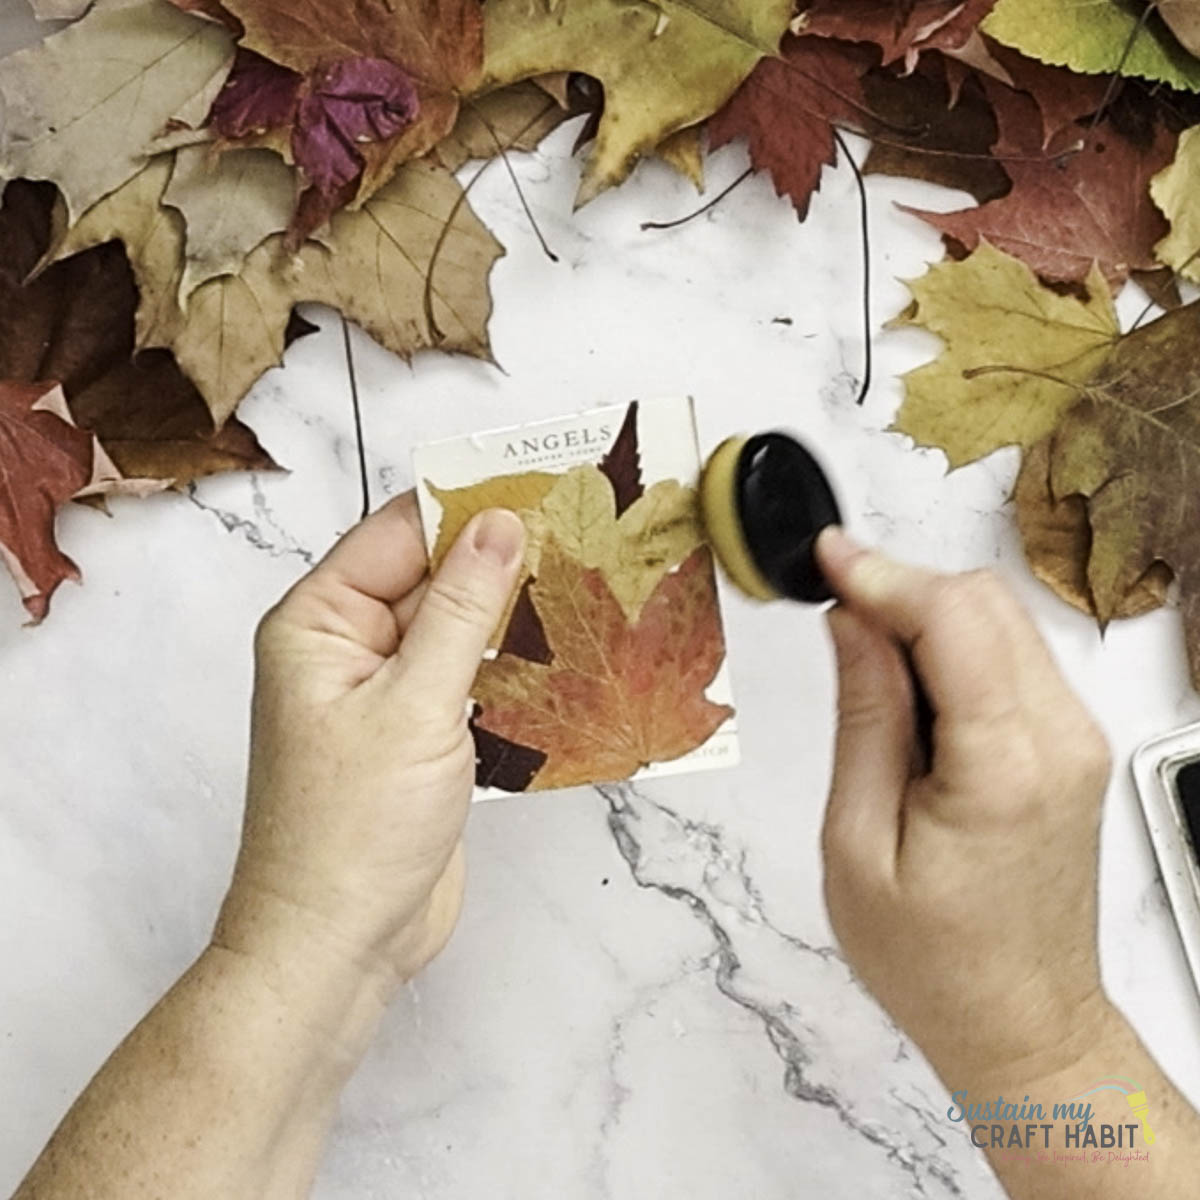
Distress the edges of the tag to make them look vintage and aged.
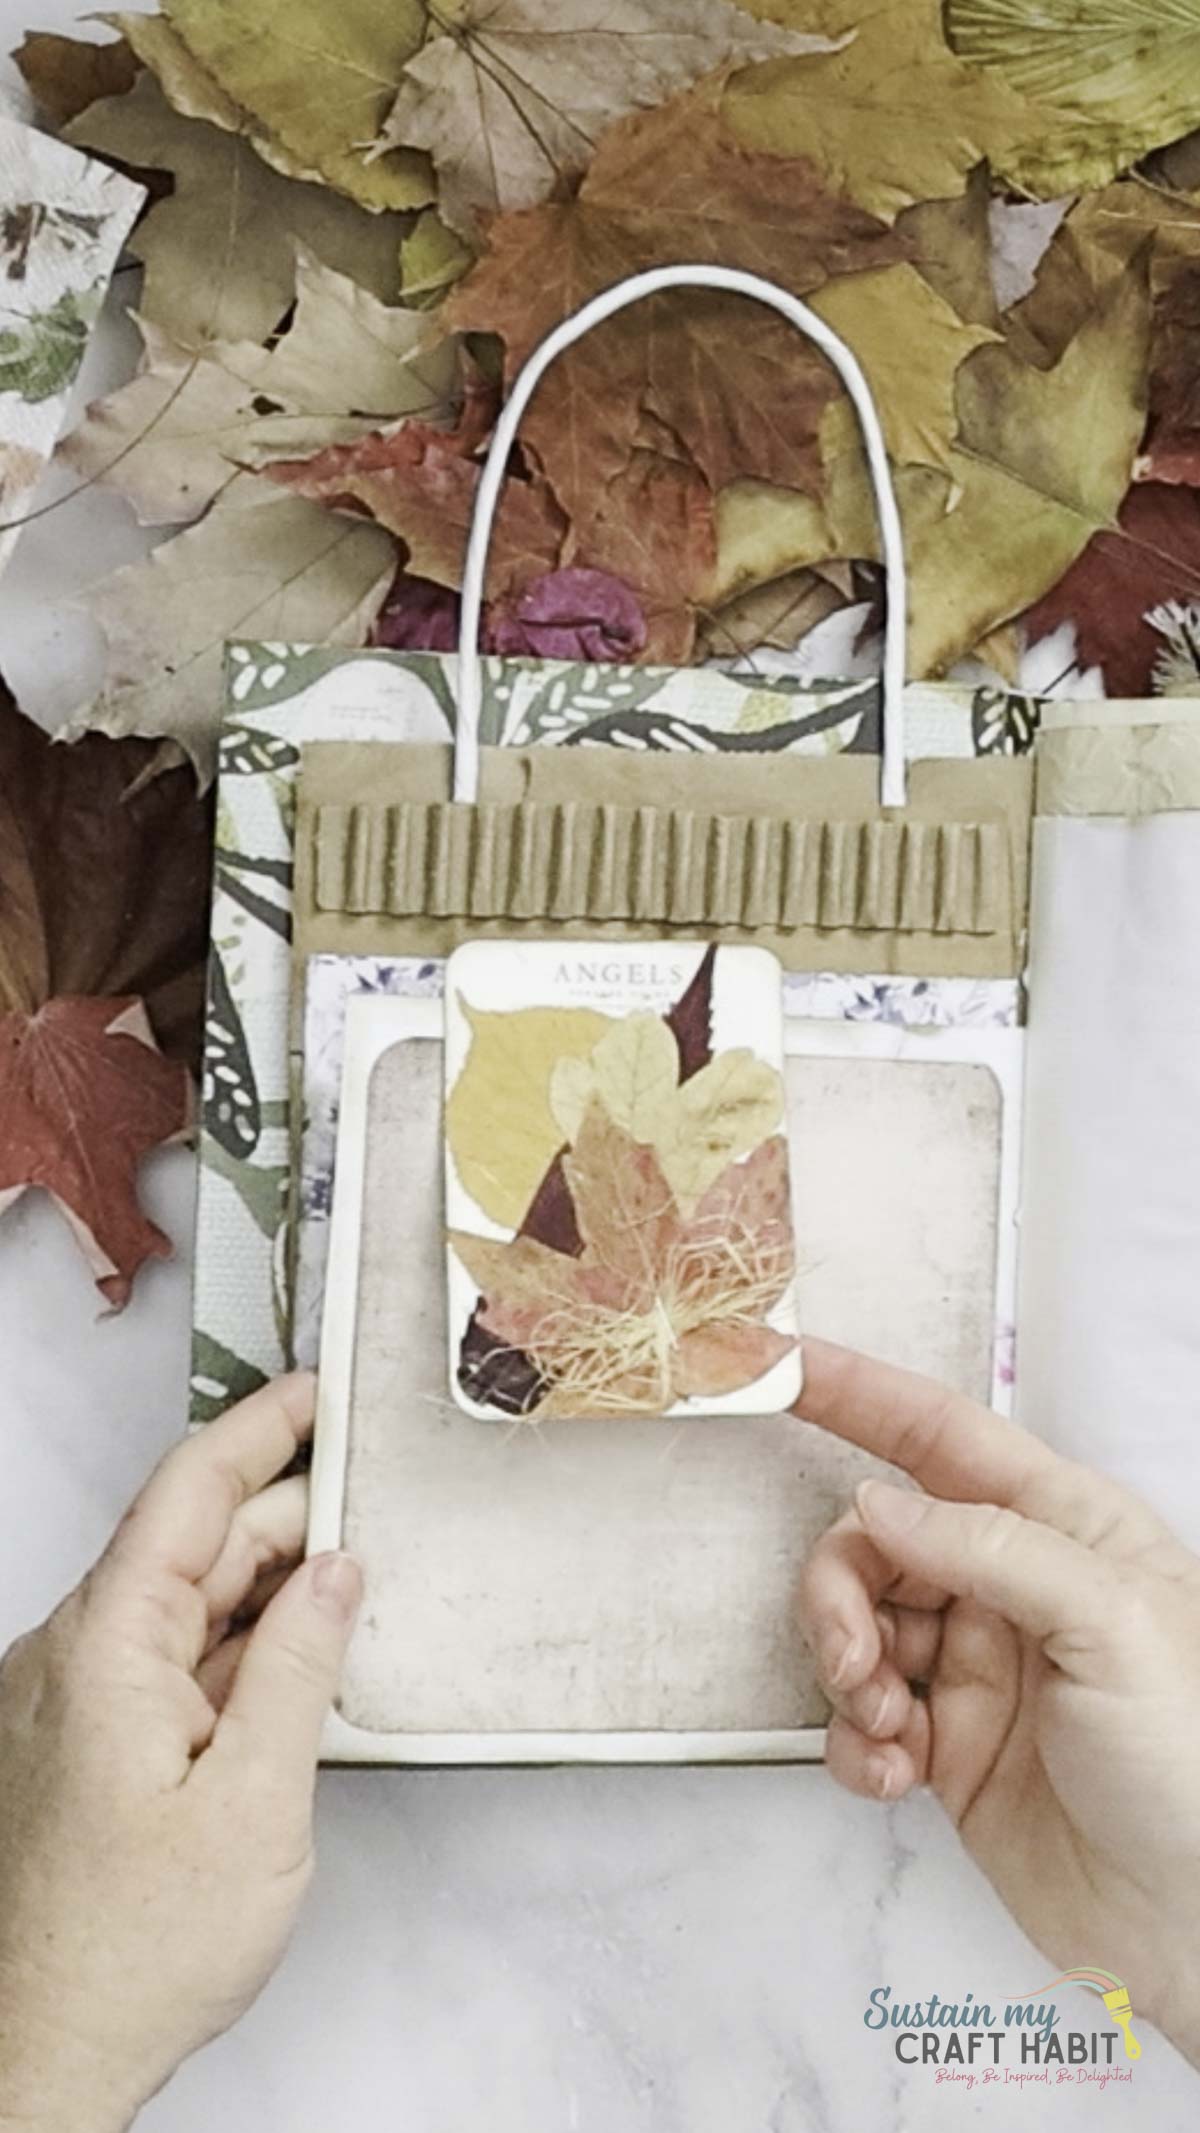
Attach a paperclip to the back so the tags can easily be used for gift giving, junk journaling and crap booking.
Choose Leaves That Press Well
Look for relatively flat leaves that are fresh but not wet. Small, delicate leaves are particularly useful for junk journal embellishments because they won’t overwhelm the page.
Avoid leaves that are already badly curled, brittle, moldy, or beginning to decay. Leaves with interesting veins and distinctive shapes tend to make the prettiest pressed botanical accents.
Protect Delicate Leaves
Completely dried leaves can become fragile, particularly around their edges and stems. Handle them gently when arranging your design.
What If Your Leaves Curl?
Curling usually happens when leaves haven’t been pressed long enough or still contain moisture. Return them to your flower press or heavy book and leave them for longer.
Make sure the paper surrounding the leaves remains dry. If it becomes damp, replace it with fresh absorbent paper.
Create Seasonal Botanical Collections
Try collecting leaves throughout the year and organizing them into small seasonal sets.
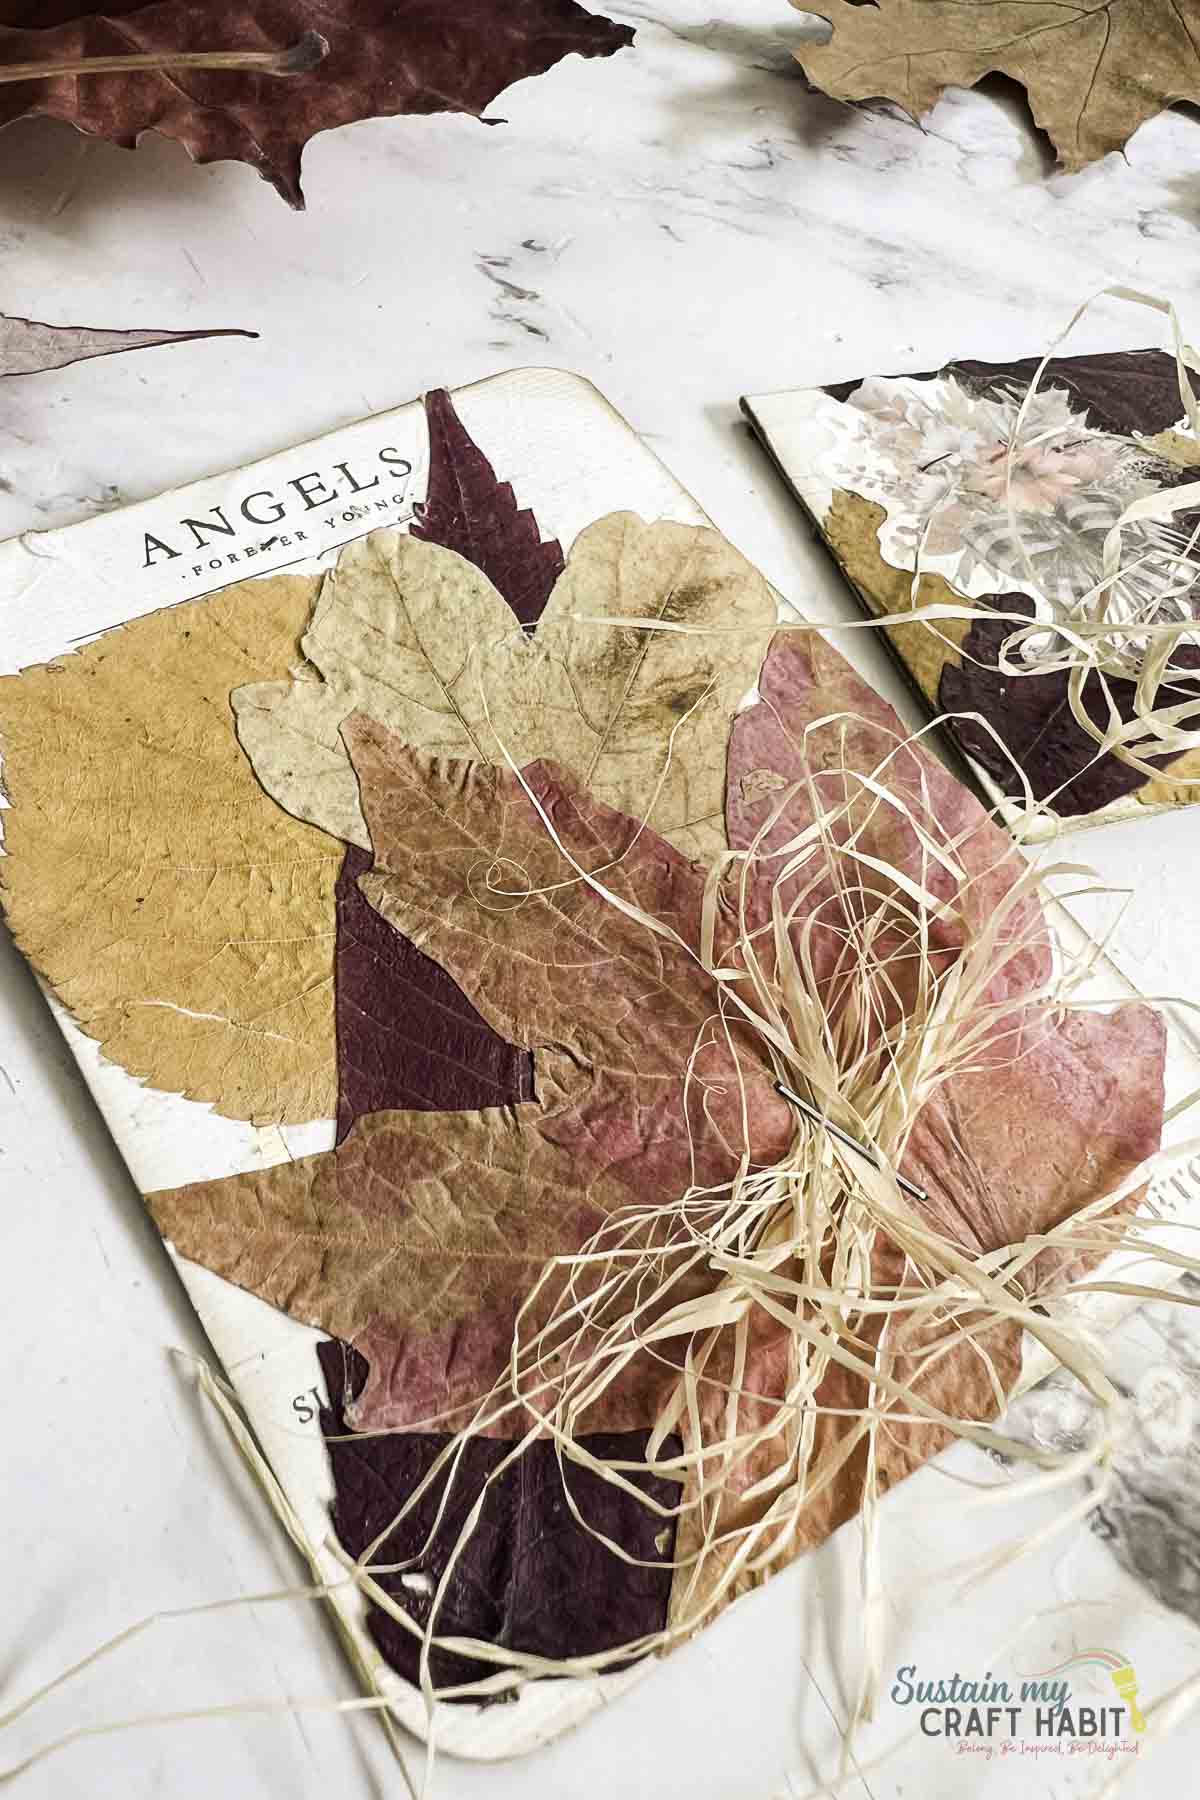
Creative Ways to Use DIY Pressed Leaf Ephemera
One of the prettiest ways to use pressed leaf ephemera is as a focal point on a junk journal page. Layer a single leaf over torn vintage paper, add a small handwritten label underneath, and surround it with stamps, tickets, or other subtle embellishments. The finished page can look like something from an old botanist’s notebook.
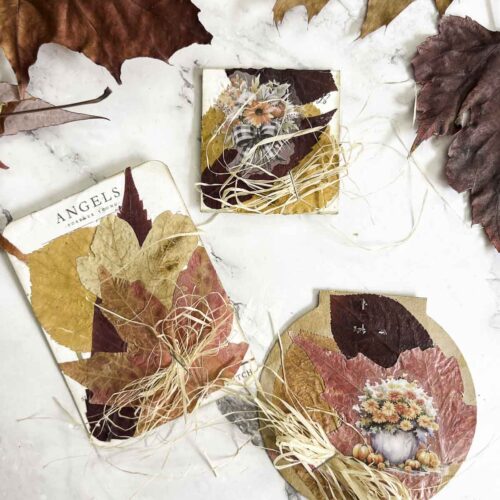
You can also create botanical journaling cards. Attach pressed leaves to sturdy pieces of cardstock or recycled packaging covered with decorative paper. Tuck the finished cards into pockets and envelopes throughout your journal so they can be removed and admired.
For a simple gift décor idea, make botanical gift tags using small pressed leaves mounted onto kraft or cream cardstock. They can be tied to wrapped gifts with twine and later reused as bookmarks or journal ephemera. A collection of framed or mounted pressed leaves could also become a charming home décor idea for anyone who loves natural, vintage-inspired decorating.
Wonderful DIY Botanical Accents
Pressed leaf ephemera is proof that beautiful craft supplies don’t always have to come from a store. A handful of leaves, some scrap paper, and a little creativity can produce wonderfully individual botanical accents for junk journals, cards, and memory books.
The next time you’re outside, keep an eye out for interesting leaves worth pressing. You might be surprised by how much crafting inspiration is waiting right under your feet.
More Scrap Paper Crafts
If you love incorporating vintage nature and paper textures into your journals, don’t stop here! Be sure to explore our full collection of DIY paper crafting tutorials for more junk journal flip-throughs, printable ephemera, and beginner-friendly paper art ideas.
- Upcycled Cardboard Tags
- Hammered Flower Prints for Card Making and Scrapbooking
- Scrappy DIY Valentine’s Day Cards
- Hamster Bookmark


Become a Sustain My Craft Habit insider to receive fun freebies!
Like it? Pin for later!
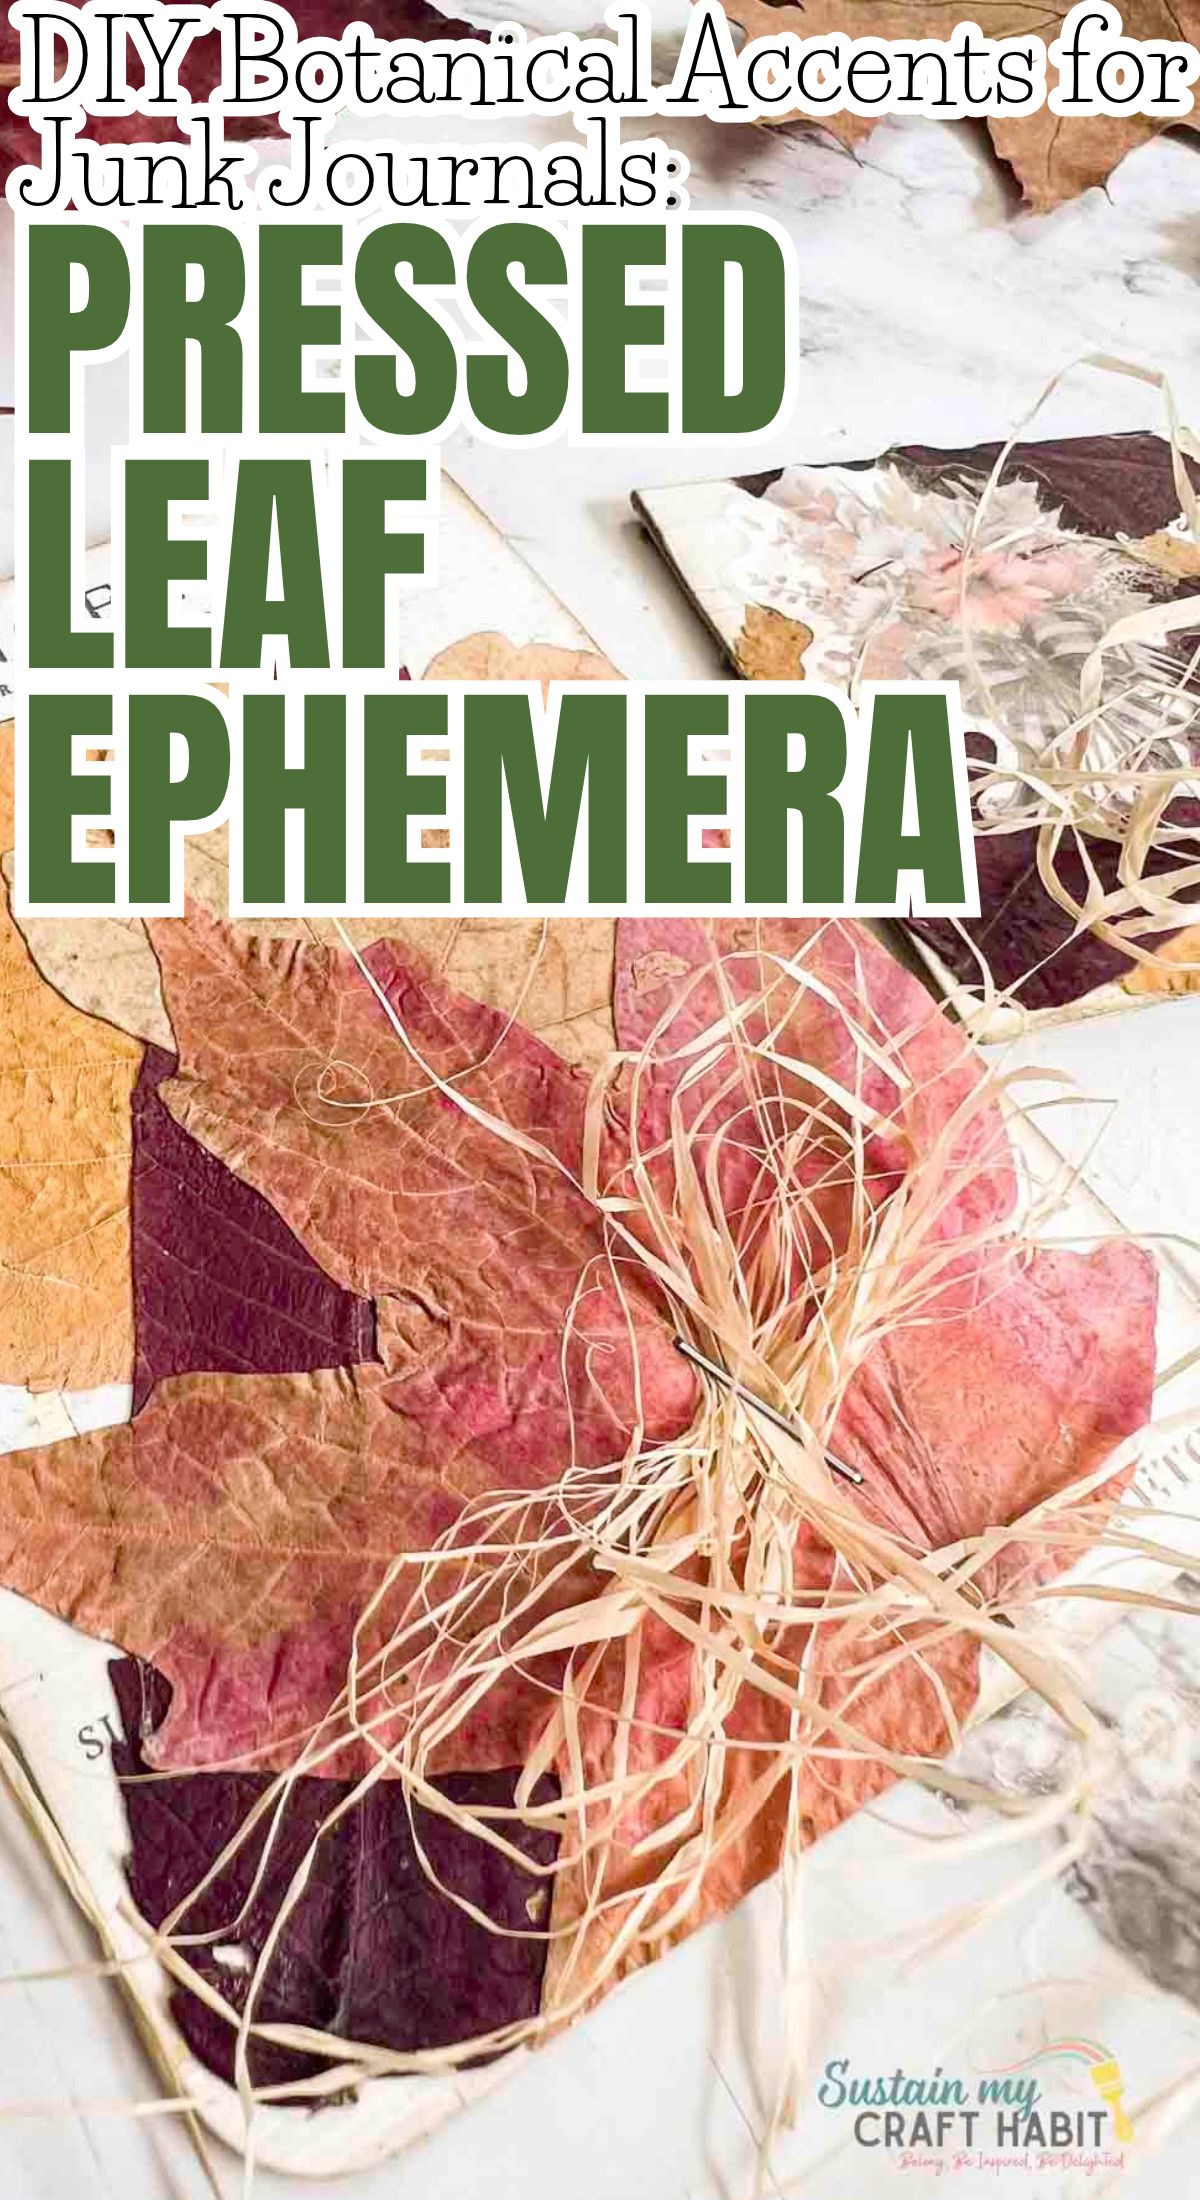
Pressed Leaf Ephemera: DIY Botanical Accents for Junk Journals
Materials
- Paper scraps old ticket stubs, receipts, lined papers, product tags, etc
- Paper scissors
- Pressed leaves
- Mod Podge and paintbrushes
- Raffia
- Stapler
- Paperclips optional
- Paper distresser
Instructions
- Apply a coat of mod podge to the back of the dried (aka pressed) leaf. Turn it and press it down onto your chosen paper scrap. In my case, I’m using a paper product tag I had from a recent purchase. I like the weight, shape and thickness of the tag.
- Next, layer on other pressed leaves in the same way.
- Press the excess mod podge away and if you have a mini iron, you can press over top of the leaves with a layer of parchment paper to protect them. This will ensure the botanical ephemera remains flat.
- Fold some raffia and staple it onto the tag over top of the leaves.
- Distress the edges of the tag to make them look vintage and aged.
- Attach a paperclip to the back so the tags can easily be used for gift giving, junk journaling and crap booking.