How to Make Hammered Flower Prints for Card Making and Scrapbooking
Discover the natural magic of botanical printing with this step-by-step tutorial on how to hammer flowers onto paper! Also known as flower pounding, this fun and eco-friendly craft uses fresh backyard blooms to create breathtaking, organic floral impressions.
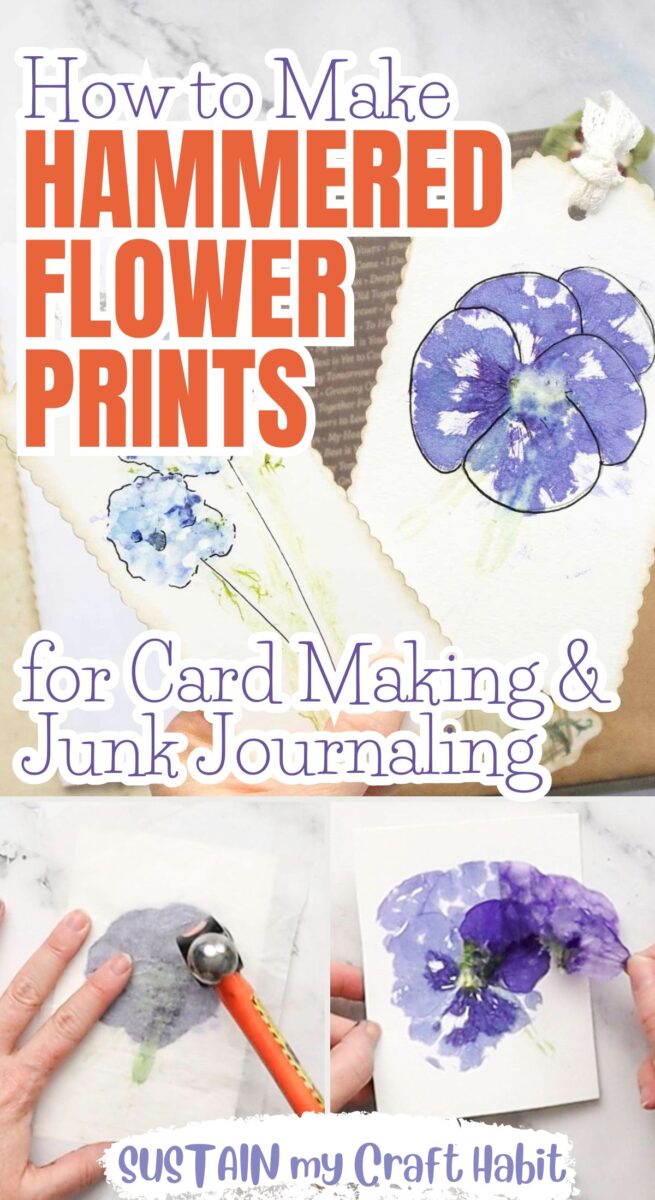
Creating hammered flower prints is a beautiful way to preserve the natural colors and delicate shapes of fresh flowers without needing expensive craft supplies. This simple botanical craft uses real flowers, paper, and a hammer to transfer natural pigments directly onto your chosen surface.
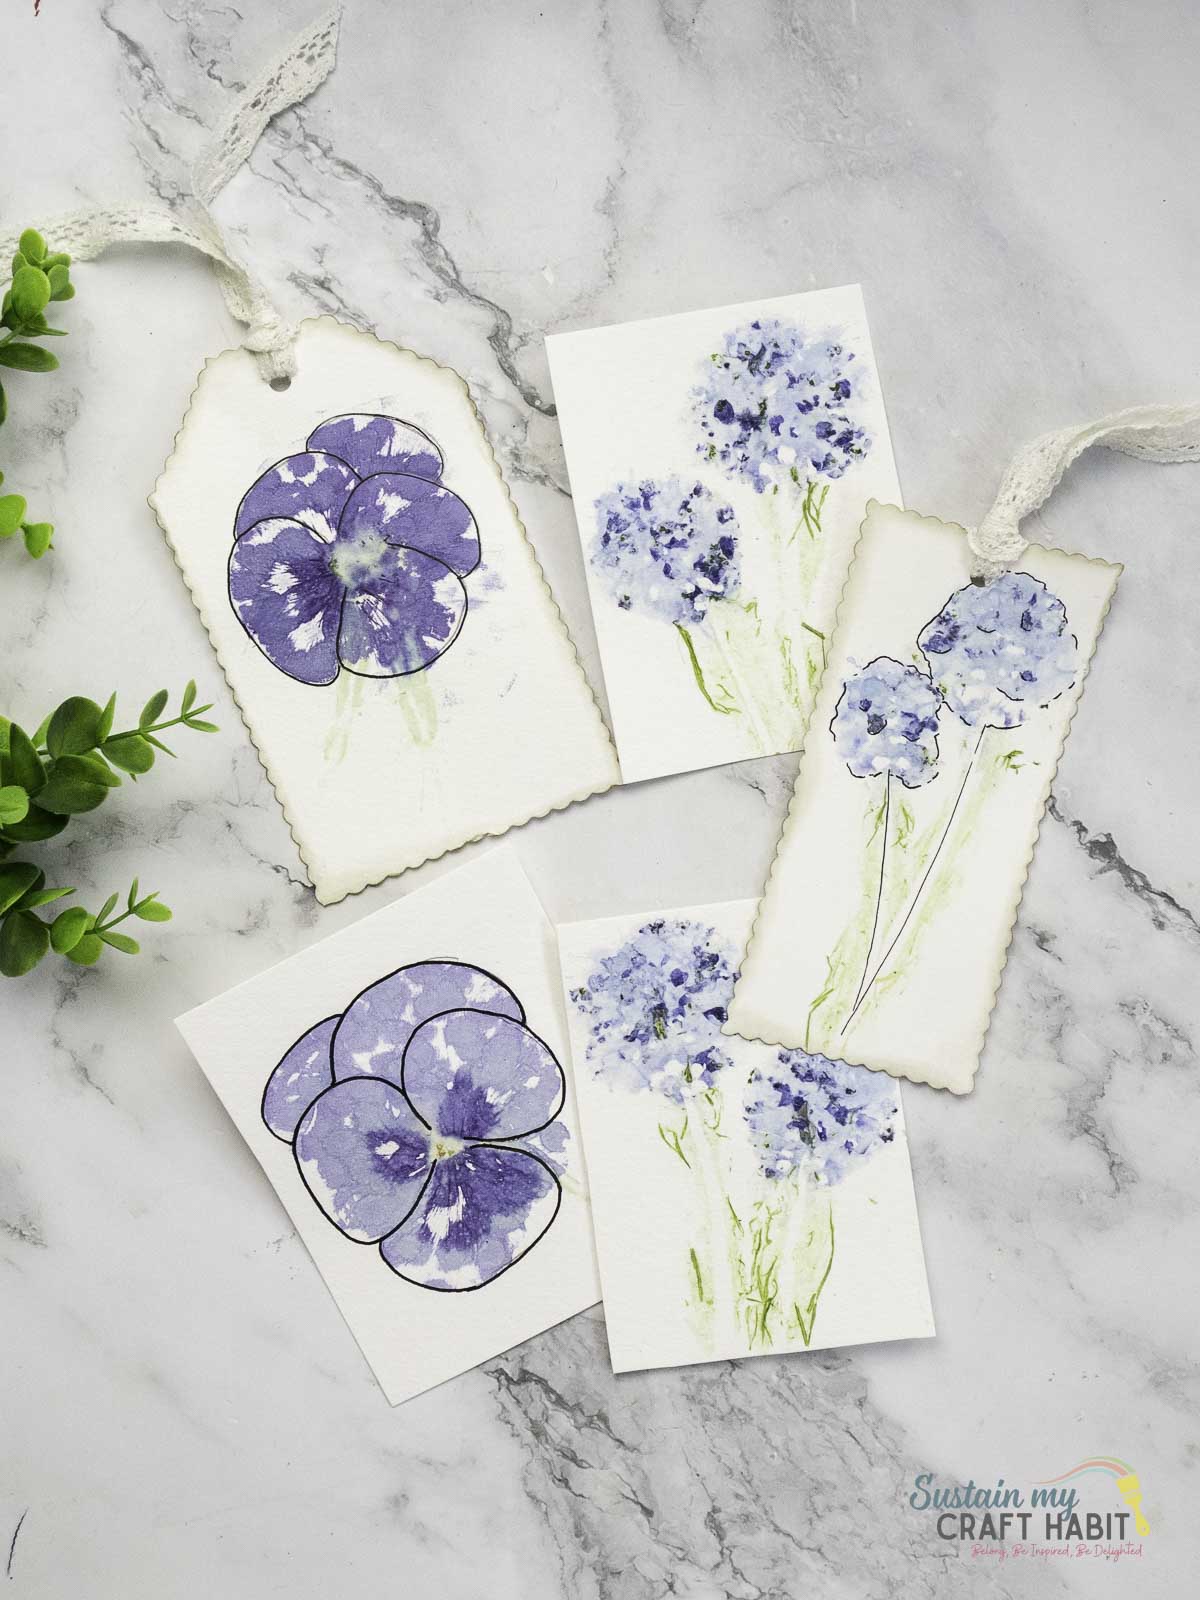
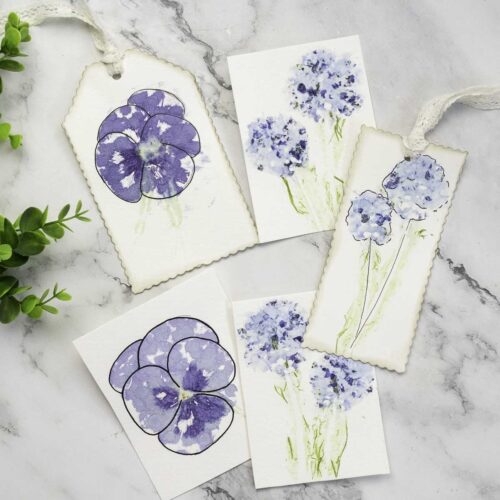
The finished prints are wonderfully imperfect, giving handmade cards and scrapbook pages a soft, organic look that can’t quite be recreated with paint or stamps.
It’s also a lovely way to use flowers from your garden, leftover bouquets, or blooms collected during a special occasion. With a few basic supplies and a little experimenting, you can create one-of-a-kind floral designs. Let’s get started!
Why You’ll Love This Flower Hammering Craft
- Easy and inexpensive materials: You can make hammered flower prints with fresh flowers, paper, a hammer or mallet, and a few basic household supplies.
- Every print is completely unique: Different flowers and leaves produce unexpected colors, shapes, and botanical patterns.
- Perfect for handmade cards: Flower pounding is an easy way to create beautiful backgrounds and focal points for birthdays, thank-you cards, Mother’s Day cards, and other occasions.
- Wonderful for scrapbooking: Use pressed flower art to add natural details to scrapbook layouts, journals, memory books, and keepsake pages.
- A creative way to preserve memories: Flowers from your garden, holidays, celebrations, or meaningful bouquets can become part of a special paper craft.
Join our crafting community to find more nature-inspired DIYs and upcycled craft ideas. It feels good to repurpose, upcycle and create with nature!
Materials Needed
- Paper- cardstock (65 lb to 80lb) and linen textured papers
- Flowers- fresh pansies, marigold and lavender
- Parchment paper
- Hammer
How to Make Hammered Flower Prints
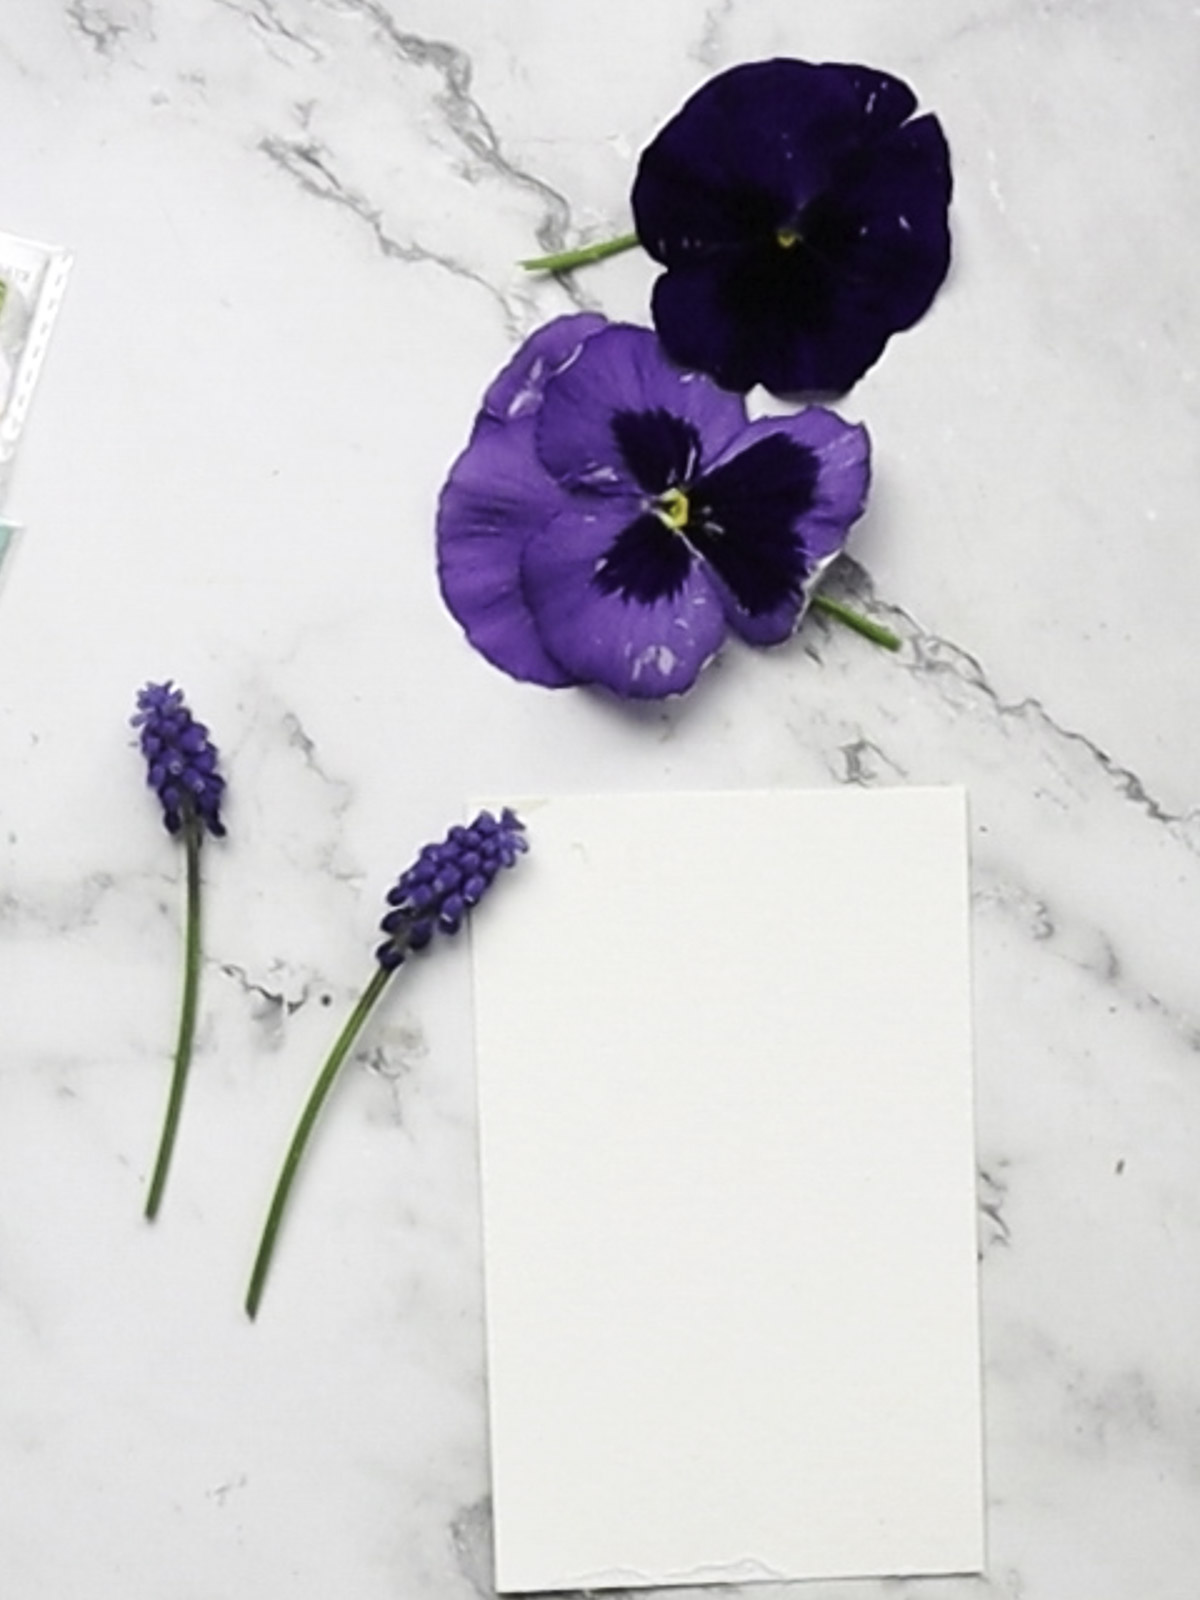
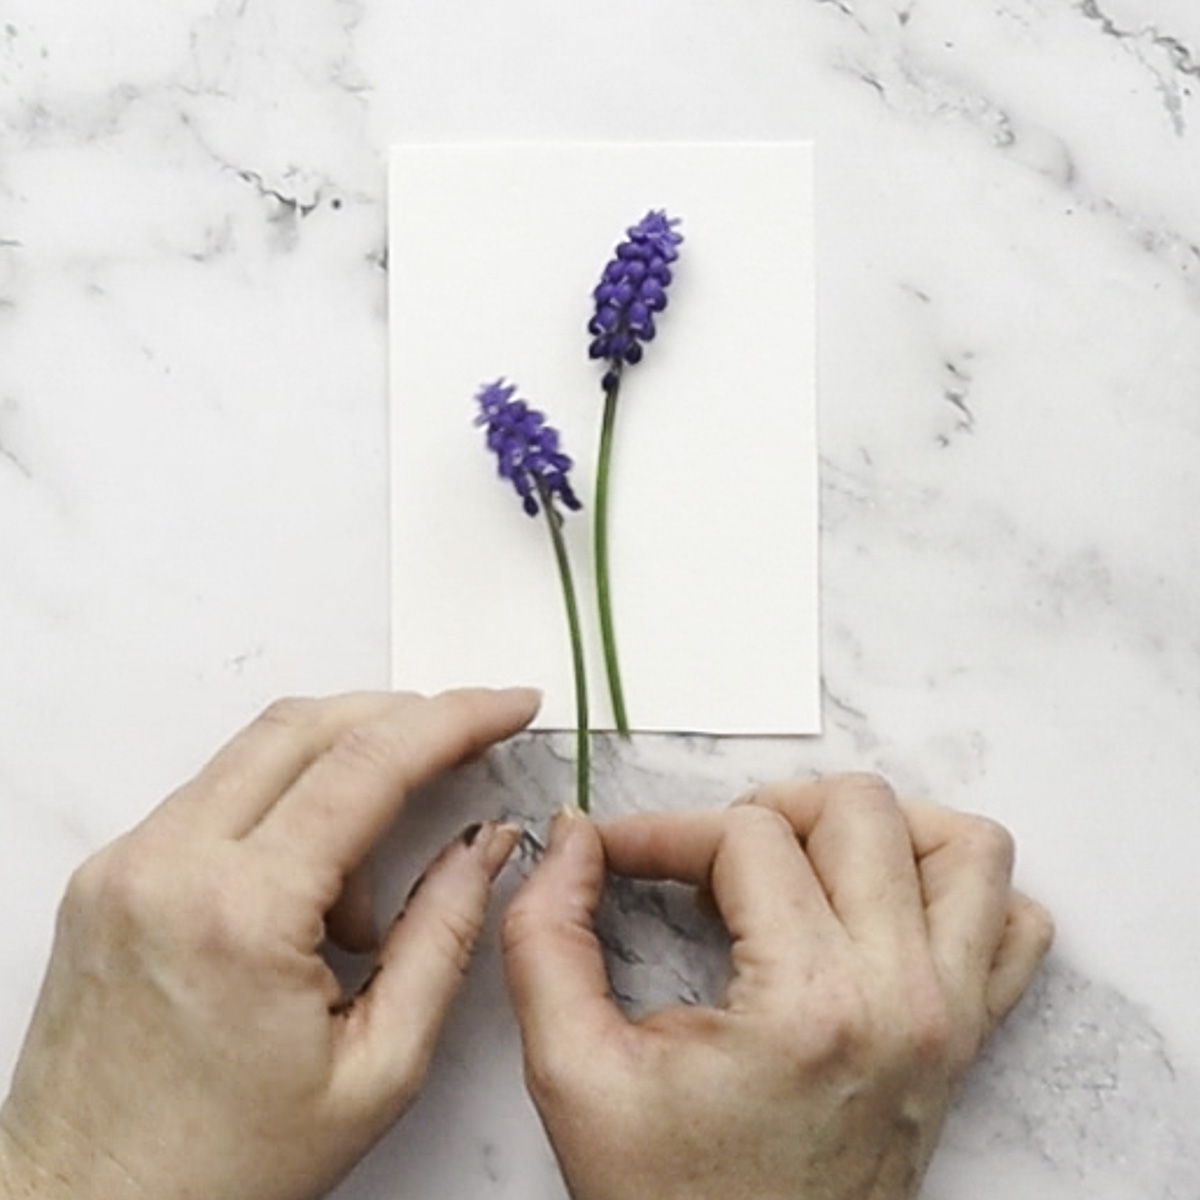
Place a cutting from a fresh flower (we used a purple pansy and lavender blooms) on top of a crisp sheet of cardstock paper. I like using a white or light color sheet of paper to accentuate the flower color.
Cover the flower with parchment paper.
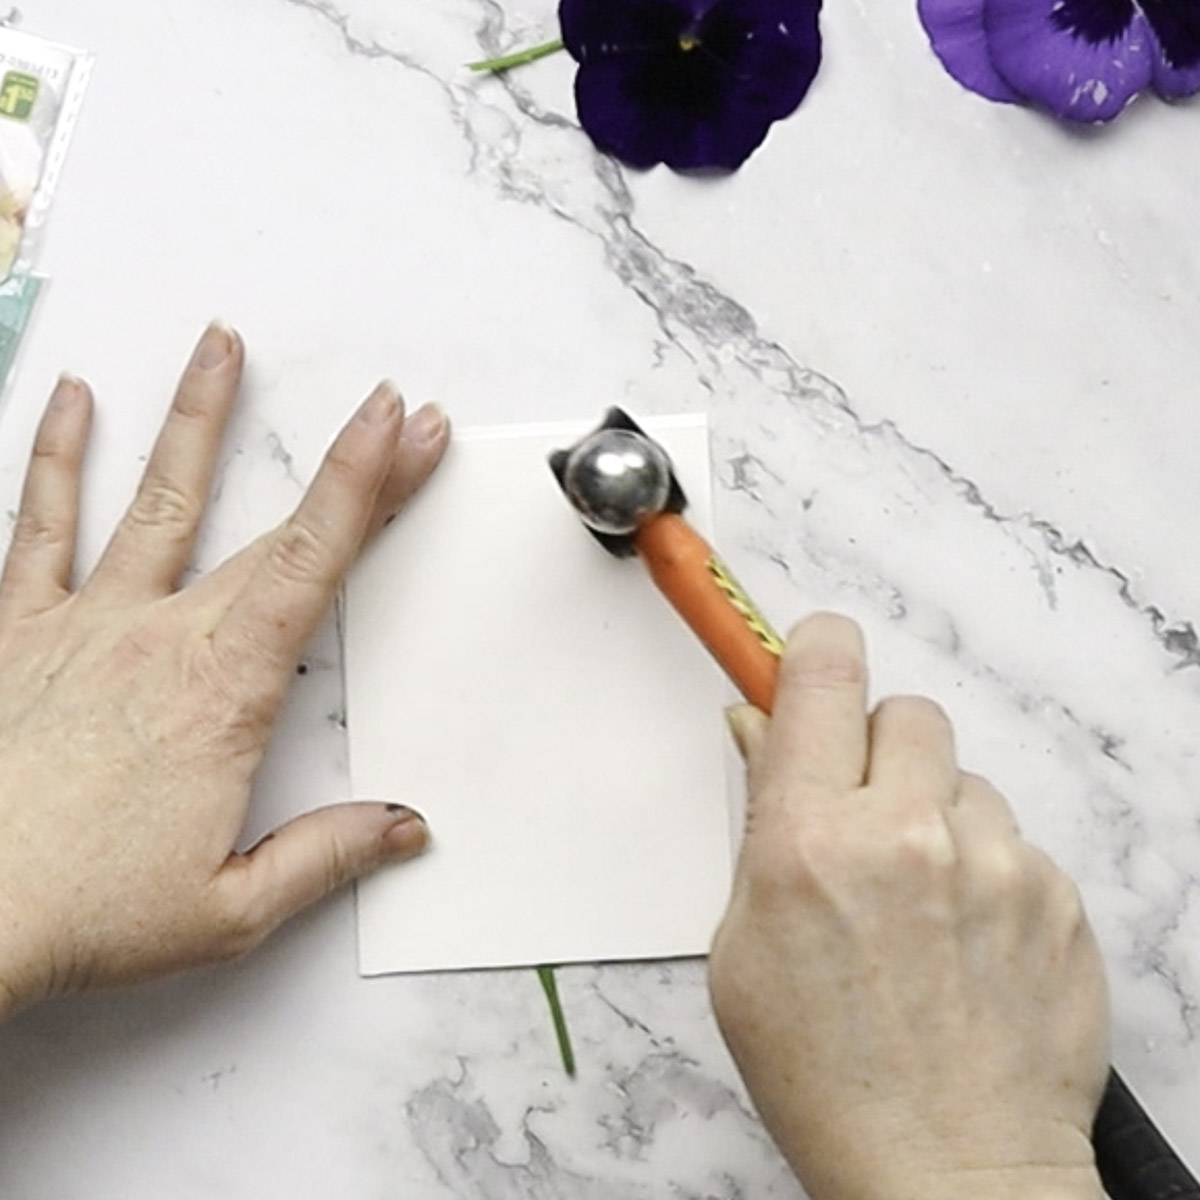
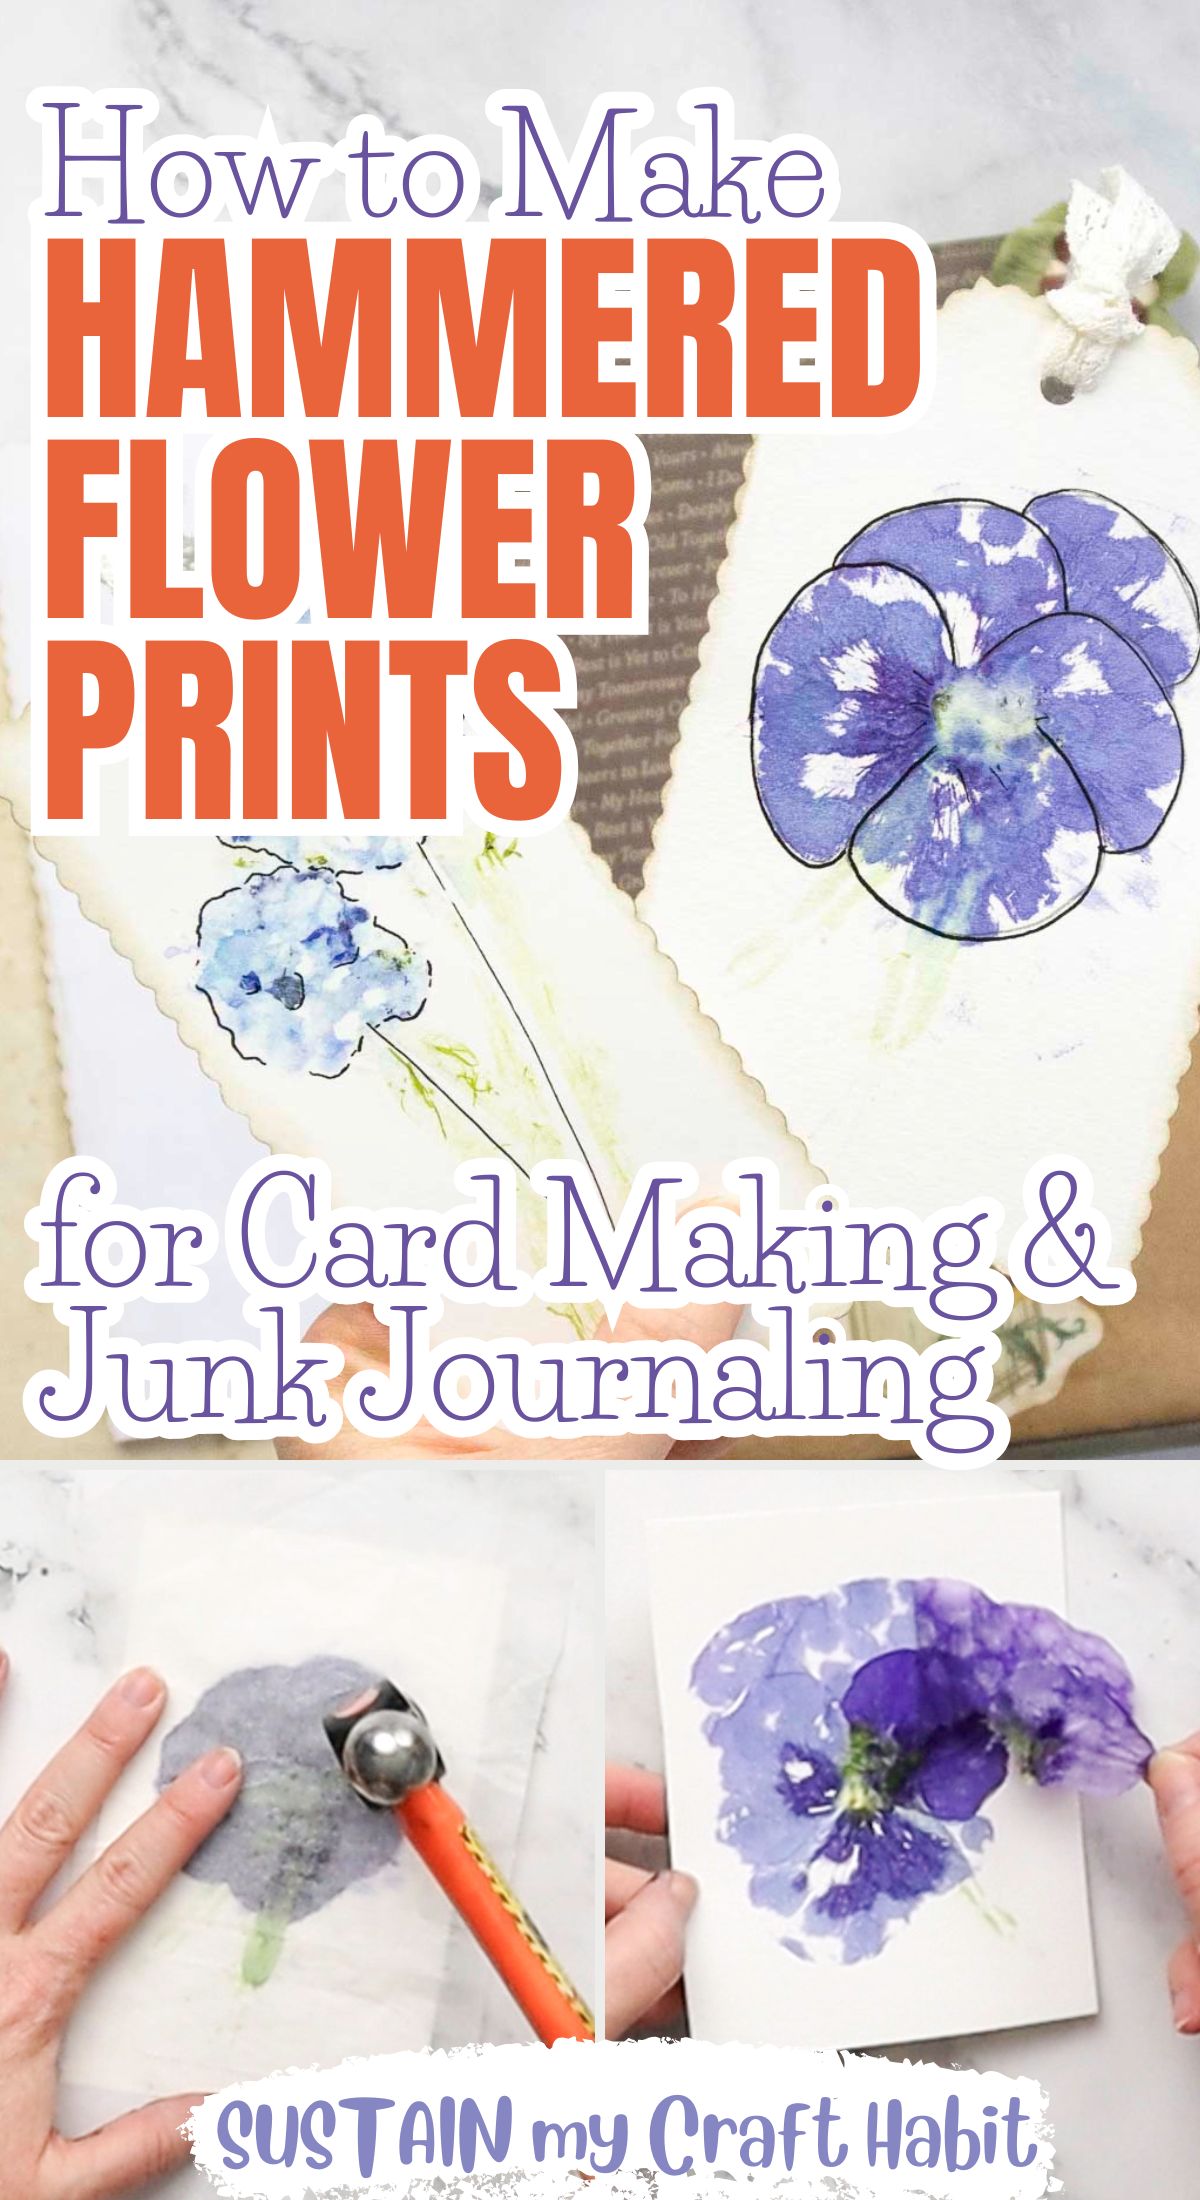
Holding the covered flower in place with one hand, hammer the flower gently leaving the color from the flower behind. Continue until you are happy with the print left behind.
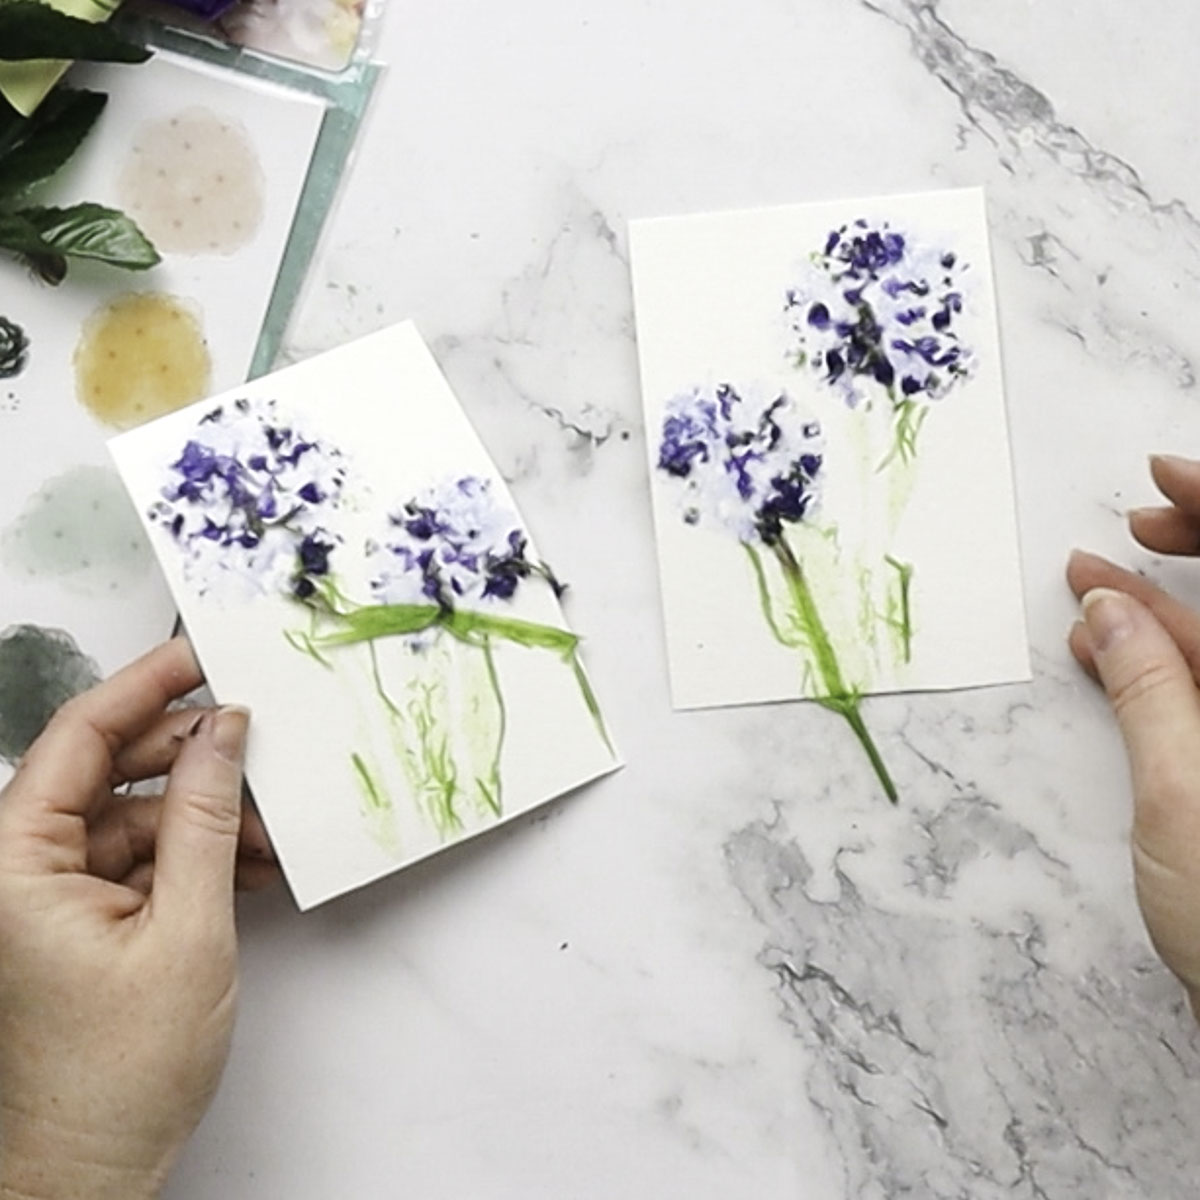
Peel away the parchment paper and hammered flower.
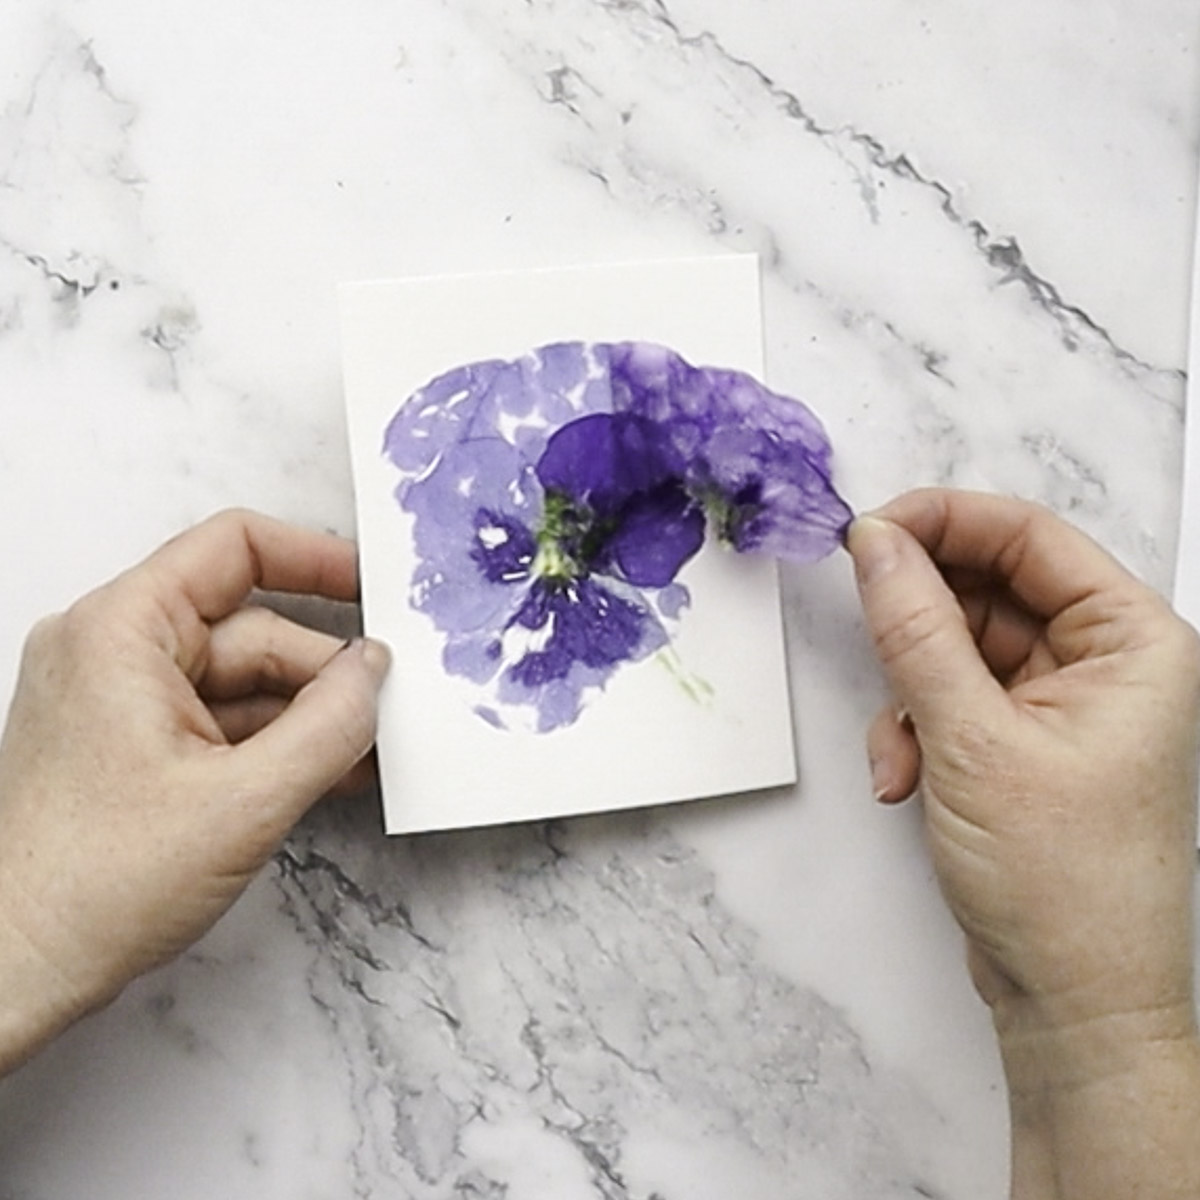
Leave the print to dry before using in a paper craft.
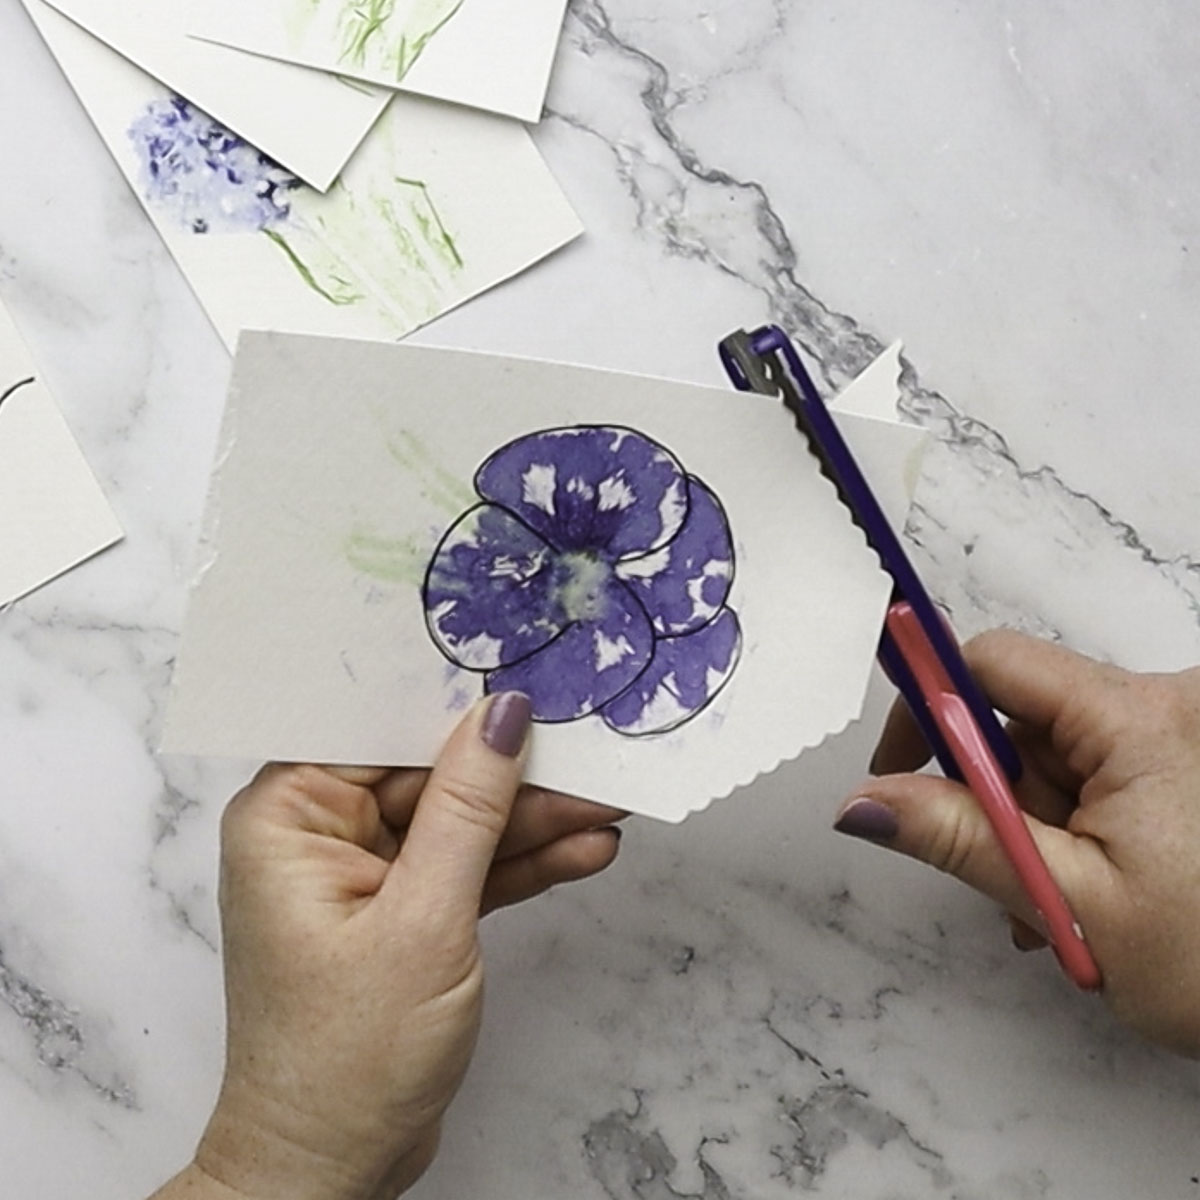
Trim around the print and use in junk journaling, scrapbooking or card making.
Choosing Flowers for Hammered Flower Prints
Fresh, brightly colored flowers generally give you the most interesting results. Look for petals that feel soft and contain plenty of natural pigment. Pansies, violas, geraniums, petunias, roses, and other colorful garden flowers are worth experimenting with.
Leaves can also create beautiful green shapes and interesting textures. Try smaller leaves with clearly defined veins alongside flower petals to give your design more variety.
Avoid assuming that the color you see on the flower will be exactly the color transferred to the paper. Natural pigments can change dramatically when the petals are hammered. A purple flower might produce blue, pink, or even slightly brown tones.
Testing a few flowers on scrap paper before starting your final card or scrapbook page can save you from unwanted surprises.
BEST TYPES OF Paper TO USE FOR FLOWER HAMMERING
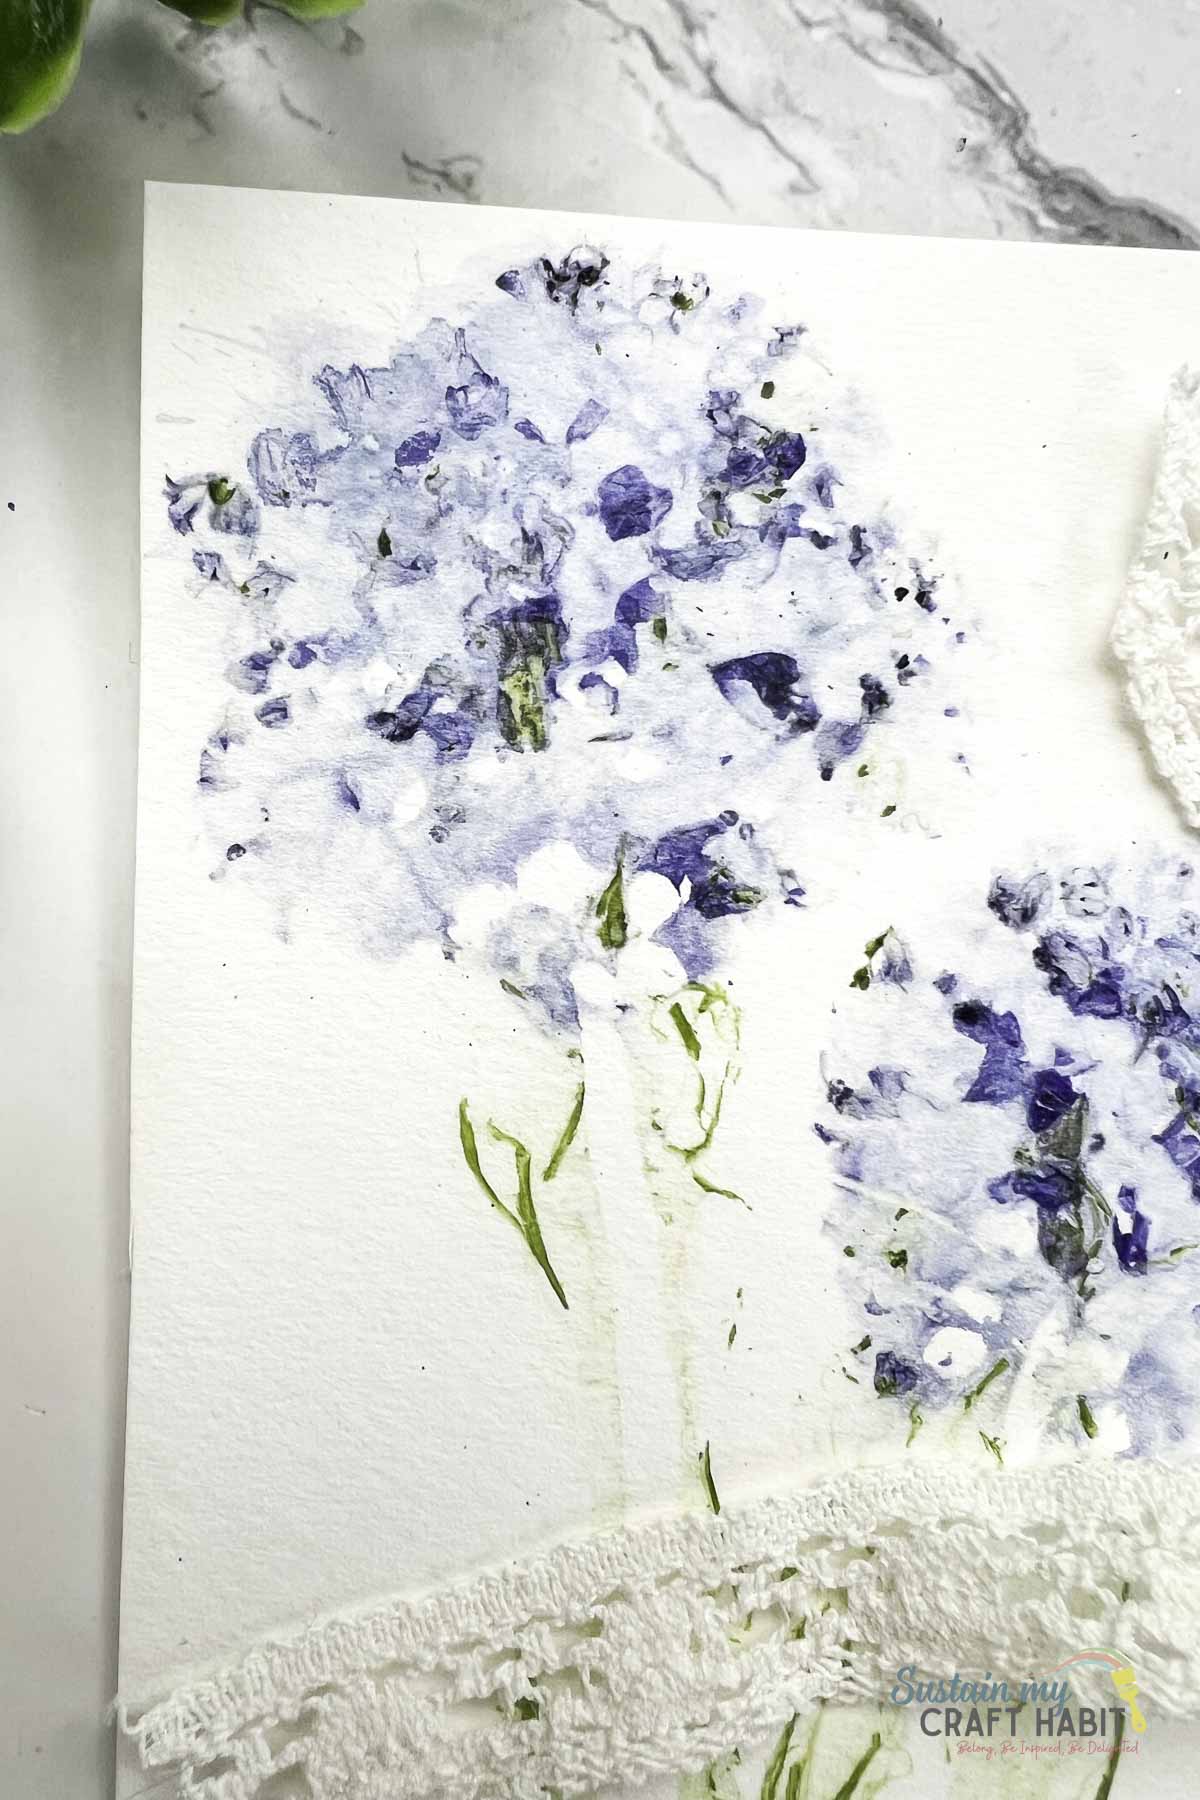
Choose sturdy paper or cardstock that can withstand repeated tapping without tearing. Watercolor paper and heavier mixed-media papers are particularly useful when experimenting with botanical printing.
Try Different Flower Pounding Designs
There are plenty of ways to experiment with hammered flower art for card making.
For a minimalist design, use one small flower or a few petals in the center of a blank card. For something more dramatic, create a border of flowers and greenery around the outside.
Experiment With Colors and Sizes
Small flowers are excellent for detailed cards and scrapbook embellishments, while larger petals can produce striking washes of natural color.
You can also layer different flowers. Start with one botanical print, remove the plant material, and then position another flower over a different section of the paper.
Combining pink, purple, yellow, blue, and green plant materials can create colorful designs without using conventional paint or ink.
What If the Flower Doesn’t Transfer?
If you’re getting very little color, the flower may be too dry or simply contain less transferable pigment. Try a fresher bloom or experiment with individual petals instead.
You may also need to increase the pressure slightly. Use repeated controlled taps rather than one forceful strike.
What If the Print Looks Messy?
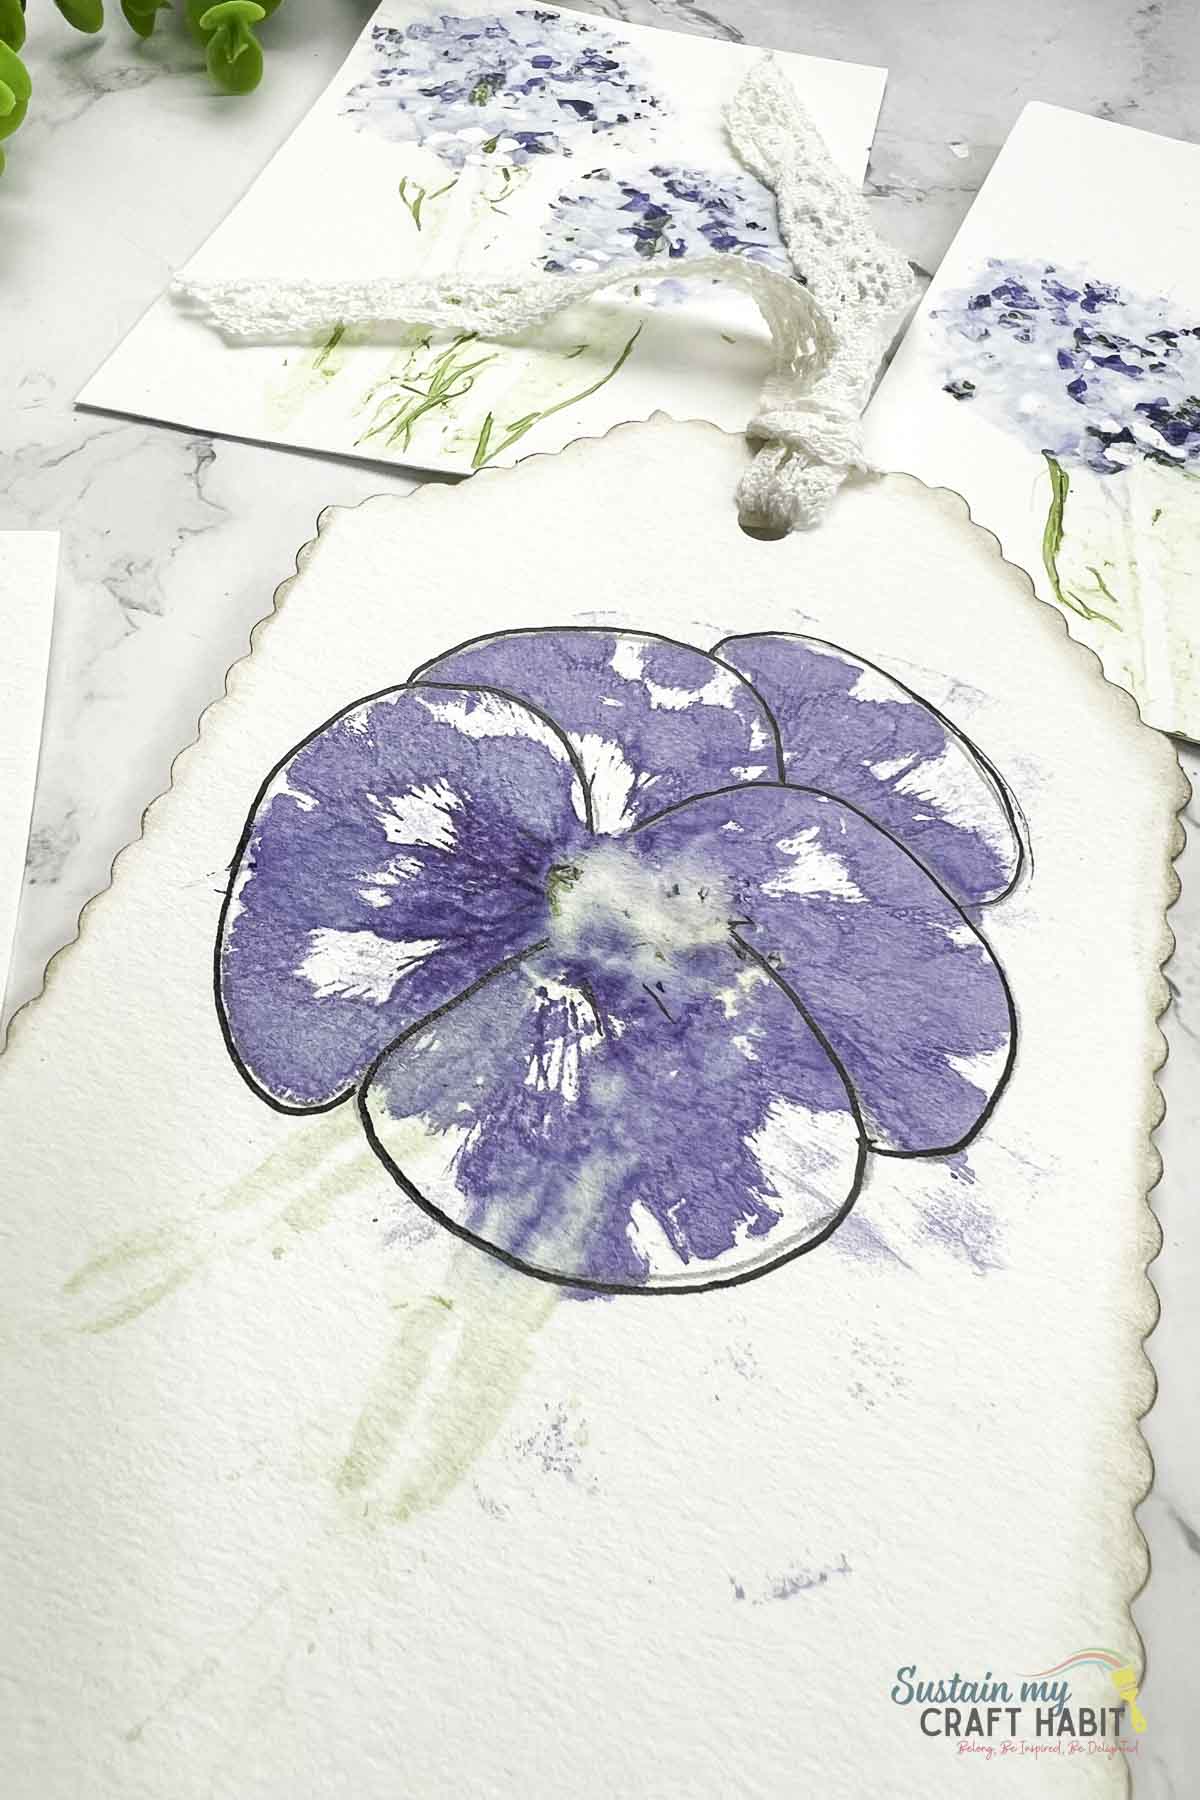
Part of the charm of DIY hammered flower prints is their unpredictable appearance. However, if you want cleaner designs, use fewer flowers and leave more space between them.
Remove thick stems and bulky flower centers when necessary. Flatter petals are generally easier to control.
Different Ways use Flower Prints
Create handmade greeting cards. Trim your hammered flower print and mount it onto coordinating cardstock for a simple handmade card. Add a handwritten greeting or small stamped sentiment without covering too much of the natural botanical design.
Add the prints to scrapbook pages. Use smaller flower prints as borders, journaling cards, photo mats, or decorative accents. This is especially meaningful when the flowers relate to the memory you’re documenting, such as blooms collected from your own garden or a special celebration.
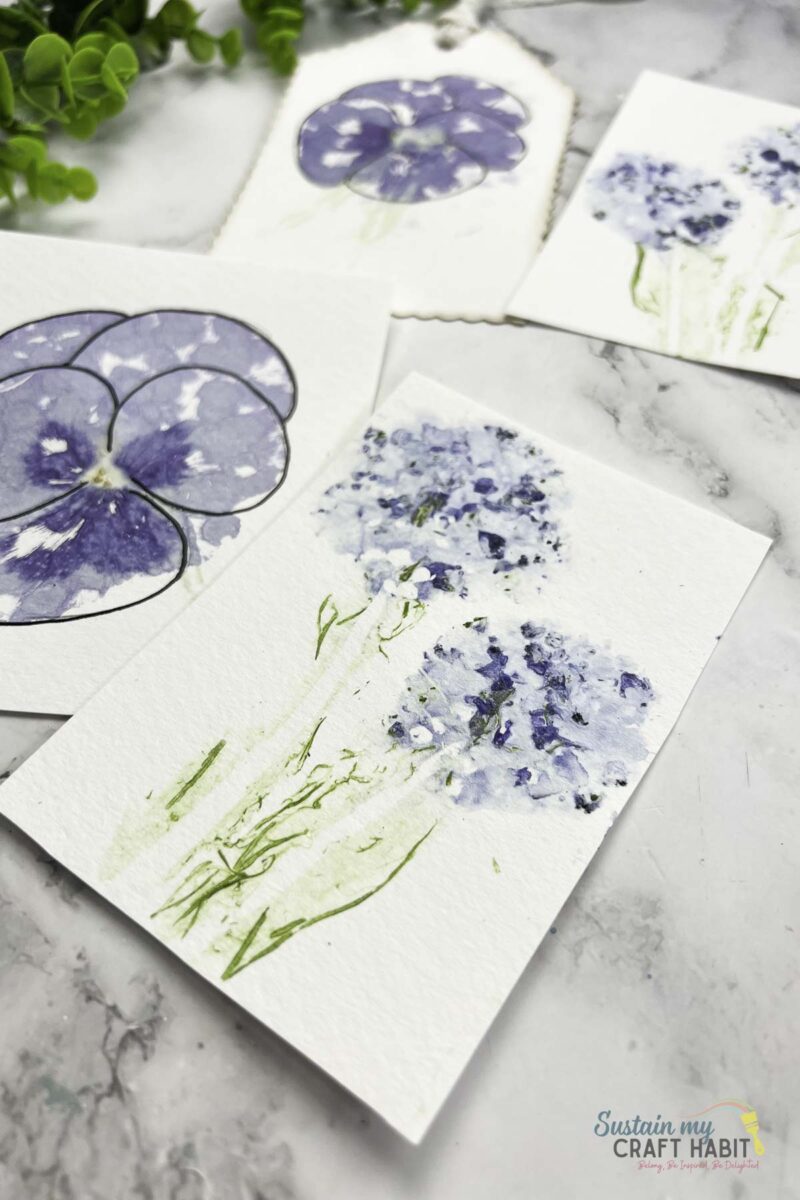
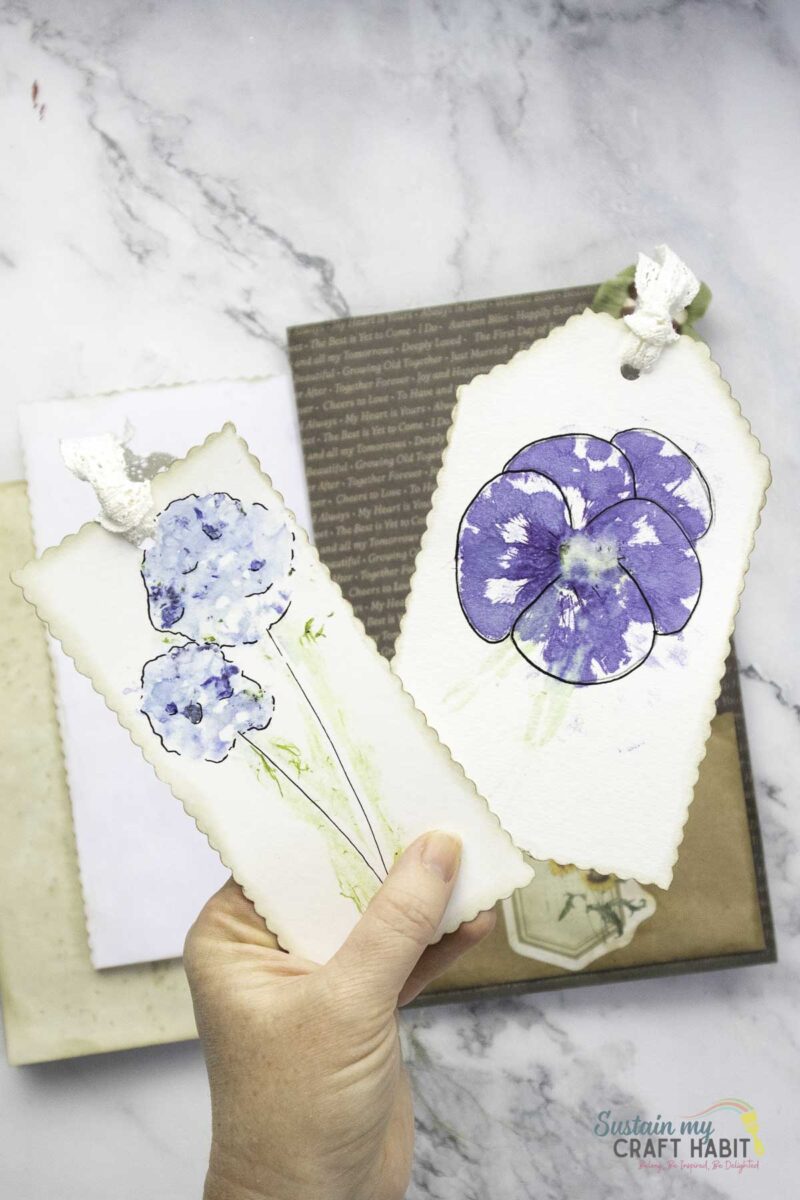
Turn extra prints into keepsakes. Small sections of botanical printing can become bookmarks, gift tags orframed artwork.
Fresh Blooms Into Keepsakes
Making hammered flower prints is a wonderfully simple way to turn fresh blooms into something you can keep and enjoy long after the flowers themselves have faded.
Whether you’re decorating handmade cards, creating scrapbook pages, or experimenting with botanical art, every print will be a little different. Gather a few colorful flowers, some sturdy paper, and a hammer, and see what unexpected colors and patterns nature creates.
More Flower Crafts to Make this Season
- Pressed Flower Mason Jar Luminaries
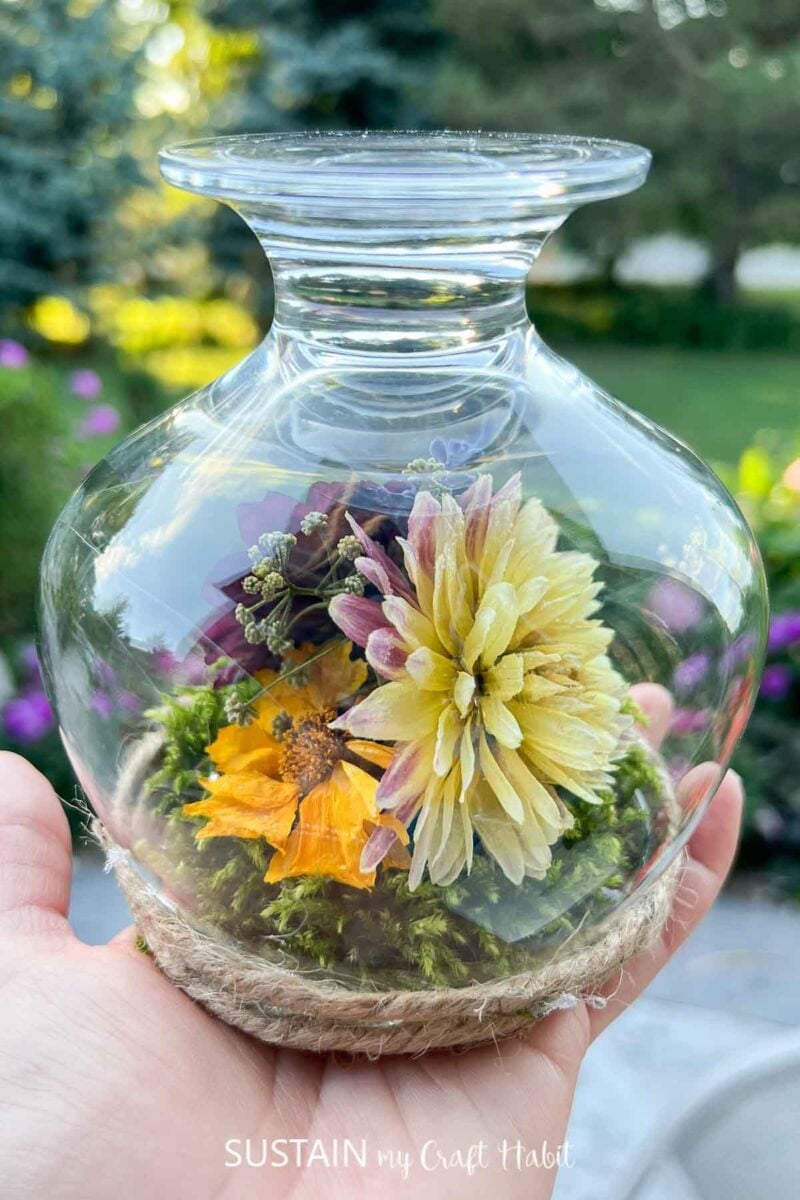
- Glass Terrarium with Dried Flowers
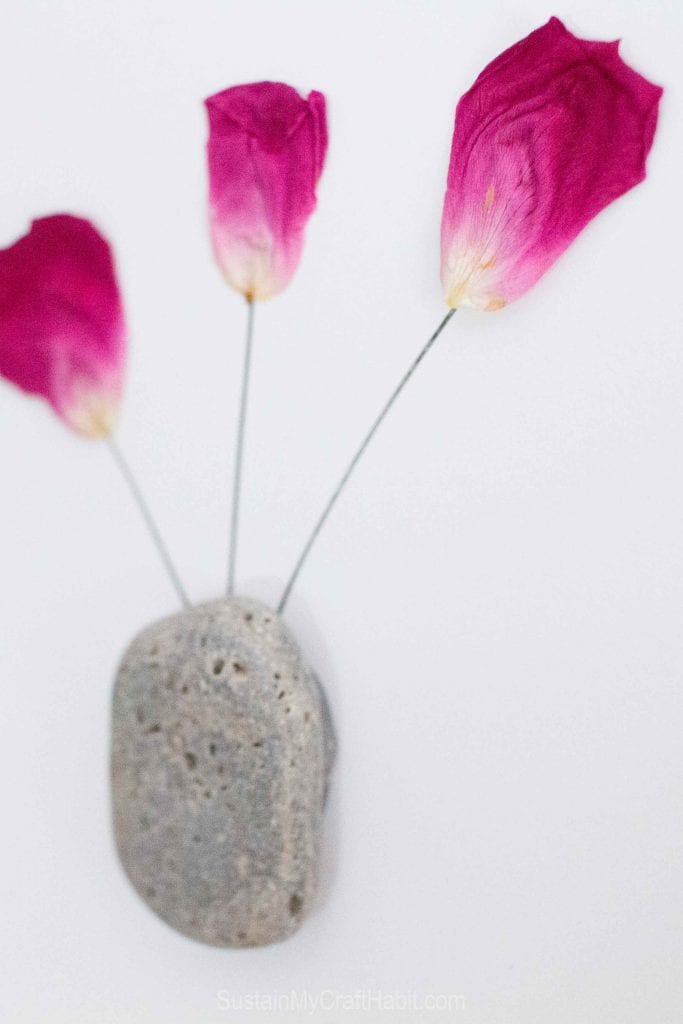
- Pressed Petals and Rock Vase Art
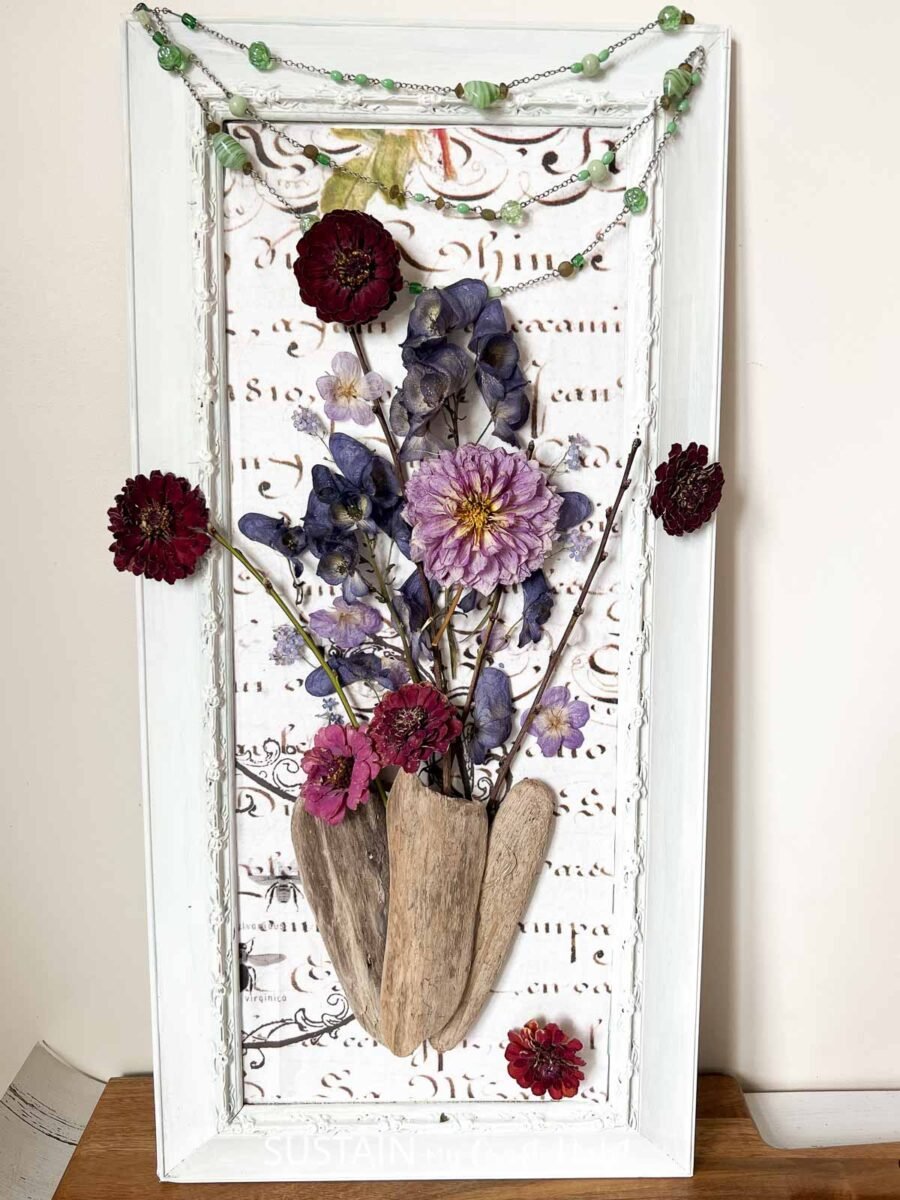
- Art with Beautiful Dried Flowers
- Dried Flower Shadow Box

Become a Sustain My Craft Habit insider to receive fun freebies!
Like it? Pin for later!
How to Make Hammered Flower Prints for Card Making and Scrapbooking
Materials
- Cardstock Paper 65 lb to 80lb and linen textured papers
- Flowers- fresh pansies, marigold and lavender
- Parchment paper
- Hammer
Instructions
- Place a cutting from a fresh flower (we used a purple pansy and lavender blooms) on top of a crisp sheet of cardstock paper.
- Cover the flower with parchment paper.
- Holding the covered flower in place with one hand, hammer the flower gently leaving the color from the flower behind.
- Peel away the parchment paper and hammered flower.