A Keepsake Christmas: Turning a Loved One’s Shirt into a Memory Tree Pillow
Learn how to create a meaningful holiday heirloom with our DIY Christmas tree memory pillow tutorial. This step-by-step guide shows you how to upcycle a loved one’s button-up shirt into a beautiful, tree-shaped keepsake.
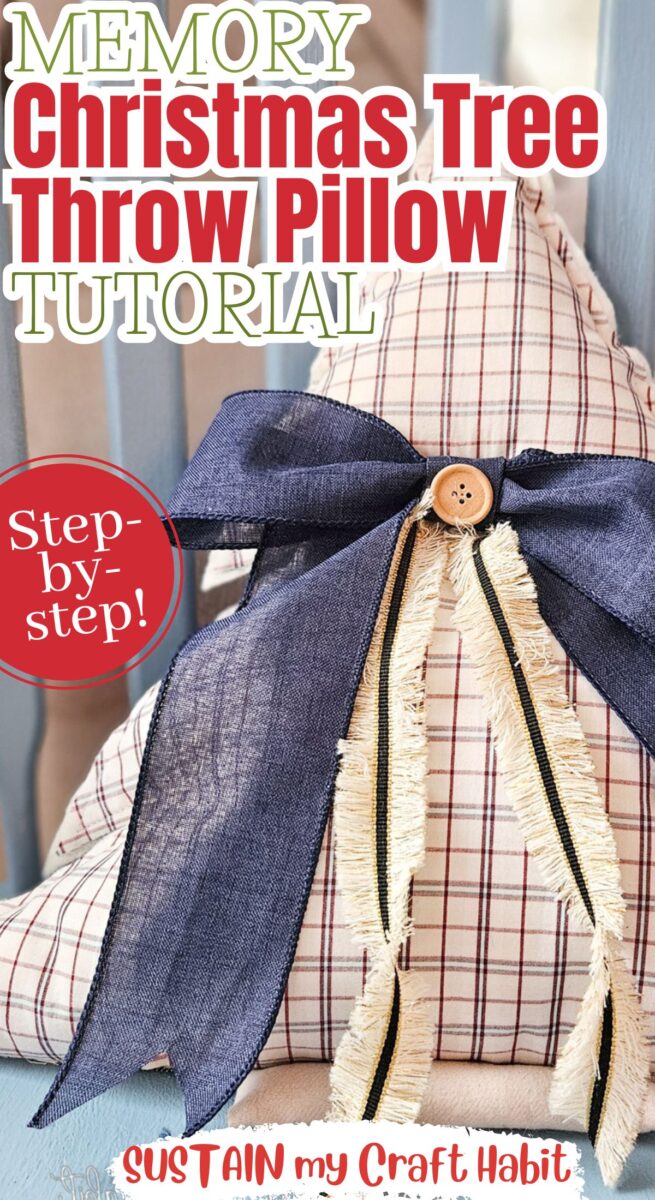
Perfect for honoring a special memory or gifting to a family member, this sustainable sewing project brings comfort and love to your holiday home.
This step-by-step guide shows you how to upcycle a loved one’s button-up shirt into a beautiful, tree-shaped keepsake.
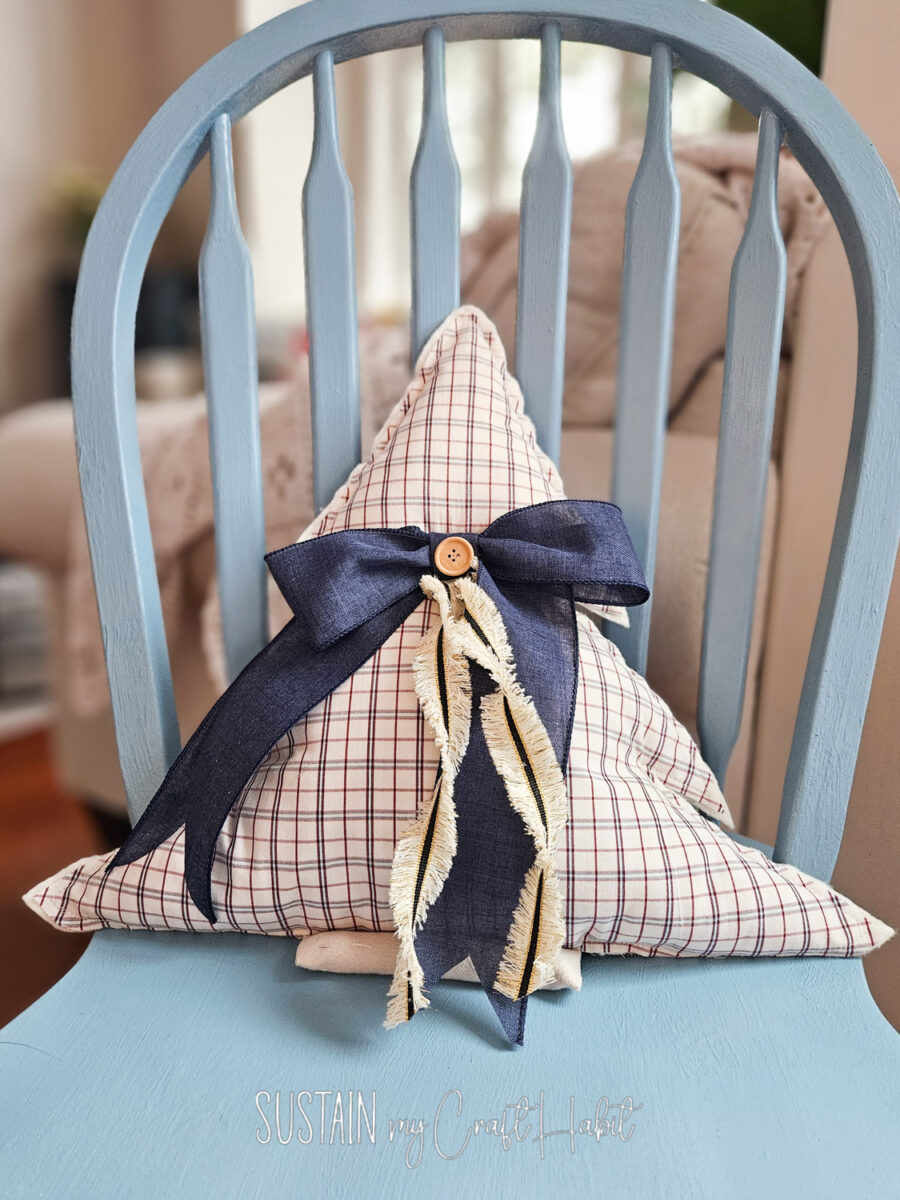
The holidays are a time for traditions, but they are also a time when we feel the absence of loved ones most deeply. Finding ways to keep their memory alive becomes a part of our seasonal rhythm.
Reasons to Love this DIY Memory Tree Pillow Project
- Perfect for honoring a special memory or gifting to a family member
- Uses fabrics from old clothing that have a sentimental meaning
- Budget-friendly with basic sewing supplies and upcycled clothing
- Full step-by-step photo tutorial that beginner sewers can follow
Let’s stay in touch! Subscribe for our latest sewing patterns, tutorials and tips.
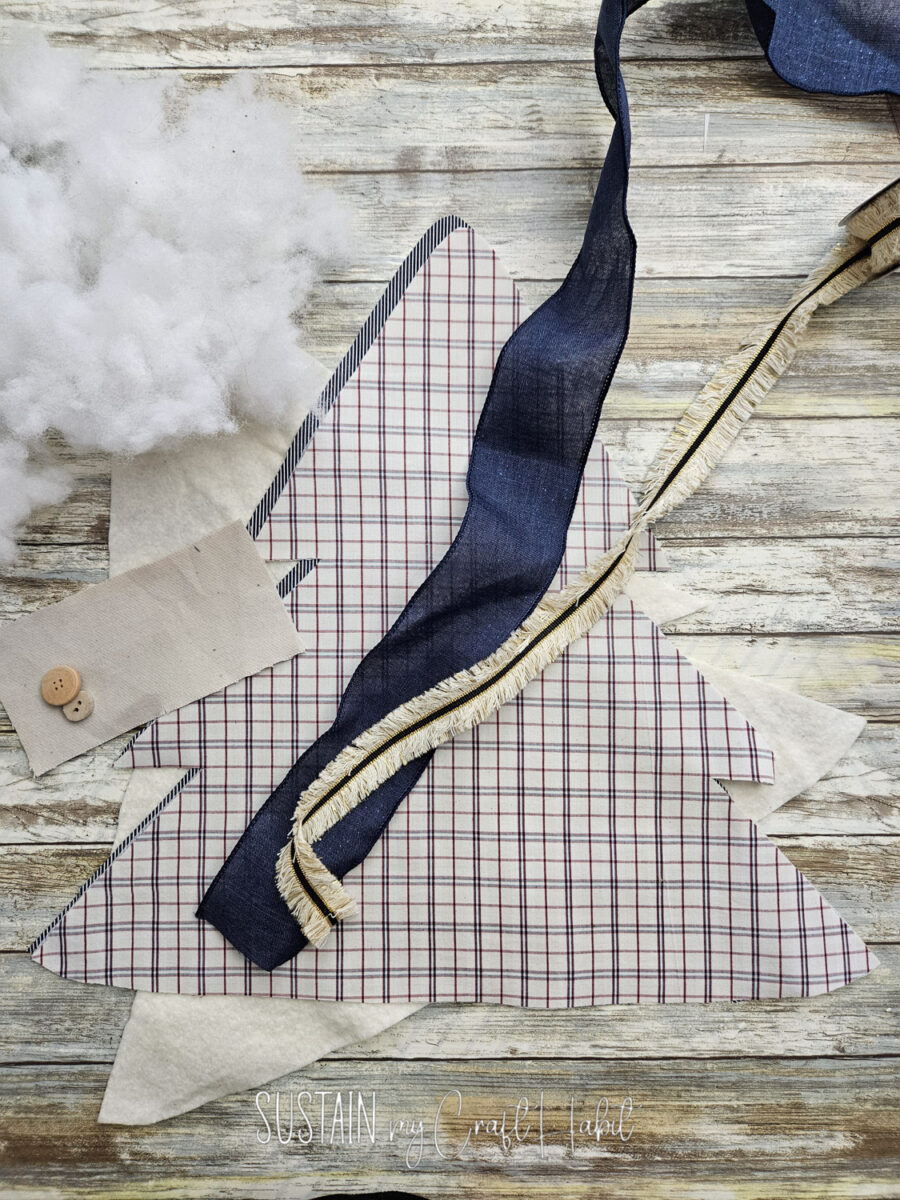
Materials Needed
- Printable Memory Tree Pillow Pattern
- Sewing machine and matching thread
- Old button-up shirts made from medium weight woven fabrics such as poplin, broadcloth, flannel
- Cotton badding
- Buttons – one 1” diameter and another 1/2″ diameter
- Ribbons – 1.5” wide ribbon and 1” wide ribbon
- Polyfill
- Lightweight Fusible interfacing (when working with older, well-worn shirts, the fabric can sometimes be thin. To ensure your tree keeps its crisp shape, I recommend ironing a lightweight fusible interfacing to the back of the shirt pieces before sewing.)
How to Make a Memory Tree Throw Pillow
Cutting
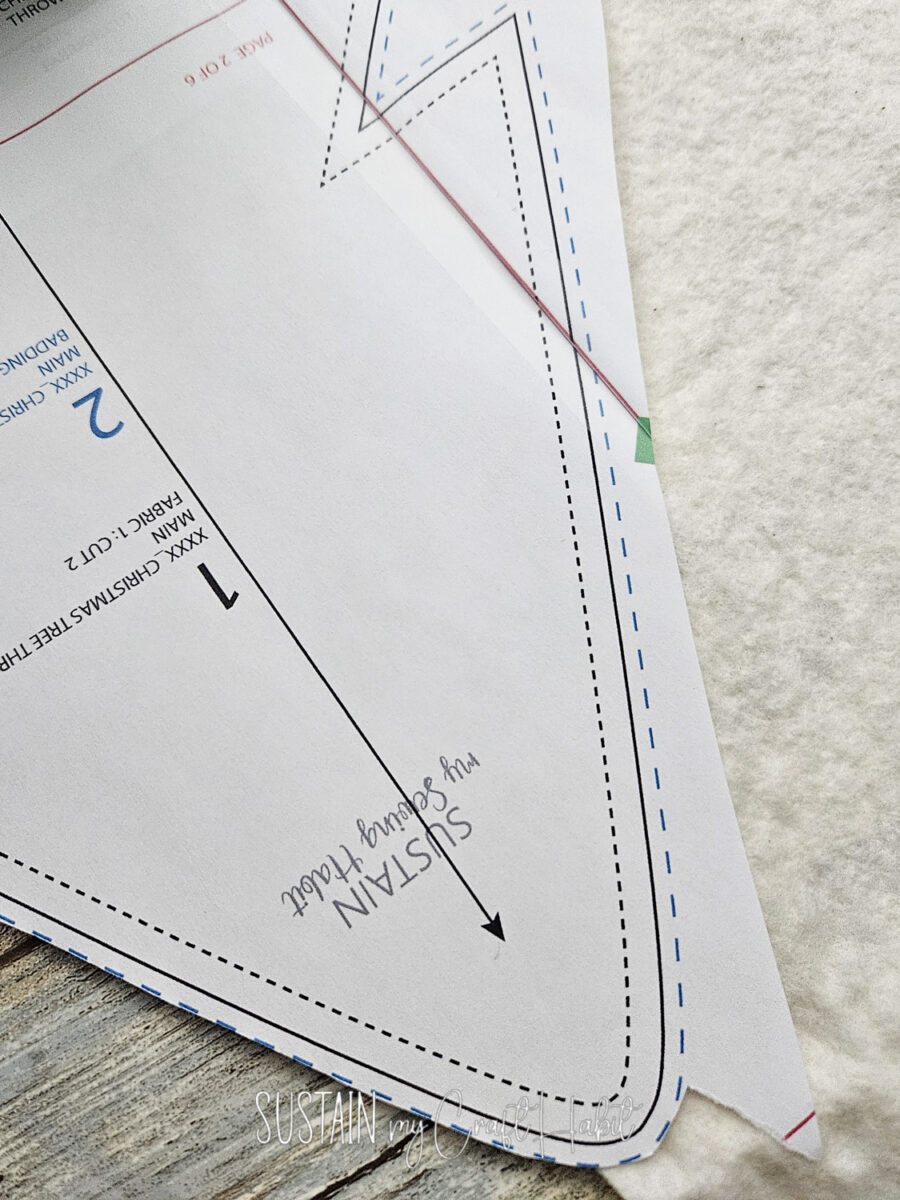
Send the memory pillow pattern pdf file to print maintaining the scale as is and once printed tape all the connecting red borders together to form a complete pattern.
Lay the paper pattern pieces on top of the fabric, aligning the grainline of the fabric with the arrow on the pattern.
Cut around the solid line of the pattern (the dash / dotted lines represent the sewing lines). Refer to the pattern piece for the required amount of layers for each piece.
Sewing
FOLD STUMP (3) piece in half lengthwise with RIGHT sides together so that the double notches match.
Stitch the short ends with a 1/4” seam allowance.
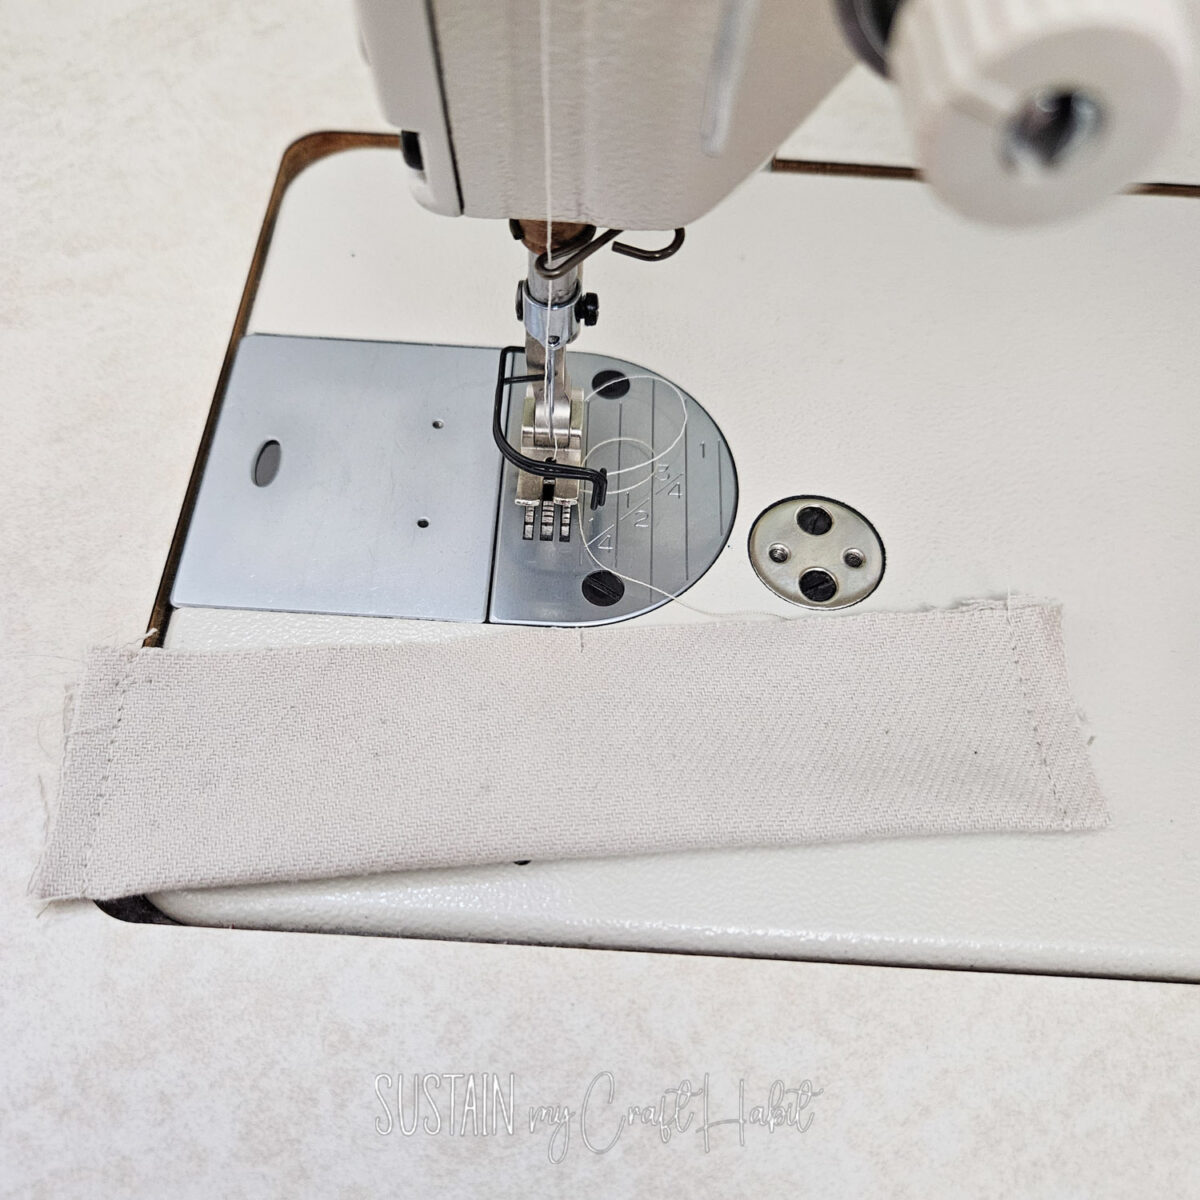
Turn stump piece RIGHT side out, poking out the corners.
Gently stuff the tree stump piece with polyfill and baste stitch the open edge closed.
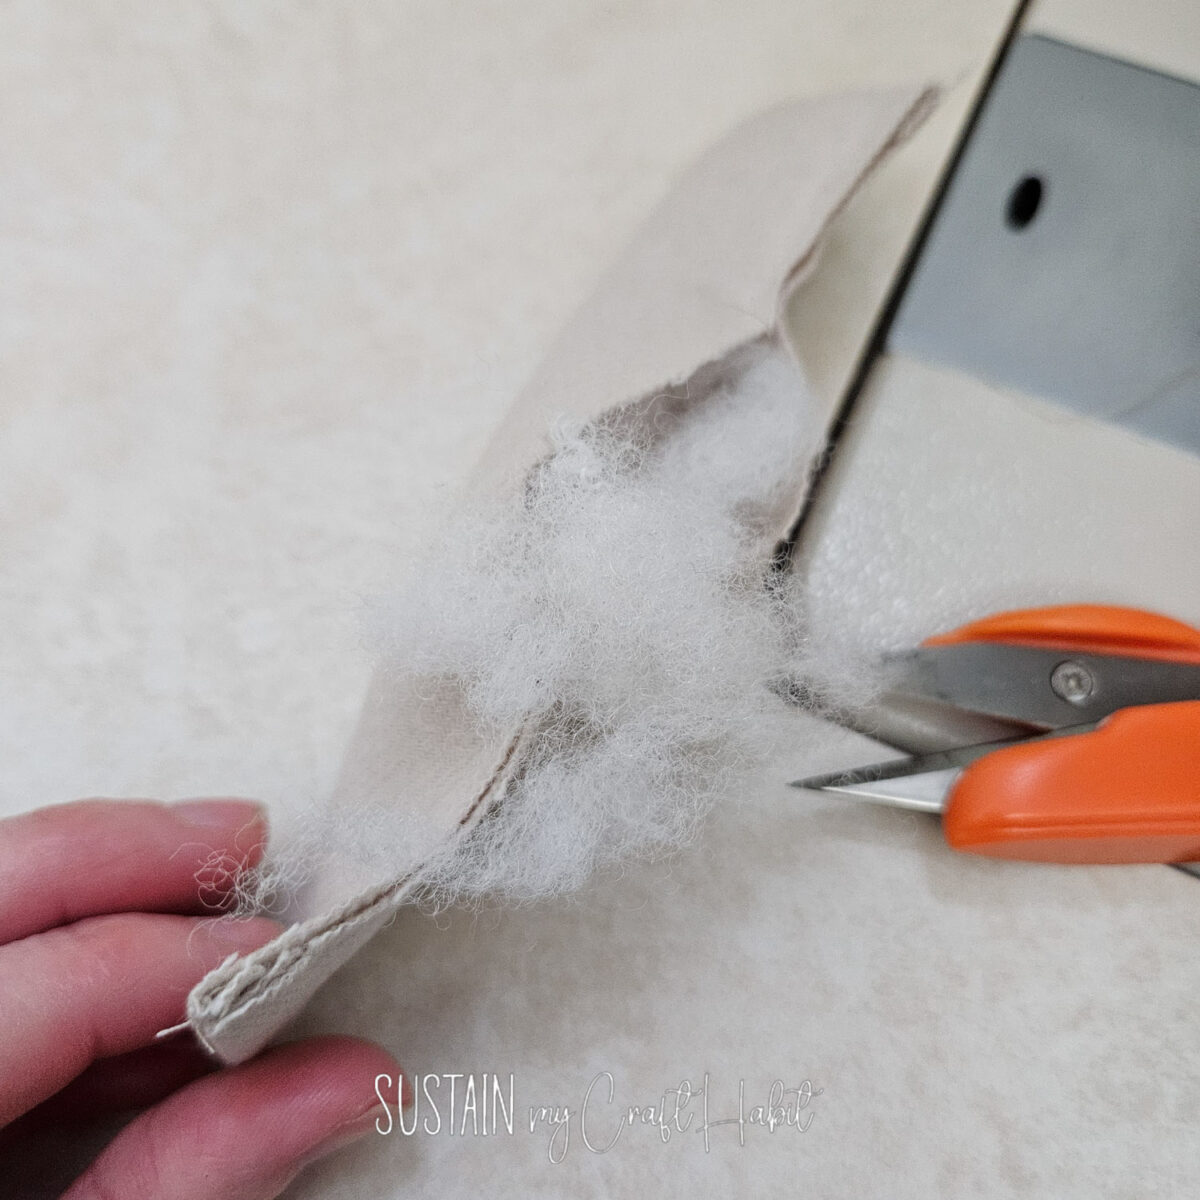
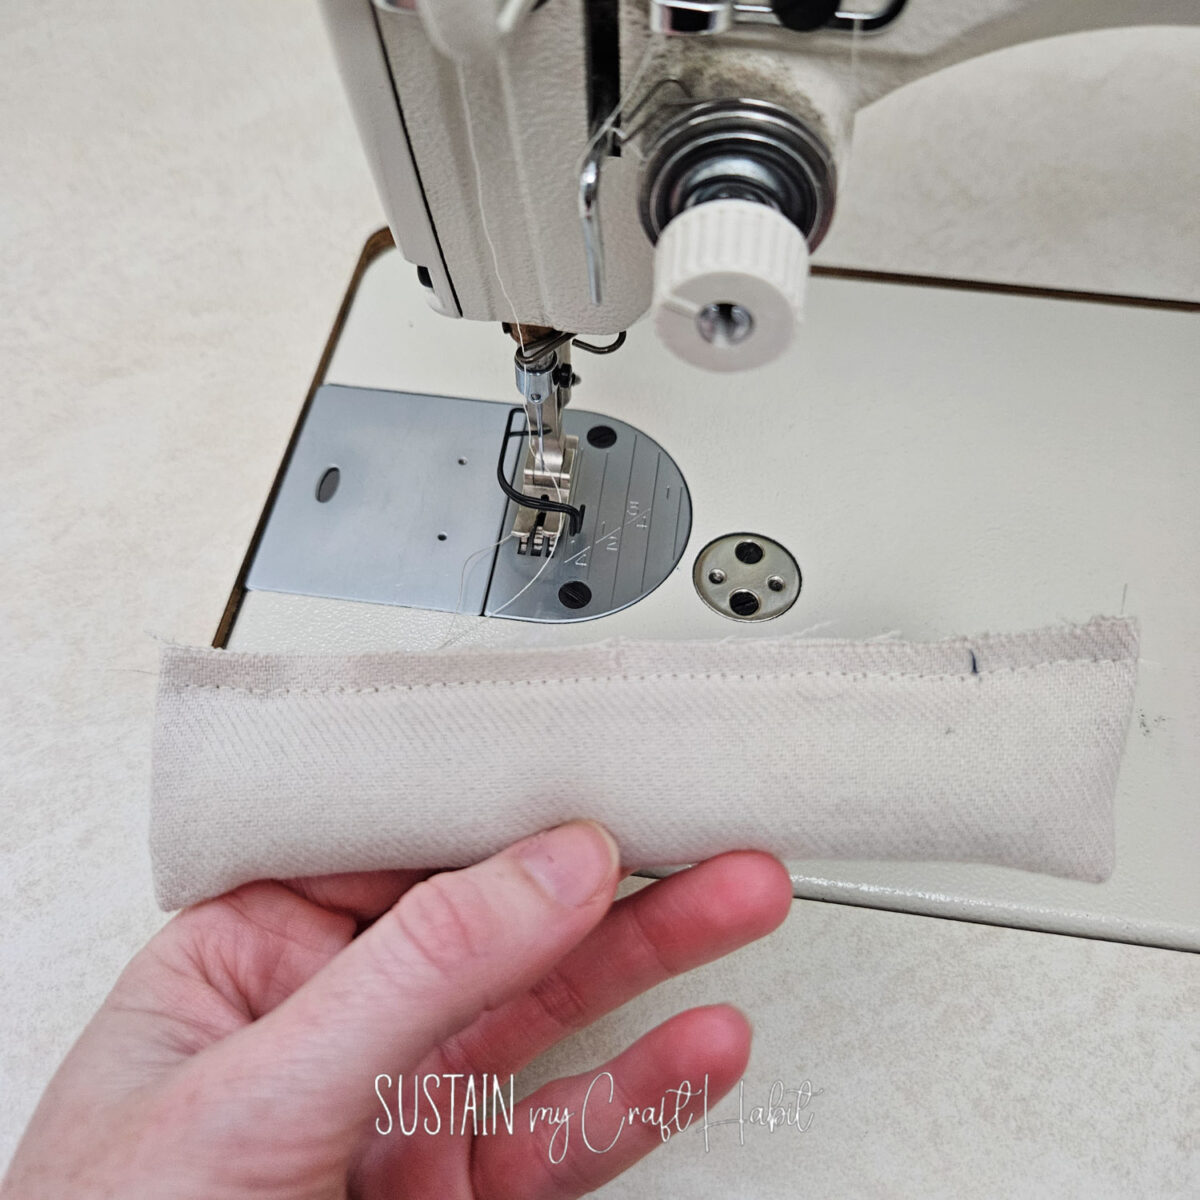
POSITION the MAIN PADDING (2) piece behind one of the MAIN (1) pieces with the right side of the main fabric facing out.
ALIGN the double notches of the prepared tree stump piece with the bottom of the main piece and stitch together with a 1/4“ seam allowance.
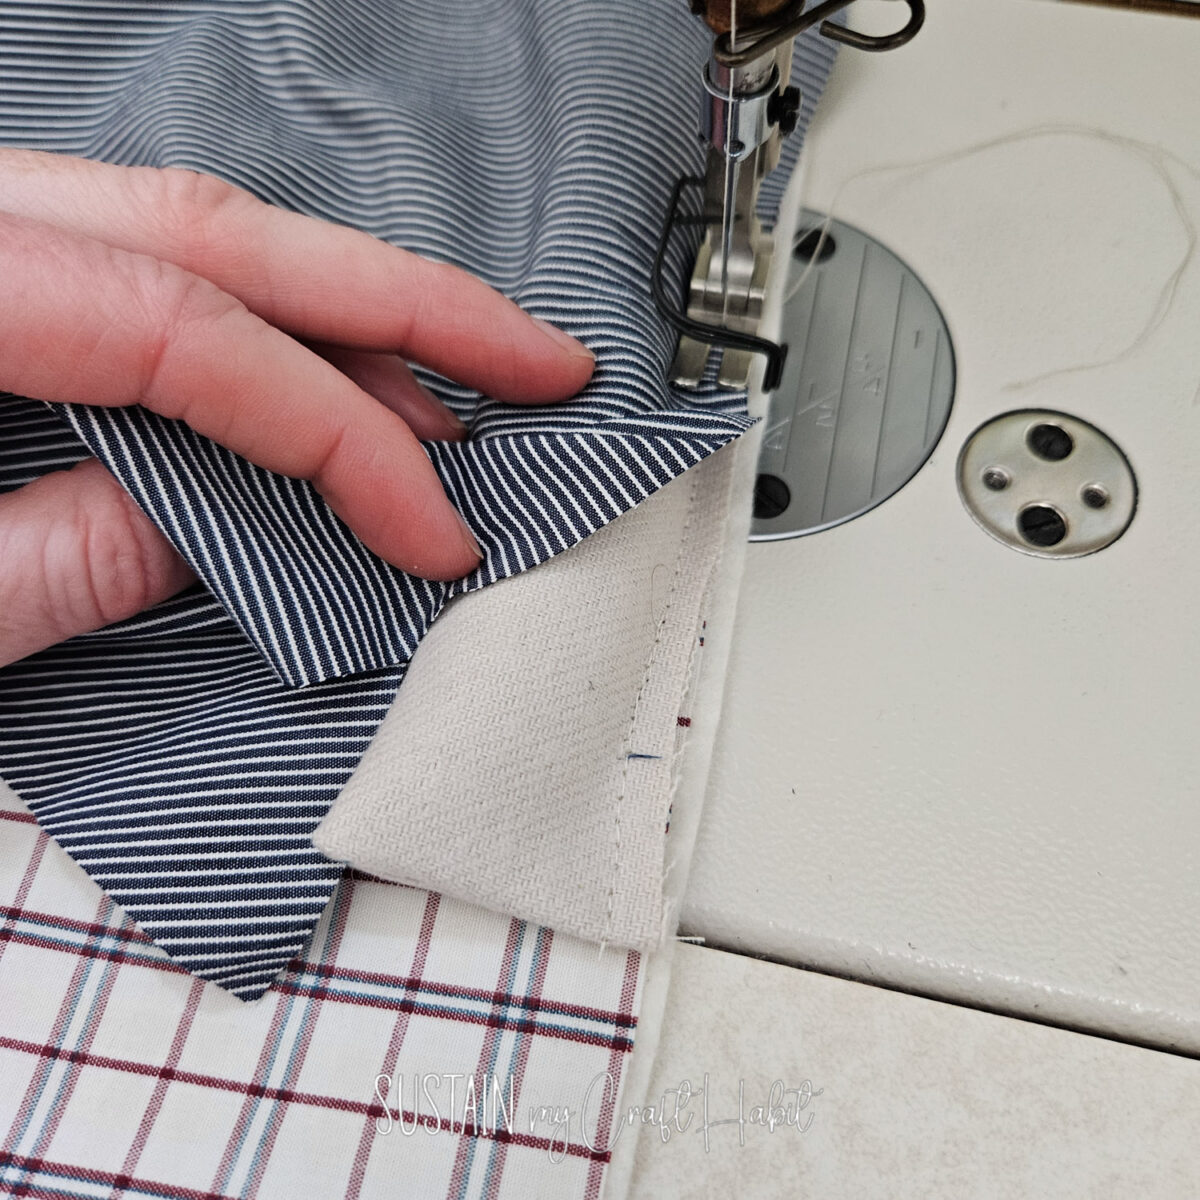
CLIP the seam allowance at the ends of the tree stump and turn tree stump piece away from main piece, folding the seam allowance up in towards the main piece.
LAYER the other MAIN piece with RIGHT side of fabric facing out, sandwiching the padding layer in between.
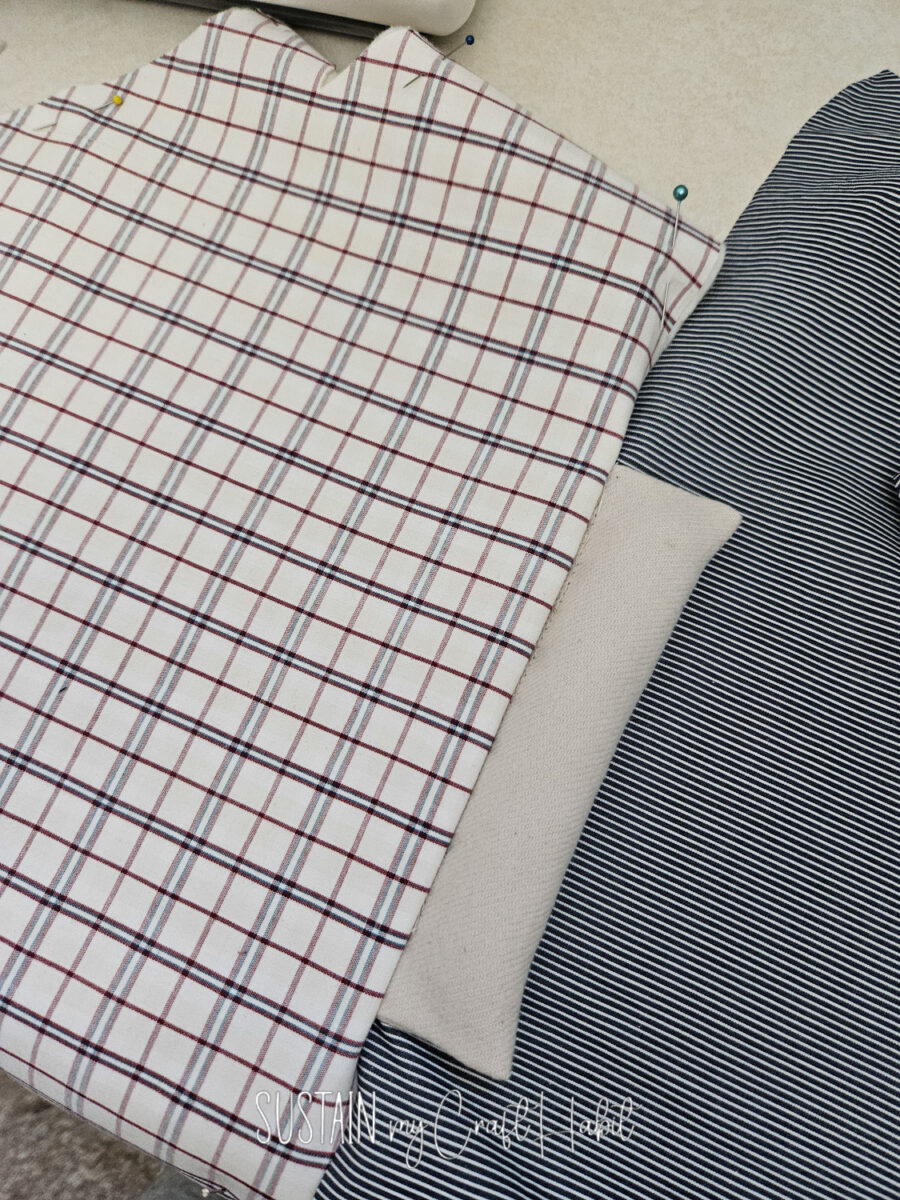
Pin all layers together along the outer edges.
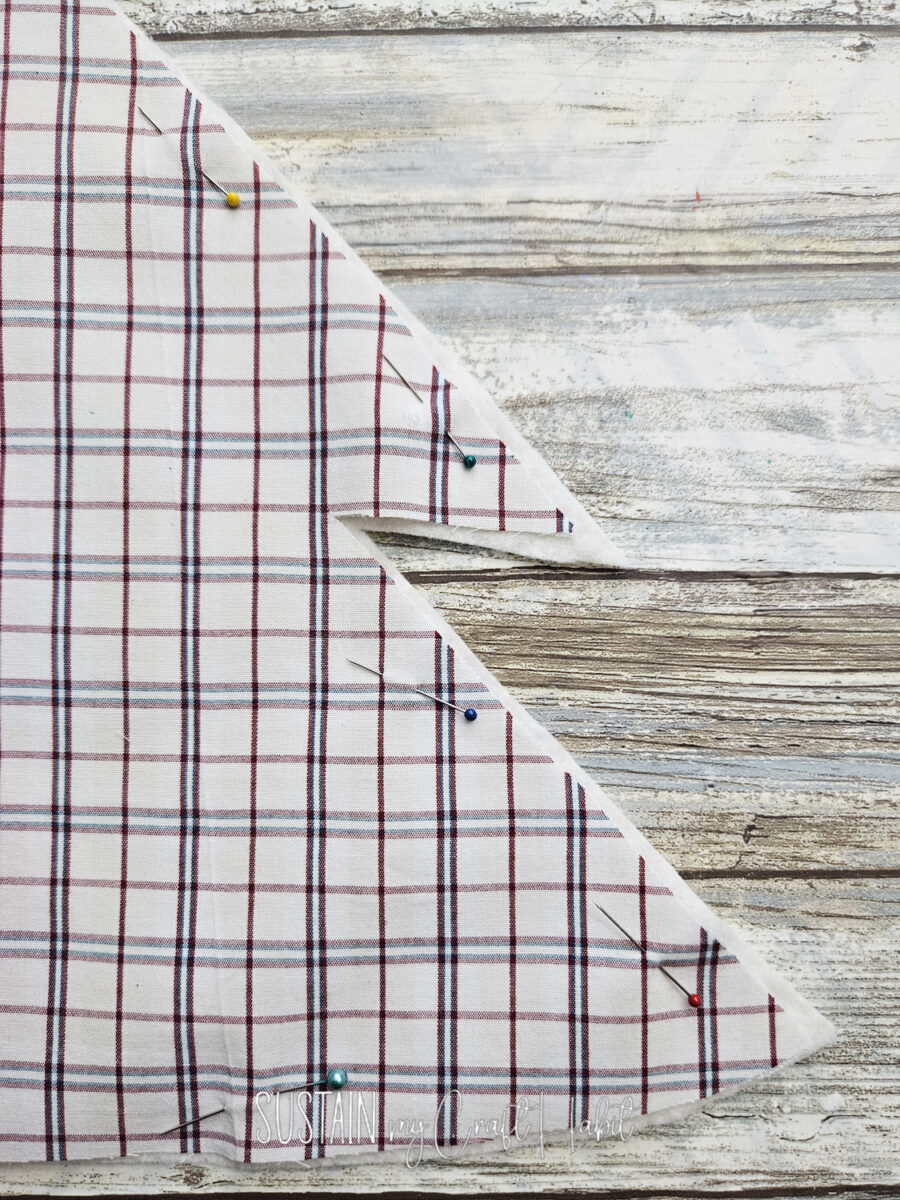
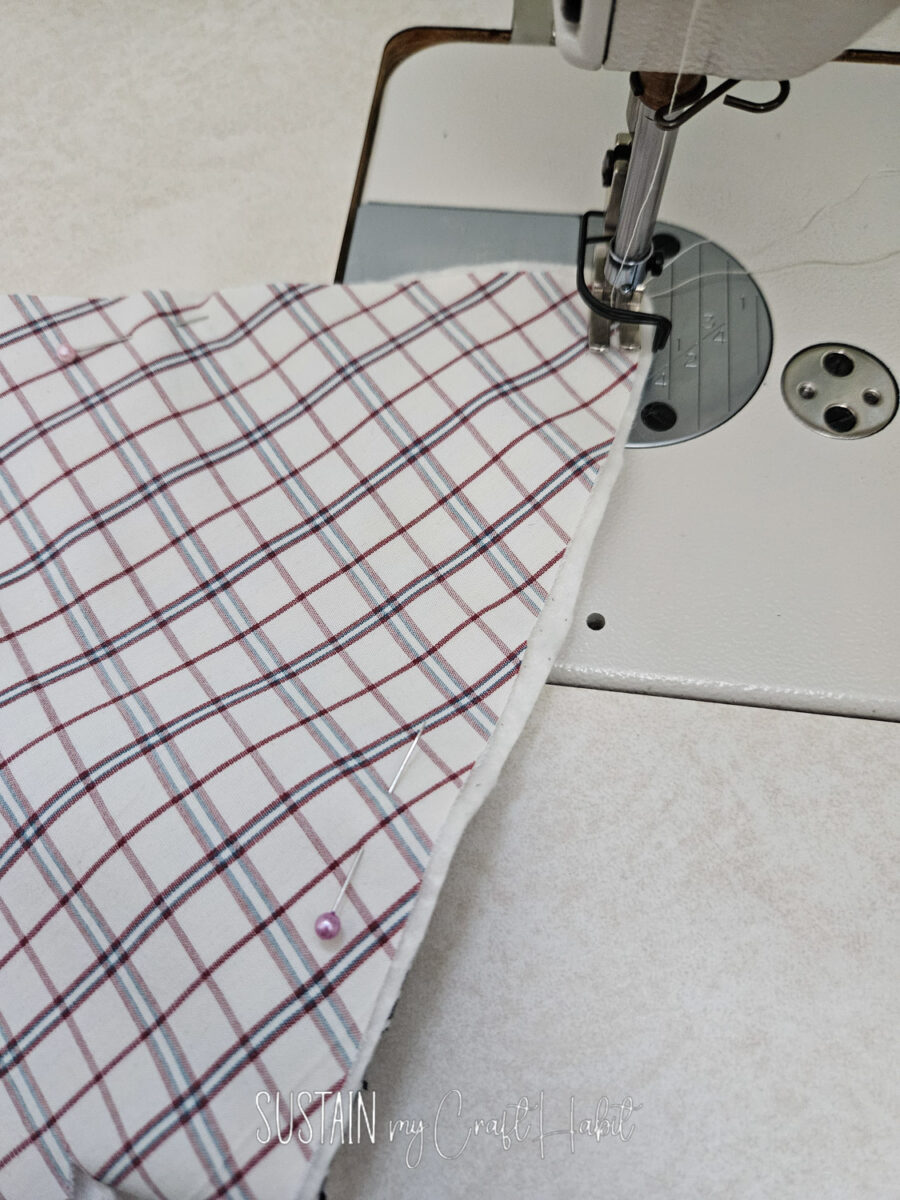
STITCH all layers together around the edge with a 1/4” seam allowance. Leave a 3“ gap opening at the bottom.
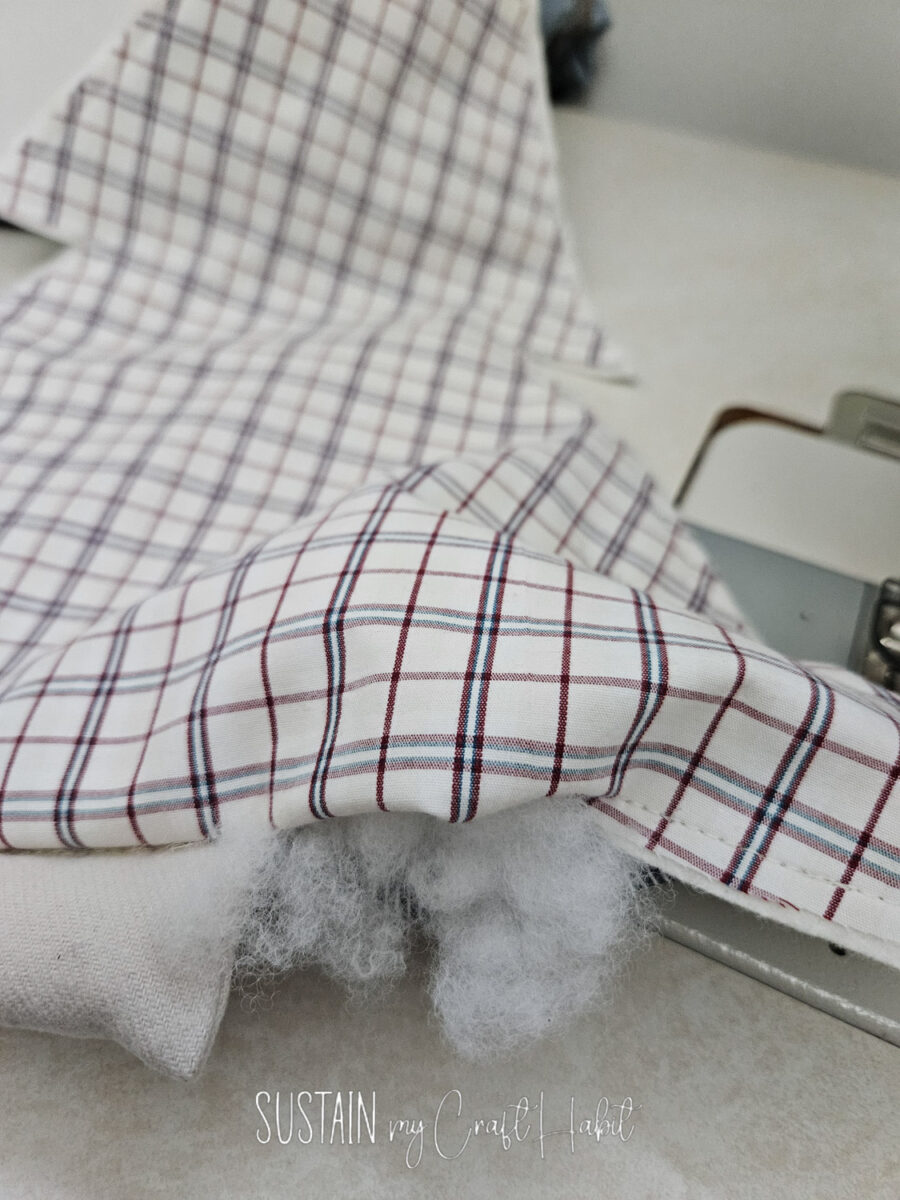
Gently stuff the tree with polyfill until desired fullness is achieved.
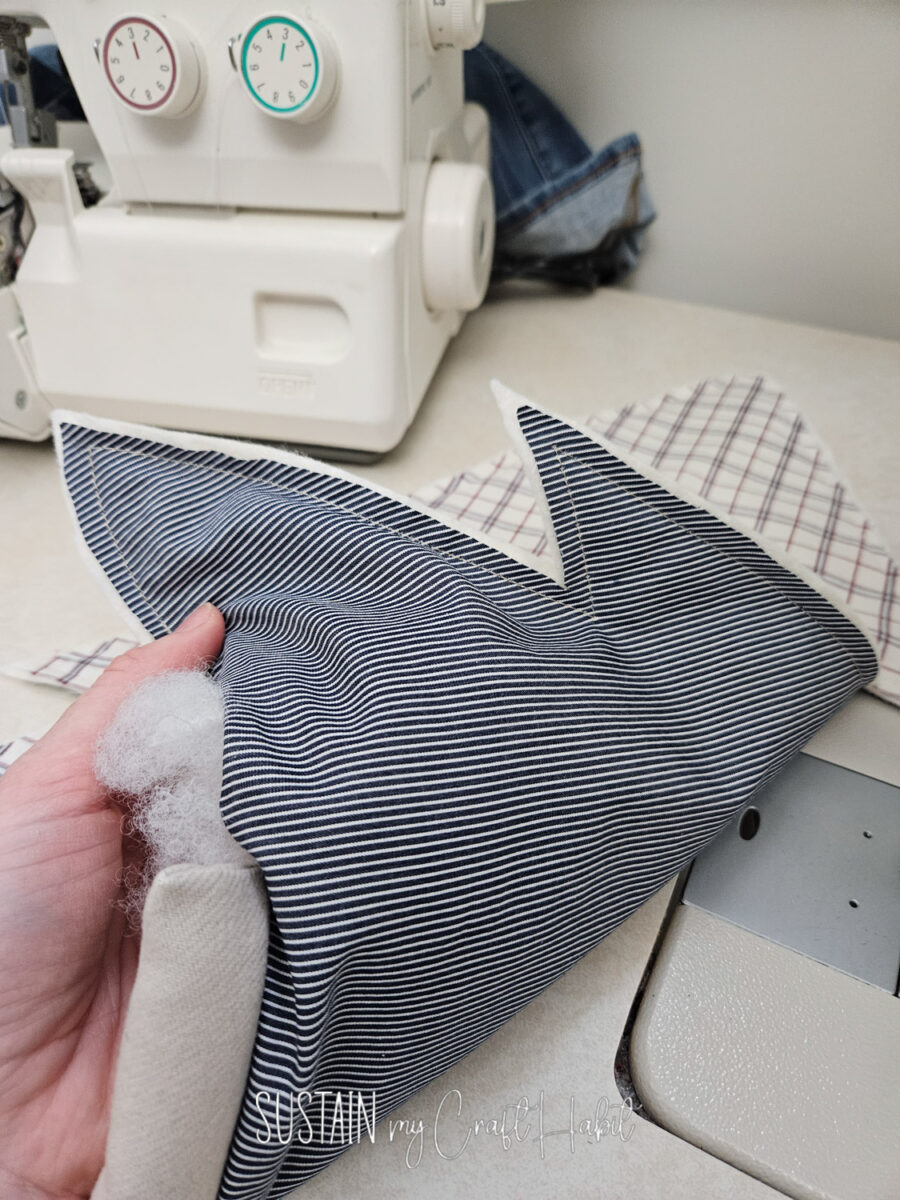
Stitch the gap opening closed with a 1/4” seam allowance.
Finishing
Thread a sewing needle and stitch one button to the back side of the pillow at the marked circle. Stitch the button in place through all layers.
Create a large layered ribbon bow and fasten it to the front of the pillow at the same marked circle. If you need help with making a decorative bow with ribbon, check out our posts here –
Attach larger button to the center of the bow to complete the memory tree pillow.
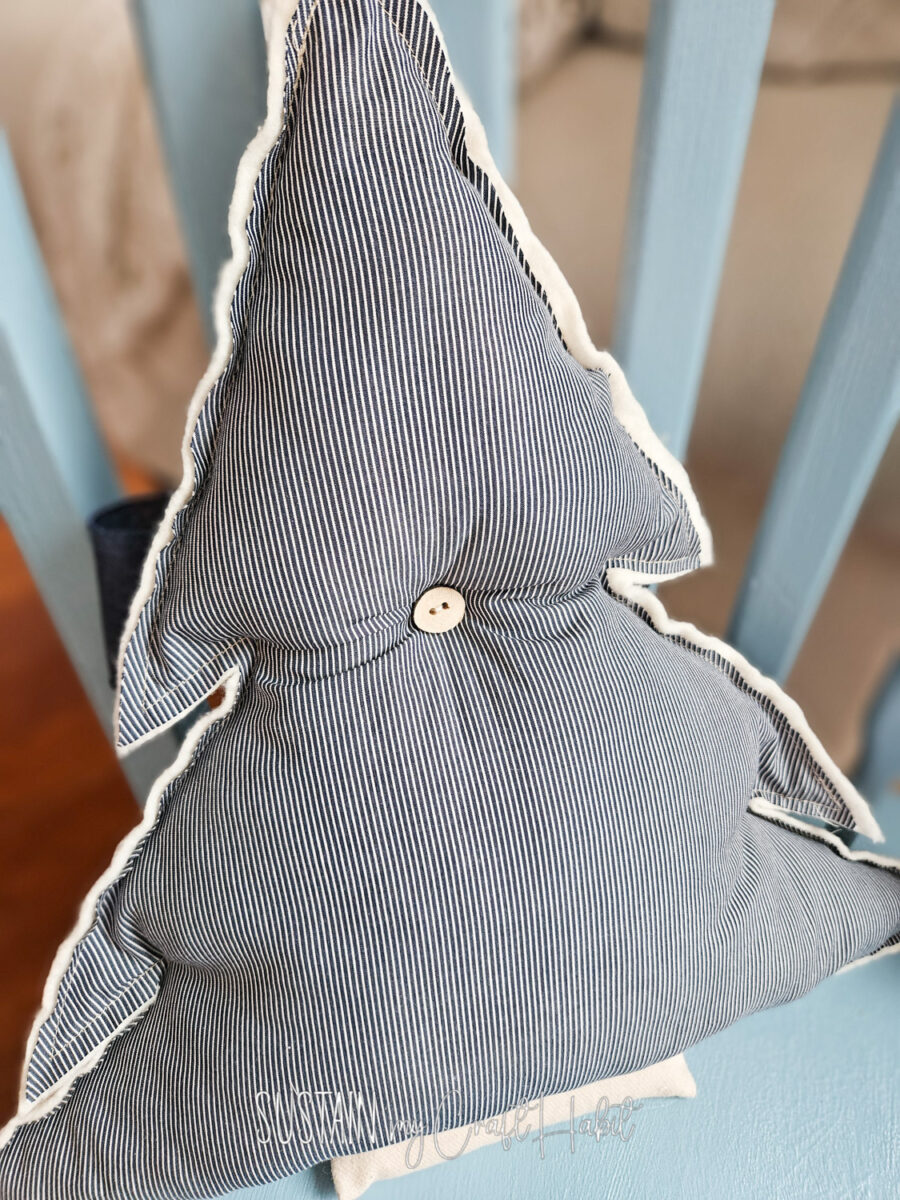
Whether you place it on your favorite armchair or gift it to a sibling, this pillow serves as a soft, comforting reminder that love is never truly lost.
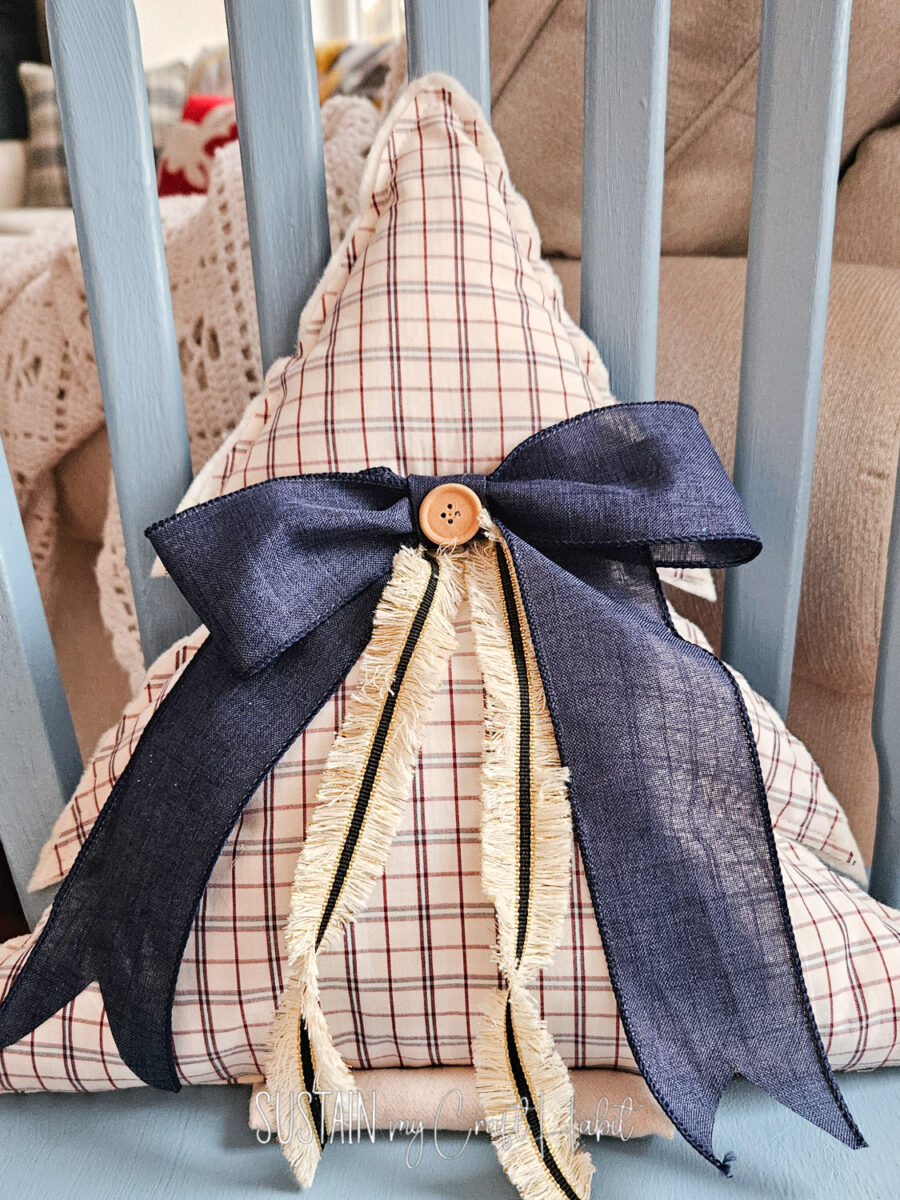
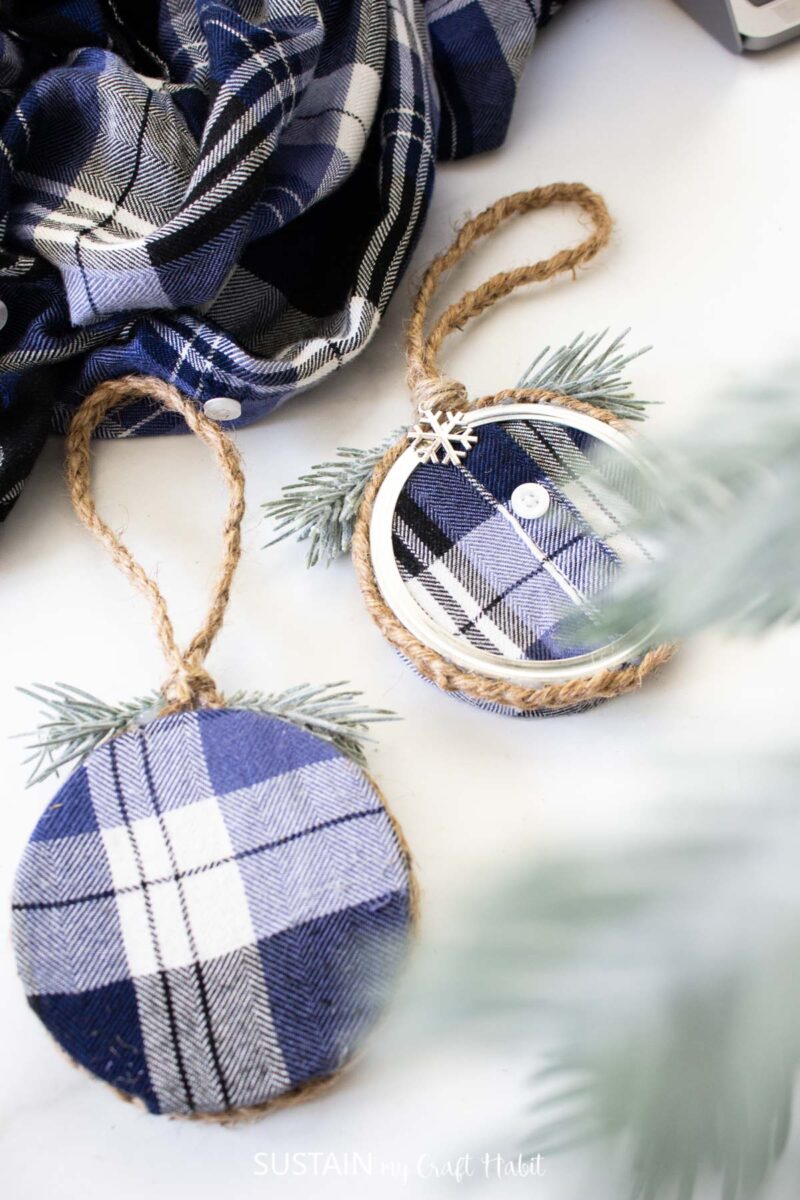
If you have leftover fabric from the sleeves, they are the perfect size for making our keepsake ornaments

Fabric & Memory Options
By upcycling a favorite flannel or a well-worn button-up shirt into a simple, elegant tree shape, you create a tangible connection to a memory.
In our case, our dad loved wearing button-up shirts with pockets for any and all ocassions. But the style of shirt can create a truly personal touch, consider these styling options:
- Use Flannels & Plaids to create a classic, cozy, rustic holiday look.
- Work Shirts: Using a uniform or a denim shirt adds an element of personal history.
Pro Tip: Mixing textures makes the tree feel layered and cozy.
Colour & Style Ideas
- Go traditional with red and green and white colored shirts.
- For a boho style, choose neutral linen with white colored shirts.
- Or for a more modern Christmas, go with solids and soft pastels.
Personalizing the Keepsake Tree Pillow
Some other ways to add an extra layer of personalization to the memory tree pillow include:
- Adding an embroidered label or tag that says something “Always in our Hearts”.
- Incorporating the shirt pocket into the design to hold a small photo or a handwritten note.
- Tucking in a dried lavender or sprig of cedar in to the bow for a sensory memory.
Memory Into A Tradition
A memory tree pillow feels like décor you’ll actually keep, not just store away with the decorations. It’s simple to make, personal by design, and meaningful without being complicated.
Once you’ve made one, it’s hard not to plan another for gifts, family members, or different rooms in the house.
Download our Free Christmas Tree Pillow Template!
More Memorial Sewing Ideas
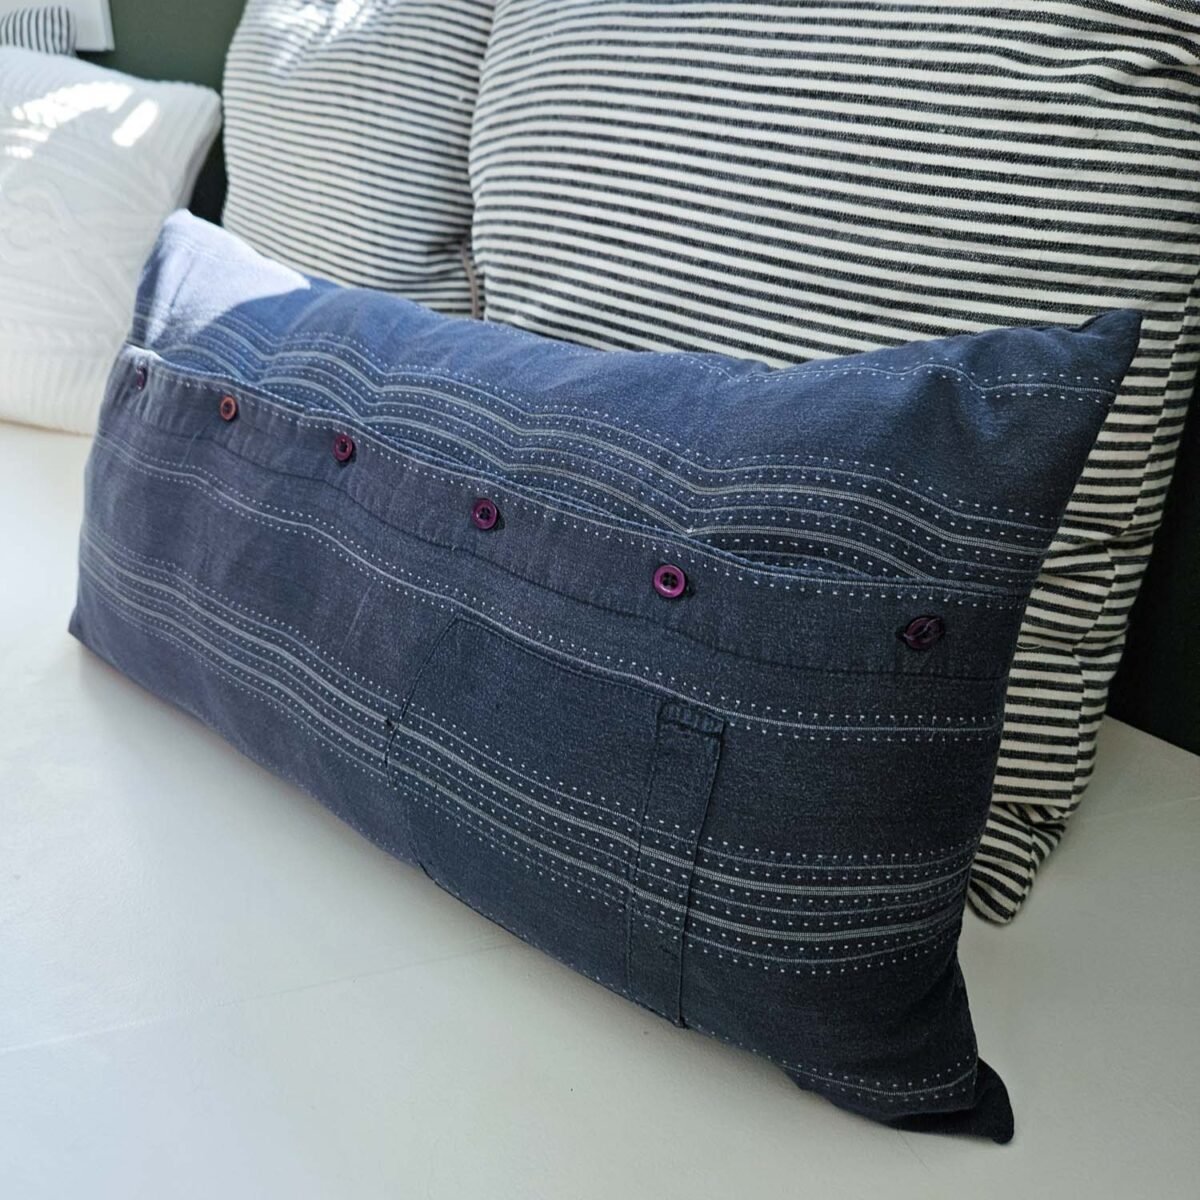
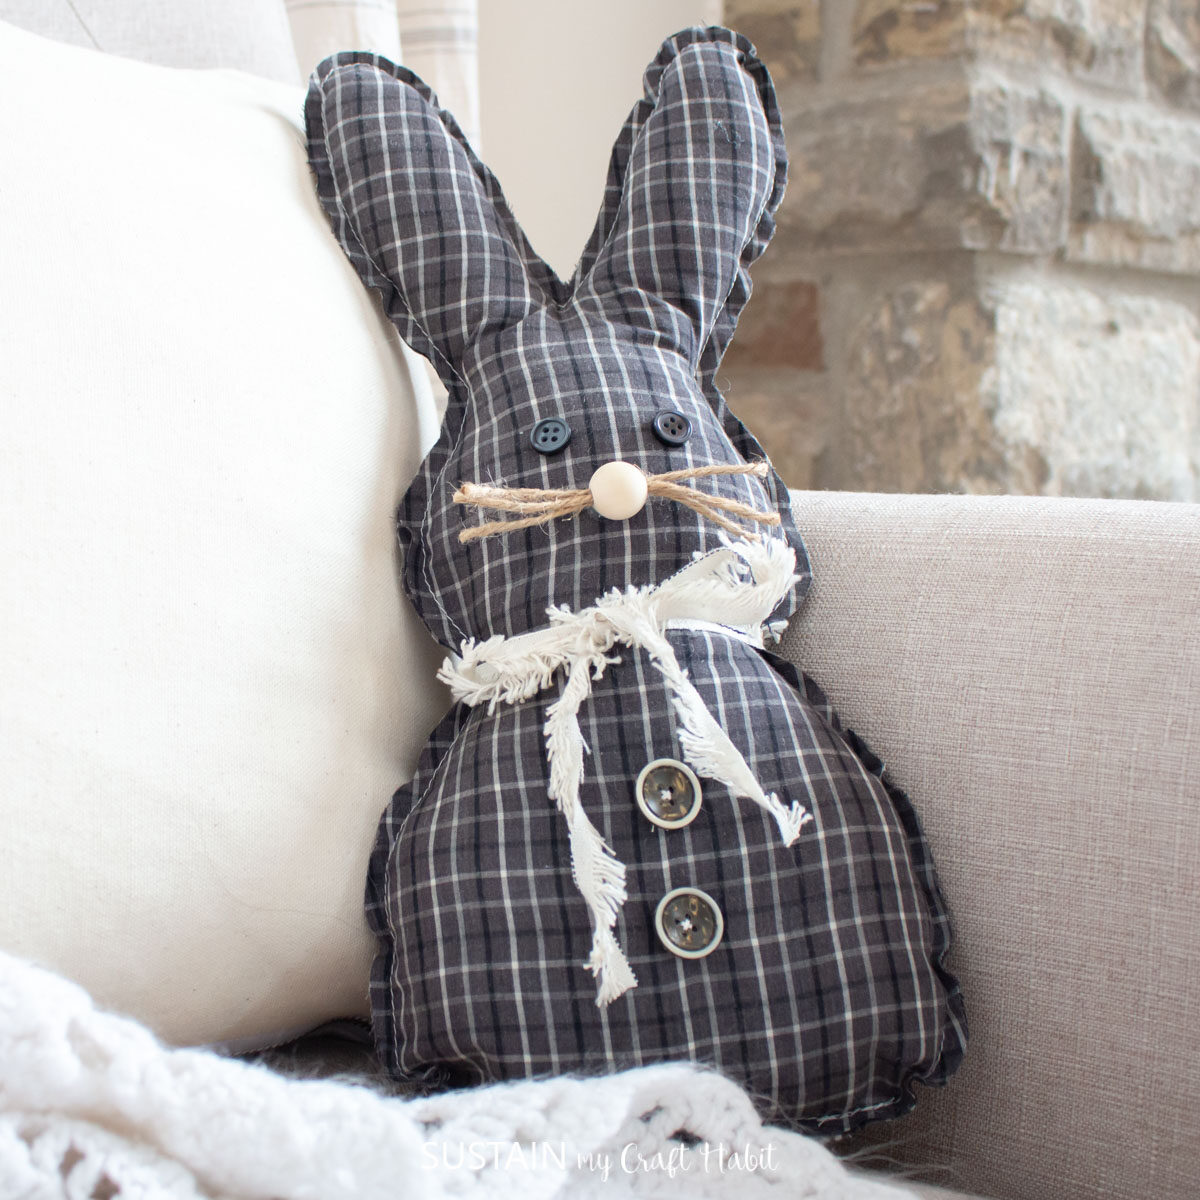

Join our crafting community to find more DIYs and upcycled craft ideas. It feels good to repurpose and upcycle!
Like it? Pin for later!
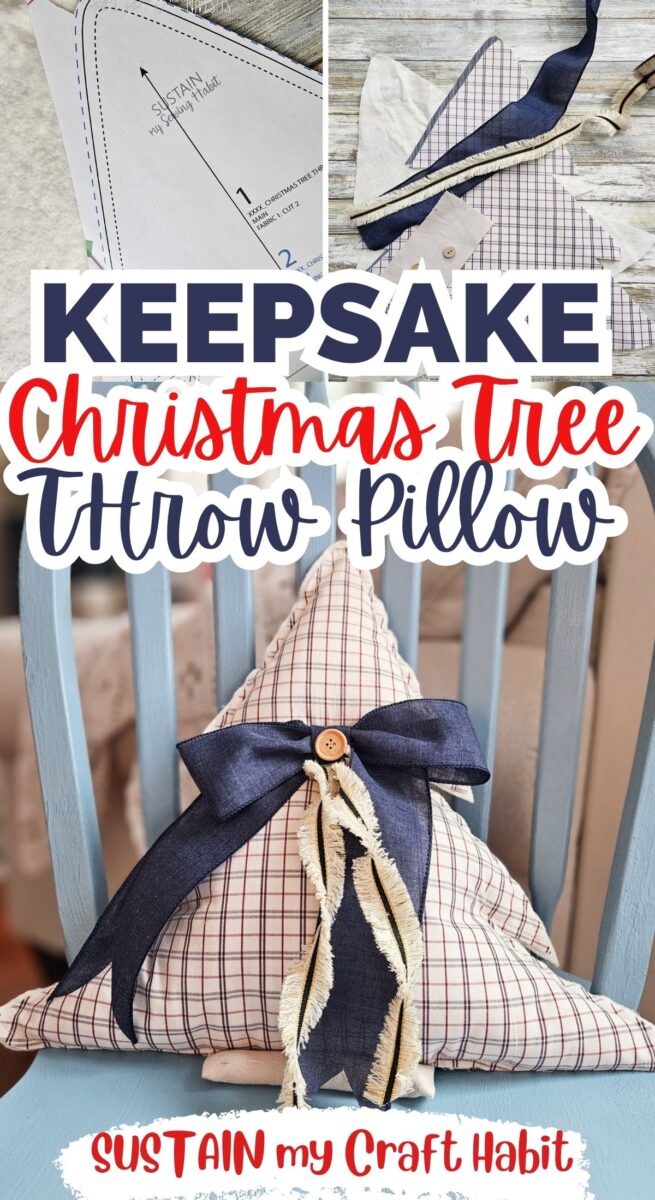

Memory Christmas Tree Throw Pillow
Materials
- Printable Pattern
- Medium weight woven fabrics such as poplin, broadcloth, flannel
- Cotton Badding;
- 1" D button
- 1/2" D button
- 1.5" W ribbon
- 1" wide ribbon
- Polyfill
- Lightweight Fusible interfacing as needed
Instructions
- FOLD STUMP (3) piece in half lengthwise with RIGHT sides together so that the double notches match.
- Stitch the short ends with a 1/4” seam allowance.
- Turn stump piece RIGHT side out, poking out the corners.
- Gently stuff the tree stump piece with polyfill and baste stitch the open edge closed.
- POSITION the MAIN PADDING (2) piece behind one of the MAIN (1) pieces with the right side of the main fabric facing out.
- ALIGN the double notches of the prepared tree stump piece with the bottom of the main piece and stitch together with a 1/4“ seam allowance.
- CLIP the seam allowance at the ends of the tree stump and turn tree stump piece away from main piece, folding the seam allowance up in towards the main piece.
- LAYER the other MAIN piece with RIGHT side of fabric facing out, sandwiching the padding layer in between.
- Pin all layers together along the outer edges.
- STITCH all layers together around the edge with a 1/4” seam allowance. Leave a 3“ gap opening at the bottom.
- Gently stuff the tree with polyfill until desired fullness is achieved.
- Stitch the gap openign closed with a 1/4” seam allowance.
- Thread a sewing needle and stitch one button to the back side of the pillow at the marked circle. Stitch the button in place through all layers.
- Create a large layered ribbon bow and fasten it to the front of the pillow at the same marked circle.
- Attach larger button to center of bow to complete