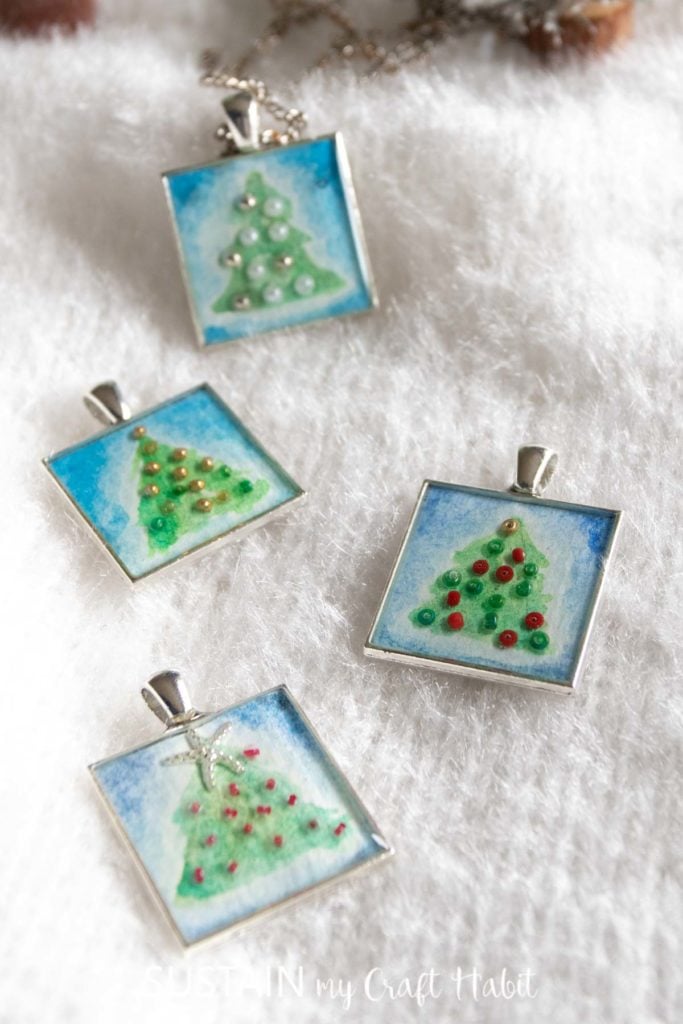
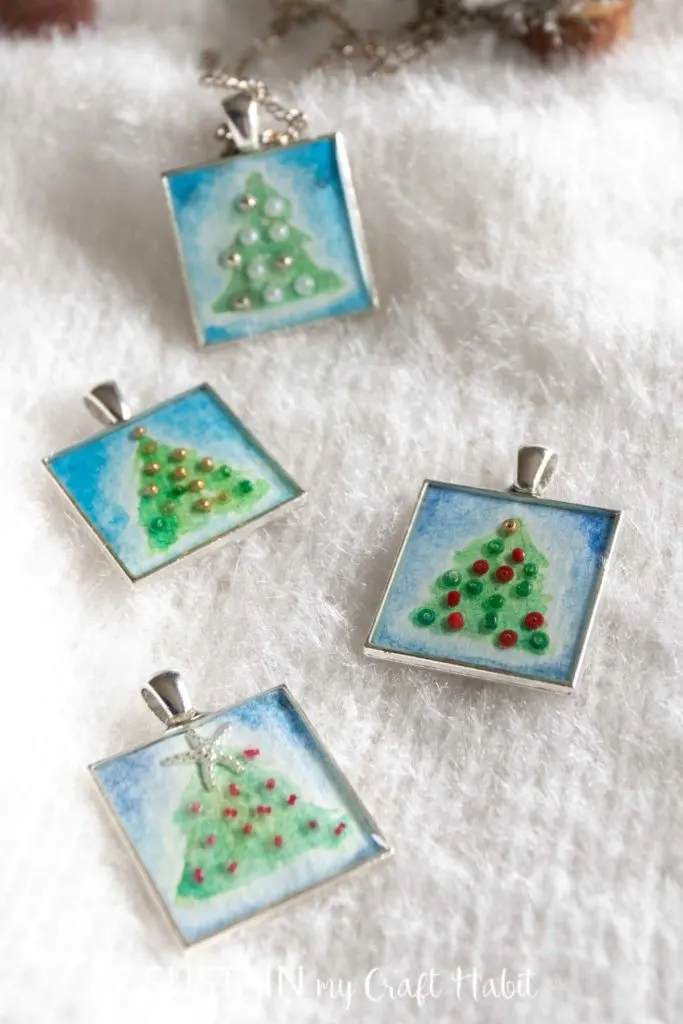
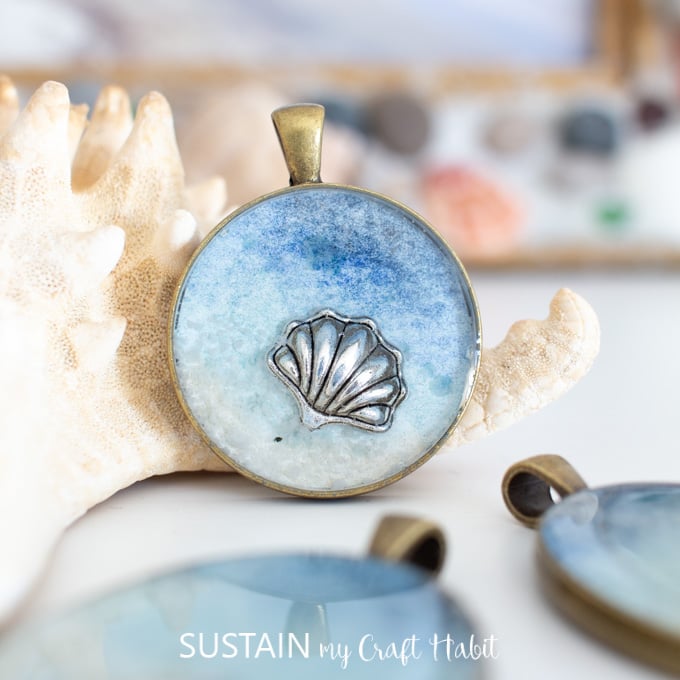
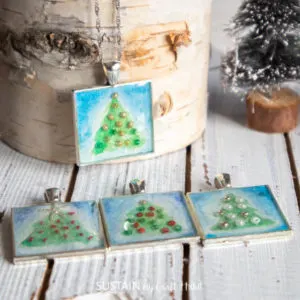
Hi friends! Today we’re sharing this step by step tutorial for making a festive resin pendant with a water colored Christmas tree and other small decorative embellishments.
Crafting a Resin Pendant for the Holidays
You don’t need to be a skilled water color artist to make these pretty pendants for Christmas. Although we’ve made a few water colors in past such as this Halloween spider web printable art, these water color painted pumpkin rocks and our holiday place cards; any newbie can master this Christmas tree picture with the instructions below.
The tutorial is very similar to these beachy jewelry pendants we previously made with resin. So if you enjoy this craft, you’ll also love making a Summer themed resin pendant too.

Materials Needed:
Disclosure: This post contains affiliate links for your shopping convenience. Should you choose to purchase through them, we will make a small commission at no extra cost to you. You can read our full disclosure policy here.
- Watercolor paper
- Watercolor paint and paint brush
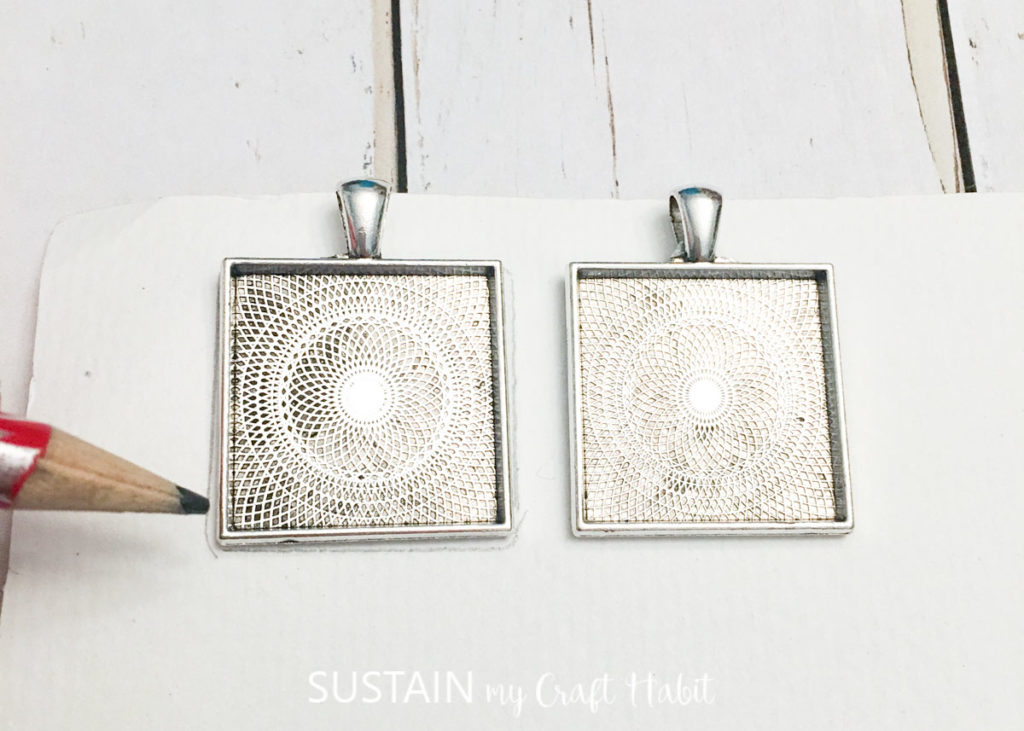
- Square silver jewelry bezels
- Water-based sealer such as Mod Podge
- Small seed beads and star-shaped charms
- EnvirotexLite Jewelry Resin
- Wooden craft sticks, small measuring cups, gloves
- Straw or kitchen torch
How to Make a Christmas Tree Resin Pendant:
Preparing the Pendants
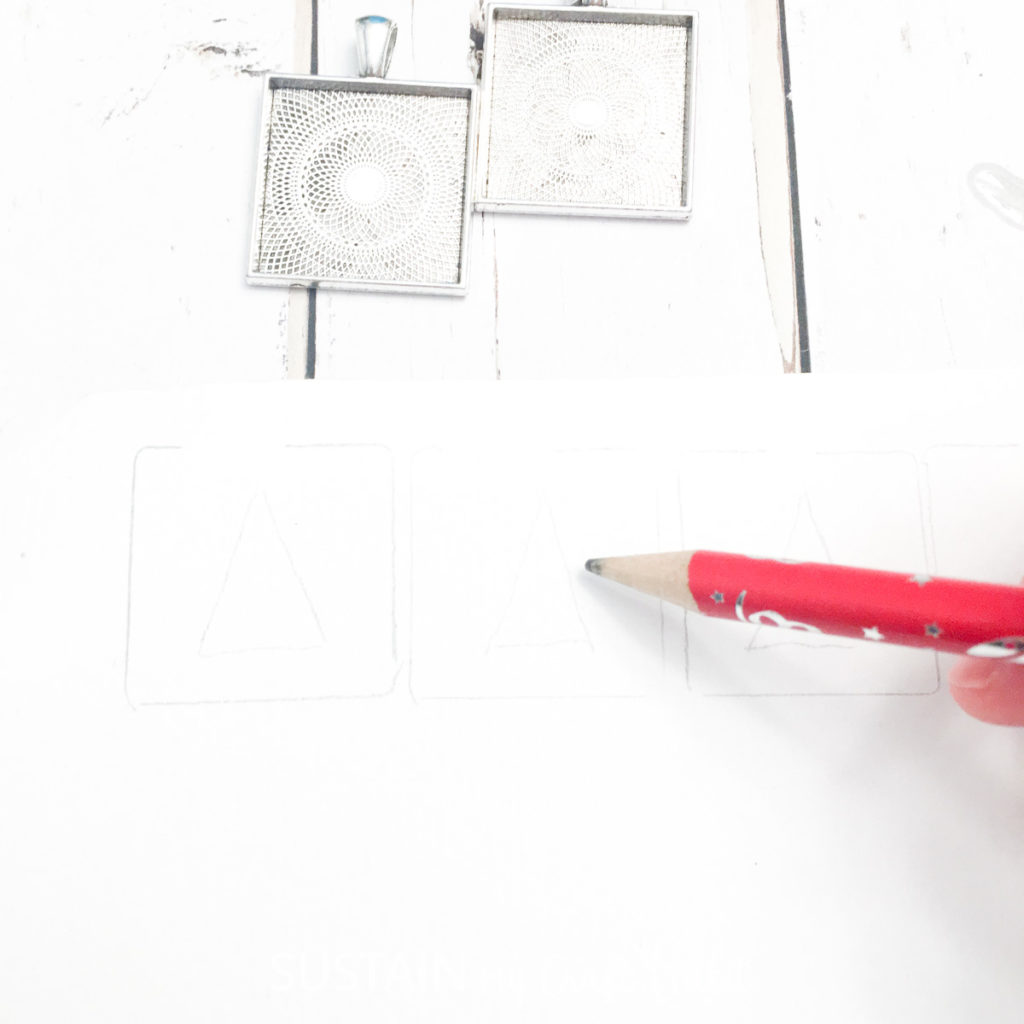
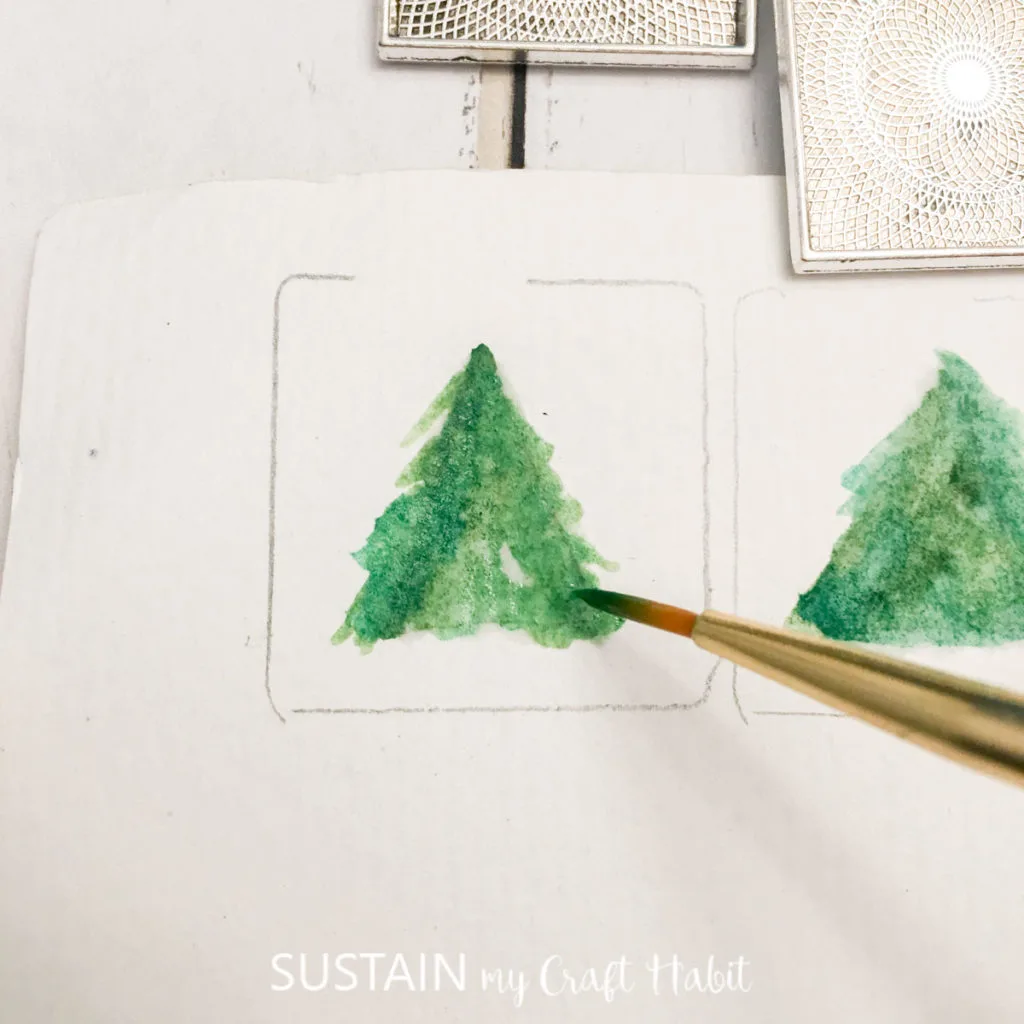
Trace your bezel onto watercolor paper with a pencil. Trace a small triangle in the center (this will be your Christmas tree).


Use various shades of green to create the trees in each square.
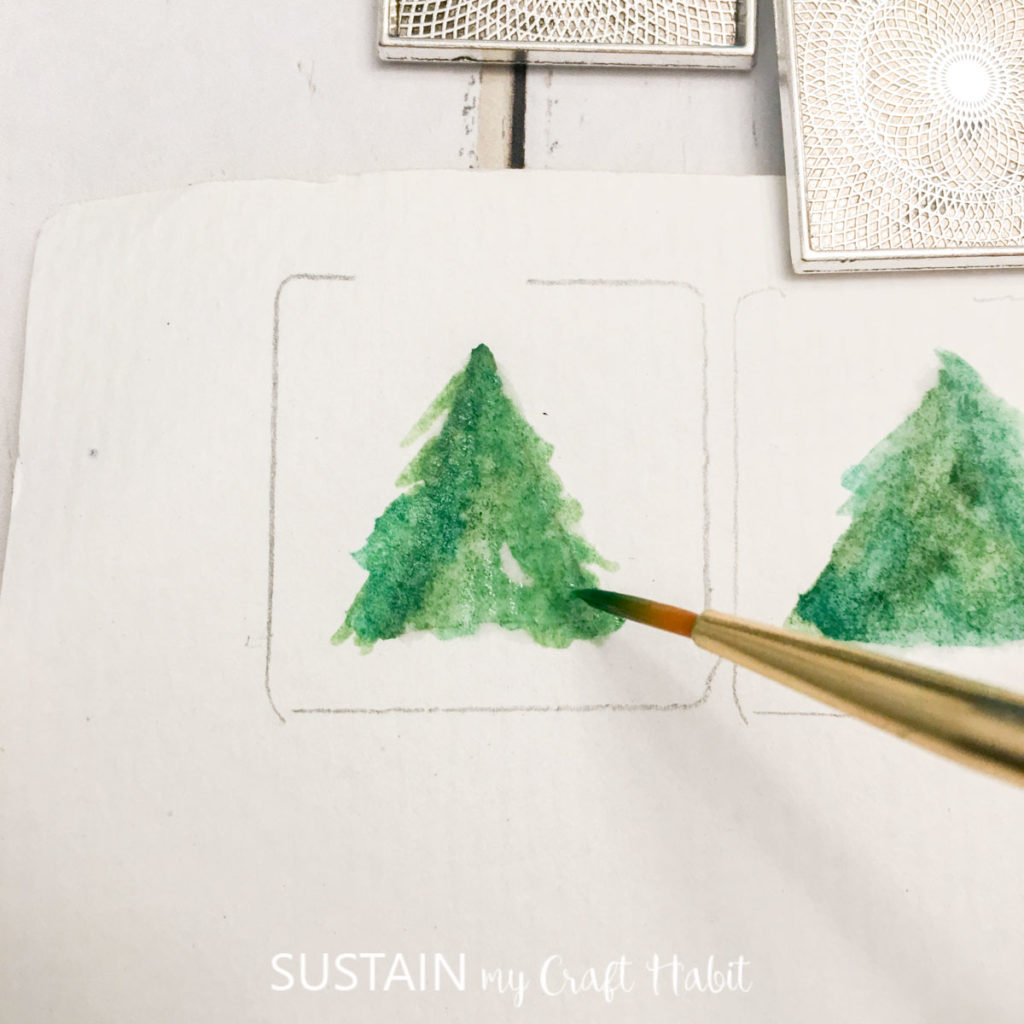
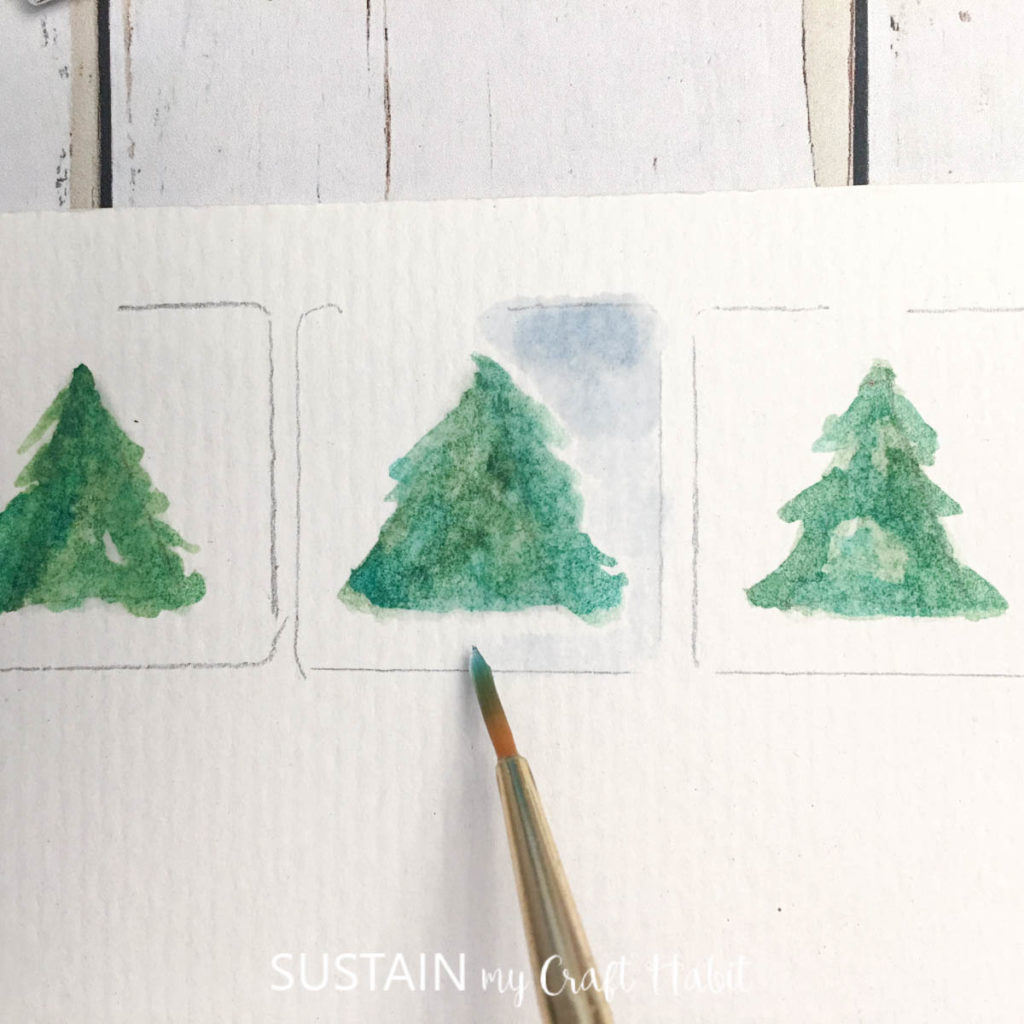
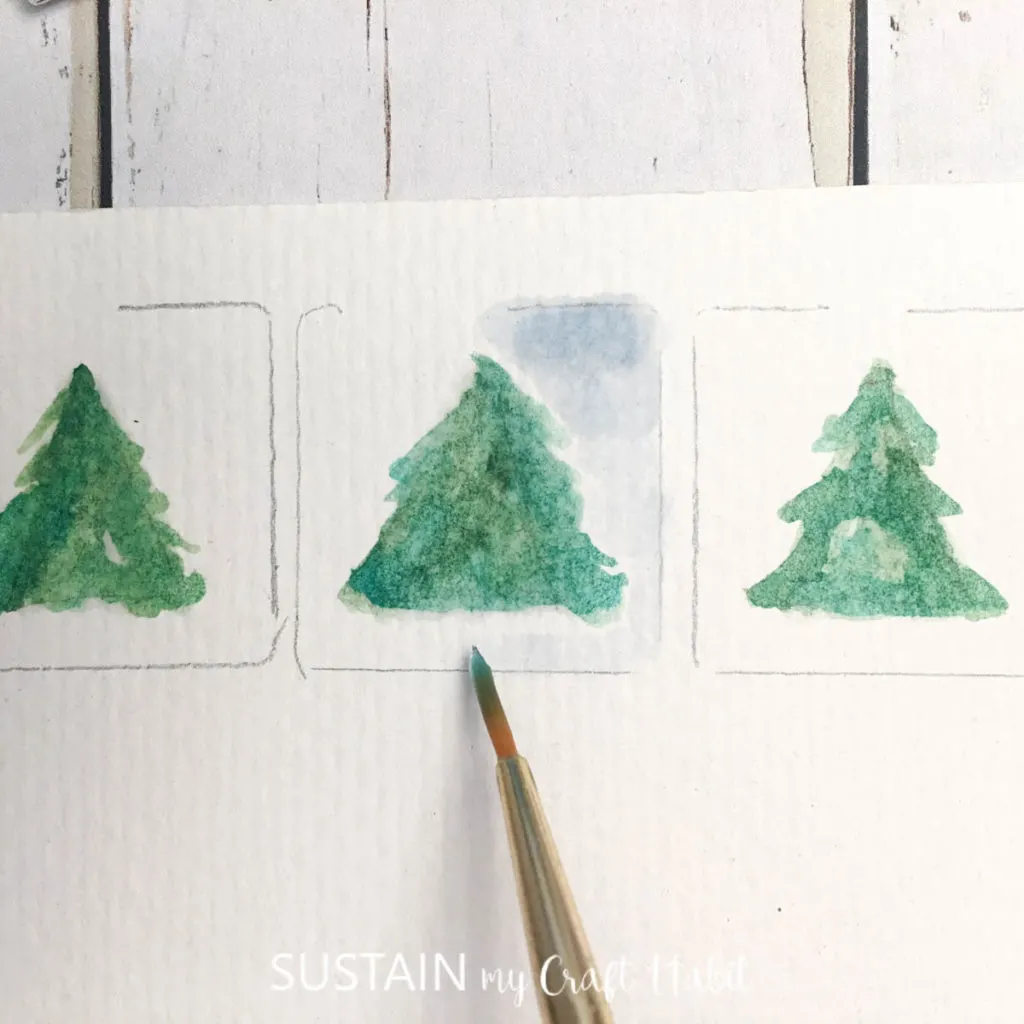
Then go from lighter to darker blue to paint the space around the tree. Let dry completely.


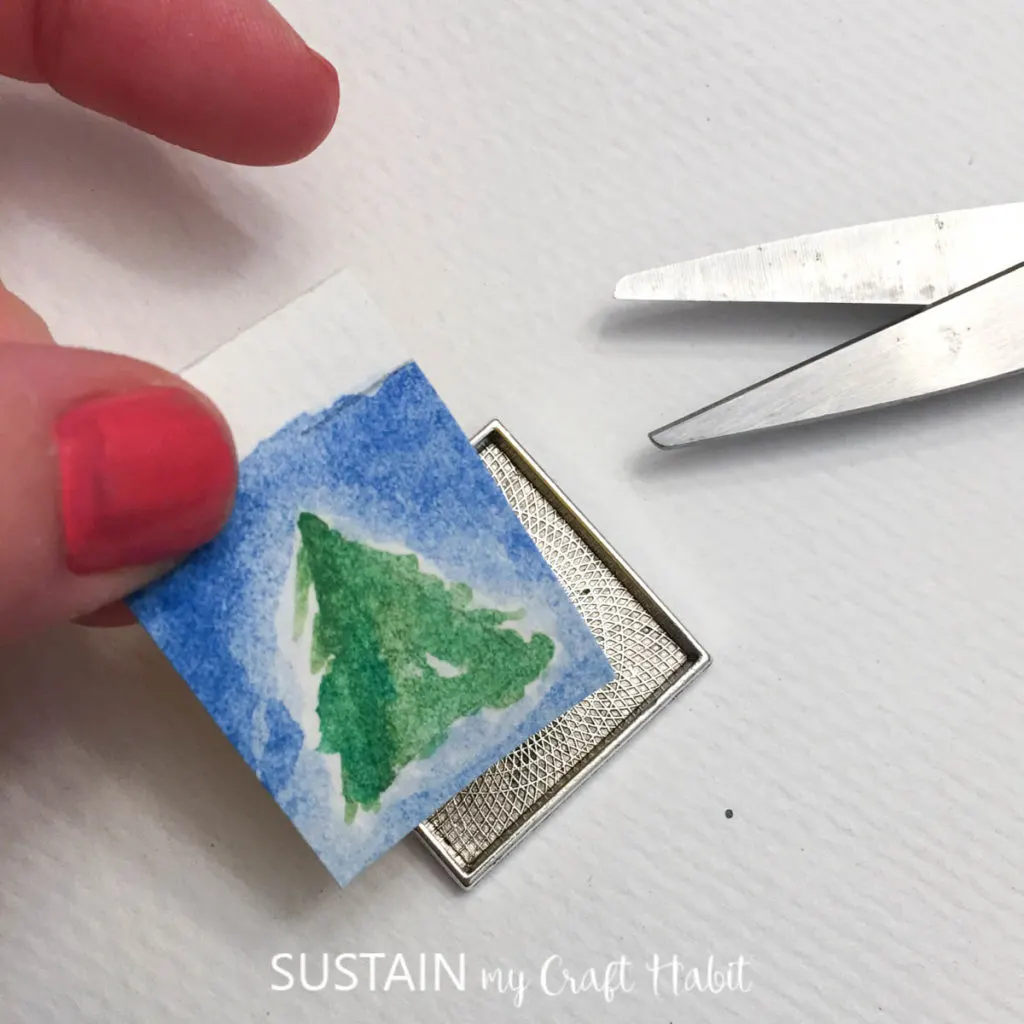
Cut out the watercolor paintings to fit the inside of the bezels.
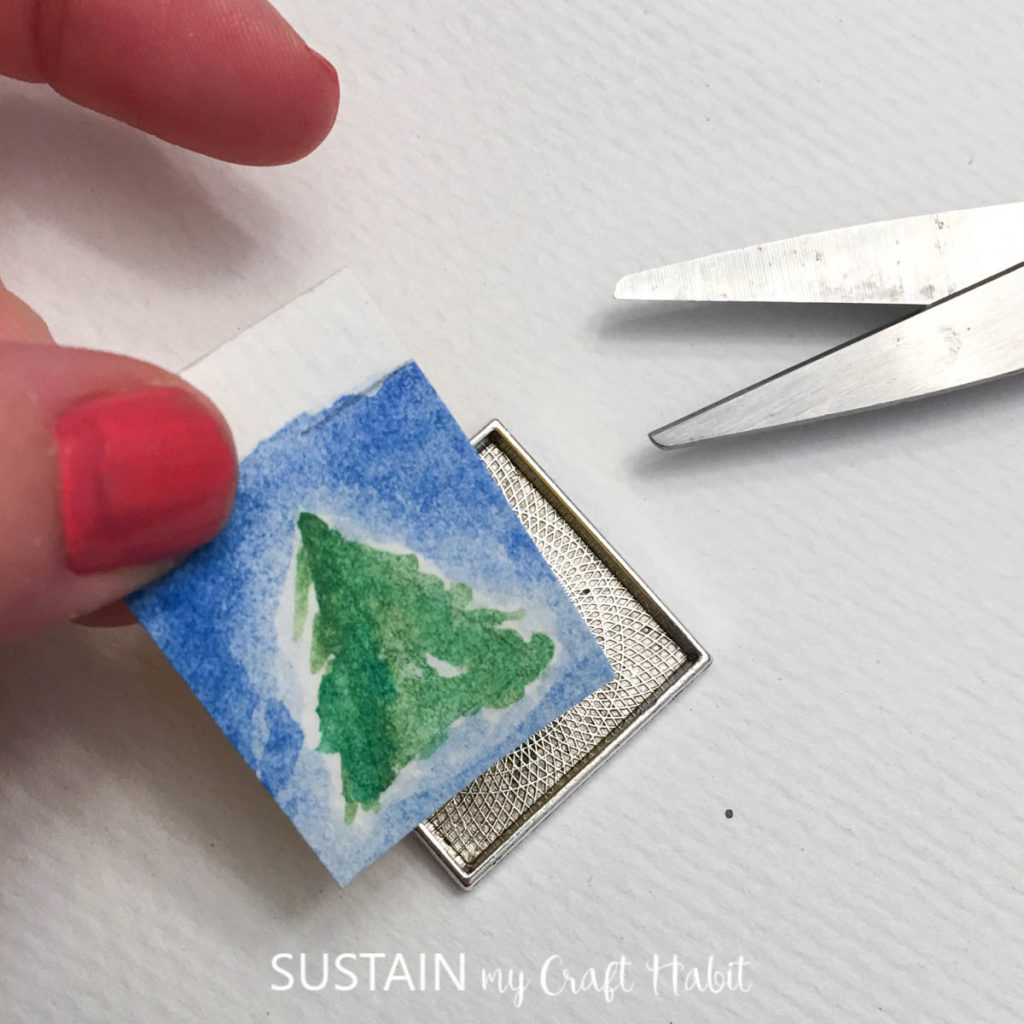
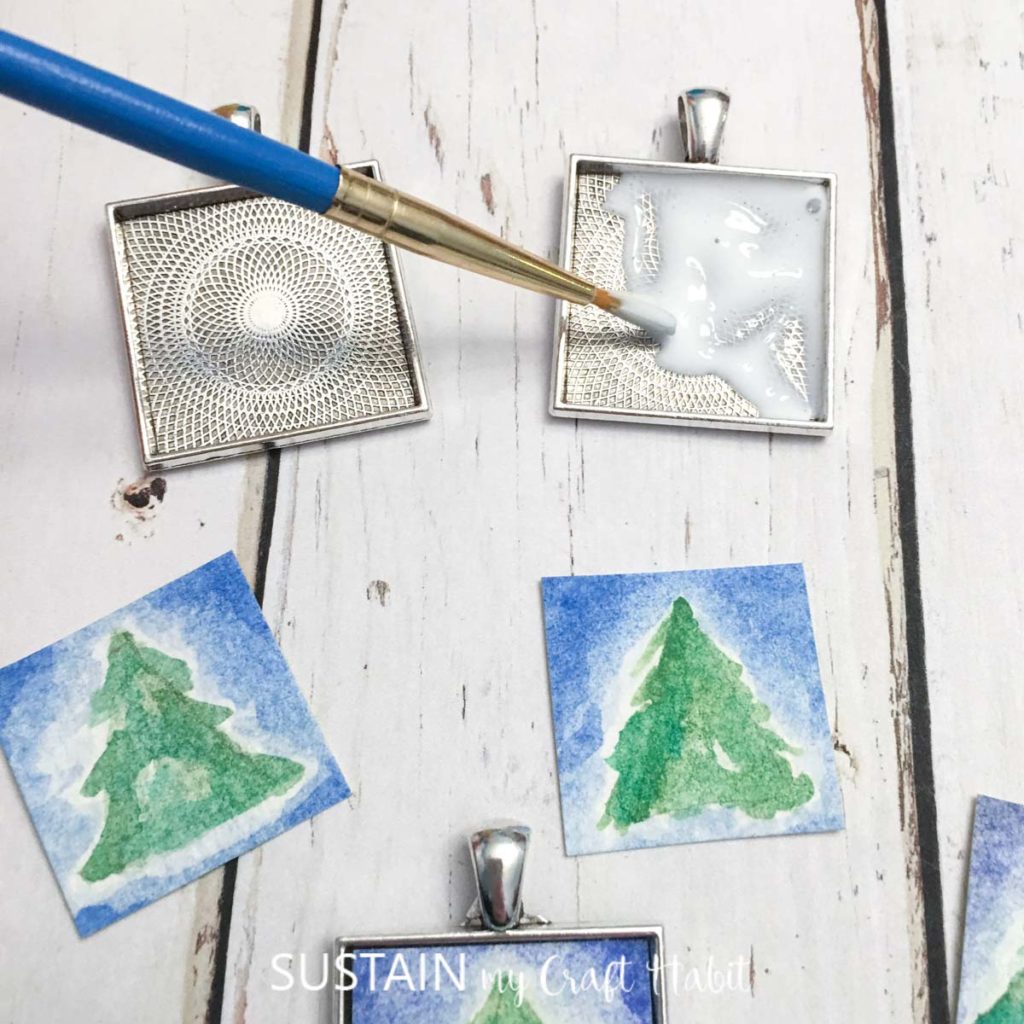
Seal the cut out into the bezels using the water-based sealer. Cover the surface of the painting with the sealer as well. Let dry.
Tip: the paper may curl and bubble while wet, but will mostly flatten out once dry. You can use the end of the paintbrush to push the paper down in a couple places while it’s still wet.


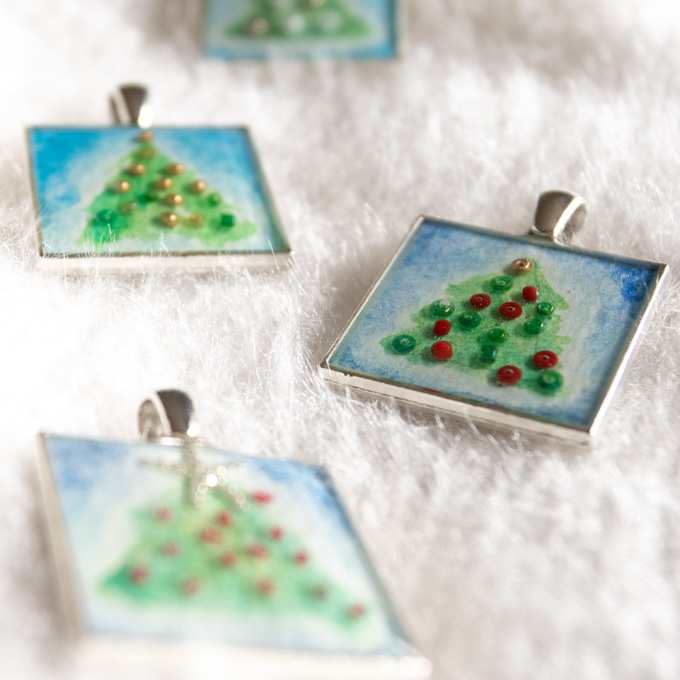
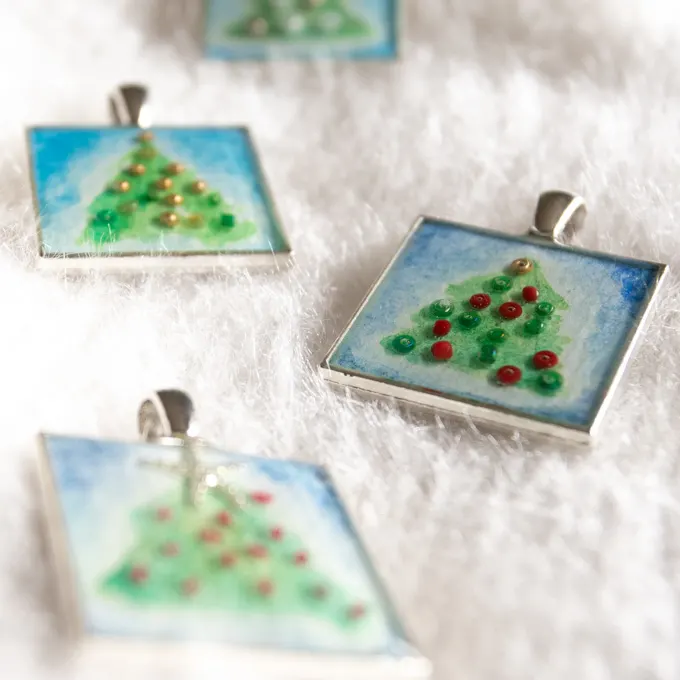
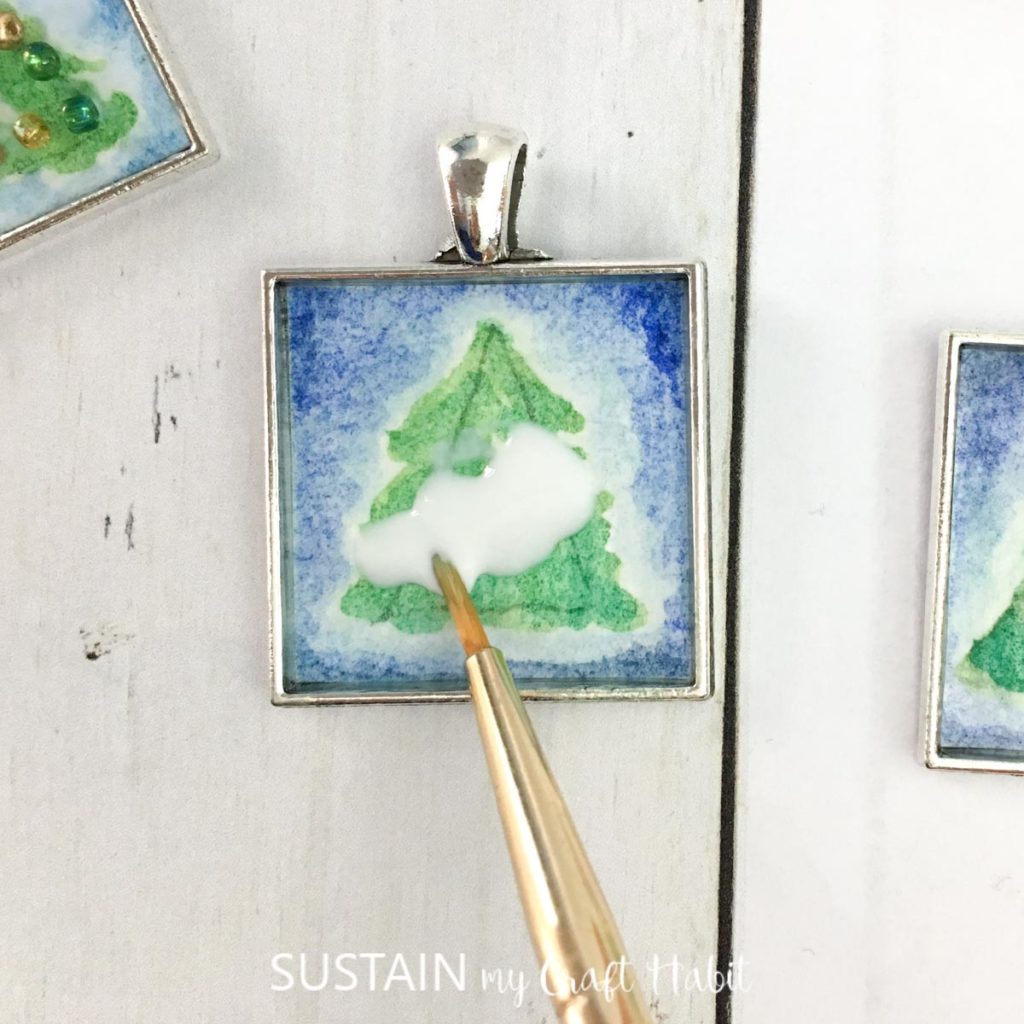
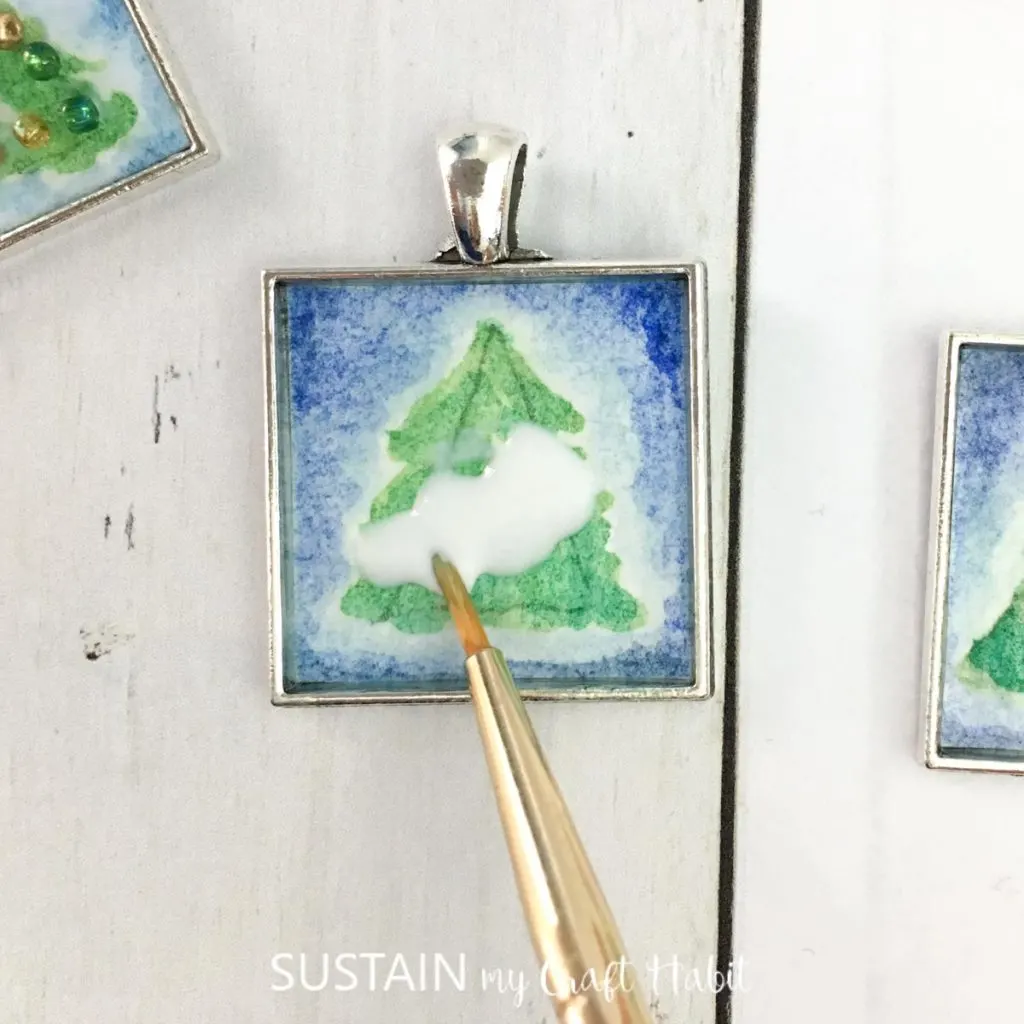
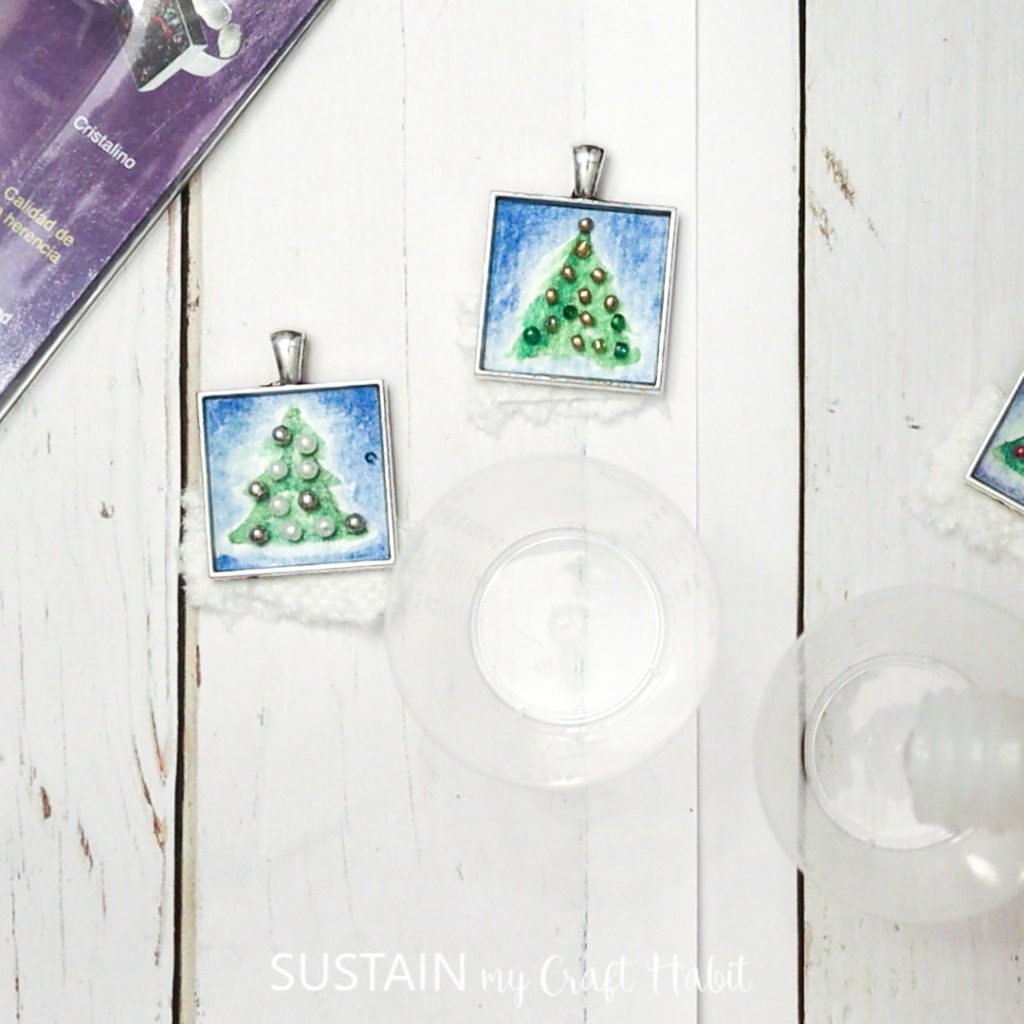
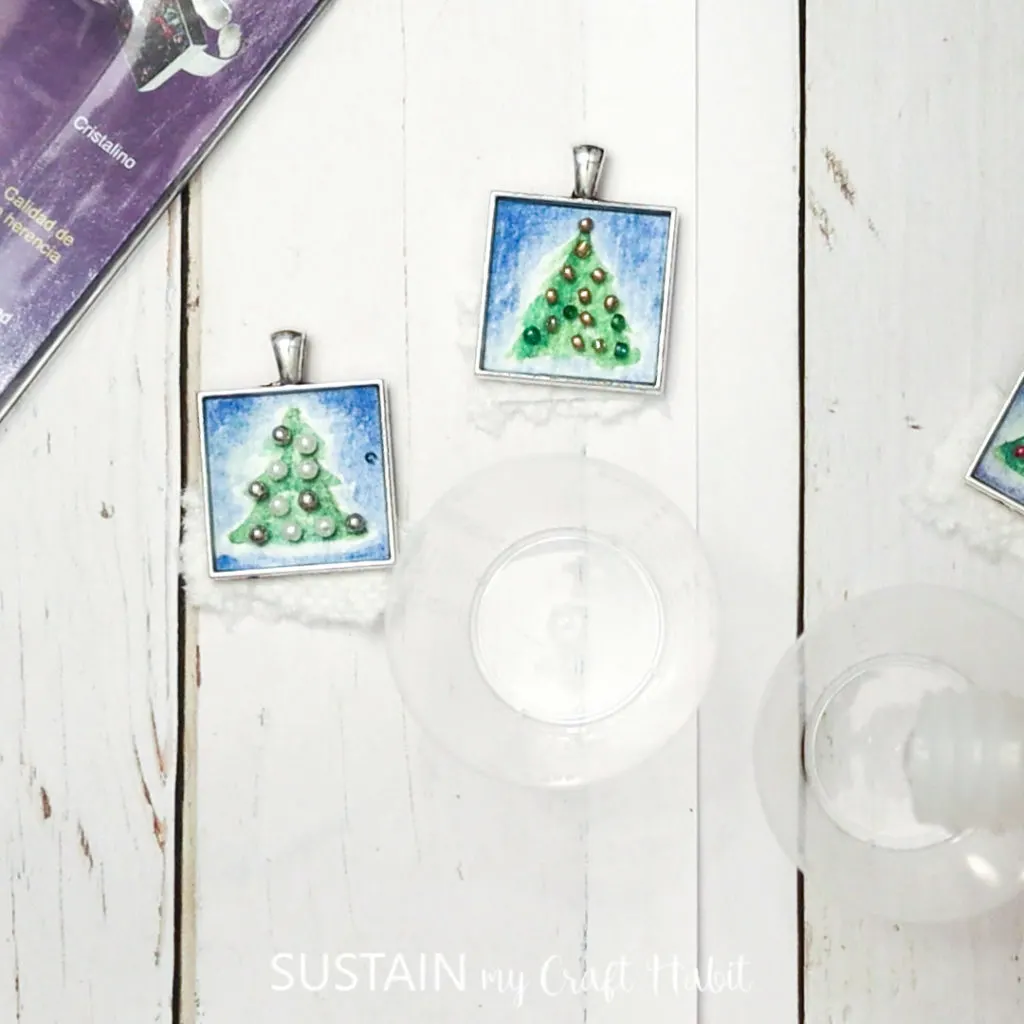
Paint another coat of glue over the tree area and place seed beads on the tree. Don’t the make adorable little ornaments?
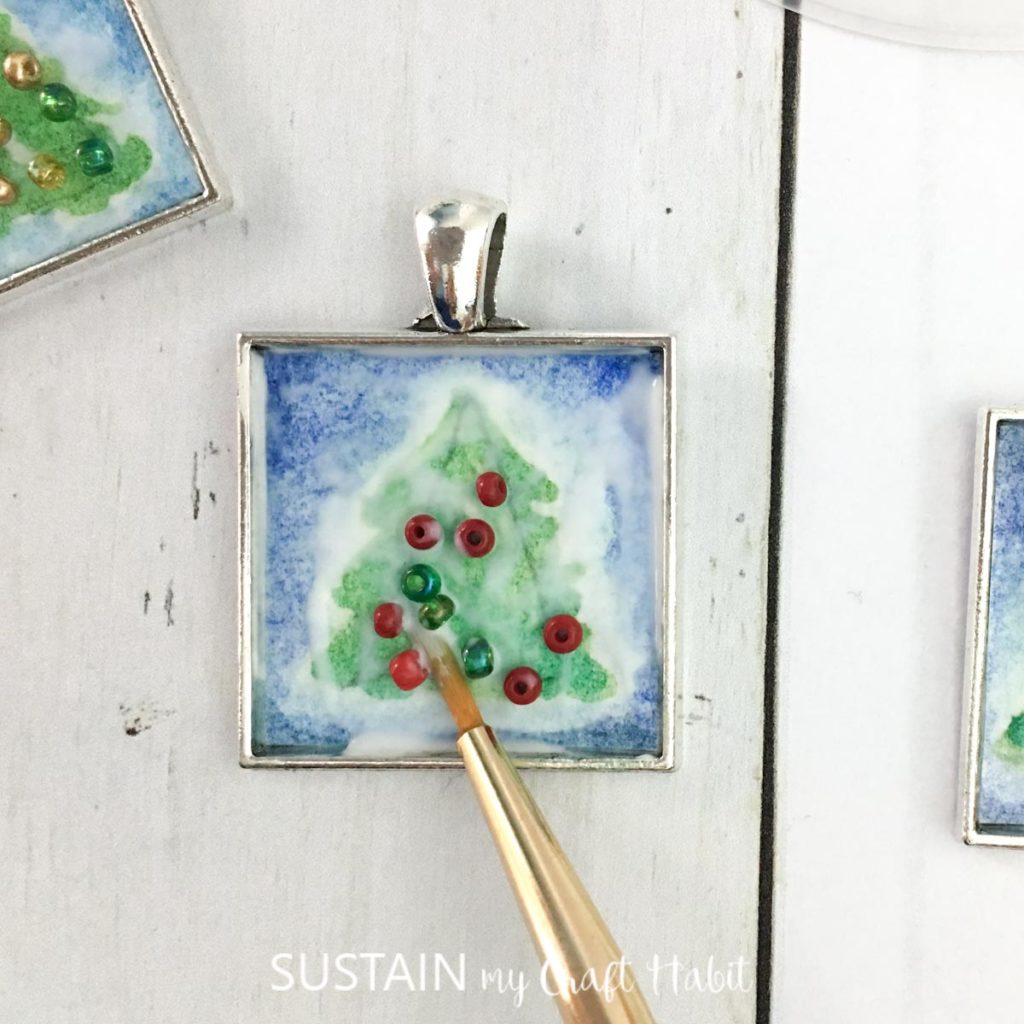
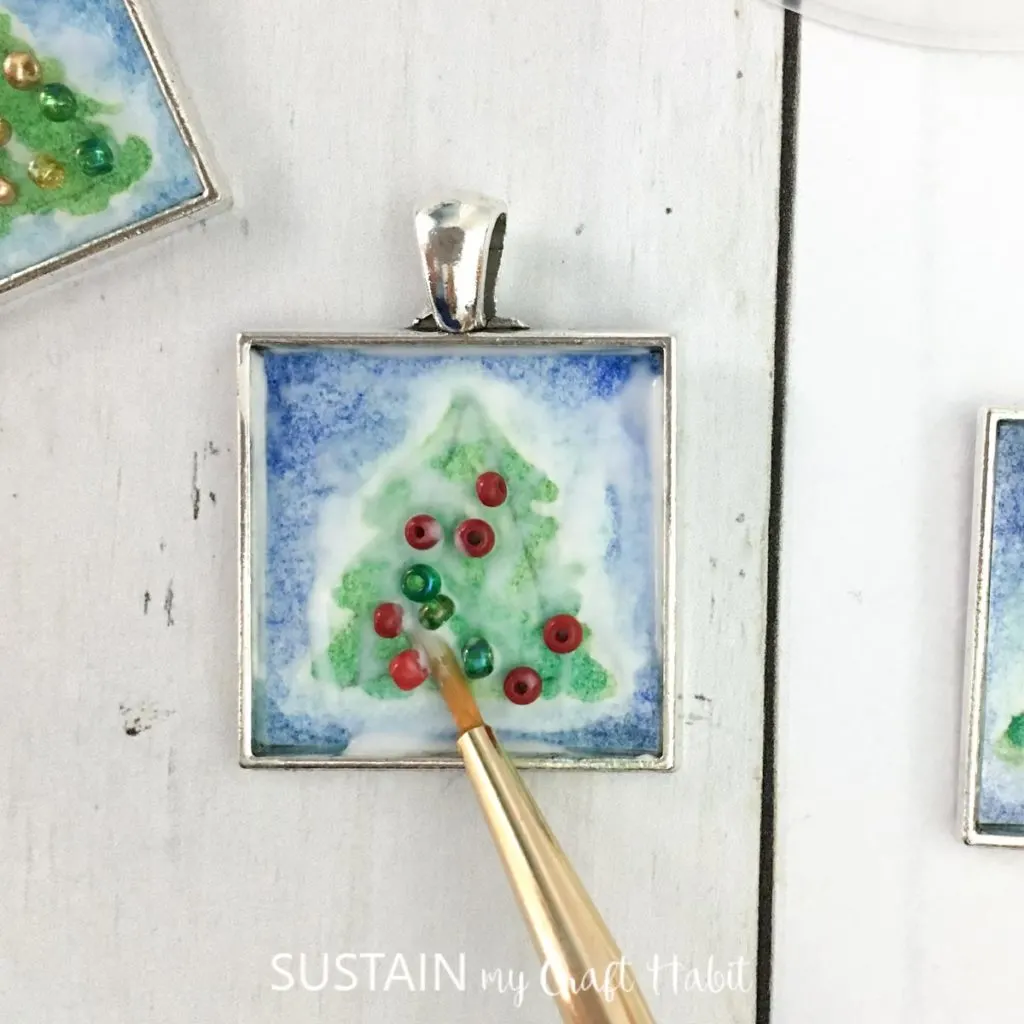
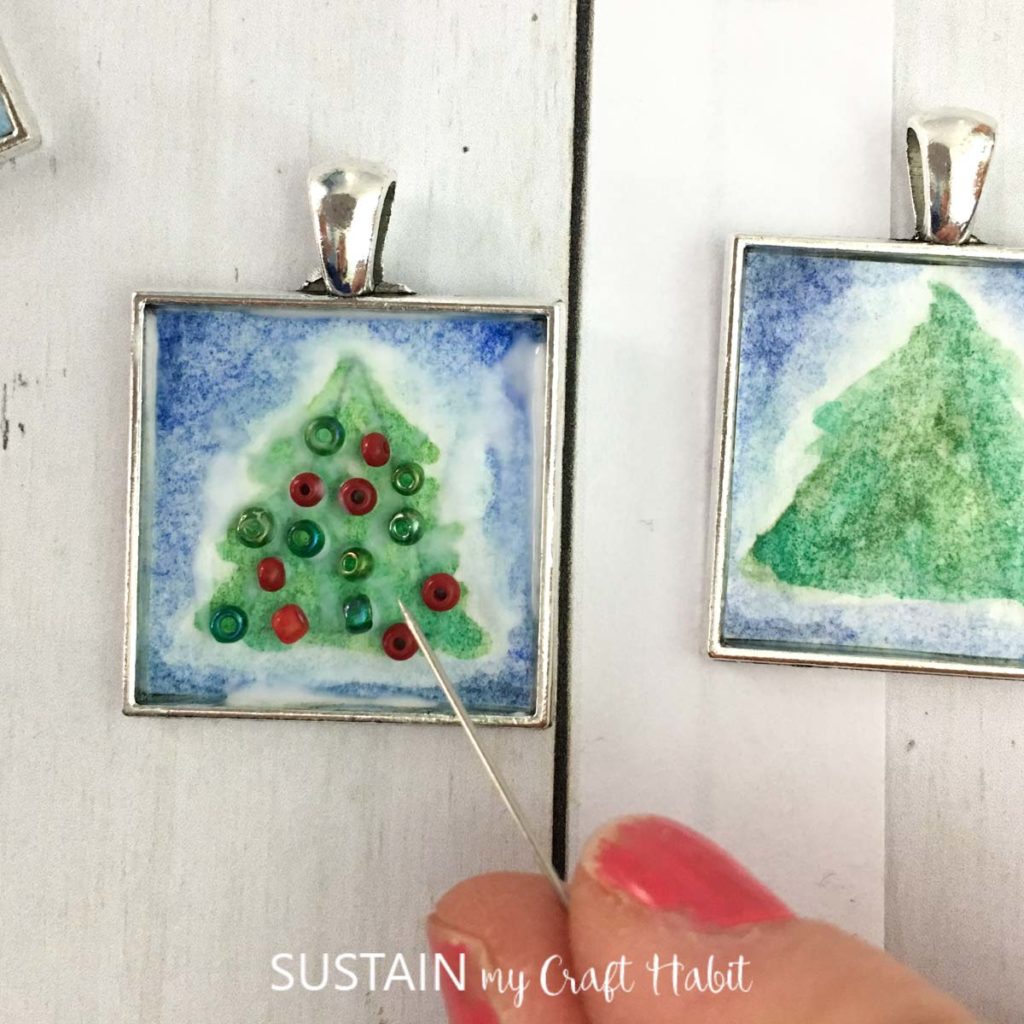

If you have them, you can place a small metal star charm at the top of the tree, or gold colored beads. Let the glue dry completely (I left mine overnight to be sure).

Pouring the Resin
Be sure to read all the instructions prior to working with your EnvirotexLite Jewelry Resin. Work in a well-ventilated area and protect your working service.
If needed, prop of one end of the bezel with a bit of paper to ensure it is level for pouring.
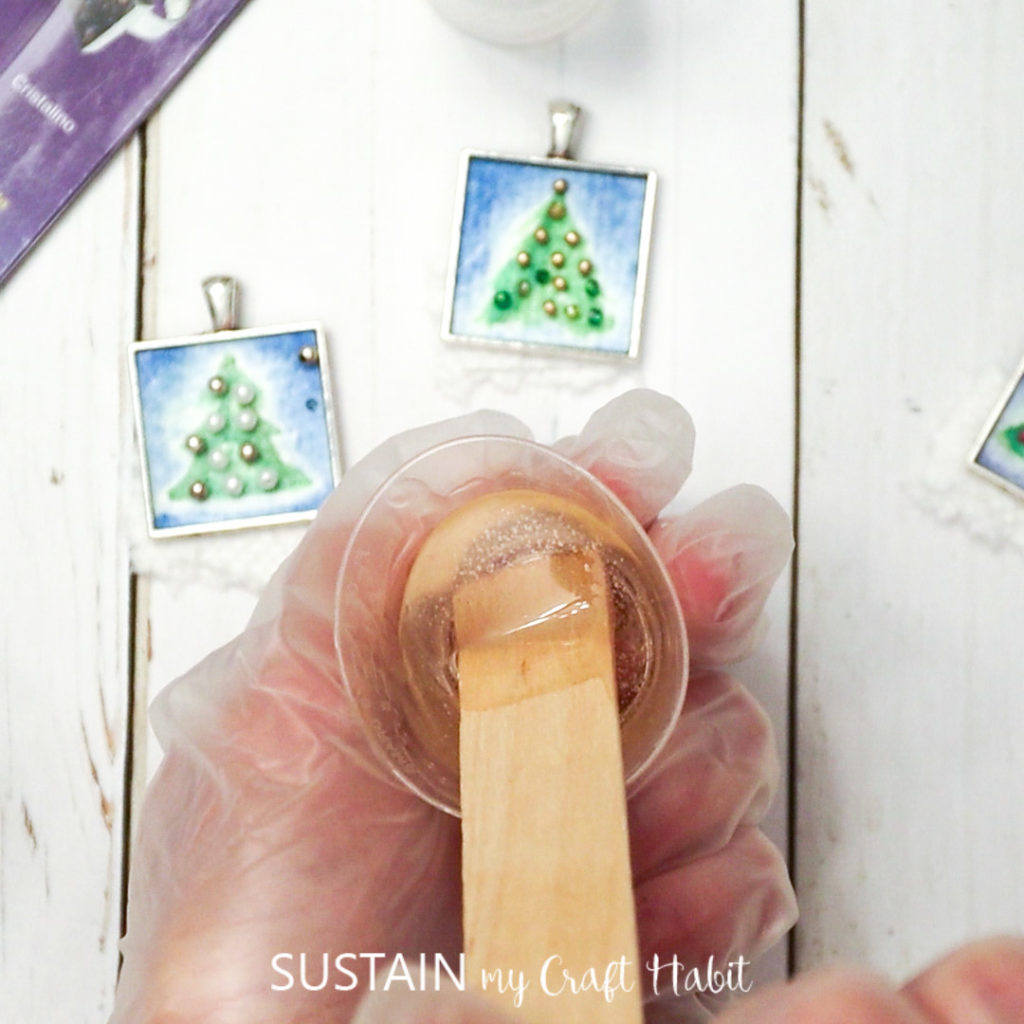
Mix equal amounts of resin and hardener in a small mixing cup (I had a total volume of 10mm to make four pendants with leftover resin). Mix for 2 minutes then pour into a second small mixing cup. Stir for another minute.


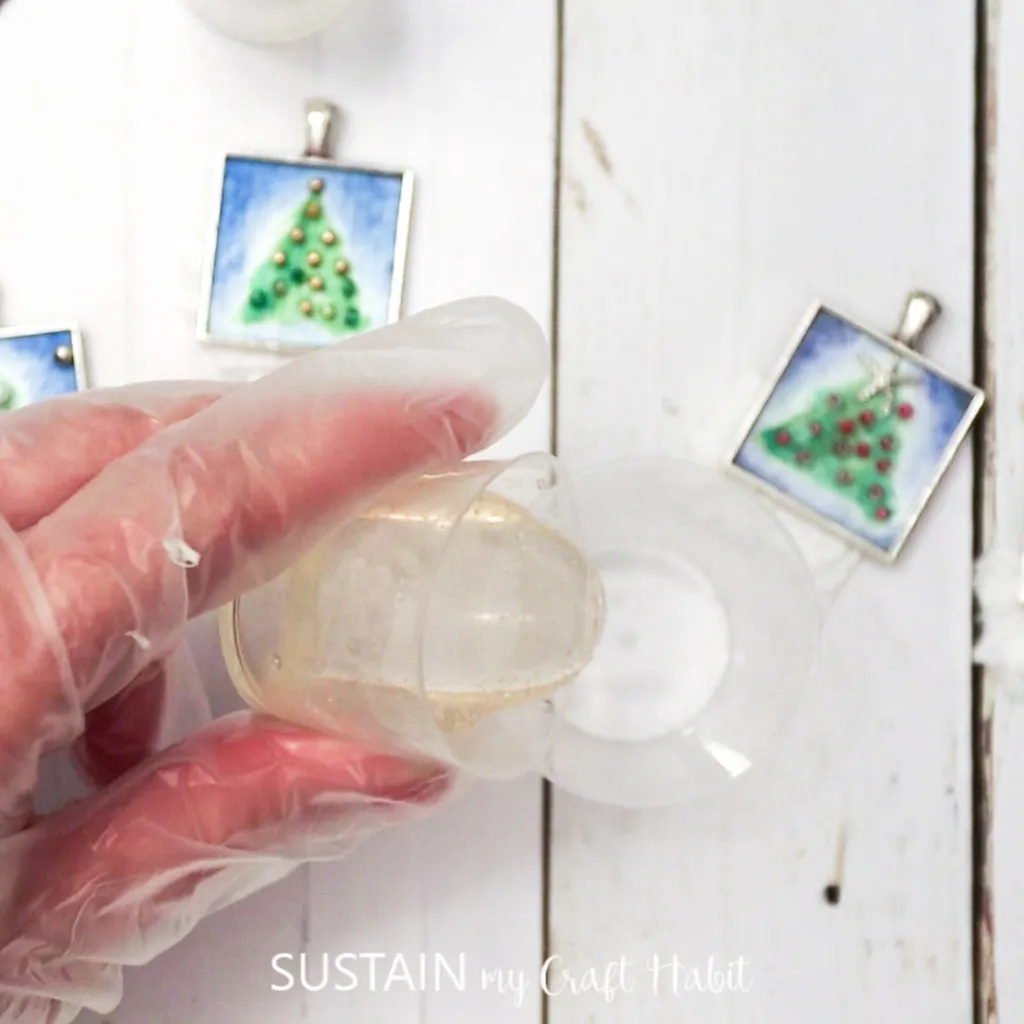
Carefully pour the resin into the bezel wells. Be careful not to over-fill, although you do want a small dome to form on the surface of the pendant.


Let the poured resin rest for about 15 minutes and then blow off any bubbles arising to the surface with a small kitchen torch. Alternatively use your own breath through a straw.
Cover the pendants to prevent dust particles from landing in the resin. We usually prop a large book over top making sure it does not touch the surface of the pendants. and let the resin cure 24 hours.
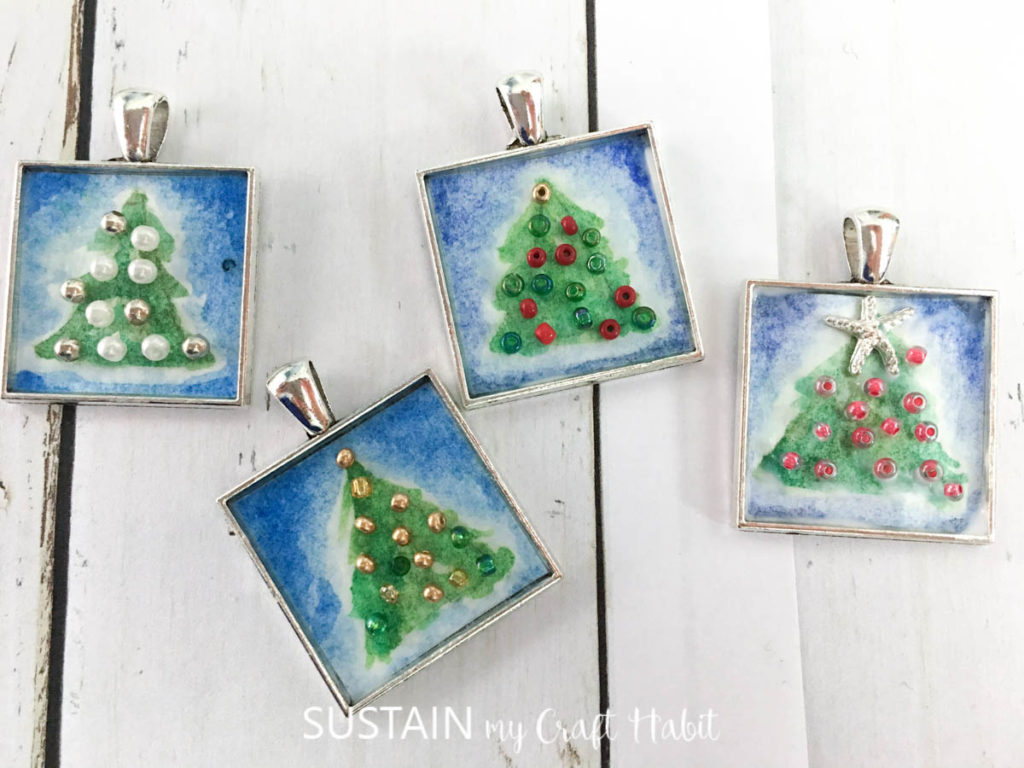

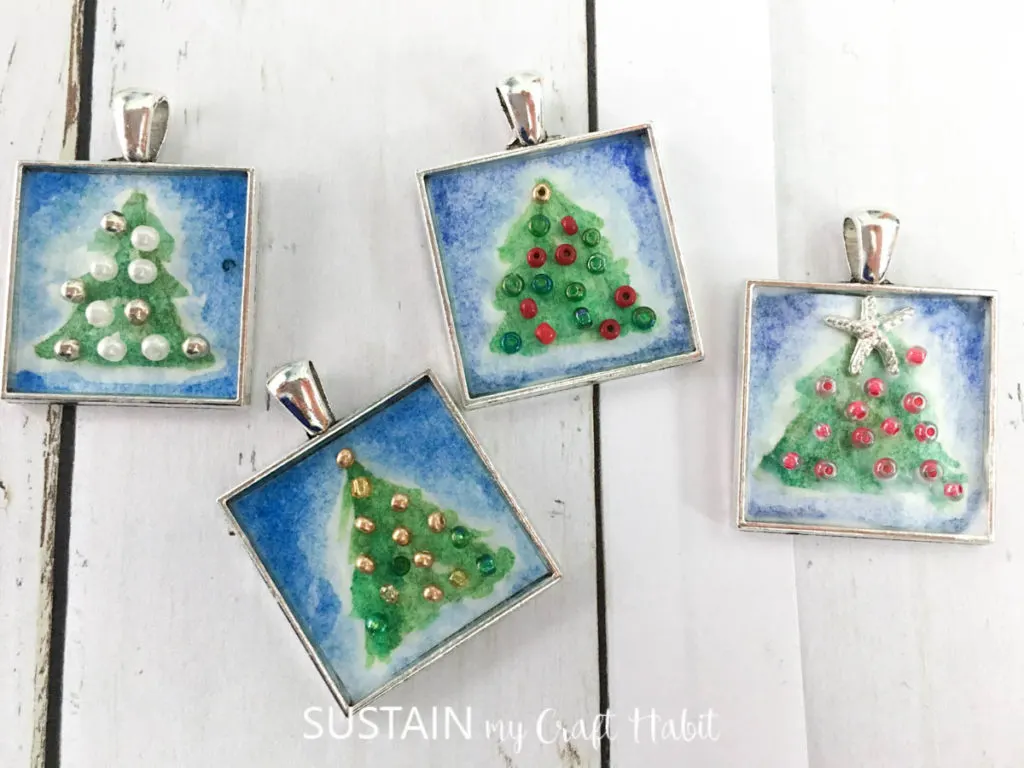
And there you have it, once the resin is cured the pendant is ready for wearing or gifting. This craft originally appeared on the Resin Crafts Blog project gallery.
More Resin Jewelry Crafts:
For more creative DIY jewelry using resin, check out these tutorials for all year long crafting ideas.


Upcycled Gift Wrap Resin Jewelry 
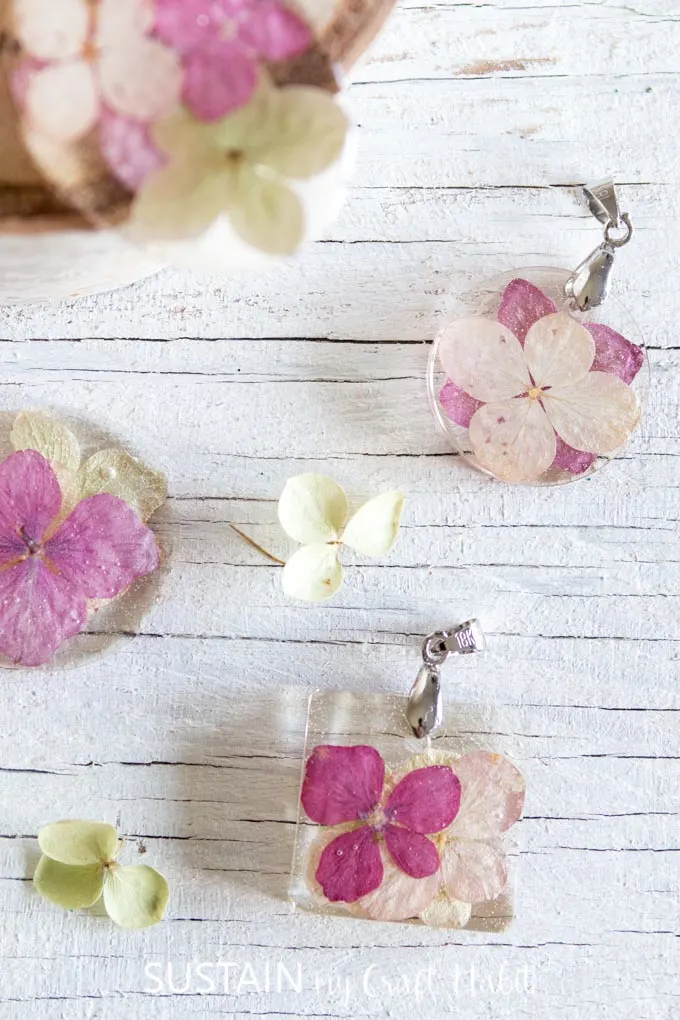
Pressed Flower Resin Jewelry 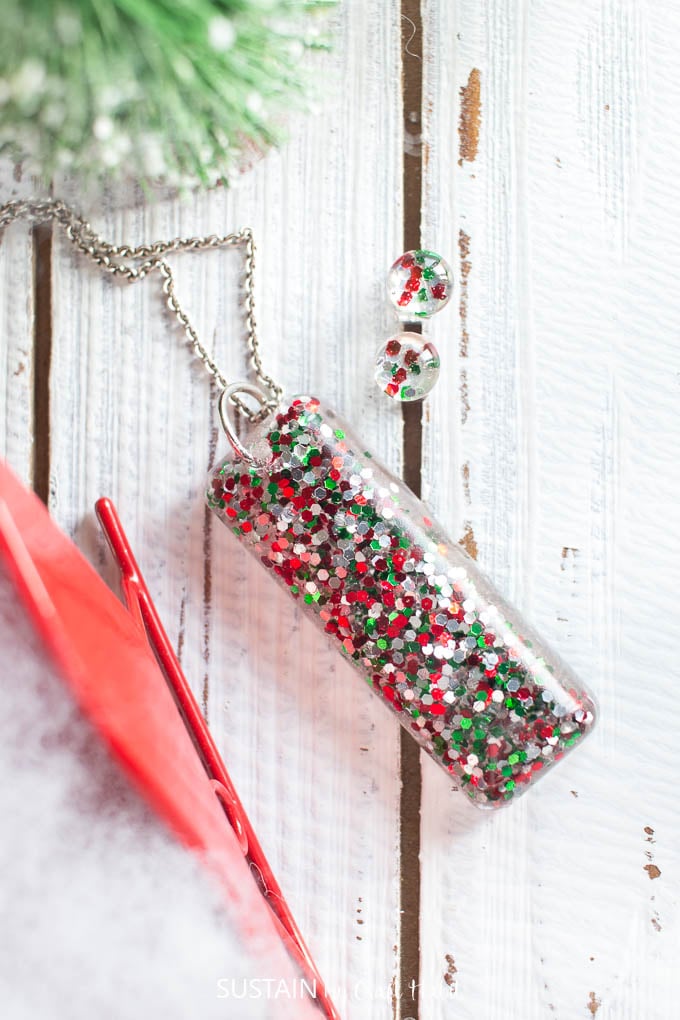
Christmas Glitter Jewelry 
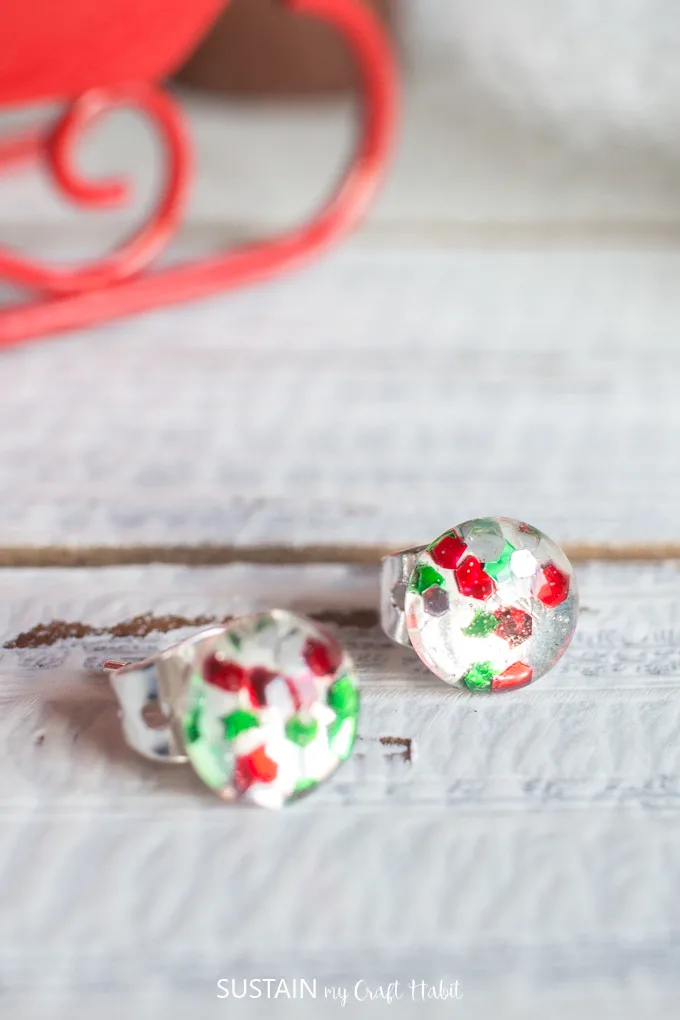
Resin Stud Earrings 

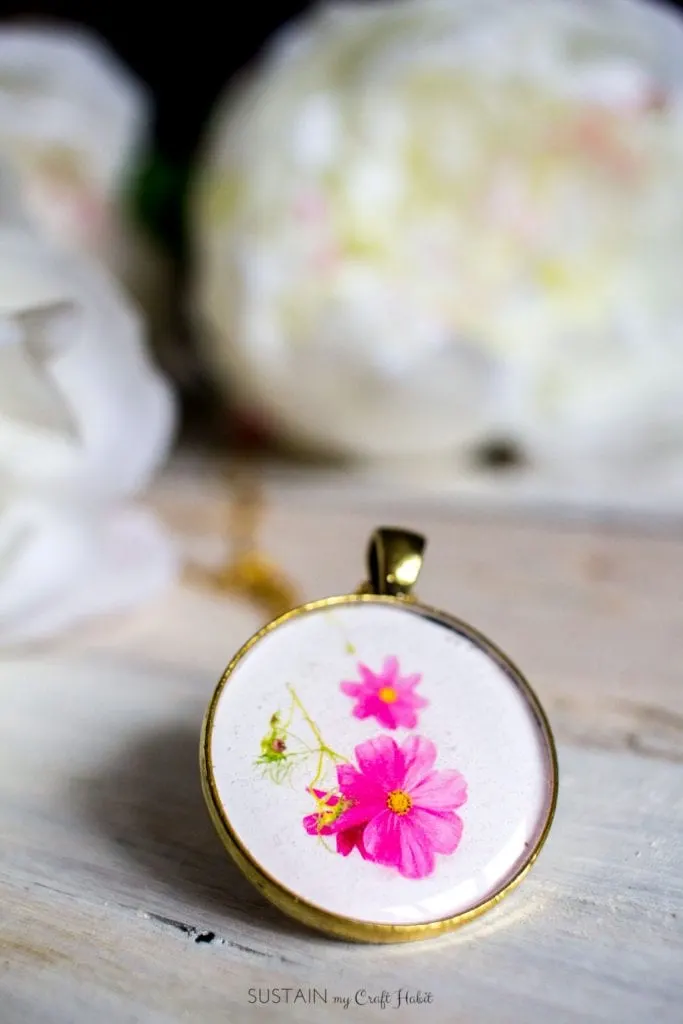
Birth Month Flower Resin Pendants 
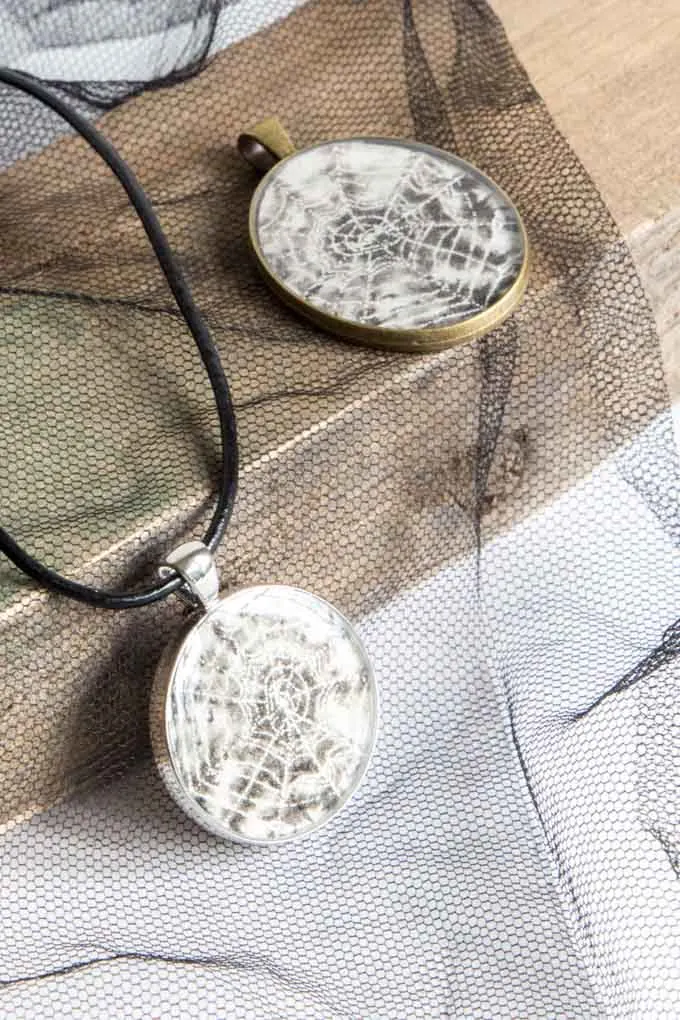
Watercolor Spiderweb Resin Pendants 

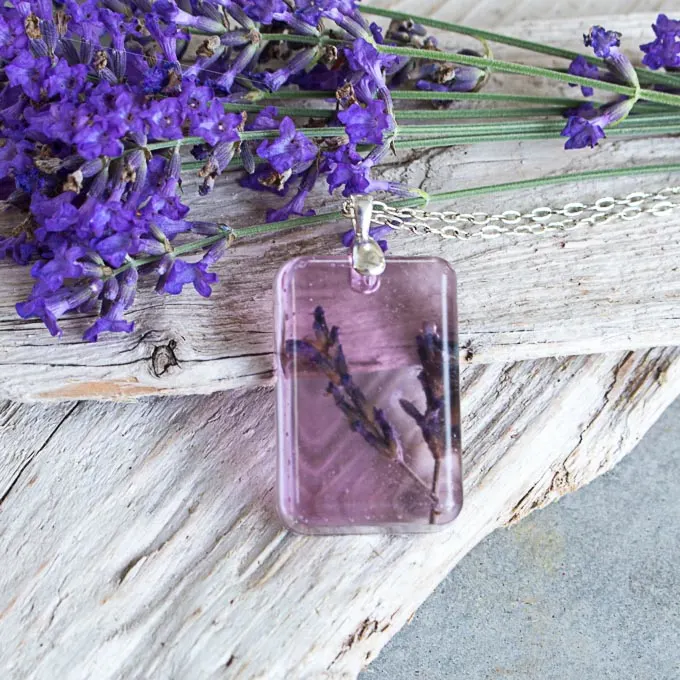
Lavender Resin Pendants 
Resin Bracelet 
Resin Jewelry Organizer


Like it? Pin it for later!


Christmas Tree Resin Pendant
Materials
- Watercolor paper
- Watercolor paint and paint brush
- Square silver jewelry bezels
- Water-based sealer such as Mod Podge
- Small seed beads and star-shaped charms (optional)
- EnvirotexLite Jewelry Resin
- Wooden craft sticks small measuring cups, gloves
- Straw or kitchen torch
Instructions
Preparing the Pendants
- Trace your bezel onto watercolor paper with a pencil. Trace a small triangle in the center (this will be your Christmas tree).
- Use various shades of green to create the trees in each square.
- Then go from lighter to darker blue to paint the space around the tree. Let dry completely.
- Cut out the watercolor paintings to fit the inside of the bezels.
- Seal the cut out into the bezels using the water-based sealer. Cover the surface of the painting with the sealer as well. Let dry.
- Paint another coat of glue over the tree area and place seed beads on the tree.
- If you have them, you can place a small metal star charm at the top of the tree, or gold colored beads. Let dry completely.
Pouring the Resin
- Mix equal amounts of resin and hardener in a small mixing cup. Mix for 2 minutes then pour into a second small mixing cup. Stir for another minute.
- Carefully pour the resin into the bezel wells.
- Let the poured resin rest for about 15 minutes and then blow off any bubbles arising to the surface with a small kitchen torch.
- Cover and let the resin cure 24 hours.