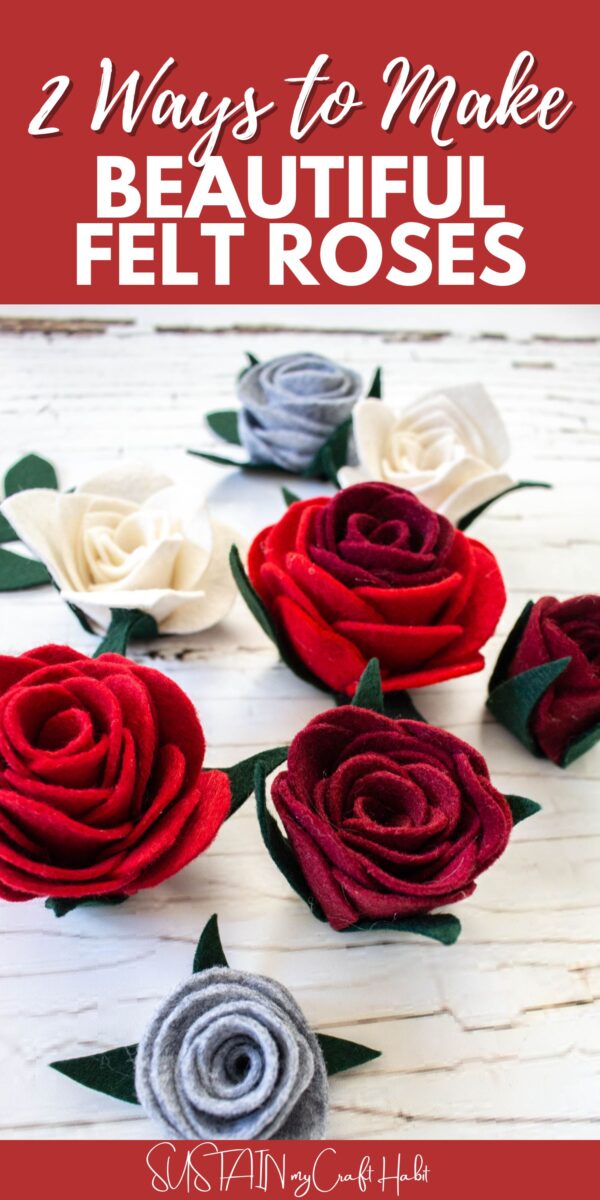
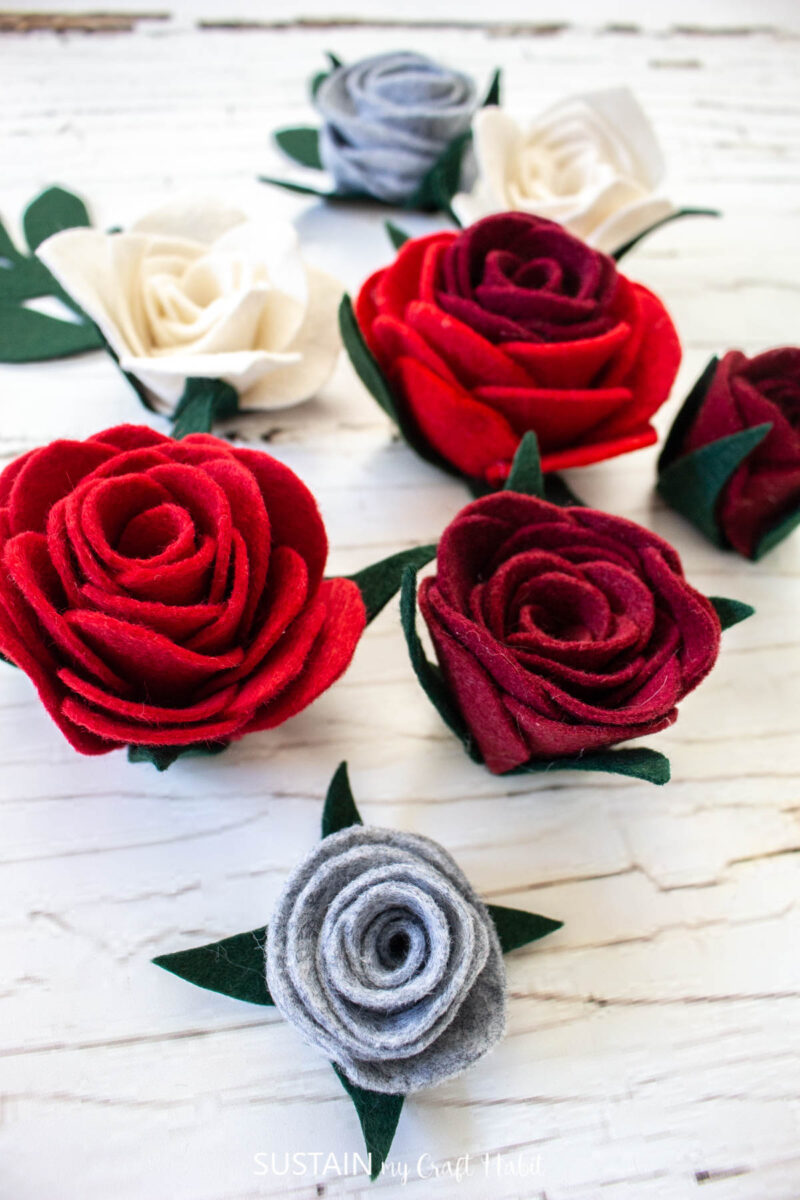
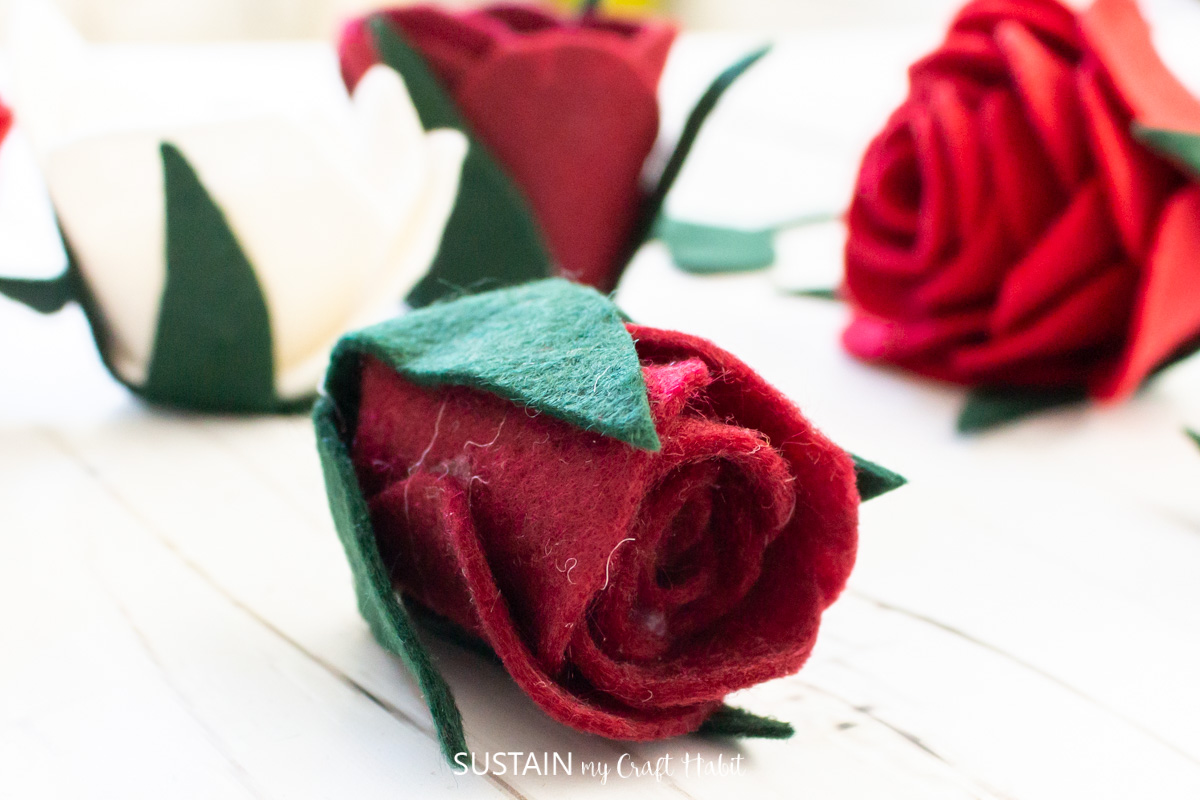
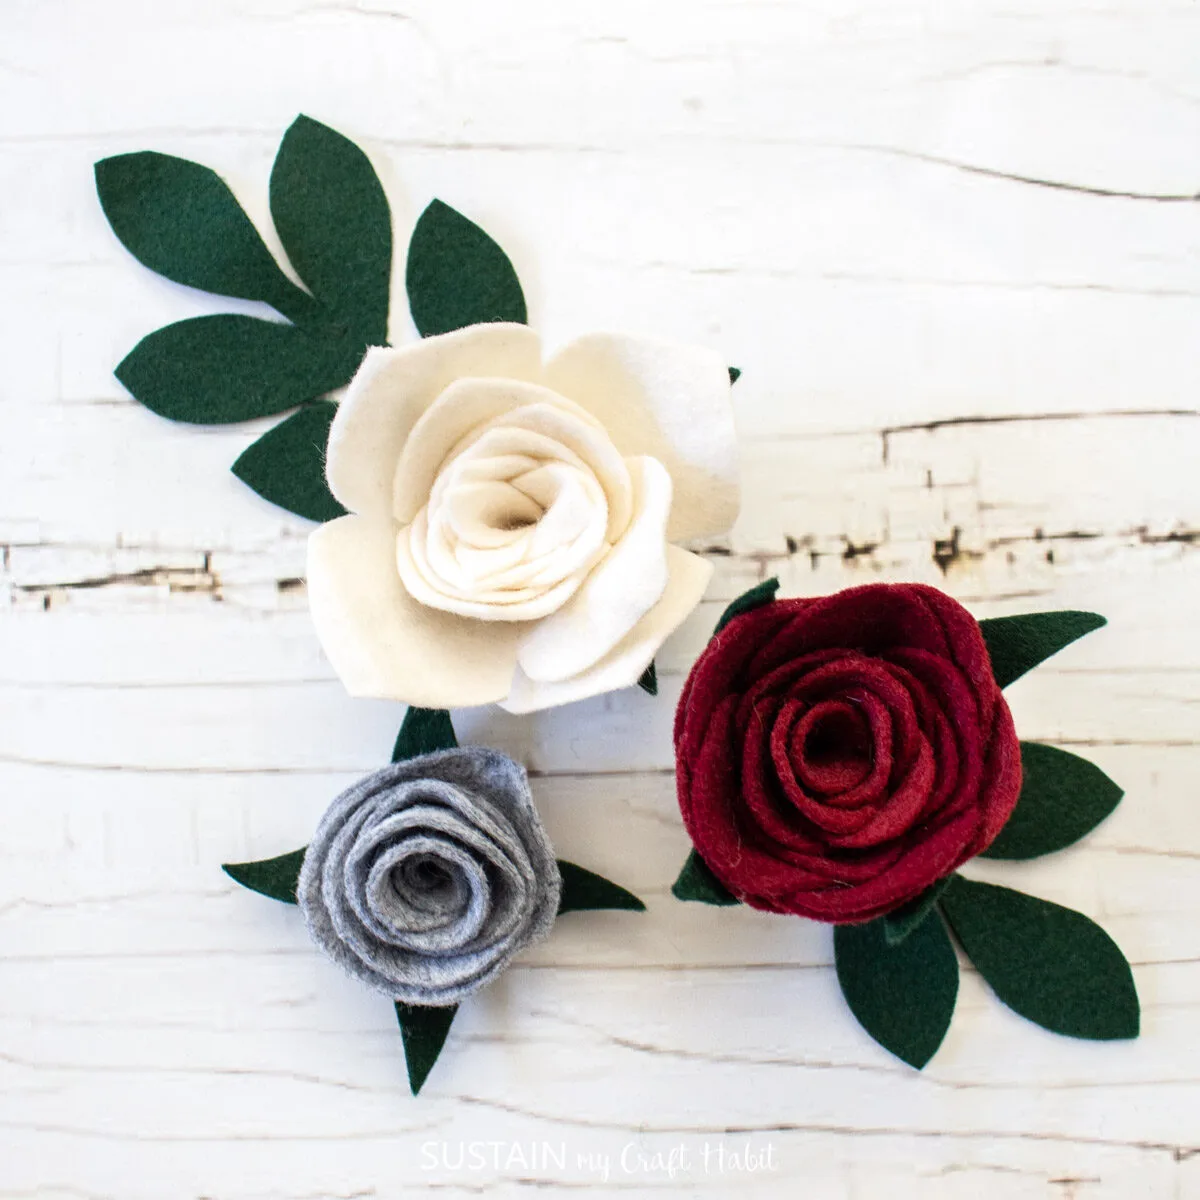
There are a few different ways to make felt roses and today we’ll show you two methods for making realistic 3-dimensional, handmade flowers.

Easy To Make DIY Felt Roses
We’ll take you through the step by step instructions for making these roses for which the printable patterns and SVG cutting files are available in our Etsy shop here. We also have this same pattern available in our Sustain My Craft Habit digital shop along with many free crafting printables to choose from.
Whether you’re looking to make felt roses for a particular occasion such as Valentine’s day, mother’s day or a wedding or perhaps for a particular craft idea. These roses are easy and much fun to make. In fact, we would love to know what you plan to use your felt roses for! Please tag us on Facebook or Instagram so we can see.
Join our crafting community to find nature-inspired DIYs and upcycled craft ideas. It feels good to repurpose, upcycle and create with nature!
Materials Needed:
Disclosure: This post contains affiliate links for your shopping convenience. Should you choose to purchase through them, we will make a small commission at no extra cost to you. You can read our full disclosure here.
- Felt sheets in any color of your choosing
- Fabric scissors (or Cricut Maker 3 or other cutting machine)
- Hot Glue Gun
- Felt rose printed patterns (grab the pattern files from our Etsy shop here)

How to Make Felt Roses
Cutting
Lay the rose pattern piece on top of the felt sheet in any color of your choosing (we used a simple off-white or ecru color and classic red felt color). Cut pattern along the solid line with a pair of scissors, ideally using scissors intended for fabric will cut the best .
A rotary blade would also work well especially on the spiral shaped template. Alternatively, upload the SVG file (which is also available with purchase) and ise a cutting machine to cut out the felt pieces with accuracy and speed.
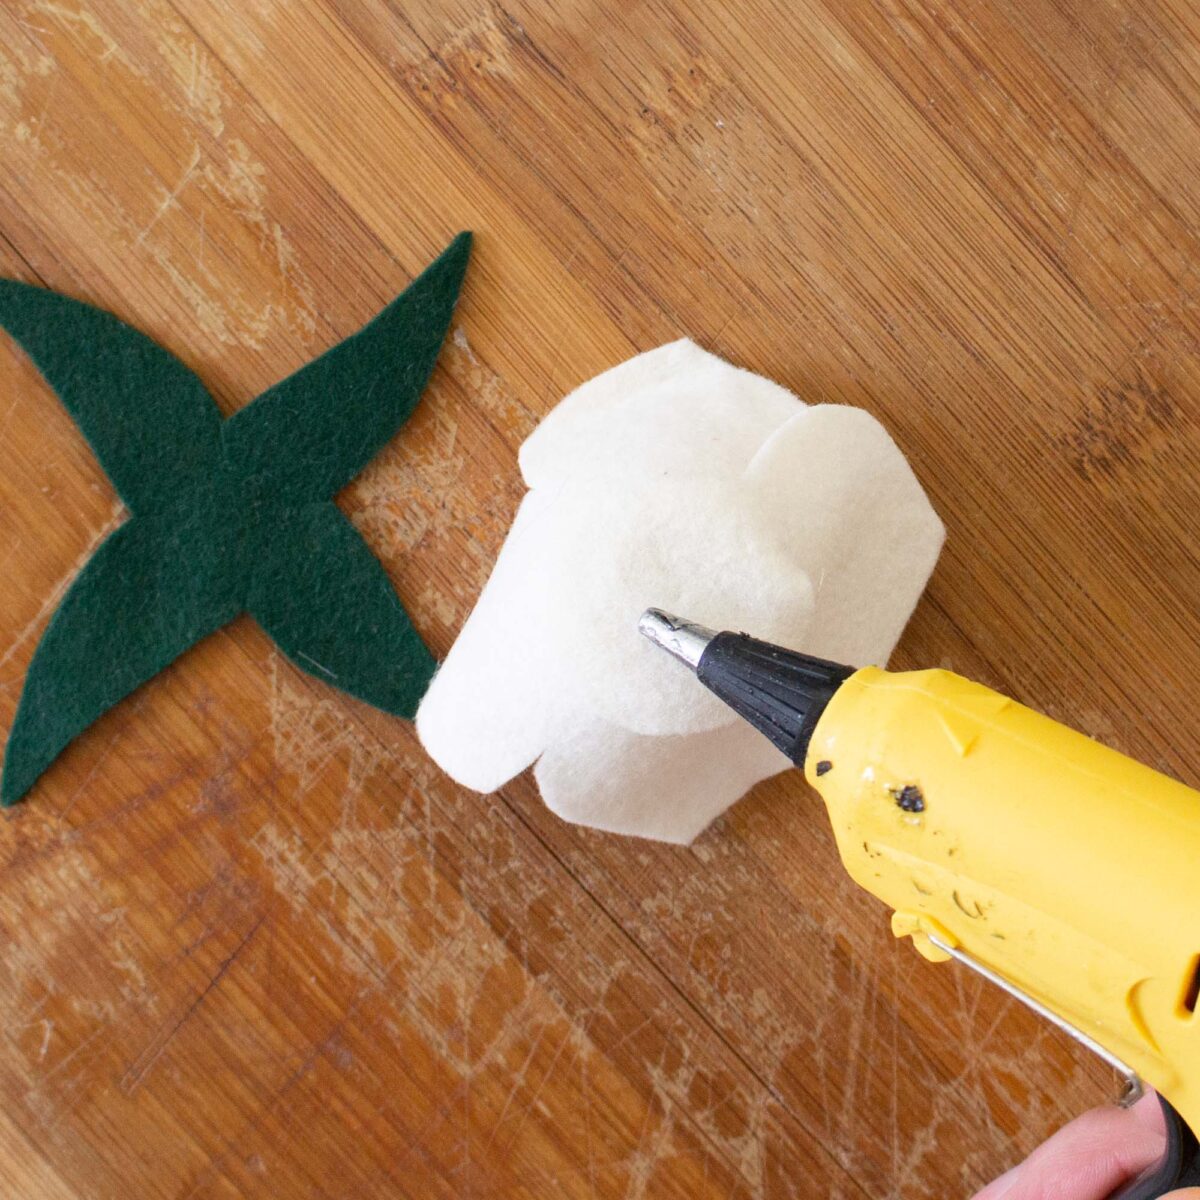
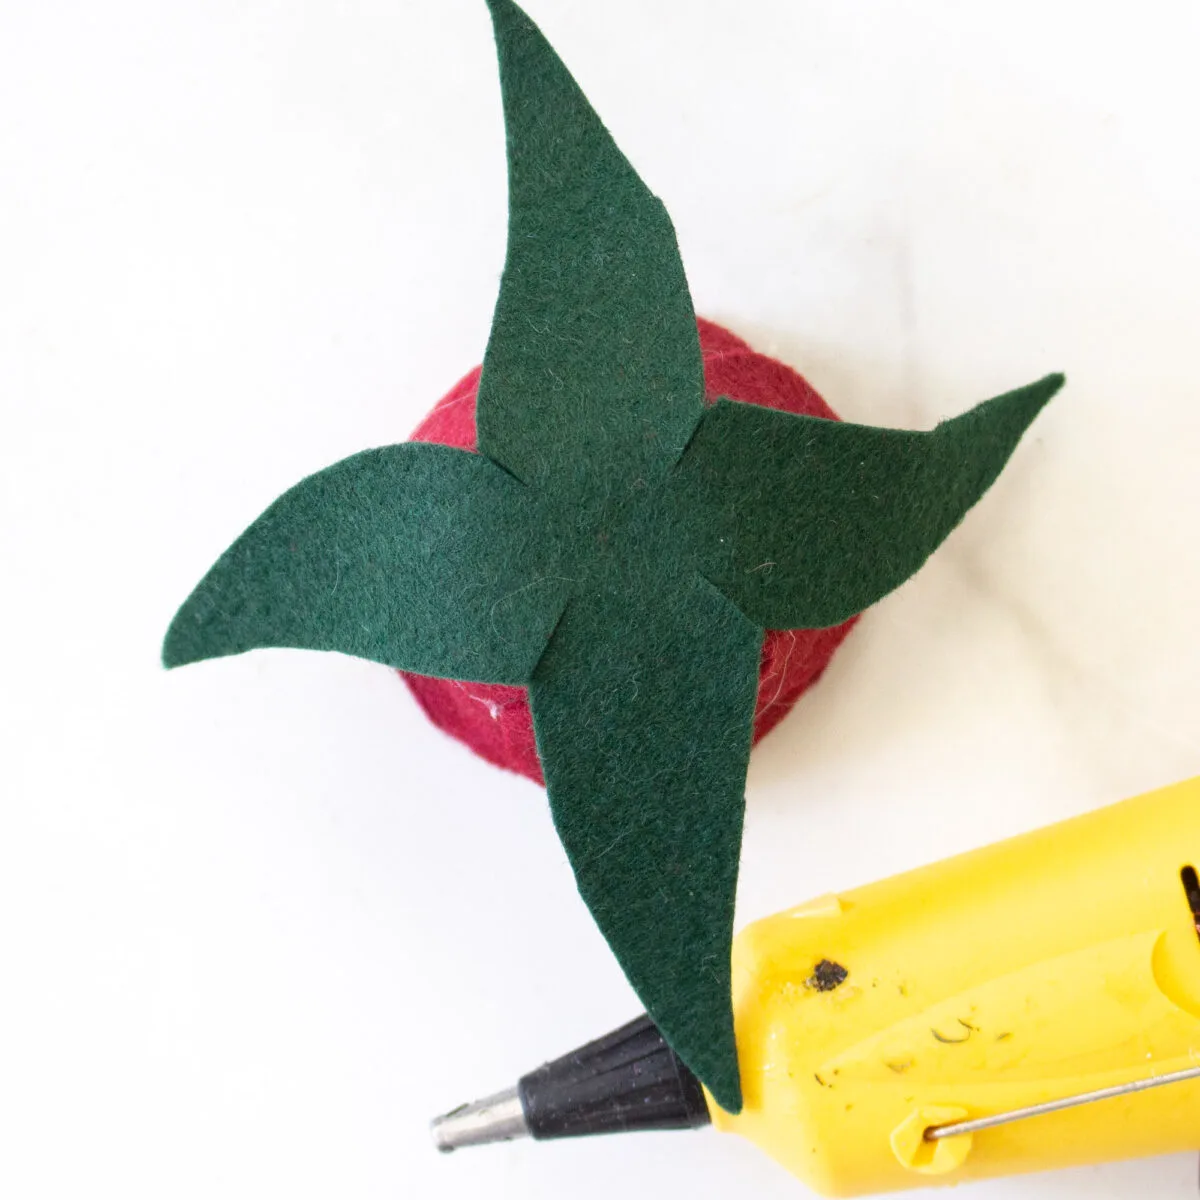
For the bottom of the rose, cut the pattern piece out of a green felt sheet.
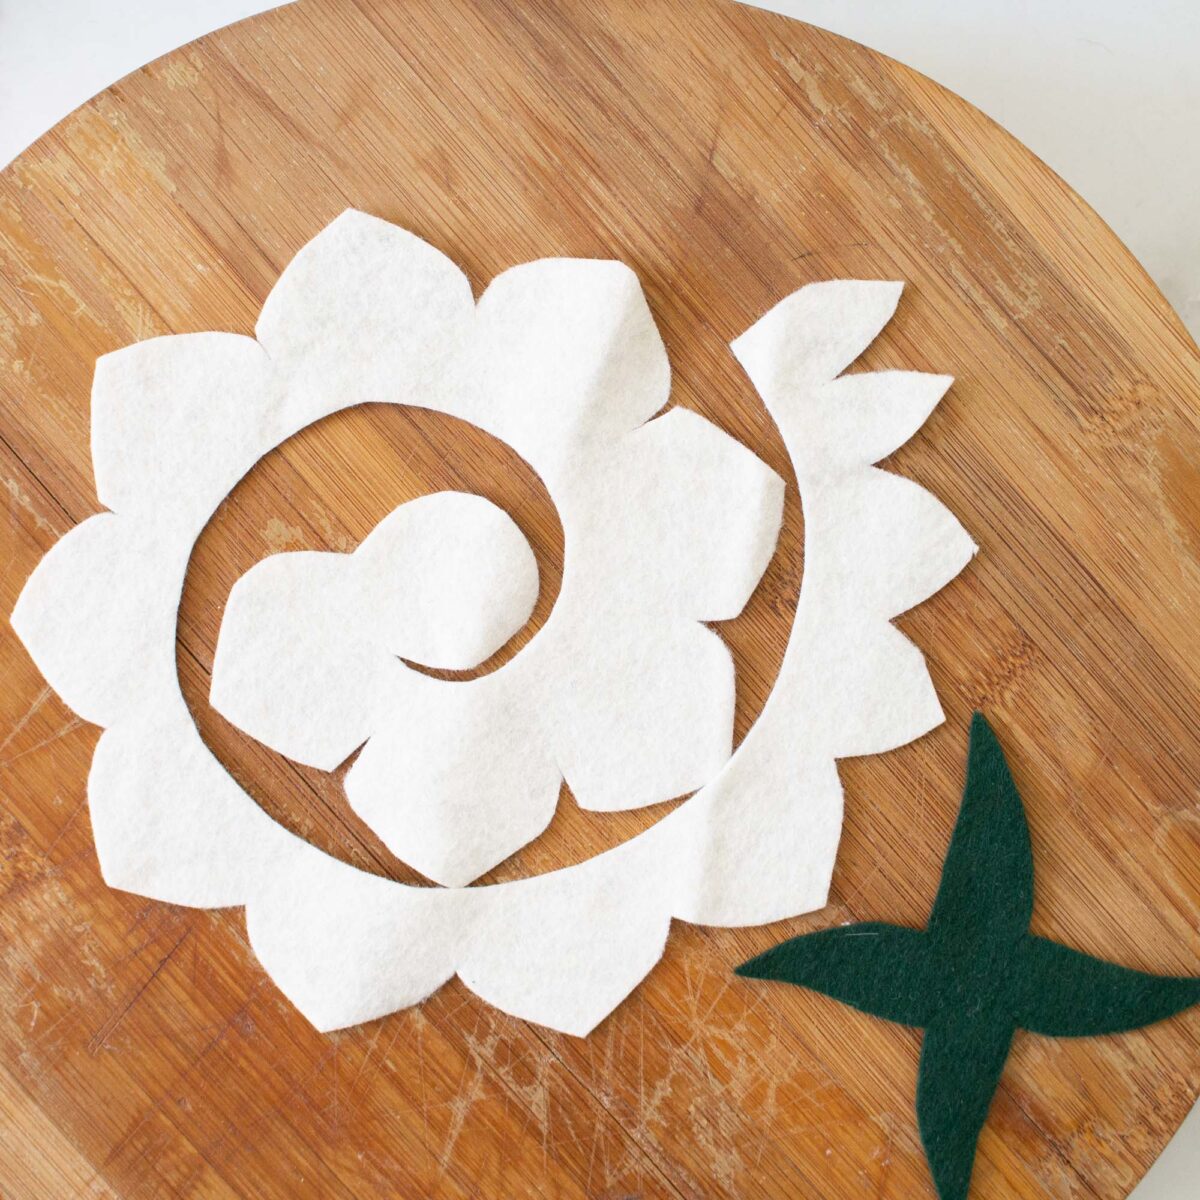

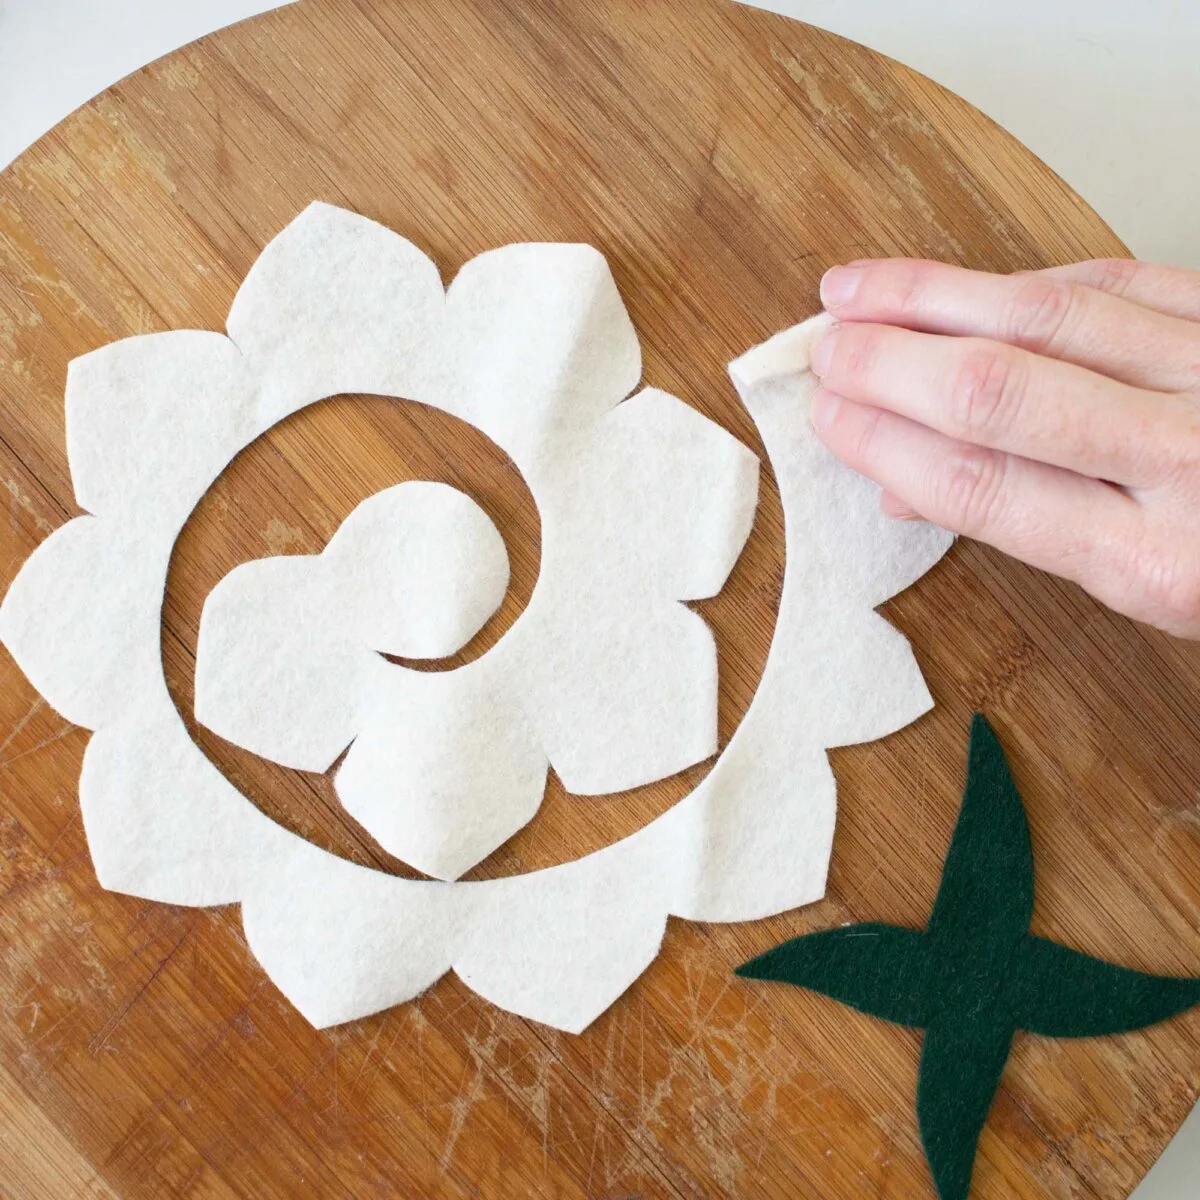
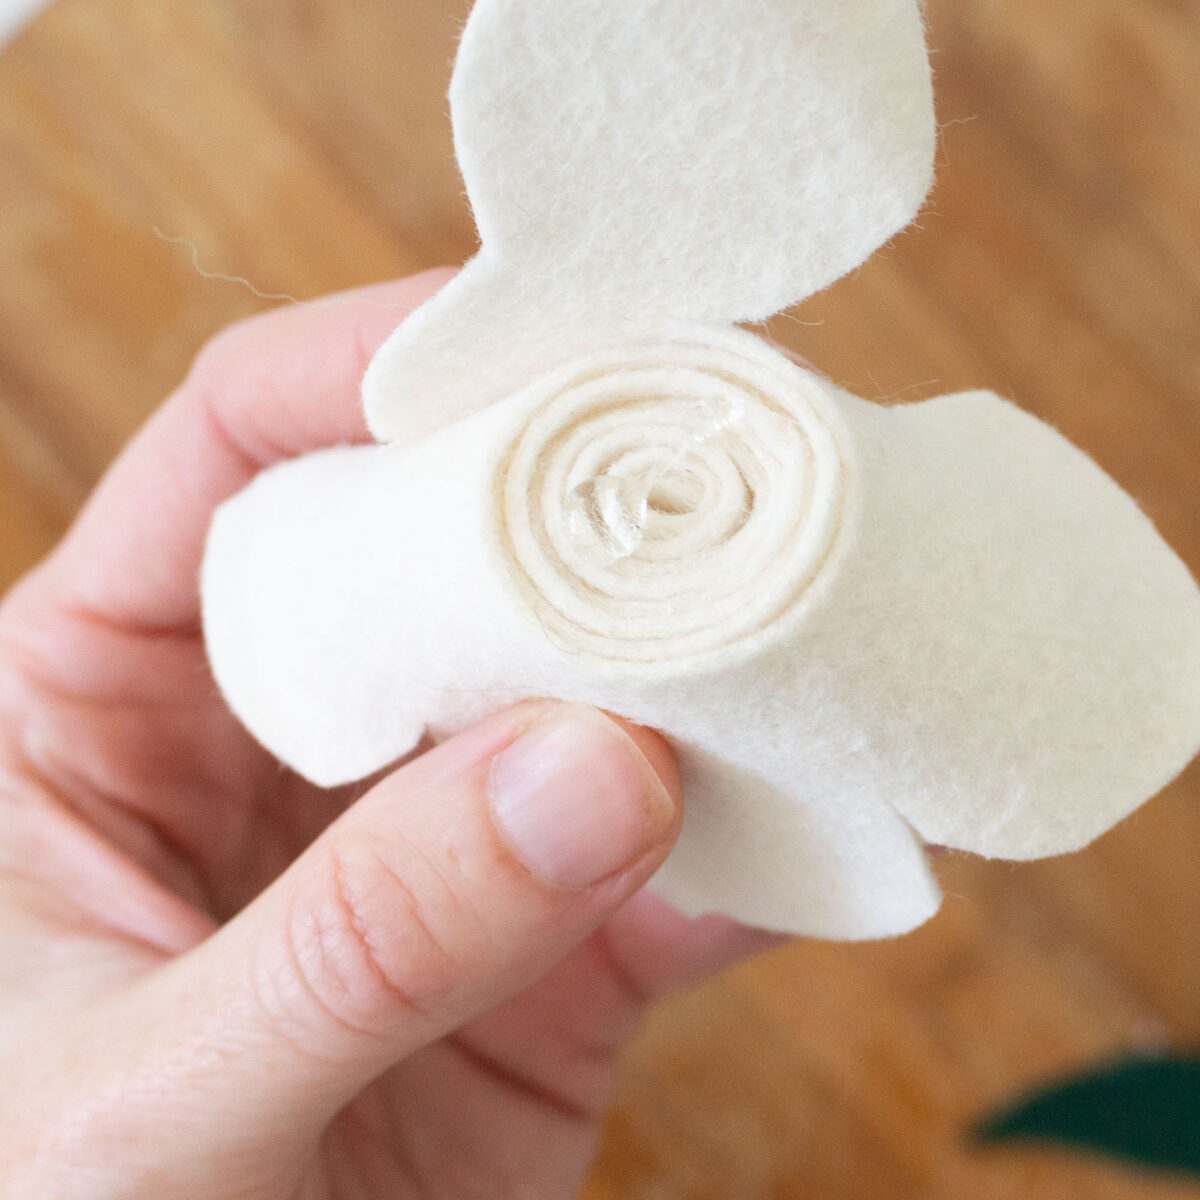
Assembling: Spiral Shape Rose Template (METHOD 1)
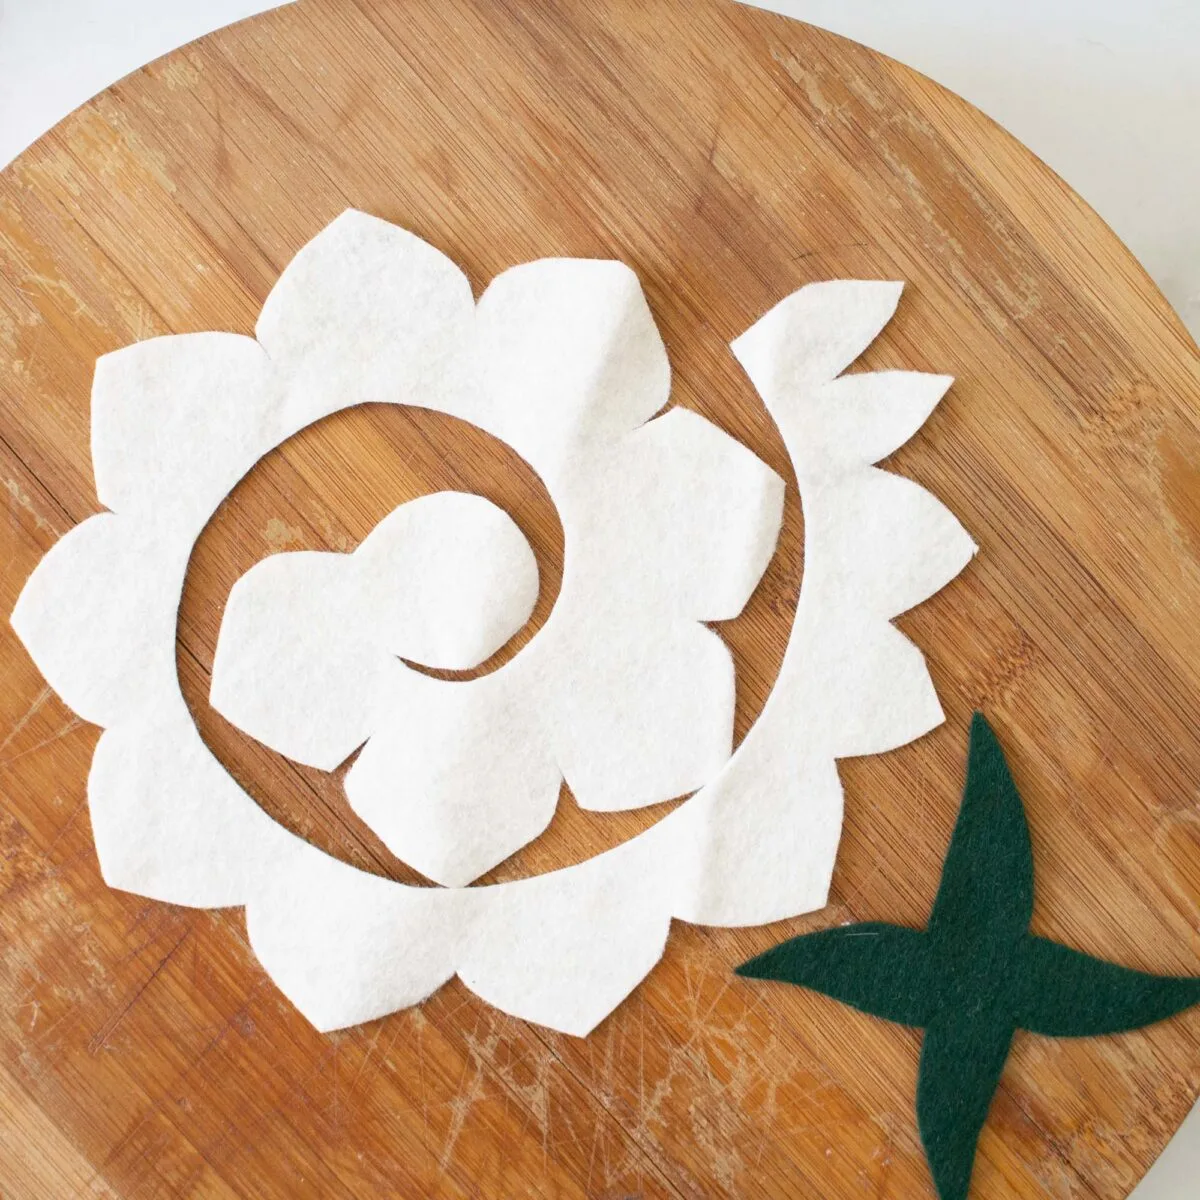
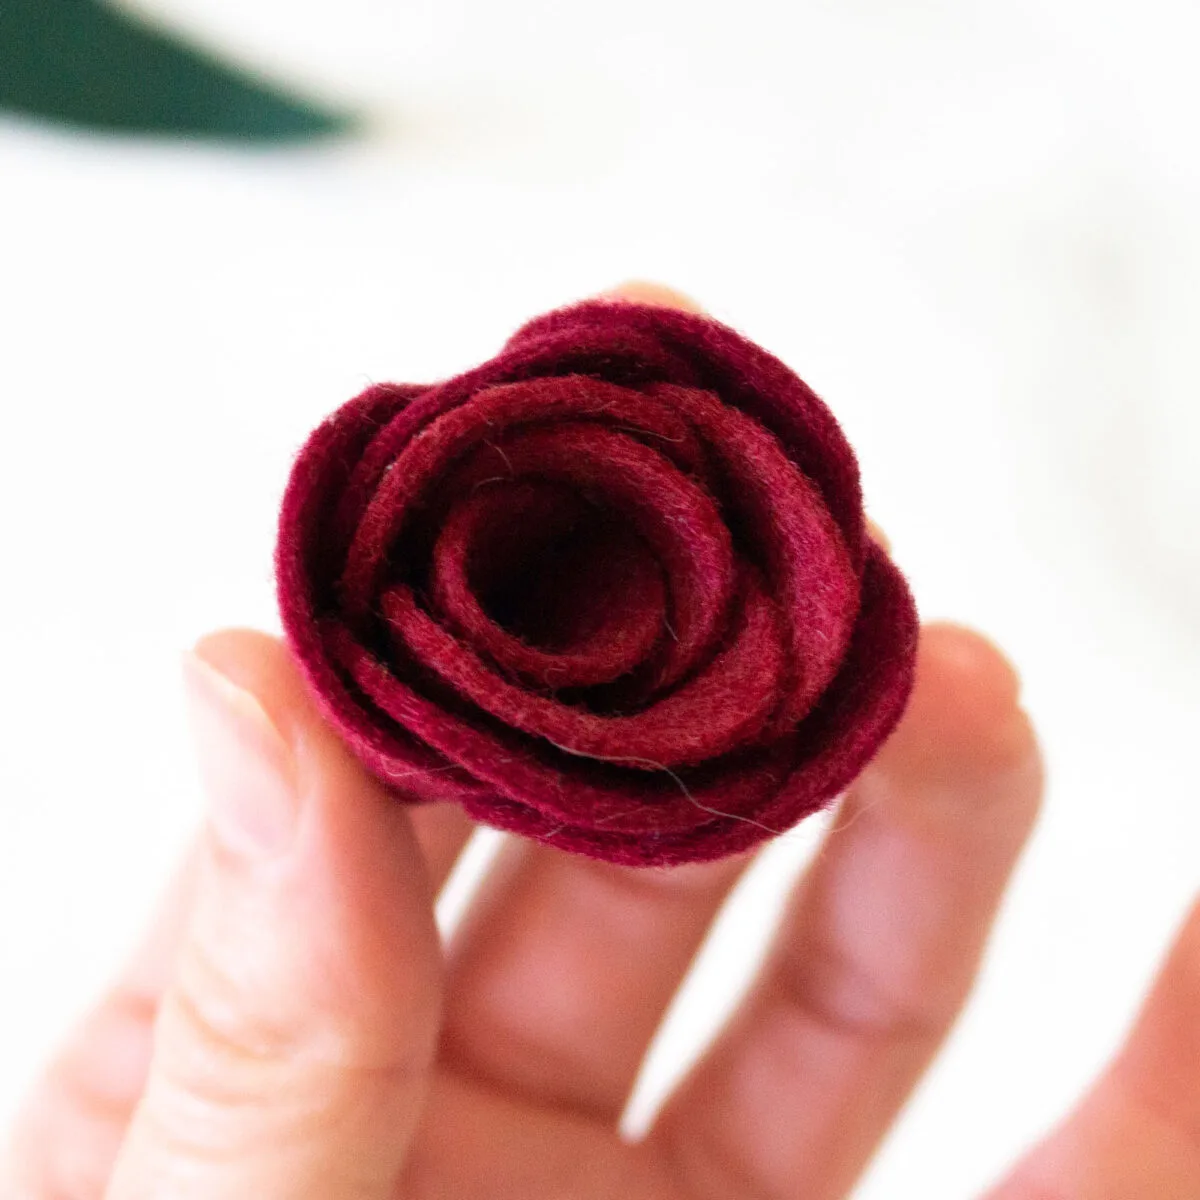
Apply a dab of glue to the outer tip at the end of the spiral piece as shown. Then begin to loosely roll the spiral along the smoother inner edge.

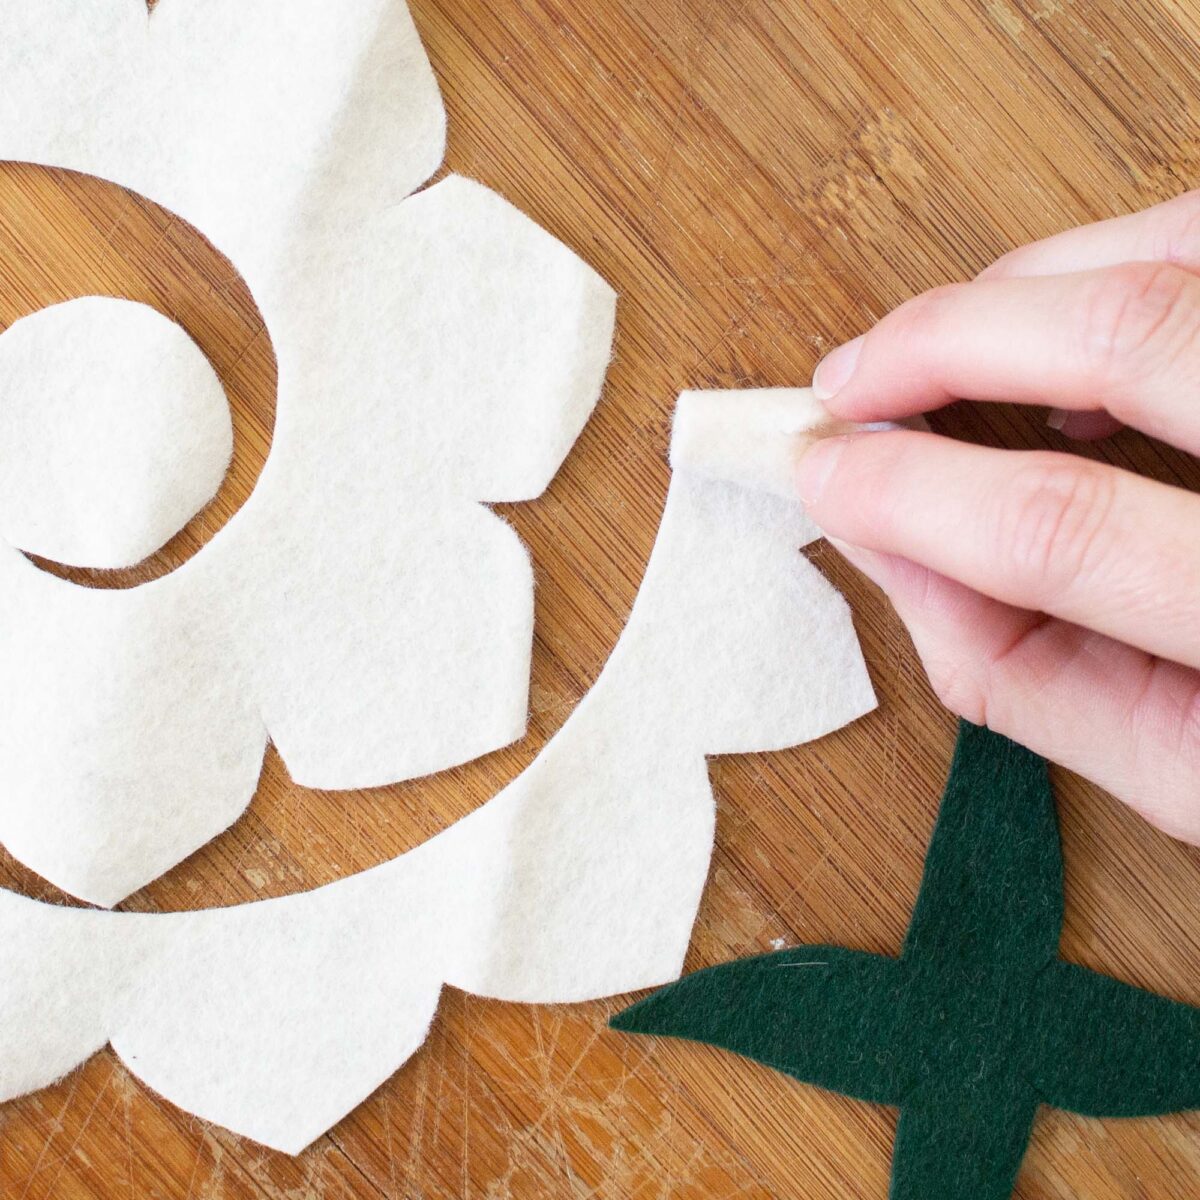
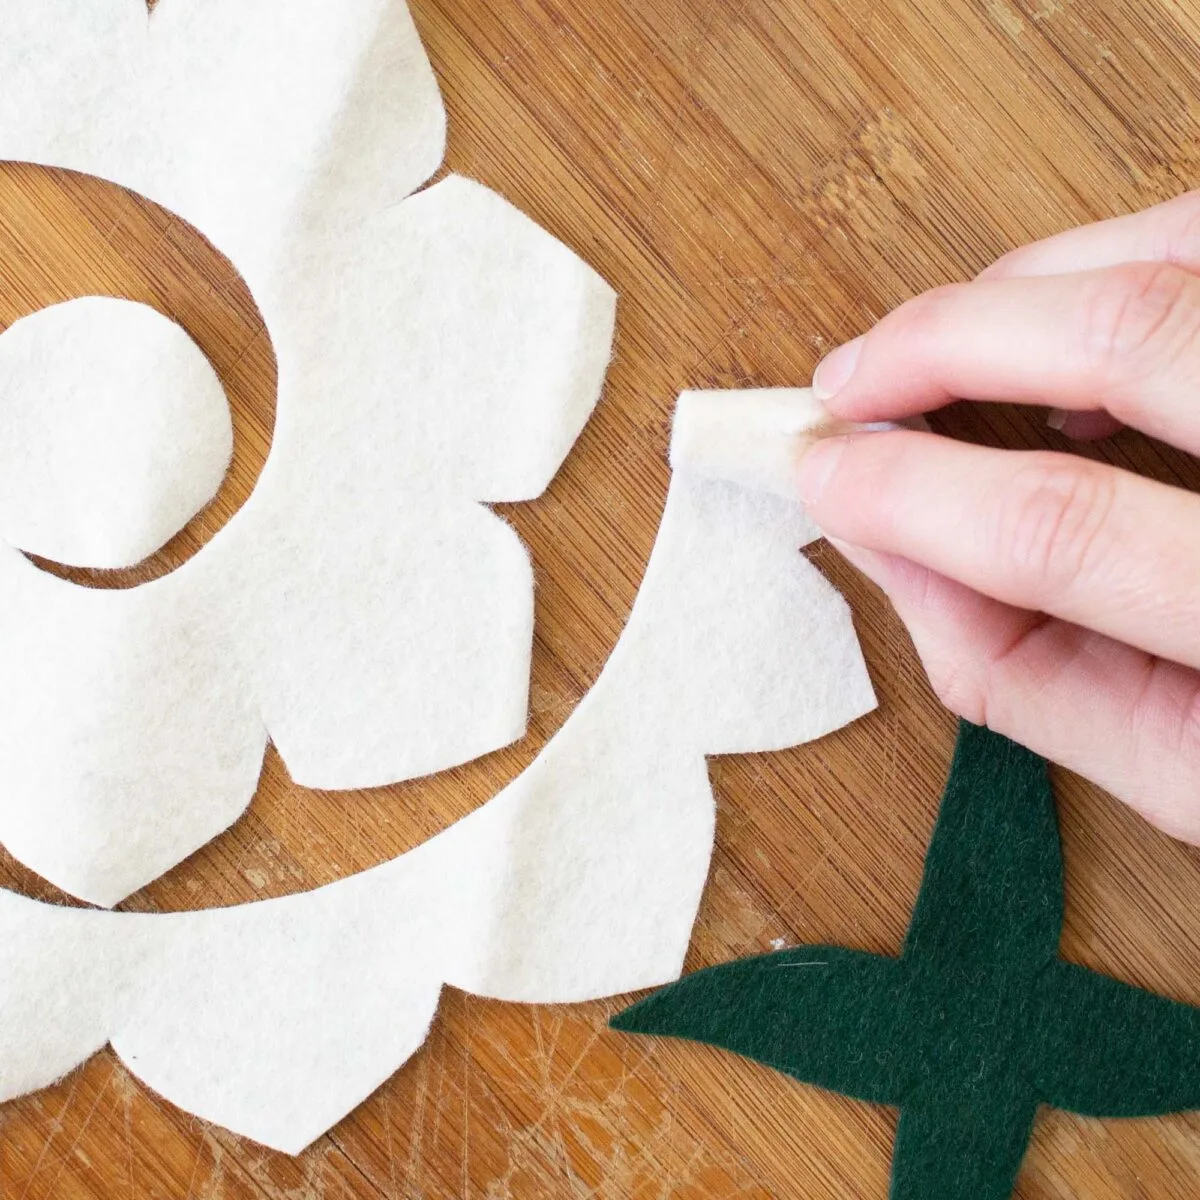
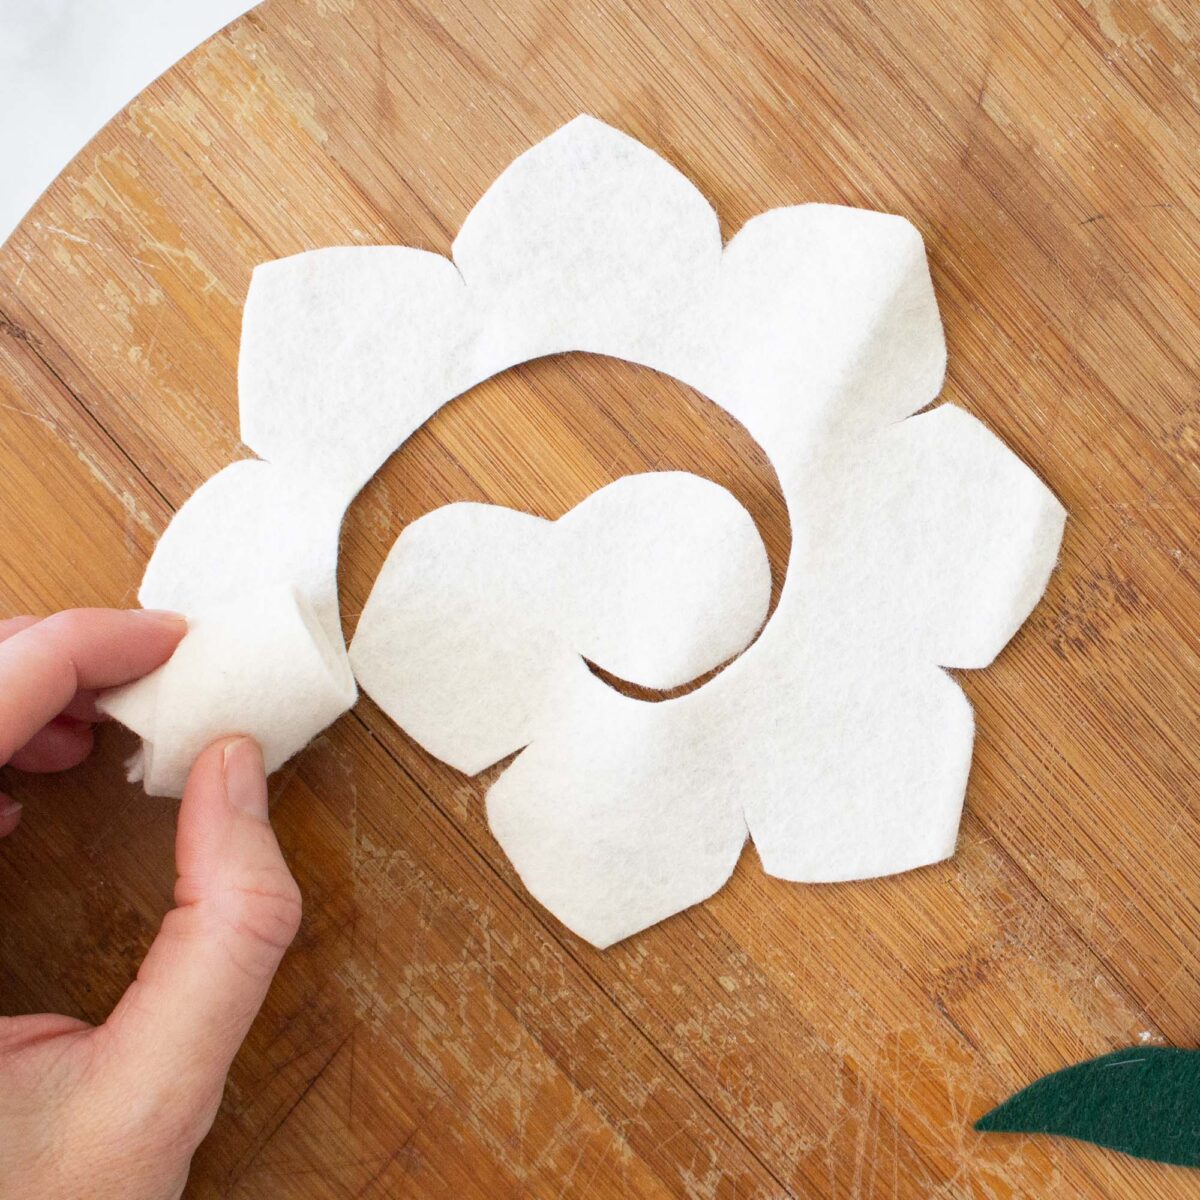

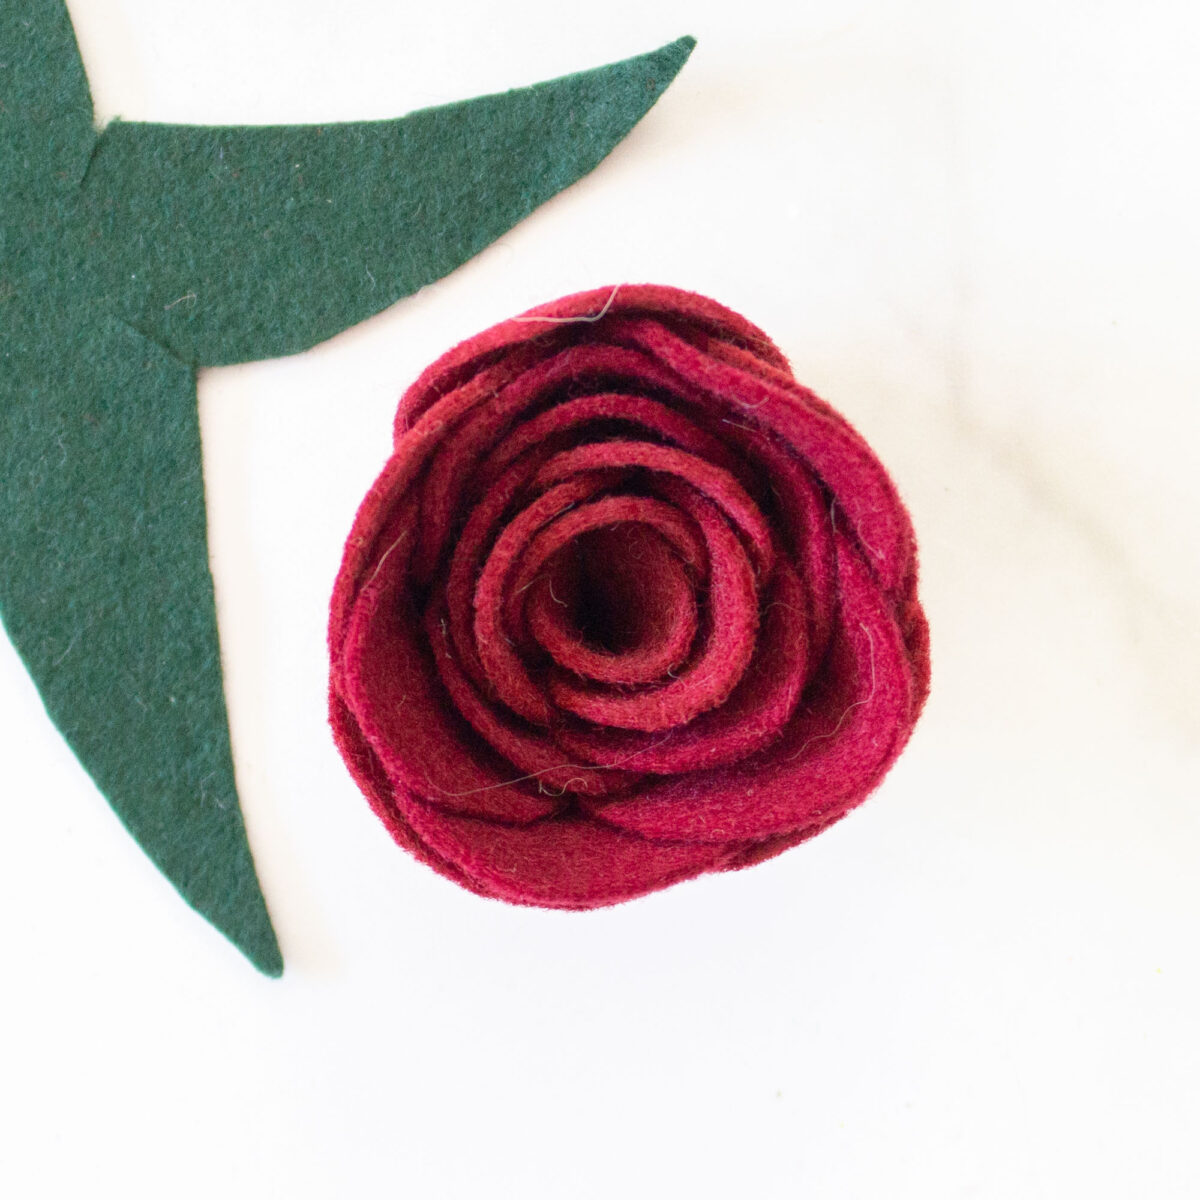
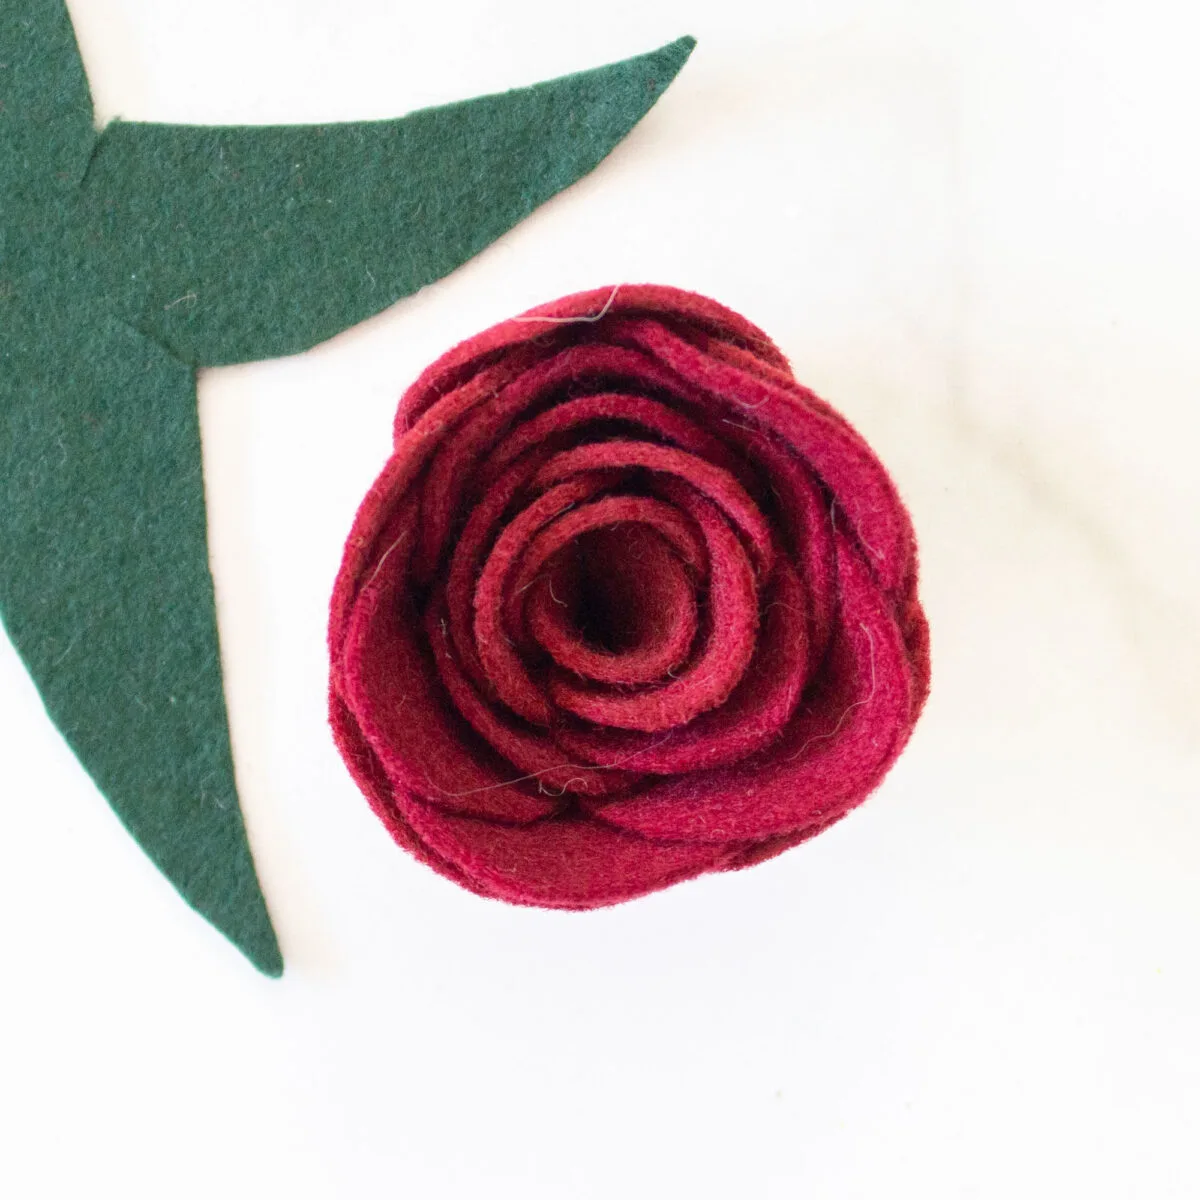
Continue rolling until you reach the little tab at the center. Glue the tab on to the rolled piece.

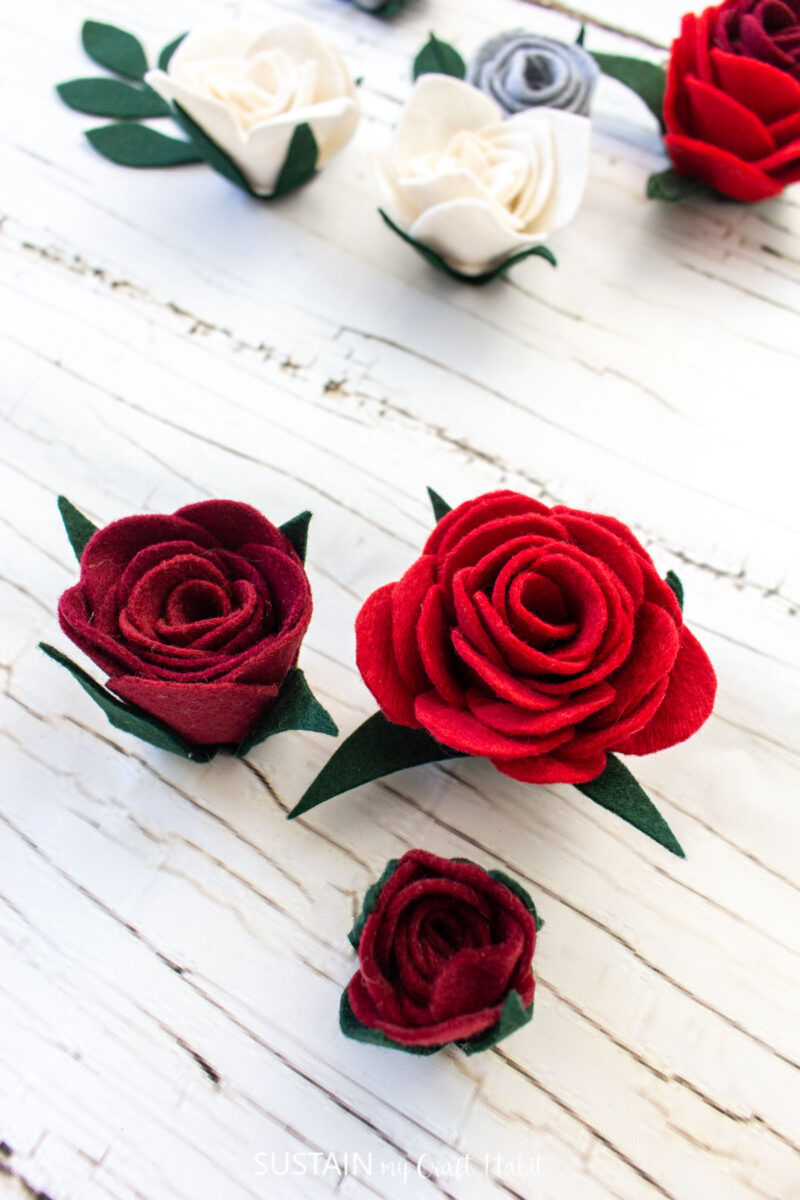
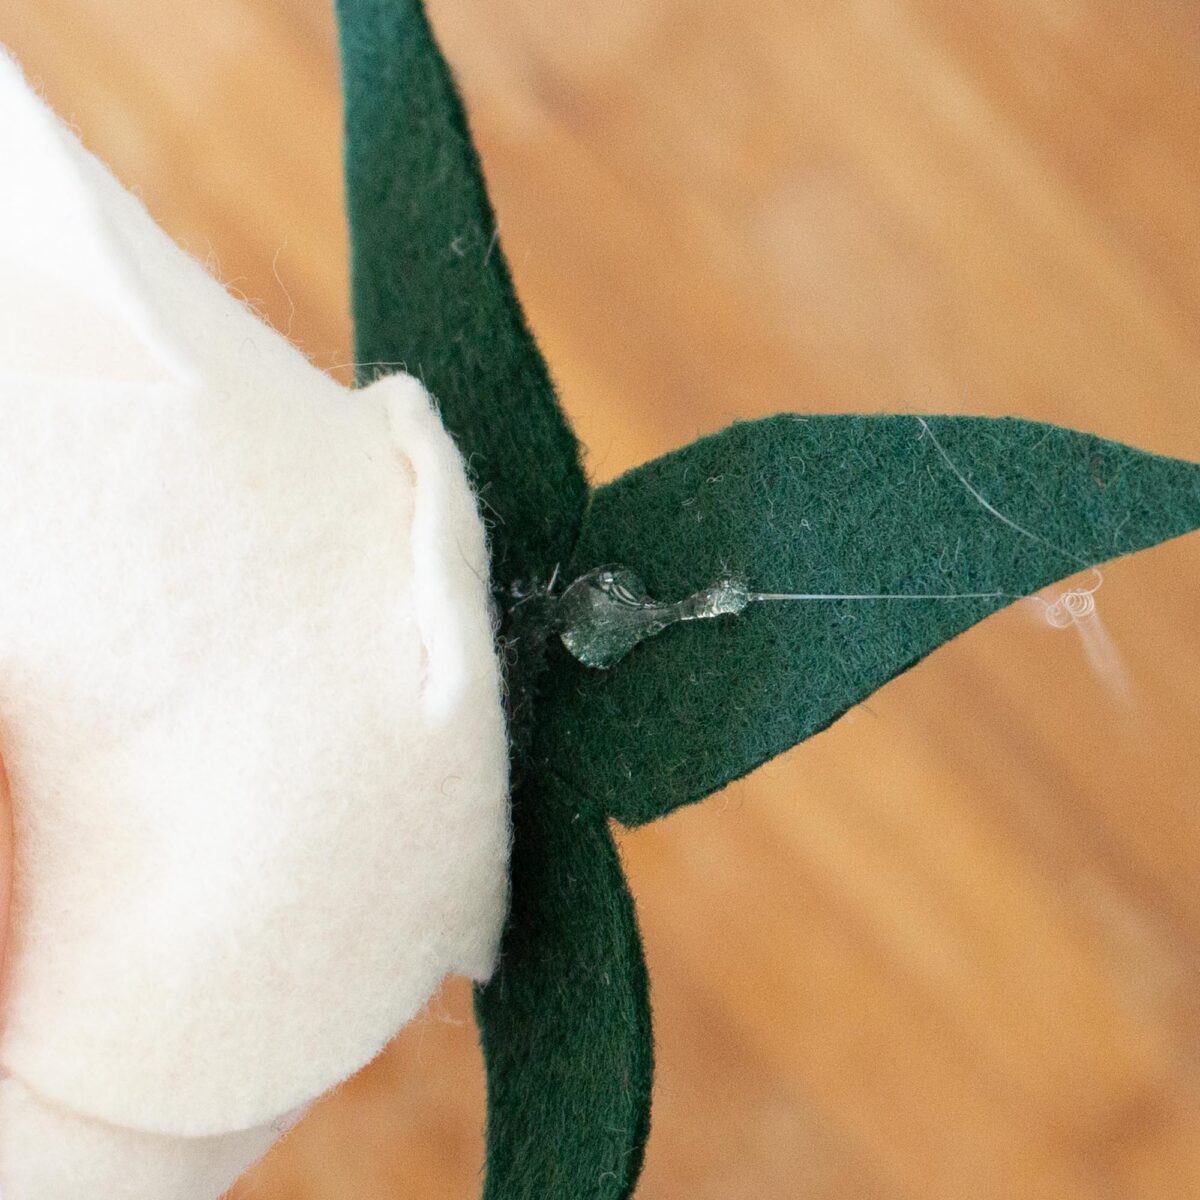
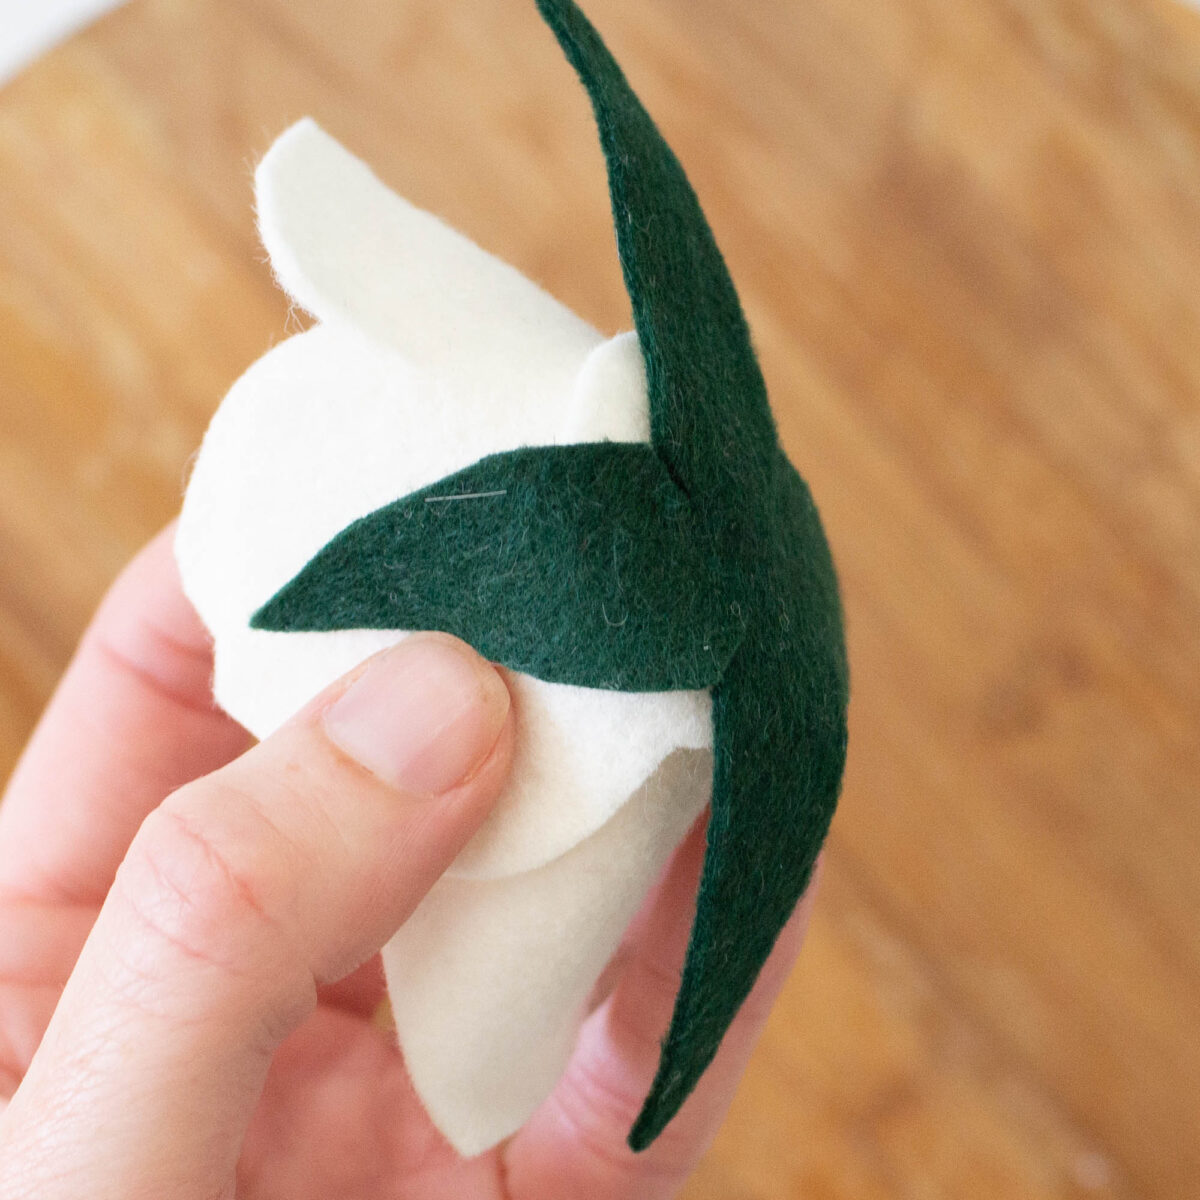
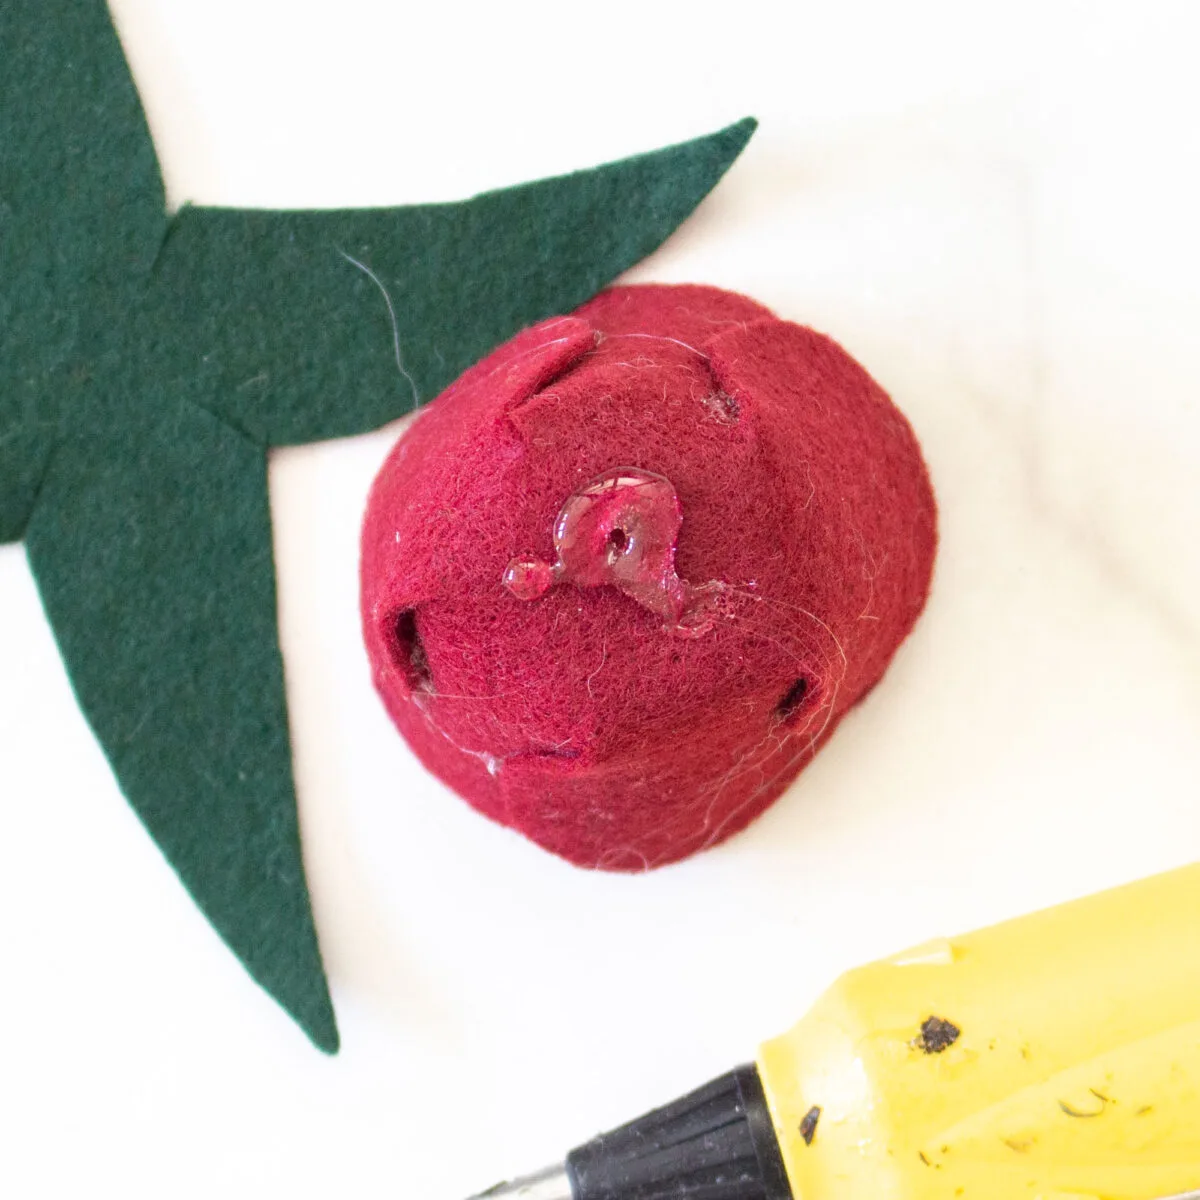
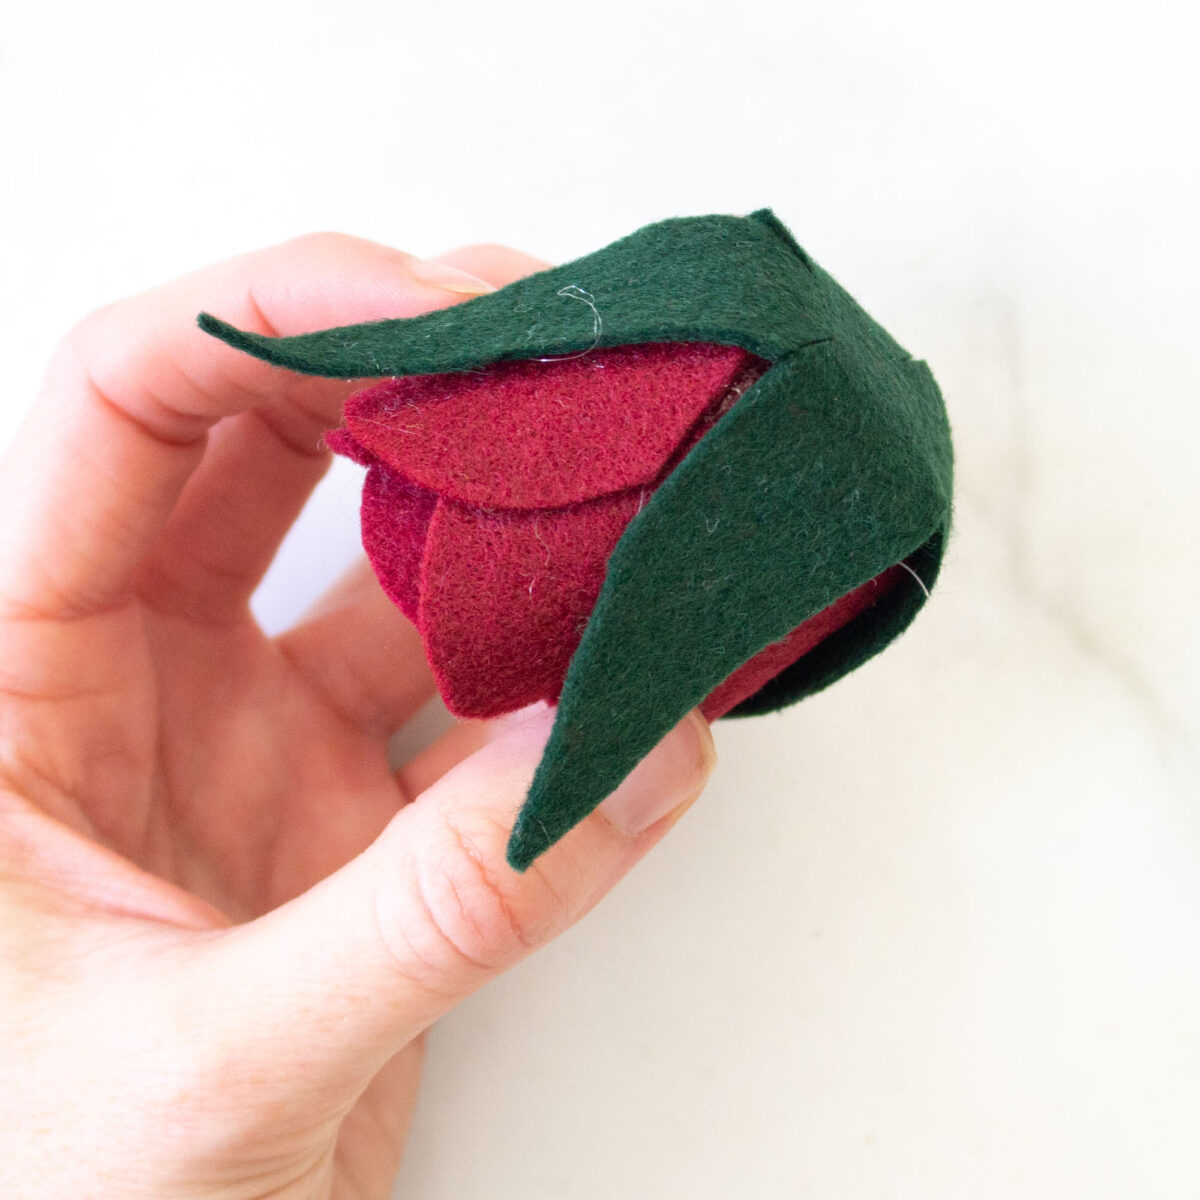
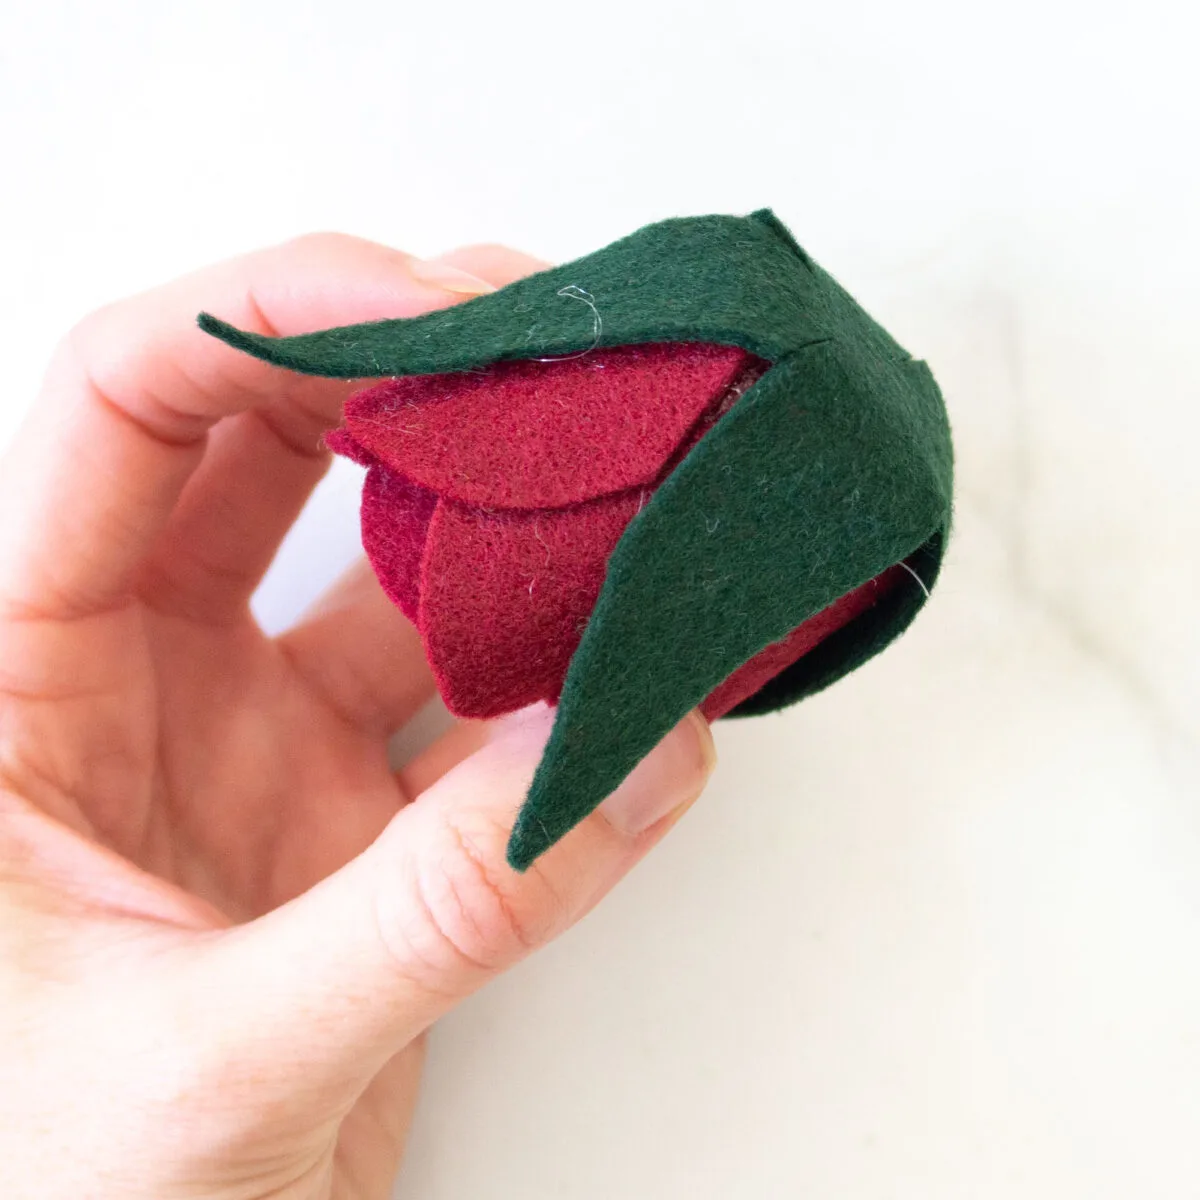
Lastly, place the completed english rose on top of the green base and glue the rosette in place as you fold the edges around the flower to complete the back of the rose.


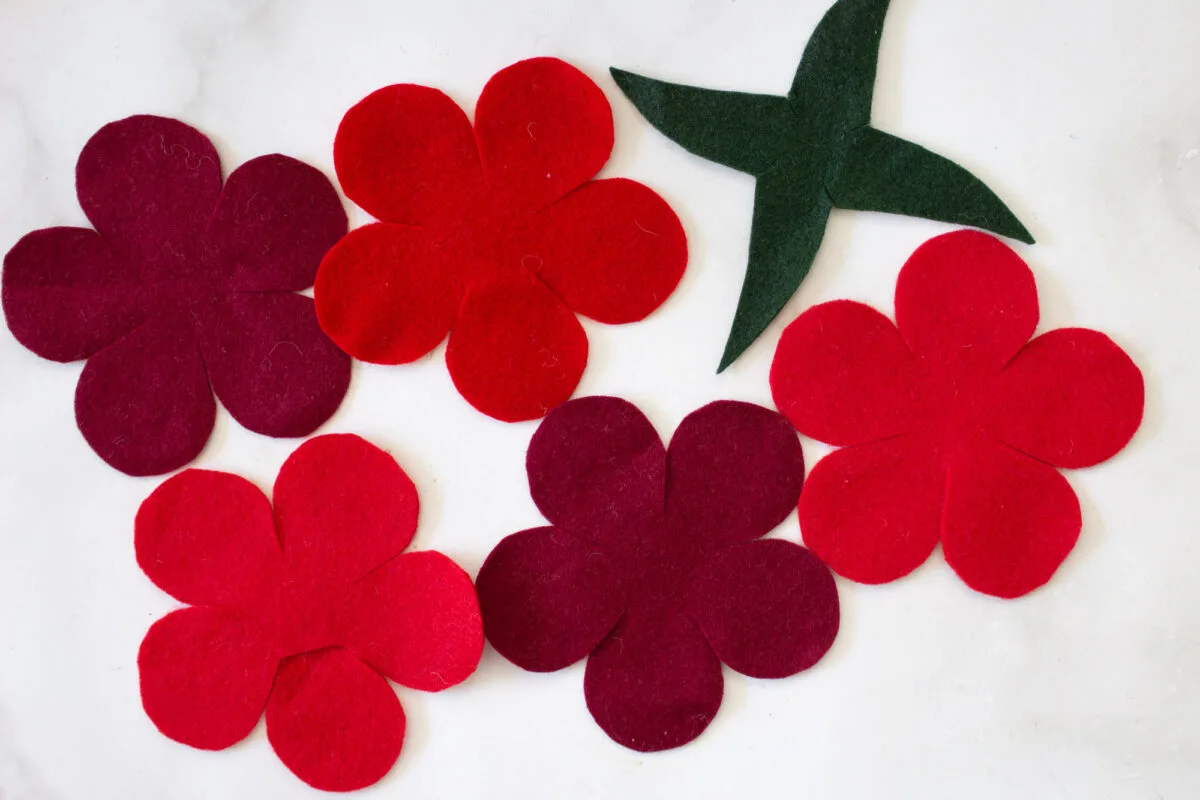
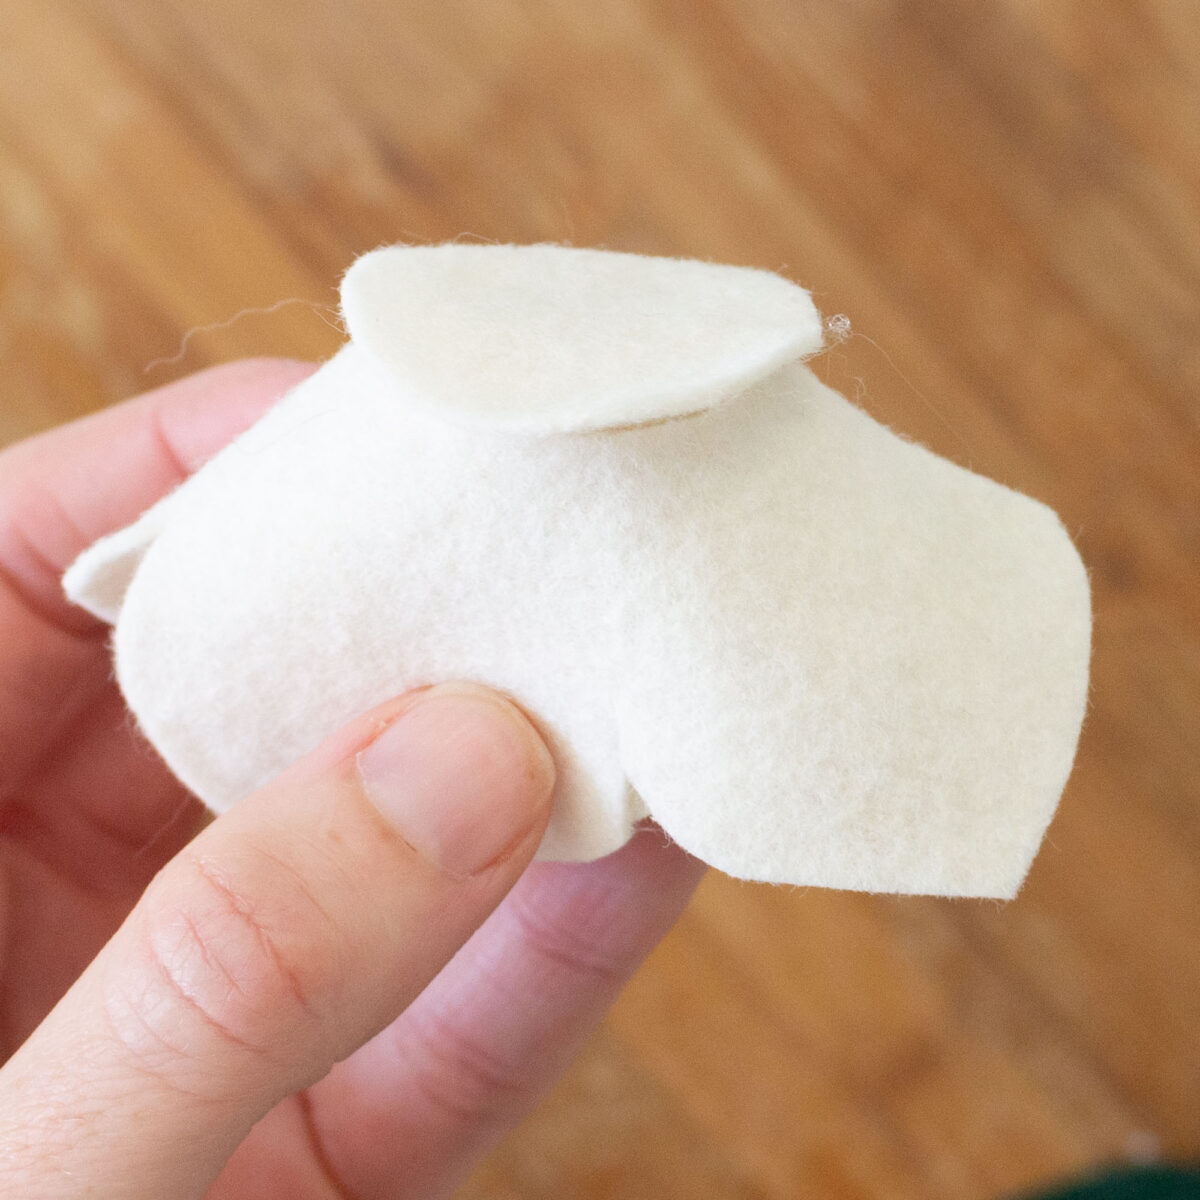
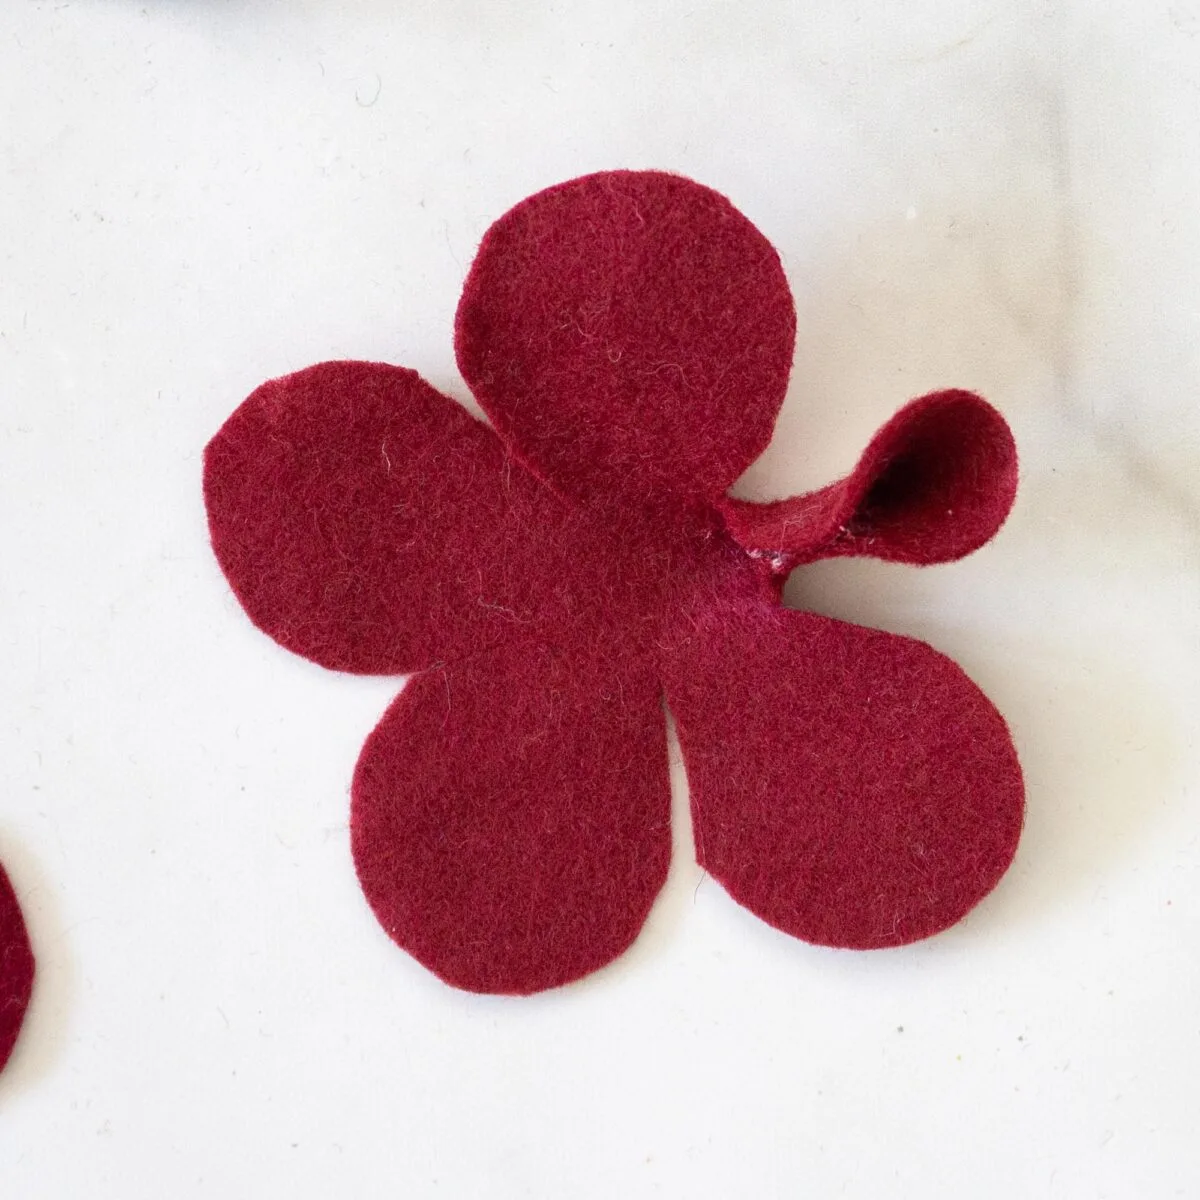
Assembling: Layered Rose Template (METHOD 2)
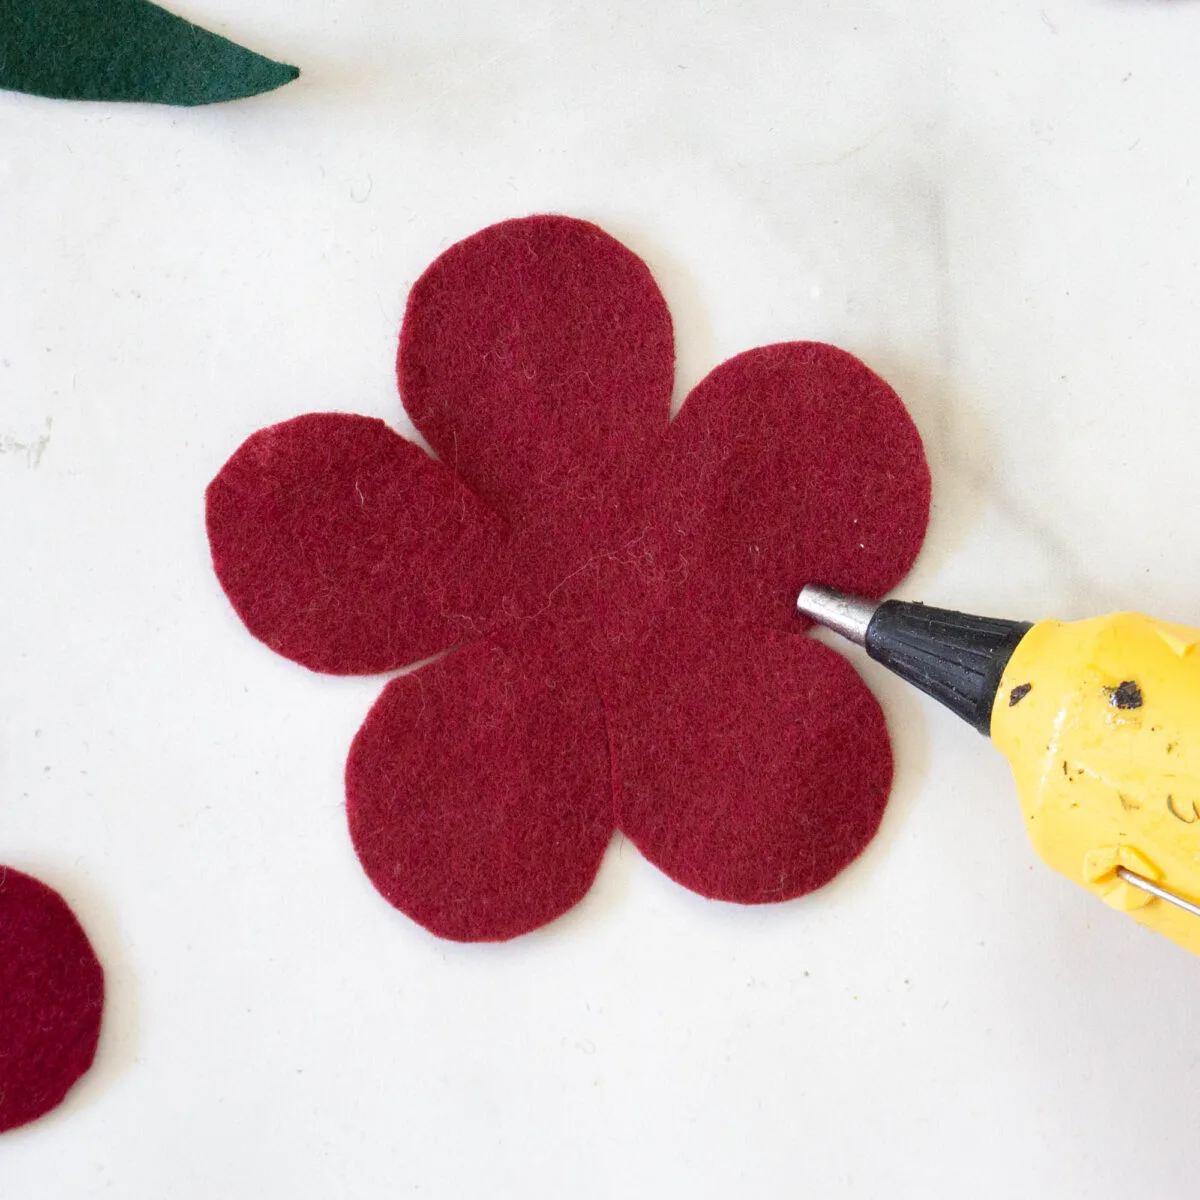
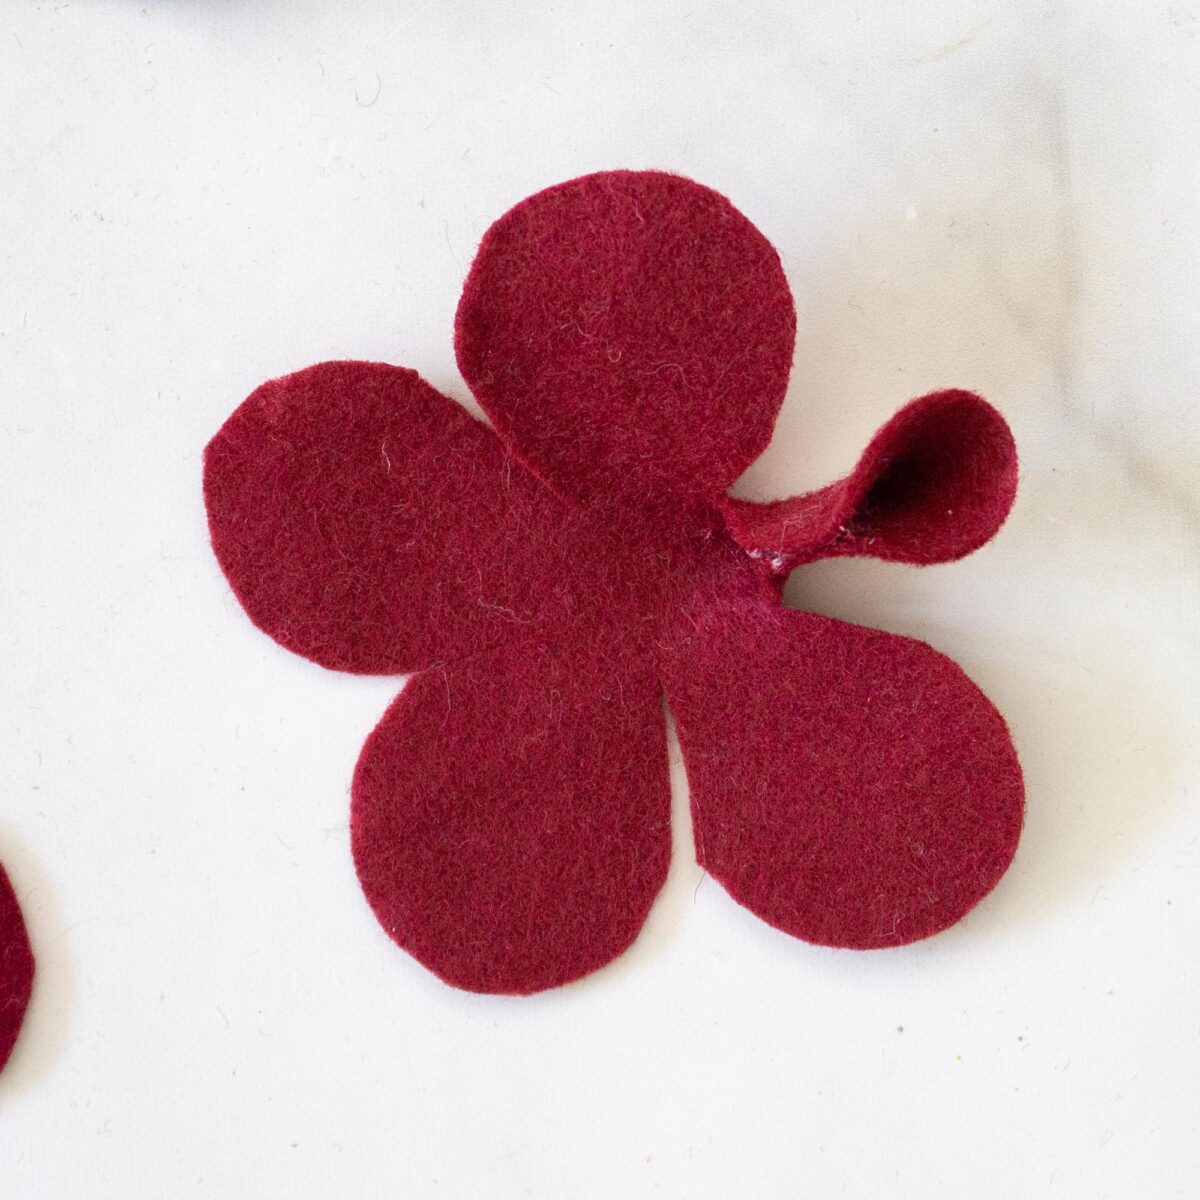
Starting with one of the 5-petal pieces, apply a dab of glue to the outer edge along the side of one petal and press it against the opposite side of that petal.
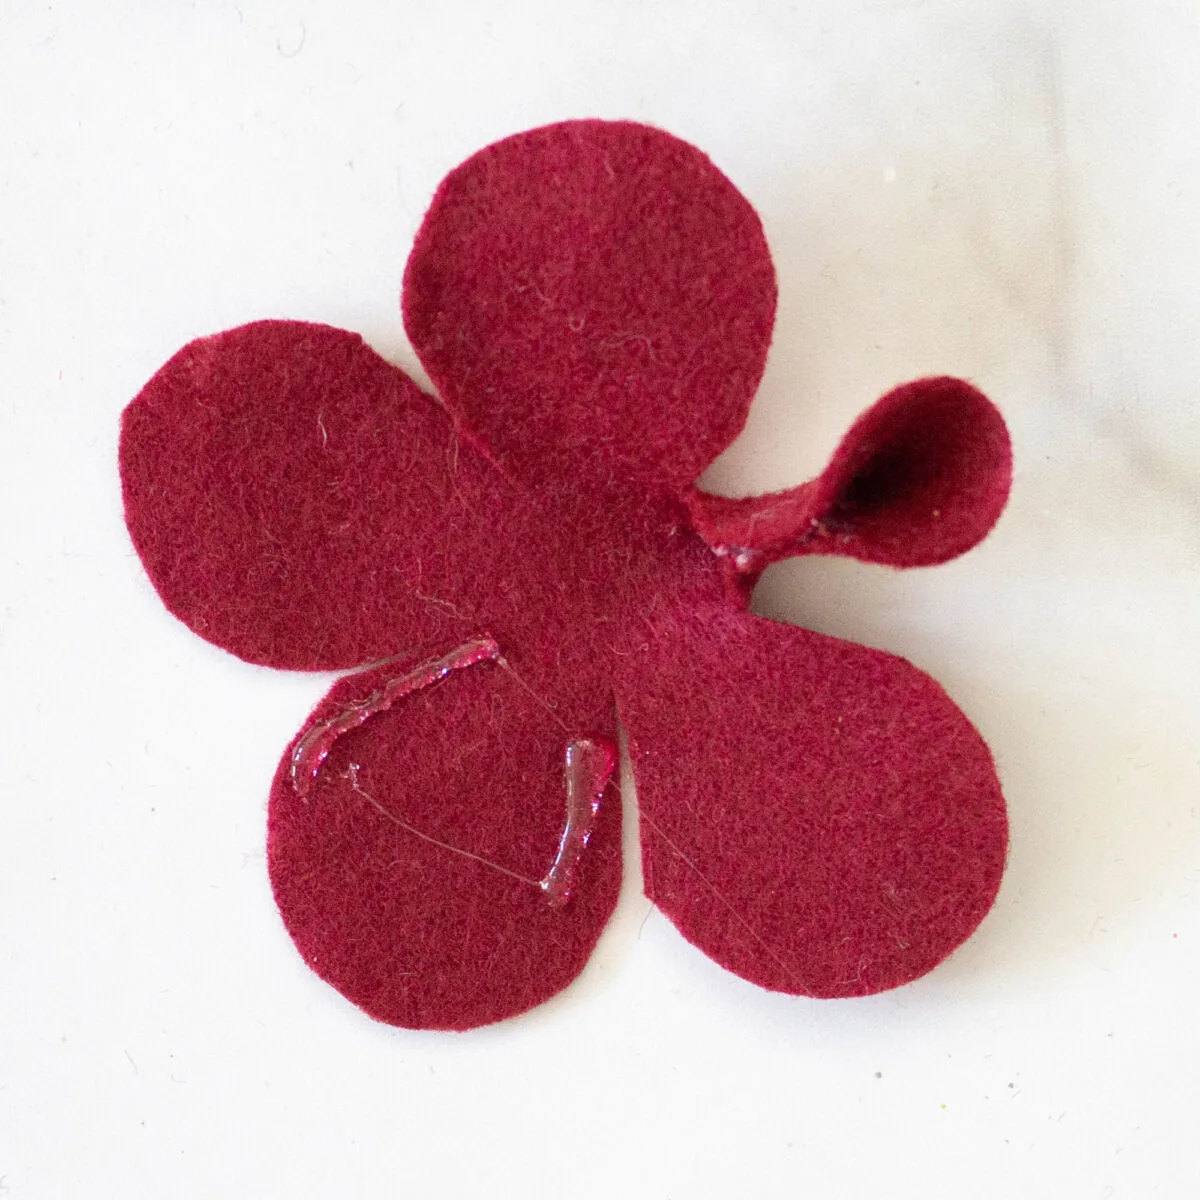
Next, lift the petal on the opposite side and wrap it snugly around the first glued petal.
Add a dab of hot glue under the edges to hold the wrapped petal in place.
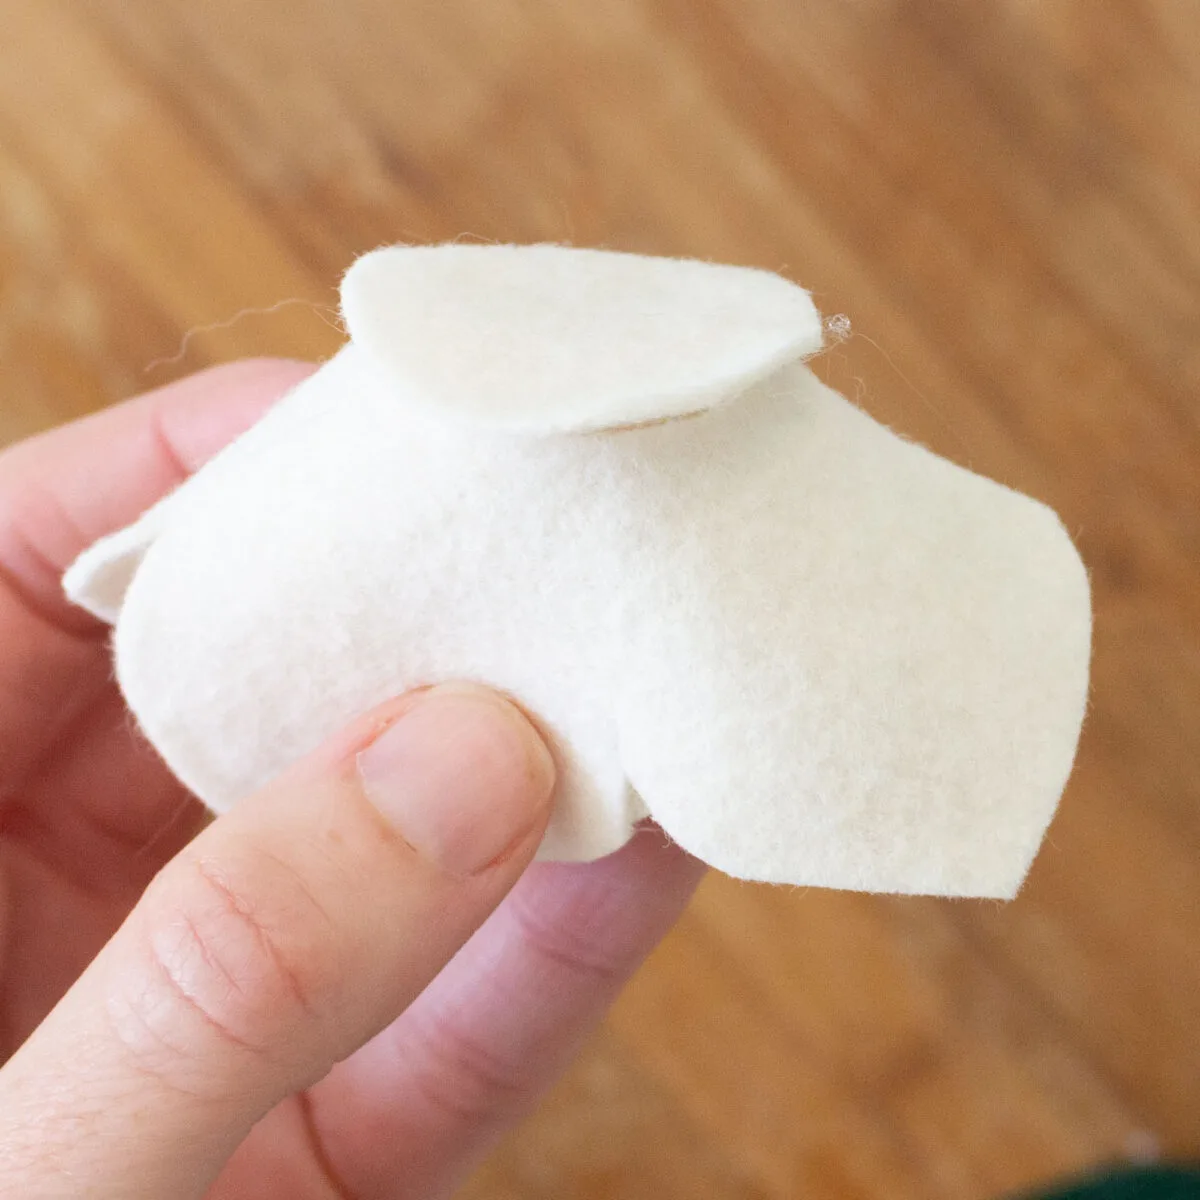
Repeat this method for the other remaining 3 petals.


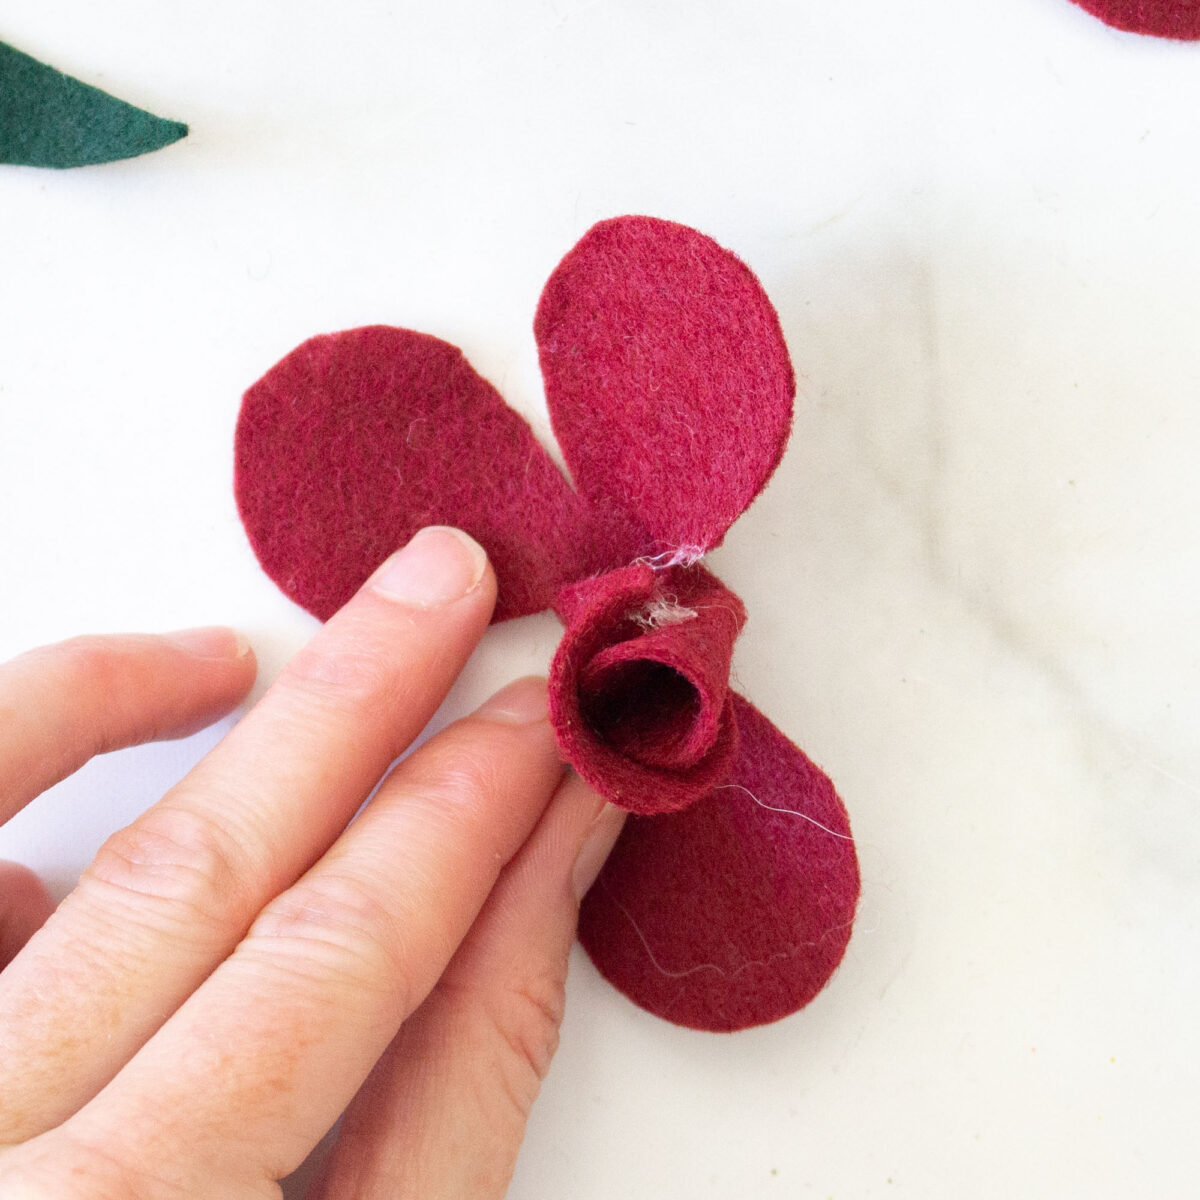

This piece will form the center part or middle of the rose.
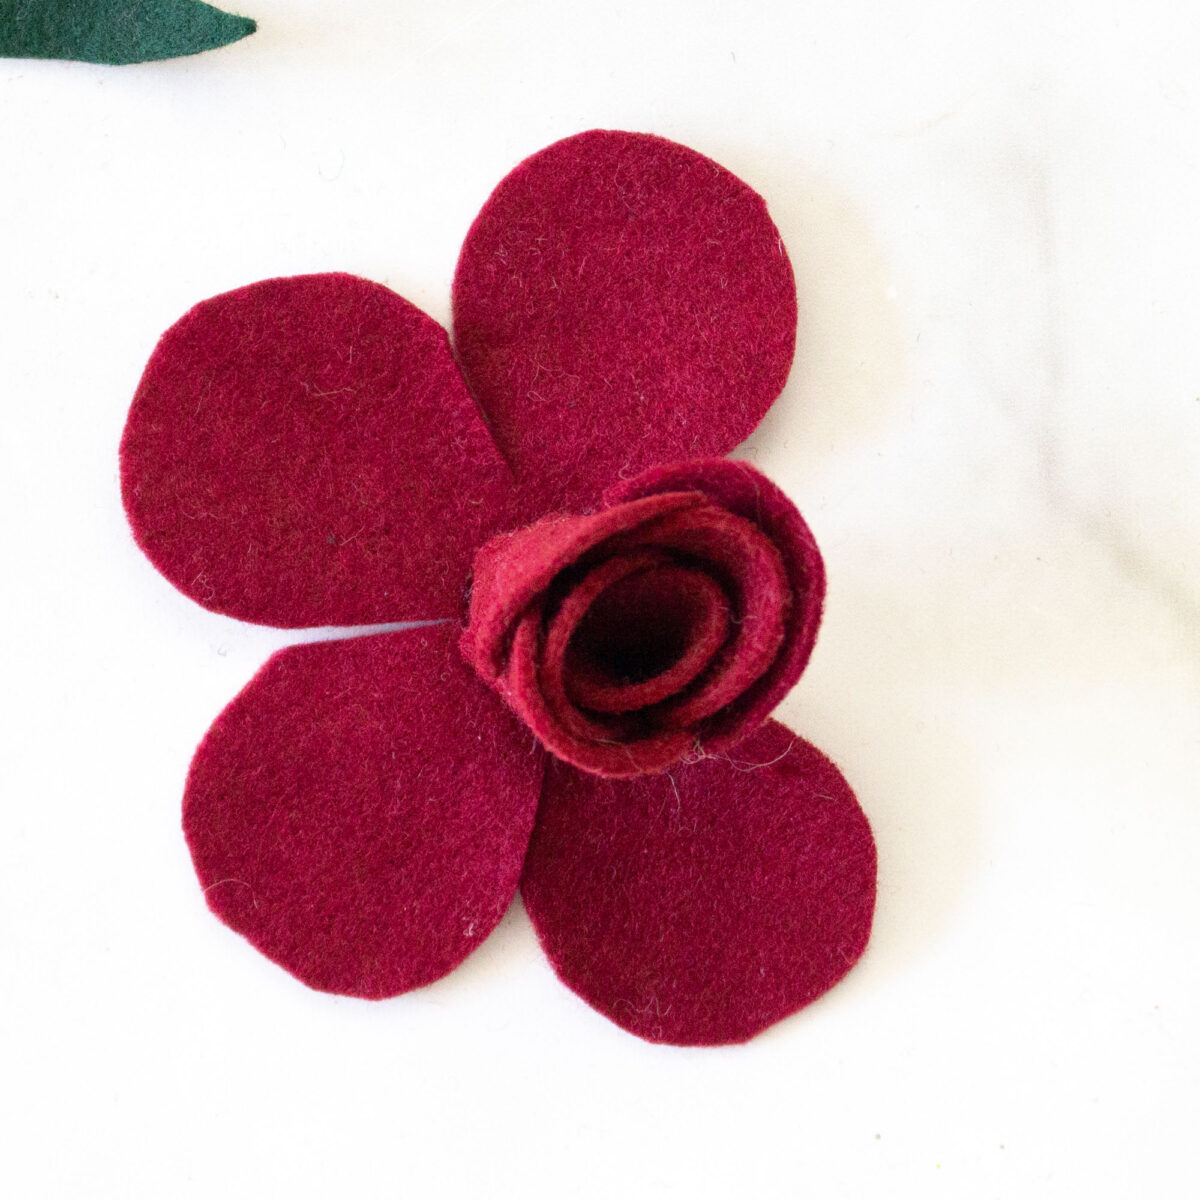
Position this finished piece on top of another 5-petal piece.
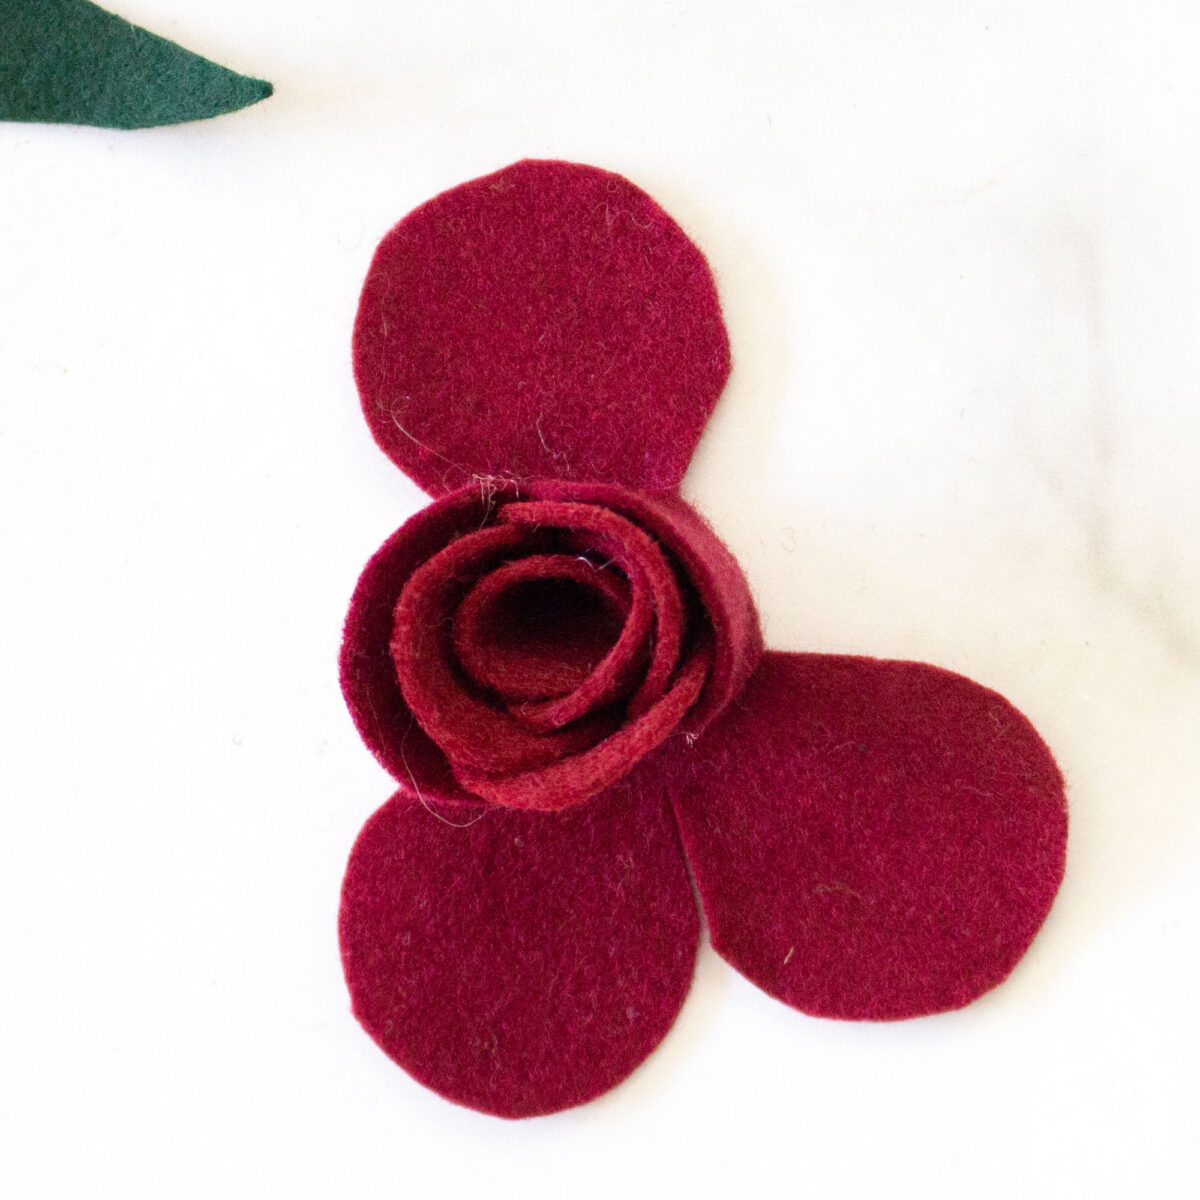
Using the same method as before and working one petal at a time, lift, glue and fold the petals around the rose bud.
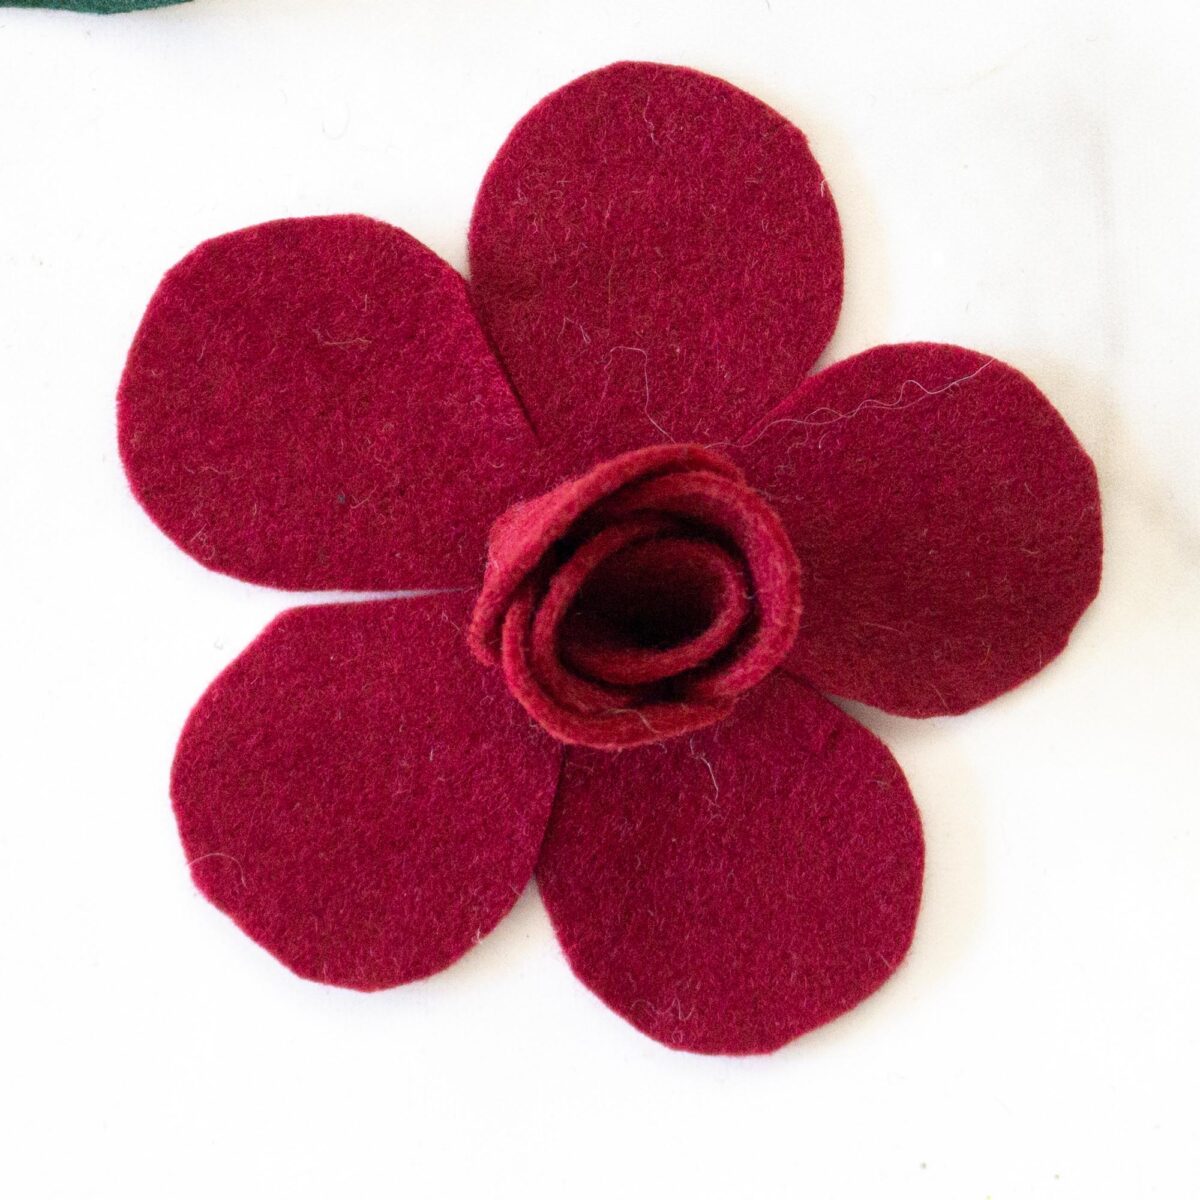

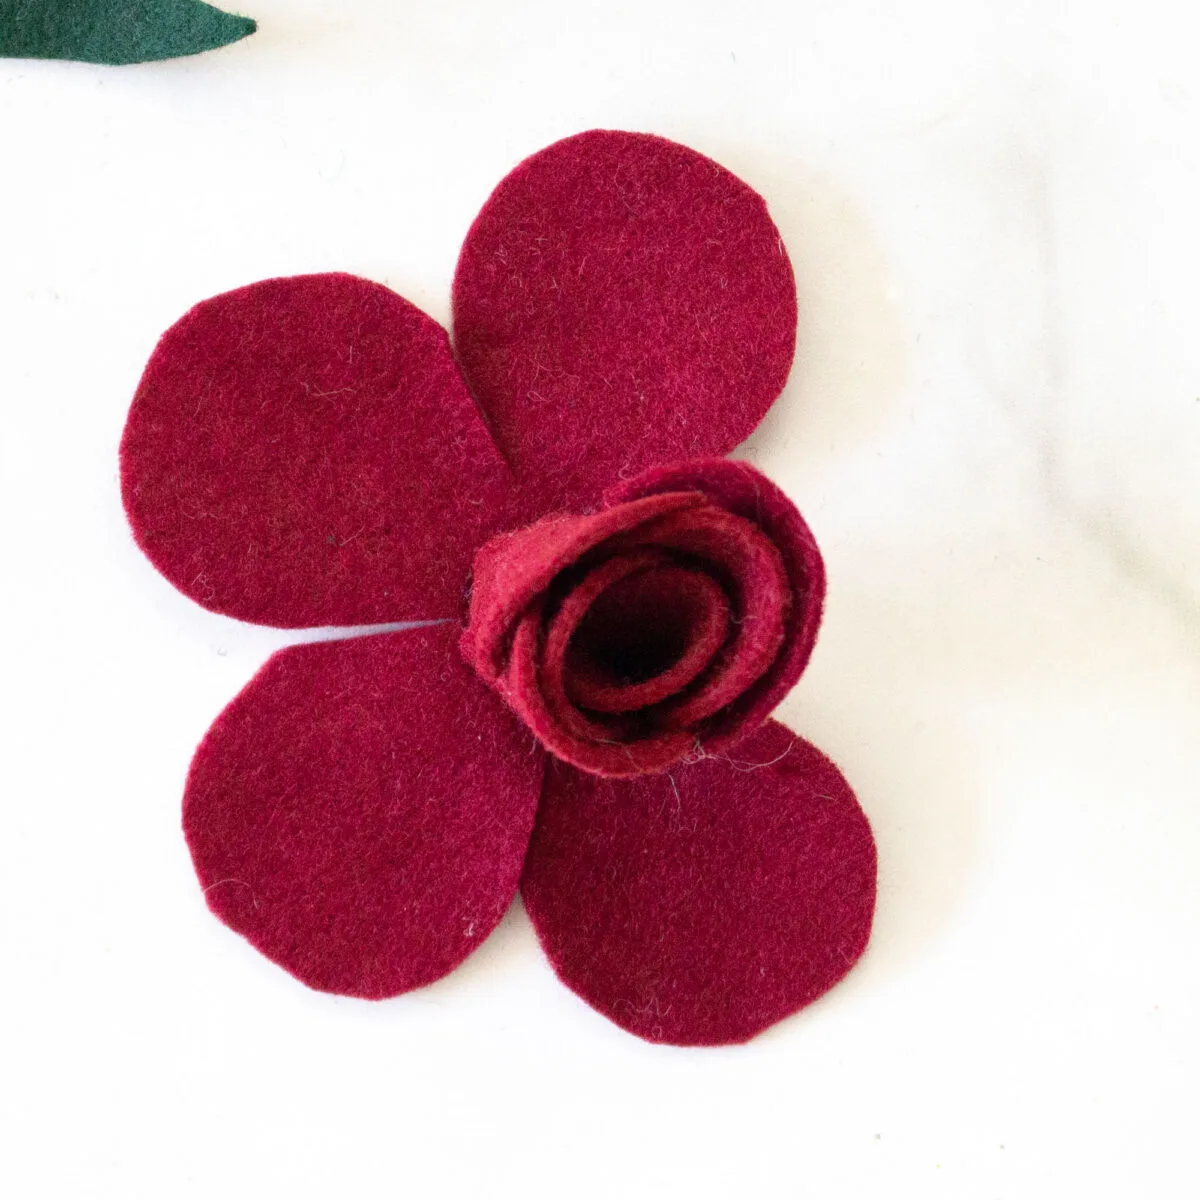
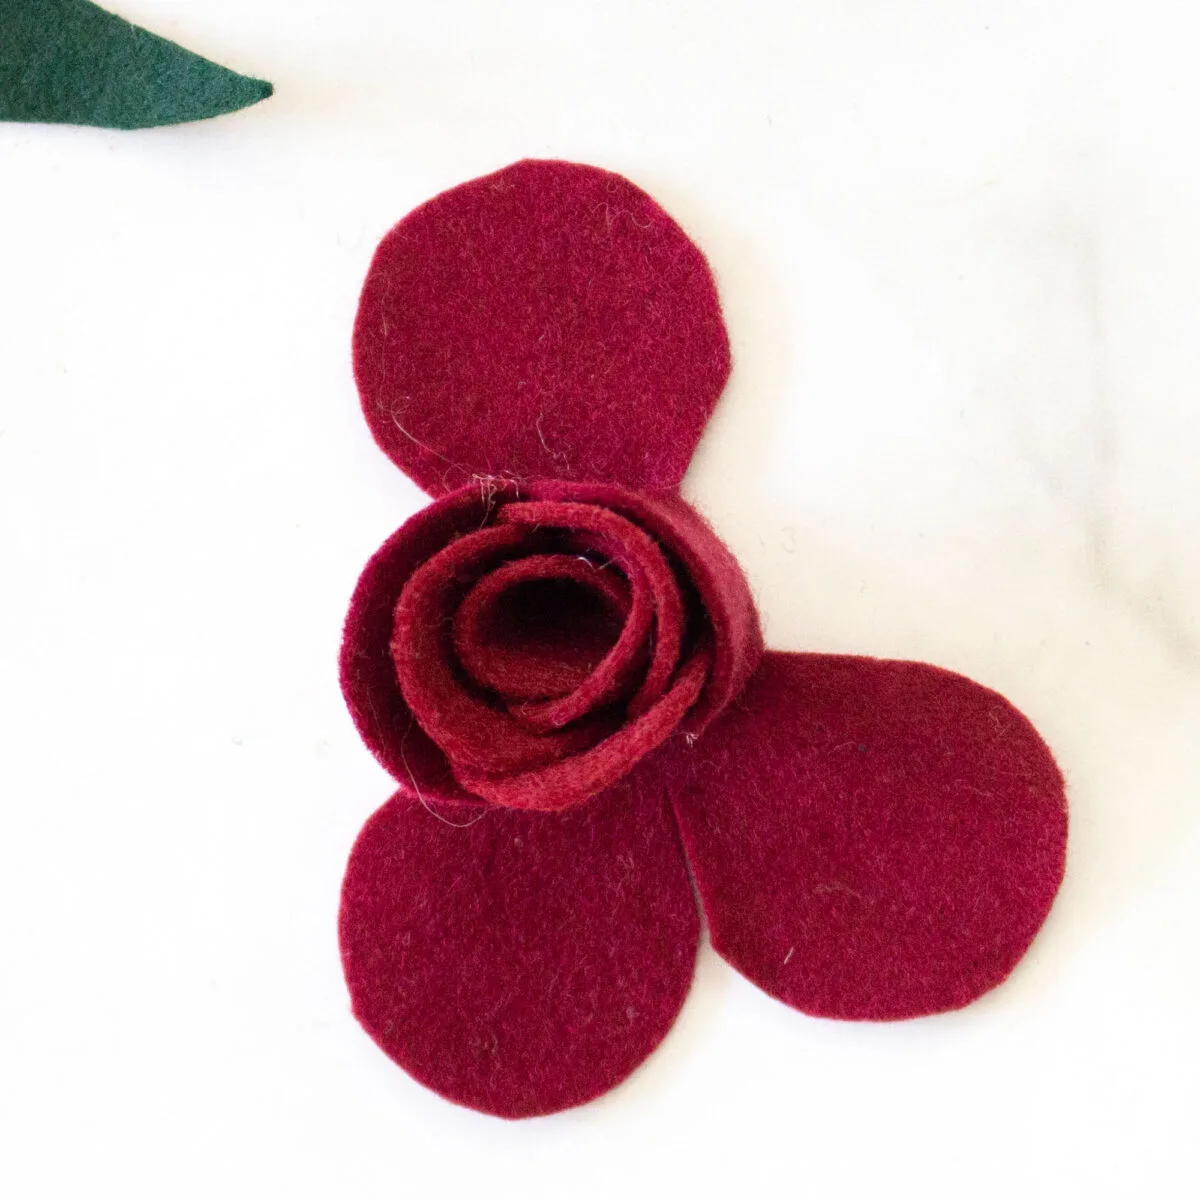

Continue with the remaining pieces until all petals are glued in place forming the completed rose bloom.
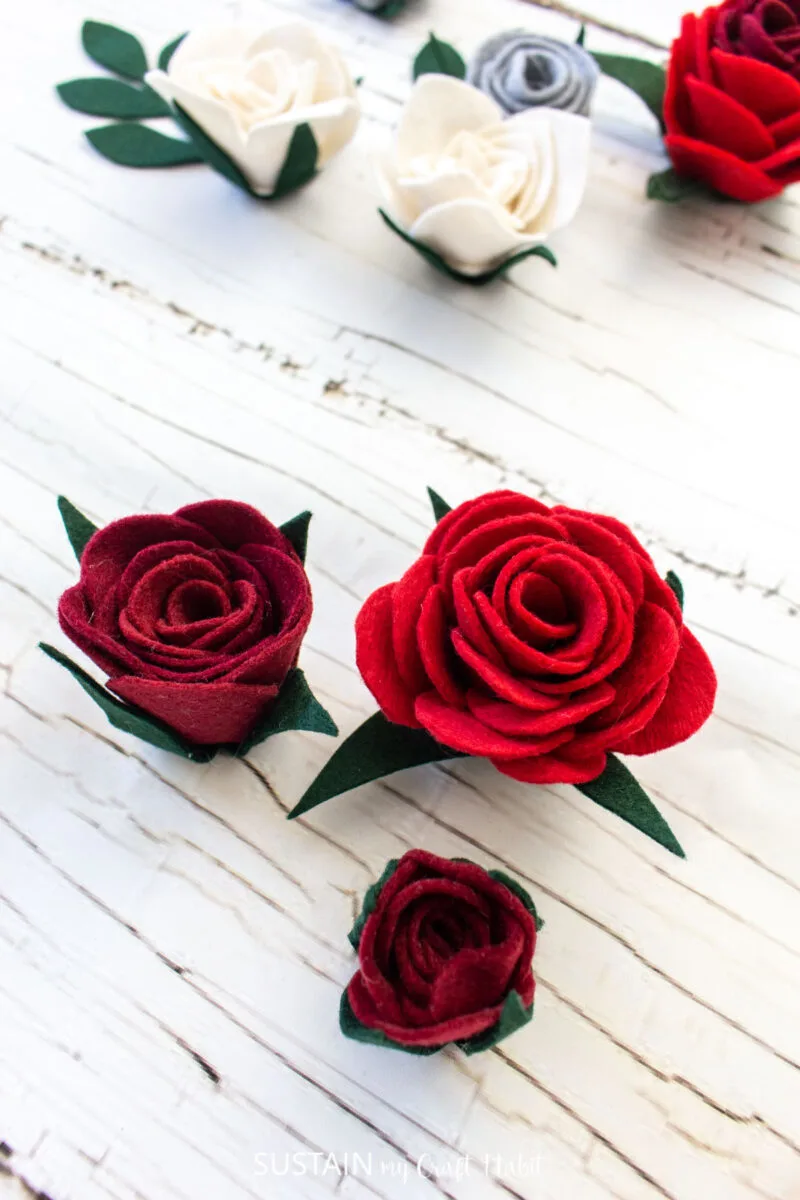
Lastly, place the completed rose on top of the green base and glue the rosette in place as you fold the edges around the flower to complete the back of the rose.


For the complete instructions and easy tutorial, get the felt rose flower pattern here, which also includes 2 additional templates for making a rose bud and rosette.

Craft Projects to Make with Felt Roses
- Create a lovely flower bouquet by adding floral wire similar to how we made these felt tulips
- Make a simple barette by adding hair clips to the back of the felt flowers
- Felt flower wreath
With just a few basic supplies, you can make some gorgeous flower designs (which is why we love felt crafting so much)!
We have plenty of other felt flower patterns in our Etsy shop. Check out these lovely flower crafts to make at home:
- Creative Gift Wrapping with Felt Flowers
- Pretty Photo Display with Felt Flowers
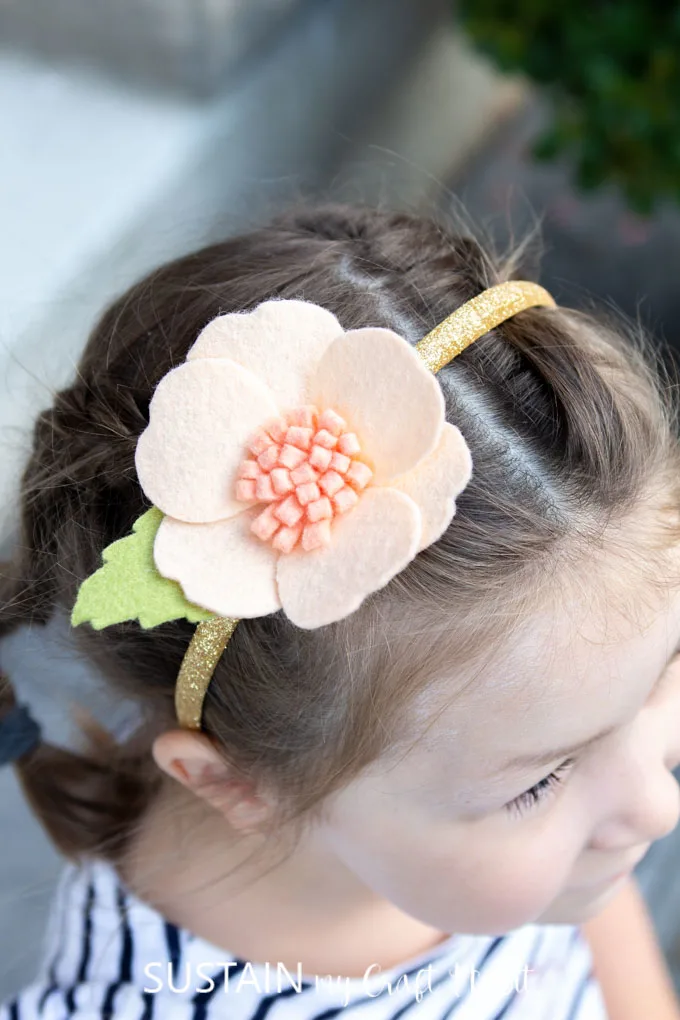
- Girl’s Pretty DIY Headband with Felt Flowers
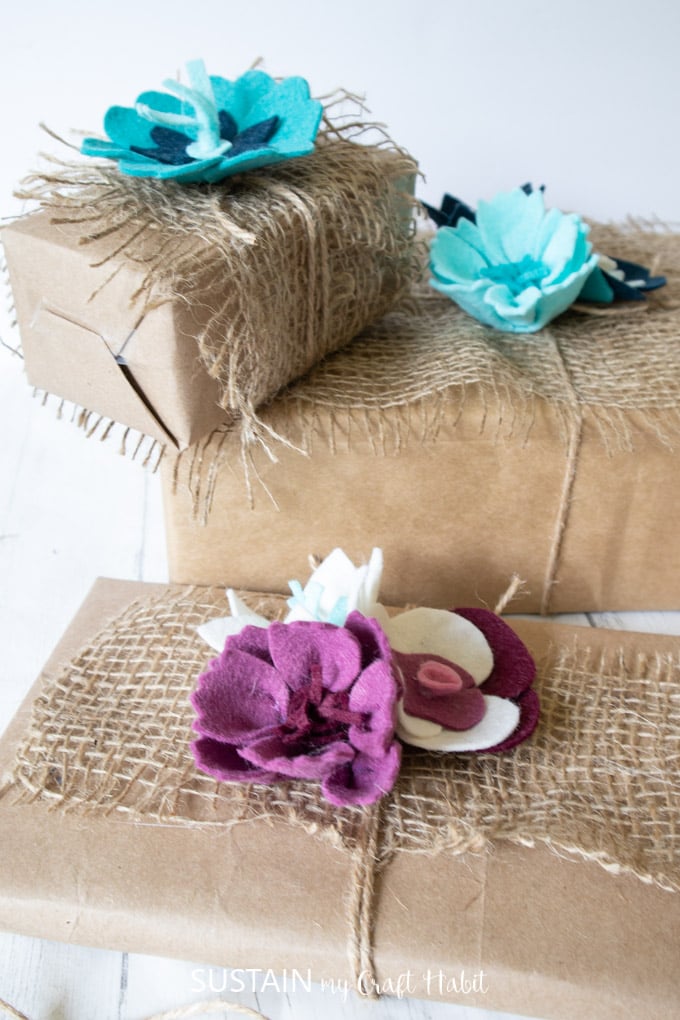

Gift Wrapping 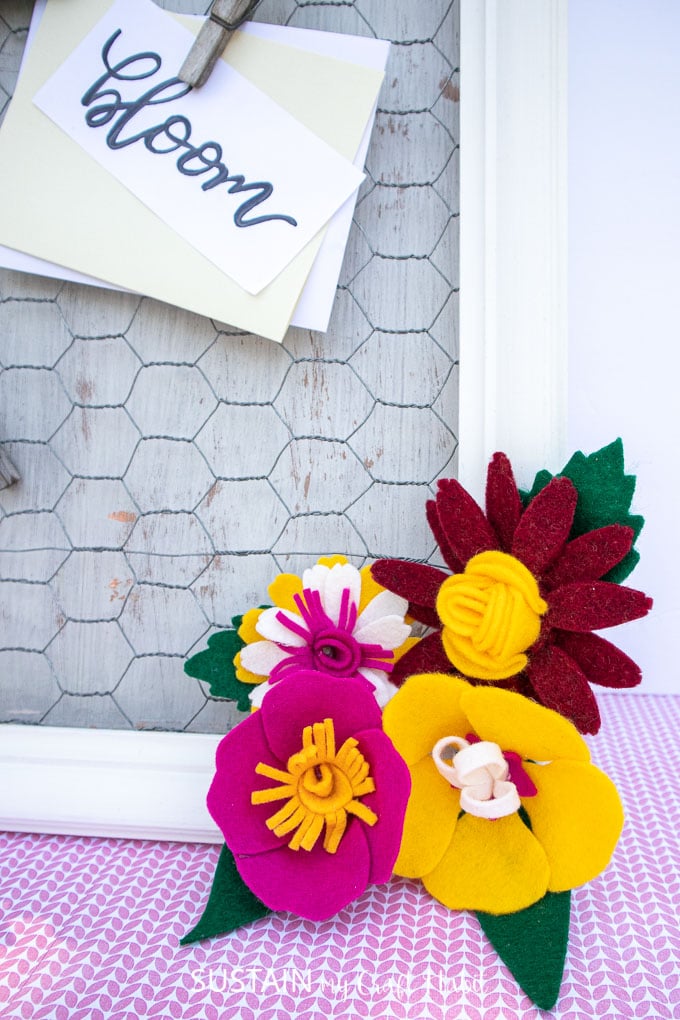
Photo Display 
Felt Flower Headband


How did your felt roses turn out? Make sure to show them off to us! Tag us on Facebook or Instagram – we can’t wait to see them!
Thank you so much for stopping by to visit us here on the blog. If you want to receive a ton of inspiration and money saving ideas for decorating, gift-giving and crafting, join HERE!
Happy crafting, friends!
Like it? Pin it for later!