How to Refresh an Old Door Mat with a Cricut Fall Stencil
Give your entryway an instant autumn upgrade on a budget with this easy DIY door mat refresh! Using your Cricut machine, a custom vinyl stencil, and outdoor paint, learn how to transform a plain or faded coir welcome mat into a charming, boutique-style fall doormat.
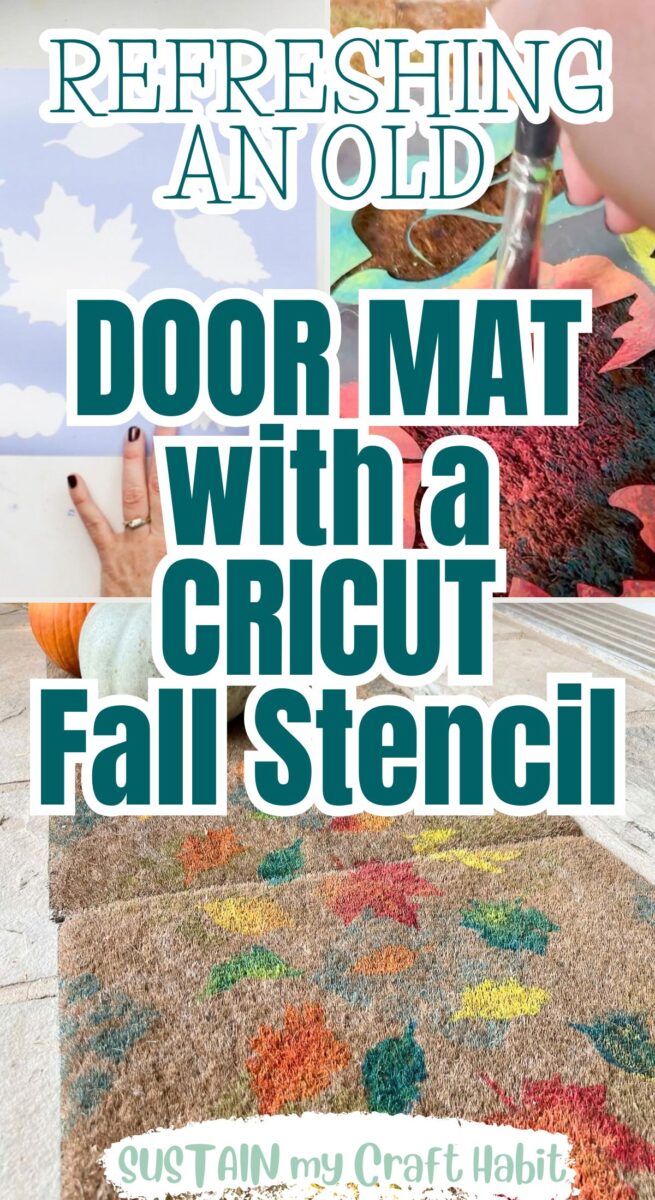
Autumn is the perfect time to give your front doorstep a cozy seasonal makeover, but you don’t need to spend money on a brand-new doormat. If your old mat is looking a little tired, this easy Cricut fall stencil project is a brilliant way to give it a fresh lease of life.
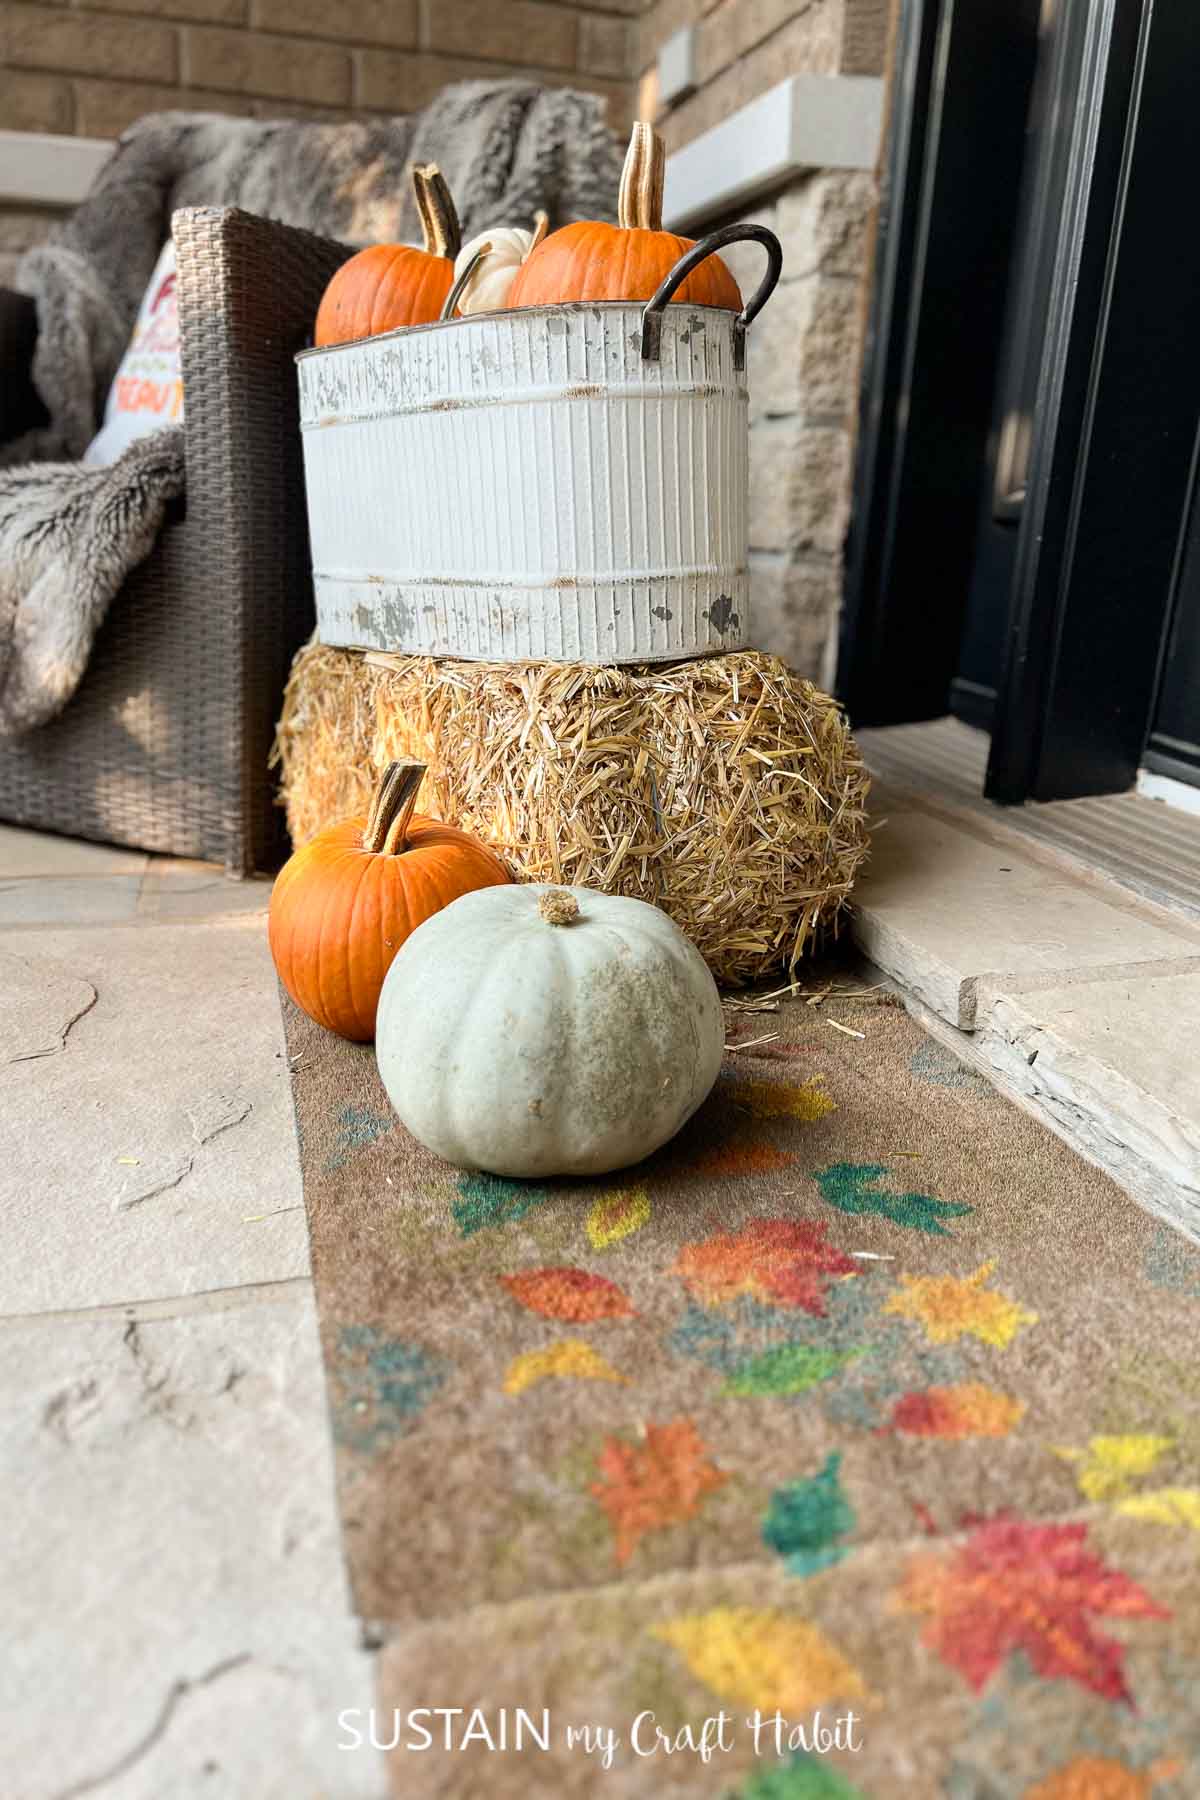
With a Cricut cutting machine, a simple autumn-inspired design and some outdoor paint, you can transform a plain or faded doormat into a welcoming seasonal decoration. Think pumpkins, falling leaves, warm autumn colours and cheerful greetings!
This budget-friendly DIY autumn doormat project is ideal for using materials you may already have at home. Whether you’re decorating your porch for Halloween or simply celebrating the changing seasons, a personalised doormat adds a lovely finishing touch.
Let’s get started!
Why You’ll Love To Refresh an Old Door Mat
- Budget-friendly autumn decorating: Refresh an old doormat rather than buying a new one. It’s an inexpensive way to update your seasonal home décor while reducing waste.
- Perfect for Cricut beginners: A DIY Cricut doormat stencil is a straightforward project that lets you practise cutting, weeding and painting a stencil.
- Completely customisable: Choose autumn leaves, pumpkins, acorns or seasonal sayings such as “Hello Fall”, “Welcome Autumn” or “Pumpkin Patch”.
- A lovely handmade gift: A personalised fall doormat makes a thoughtful housewarming or seasonal gift, especially when paired with a small pumpkin or autumn wreath.
- Great for using up craft supplies: Leftover stencil vinyl, outdoor paint and transfer tape can all come in handy for this simple autumn Cricut craft.
Get access to our resource library filled with SVG cut files and other Cricut craft ideas!
Materials Needed
- Floor mat
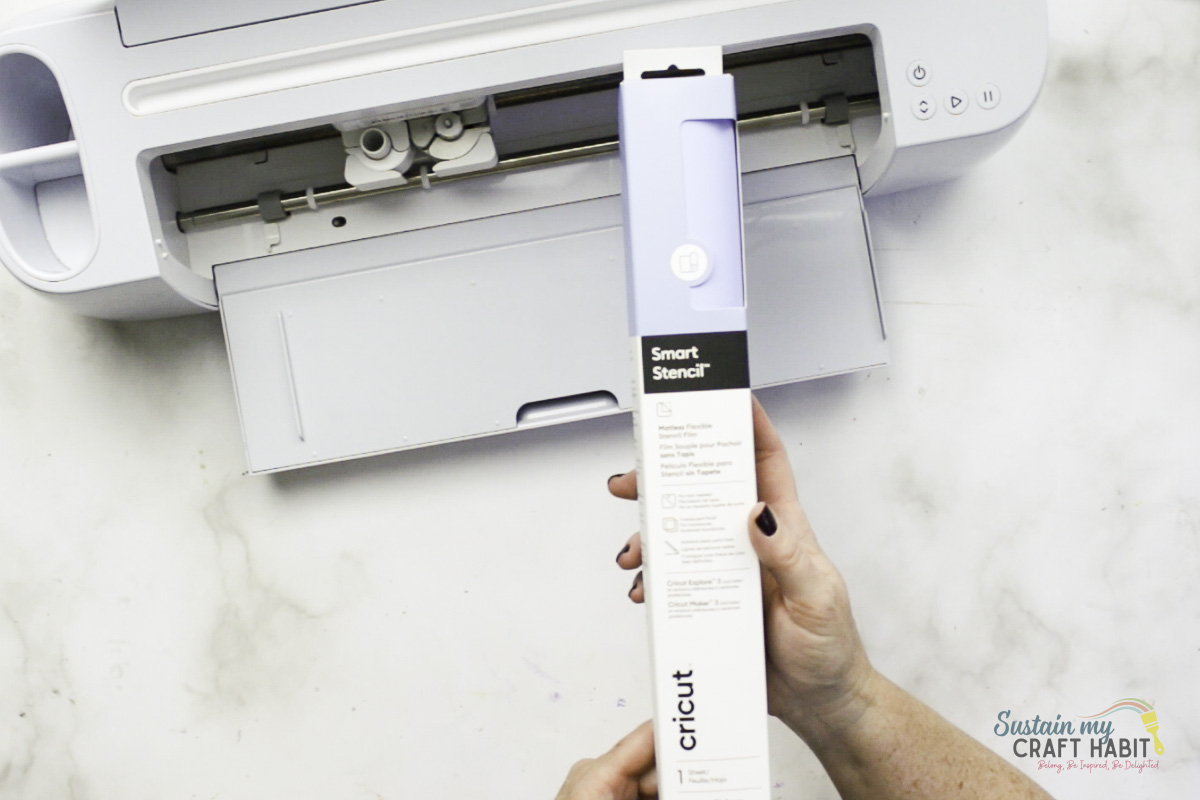
- Smart Stencil
- Cricut Maker 3
- Weeder
- Scissors
- Outdoor Paint in fall-themed colors (red, yellow, orange, green)
- Paintbrush
- Leaf shapes
How to Refresh an Old Door Mat with a Cricut Fall Stencil
Gather supplies.
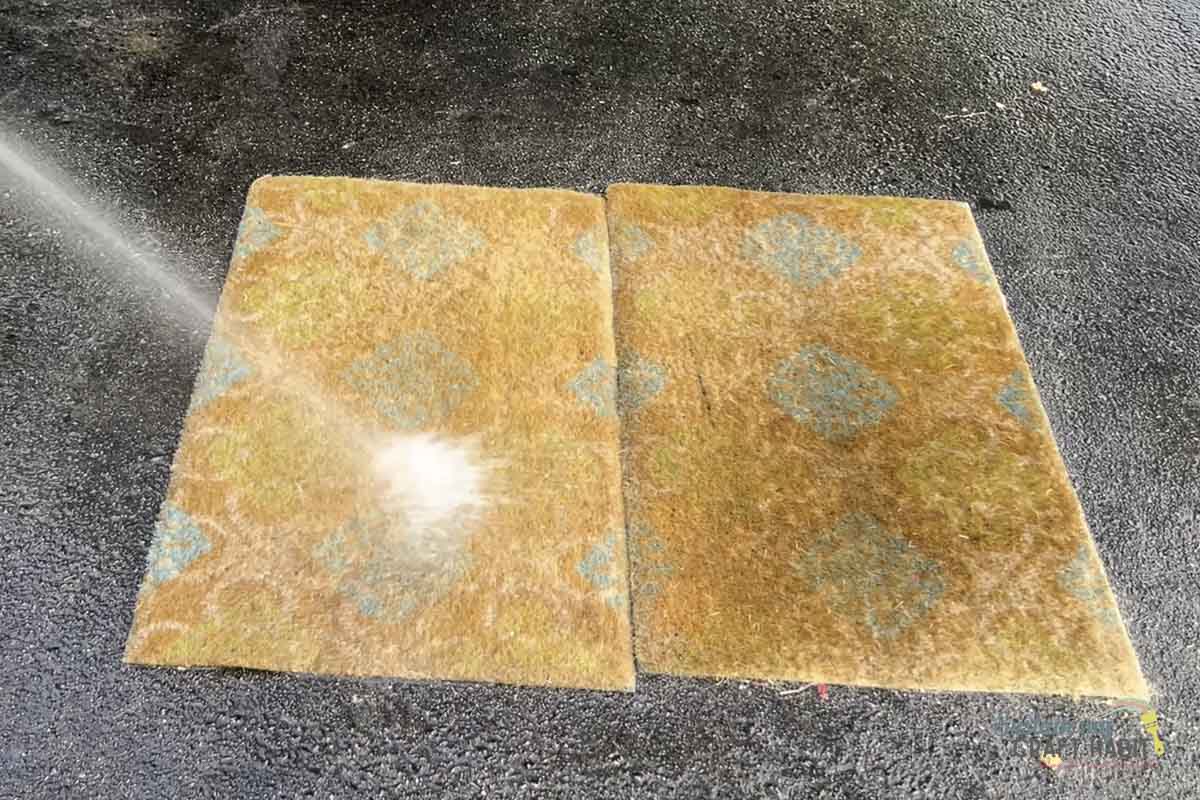
Prepare floor Mat
Ensure the floor mat is clean and fully dry before crafting.
Uploading the Design
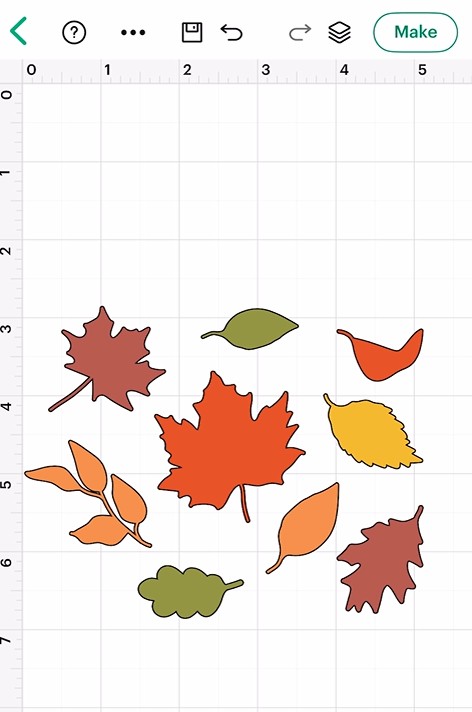
Open Cricut Design Space.
Click on the “+” sign to start a new project, opening up a blank canvas.
Insert a variety of fall leaves onto the canvas and size them to fit on to your mat.
Cutting the Vinyl
Ensure the machine is set to Cricut Maker 3 and select “Make It” in Design Space.
Choose “Without Mat” as the option for cutting when using Smart materials.
Set material type to Smart Stencil.
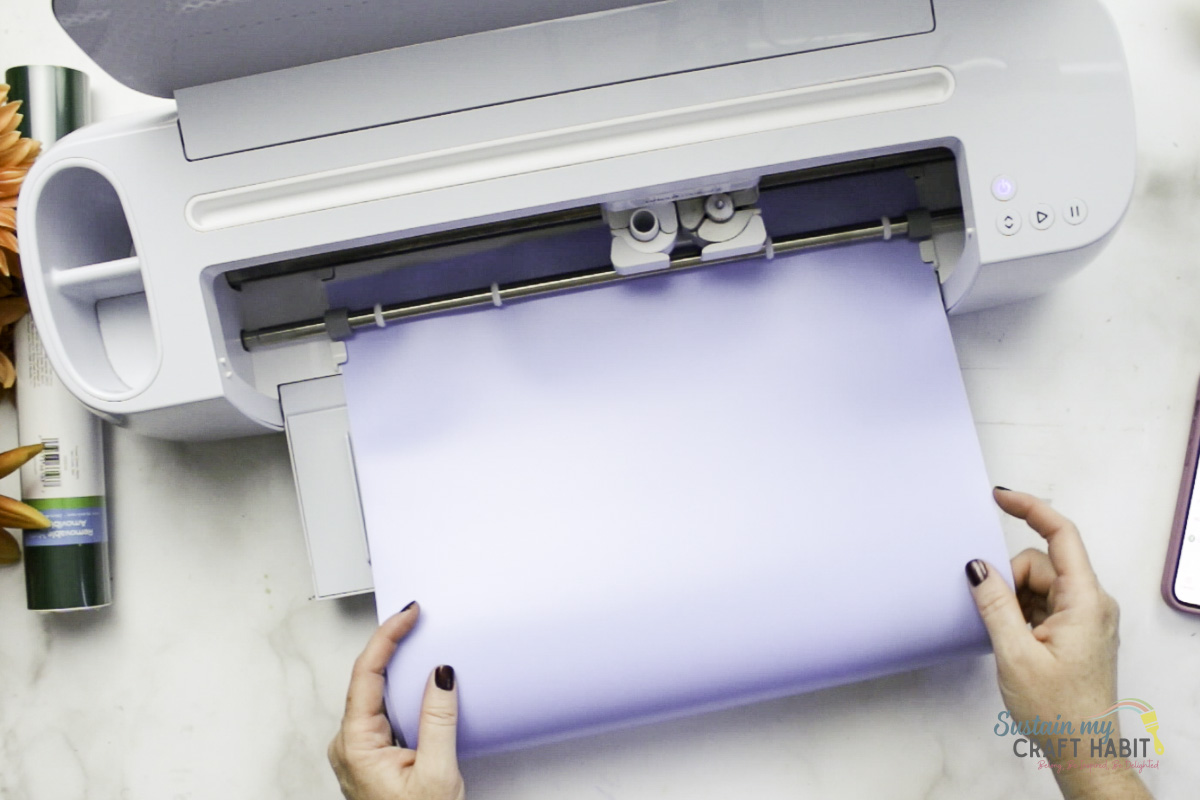
Follow prompts for loading the mat into the Cricut maker and cutting the stencil. When prompted, unload the vinyl from the cutting machine. Repeat the steps until all pieces and colors of the design are cut.
Applying the Vinyl to the door Mat
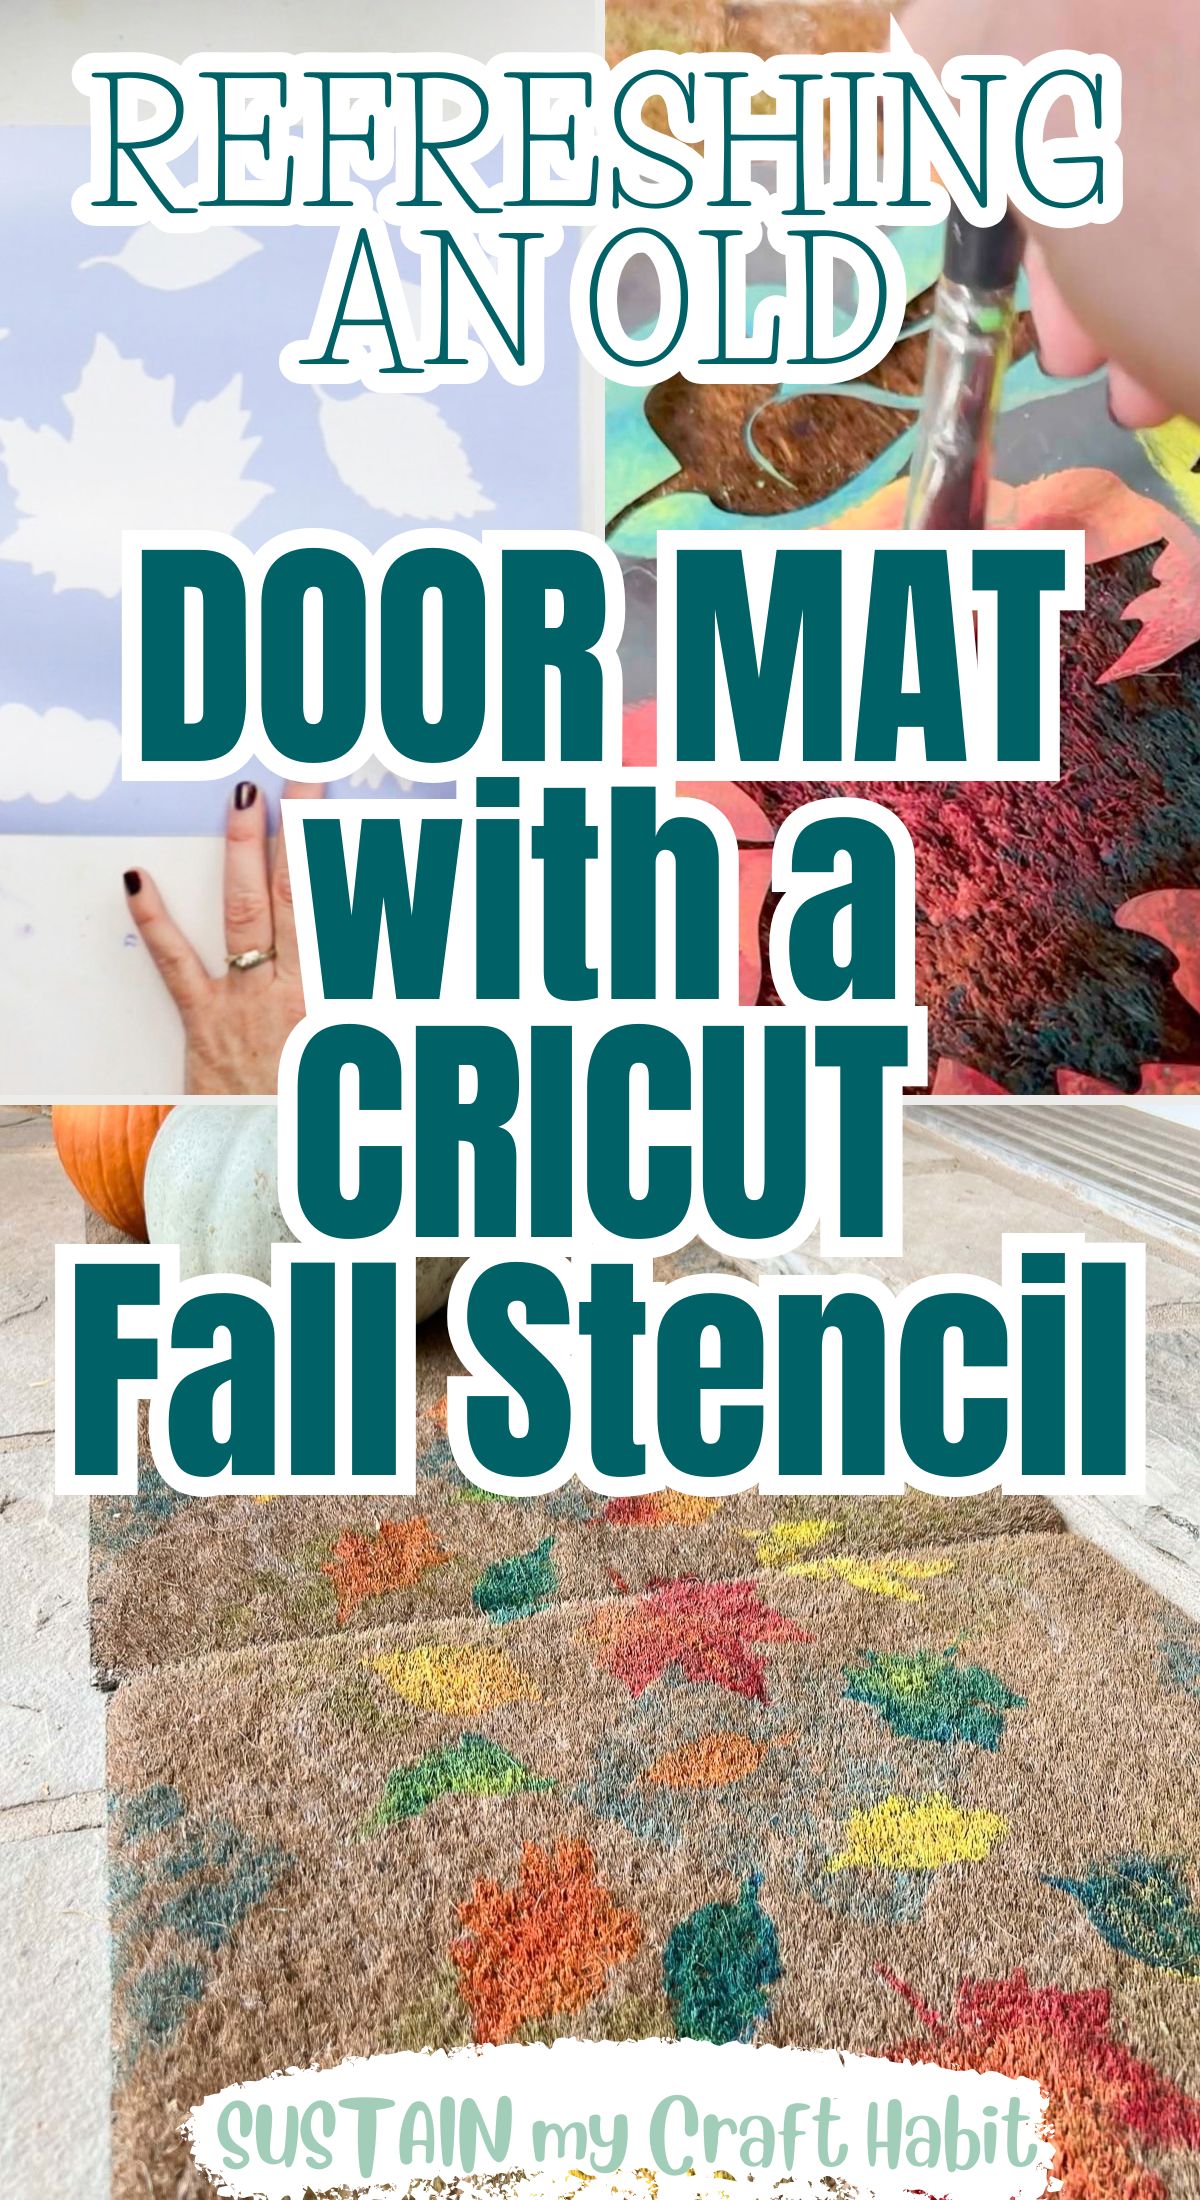
Using the weeding tool, peel away the leaf shapes leaving just the surrounding blank space.
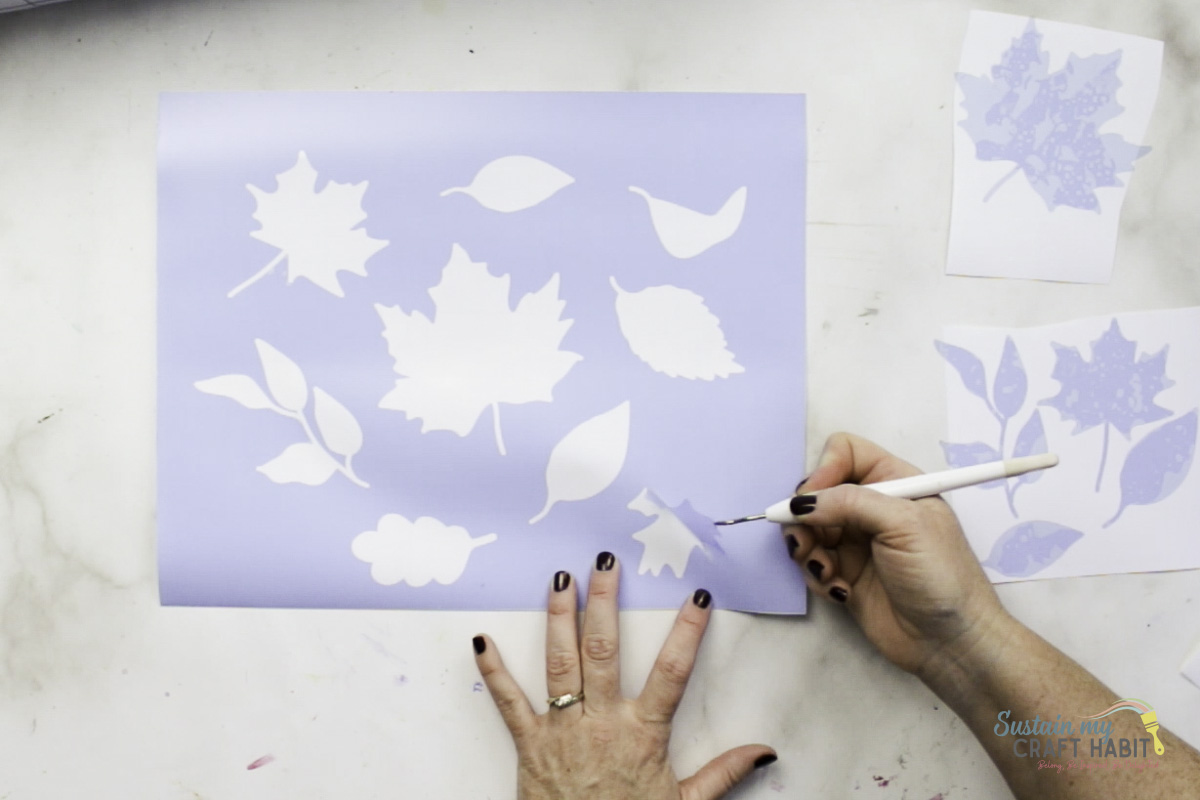
Position the stencil on to the mat and press in place.
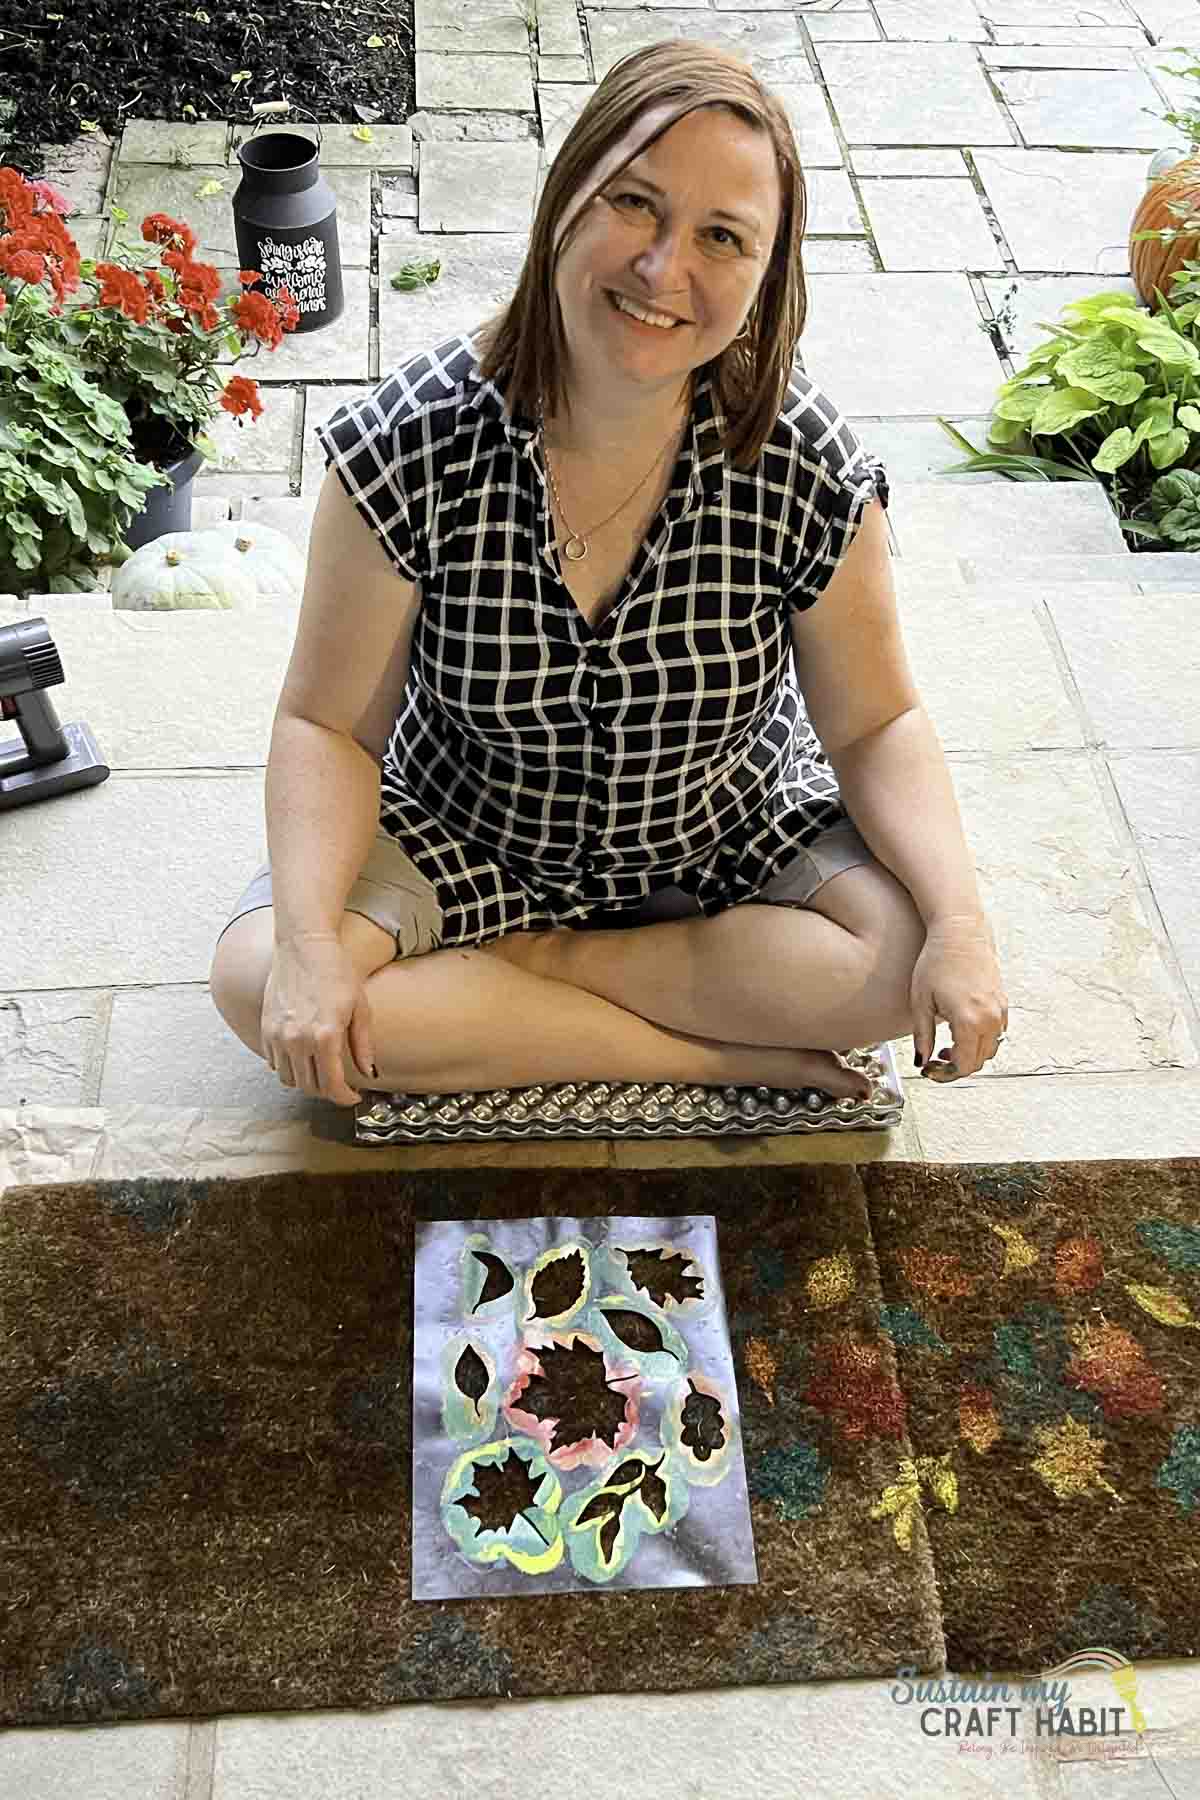
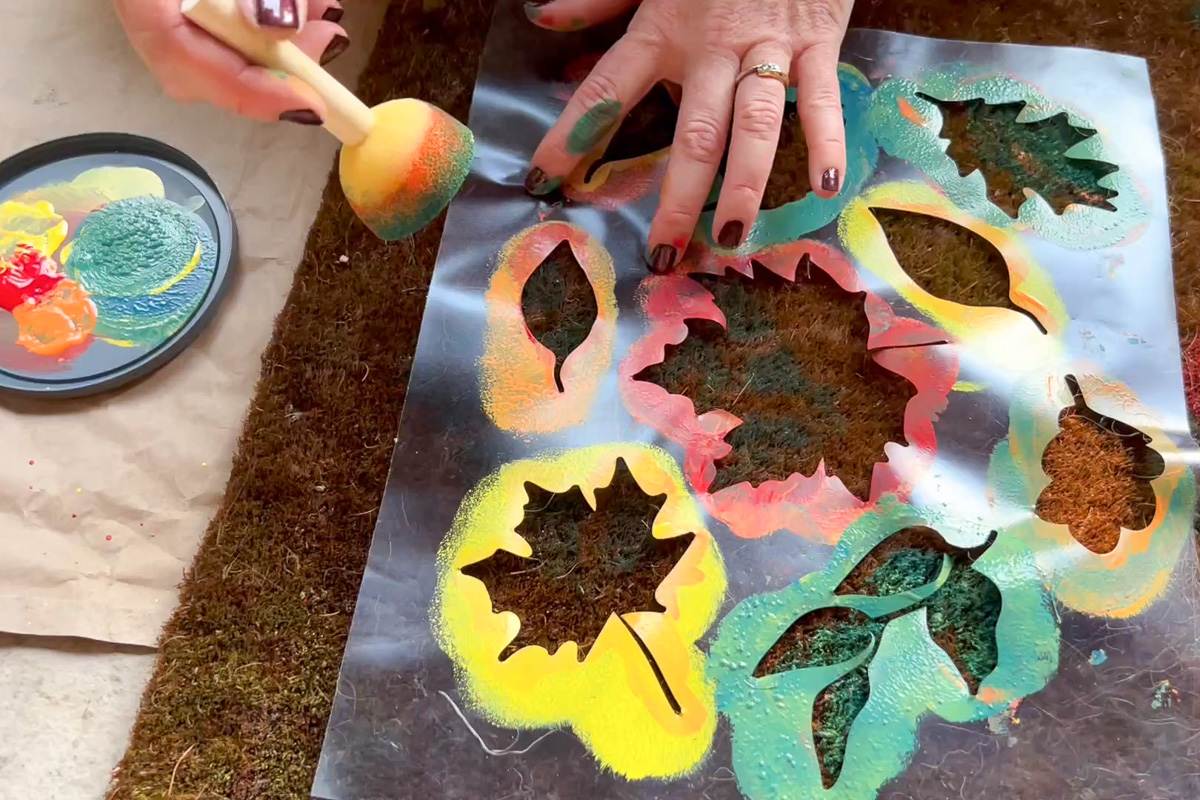
Dip the paint brush in paint and dab the paint on to the mat transferring the leaf design. Mix in a few different colors of paint to create a multi-color gradient effect.
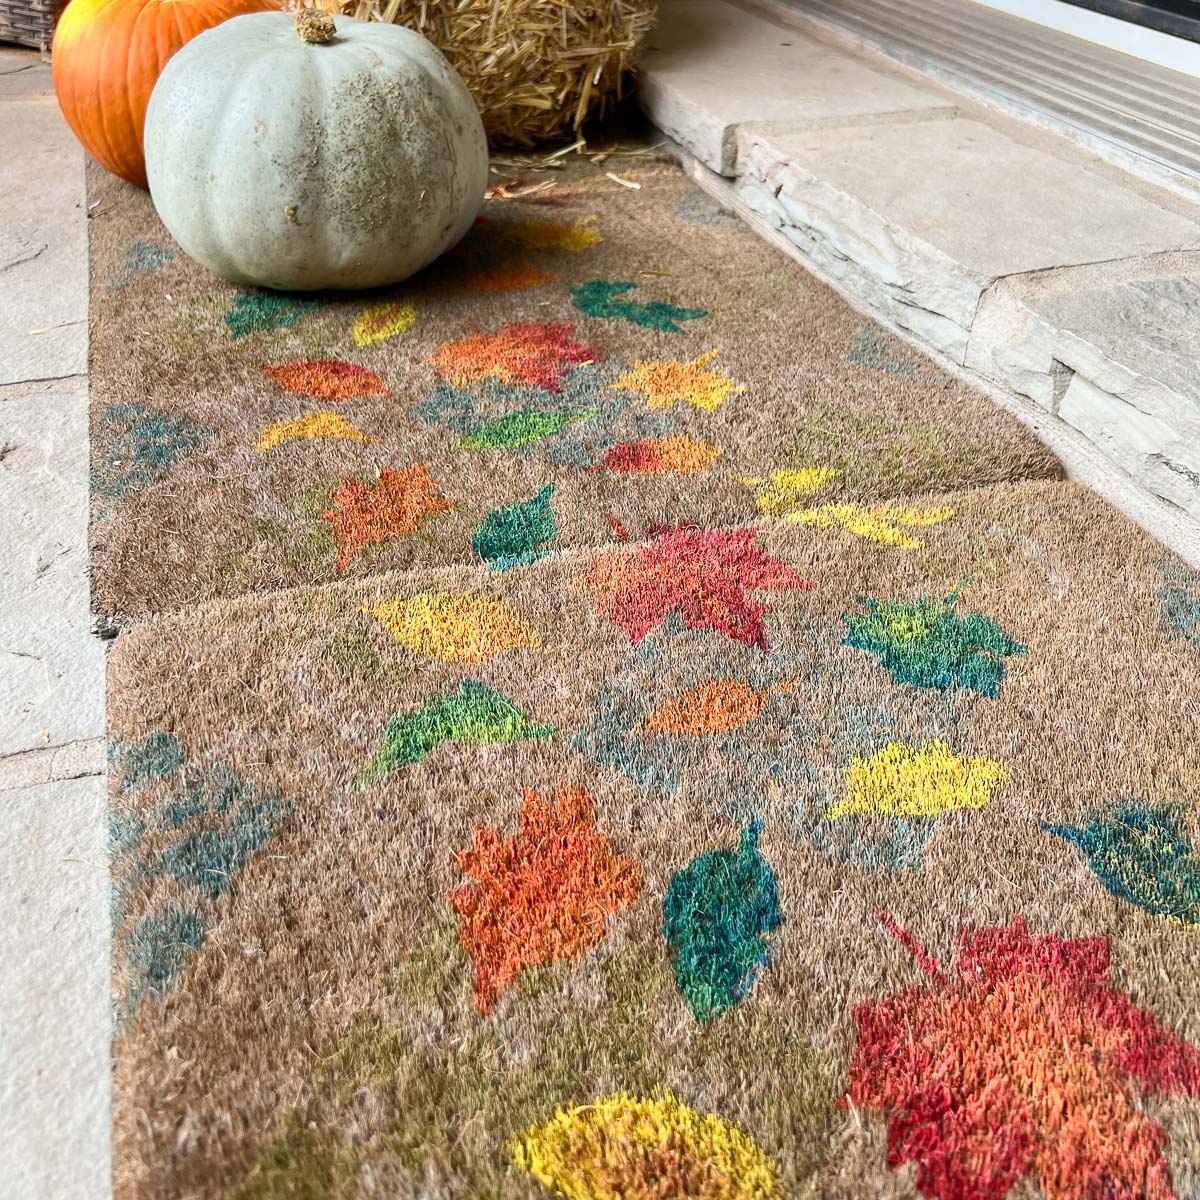
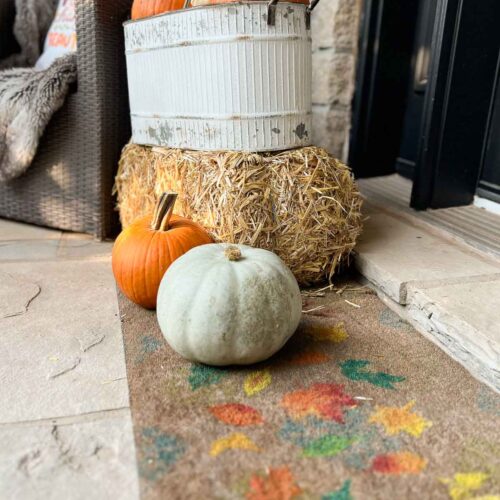
Peel away the stencil and repeat in another area of the mat. Continue until your happy with the final look and finish.
Choose the Right Doormat
If you’re refreshing an old doormat, make sure it’s still in reasonably good condition. A mat with loose fibres, deep wear or a crumbling backing may not hold a painted design particularly well.
Before you begin, give the mat a thorough shake and brush away any dirt or loose fibres. Make sure it’s completely dry before applying your stencil.
Experiment with Autumn Colours
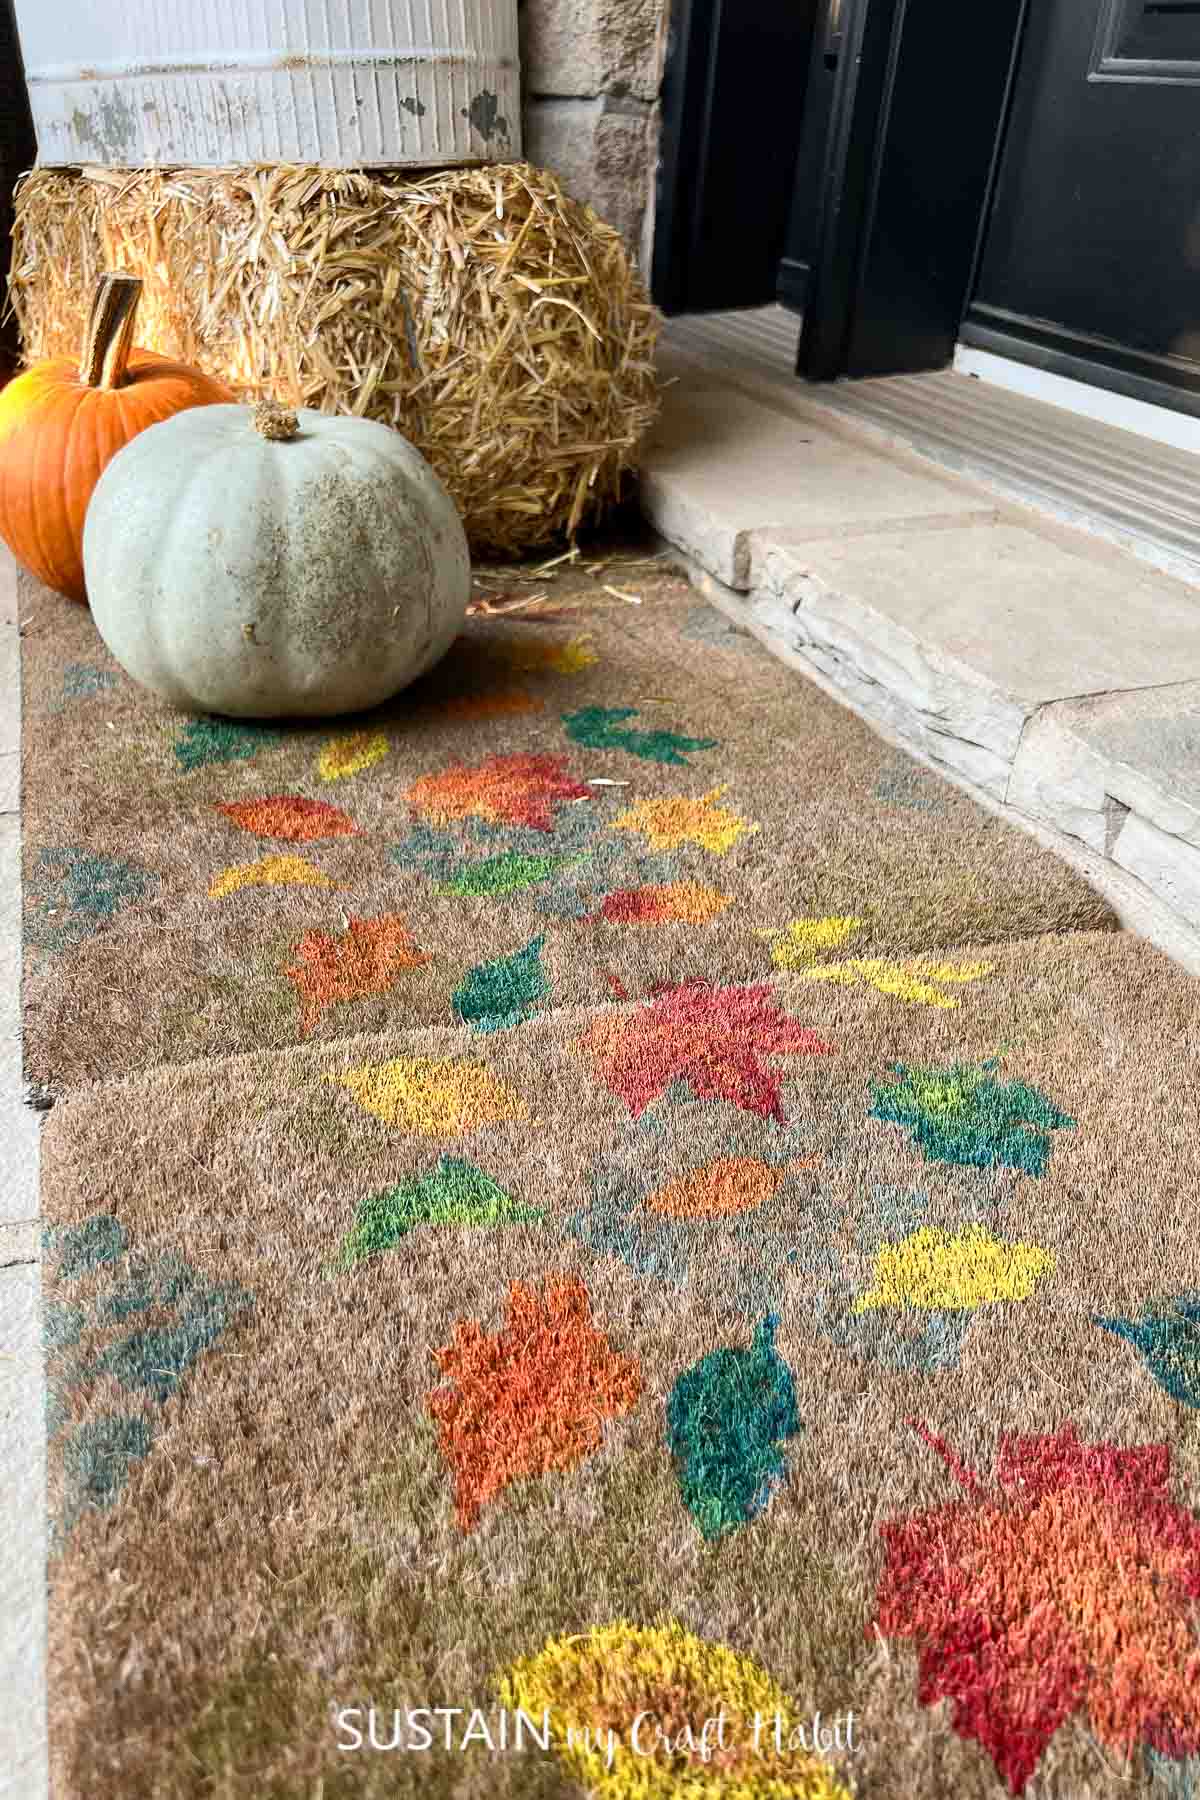
Black is a popular choice for DIY doormats because it creates a strong contrast against natural fibres. However, autumn offers plenty of opportunities to experiment with warmer colours: try burnt orange pumpkins, deep burgundy lettering, forest green leaves or rich chocolate brown accents.
How to Avoid Paint Bleeding Under Your Stencil
One of the most common problems when painting a Cricut doormat is paint bleeding underneath the stencil.
Unlike smooth wood or glass, coir has a very uneven surface. This means stencil vinyl may not stick firmly to every fibre.
To help keep your design looking neat:
- Secure the stencil carefully and use additional masking tape around the edges.
- Hold down smaller stencil sections while painting.
- Use a stiff stencil brush and apply paint with a gentle dabbing motion rather than brushing sideways.
- Build up the colour gradually instead of applying one thick coat.
- Avoid overloading your brush with paint.
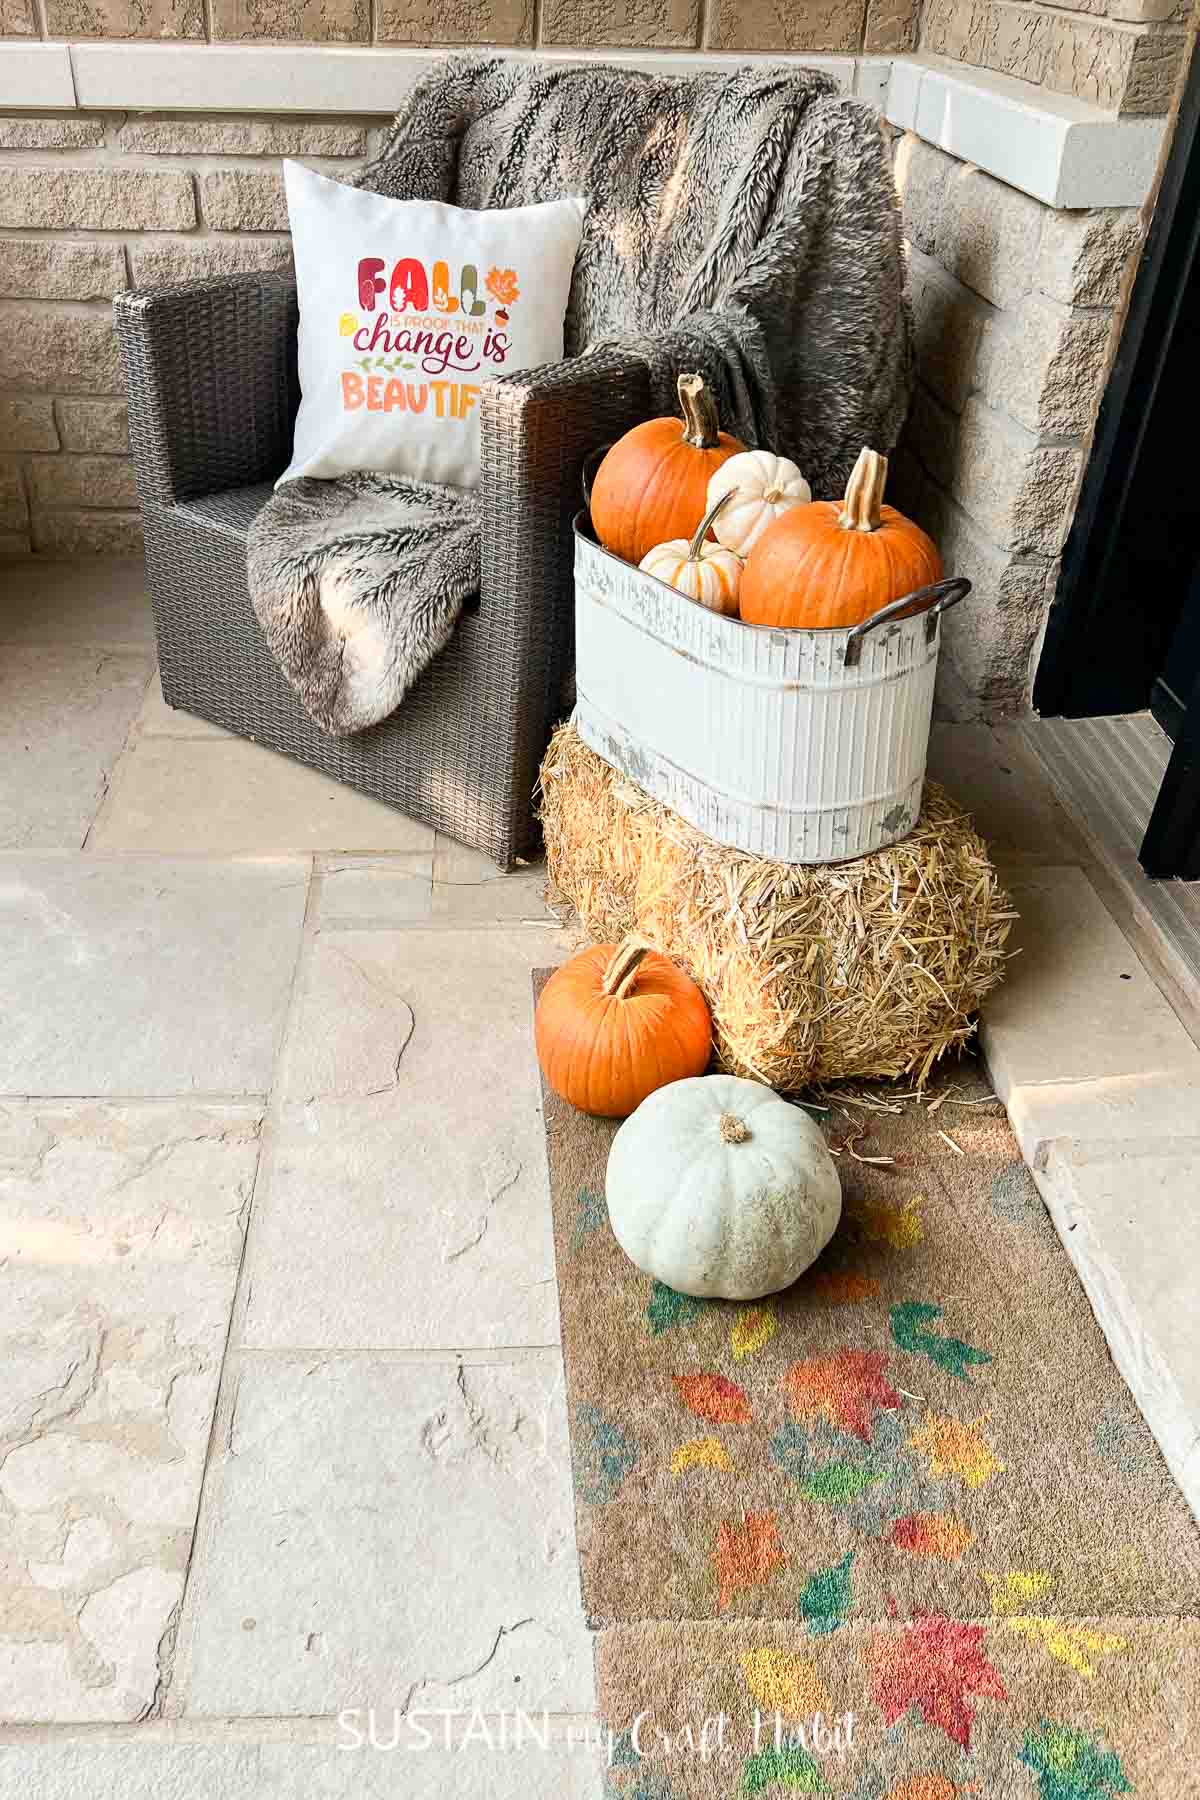
Give Your Old Doormat a Fresh Autumn Makeover
Refreshing an old doormat with a Cricut fall stencil is a fun, affordable way to bring a little autumn charm to your home without buying lots of new decorations.
With a simple design, a few craft supplies and a splash of seasonal colour, you can turn a tired doormat into something that feels fresh and welcoming.
More DIY Porch Decor
Now that your doormat is styled for autumn, why stop there? Be sure to explore our full collection of DIY outdoor fall porch decor ideas!
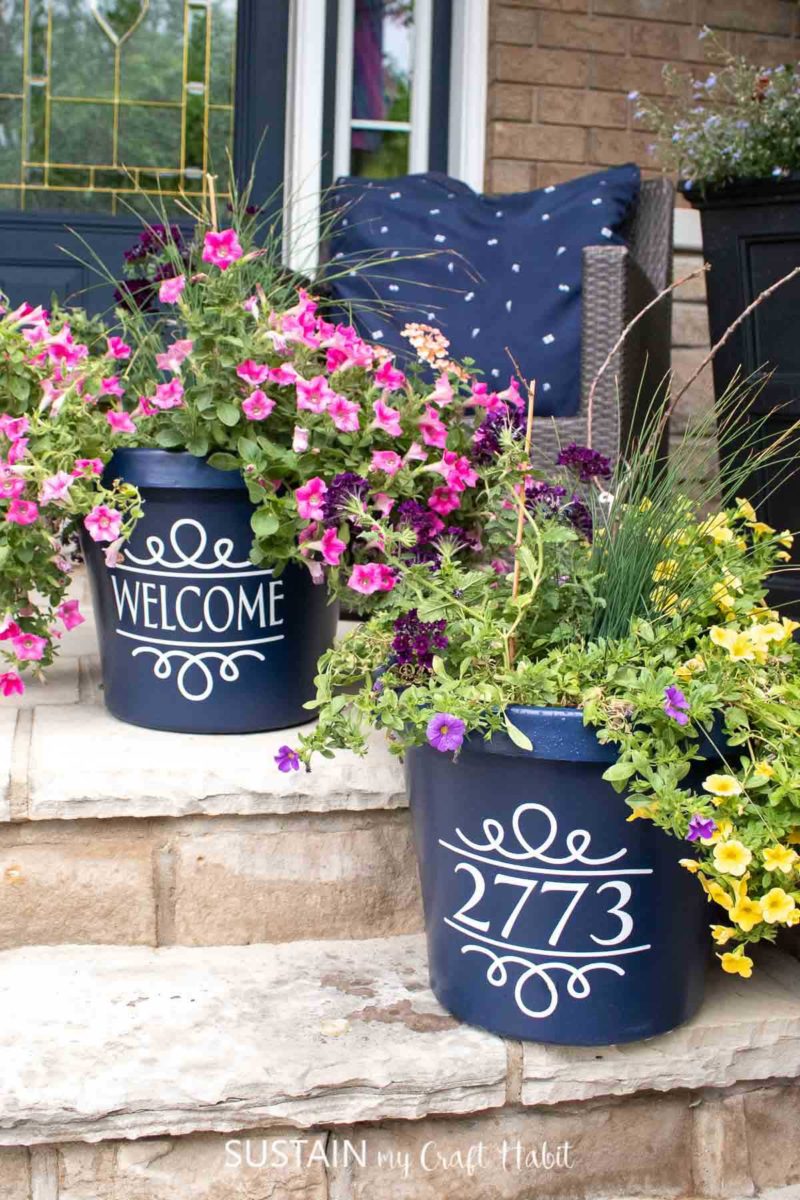
- Budget-Friendly Patio Planters with Cricut
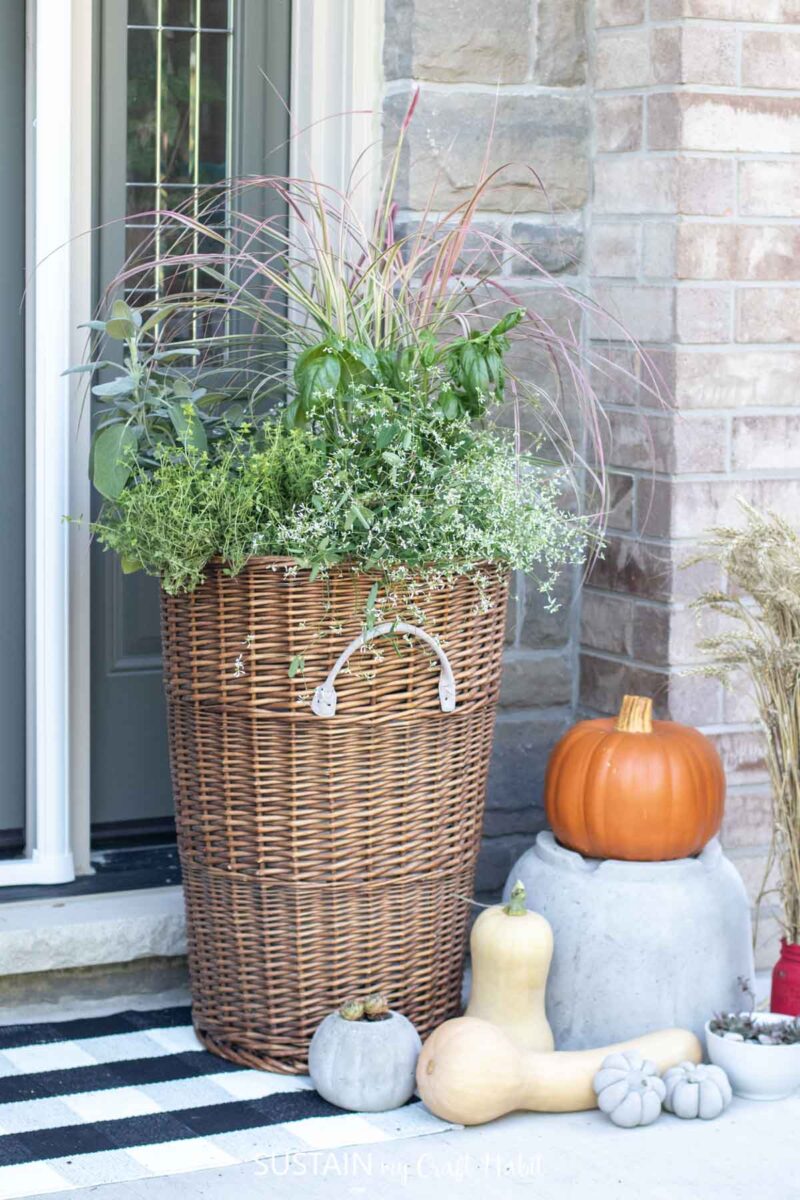
- Fall Planter Idea
- Pinecone Flower Arrangement
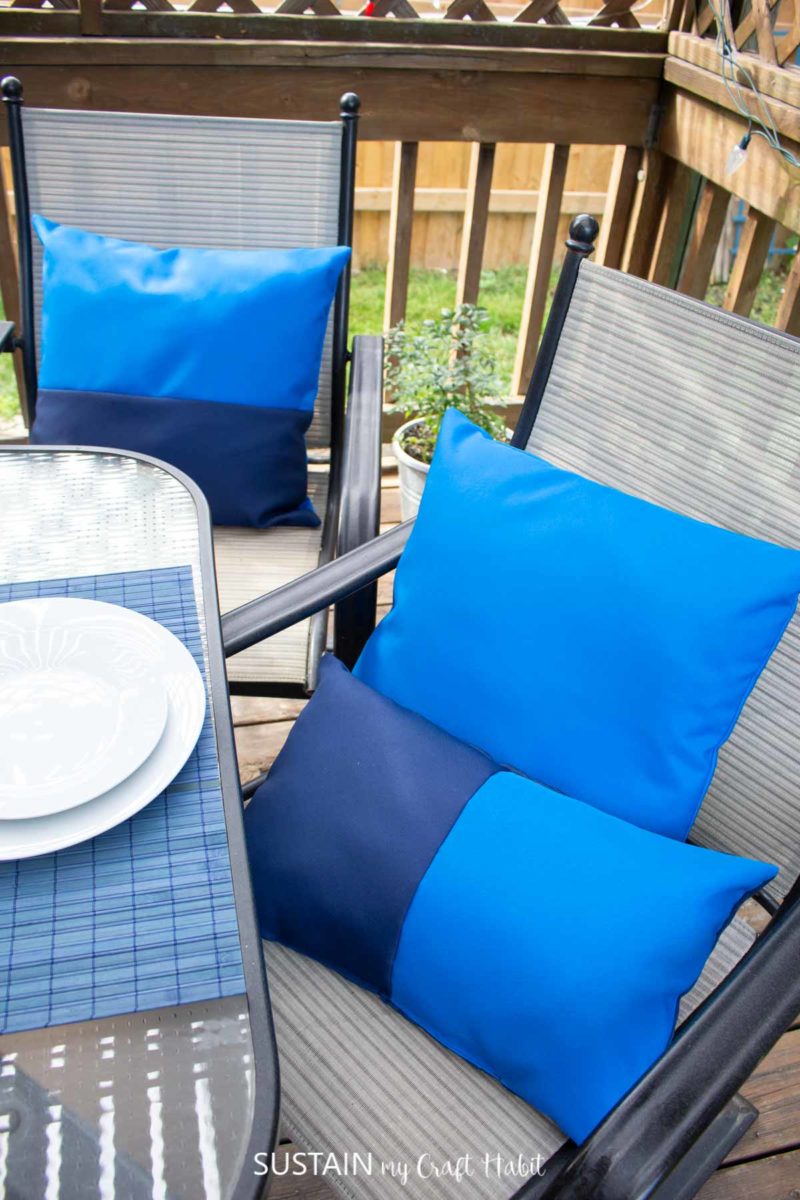
- DIY Outdoor Pillows
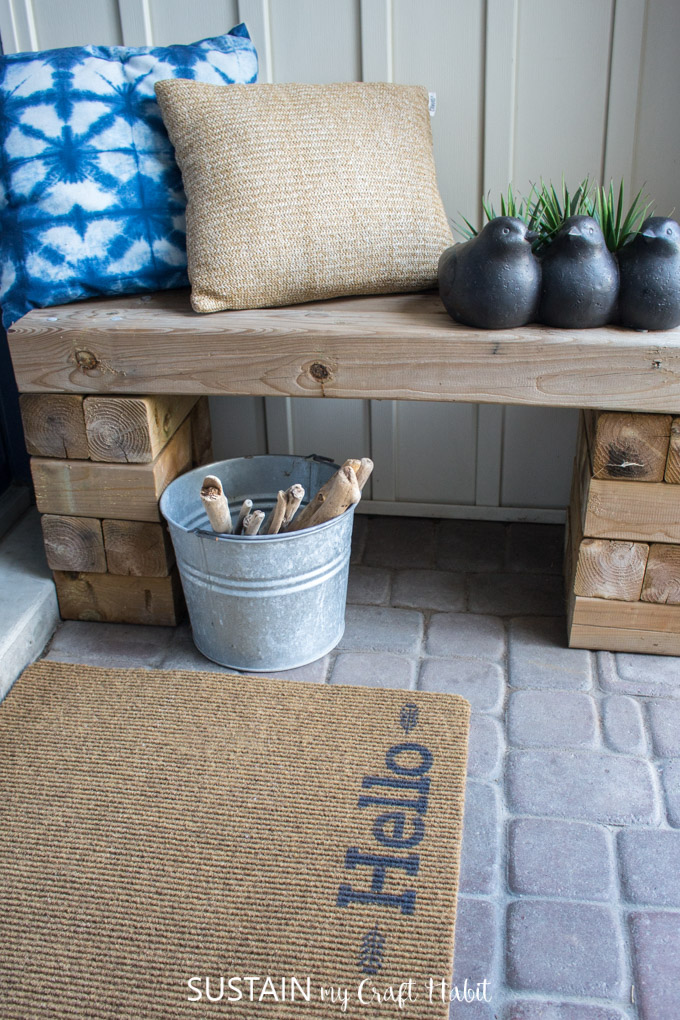
- How to Paint a Welcome Mat

Want to receive a ton of inspiration and money saving ideas for decorating, gift-giving and crafting? Join HERE!
Like it? Pin for later!
How to Refresh an Old Door Mat with a Cricut Fall Stencil
Materials
- Floor mat
- Smart Stencil
- Cricut Maker 3
- Weeder
- Scissors
- Outdoor Paint in fall-themed colors red, yellow, orange, green
- Paintbrush
- Leaf shapes
Instructions
- Gather supplies.
Prepare Floor Mat
- Ensure the floor mat is clean and fully dry before crafting.
Uploading the Design
- Open Cricut Design Space.
- Insert a variety of fall leaves onto the canvas and size them to fit on to your mat.
Cutting the Vinyl
- Ensure the machine is set to Cricut Maker 3 and select “Make It” in Design Space.
- Choose “Without Mat” as the option for cutting when using Smart materials.
- Set material type to Smart Stencil.
- Follow prompts for loading the mat into the Cricut maker and cutting the stencil. When prompted, unload the vinyl from the cutting machine. Repeat the steps until all pieces and colors of the design are cut.
Applying the Vinyl to the Door Mat
- Using the weeding tool, peel away the leaf shapes leaving just the surrounding blank space.
- Position the stencil on to the mat and press in place.
- Dip the paint brush in paint and dab the paint on to the mat transferring the leaf design. Mix in a few different colors of paint to create a multi-color gradient effect.
- Peel away the stencil and repeat in another area of the mat. Continue until your happy with the final look and finish.