DIY Scrap Fabric Pocket Buddies
These little DIY pocket buddies are not only fun to make but will surely bring a smile to anyone that holds them. Step by step photo tutorial is included. Great craft for kids and adults!
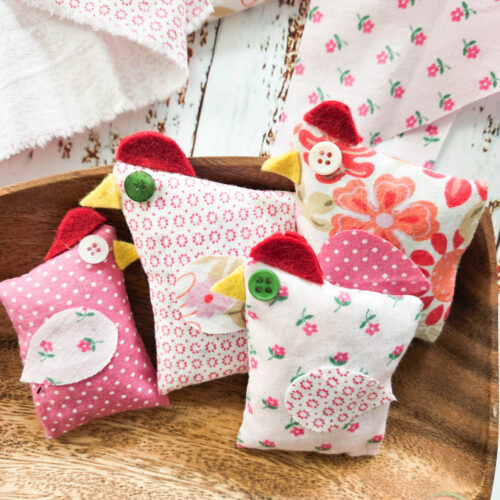
If you’ve got a stash of small scraps and no idea what to do with them, this is a quick win project. These little DIY pocket buddies are not only fun to make but will surely bring a smile and a feeling of comfort to anyone that holds them.
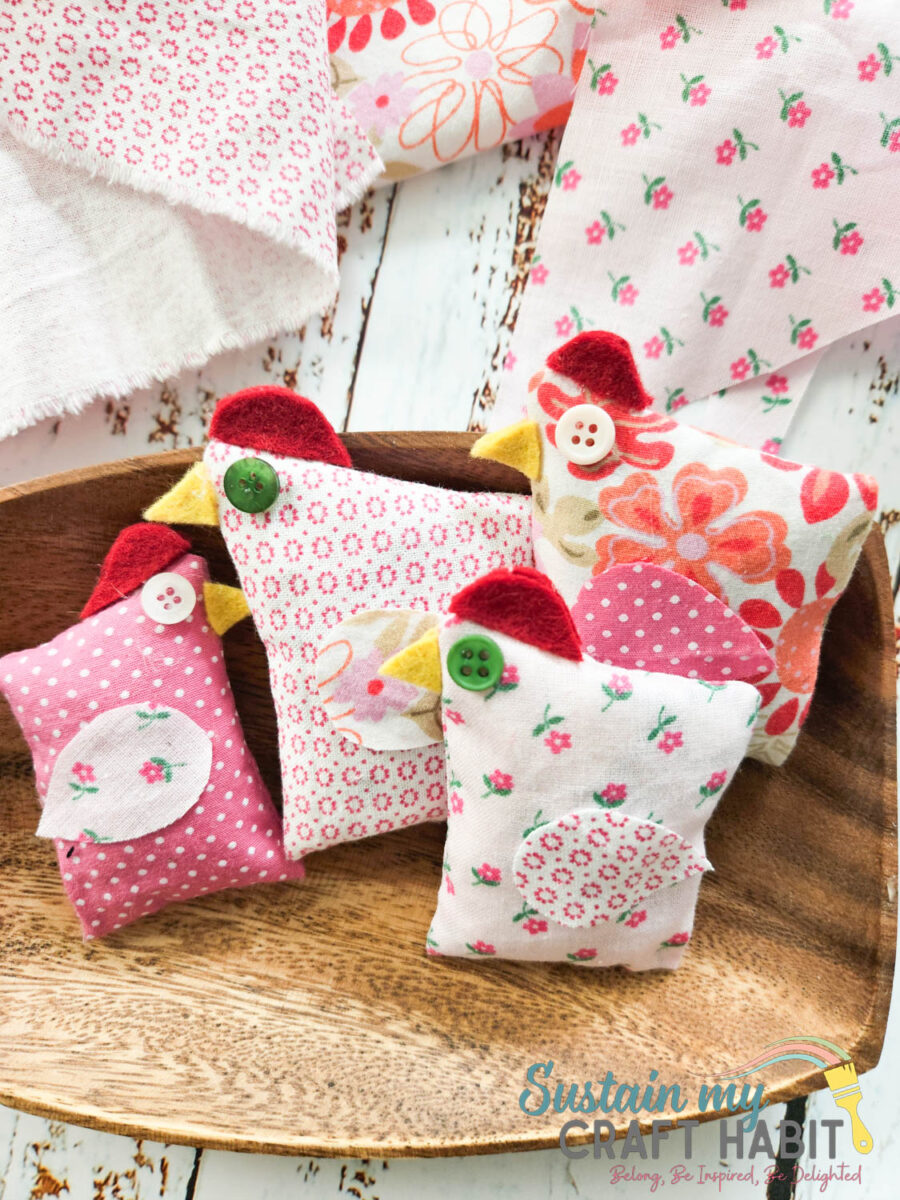
They’re simple enough to sew in an afternoon, and you don’t need perfect stitching to make them look good — the slightly wonky ones often end up being favourites. I’ll walk you through the process step by step, plus a few easy ways to customise them.
Why You’ll Love This Project
- Uses up scrap fabric pieces you’d usually throw away
- Beginner-friendly sewing project with minimal cutting (but can also be made with fabric glue or hot glue gun)
- Quick to make — perfect for batch crafting sessions
- Great as handmade gifts, stocking fillers, or kids’ toys
- Works as a scented sachet with dried herbs or lavender
Let’s stay in touch! Subscribe for our latest sewing patterns, tutorials and tips.
Materials Needed
- Woven fabric (we used leftover quilting scrap fabrics, 100% cotton) in assorted colors and patterns
- Stuffing or badding (we used a mix of polyfil and cut up pieces of fabrics scraps BUT you can also use uncooked beans or rice for a more tactile pocket buddy)
- Sewing machine and matching thread
- Fabric scissors
- Felt sheets in any color of your choosing (we used golden yellow, red)
- Small buttons
- Hot Glue Gun or fabric glue
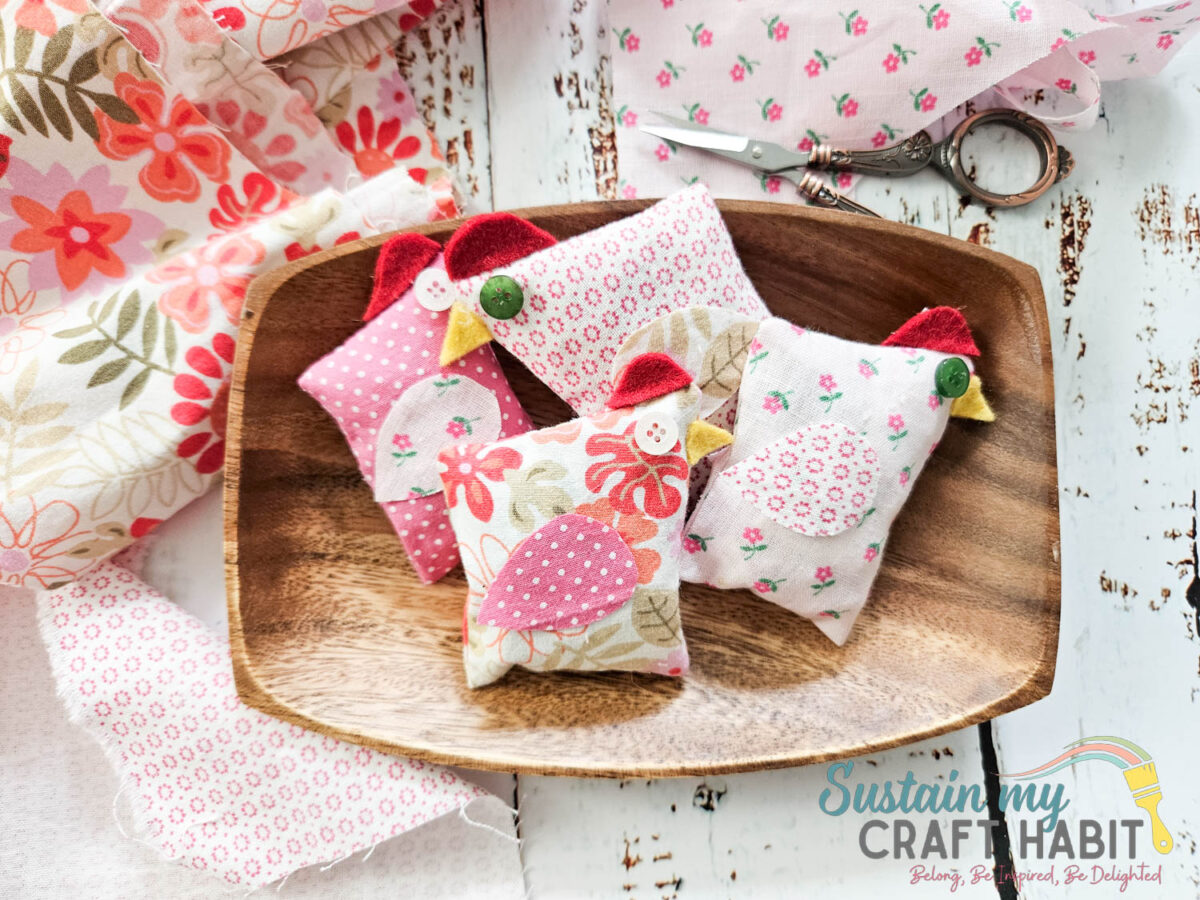
How to Make Scrap Fabric Chicken Pocket Buddies
Cutting
Cut small rectangular pieces (roughly 1” wide x 2.5” high). Fold the rectangle in half lengthwise and then cut the short ends on an angle as shown.
Sewing
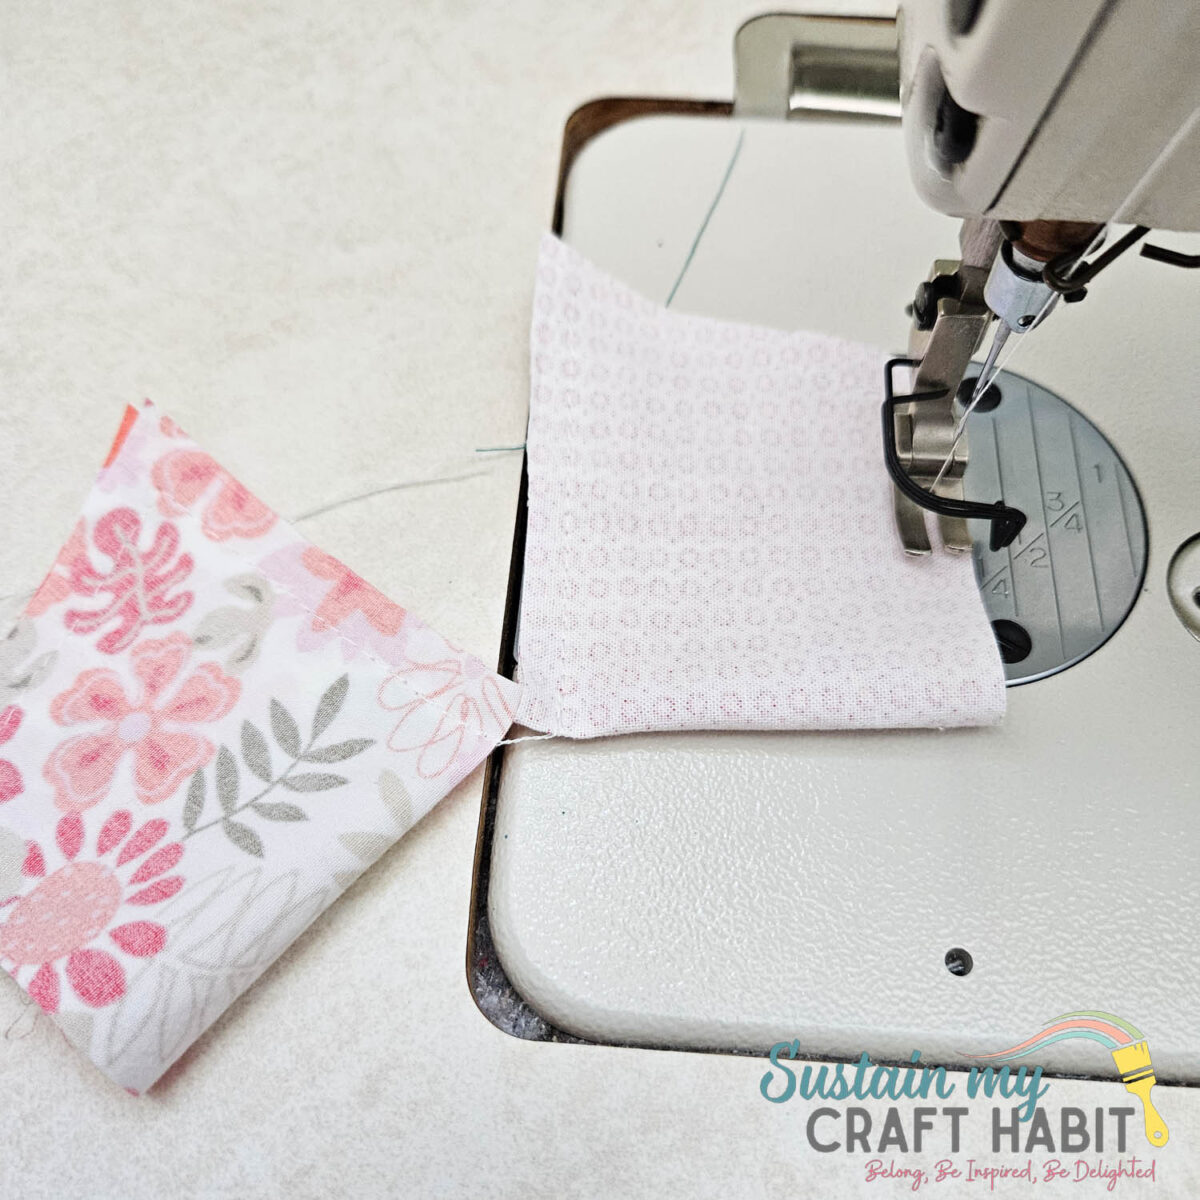
Align the pieces with RIGHT sides facing and sew outer edges together with 1/4” seam allowance, leaving a small gap opening along one side. Back stitch the start and end of the stitch to secure.
Clip the corners to reduce bulk.
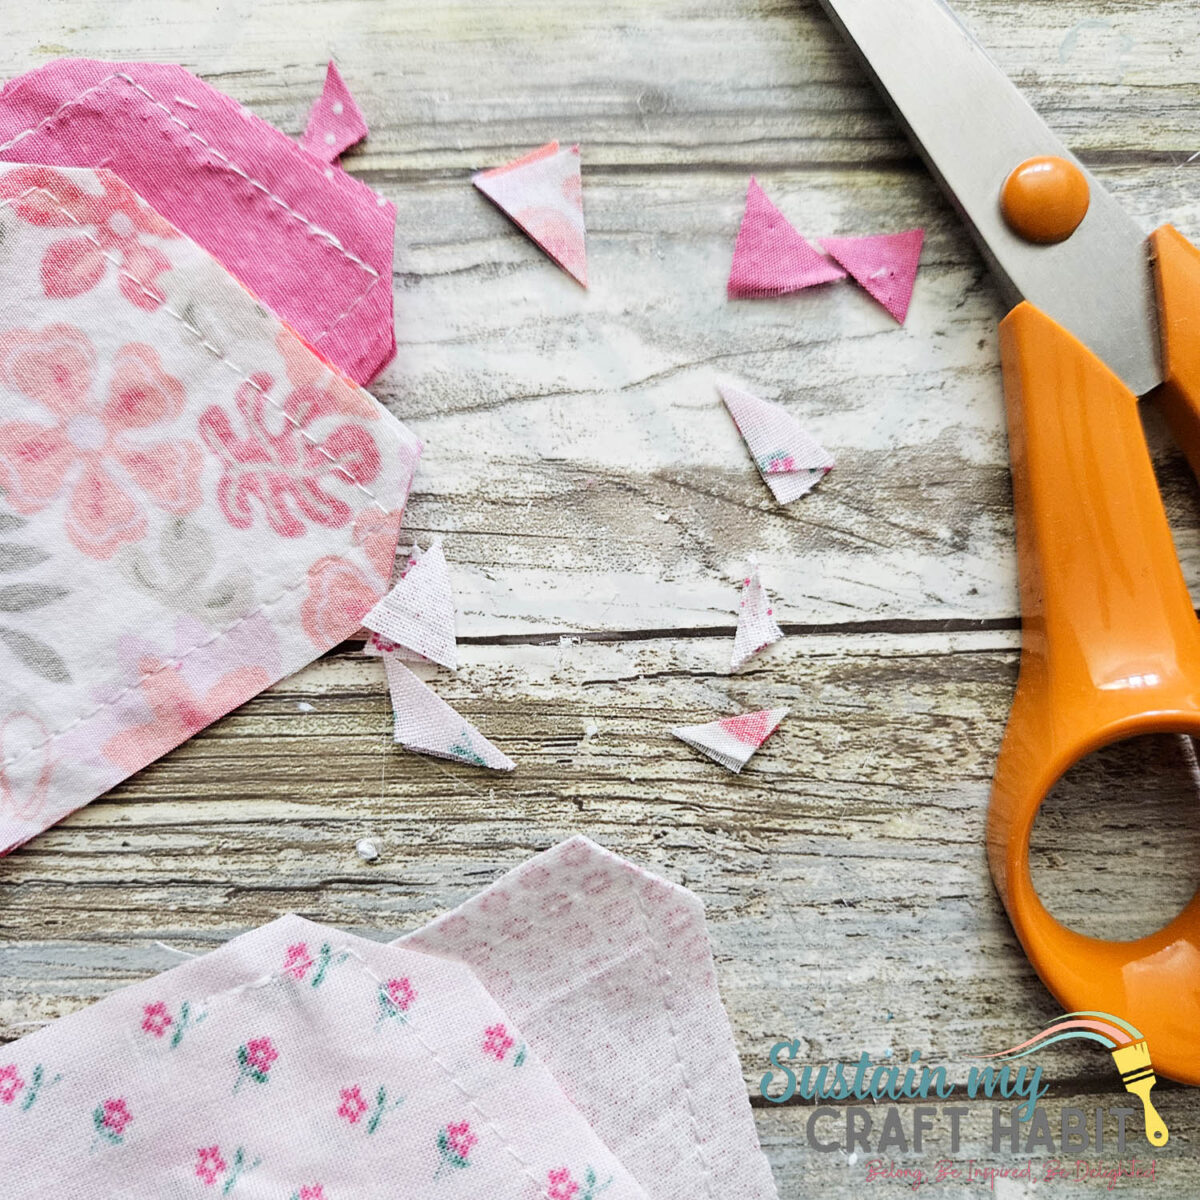
Turn the piece RIGHT side out. Insert some badding through the gap opening until the desired fullness is achieved.
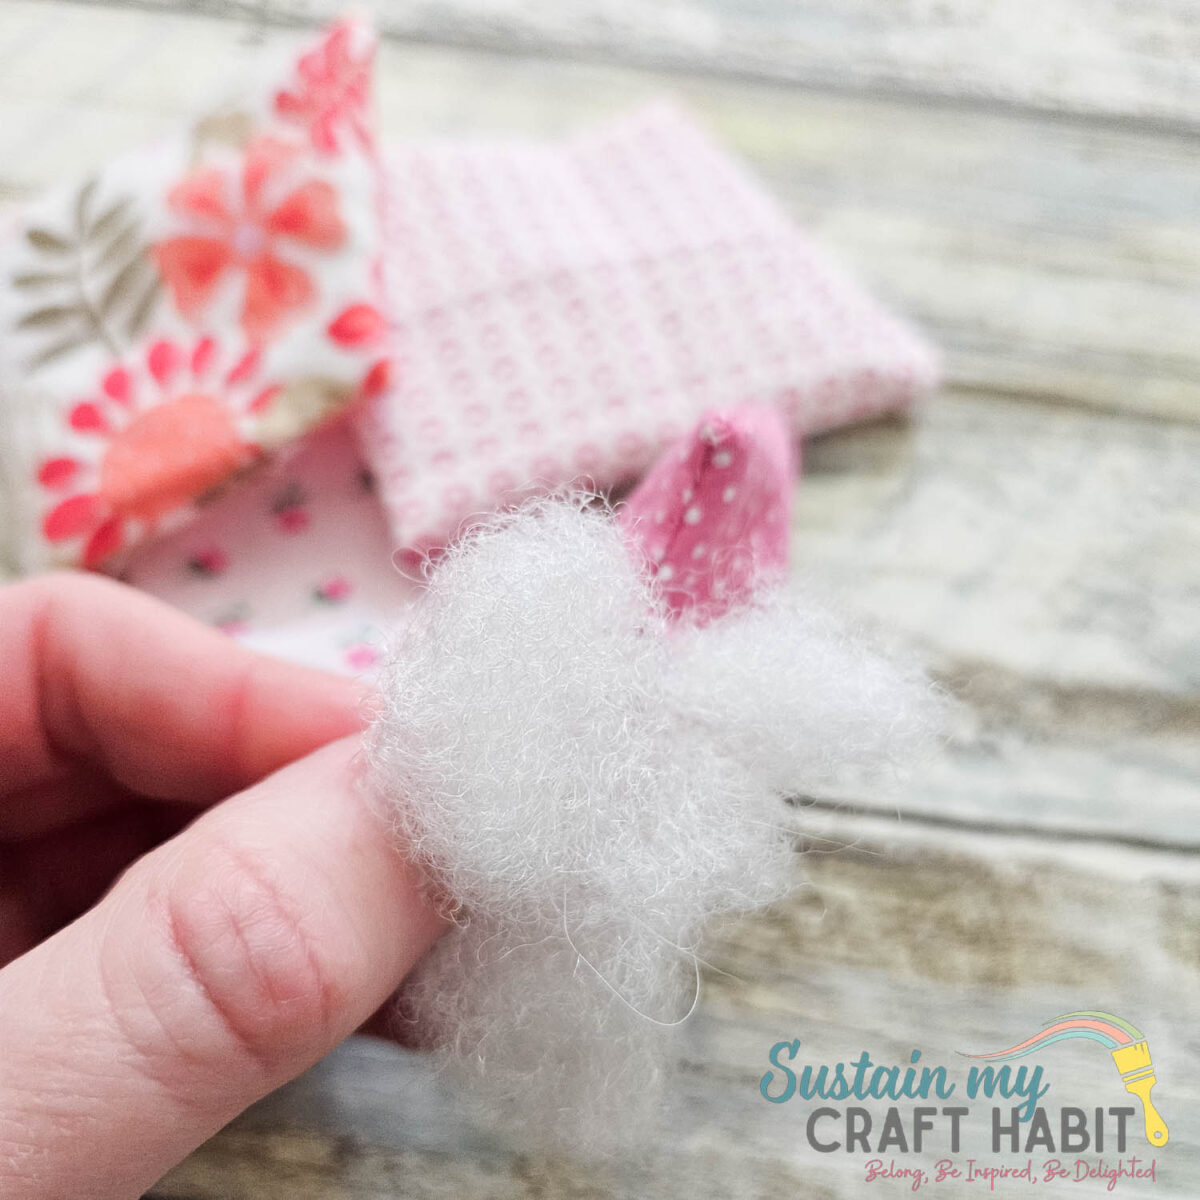
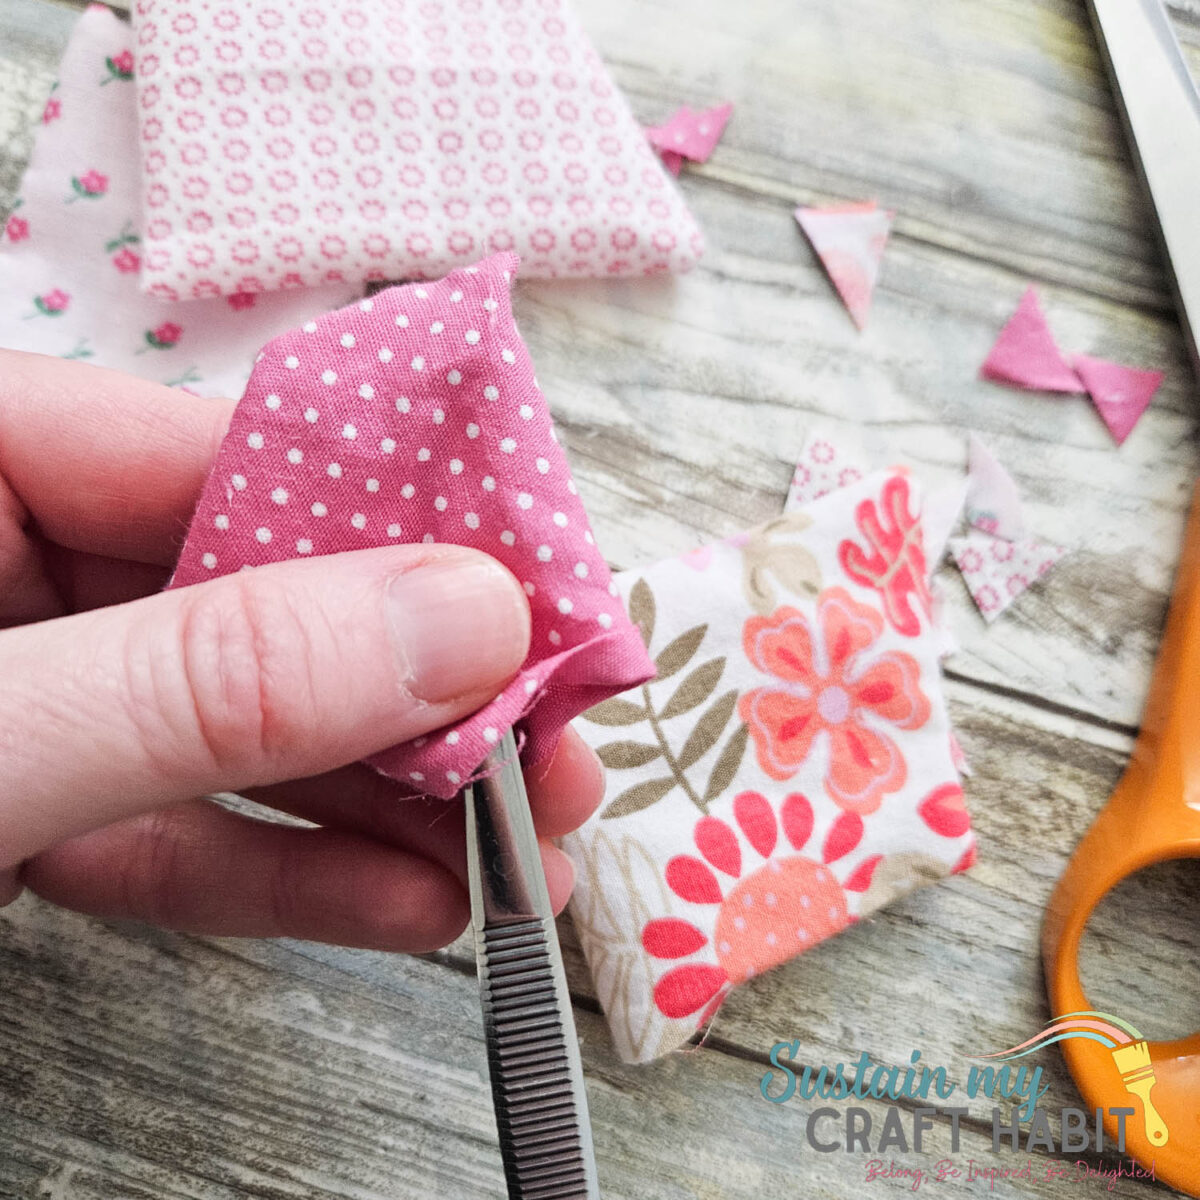
Once satisfied with the amount of filling, sew the opening closed with a ladder stitch or hot glue gun.
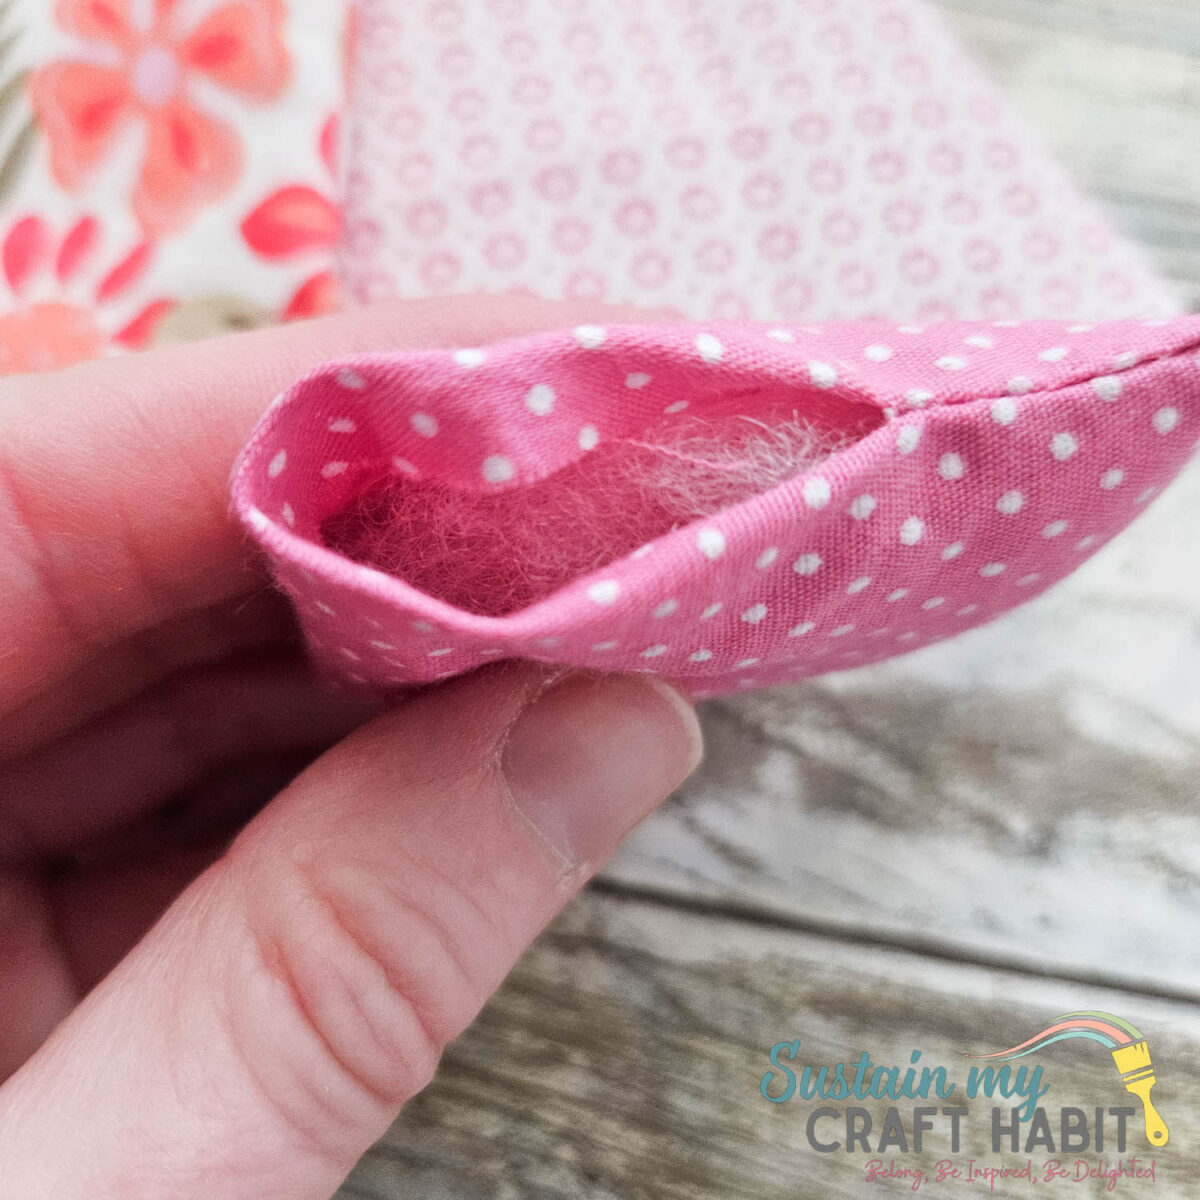
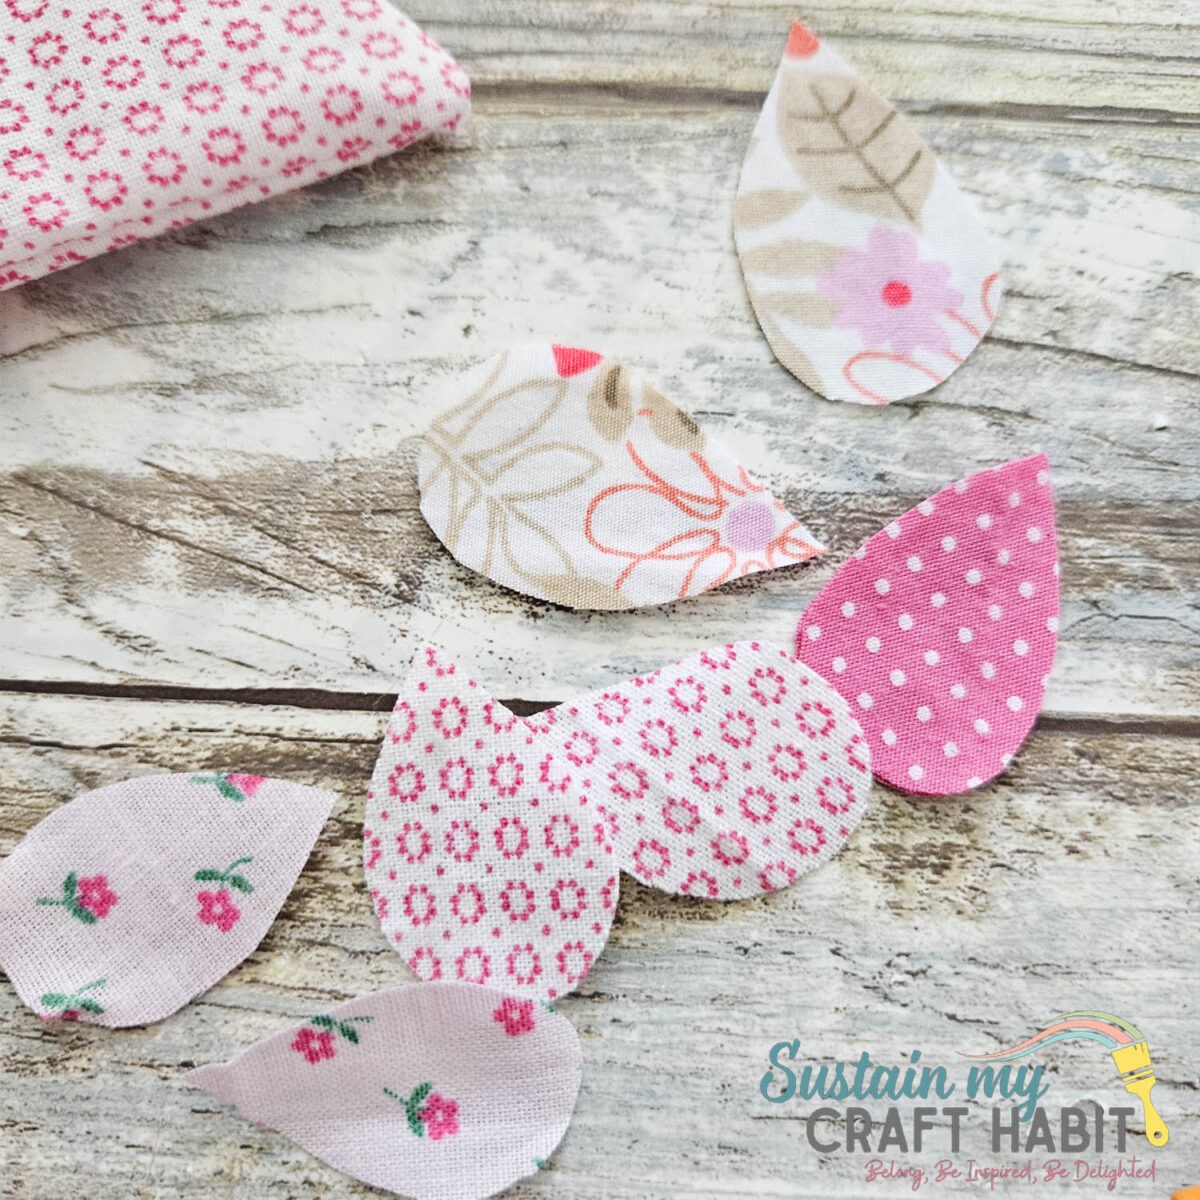
Cut wing shapes from the fabric scraps in contrasting patterns for each chicken.
Cut the beak and chicken crown in the felt sheets, two of each shape.
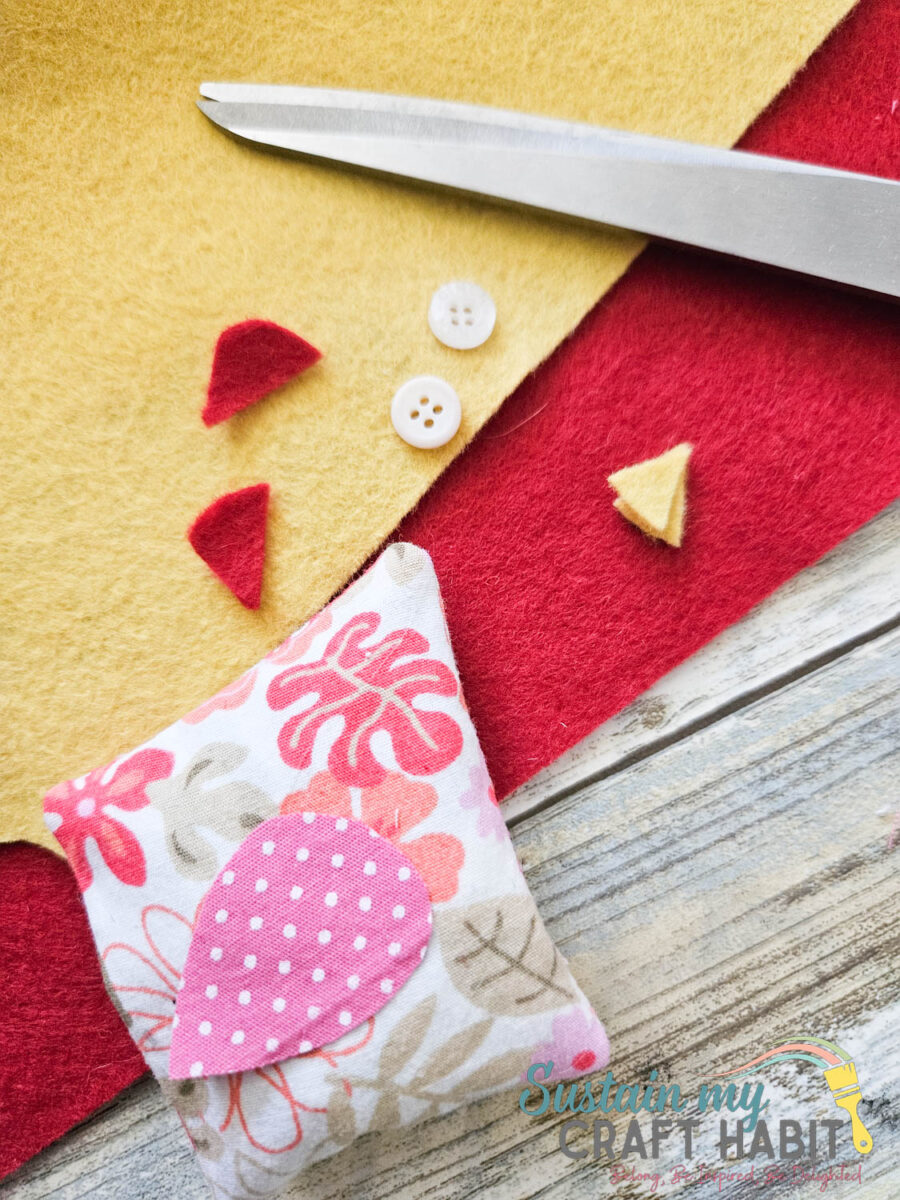
Glue the chicken’s beak and crown to the taller corner as shown using a hot glue gun.
Next, glue the wings to the sides of the chickens.
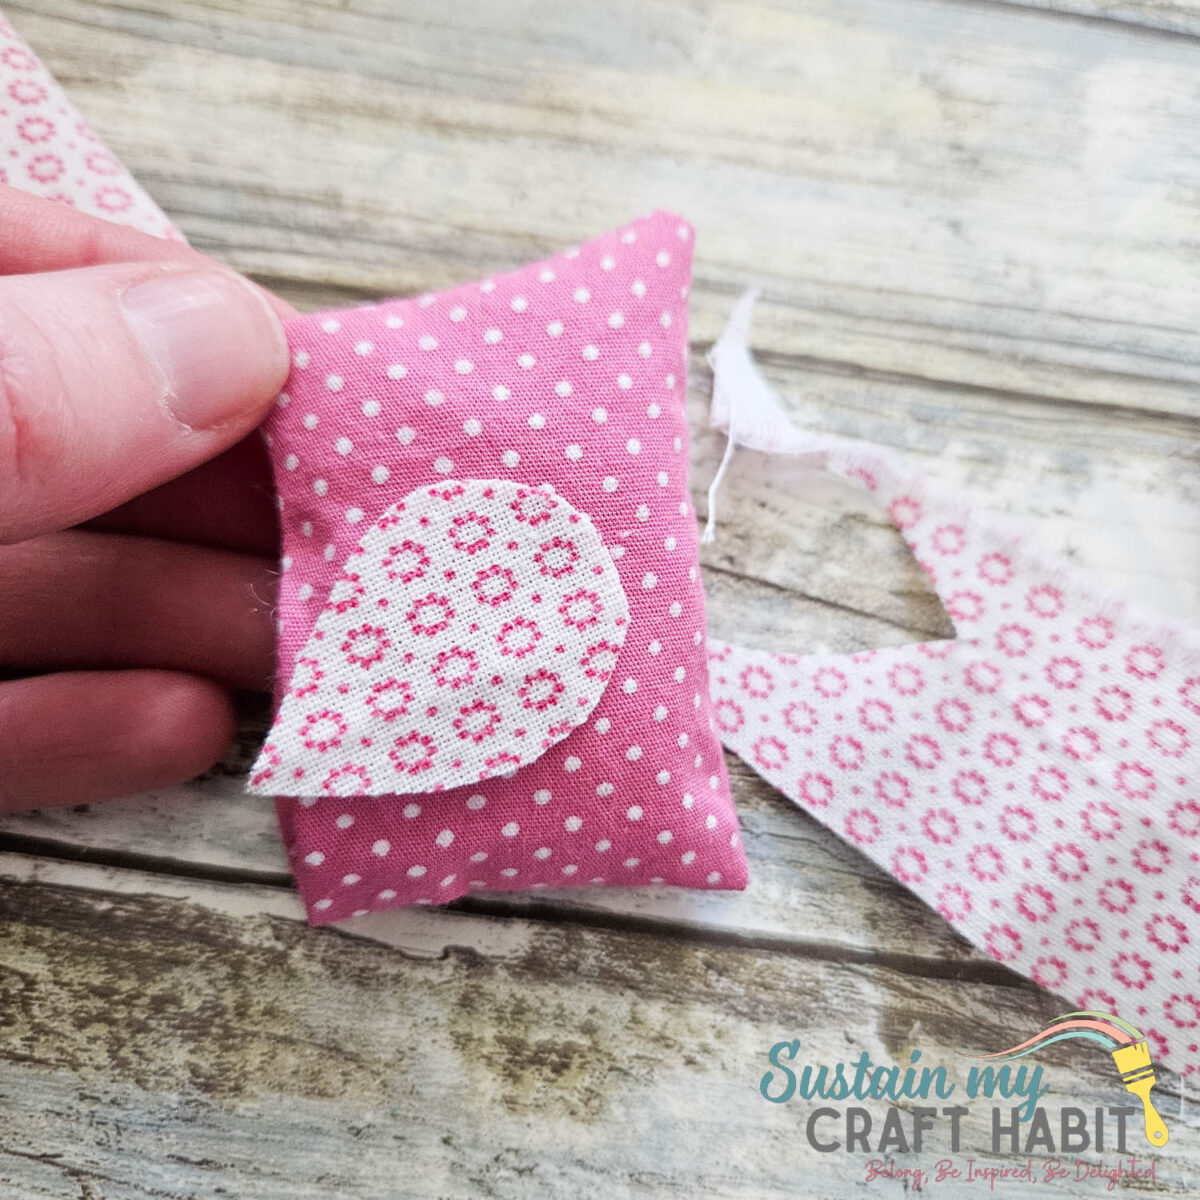
Lastly, glue the buttons in place for the eyes.
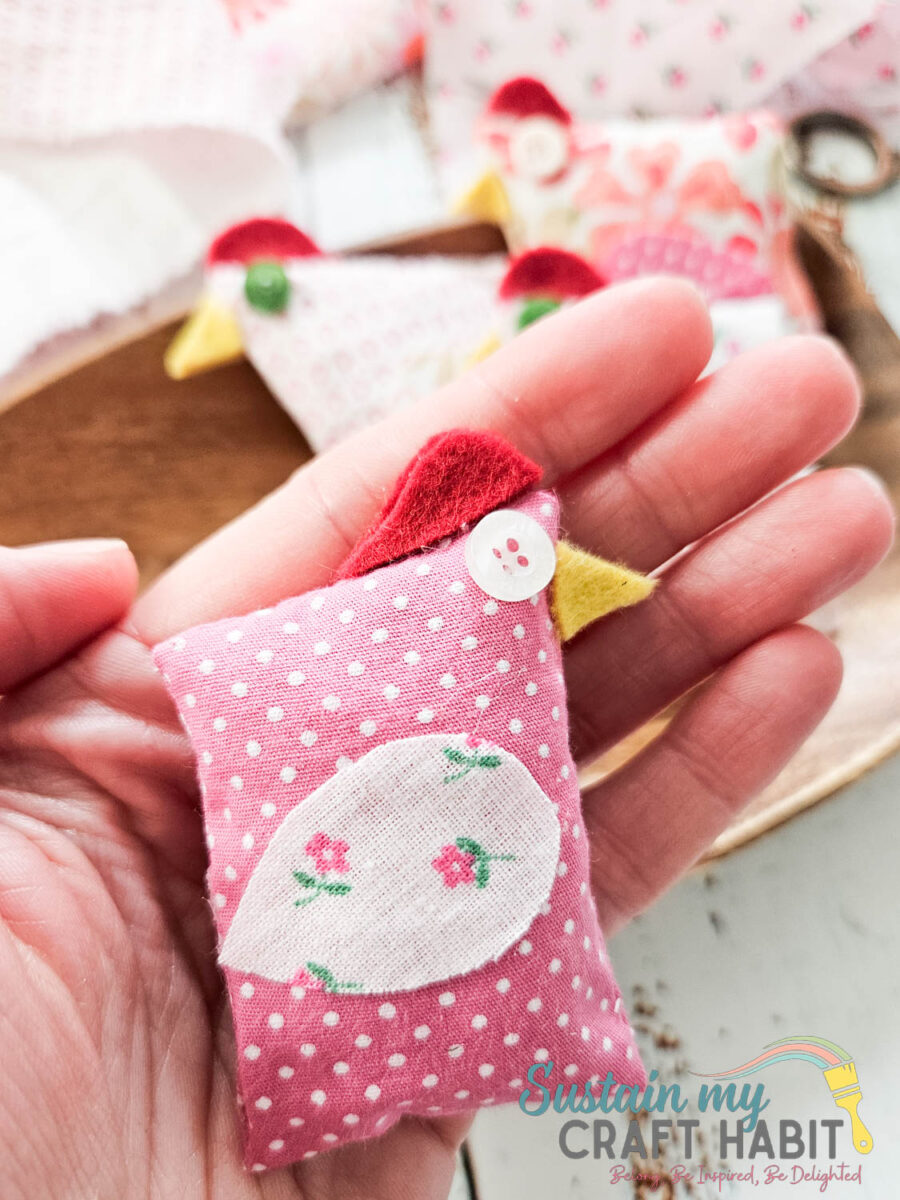
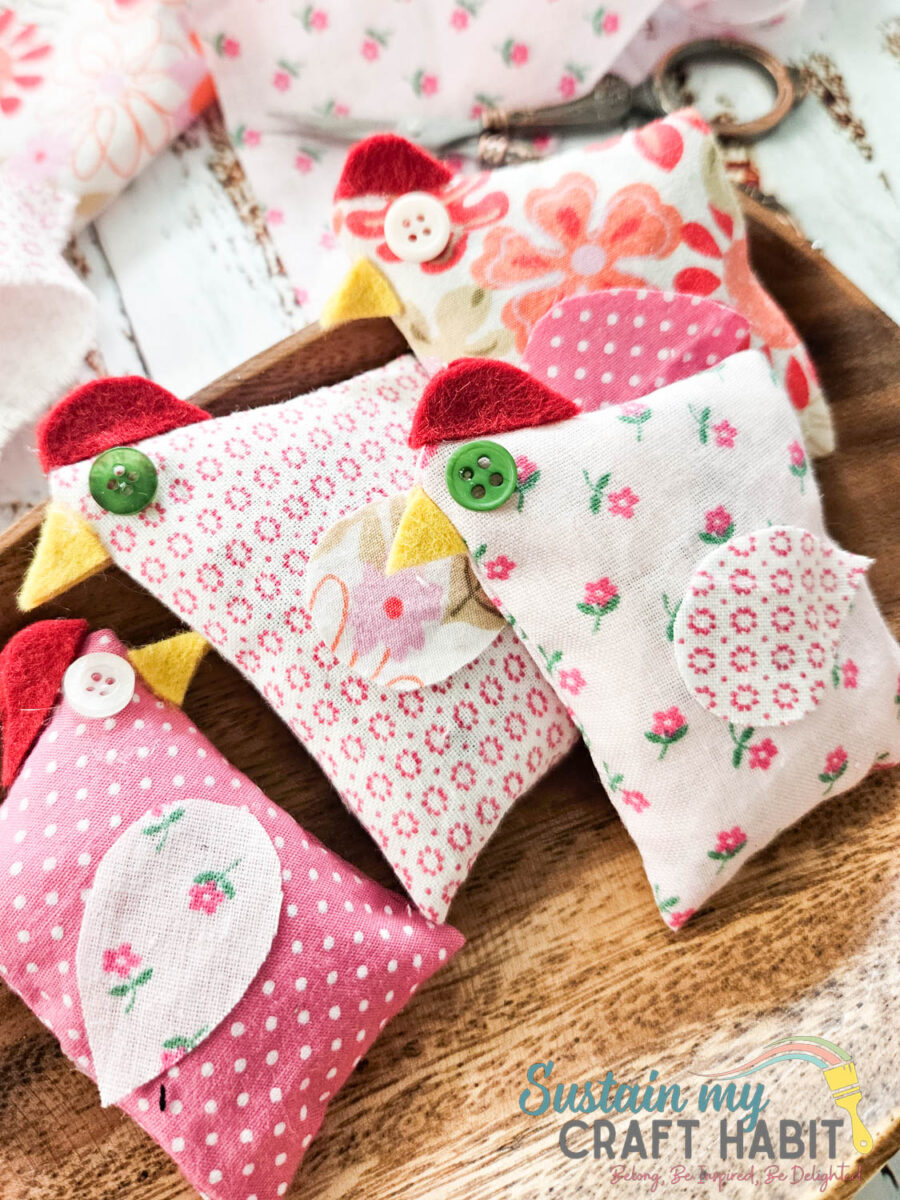
Repeat to make as many little pocket chicks as you like.
Fabric Choices & Texture
Quilting scraps are the easiest to work with, especially if you’re new to sewing. Mixing patterns — florals, gingham, or polka dots — gives each chicken a bit of personality. If your fabric is too thin, double it up or add interfacing.
Size & Shape Options
You can scale the pattern up for a larger plush version like we made here or keep them tiny for pocket-sized buddies.
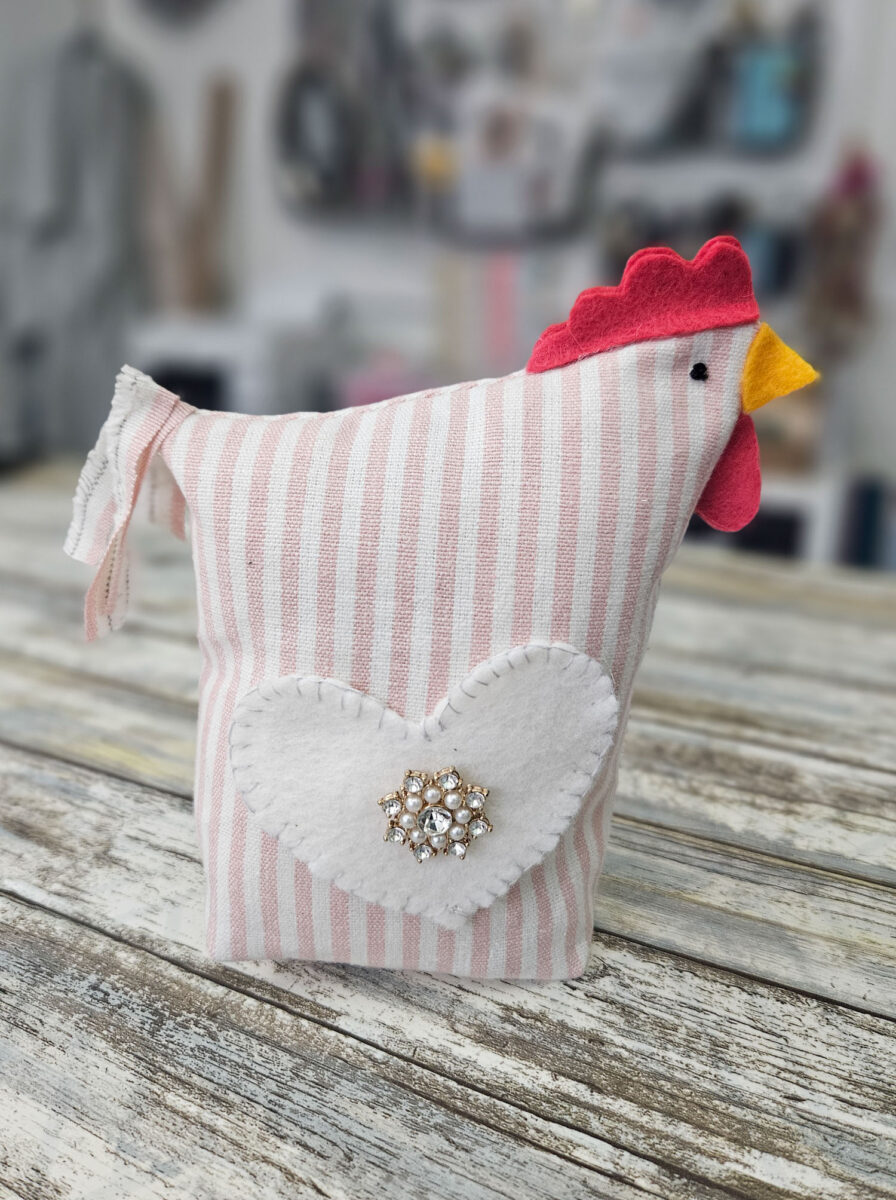
Adding Personality
- Use uncooked beans or rice as the stuffing instead of soft badding
- Add a loop at the top to turn them into hanging decorations or farmhouse Christmas tree ornaments!
Other Ways to Display these DIY Pocket Buddies
These little chickens are surprisingly versatile once you start placing them around the house.
- Kitchen shelf décor idea: Sit a few along a windowsill or open shelf for a cosy farmhouse feel.
- Gift décor idea: Tuck one into a basket with homemade treats or candles for a thoughtful handmade touch.
- Seasonal styling: Add pastel fabrics for spring or brighter tones for summer table settings.
You can also group them in odd numbers for a more natural, styled look — it makes a big difference visually.
Spring Chicken Pocket Buddies
These DIY scrap fabric chicken pocket buddies are the kind of project you’ll come back to whenever your scrap pile starts growing again. They’re quick, flexible, and just a bit addictive to make. If you try a batch, it’s worth mixing colours and sizes to see what you like best. Don’t forget to save or pin this for later — it’s one of those ideas you’ll want on hand.
More Scrap Fabric Crafts to Make and Free Patterns
- Scrap Fabric Chicken Craft
- Make a Scrunchie 3 Different Ways
- Upcycling Socks to Make a Homemade Door Stop
- Lavender Sachets
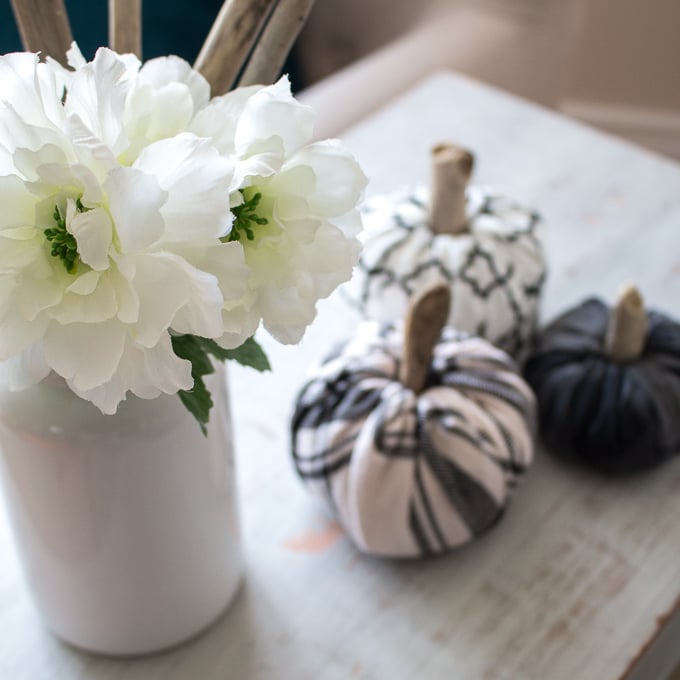
- Fabric Pumpkins

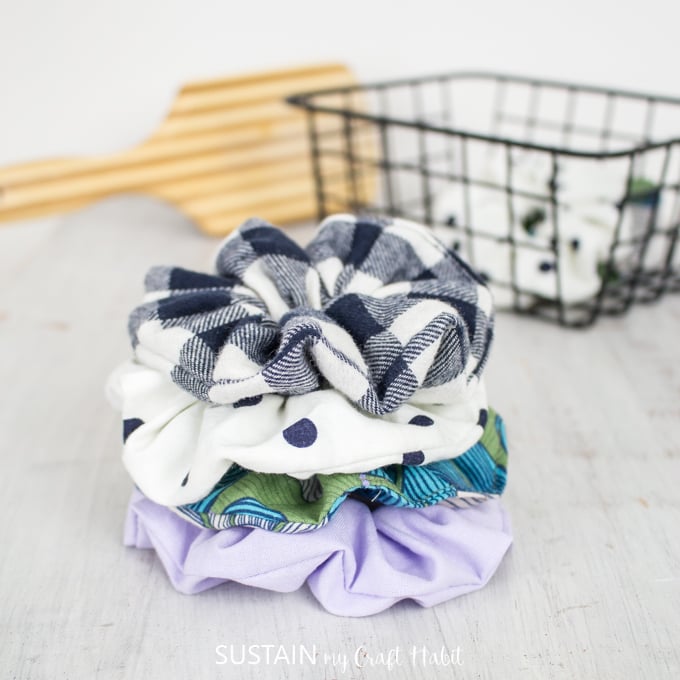
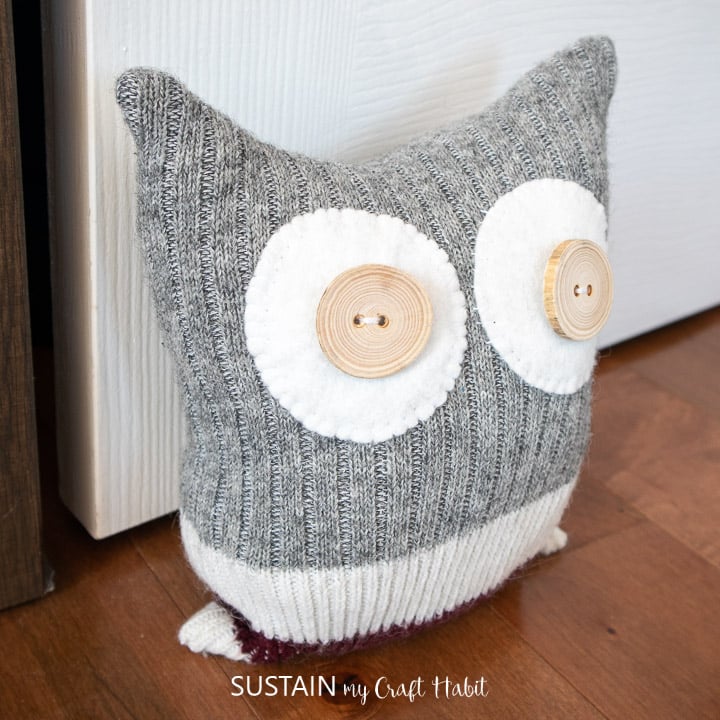
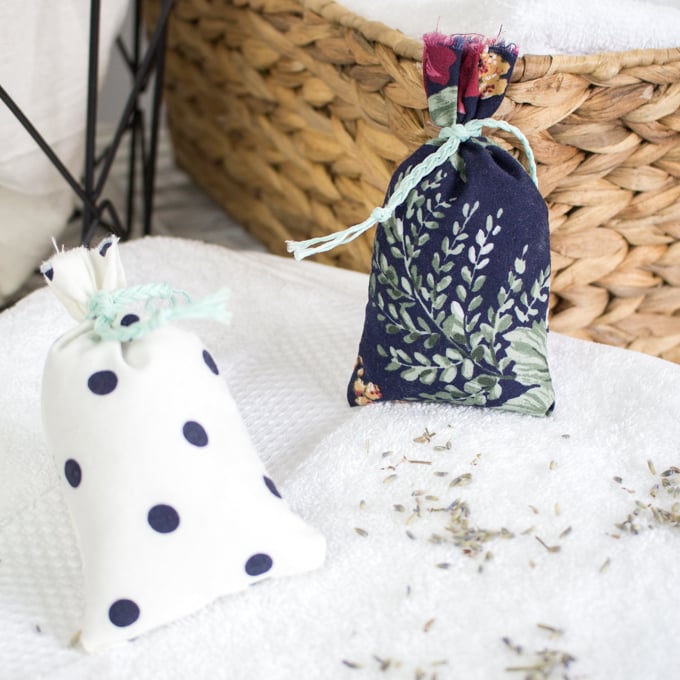
Stay in the know on our latest crafts, special offers and freebies by joining our mailing list.
Like it? Pin for later!
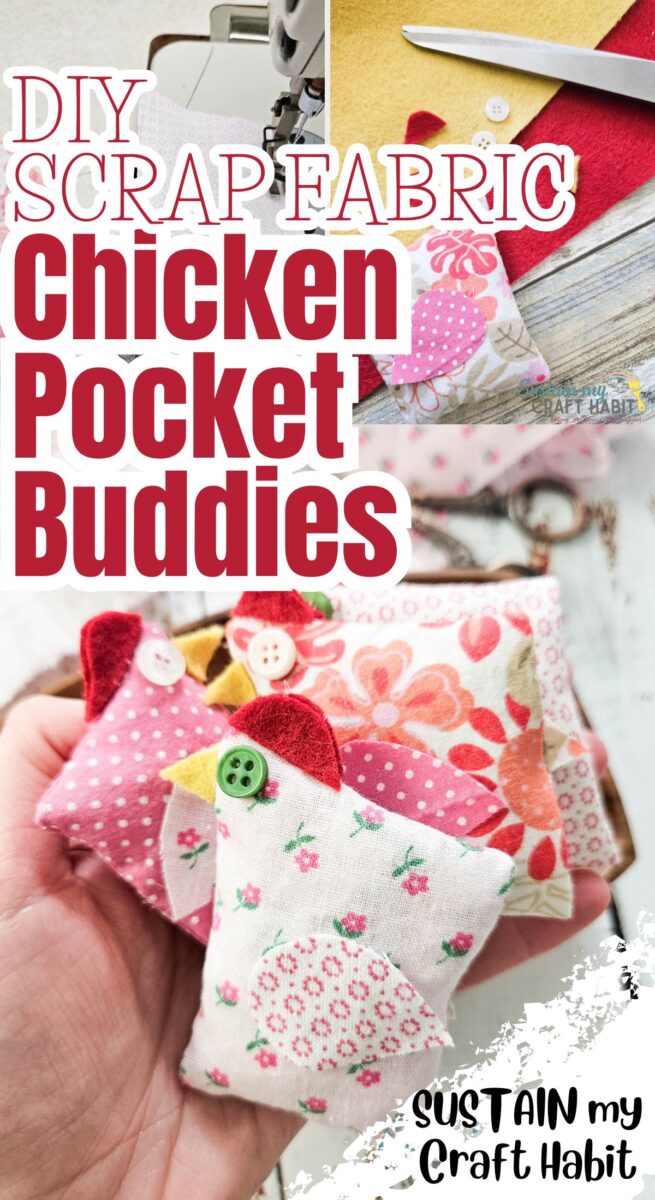
DIY Scrap Fabric Chicken Pocket Buddies
Materials
- Woven fabric we used leftover quilting scrap fabrics, 100% cotton in assorted colors and patterns
- Stuffing or badding
- Sewing machine and matching thread
- Fabric scissors
- Felt sheets in any color of your choosing
- Small buttons
- Hot Glue Gun
Instructions
Cutting
- Cut small rectangular pieces (roughly 1” wide x 2.5” high). Fold the rectangle in half lengthwise and then cut the short ends on an angle.
Sewing
- Align the pieces with RIGHT sides facing and sew outer edges together with 1/4” seam allowance, leaving a small gap opening along one side. Back stitch the start and end of the stitch to secure.
- Clip the corners to reduce bulk.
- Turn the piece RIGHT side out. Insert some badding through the gap opening until the desired fullness is achieved.
- Once satisfied with the amount of filling, sew the opening closed with a ladder stitch or hot glue gun.
- Cut wing shapes from the fabric scraps in contrasting patterns for each chicken.
- Cut the beak and chicken crown in the felt sheets, two of each shape.
- Glue the chicken’s beak and crown to the taller corner using a hot glue gun.
- Next, glue the wings to the sides of the chickens.
- Lastly, glue the buttons in place for the eyes.
- Repeat to make as many chicken pocket buddies as you like.