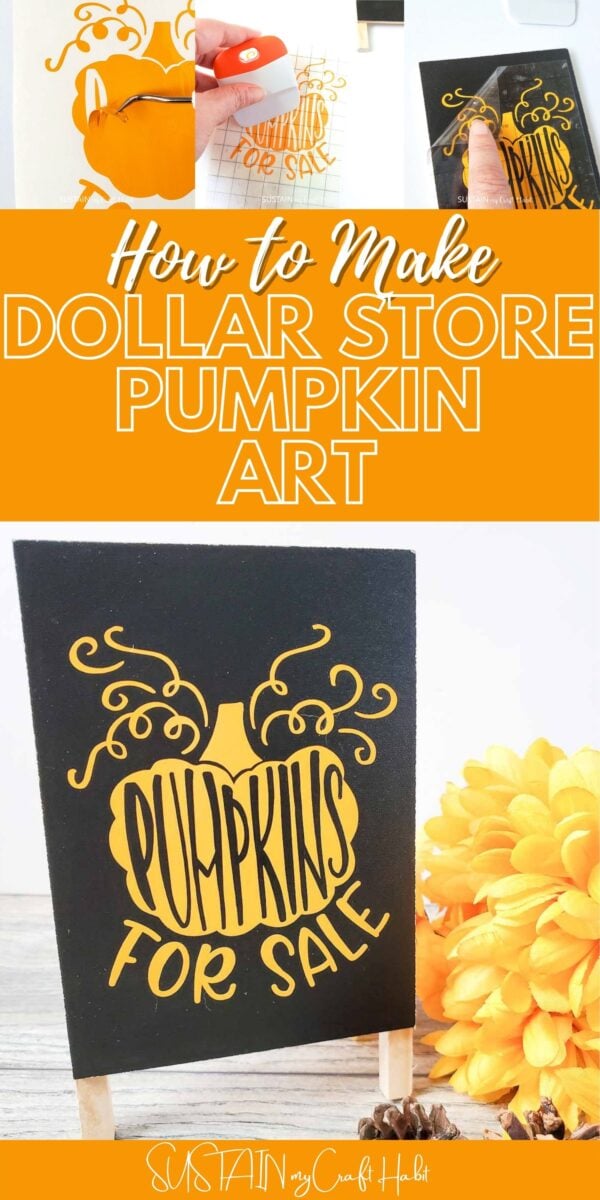
Dollar Store Pumpkin Art Craft with Cricut
Using a mini easel we picked up at the dollar store, we turned it into a fun pumpkin art craft for Fall using our Cricut cutting machine. We’ll show you how to make your own with a sweet “pumpkins for sale” SVG file.

Using Cricut to Make an Dollar Store Craft
The times I head to the dollar store for picking up the odd thing, I can’t help but walk down the aisle of craft supplies just to see what they have. In my experience, each store carries different supplies so it’s a treat to see what I can find. They tend to have plenty of surfaces to use for crafting at all times of the year and especially in the Fall before Thanksgiving and Christmas decorations are stocked.
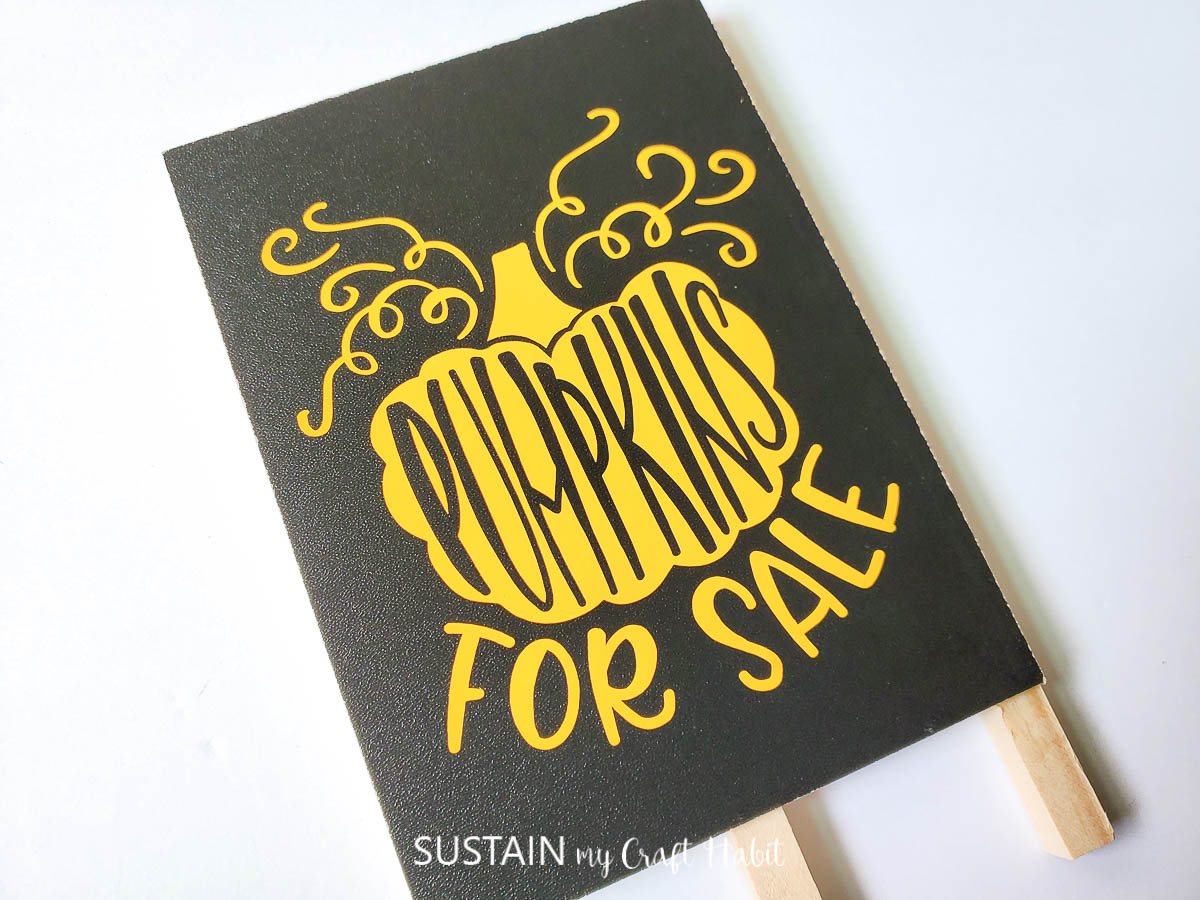
The “pumpkins for sale” lettering comes from one of the many design options from the Autumn bundles package on designbundles.net. Check out the other options for one that you like best! I like the idea of placing this mini dollar store pumpkin art sign next to a grouping of fresh pumpkins on my kitchen counter.
More Dollar Store Crafting
If you’re looking for more dollar store craft ideas, check out these fun posts using surfaces and materials easily found at most dollar stores or thrift stores.

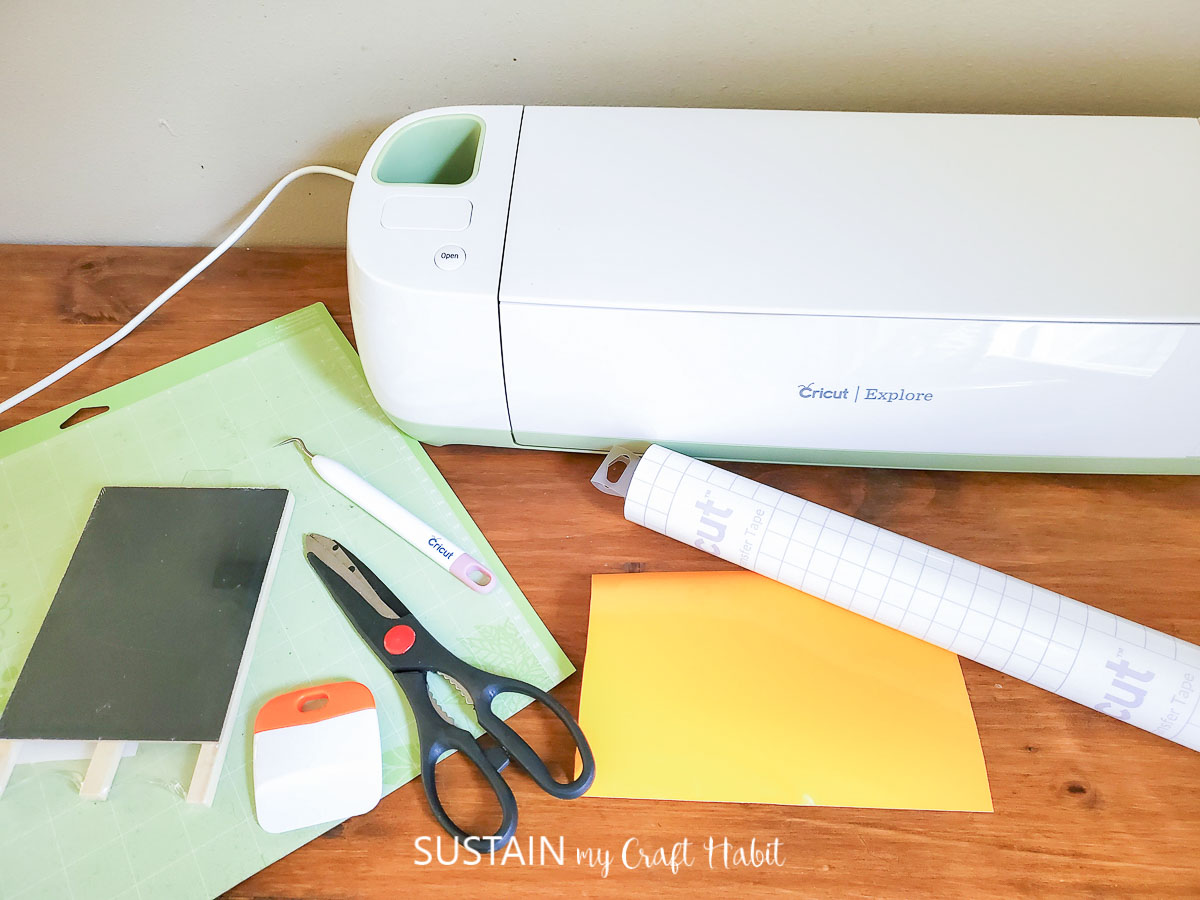
Materials Needed:
Disclosure: This post contains affiliate links for your shopping convenience. Should you choose to purchase through them, we will make a small commission at no extra cost to you. You can read our full disclosure here.
- Chalkboard Easel (4”x6”) from Dollar Tree or other local dollar stores
Cricut Maker or other cutting machineStandard grip mat Scraper (optional)Weeding tool Transfer tape Permanent premiu m vinyl in orange- Pumpkins for Sale SVG file
How to Make a Dollar Store Pumpkin Craft
Turn your machine on and connect it to your computer.
Cut your vinyl to size and place it on the cutting mat. Click the feed button to insert the cutting mat into the machine and then open Design Space and click on “New Project”.
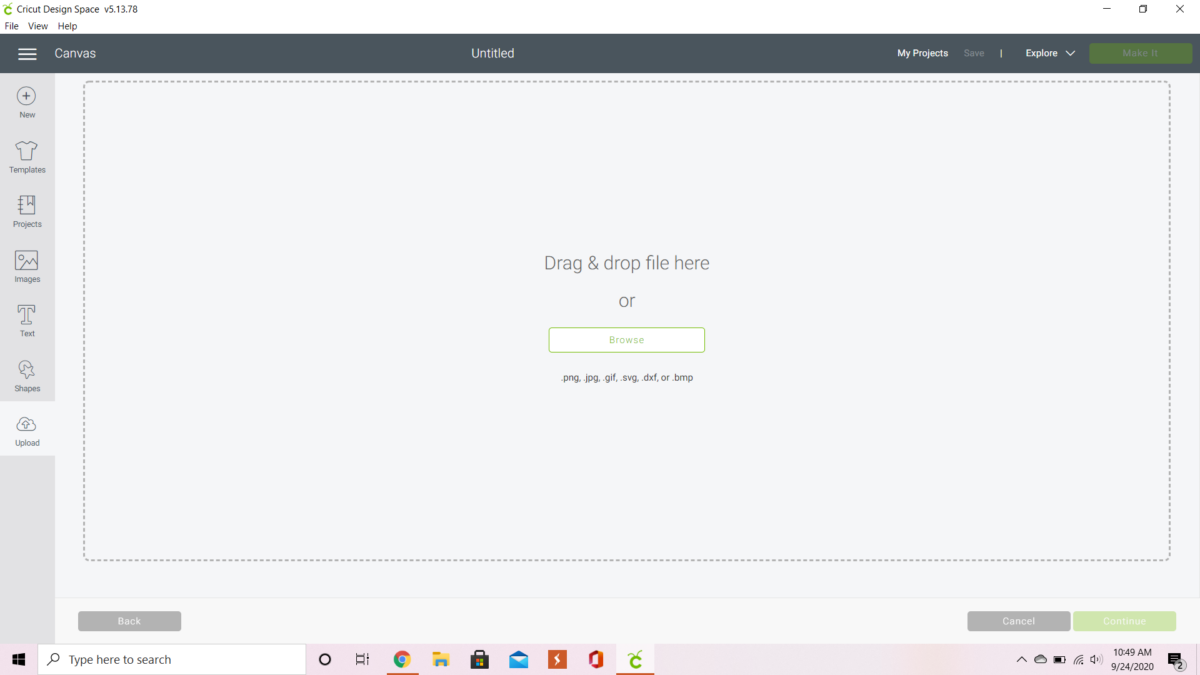
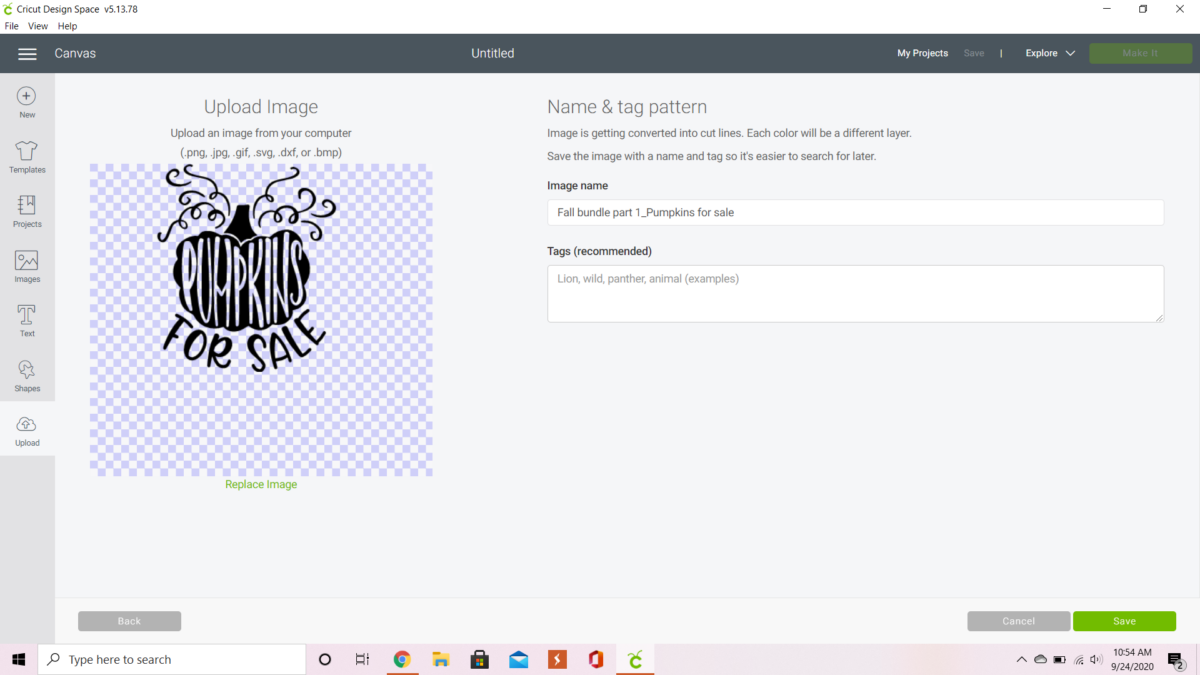
Click “Upload” and then click “Upload Image”
Browse for your file on your computer and once the image is uploaded, click “save.” Select your image and click “insert images” to proceed.
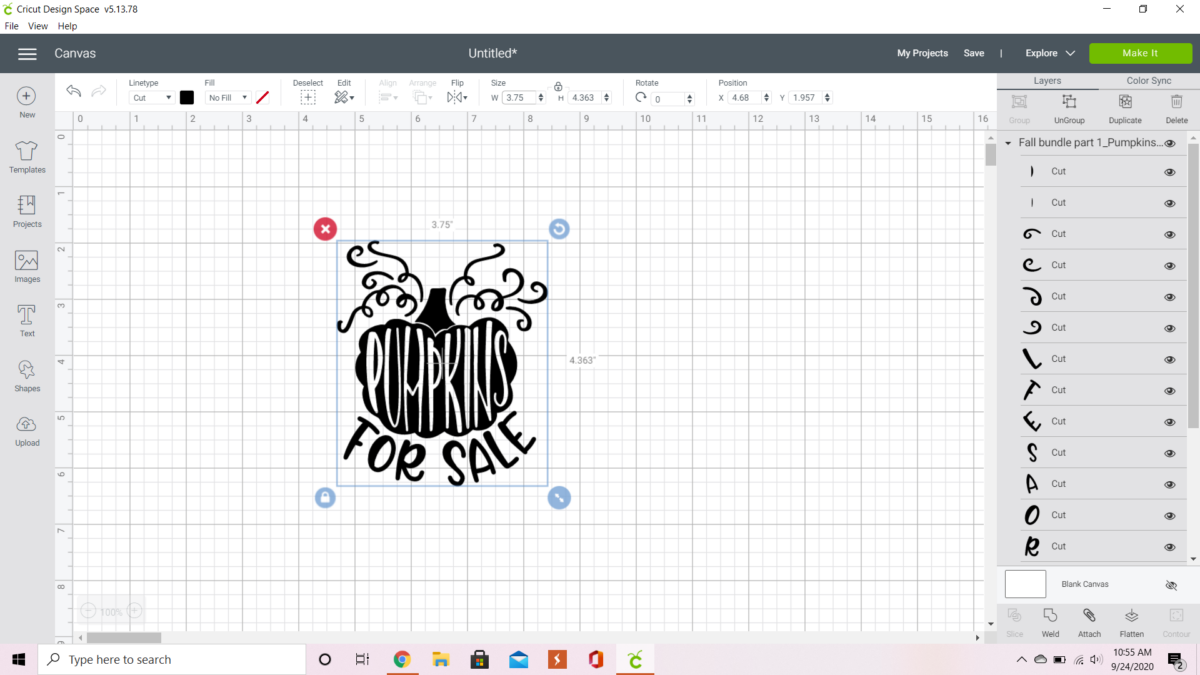
Resize your image to 3.75” wide by 4.363” wide or to fit your easel.
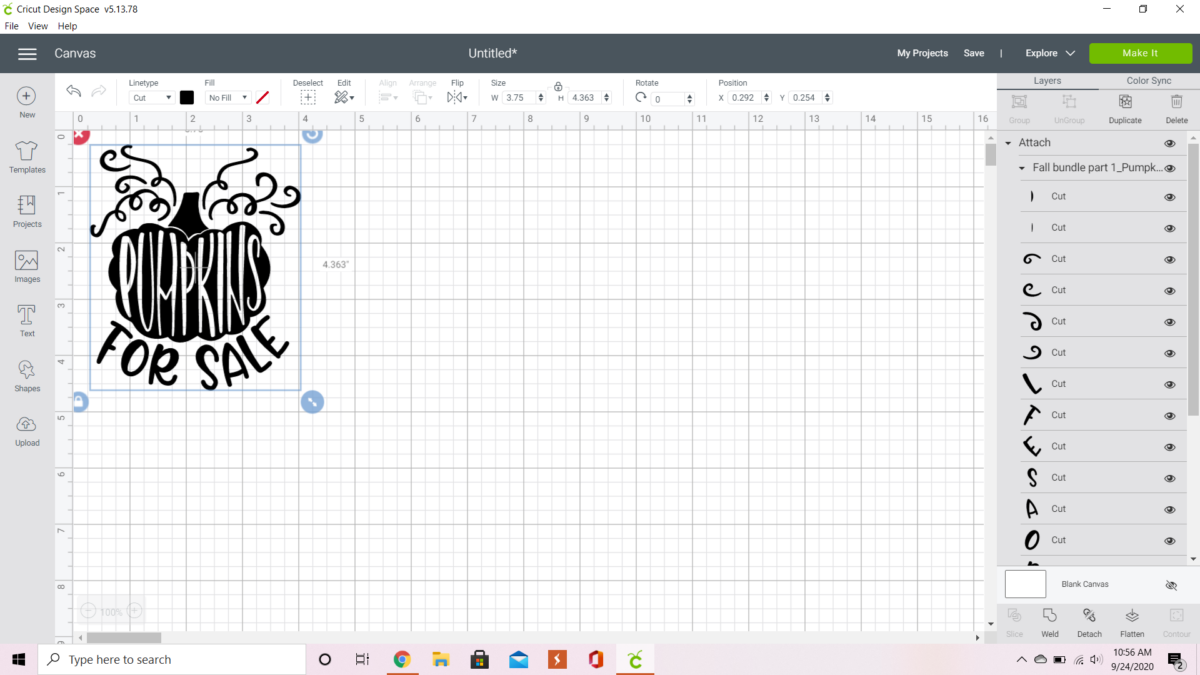
Select “attach” and move the image to the top left corner.
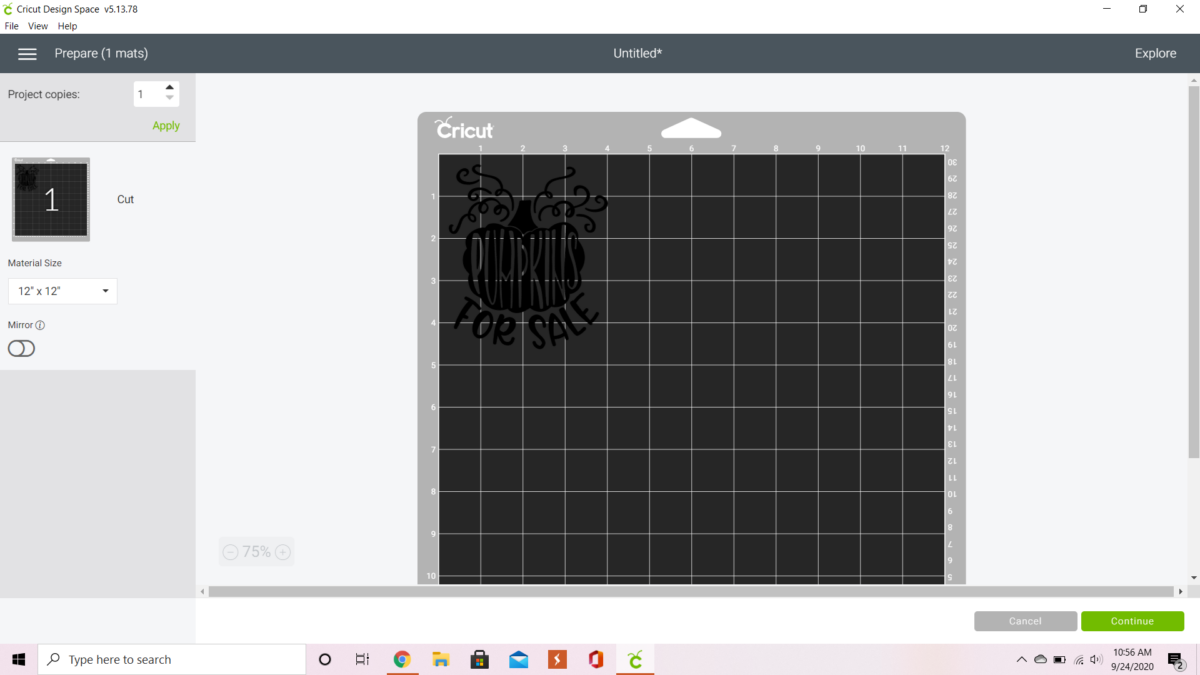
Next, select “make it” and then “continue” and the machine will start cutting.
Once cutting is finished, click the feed button to remove the cutting mat from the machine.
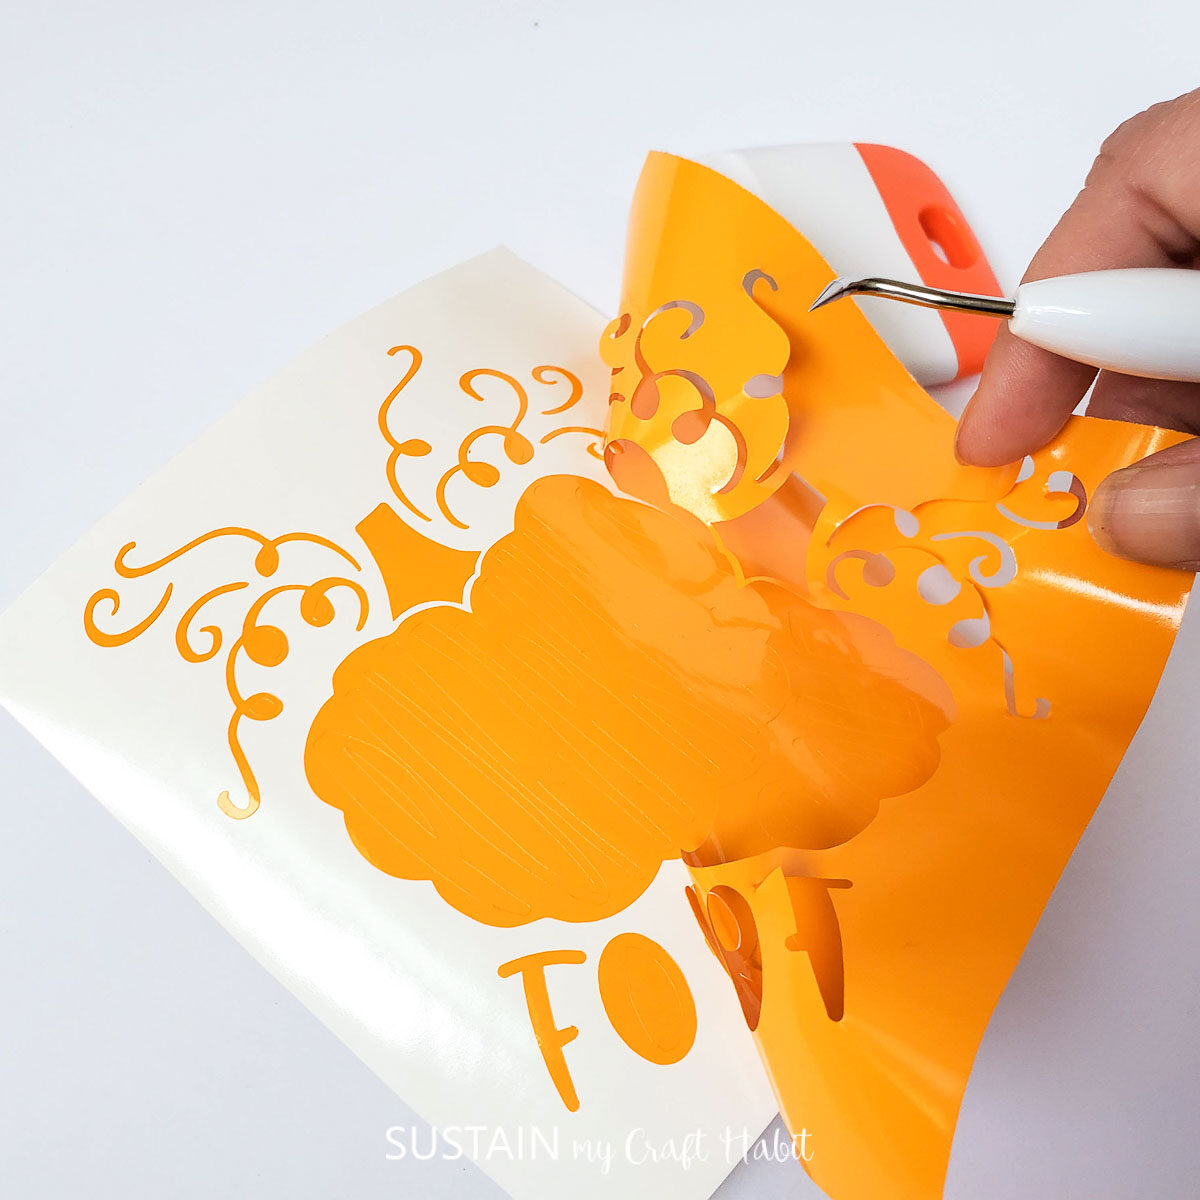
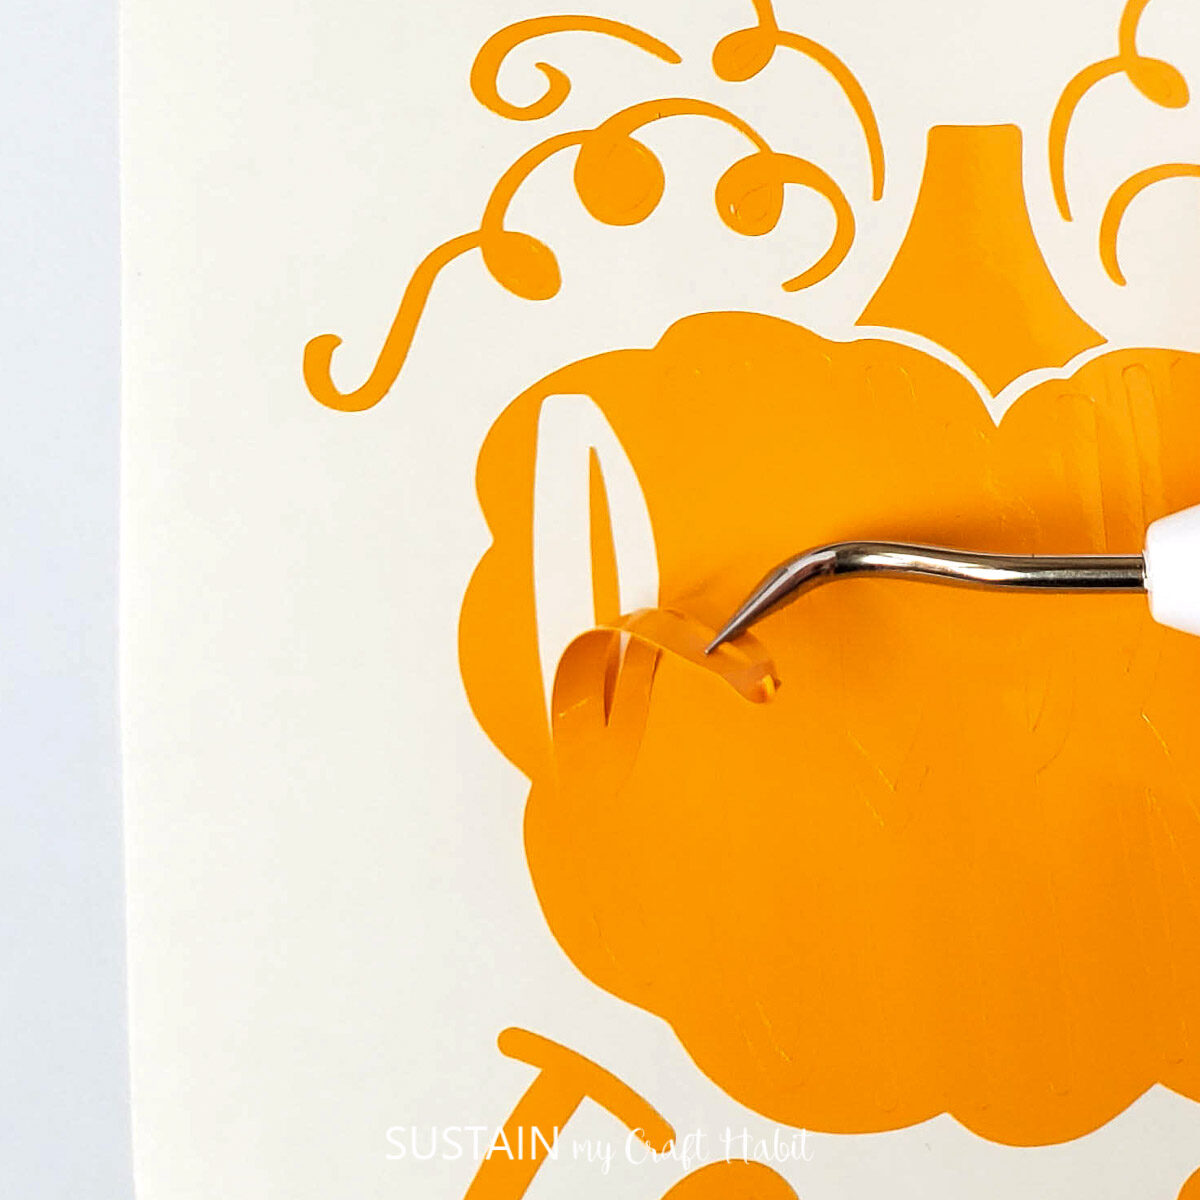
Weeding the Vinyl
Remove the vinyl from the cutting mat and use the weeding tool to remove the excess vinyl.
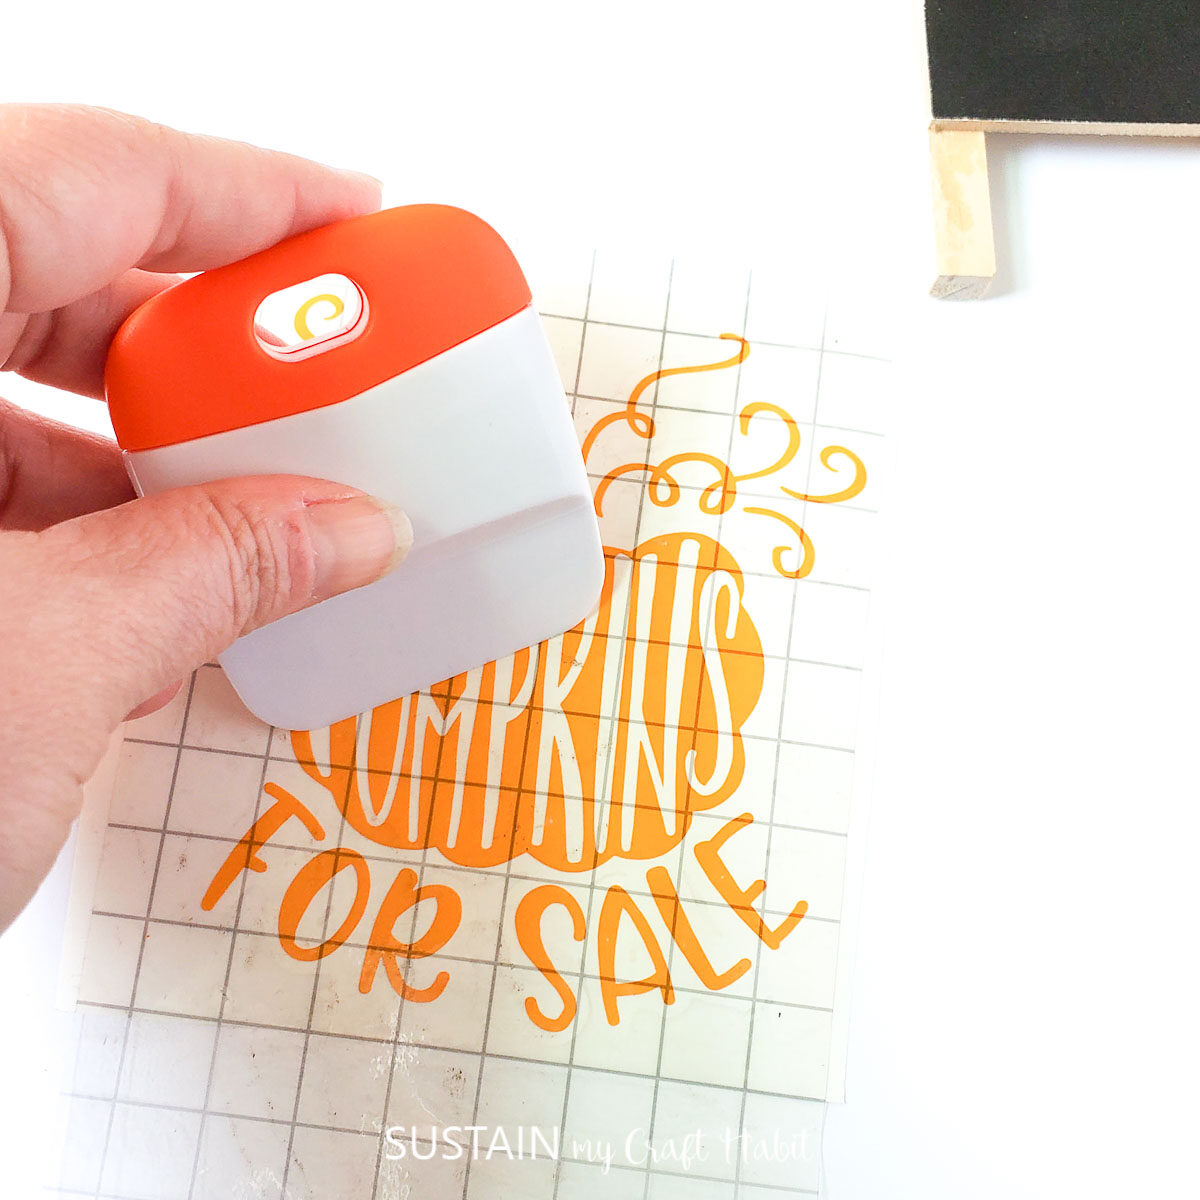
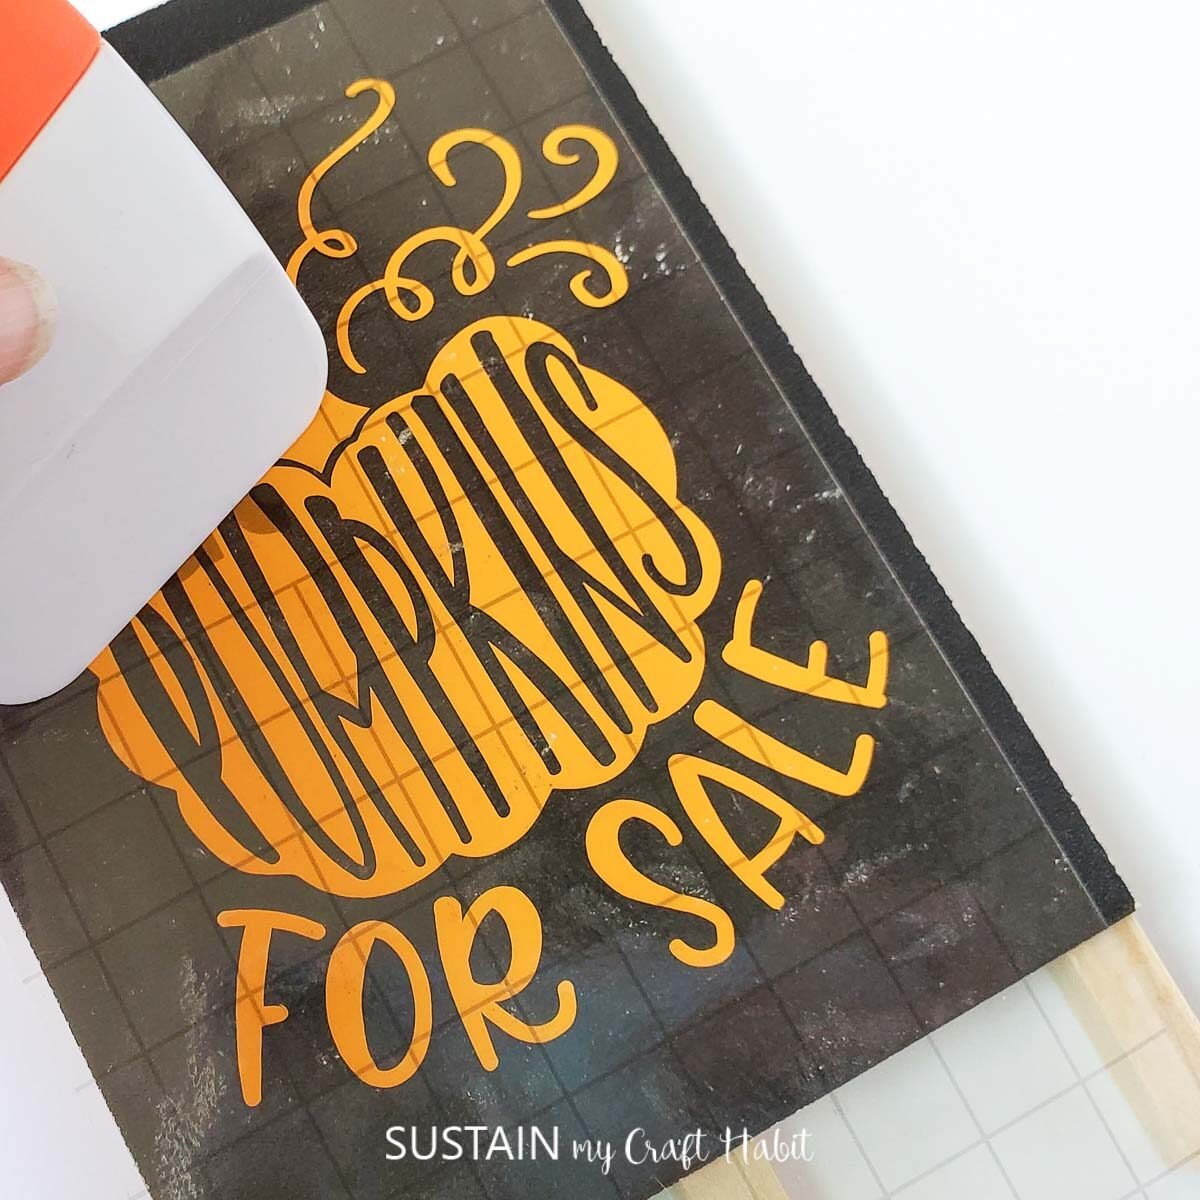
Cut the transfer tape to size and apply it over the cut vinyl. Use the scraper to adhere it.
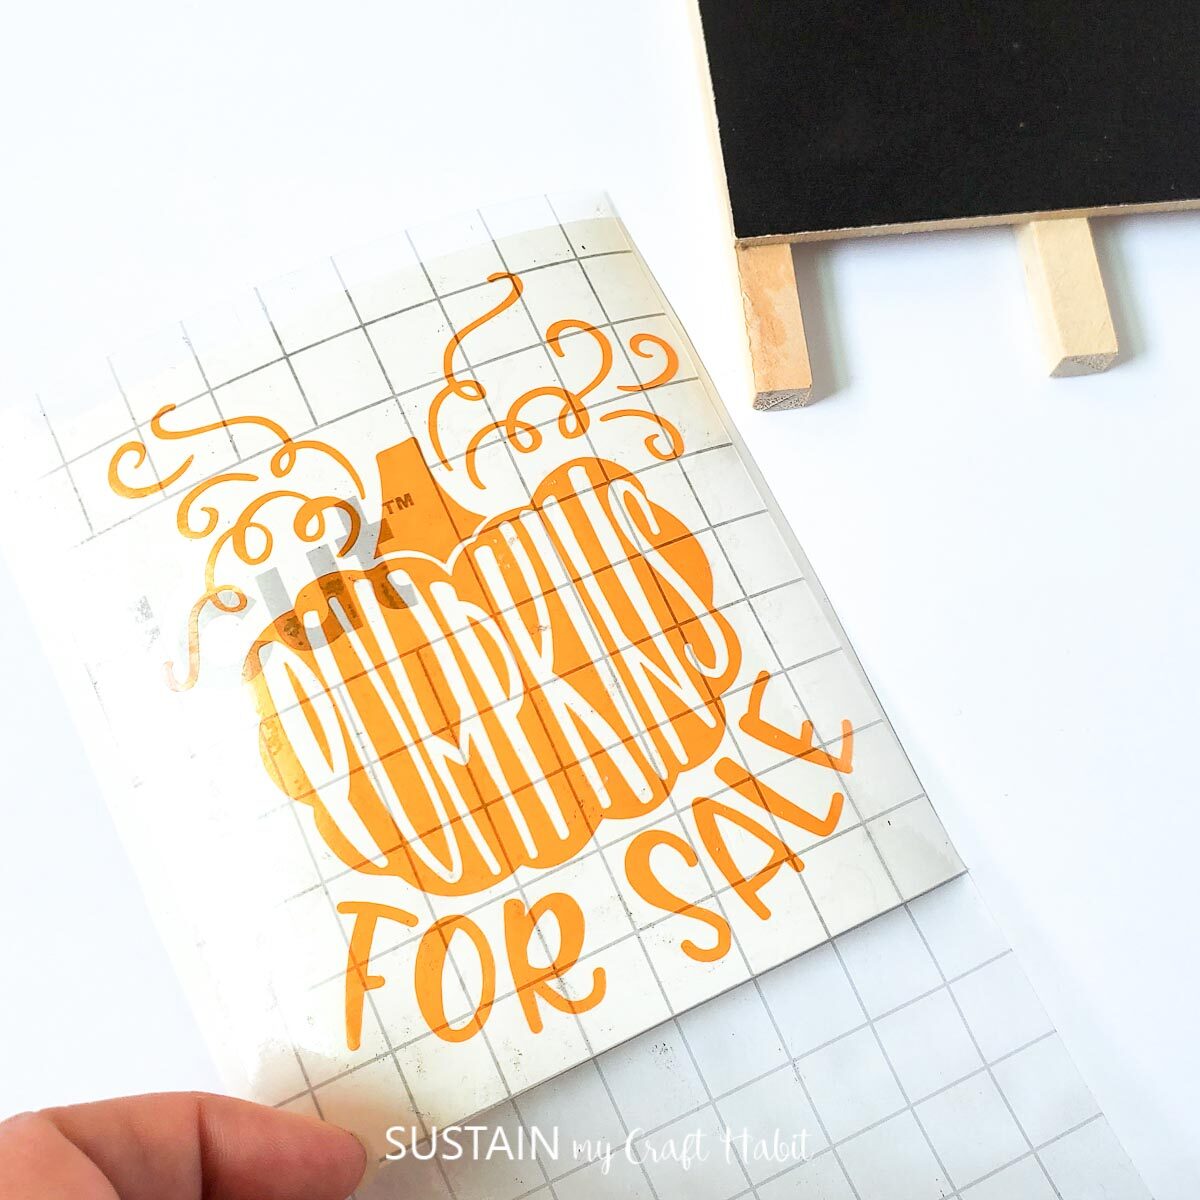
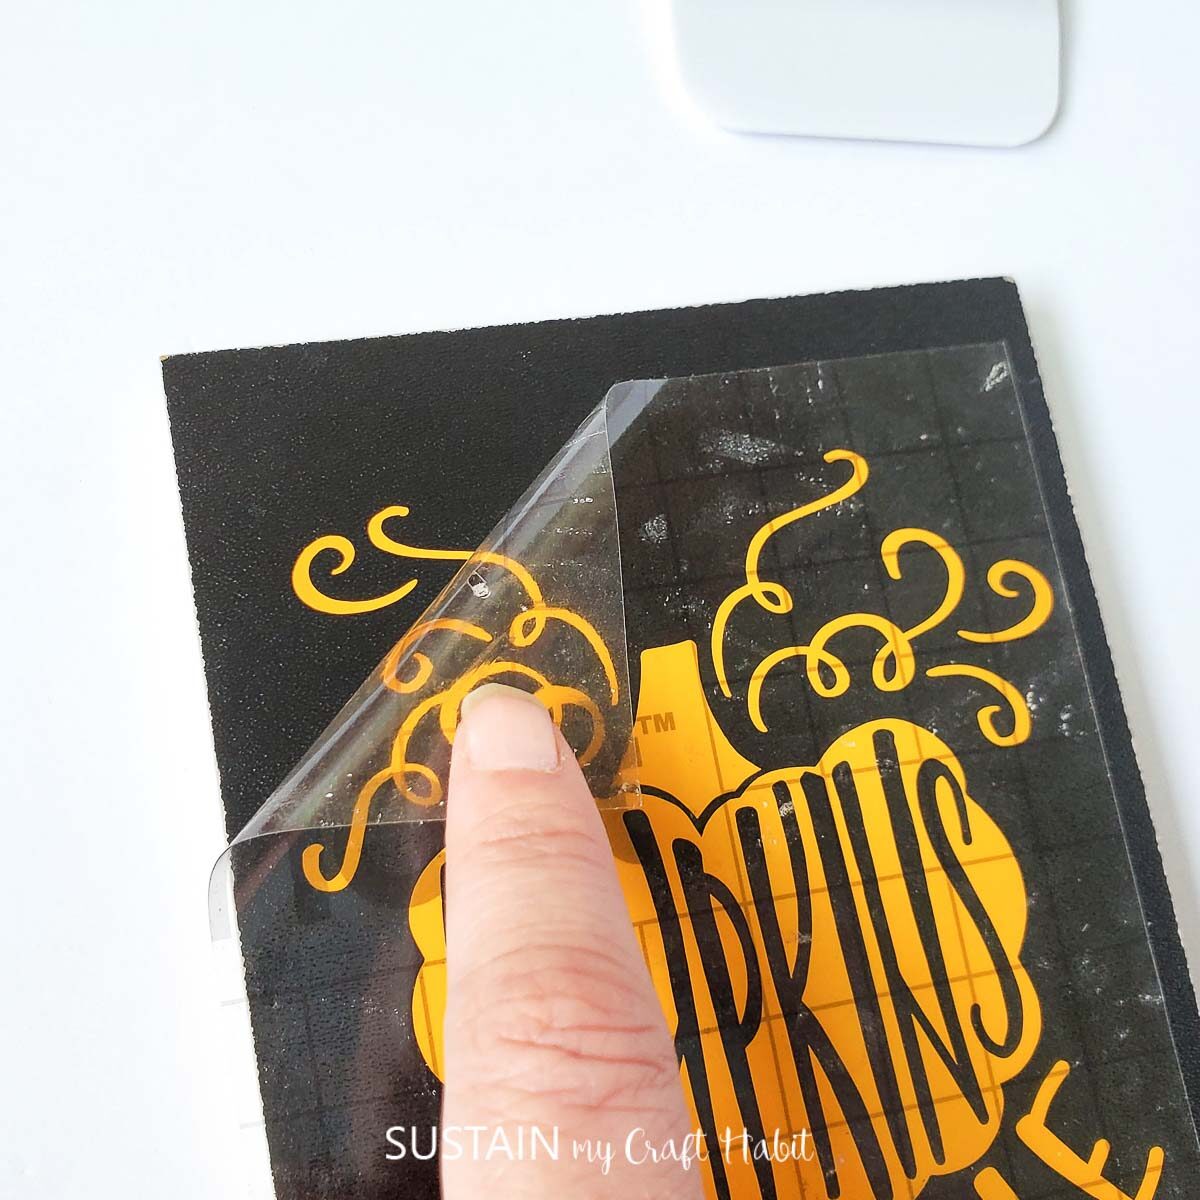
Assembling the pumpkin art
Peel the vinyl up from its backing and place the image centered on the chalkboard easel. Use the scraper to adhere the vinyl to the chalkboard, then carefully remove the transfer tape.
And with that, you’re done! I like the idea of placing this mini dollar store pumpkin art sign next to a grouping of fresh pumpkins on my kitchen counter. Where would you place your mini pumpkin art craft?

Pumpkins Galore!
We’ve got loads of pumpkin crafts on the blog so be sure to check out these creative ideas for more Fall crafting.
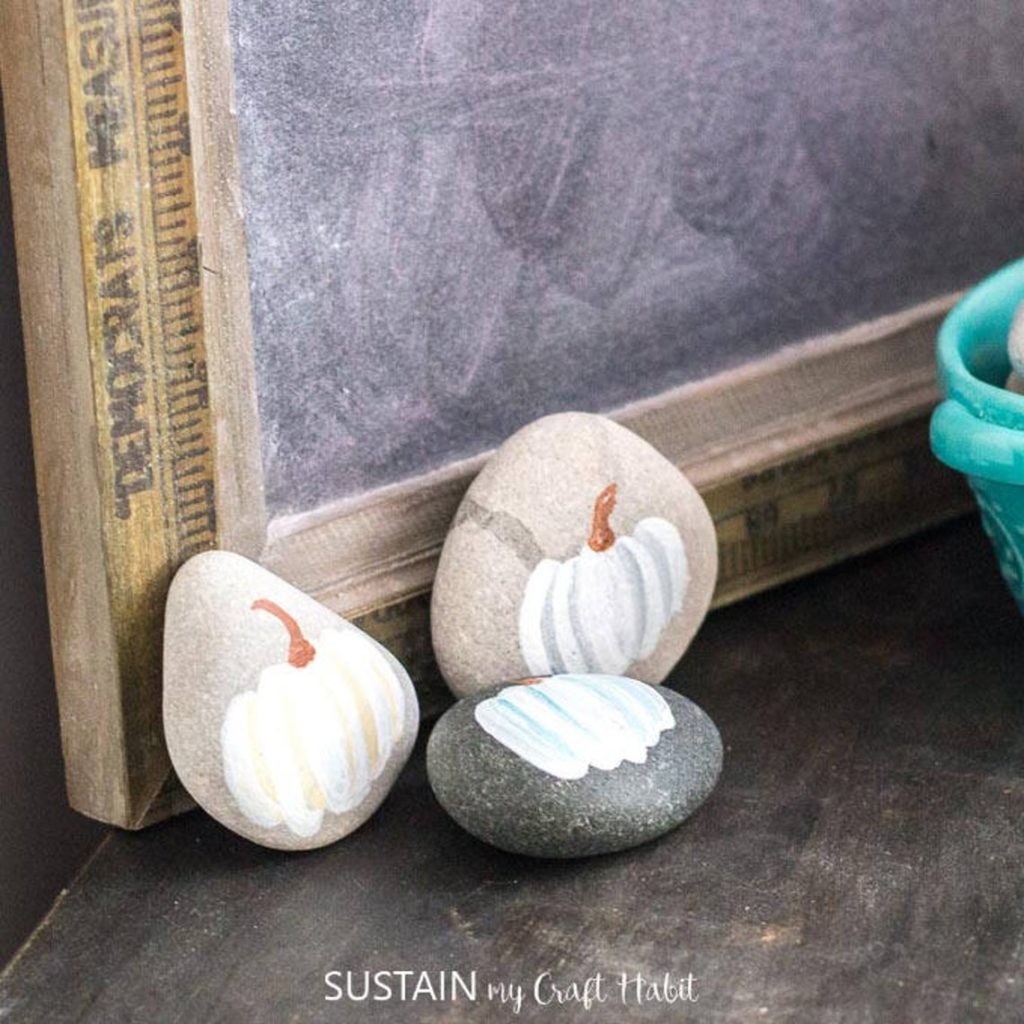
- Painted rock pumpkins
- DIY pumpkin wreath
- DIY pumpkin spice soap
- Mason jar pumpkins
- No-sew fabric pumpkins
- Reversible wood slice pumpkin

Pumpkin Rocks 
Pumpkin Wreath Pumpkin Spice Soap Painted Mason Jar Pumpkins Scrap Fabric Pumpkins Reversible Wood Slice Pumpkin


Like it? Pin it for later!

Dollar Store Pumpkin Art Craft
Materials
- Chalkboard Easel 4”x6” from Dollar Tree
- Cutting machine Maker, Explore or Joy
- Standard Grip Mat
- Scraper
- Weeding tool
- Transfer tape
- Cricut permanent premium vinyl in orange
- Pumpkins for Sale SVG file
Instructions
- Turn your machine on and connect it to your computer.
- Cut your vinyl to size and place it on the cutting mat. Click the feed button to insert the cutting mat into the machine. Open Design Space and click on “New Project”.
- Select “Upload”.
- Click “Upload Image”
- Browse for your file on your computer and once image is uploaded, select "save".
- Select your image and click “insert images”.
- Resize your image to 3.75” wide by 4.363” wide.
- Click "make it" and then “continue” and the machine will start cutting.
- Once cutting is finished, click the feed button to remove the cutting mat from the machine.
- Remove the vinyl from the cutting mat and use the weeding tool to remove the excess vinyl.
- Cut the transfer tape to size and apply it over the cut vinyl. Use the scraper to adhere it.
- Peel the vinyl up from its backing and place the image centered on the chalkboard easel.
- Use the scraper to adhere the vinyl to the chalkboard, then carefully remove the transfer tape.