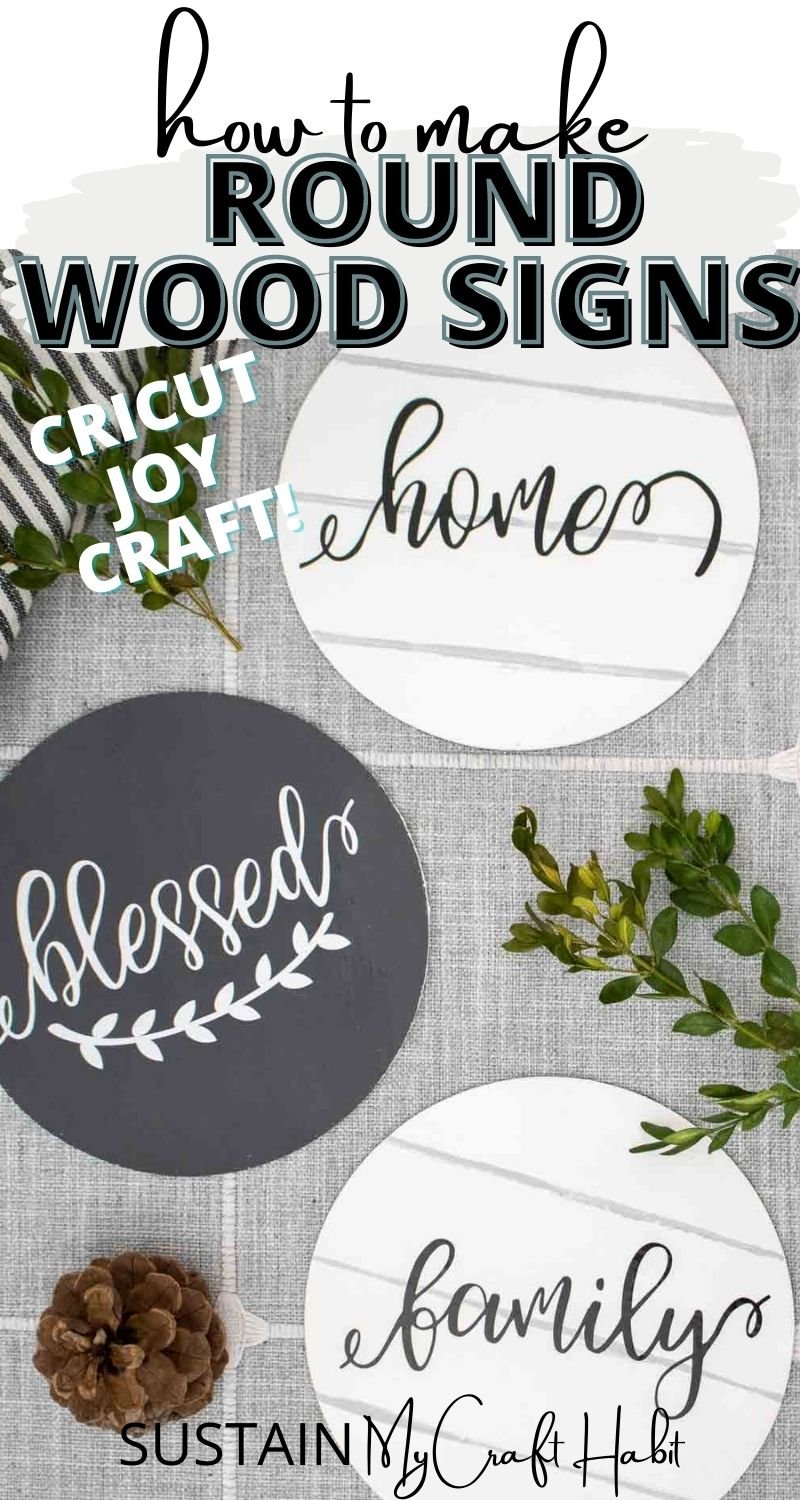
Farmhouse Inspired DIY Round Wood Sign
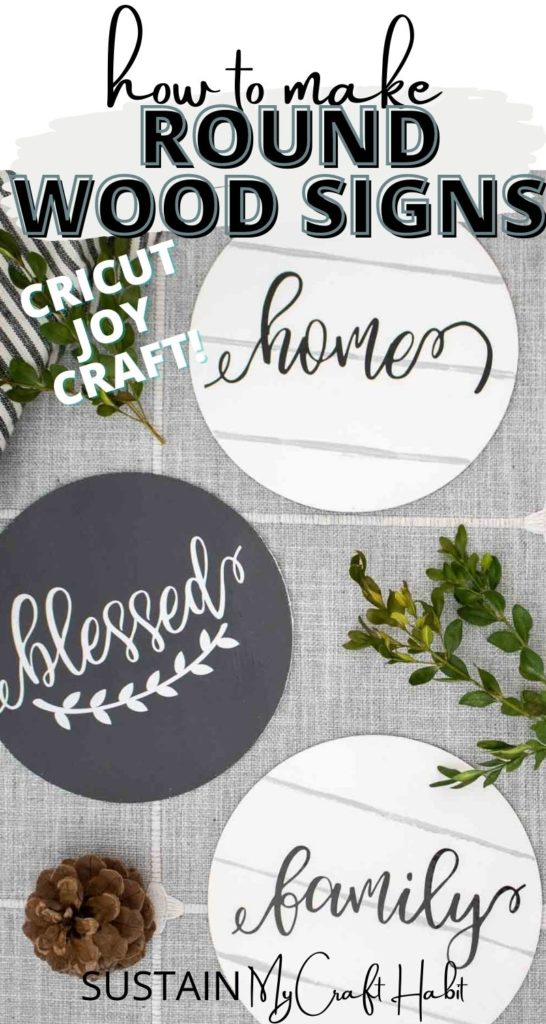
You’ll love adding these versatile signs to your everyday decor! Today, we’re sharing the free hand-lettered SVG file for making these farmhouse-inspired round wood signs using a Cricut cutting machine and some permanent vinyl.
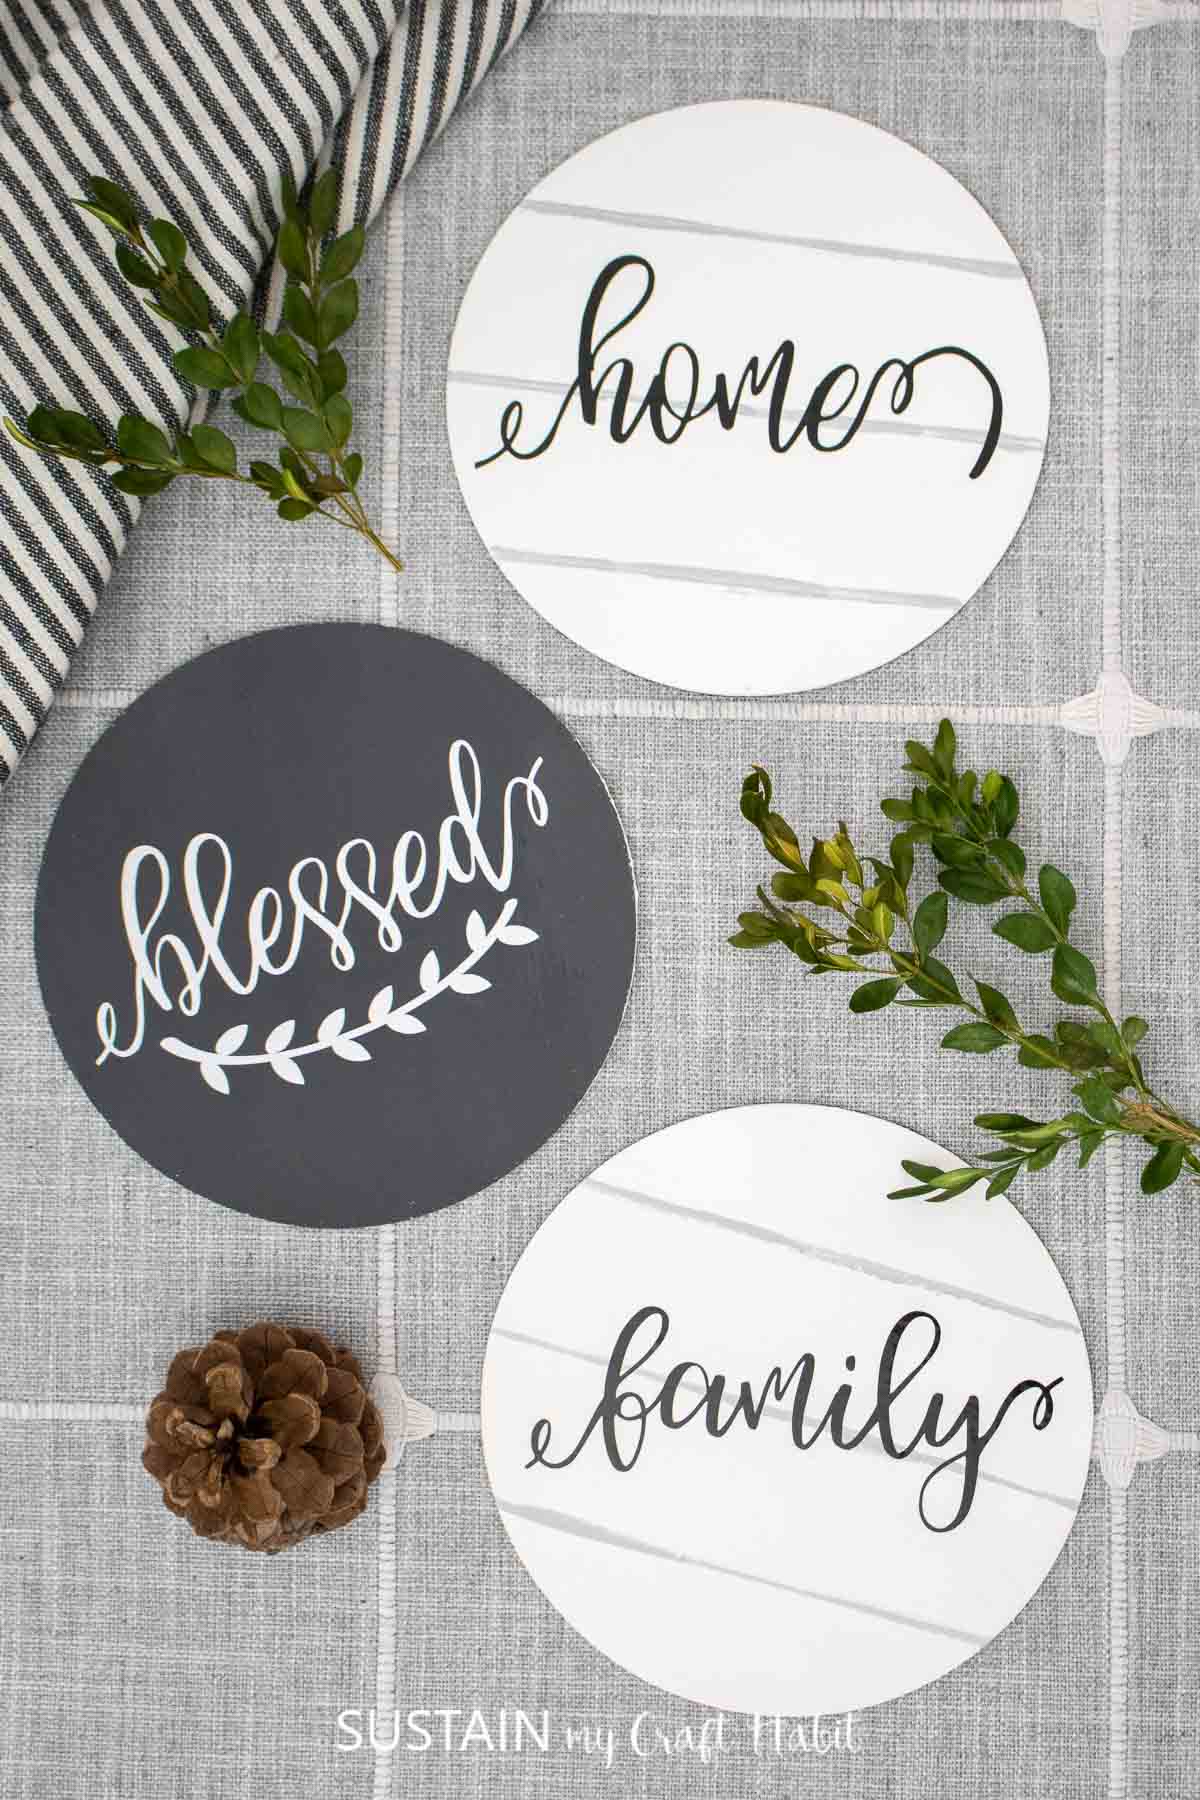
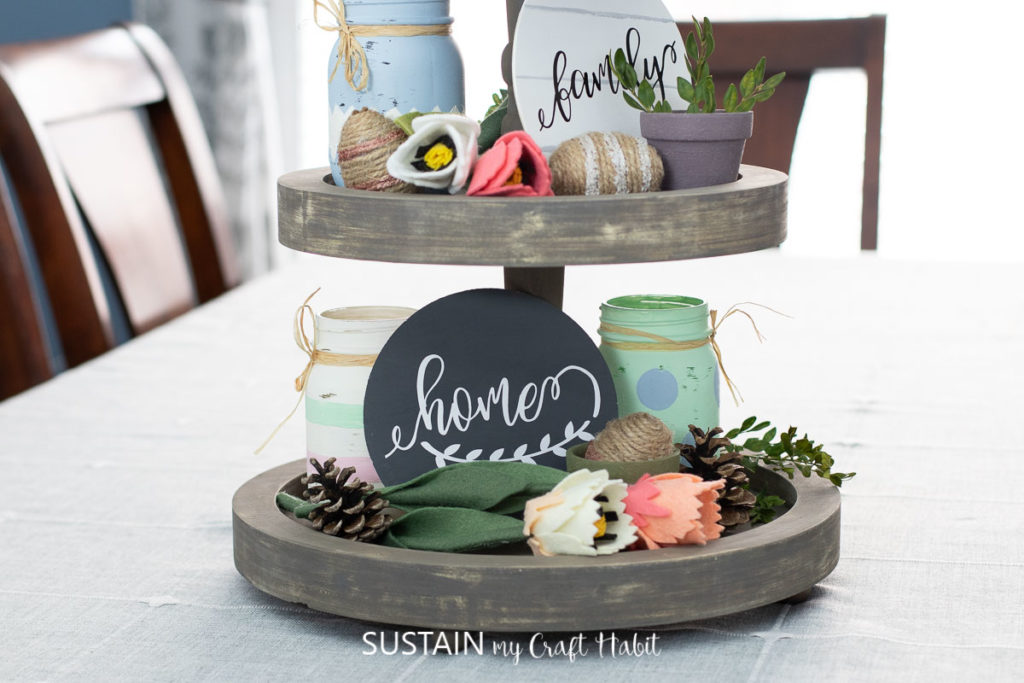
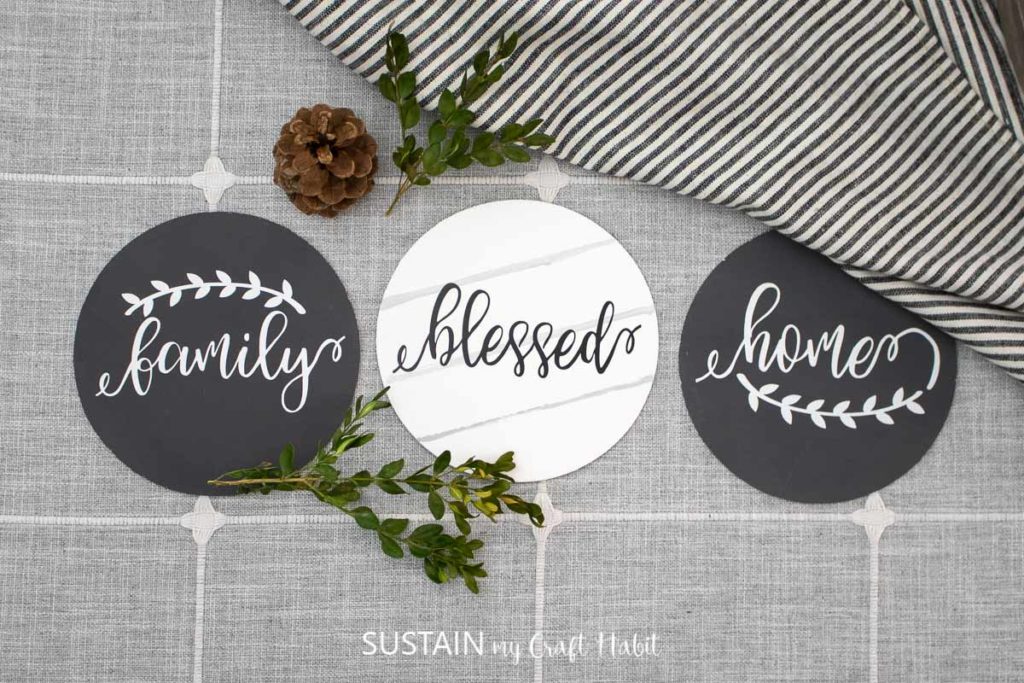
Easy DIY Reversible Round Wood Signs
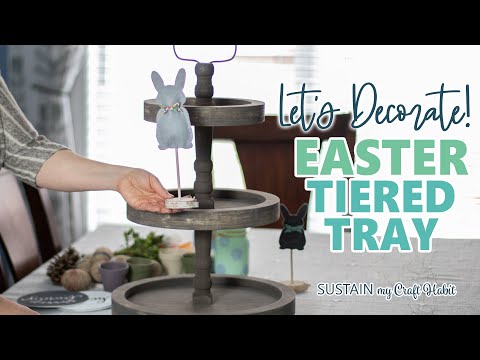
I used these signs as part of my Easter tiered tray this past year; which you can see a picture of below. Since the wood signs are only 6″ across, they tuck in nicely just about anymore from a wooden tier to a book shelf. And we also made them reversible with one side being white with black lettering and the other side in charcoal with white lettering.
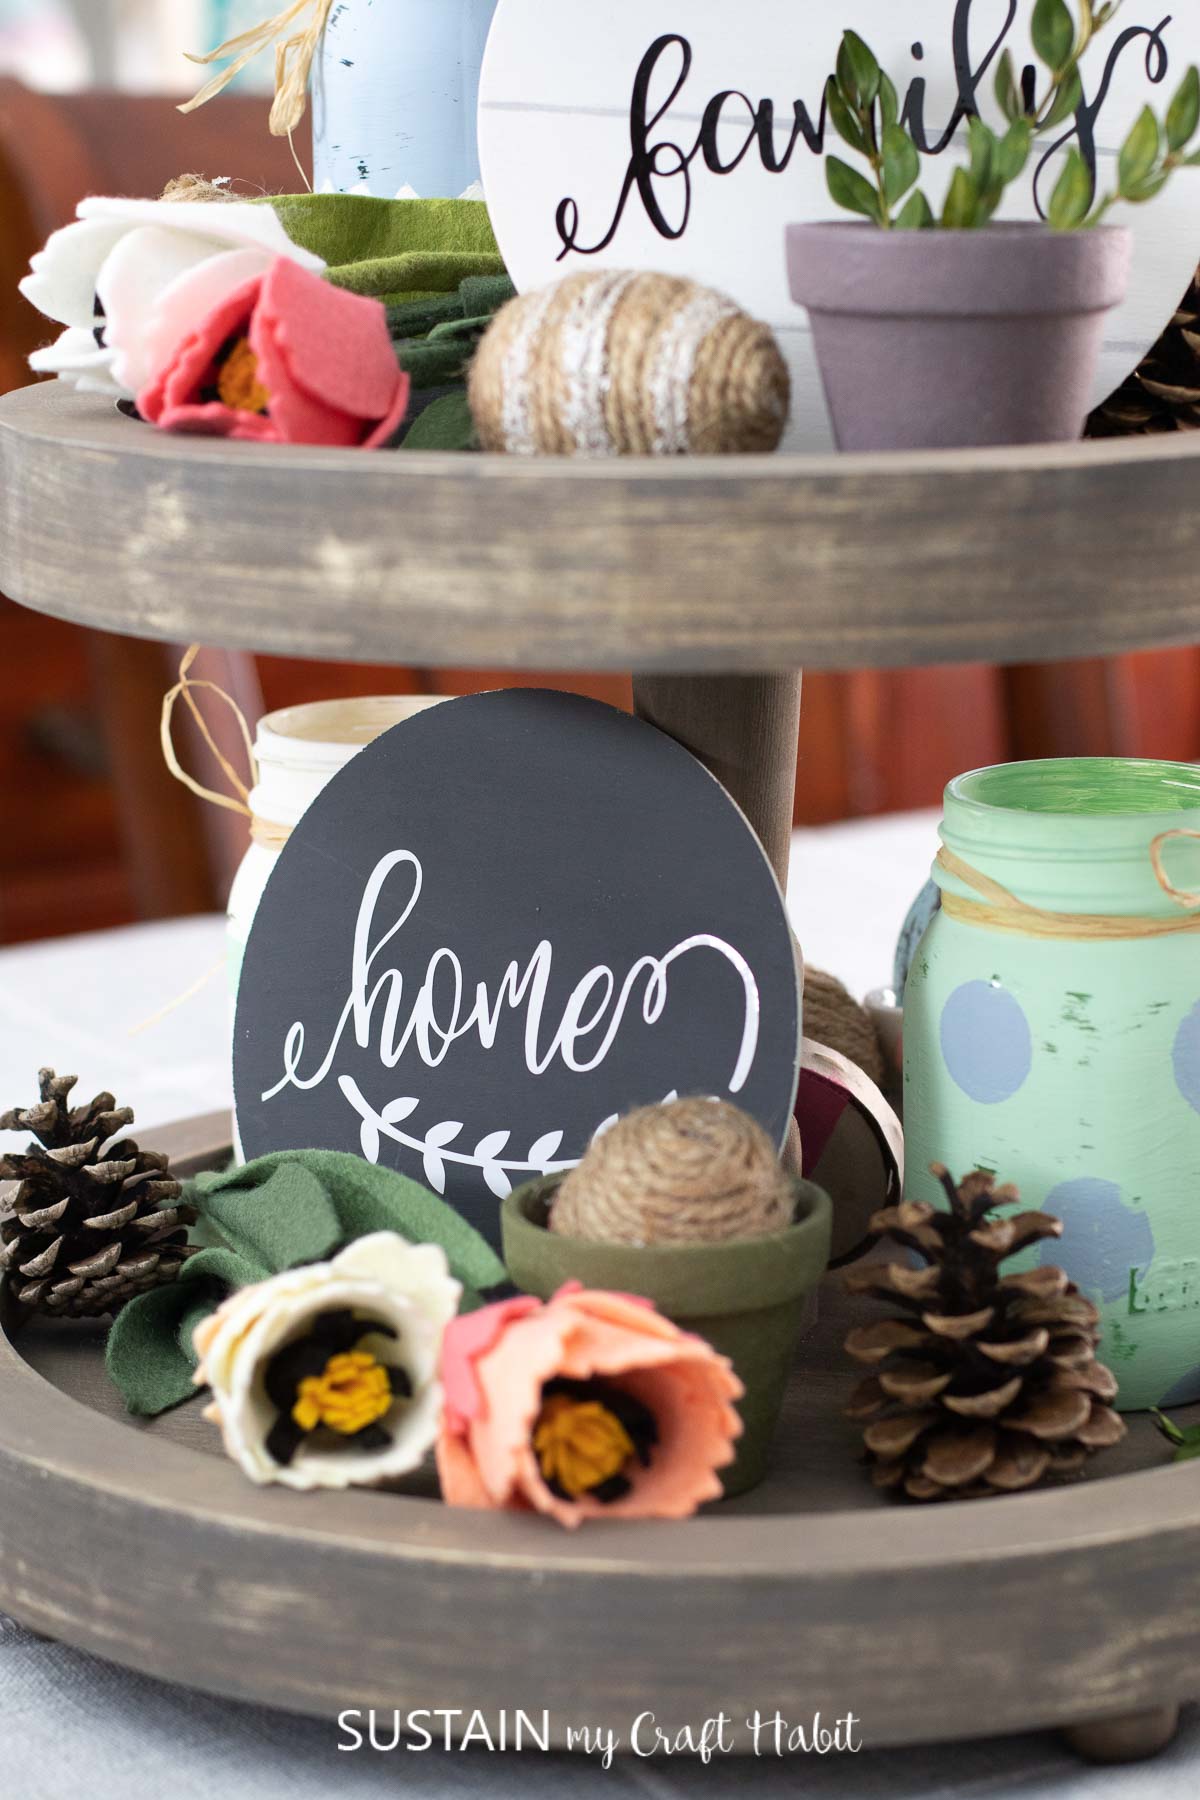
You can check out just how I put my Easter centerpiece together using these versatile farmhouse signs on our YouTube channel.
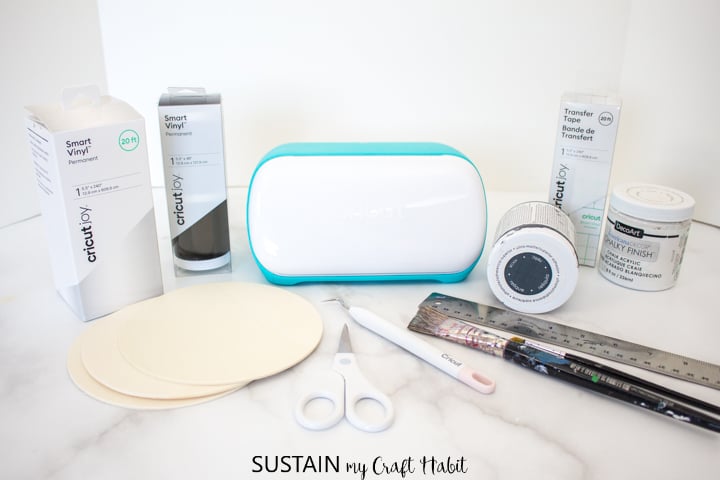
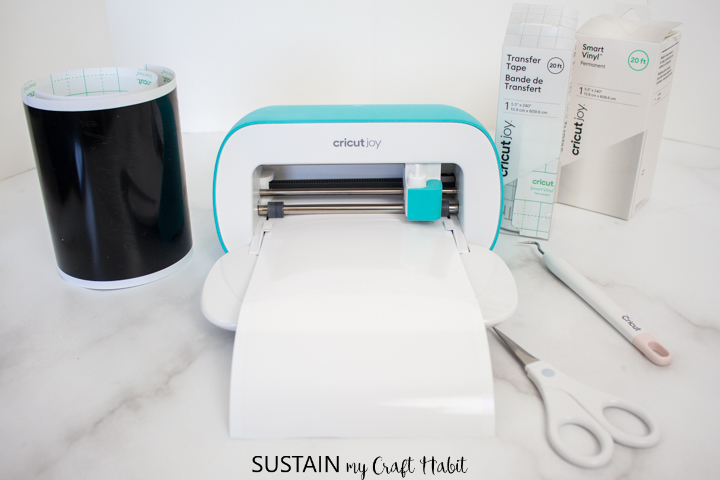
Materials Needed
Disclosure: This post continues affiliate links for your shopping convenience. You can find our full disclosure policy here.
- Family.Blessed.Home SVG file
- Round wood circles, 6” diameter
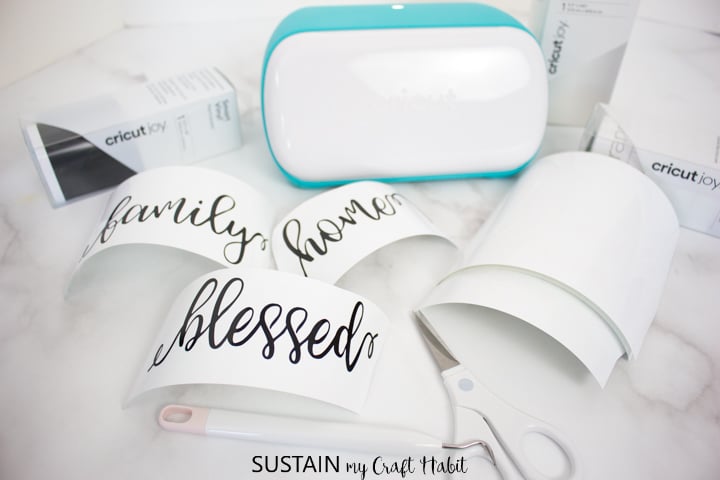
- Cricut Joy
- Permanent Smart Vinyl in Black and White
- Weeder
- Cricut Transfer Tape
- Scissors
- Chalky paint in white and charcoal (we used Americana Decor Chalky Finish in Everlasting and Relic)
- Paintbrushes – medium flat and fine tip
- Ruler
How to Make a Farmhouse Inspired DIY Round Wood Sign:
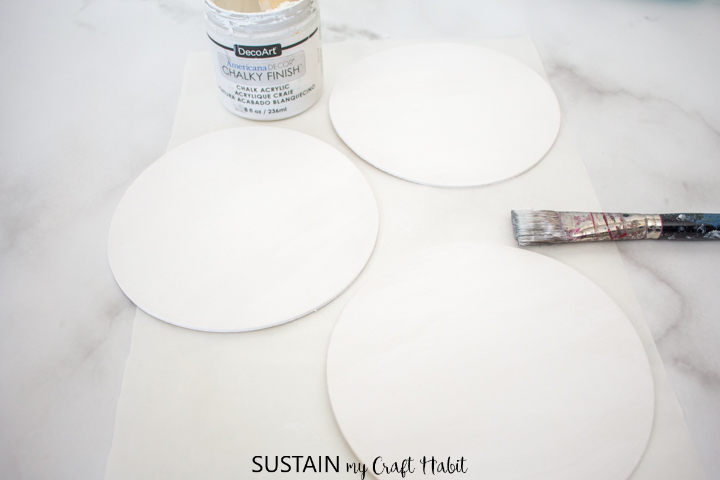
Prepare Wood Circles
Paint one side of all the wood circles in Everlasting and leave it to dry fully.
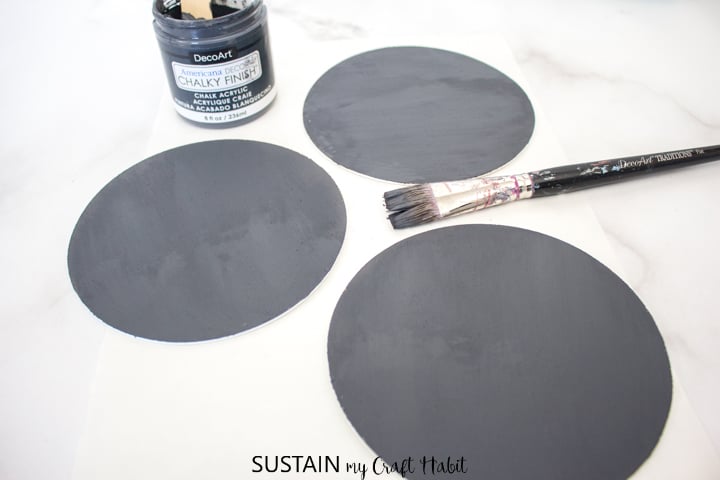
Paint the reverse sides of all the wood circles in Relic and leave it to dry fully.
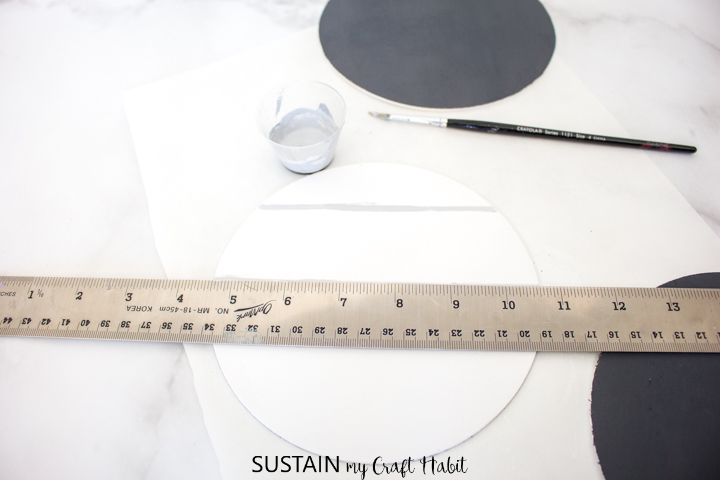
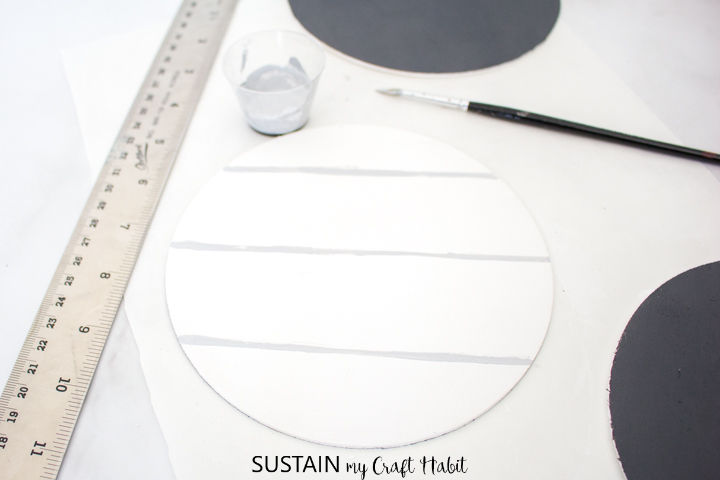
Add a small amount of Relic to Everlasting and mix for a light gray color. On the white painted sides of the circle, paint three evenly spaced lines using a ruler to keep the lines straight.
Uploading the SVG Pattern
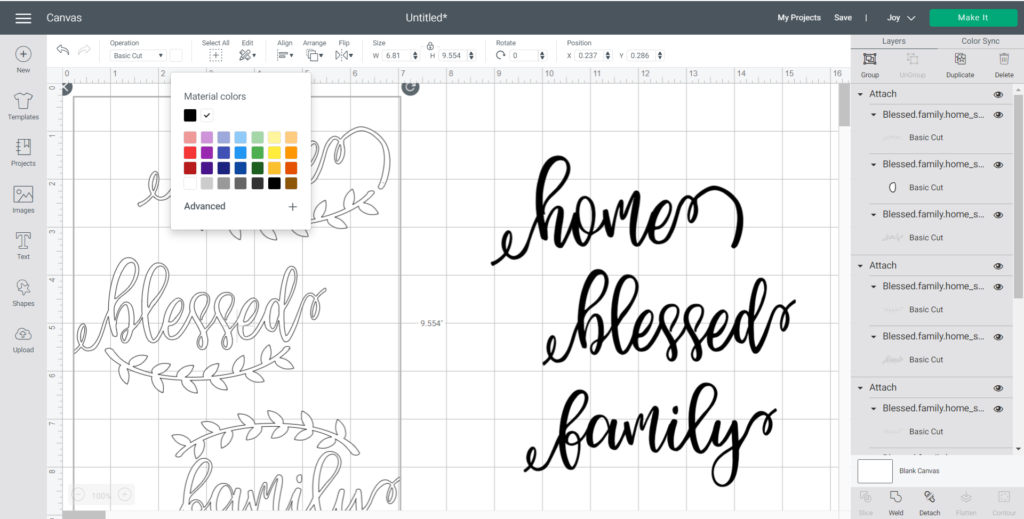
Open Cricut Design Space and click on the “+” sign to start a new project, opening up a blank canvas. Click on the Upload button from the toolbar to insert the lettered Family.Blessed.Home SVG file onto the canvas.
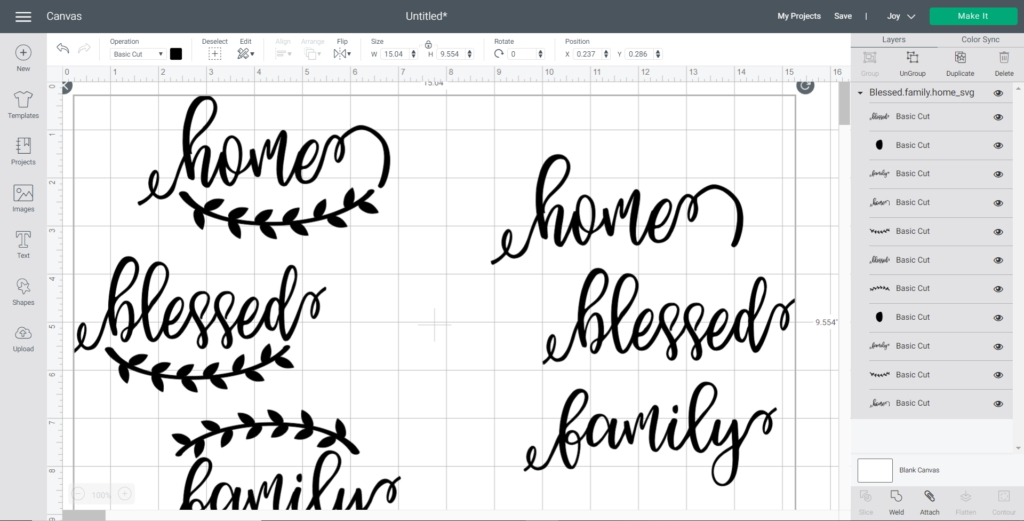
Maintain sizes at about 5.25” wide to fit within the 6” wood circles.
Highlight the word along with the leaf art together and select “attach” to join the separate images. Do this with the word “family” as well.
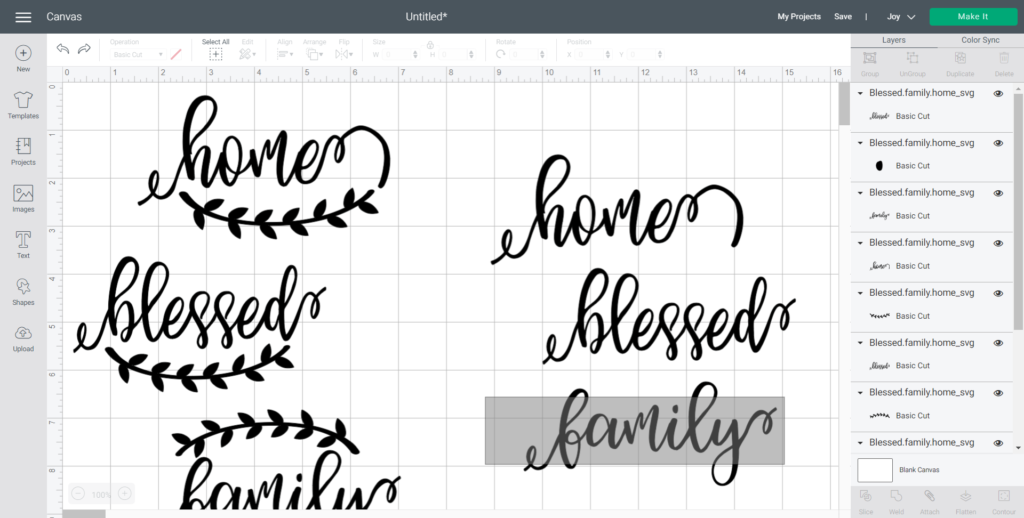
Adjust the color of the words along with the leaf art to white and maintain the other words in black to match Smart Vinyl material colors.
Cutting the Vinyl
Ensure the machine is set to Cricut Joy and select “Make It” in Design Space.
Choose “Without Mat” as the option for cutting when using Smart Vinyl.
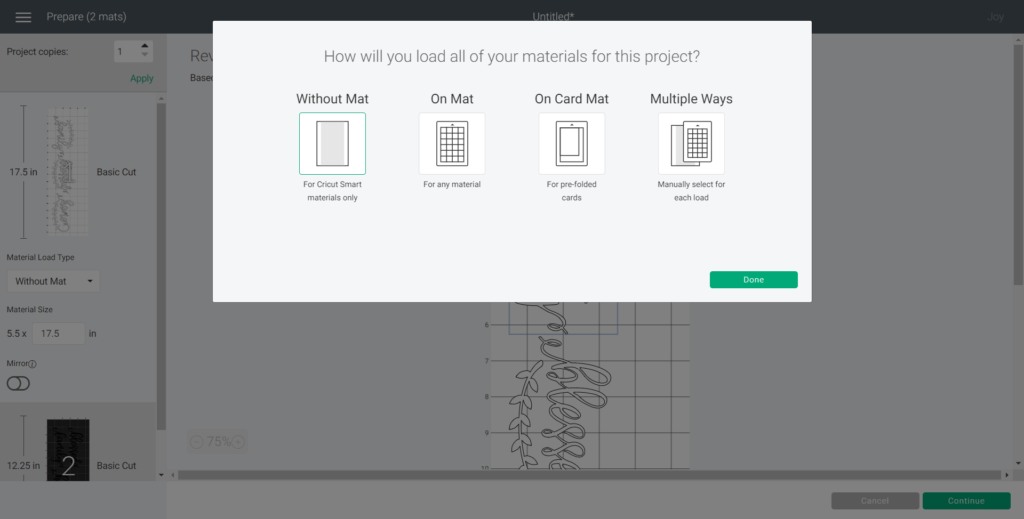
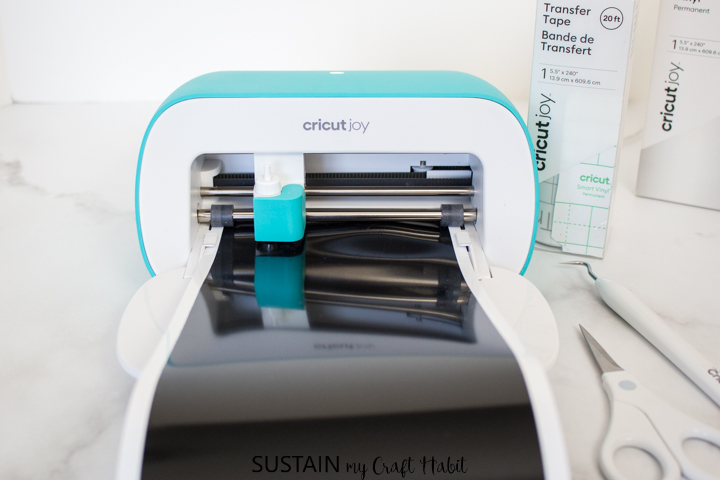
Set material type to Smart Vinyl and follow prompts for loading the mat into the Cricut Joy and cutting the Smart Vinyl. When prompted, unload the vinyl from the cutting machine.
Applying the Vinyl to the Wood Circles
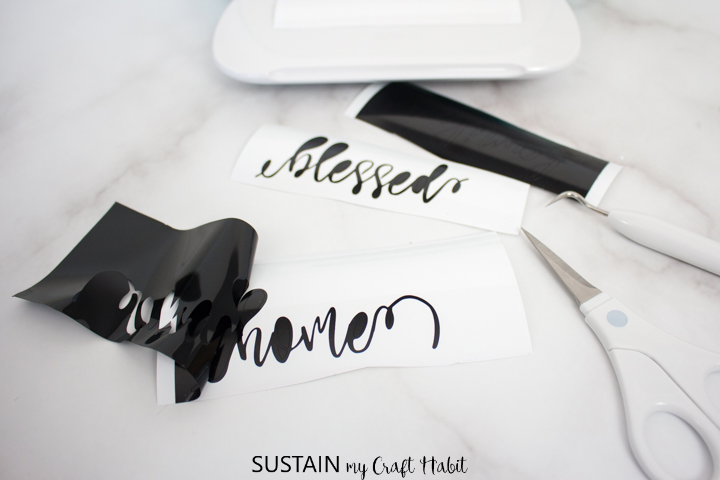
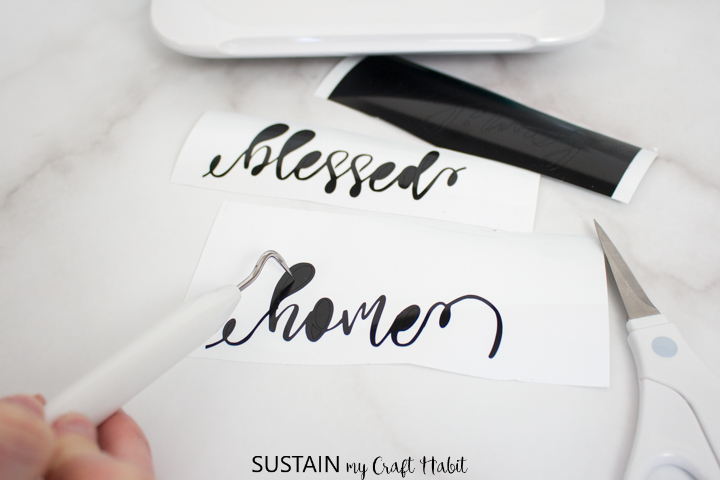
Using the weeding tool, peel away the excess vinyl around the images and discard.
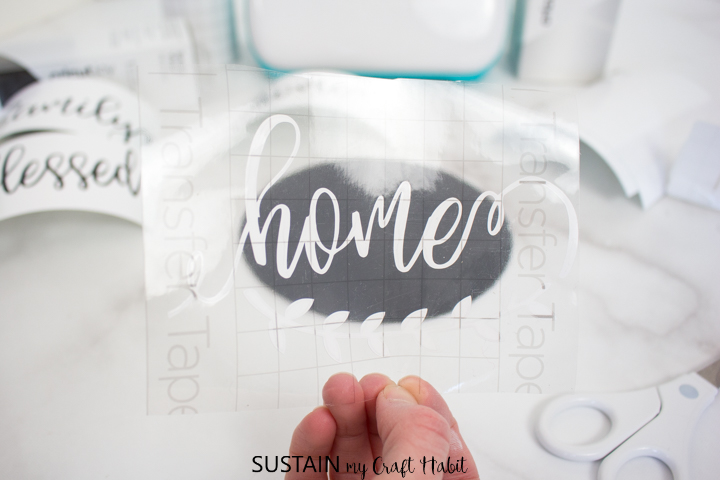
Cut a piece of transfer tape a bit larger than the size of the word or image.
Peel away the transfer tape backing and place the transfer tape overtop of the cut image. Gently rub the vinyl to help it stick to the transfer tape.
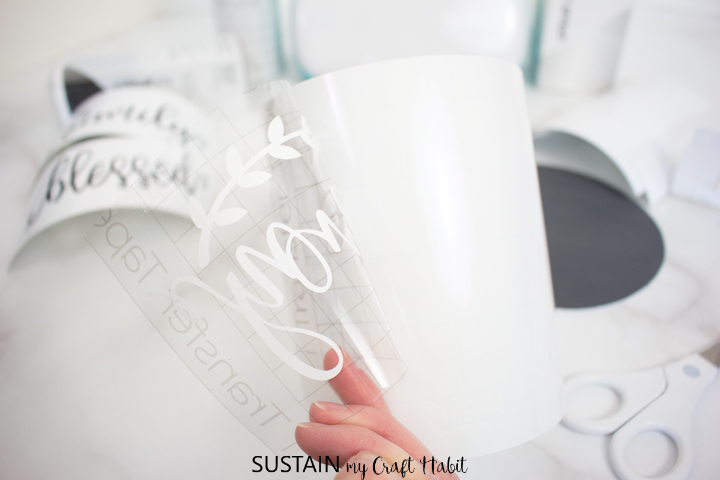
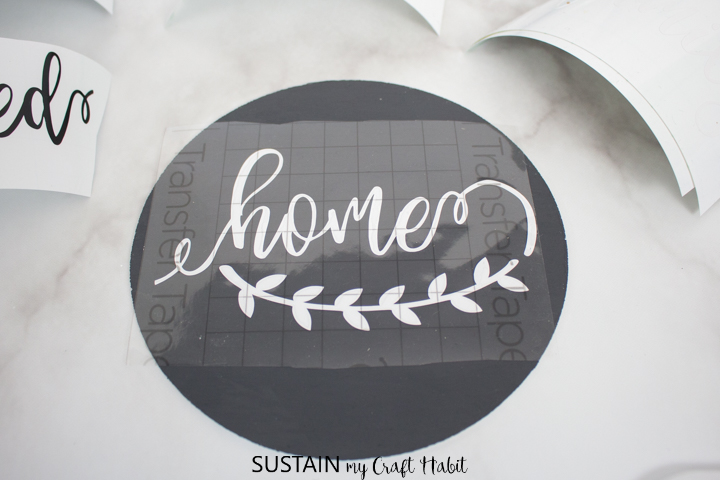
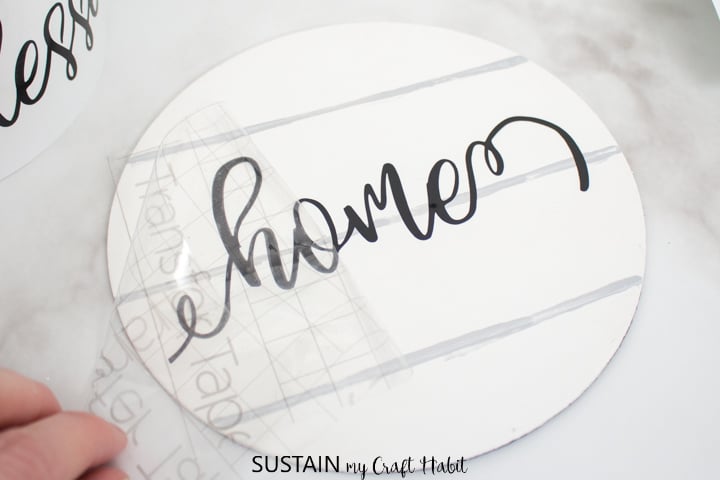
Peel away the vinyl backing and place the image on to the wood circle. The white lettering goes on the relic painted side of the circles and the black lettering goes on the white painted side of the circles.
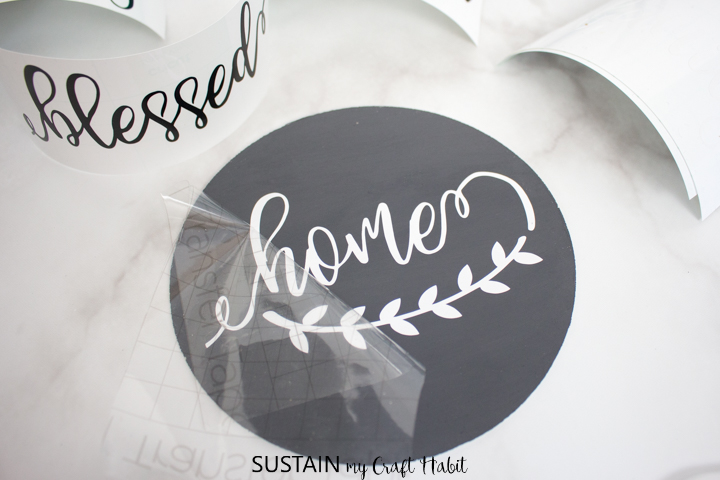
Gently rub the vinyl to help it stick to the wood. You can use a Cricut scraper tool or your finger nails for this.
Carefully and slowly peel away the transfer tape.
Repeat with the remaining vinyl images and wood circles to make all of your round wood signs.
Once the transfer tape is peeled away, the wood signs are ready for use. Enjoy placing them throughout your home, adding that farmhouse look and feel to your space.
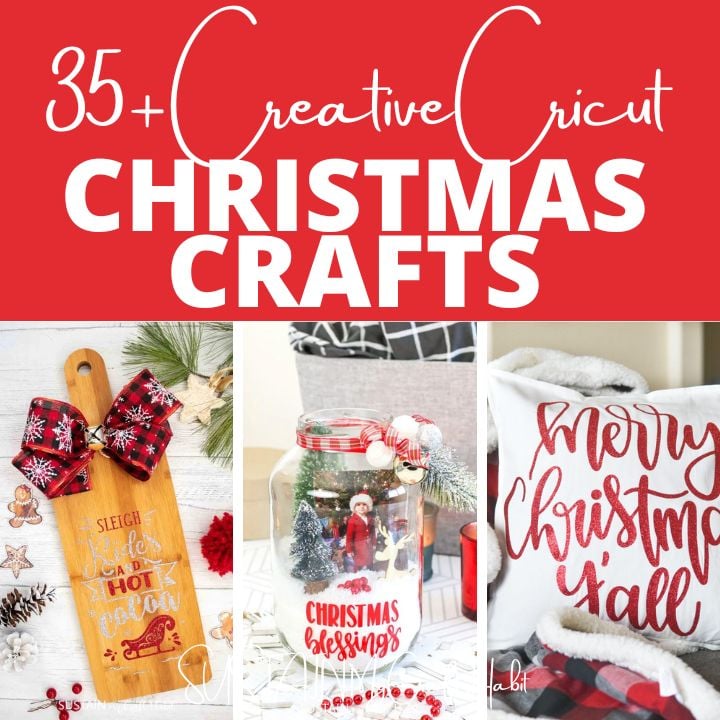
More Home Decor Projects With The Cricut
We hope you enjoyed this easy DIY idea for your home. Here are some additional simple Cricut crafts you may enjoy alongside our collection of 25+ Cricut crafts for beginners:

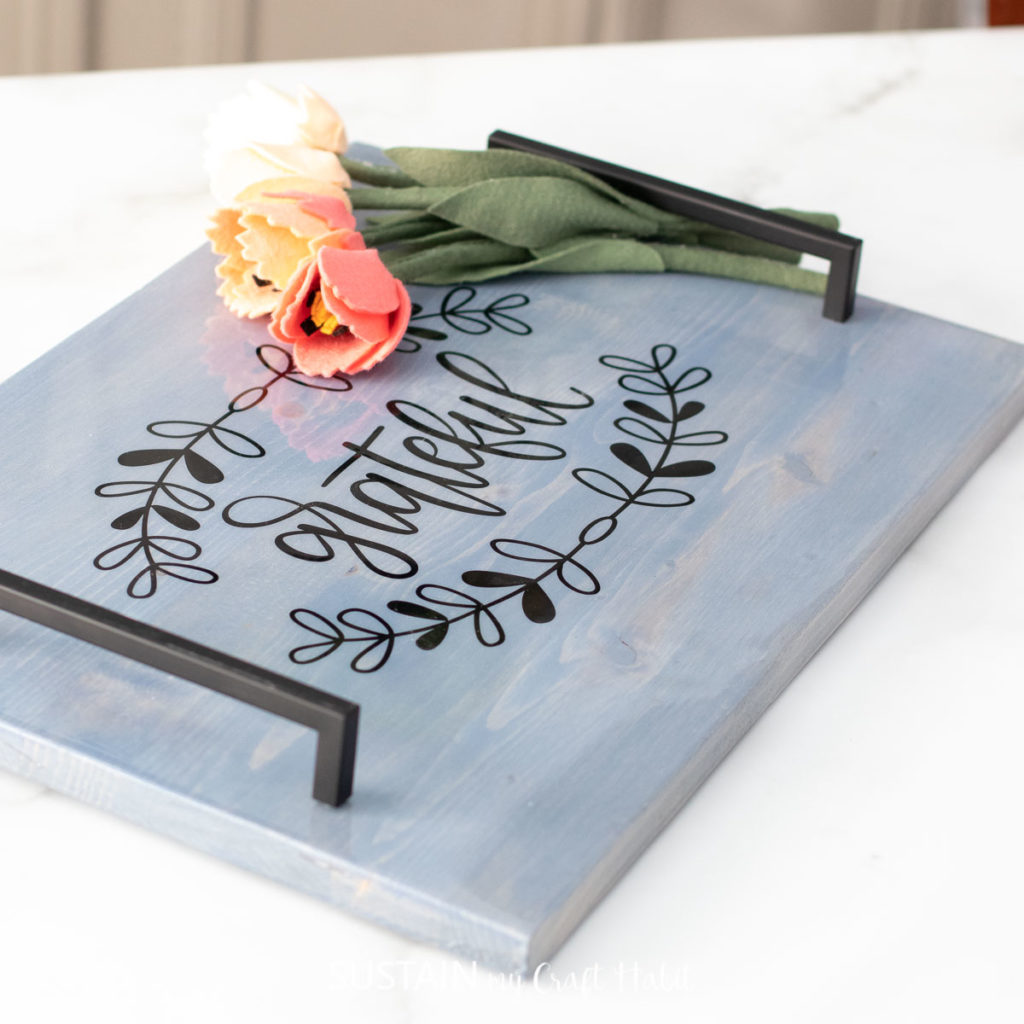
Wood Tray 
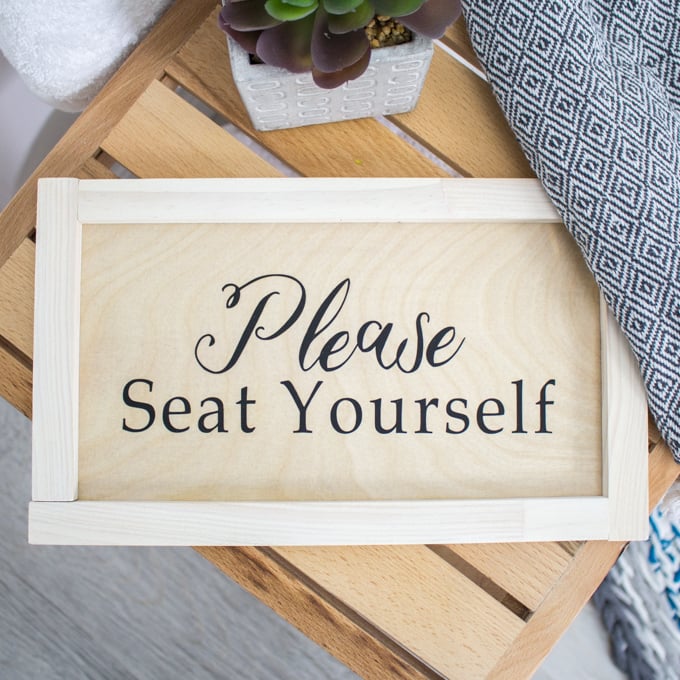
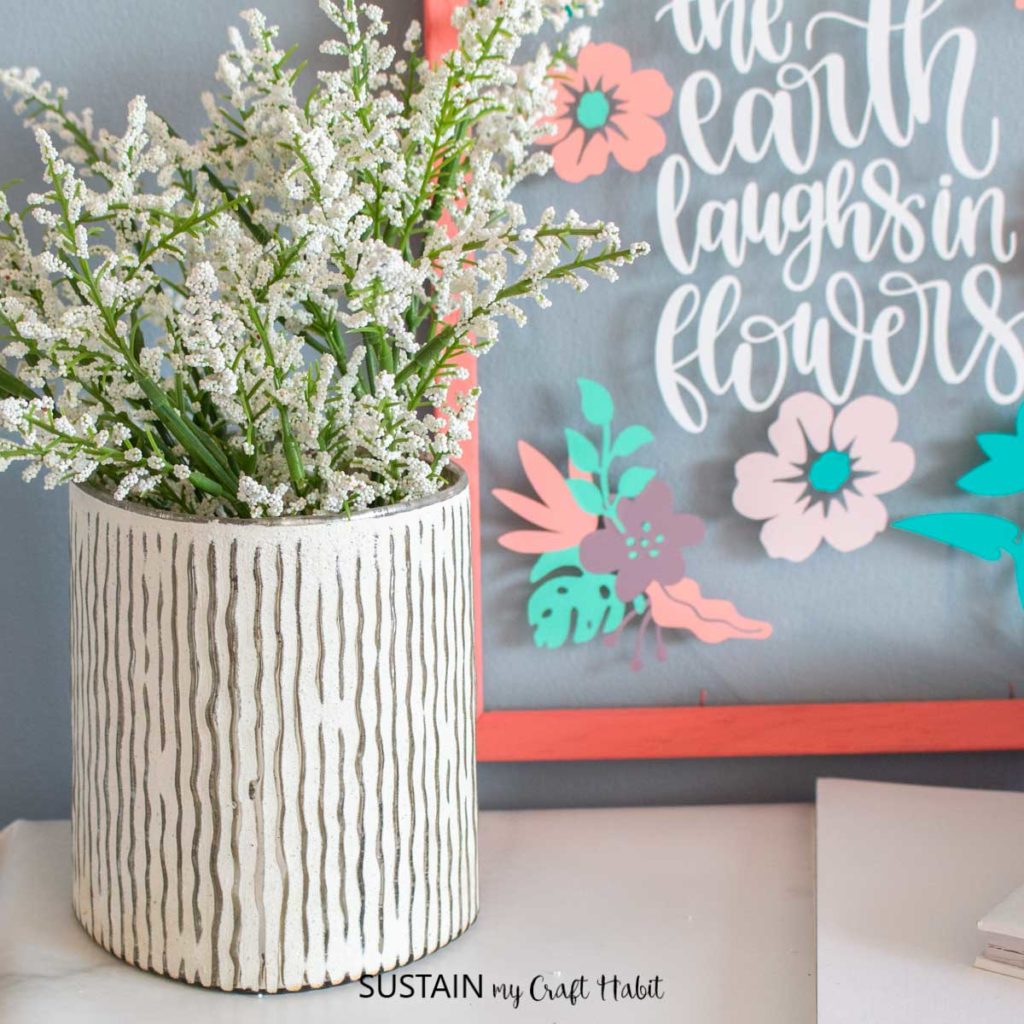
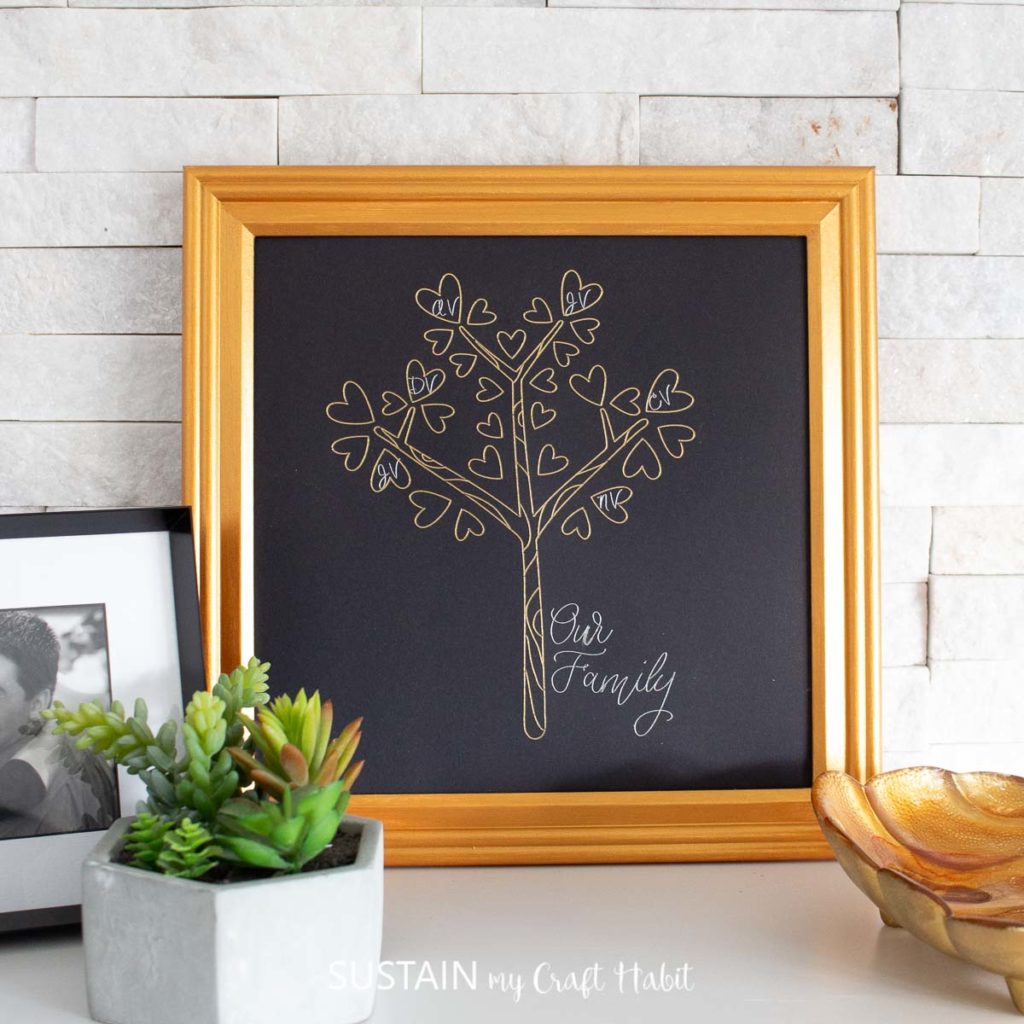
Bathroom Sign Spring Decor Family Tree with Cricut Foil
Join our crafting community to find more nature-inspired DIYs and upcycled craft ideas. It feels good to repurpose, upcycle and create with nature!
Farmhouse Inspired DIY Round Wood Sign
Materials
- Family.Blessed.Home SVG file
- Round wood circles 6” diameter
- Cricut Joy
- Permanent Smart Vinyl in Black and White
- Weeder
- Cricut Transfer Tape
- Scissors
- Chalky paint in white and charcoal we used Americana Decor Chalky Finish in Everlasting and Relic
- Paintbrushes – medium flat and fine tip
- Ruler
Instructions
Prepare Wood Circles
- Paint one side of all the wood circles in Everlasting and leave it to dry fully.
- Paint the reverse sides of all the wood circles in Relic and leave it to dry fully.
- Add a small amount of Relic to Everlasting and mix for a light gray color. On the white painted sides of the circle, paint three evenly spaced lines using a ruler to keep the lines straight.
Uploading the SVG Pattern
- Click on the Upload button from the toolbar to insert the lettered Family.Blessed.Home SVG file onto the canvas.
- Maintain sizes at about 5.25” wide to fit within the 6” wood circles.
- Highlight the word along with the leaf art together and select “attach” to join the separate images. Do this with the word “family” as well.
- Adjust the color of the words along with the leaf art to white and maintain the other words in black to match Smart Vinyl material colors.
Cutting the Vinyl
- Ensure the machine is set to Cricut Joy and select “Make It” in Design Space.
- Choose “Without Mat” as the option for cutting when using Smart Vinyl.
- Set material type to Smart Vinyl.
- Follow prompts for loading the mat into the Cricut Joy and cutting the Smart Vinyl.
Applying the Vinyl to the Wood Circles
- Using the weeding tool, peel away the excess vinyl around the images and discard.
- Cut a piece of transfer tape a bit larger than the size of the word or image.
- Peel away the transfer tape backing and place the transfer tape overtop of the cut image. Gently rub the vinyl to help it stick to the transfer tape.
- Gently rub the vinyl to help it stick to the wood. You can use a Cricut scraper tool or your finger nails for this.
- Carefully and slowly peel away the transfer tape.
- Repeat with the remaining vinyl images and wood circles.
Like it? Pin it for later!