Free Makeup Bag Sewing Pattern with Tutorial
This free makeup bag sewing pattern with tutorial breaks everything down step-by-step, with clear instructions and tips.
There’s something oddly satisfying about sewing your own makeup bag. Maybe it’s knowing exactly how it’s put together, maybe it’s choosing the fabric and zip combo yourself, or maybe it’s just that moment when you zip it shut for the first time and think, “I made this.”

This is your chance to make something cute, portable, and useful—and once you’ve made one, you’ll be eyeing up your fabric stash to make more.
💼 Looking for the perfect gift for him? Get out free men’s toiletry bag sewing pattern!
Why You’ll Love This Free Sewing Pattern
Not only is the sewing pattern free, it’s useful, and it’s easy to follow—even if you’ve never sewn a zip before. The tutorial breaks everything down step-by-step, with clear instructions and tips to avoid common hiccups. The finished result is a sleek, professional-looking pouch that you’d happily gift or use every day.
You also get full control over the fabric, which means you can tailor the look to your own taste—classic neutrals, bold florals, quirky prints, even upcycled denim. Add a waterproof lining for extra durability or use leftover interfacing to give it structure.

Different Ways to Use Your DIY Makeup Bag
This little pouch isn’t just for beauty products. Once you’ve made one, you’ll quickly see how handy it is for all sorts of things. A few ideas:
- Toiletry bag for travel: Use wipe-clean fabric or add a waterproof lining.
- Pencil case: Great for kids, students, or anyone who loves pretty stationery.
- Craft supply pouch: Ideal for keeping small tools, needles, or embroidery floss organised.
- Mini first aid kit: Keep one in your car or handbag with plasters, wipes, and essentials.
- Handbag organiser: Use it to group small items like lip balm, keys, and hair ties.
Make a few in different sizes and fabrics, and you’ll always have a stylish pouch to suit your needs—or to give away as a thoughtful handmade gift.
Stay in Touch!
Join our email community for more inspiring craft ideas, special offers and freebies.
Materials Needed
Disclosure: This post contains affiliate links for your shopping convenience. Should you choose to purchase through them, we will make a small commission at no extra cost to you. You can read our full disclosure policy here.
- Makeup Bag Sewing Pattern
- Woven fabric such as quilting fabric, broadcloth, etc – shell (printed) and lining (solid) fabric
- Sewing machine and matching thread
- Coil Zipper, closed end, 28cm long
- Fabric Scissors
- Fusible interfacing

How to Sew a Makeup Bag
Once the printable pattern is assembled and pattern pieces are cut out, you can begin sewing. I was initially going to use a metal zipper but decided to use a coil zipper instead.

Start by adhering the interfacing to the wrong side of the loop piece and the main outer piece. This will give the makeup bag some stability especially if you are using a lighter fabric. The interfacing is not needed if you’re using a medium weight fabric like twill denim.
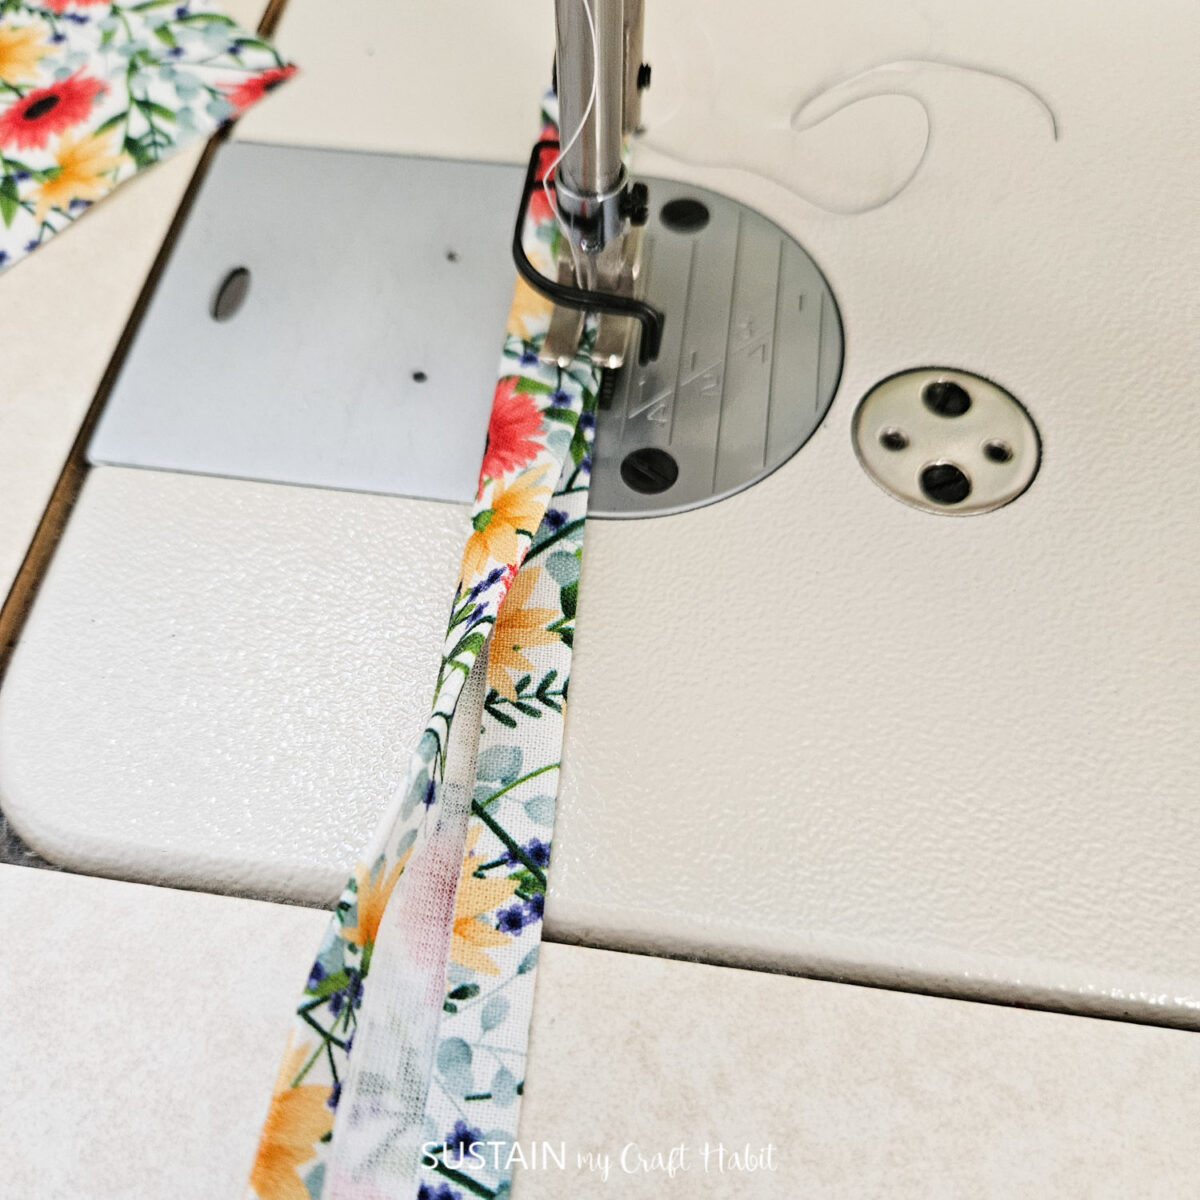
Next, fold and press with an iron the long edges of the side loop towards the wrong side by ¼”. Fold the piece in half ith wrong sides together, matching folded edges. At the sewing machine, edgestitch along the folded edges to sew together. Put aside.
Sewing the Zipper
Open zipper and align the zipper tape edges with the makeup bag opening, ensuring the zipper teeth are facing down towards the right side of the fabric.
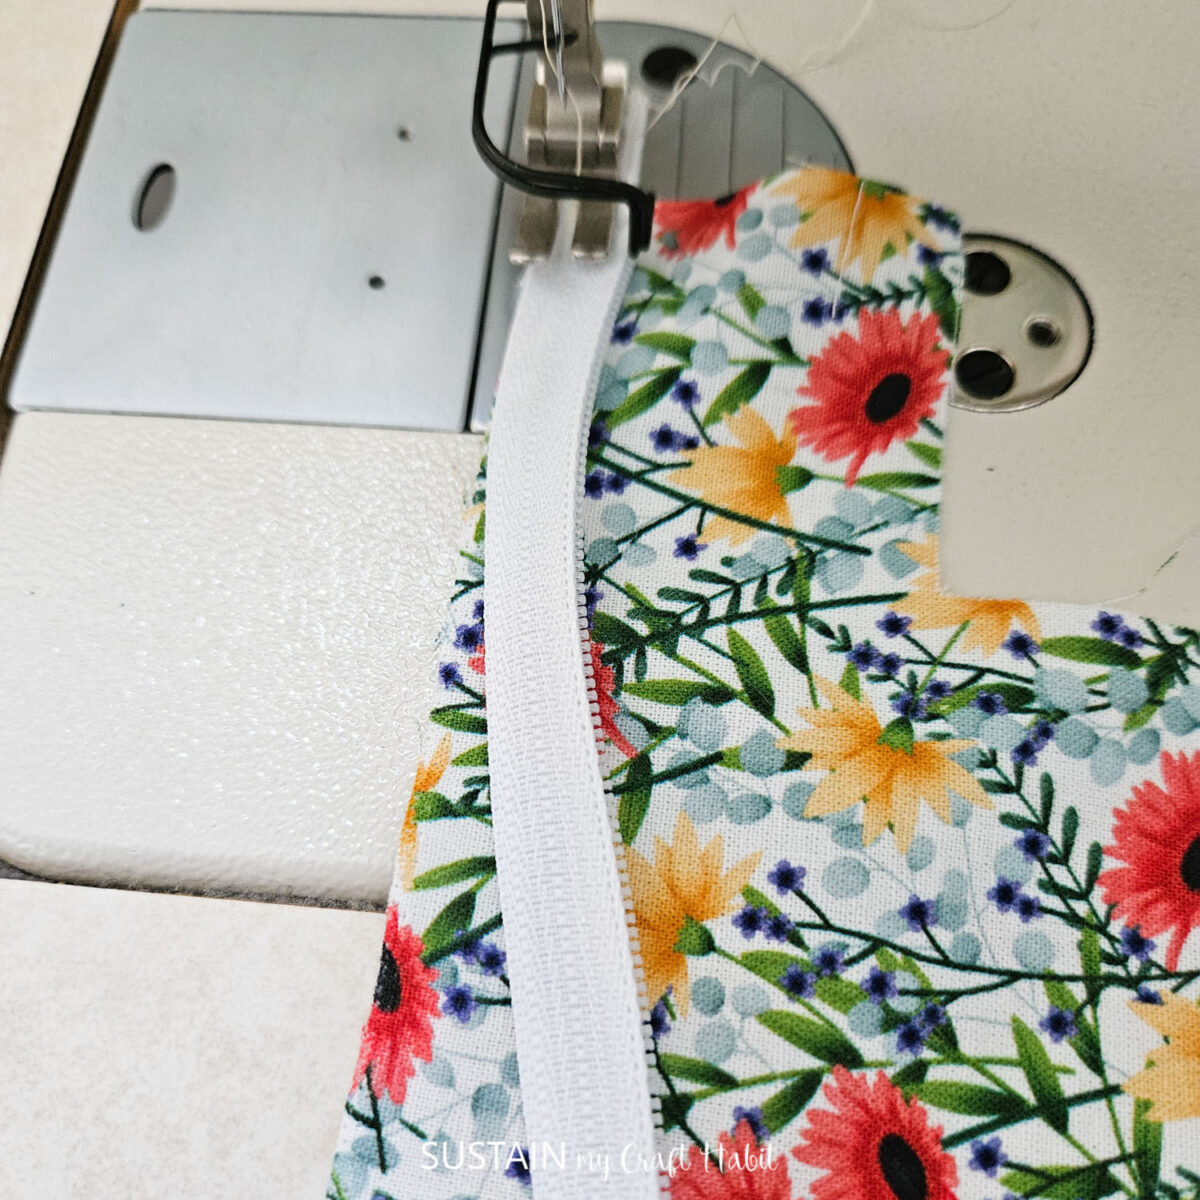
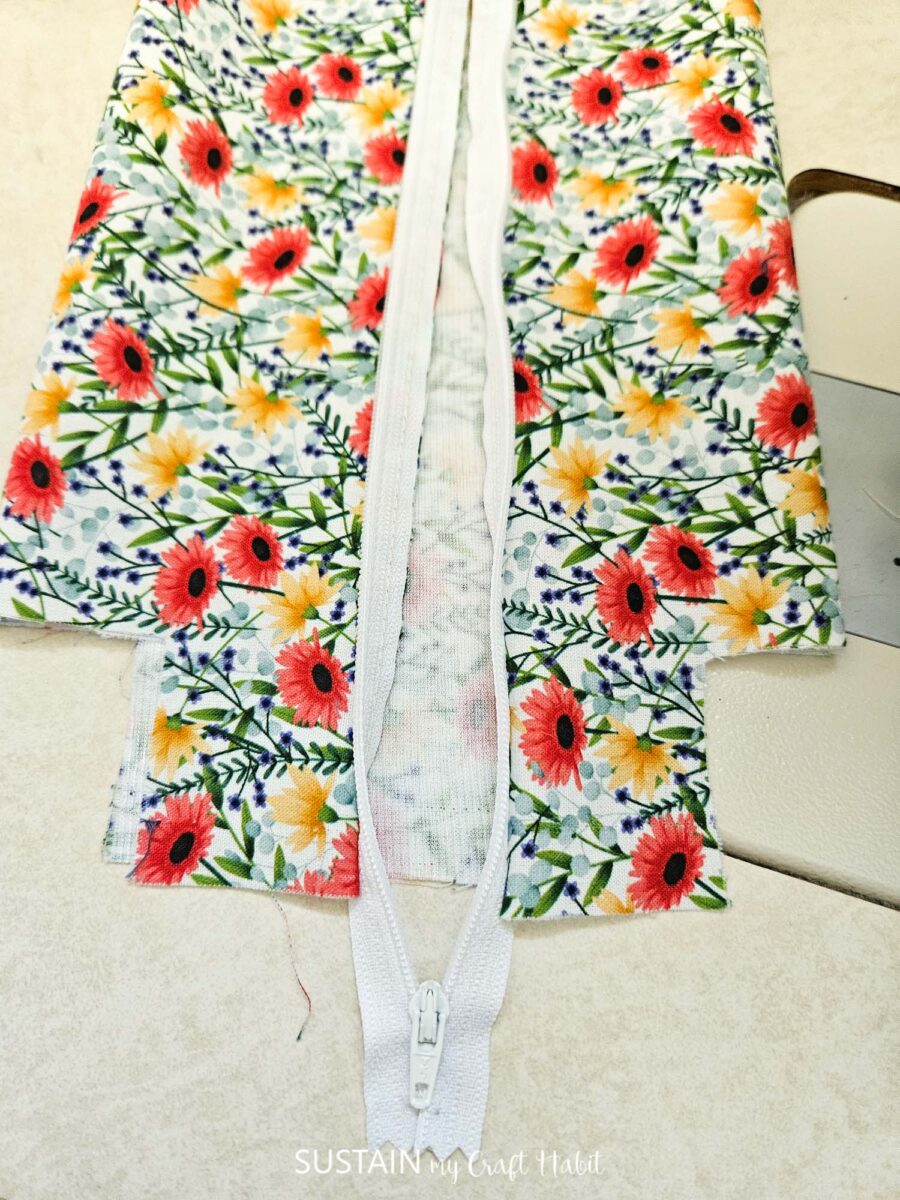
Stitch together with a ¼” seam allowance along one side of the zipper. Repeat with the other side of the zipper on the opposite end of the main shell piece as shown.

Ensure the puller extends past the end of the main piece.
Sewing the Lining
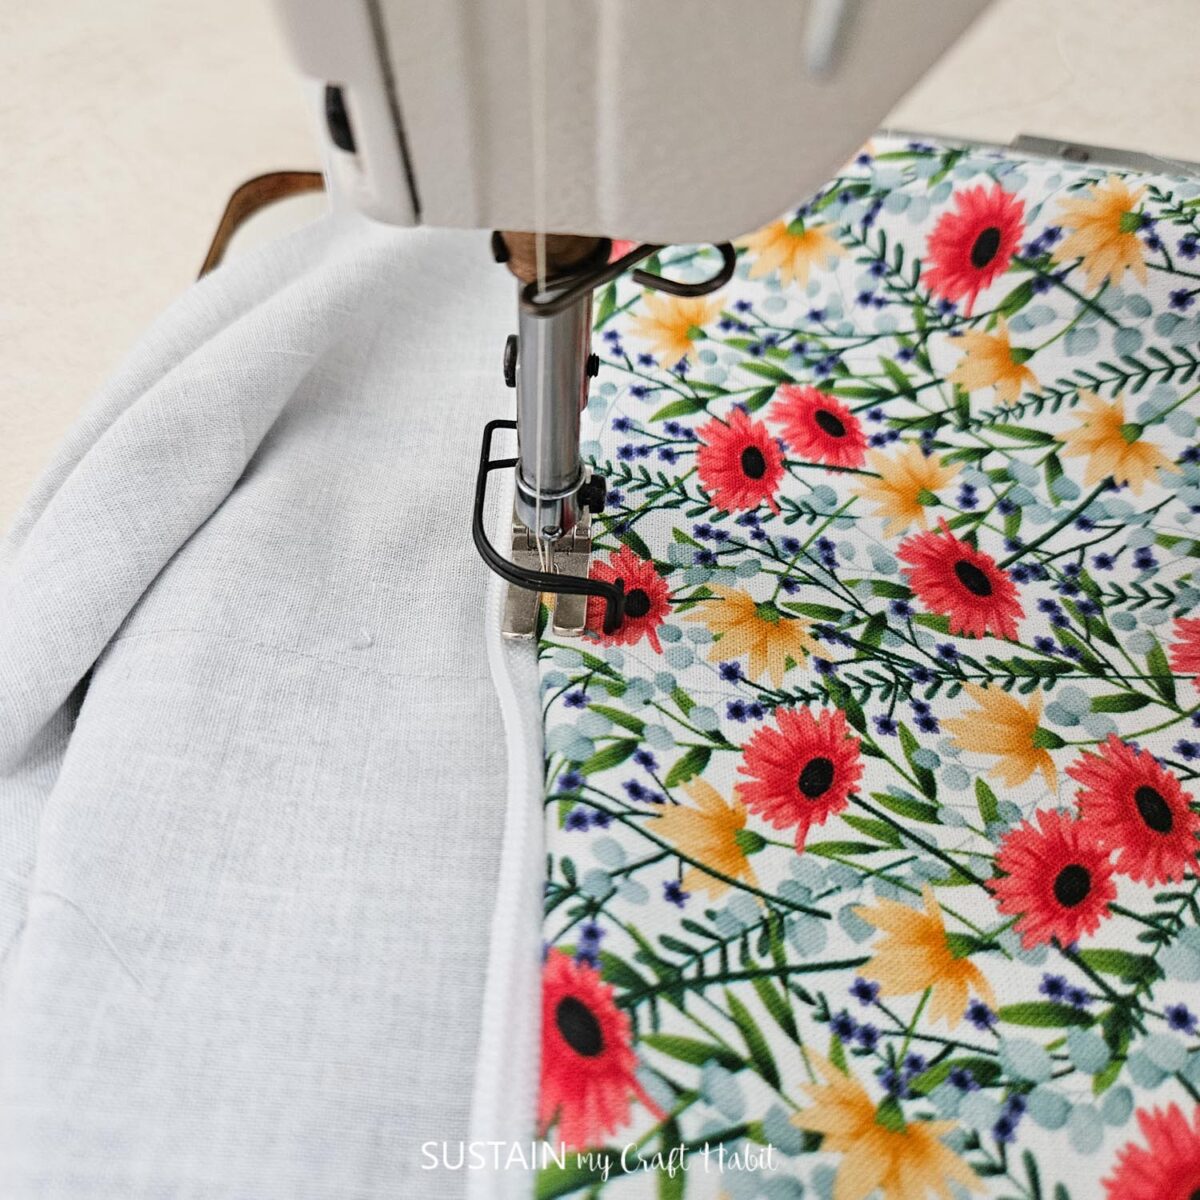
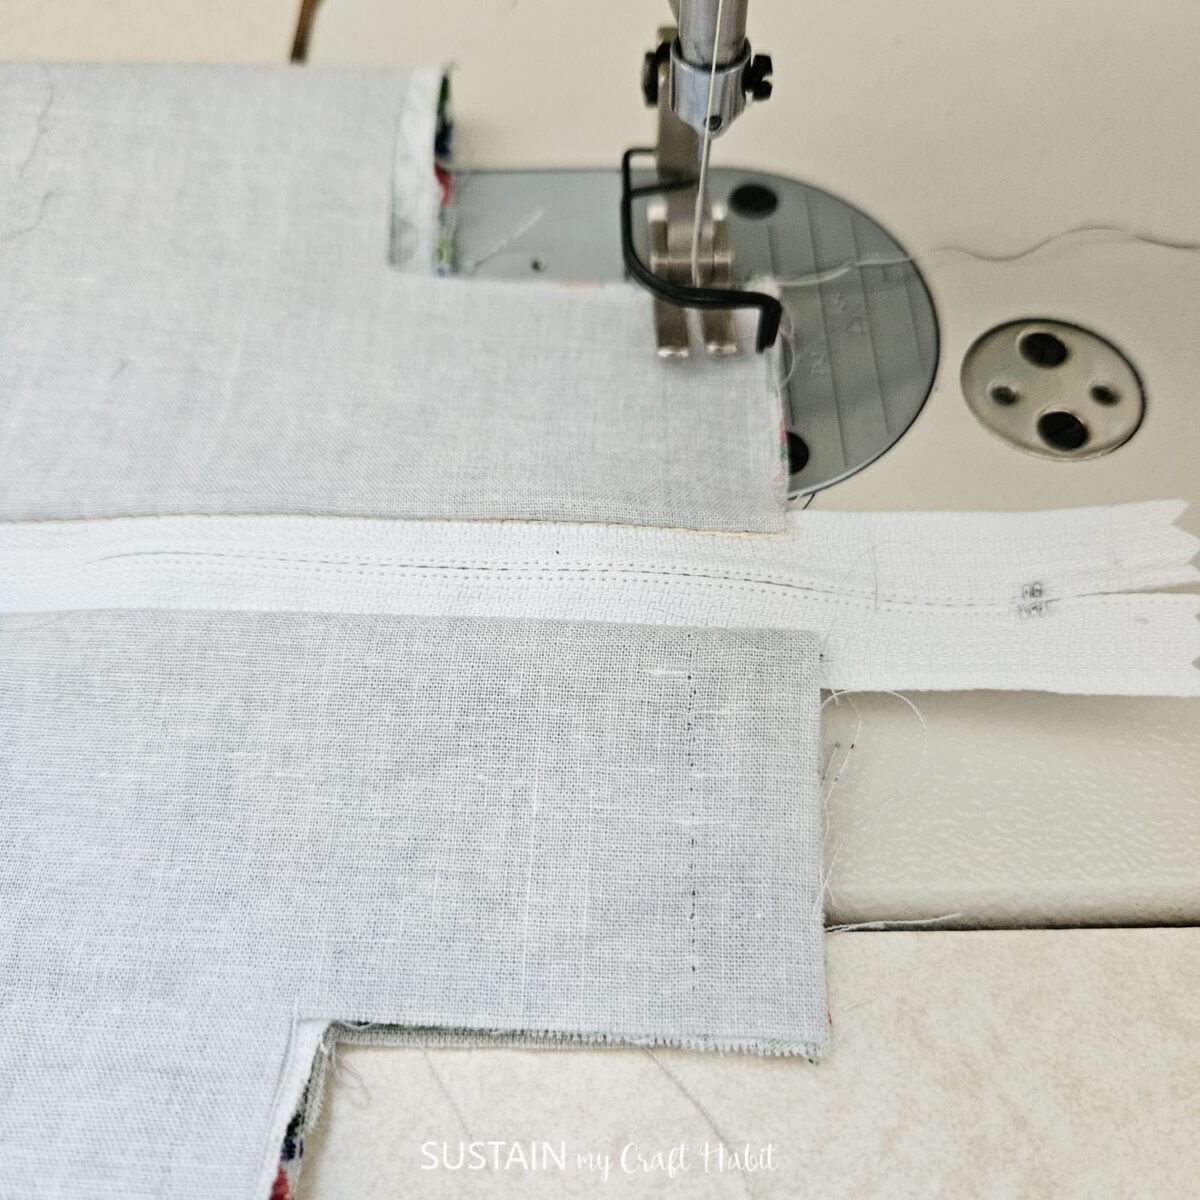
Next, align the solid lining piece with the main piece. Sandwiching the zipper in between,sew the lining piece to the main piece along the makeup bag opening.
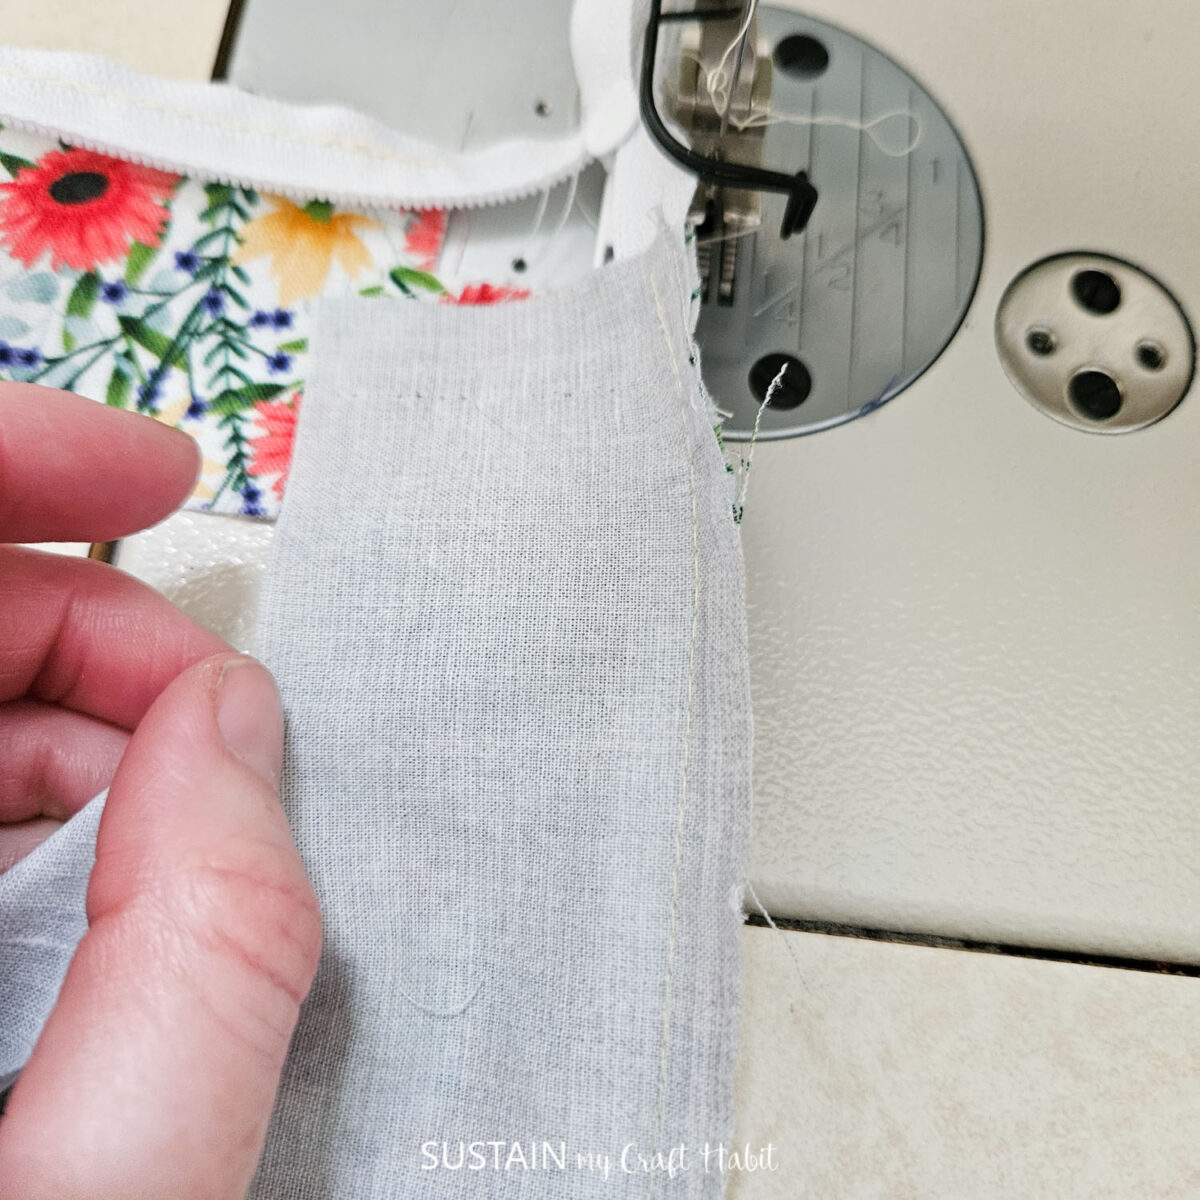
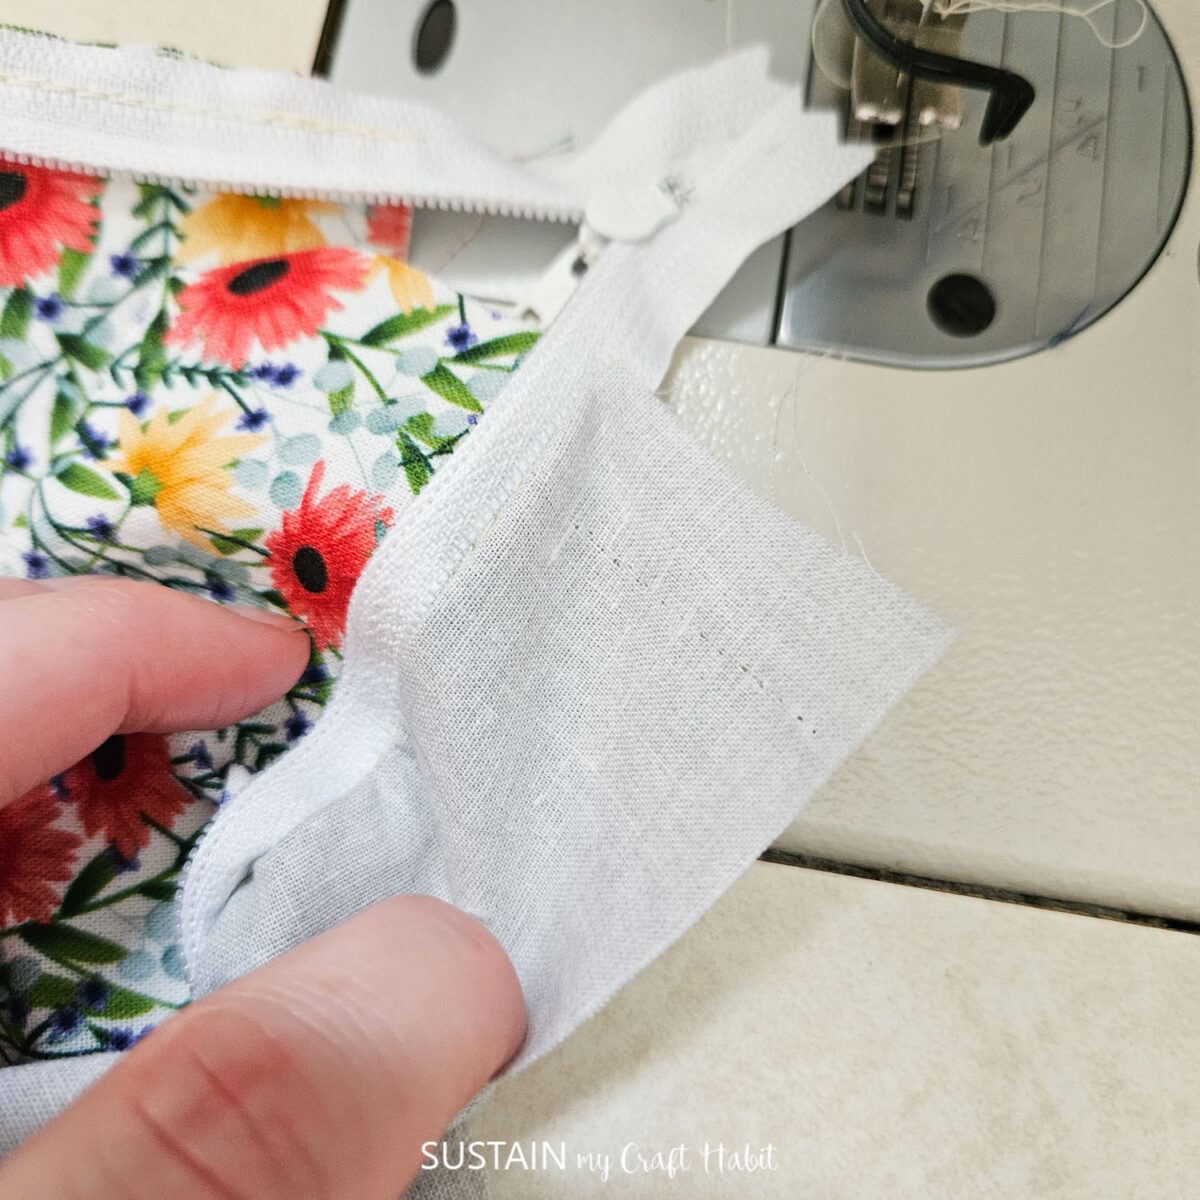
On the right side with lining fabric moved away from the pressor foot, stitch along the zipper on the outer shell as shown.
Finishing the Makeup Bag
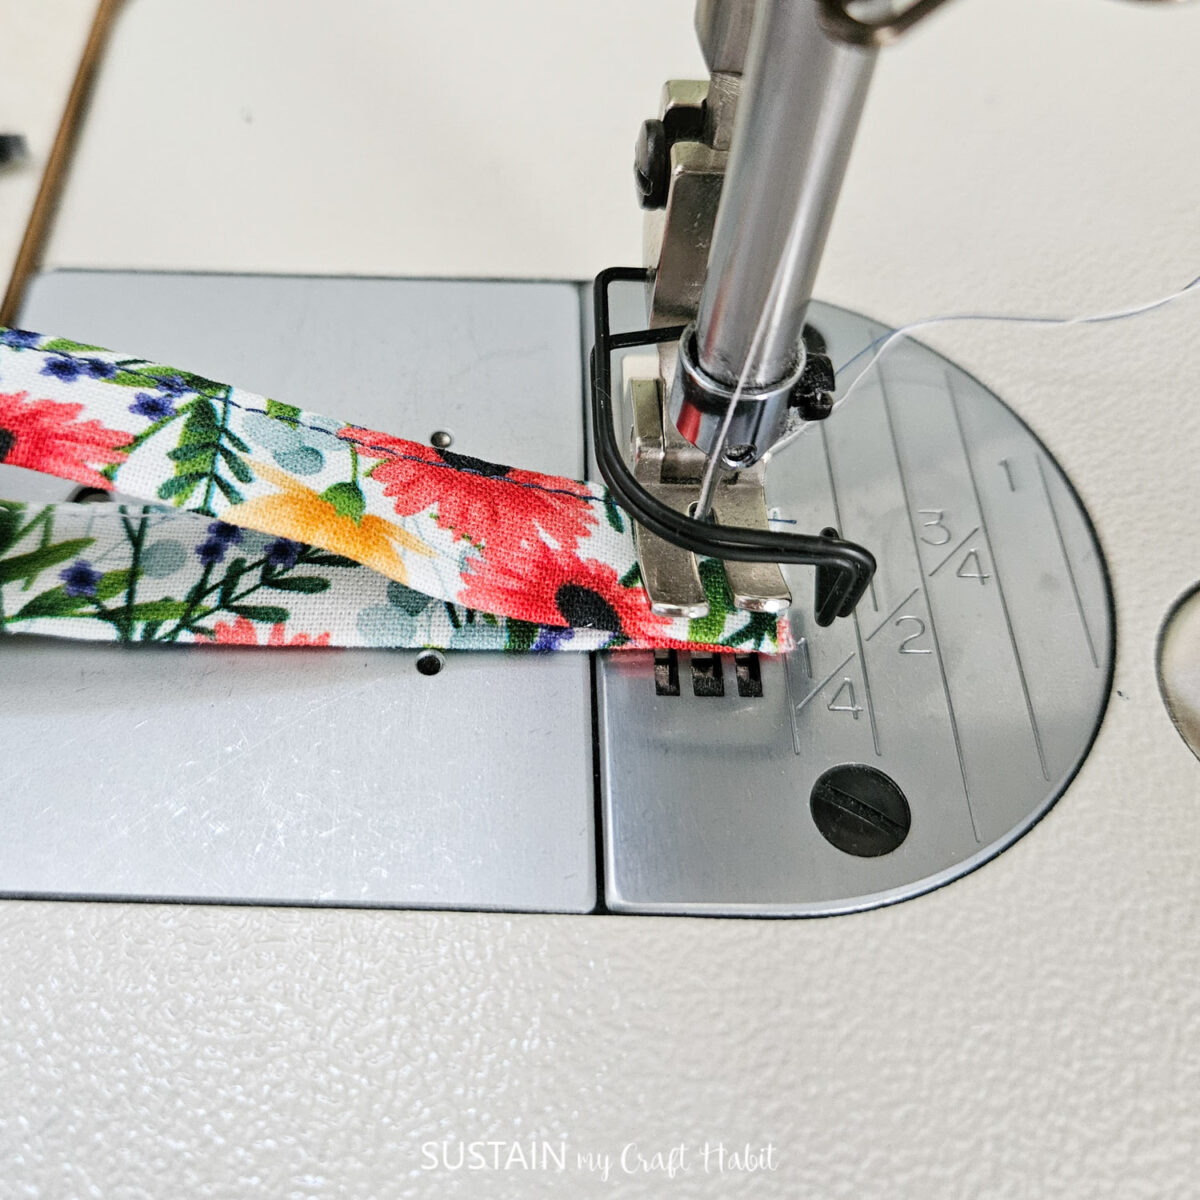
Fold the side loop in half and align the cut edges with the one end of the main piece. Baste stitch together to hold in place.
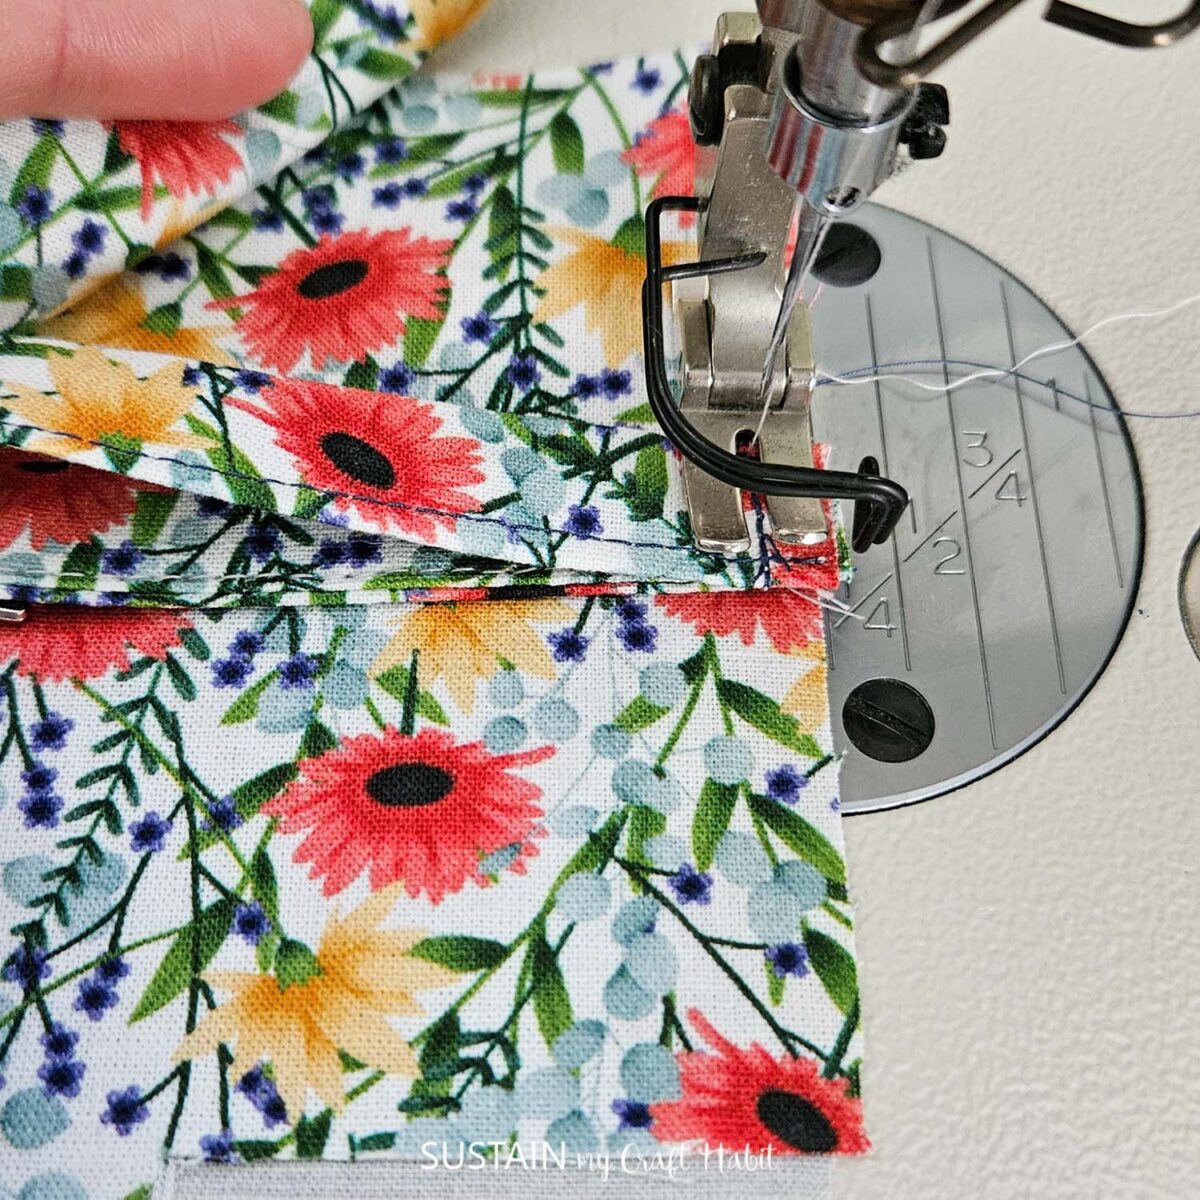
With right sides together, align squared center ends.
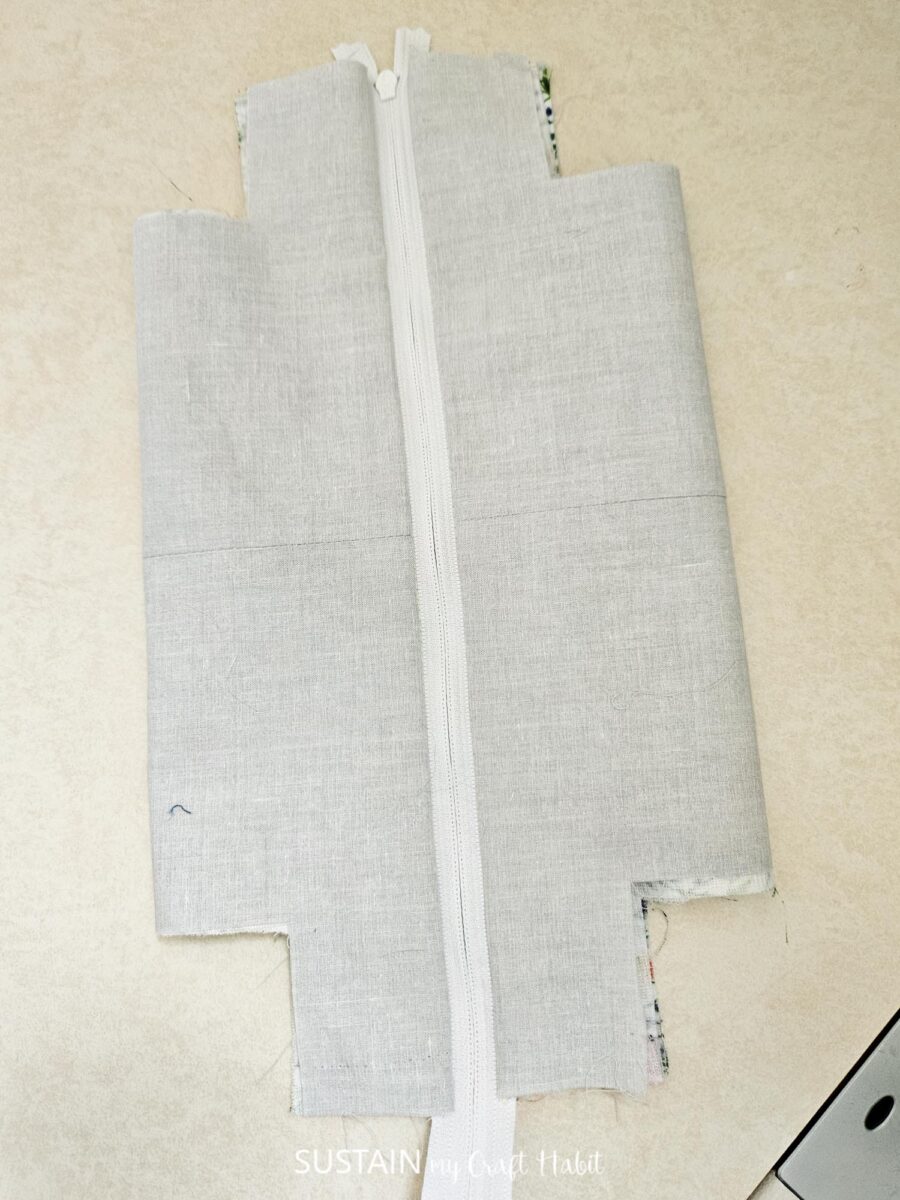
Sew layers together with a ½” seam allowance. Repeat on the other end. Take care sewing through the coil zipper teeth.
✨ New to sewing zippers or using a machine? Master essential techniques, finish raw edges cleanly, and sew with confidence in our beginner-friendly Sewing with Success Course!
When you turn the piece right side out, the zipper ends will be extend in to the seam allowance.
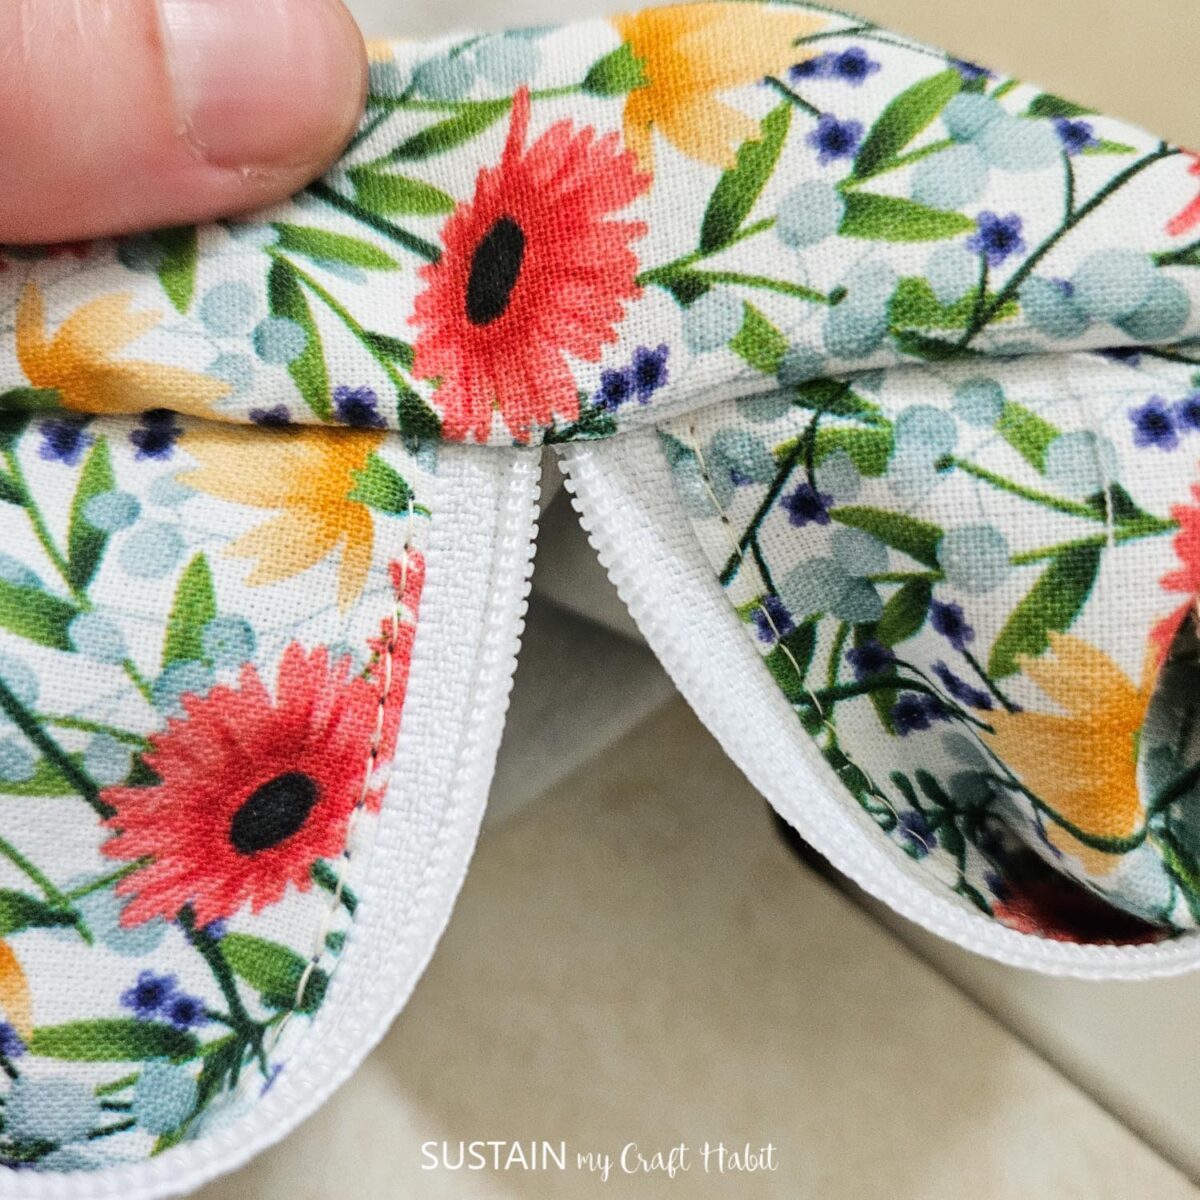
To clean finish the cut ends (inner seam allowance), use a self fabric binding to stitch over and conceal the rough edges. This is optional. You can also just serge or aig zag cut the unfinished edges to prevent fraying.
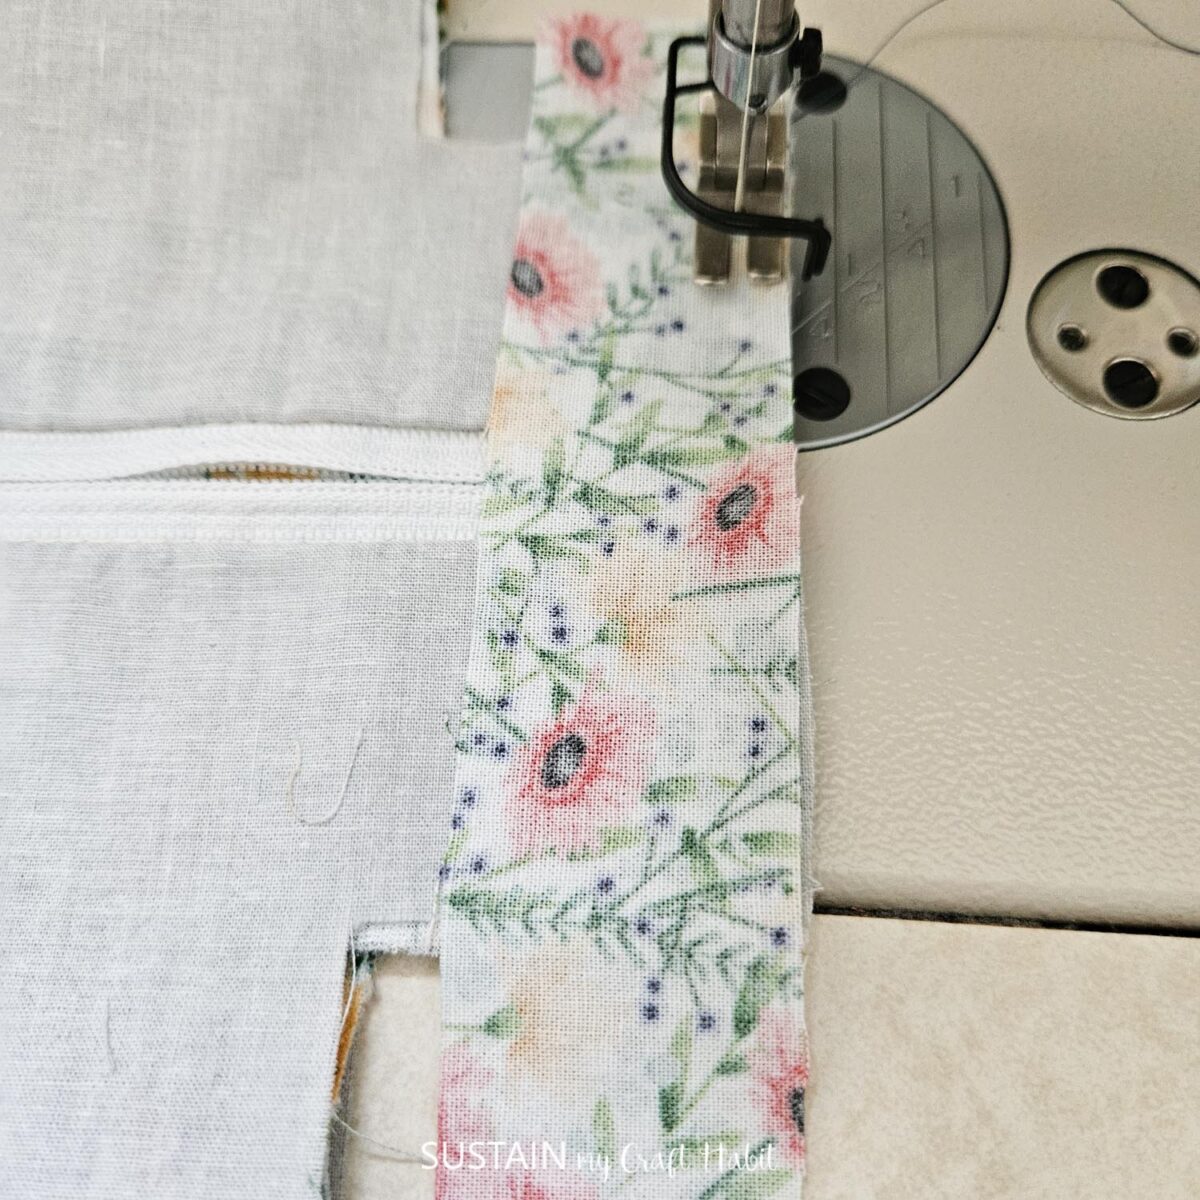
Working one corner of the makeup bag at a time, fold the makeup bag aligning the short ends together. Stitch through the layers with a ½” seam allowance. Repeat on the other four corners.
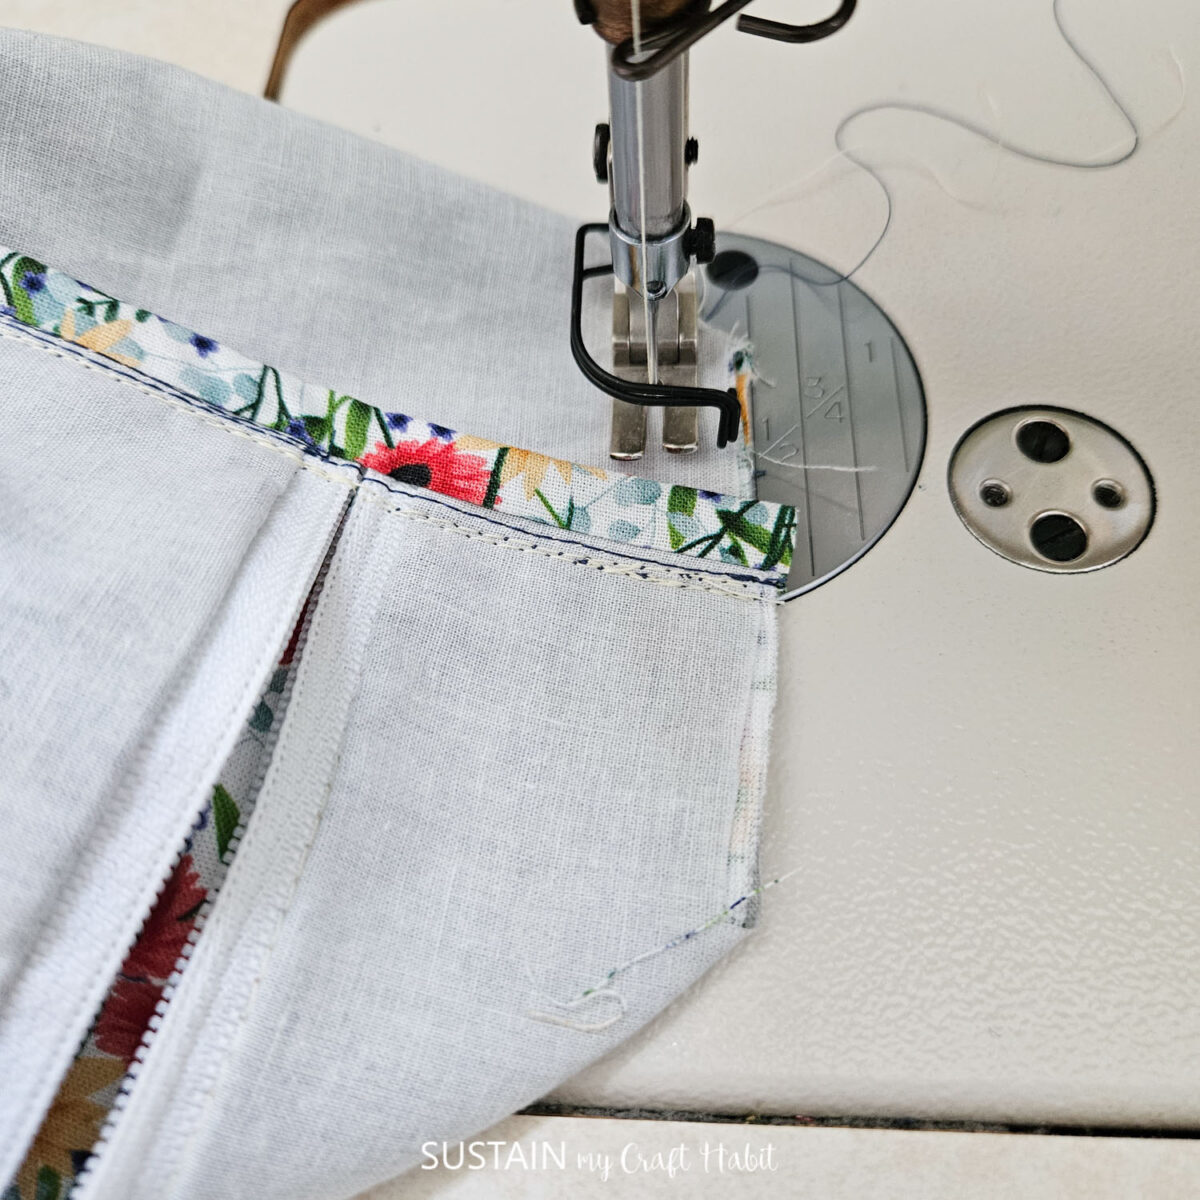
Lastly, clean finish the cut ends with pieces of self fabric binding same as the above steps.
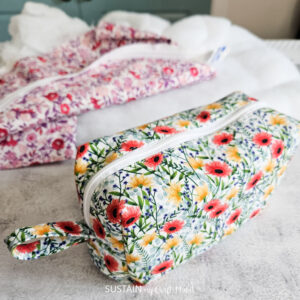
Turn makeup bag right side out and enjoy!

Pretty and Practical
Sewing your own makeup bag is one of those projects that delivers every time. It’s fully customisable, and the end result is both pretty and practical.
Whether you’re making your first pouch or your fiftieth, this free pattern and tutorial make the process straightforward and fun. Pick your fabric, grab your zip, and start sewing—you’ll be surprised how quickly you’ll want to make another.
More Free Sewing Patterns
- Tea Towel Tote Bag Sewing Pattern
- Women’s Bucket Hat Sewing Pattern
- Half Apron for Sewing
- Camo Tote Bag
- DIY Storage Ottoman


Get updates on the latest posts and more from Sustain My Craft Habit straight to your inbox by joining our weekly newsletter. We promise to send you only the good stuff!
Like it? Pin for later!

Free Makeup Bag Sewing Pattern with Tutorial
Materials
- Woven fabric shell (printed) and lining (solid) fabric
- Sewing machine and matching thread
- 28cm long Coil Zipper closed end
- Fabric Scissors
- Fusible interfacing
Instructions
- Once the printable pattern is assembled and pattern pieces are cut out, you can begin sewing.
- Start by adhering the interfacing to the wrong side loop piece and the main outer piece.
- Fold and press long edges of the side loop towards the wrong side by ¼”.
- Fold side loop piece in half with wrong sides together, matching folded edges. At the sewing machine, edgestitch along the folded edges to sew together. Put aside.
- Open zipper and align the zipper tape edges with the makeup bag opening, ensuring the zipper teeth are facing down towards the right side of the fabric.
- Stitch together with a ¼” seam allowance along one side of the zipper. Repeat with the other side of the zipper on the opposite end of the main shell piece as shown. Ensure the puller extends past the end of the main piece.
- Next, align the solid lining piece with the main piece. Sandwiching the zipper in between,sew the lining piece to the main piece along the makeup bag opening.
- Fold the side loop in half and align the cut edges with the one end of the main piece. Baste stitch together to hold in place.
- With right sides together, align squared center ends. Sew layers together with a ½” seam allowance. Repeat on the other end. Take care sewing through the coil zipper teeth.
- To clean finish the cut ends, use a self fabric binding to stitch over and conceal the rough edges.
- Working one corner of the makeup bag at a time, fold the makeup bag aligning the short ends together. Stitch through the layers with a ½” seam allowance. Repeat on the other four corners.
- Lastly, clean finish the cut ends with pieces of self fabric binding same as the above steps.
- Turn makeup bag right side out and enjoy!