Natural Pain Relief: How to Sew a DIY Heat Bag for Self-Care
Learn how to sew a reusable, all-natural heat bag using cotton fabric and cherry pits. This easy DIY tutorial is perfect for soothing sore muscles, relieving stress, and cozying up on chilly nights. Additionally, discover the best natural fillers for a truly therapeutic experience.
Some days it feels like we carry the weight of the world on our shoulders (or on our back as is the case for me). Whether it’s a stiff-neck from a long day at the computer, a sore back from gardening or just the winter chill settling into your bones, there is nothing quite like the comforting weight of a warm heat bag.
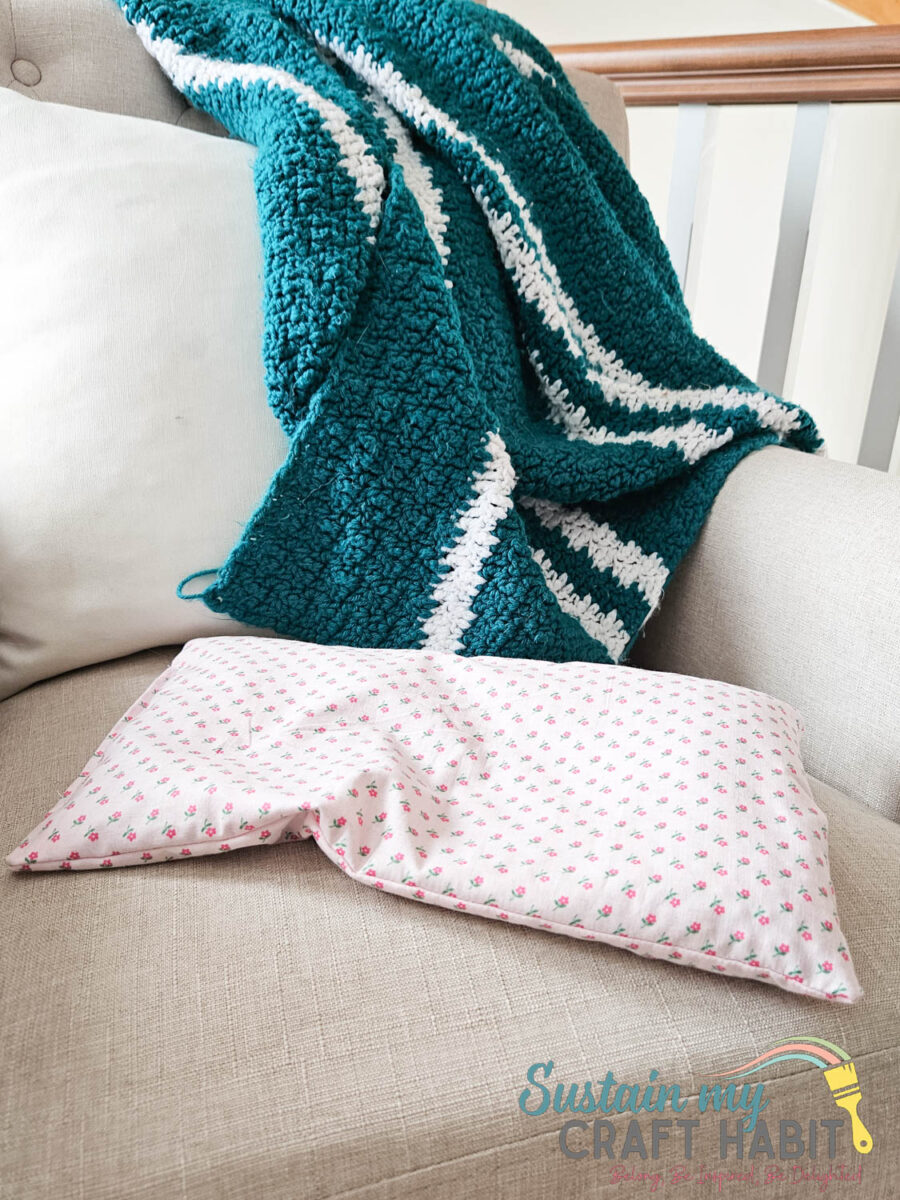
A DIY therapeutic heat bag is simple to make and yet genuinely useful and has honestly become a staple in my self-care routine.
Why You’ll Love DIY Therapeutic Heat Bags
- No need for fancy tools or expensive fabric—just a few basic natural, materials and a little time.
- They’re eco-friendly, budget-friendly, and infinitely more aesthetic than anything you’ll find at the drugstore.
- Quick sewing project that’s perfect for beginners!
- Completely customisable with different fabrics, sizes, and fillings – see below for a list of options to choose from
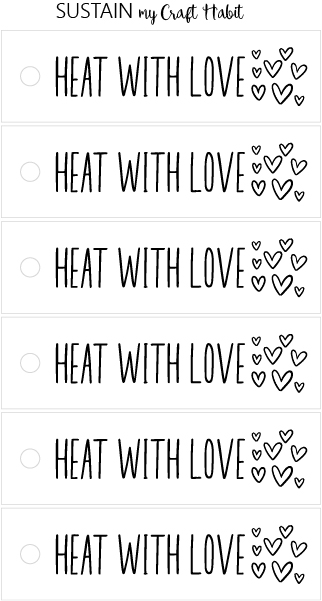
- Are thoughtful handmade gifts for anyone in need of some pain relief. Download our free printable that says ‘Heat with Love’ to make the bags ready for gifting.
Once you’ve made one, you’ll likely want a few more to have as cozy home items year-round (my teenage daughter even has a few of her own to use).
In this guide, I’ll walk you through the process step by step, along with several natural filler options and helpful tips to make sure your heat bag is safe, long-lasting, and looks great too. Let’s get started!
Let’s stay in touch! Subscribe for our latest sewing patterns, tutorials and tips.
Materials Needed
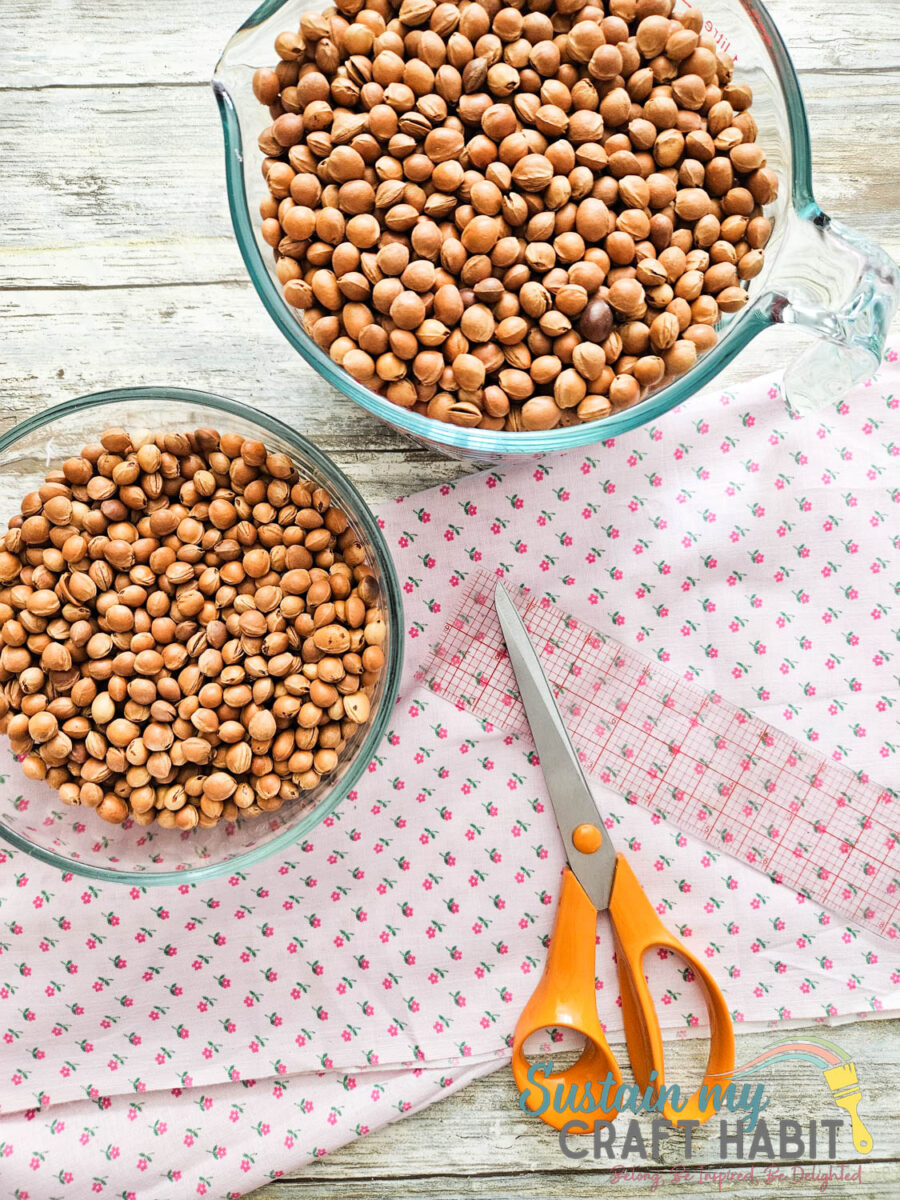
- Use fabric made from 100% natural fibers such as 100% Cotton, Linen or Hemp fabric
- Why Natural Fibers? Because synthetic fibers (like polyester, nylon, or “poly-blend”) can melt or even spark in the microwave, creating a fire hazard.
- Sewing Machine and matching 100% cotton thread
- Fabric Scissors
- 6 cups of filling (we used dried cherry pits other options include uncooked rice, flaxseed, whole corn, or wheat berries – see below for more information on the best heat bag fillers to use)
How to Make a Heat Bag
Cut 2 rectangular pieces of fabric measuring 8”high x 15” wide.
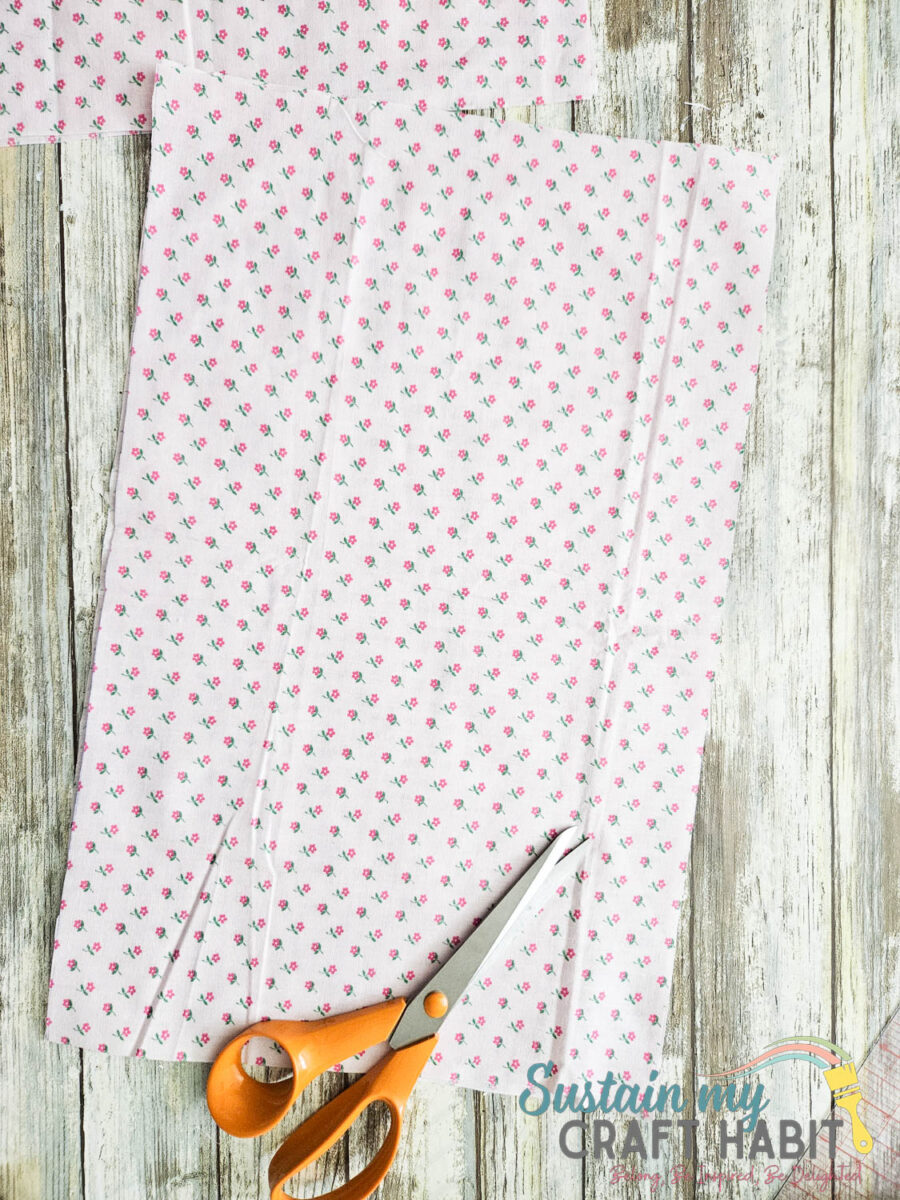
In my case, since my fabric felt a bit too thin (or lightweight) I doubled up the fabric to give it more weight and durability.
With right sides facing, I sewed the layers together with a 1” seam allowance. But you can do a standard ½” seam allowance if you prefer.
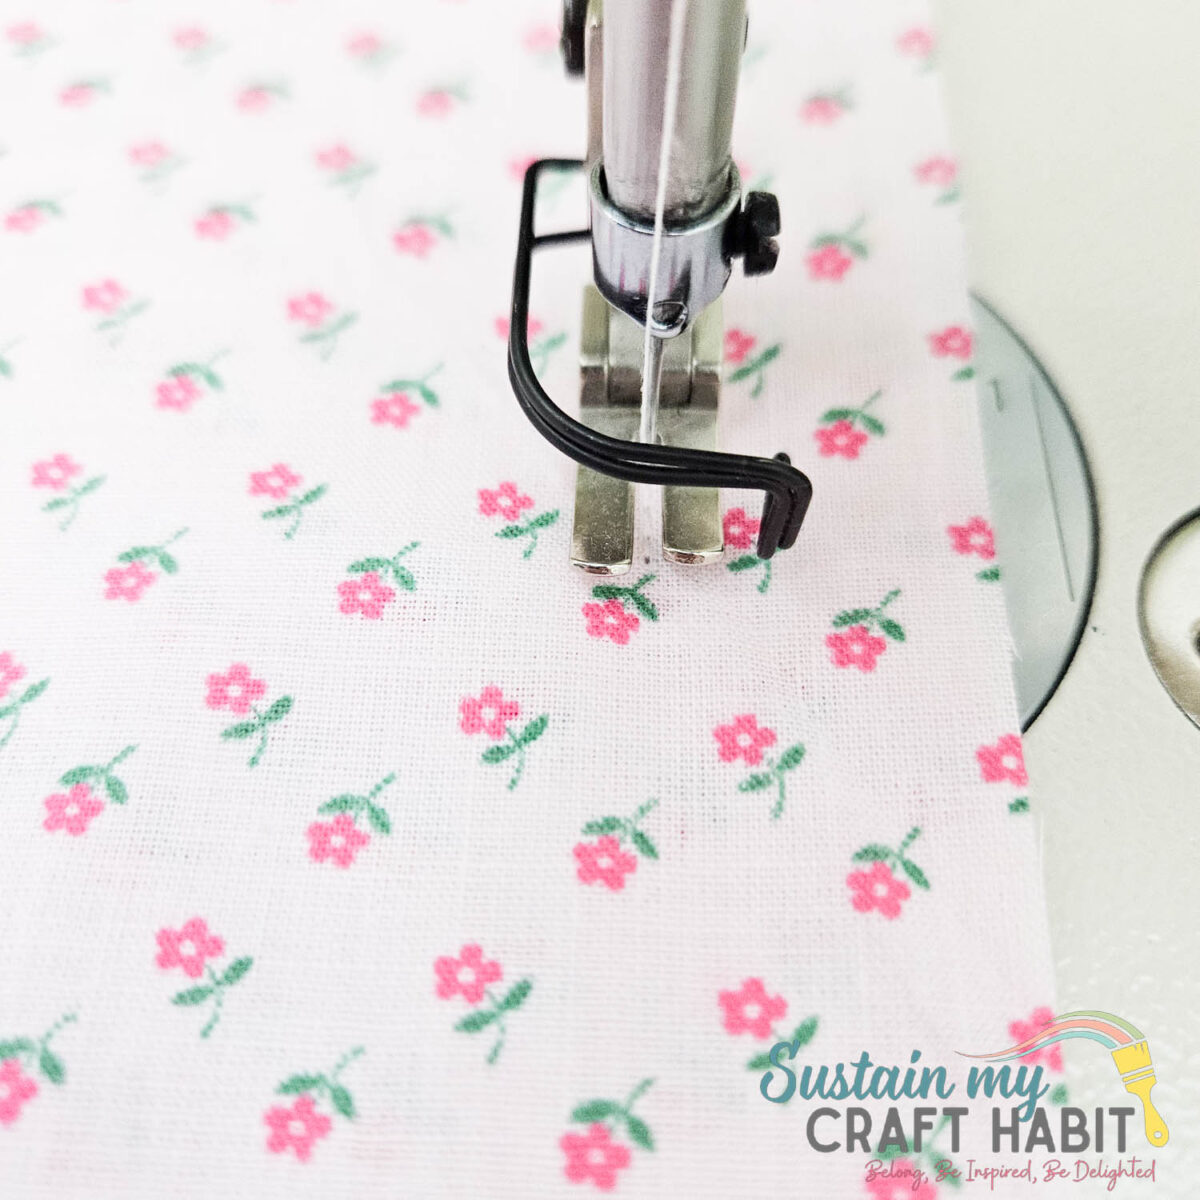
Leave a 2” gap opening along one side.
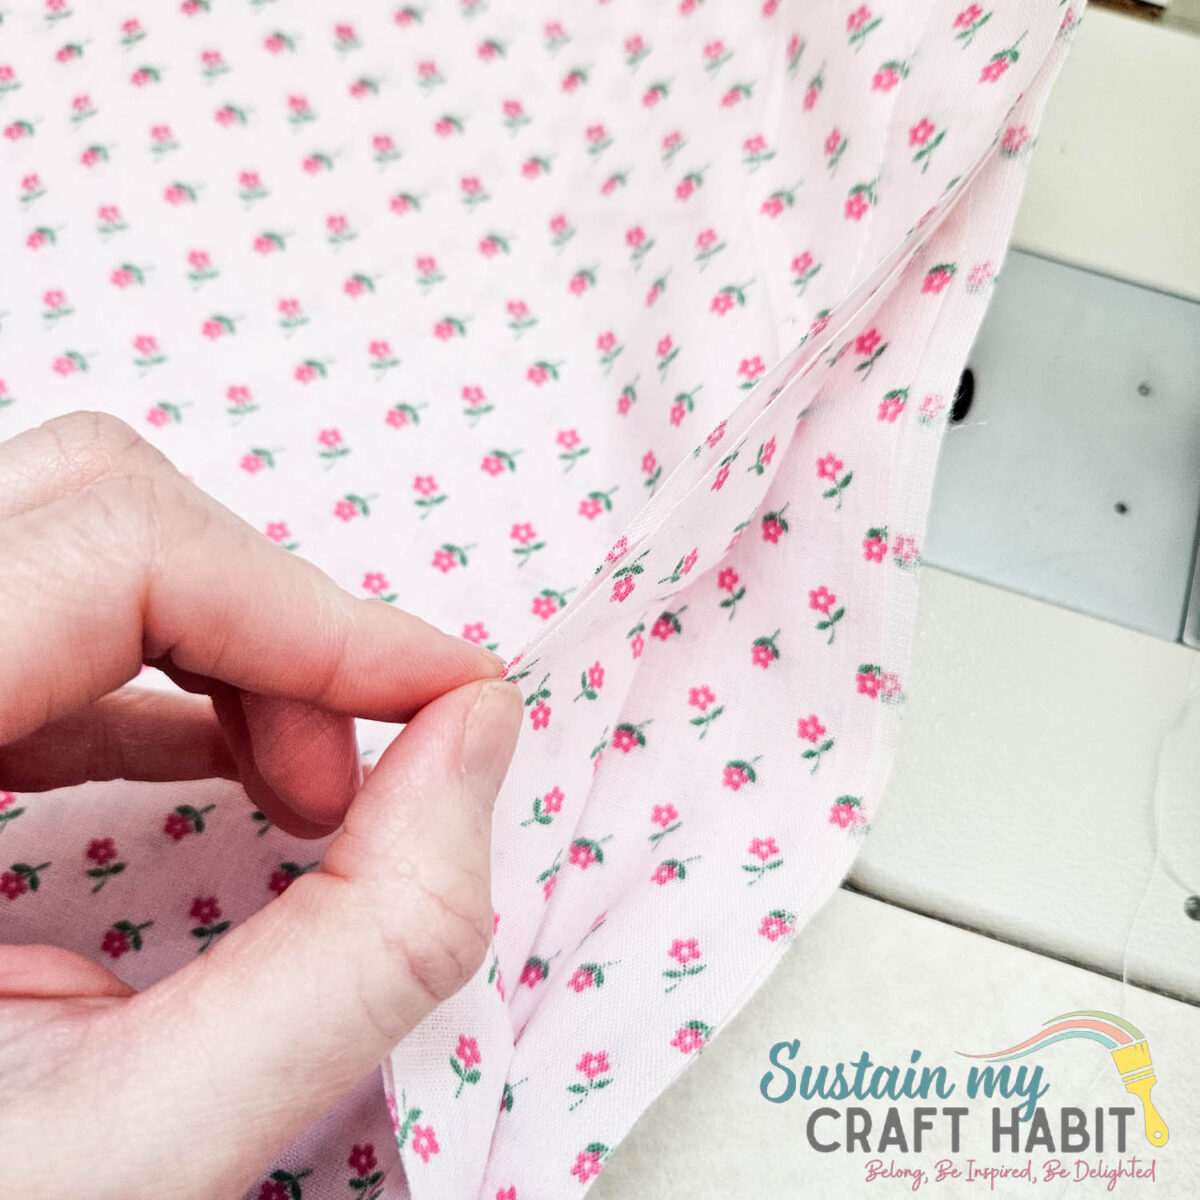
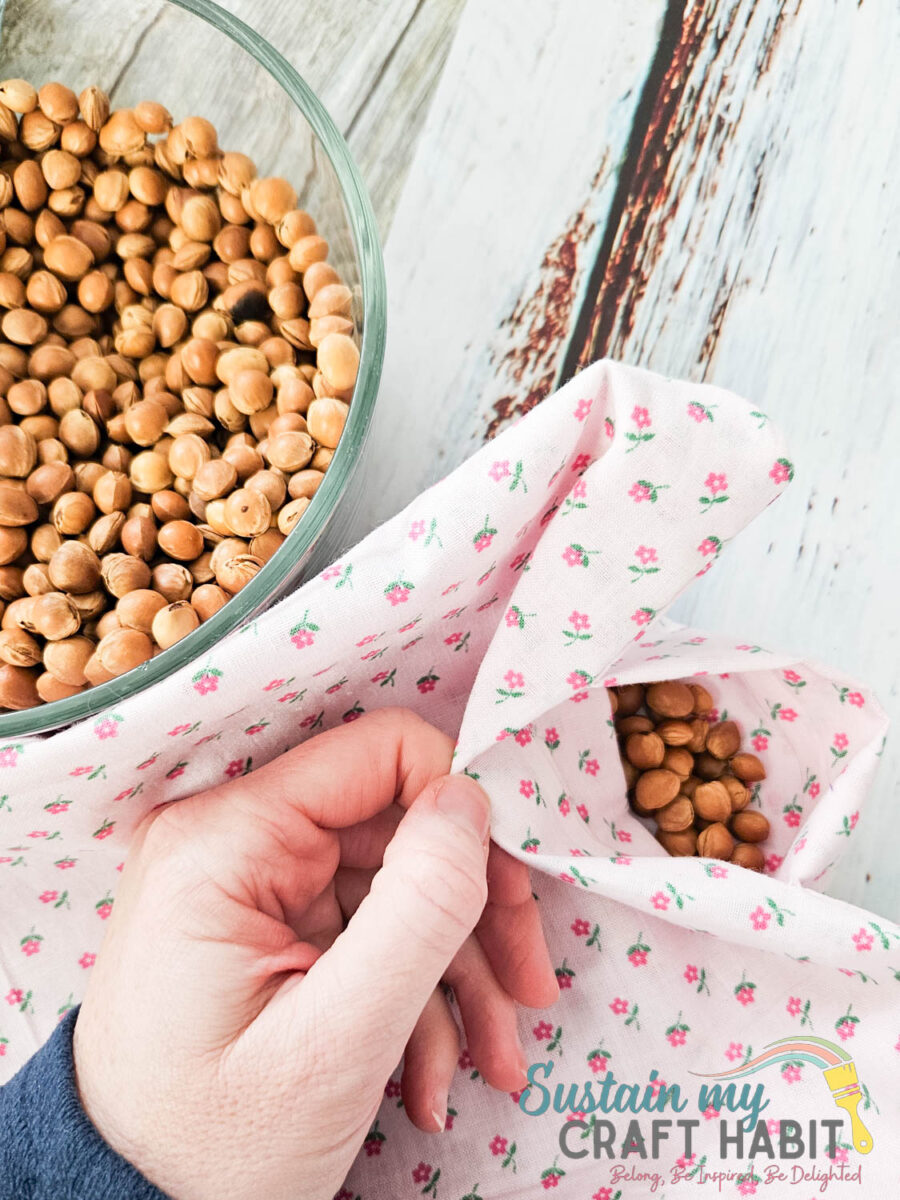
Turn the piece right side out and then fill the inside with the dried cherry pits (or whatever filling you have).
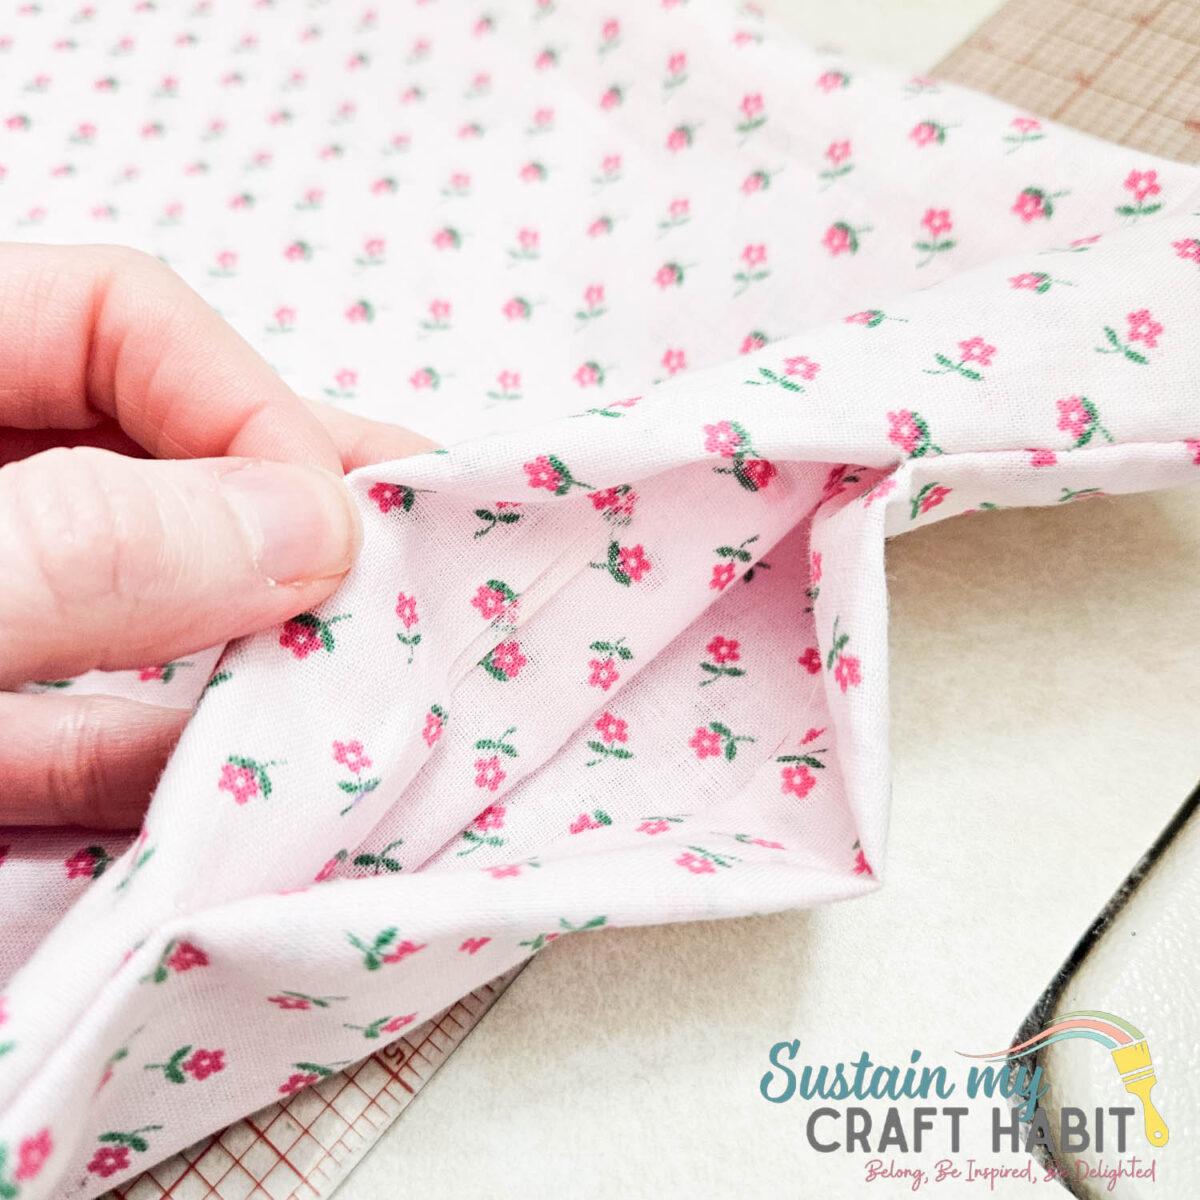
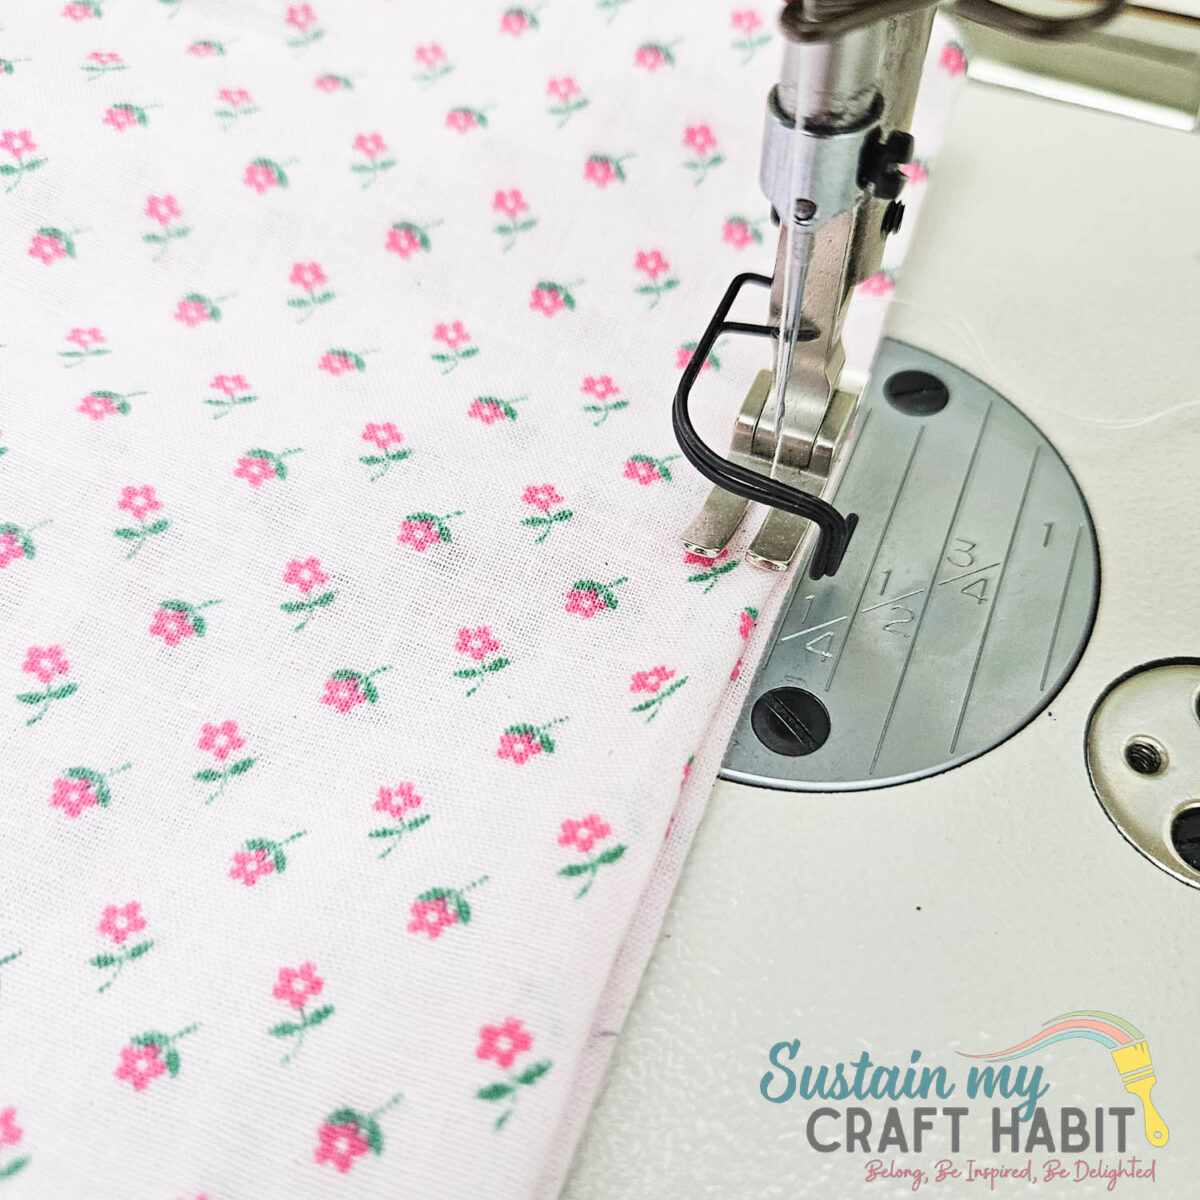
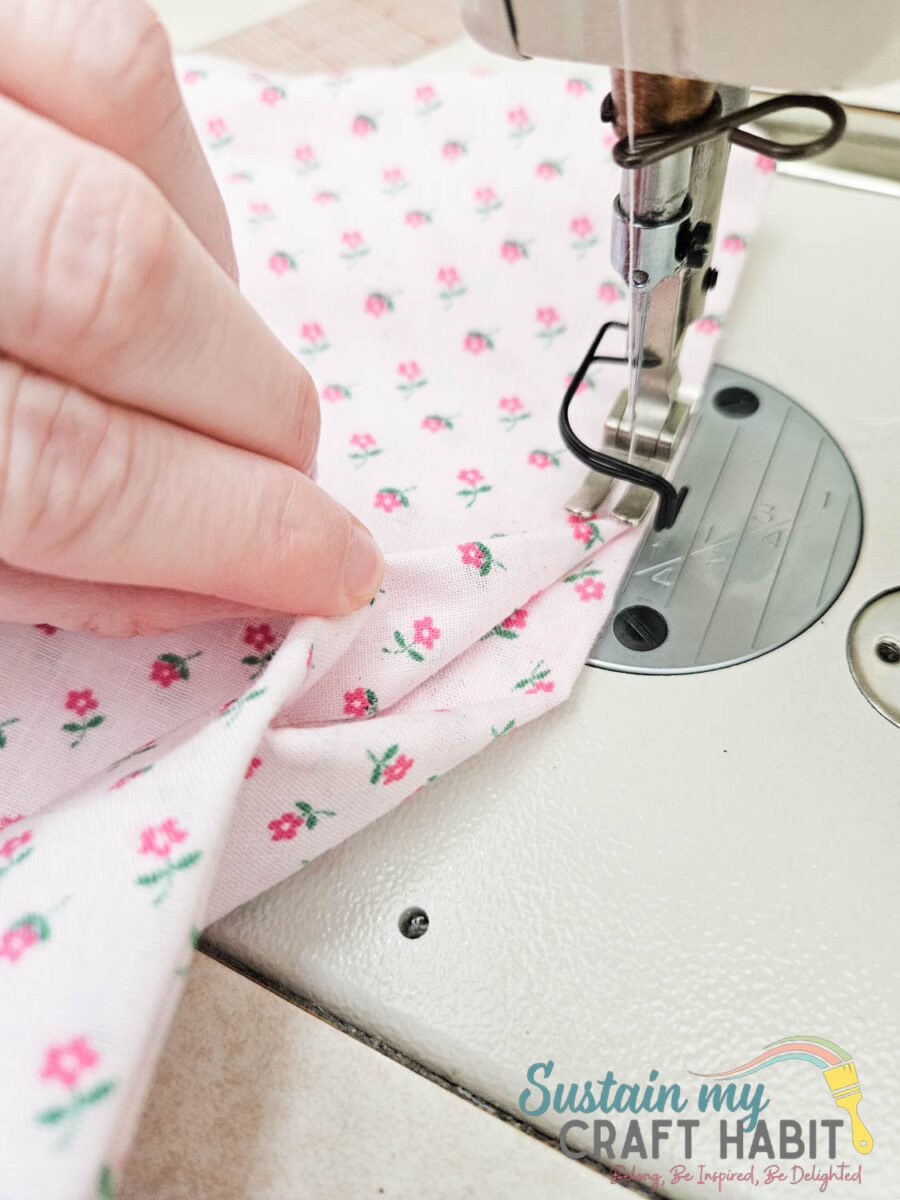
Stitch the opening closed with an edgestitch. Make sure to backstitch the start and end of your stitches to keep the threads from unravelling.
Heating Instructions
Microwaves vary in power, so always start with less time and increase in small increments.
- Initial Heat: Start with 60 seconds.
- Shake & Rotate: Remove the bag, shake the contents to redistribute the heat, and feel for “hot spots.”
- Additional Time: If needed, heat in 30-second bursts until it reaches your desired temperature.
- Maximum Time: Never exceed 3 minutes total for a standard-sized bag.
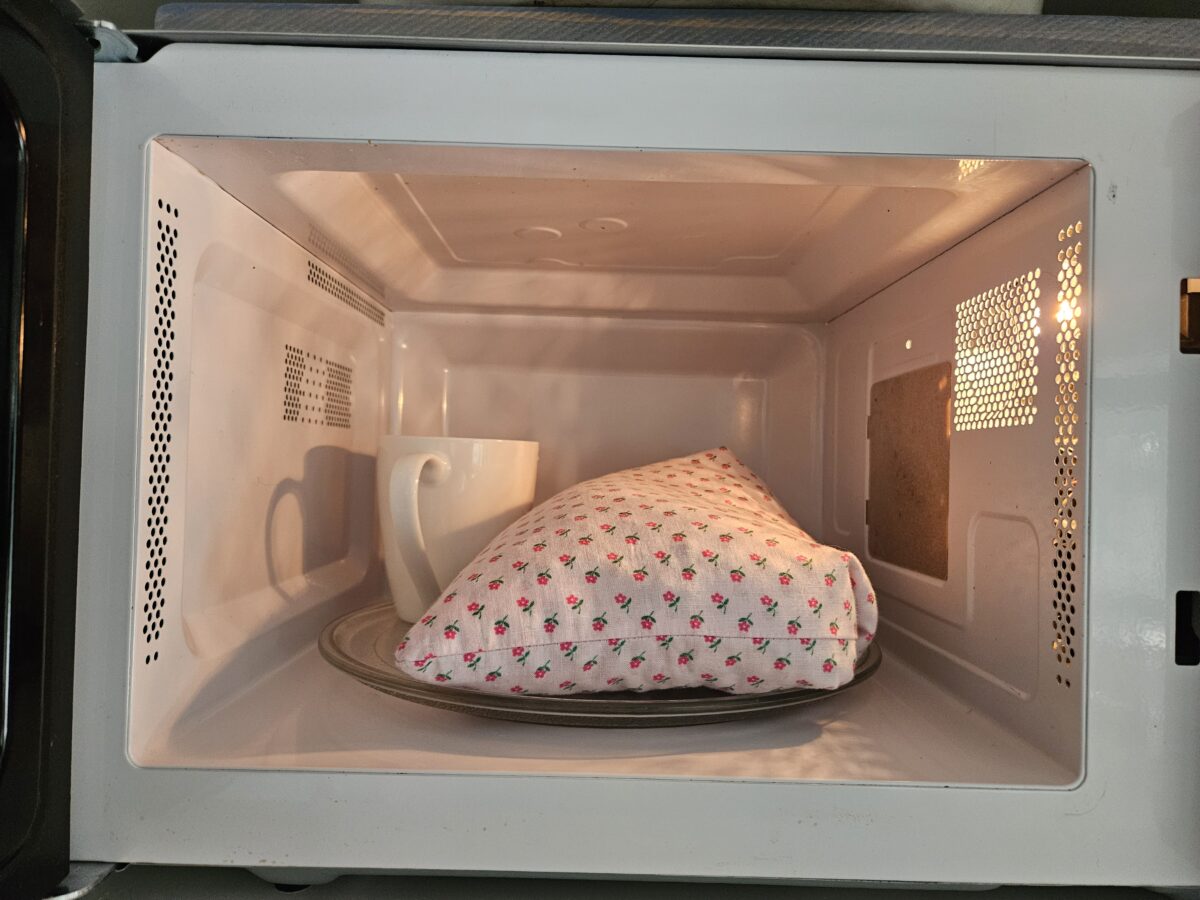
PRO TIP: Place a small, microwave-safe cup of water in the microwave alongside your heat bag. This adds a touch of moisture to the air, preventing the natural fillers (like cherry pits or flax) from drying out or scorching over time.
Safety Precautions
- Never Leave Unattended: Always stay near the microwave while heating.
- Check Before Use: Always test the bag on the inside of your wrist before placing it on sensitive areas like the face or on a child.
- Avoid Overheating: If you smell anything scorched or “toasty,” stop heating immediately and allow the bag to cool completely on a non-flammable surface.
- Age of Users: Do not use heat bags on infants, or individuals who cannot move the bag themselves if it becomes too hot.
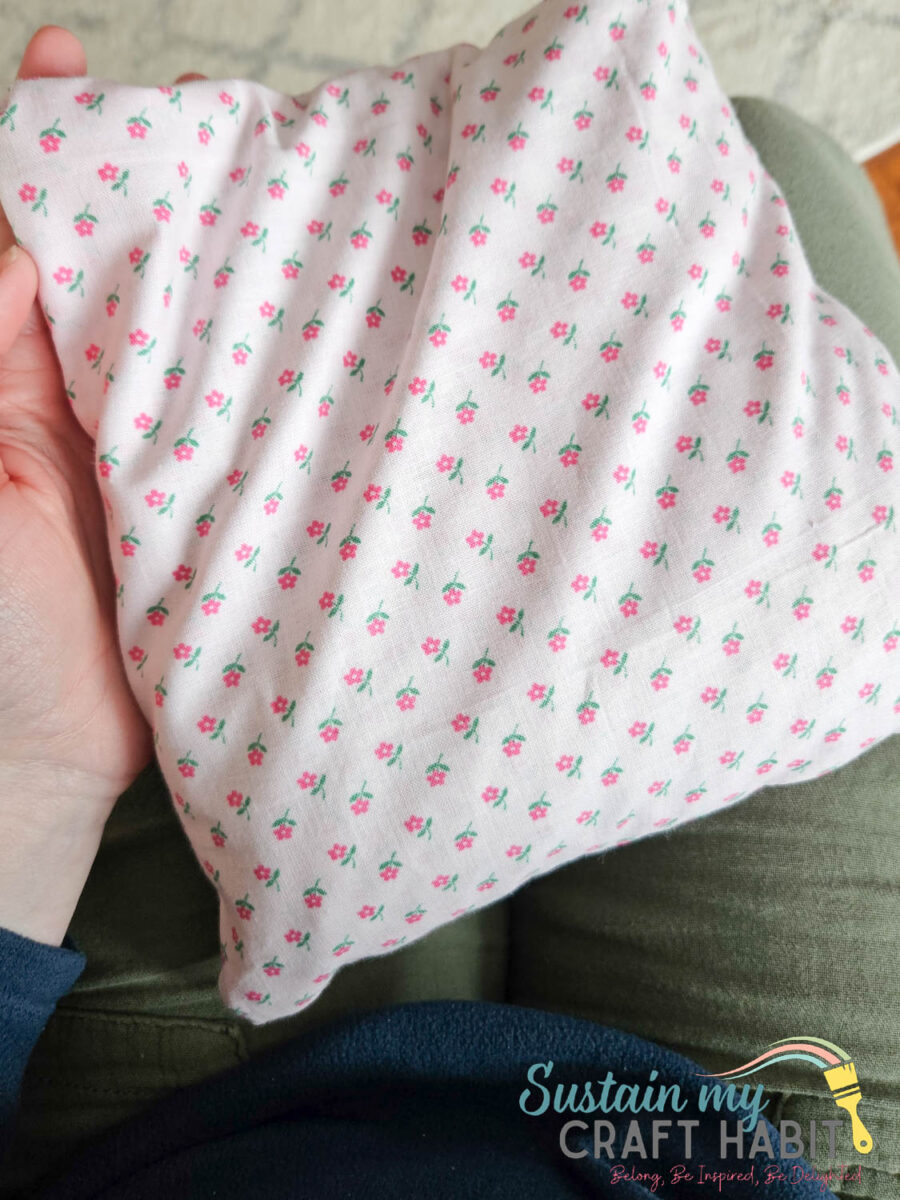
Heat Bag Size Options
You can make different sizes depending on how you plan to use it:
- Small squares for hands or pockets
- Long rectangles for neck and shoulders
- Larger square-shaped bags for back pain relief or stomach pain relief
Heat Bag Filling Options
As mentioned above, there are several natural heat bag filler options with varying benefits depending on your preferences.
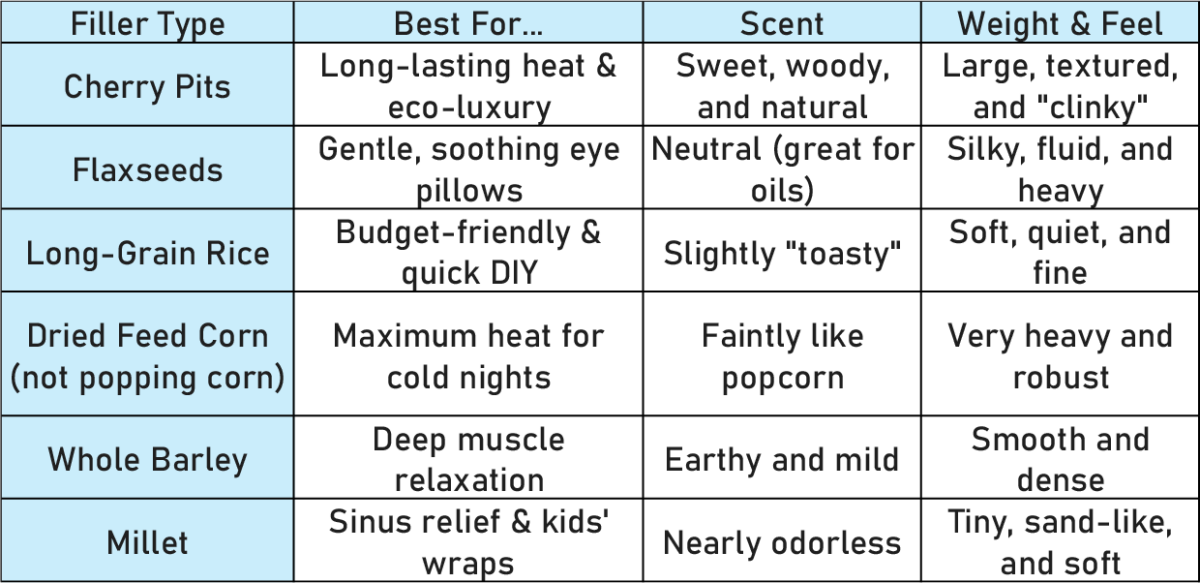
Also, consider adding dried lavender buds or eucalyptus leaves to the filler for a spa-like aromatherapy DIY.
Regardless of which filler you choose, make sure everything is completely dry before filling to prevent moisture issues.
Sewing & Durability Tips
Double stitching your seams helps prevent leaks over time. If you’re making a longer heat bag, consider sewing channels (straight lines across the bag) to keep the filling evenly distributed.
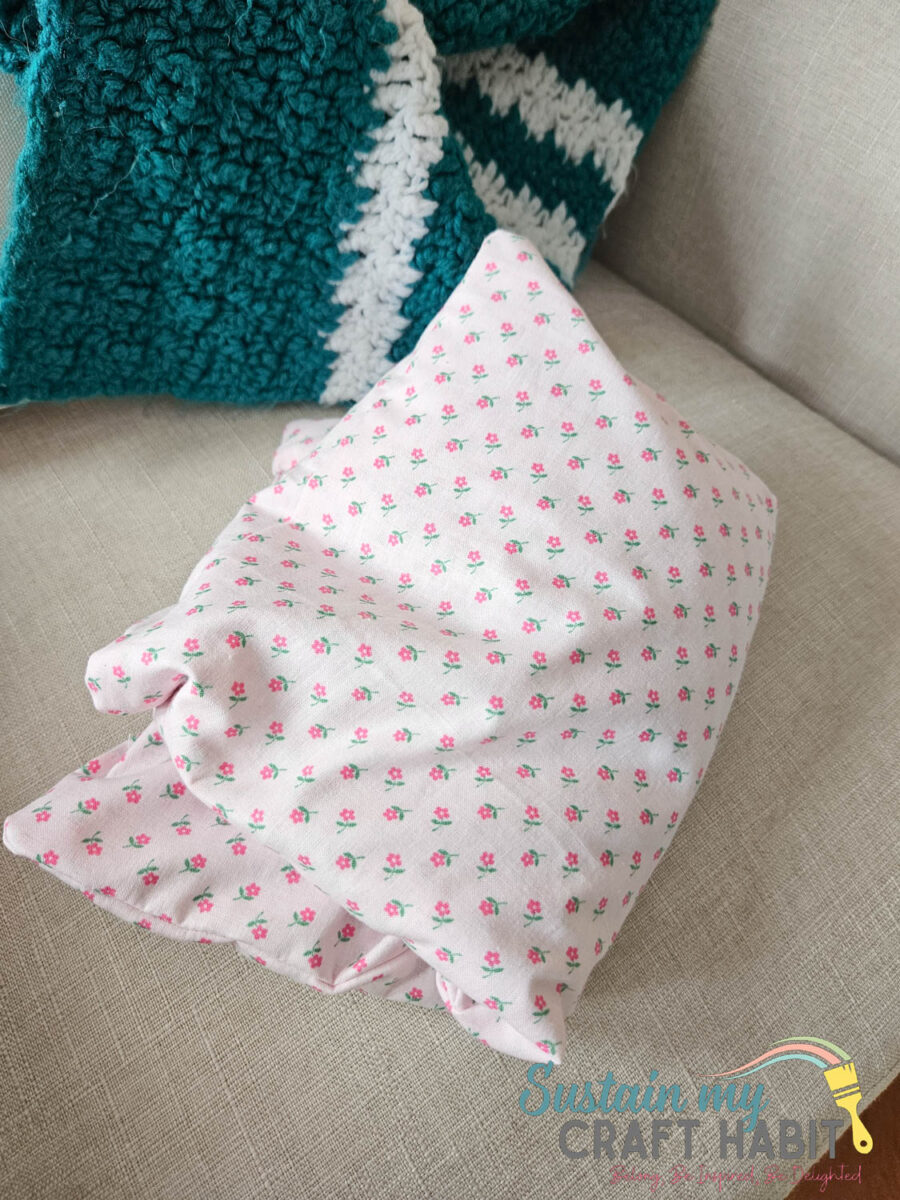
Adding Health and Wellness to Your Home with DIY Heat Bags
Once you know how to sew a DIY heat bag, it’s the kind of project you’ll come back to again and again. It’s quick, practical, and easy to personalise for different needs or seasons.
Try a few variations, experiment with fabrics, and make a set for your home or as gifts. If you enjoyed this project, save it or pin it so you’ve got it ready for your next sewing session.
More Self Care DIY at Home
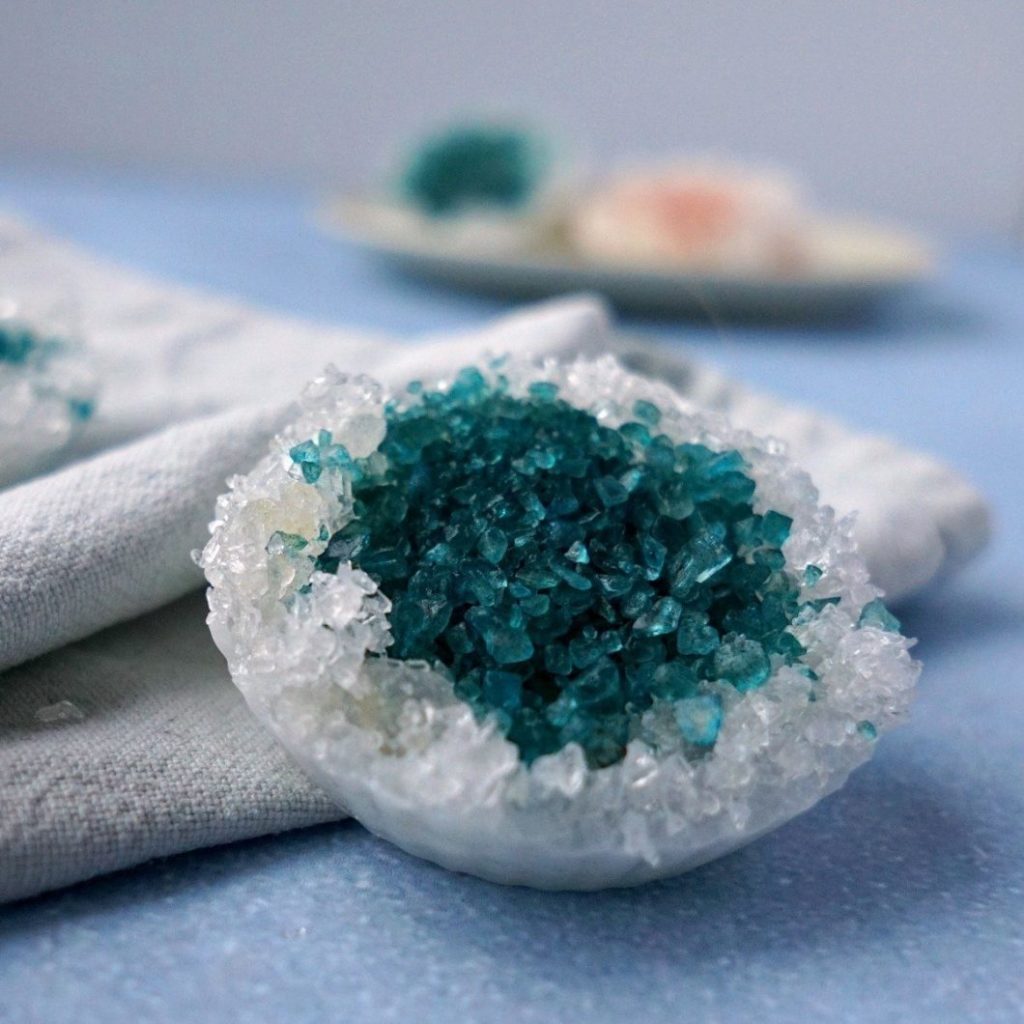
- 25+ DIY Bath Salts
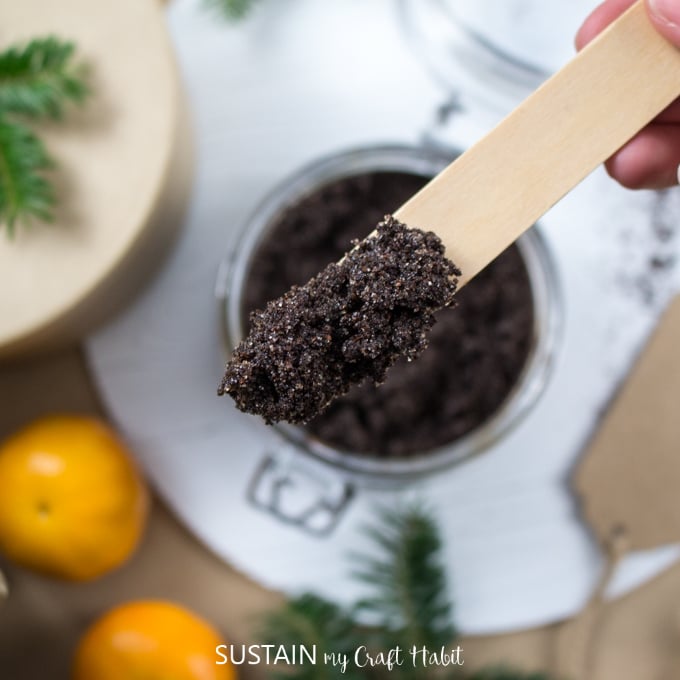
- Exfoliating Coffee DIY Sugar Scrub Recipe
- DIY Sugar Scrub with Lavender
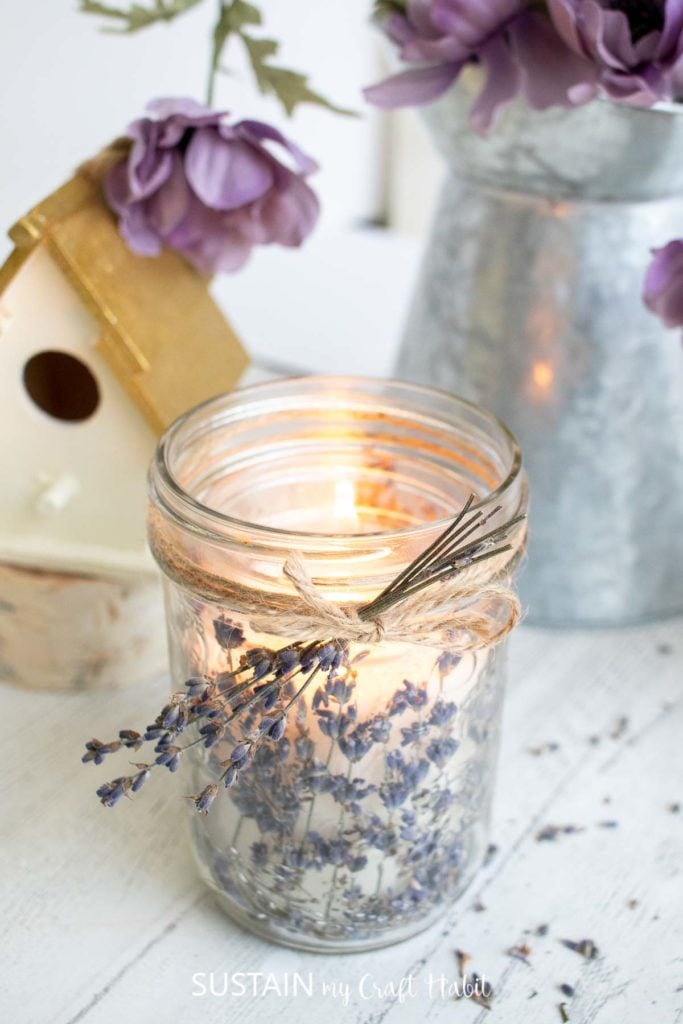
- Mason Jar Candles with Lavender
Join our crafting community to find more nature-inspired DIYs and upcycled craft ideas. It feels good to repurpose, upcycle and create with nature!
Like it? Pin for later!
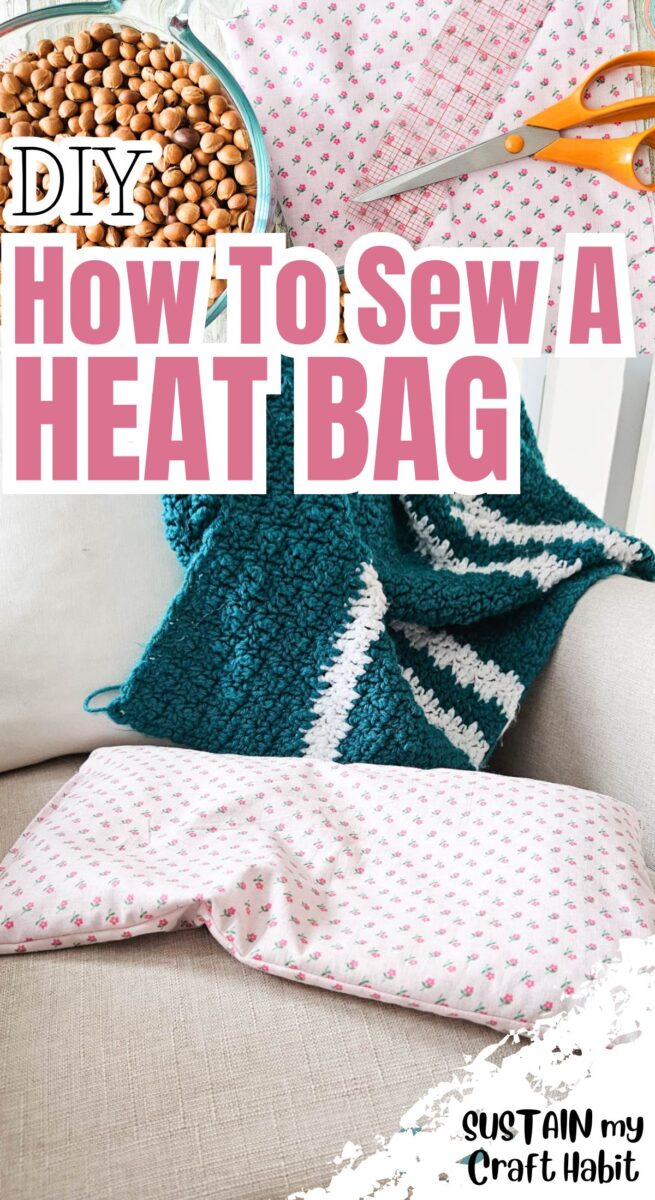
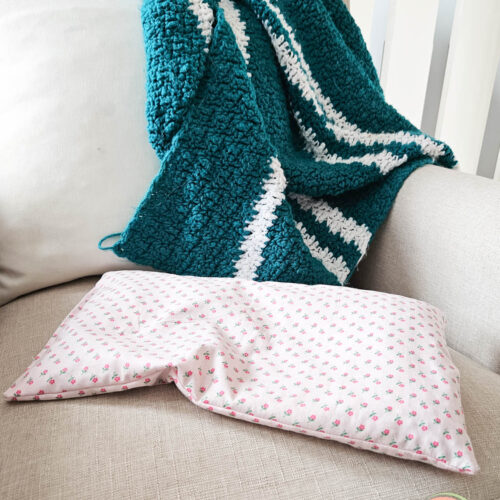
How to Sew a Heat Bag
Materials
- 100% Cotton Woven Mediumweight (such as poplin or other tightly woven fabrics)
- Sewing Machine and matching thread
- Fabric Scissors
- 6 cups of filling such as dried cherry pits, uncooked rice, flaxseed, whole corn, or wheat berries
Instructions
- Cut 2 rectangular pieces of fabric measuring 8”high x 15” wide.
- In my case, since my fabric felt a bit too thin (or lightweight) I doubled up the fabric to give it more weight and durability. So another words, I cut 4 rectangular pieces instead of 2.
- With right sides facing, I sewed the layers together with a 1” seam allowance. But you can do ½” seam allowance if you prefer.
- Leave a 2” gap opening along one side.
- Turn the piece right side out and then fill the inside with the dried cherry pits (or whatever filling you have).
- Stitch the opening closed with an edgestitch. Make sure to backstitch the start and end of your stitches to keep the threads from unravelling.
- Heat in the microwave on high heat for 2 minutes.