Large Easter Egg Cutout Sign
Happy Easter, creative friends! Today we’re sharing this adorable craft idea for making a large Easter sign using an egg shaped wood cutout, some decoupage paper and few other decorative embellishments.
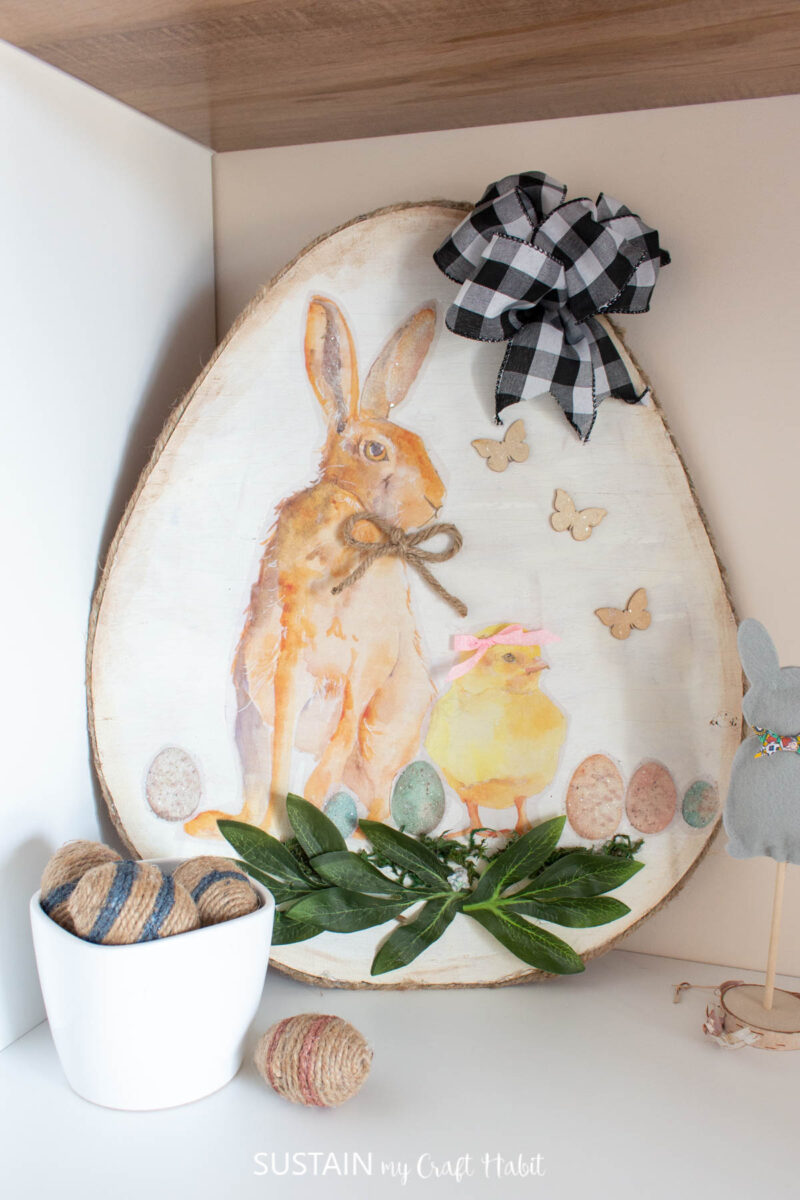
Large Easter Egg Cutout Decoration
A few weeks ago, my mom handed me a pencil and a large scrap of kraft paper and said simply “draw an egg”. Looking at her with confusion, she explained she wanted to cut out a large egg shape from leftover plywood we had in the garage and intended to give it to Jane to craft something with on an upcoming Facebook Live video. I obliged and soon after, the large wood egg shape was cutout and ready for crafting.
Wish to receive a ton of inspiration and money saving ideas for decorating, gift-giving and crafting? Join HERE!
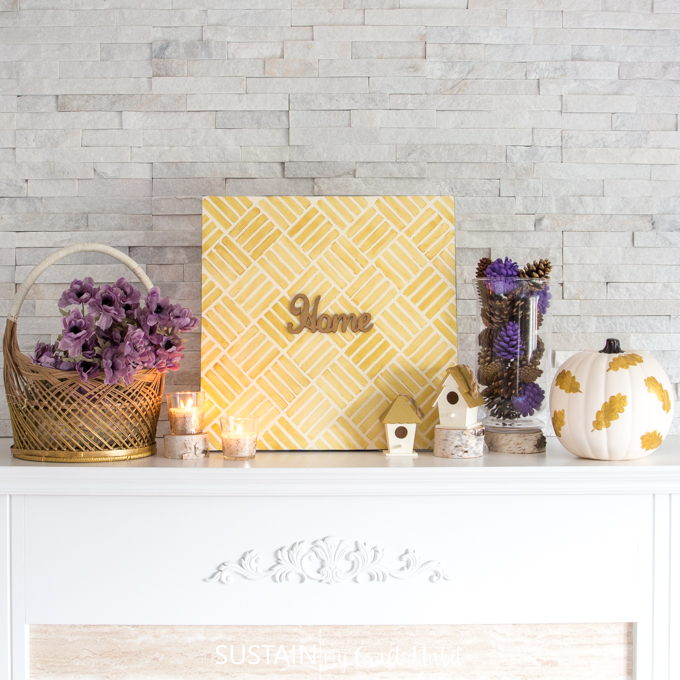
We tend to make a lot of crafts using scrap plywood, such as our DIY cornhole game board, our beach-themed farmhouse sign and our maple leaf driftwood decor pieces for Canada Day.
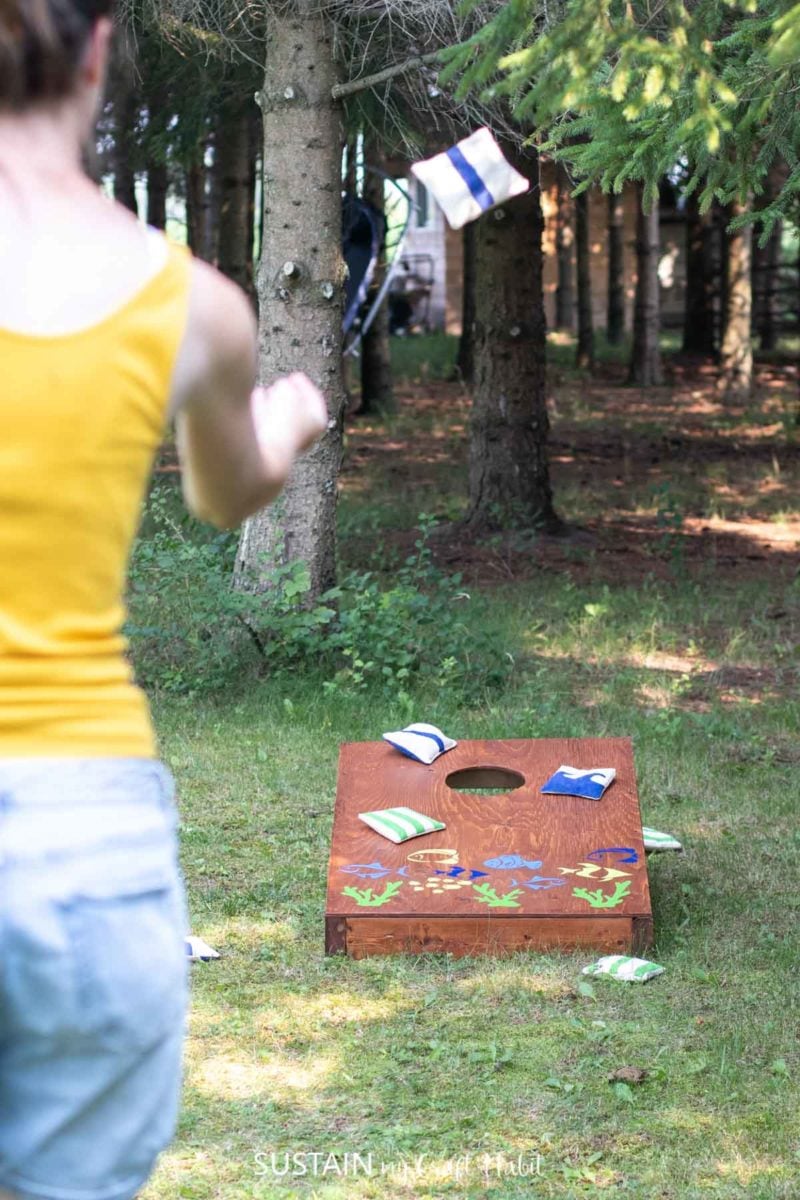
DIY cornhole board game 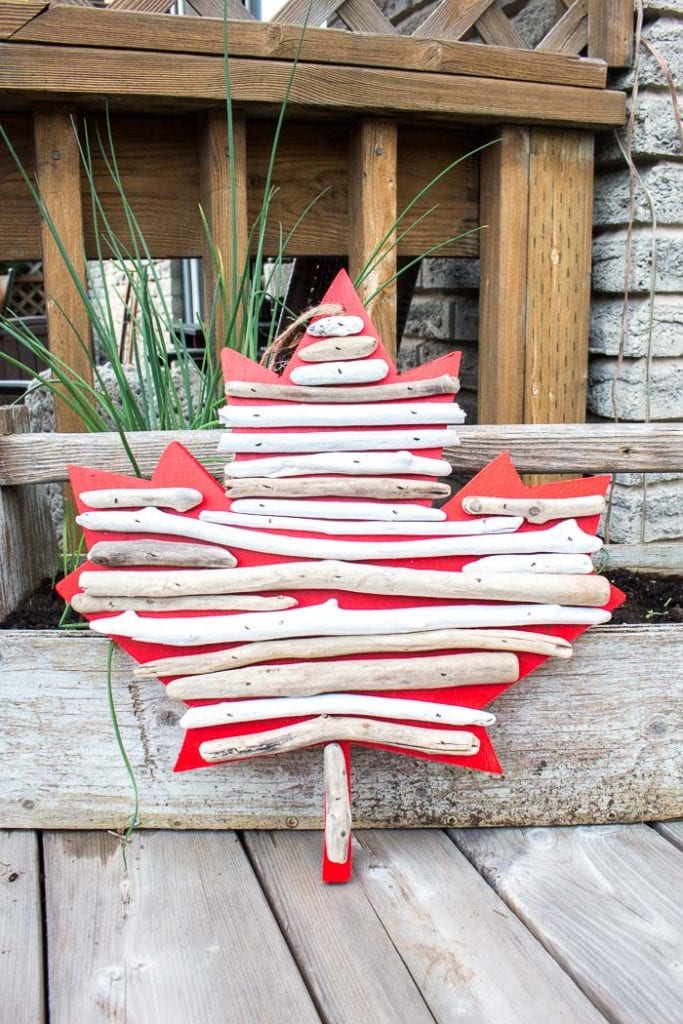
Maple Leaf Driftwood Sign
Materials Needed
Disclosure: This post contains affiliate links for your shopping convenience. Should you choose to purchase through them, we will make a small commission at no extra cost to you. You can read our full disclosure policy here.
- Large plywood egg shaped cut-out
- White paint
- Paint brush
- Mod podge
- Decoupage paper
- Scissors
- Wooden Butterflies for embellishments
- Florals for embellishments
- Wax Paint
- Glue gun
- Diamond dust
- Rope
- Ribbon
Instructions for Making a Large Easter Egg Cutout Sign
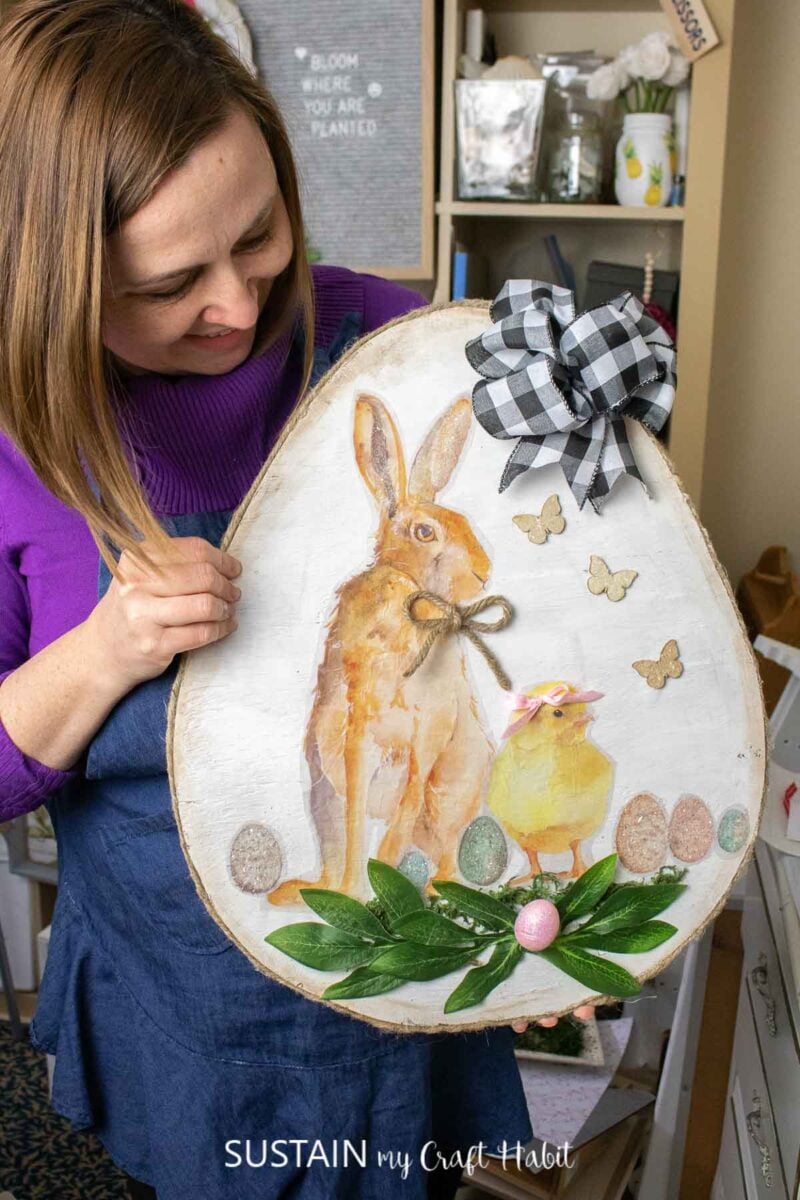
Here is a step-by-step video of this Easter sign or for the written instructions, continue reading below.
How to Make a Large Easter Egg Cutout Sign
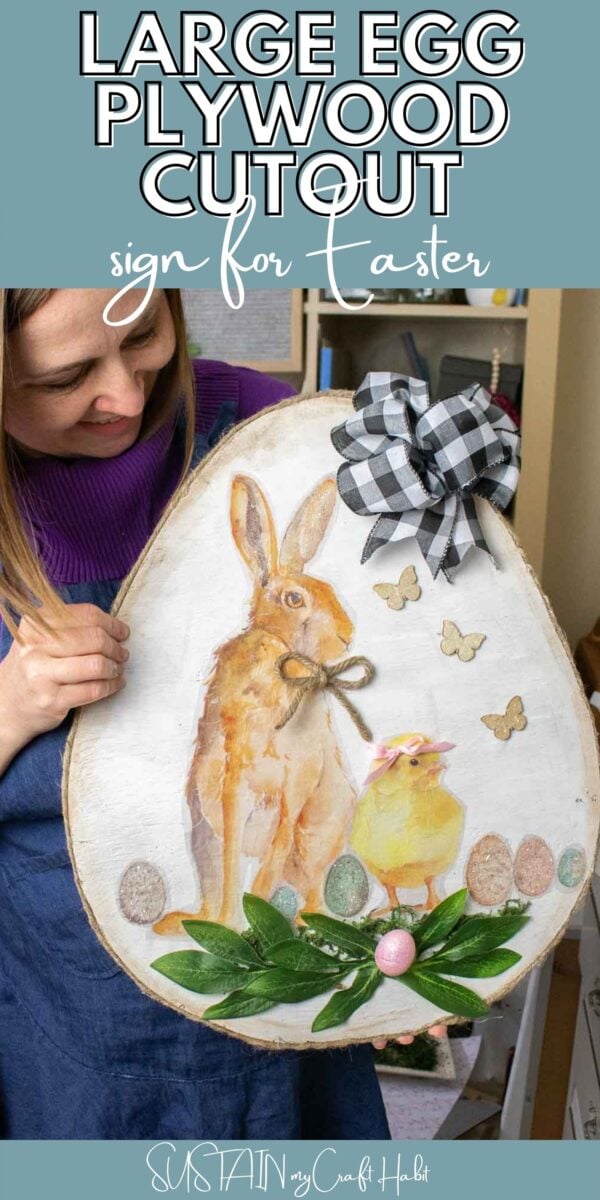
Start by painting the plywood white and let it dry completely.
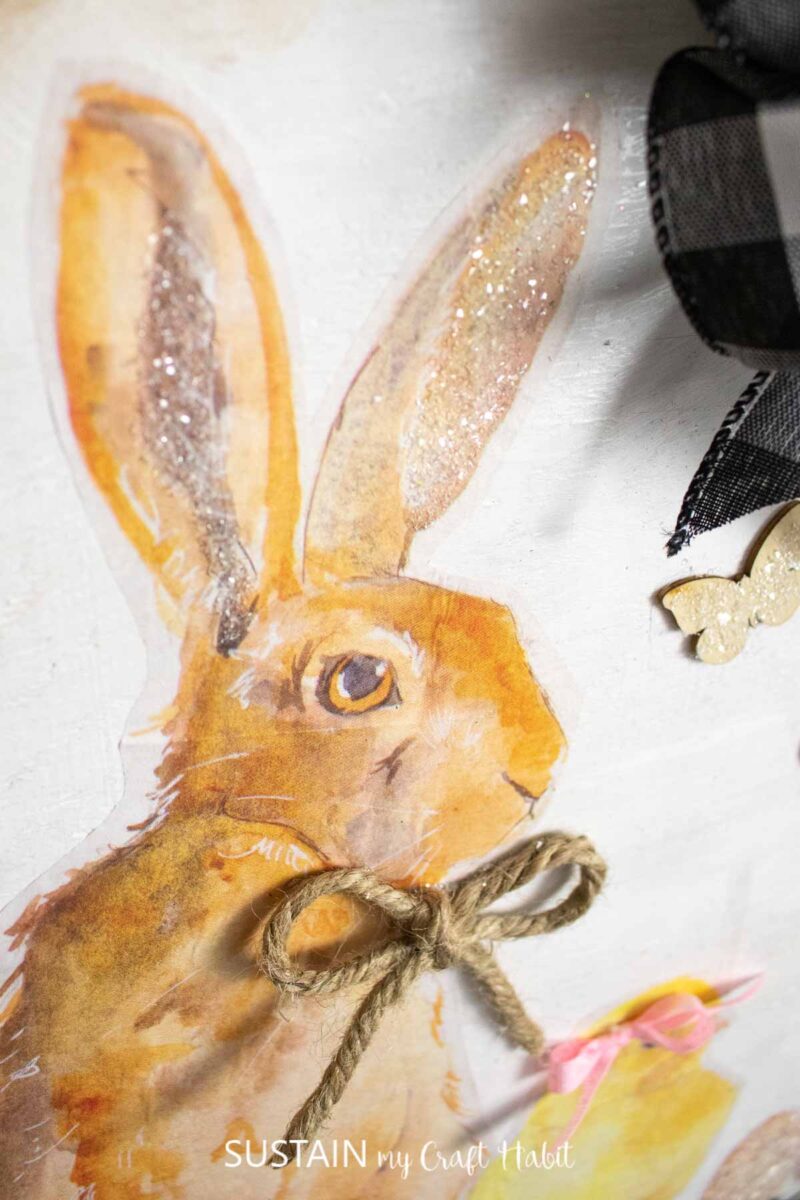
Cut out the Easter themed prints with the scissors.
Using the Mod Podge, apply the Easter themed prints to the plywood cut-out and let it dry completely.
Apply some wax paint around the edge of the plywood egg cutout to give it a worn, aged-look and using a damp brush wipe the excess wax away.
Using the hot glue gun, glue some wooden butterflies to the sign as well as some diamon dust to the bunny ears or other parts for some texture and glitter.
Last but not least, using the glue gun, glue a strand of twine or rope along the outer edge of the plywood and then attach a large decorative bow to the top.
You can also add some greenery to the plywood egg as we’ve done with ours.
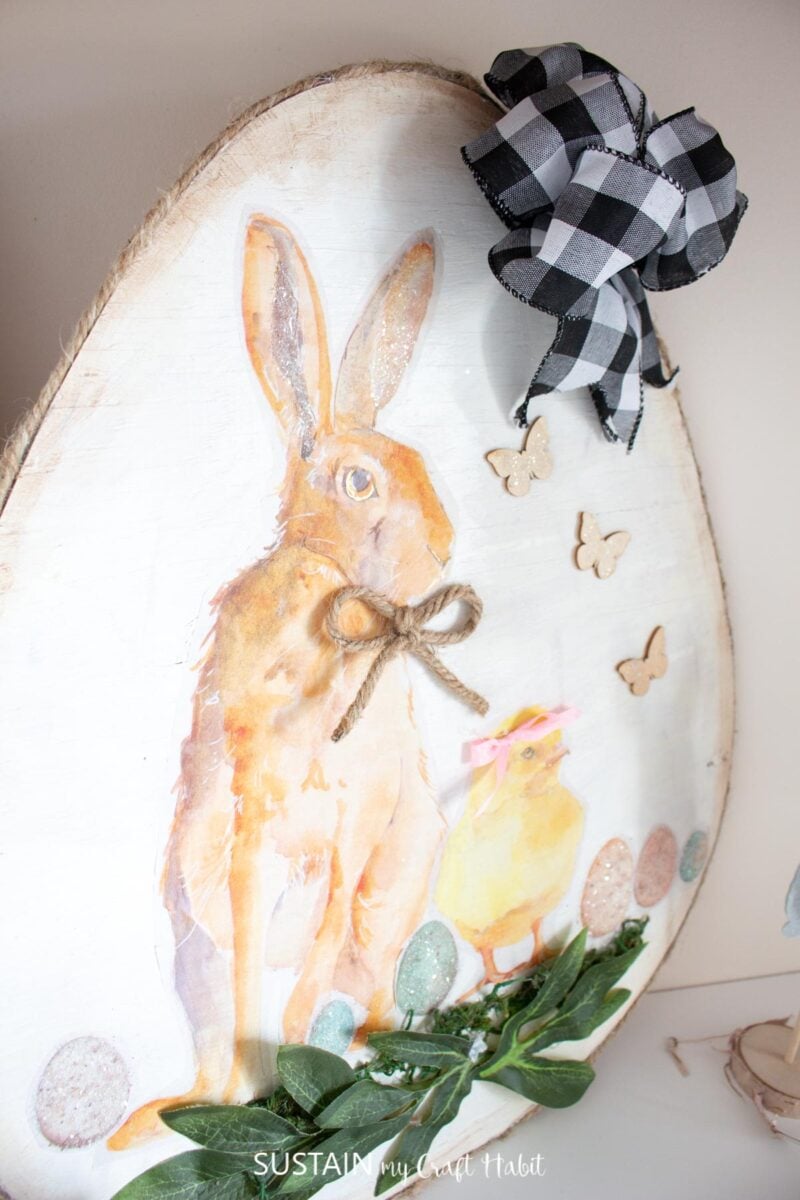
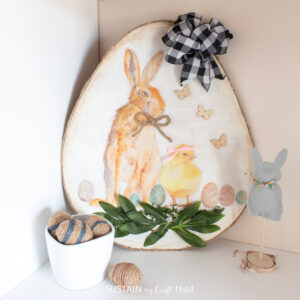
And that is it, the large egg cutout is fully decorated and ready to be displayed for Easter!
More Easter Decor
- Cute Carrot Sign
- Upcycled Plastic Easter Egg Wall Hanging
- Twine Wrapped Easter Eggs
- Felt Bunny Decor
- DIY Cement Eggs
- Mini DIY Happy Easter Banner
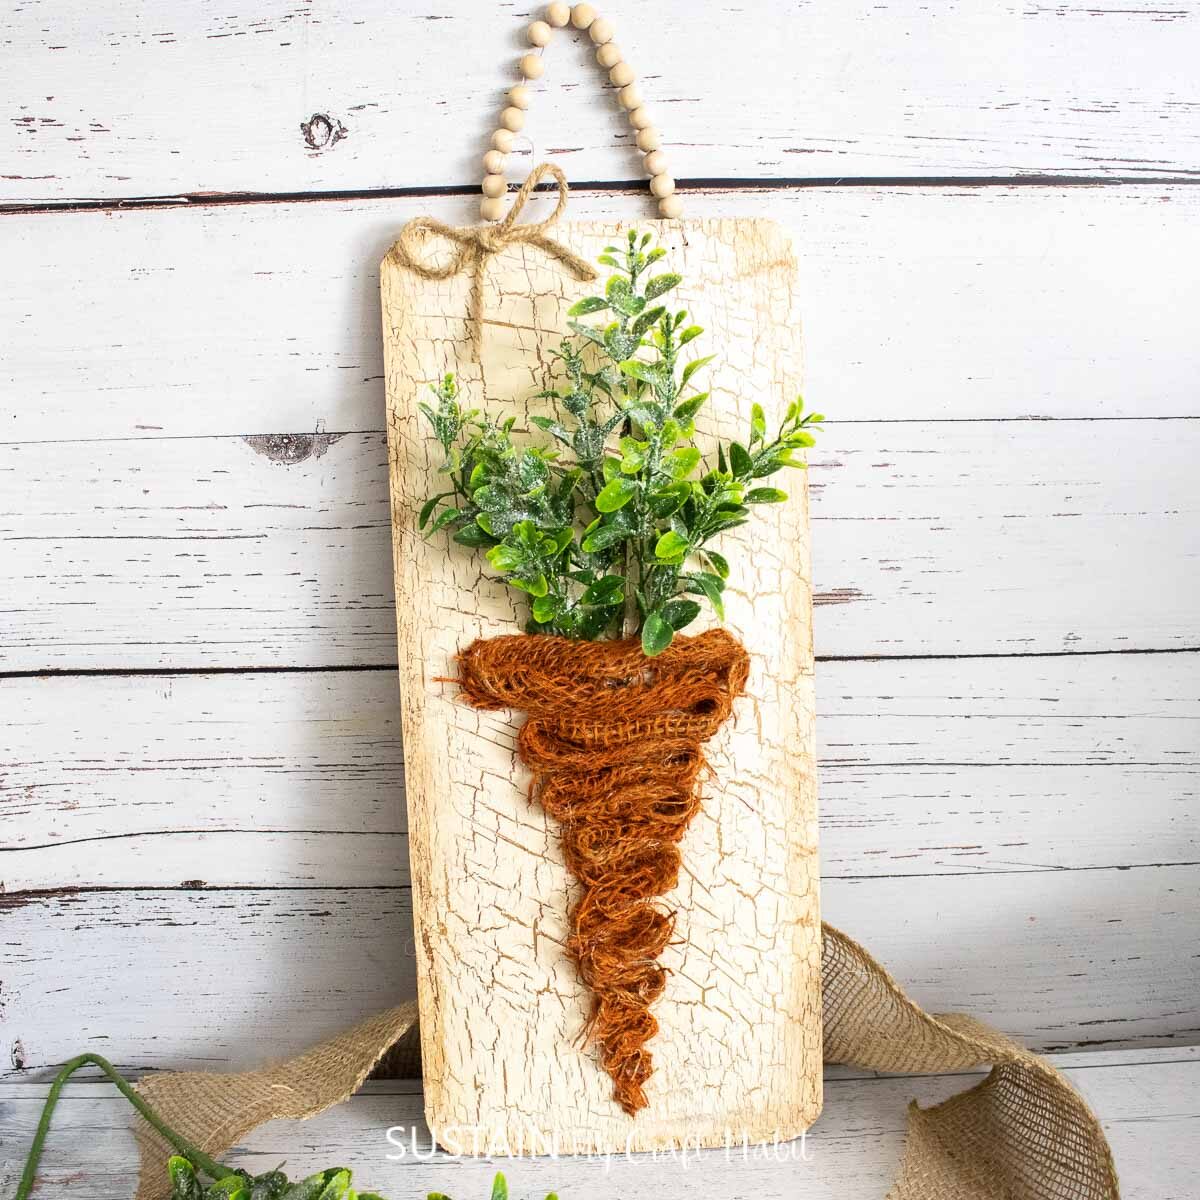
Carrot Sign 
Upcycled Easter Egg Wall Hanging 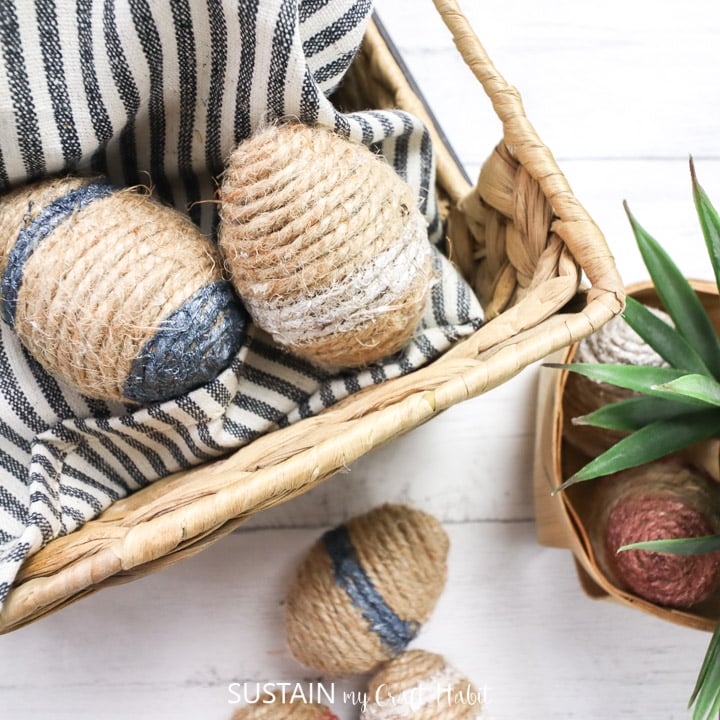
Twine Wrapped Plastic Eggs 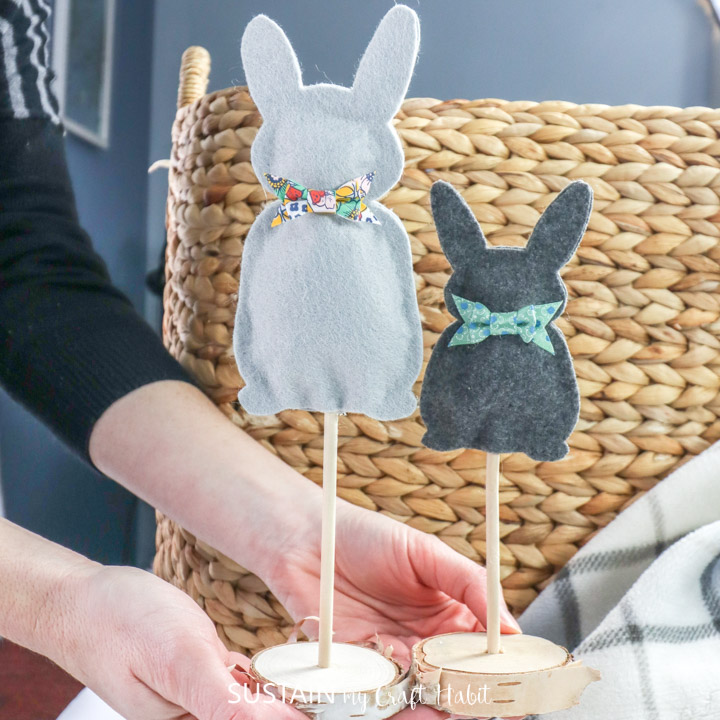
Felt Bunnies 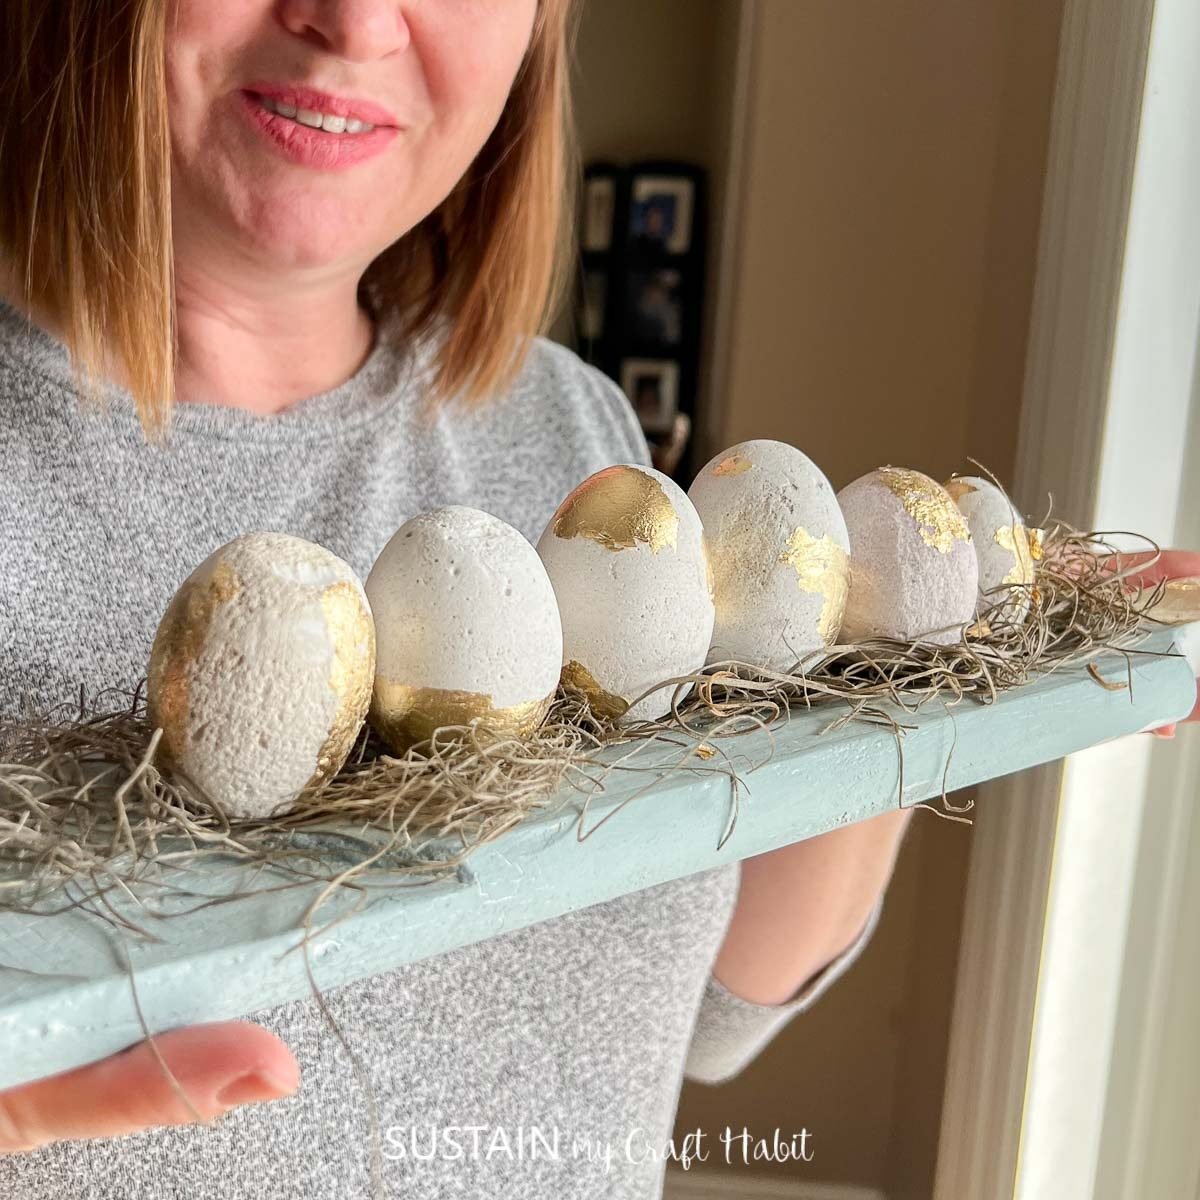
Cement Eggs 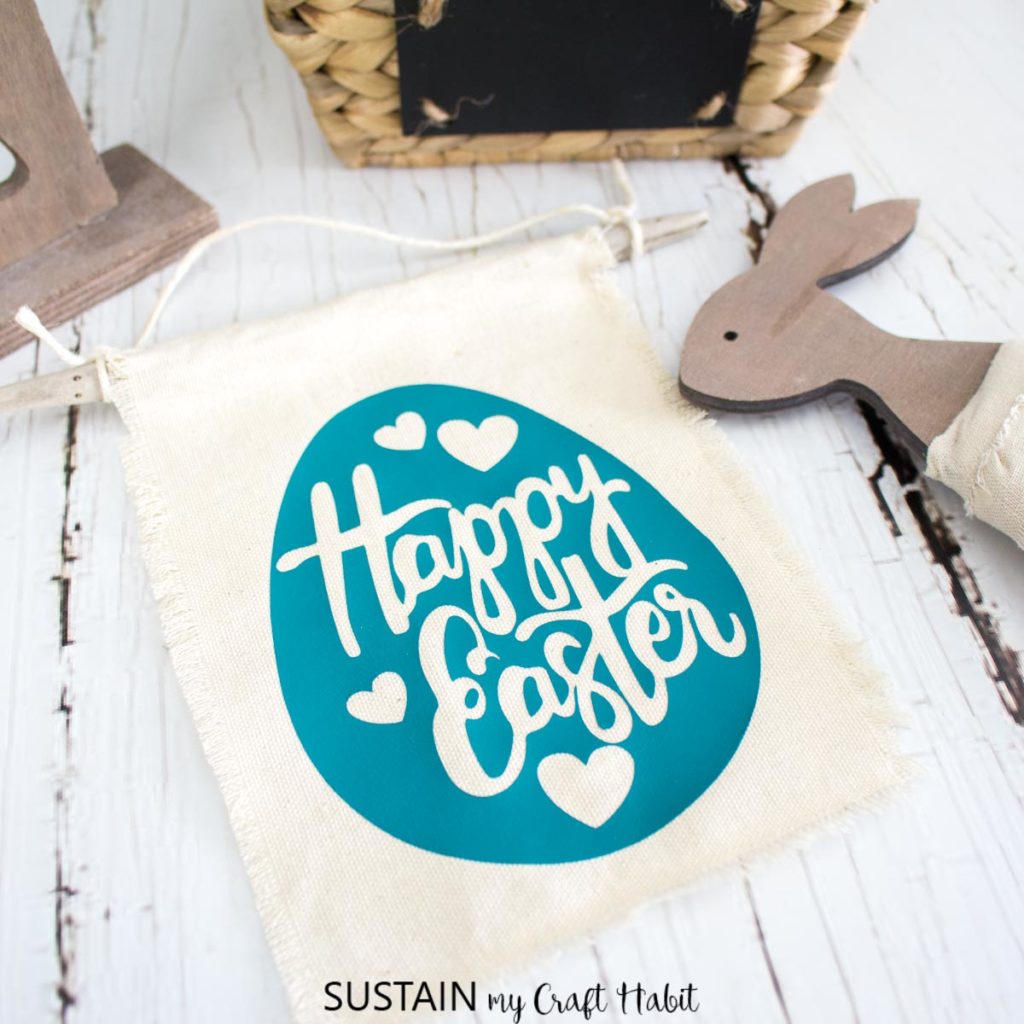
Easter Sign
Thank you so much for stopping! We’d love for you to become a Sustain My Craft Habit insider to receive fun freebies and plenty more crafting inspiration!
Like it? Pin it for later!
Large Easter Egg Cutout Sign
Materials
- Large plywood egg shaped cut-out
- White paint
- Paint brush
- Mod podge
- Decoupage paper
- Scissors
- Wooden Butterflies for embellishments
- Florals for embellishments
- Wax Paint
- Glue gun
- Diamond dust
- Rope
- Ribbon
Instructions
- Start by painting the plywood white and let it dry completely.
- Cut out the Easter themed prints with the scissors.
- Using the Mod podge, apply the Easter themed prints to the plywood cut-out and let it dry completely.
- Apply some wax paint around the edge of the plywood egg and using a damp brush wipe the wax with the damp brush.
- Using the hot glue gun, glue some wooden butterflies to the plywood egg.
- Using the diamond dust, apply to the butterflies and the eggs.
- Using the glue gun, glue the rope along the edge of the plywood.
- Using the ribbon, create a bow and glue to the plywood egg.
- You can also add some greenery to the plywood egg.