Mini DIY Happy Easter Banner
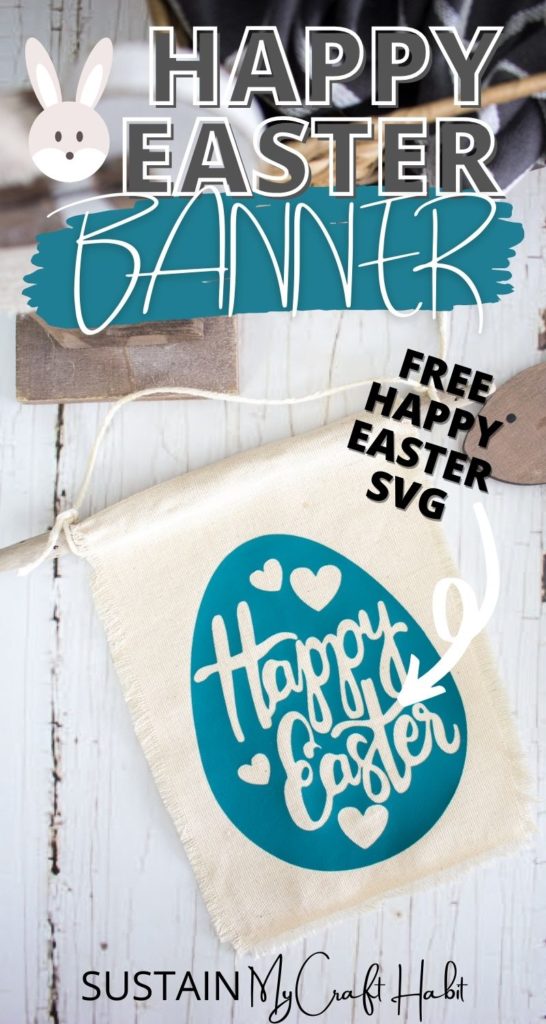
Since we enjoy making decorative banners for different occasions throughout the year; we’re happy to share this simple craft idea for a mini DIY Happy Easter banner using a Cricut cutting machine and Easy Press.
Easter Crafting with Cricut
A while ago we shared the tutorial for making this canvas wall hanging that reads “enjoy the little things”; which still hangs on my daughter’s bedroom door. We also shared this printable paper banner for Canada Day celebrations. Whatever the occasion, it’s a fun to decorate with a cute banner!
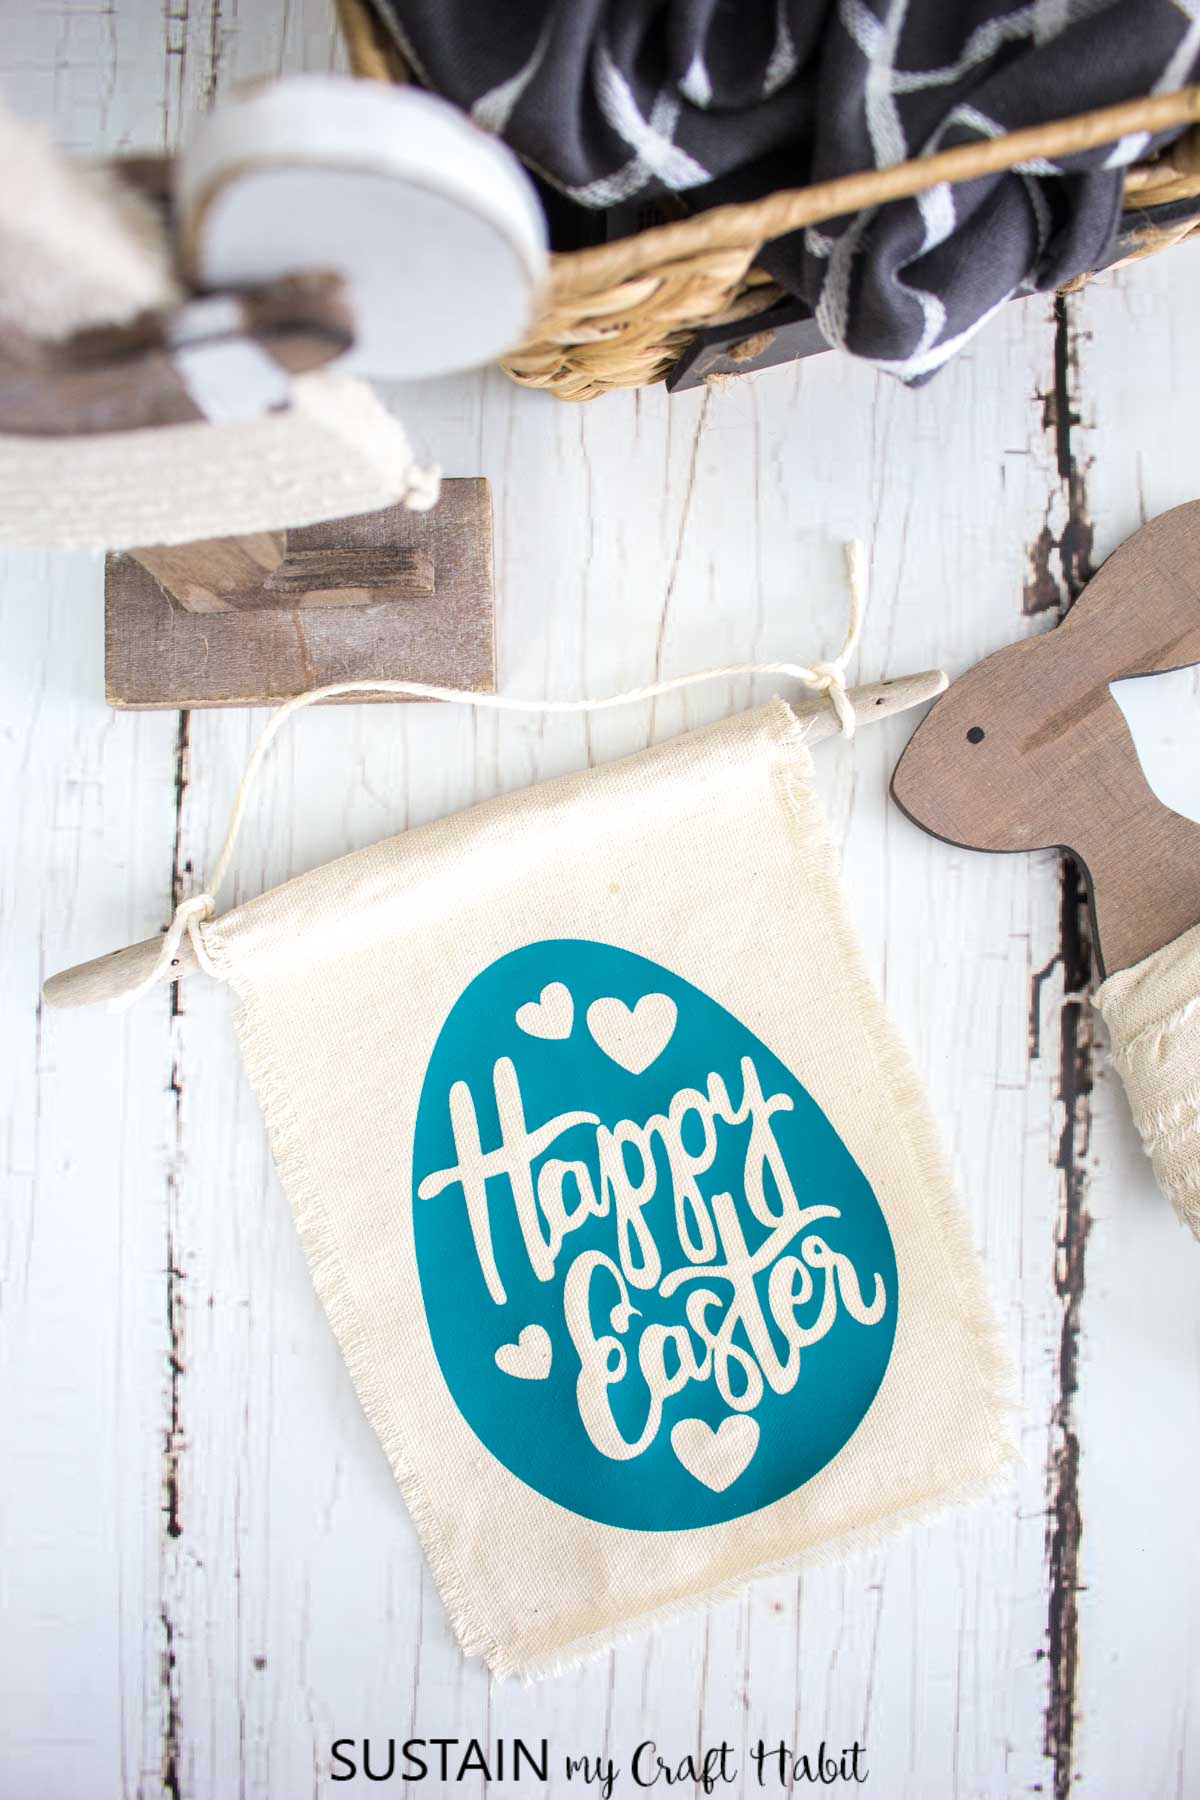
This mini Happy Easter banner is similar to that project in that we used our Cricut cutting machine to cut Iron On vinyl and then applied it with the EasyPress 2 onto a piece of cotton canvas.
And whenever we get a chance, we like to use our Easy Press and if you have one; you may not even have realized all the different projects you can make with it.
We’re happy to offer this cute Happy Easter SVG: be sure to join our mailing list for access to all of our SVG cut files!
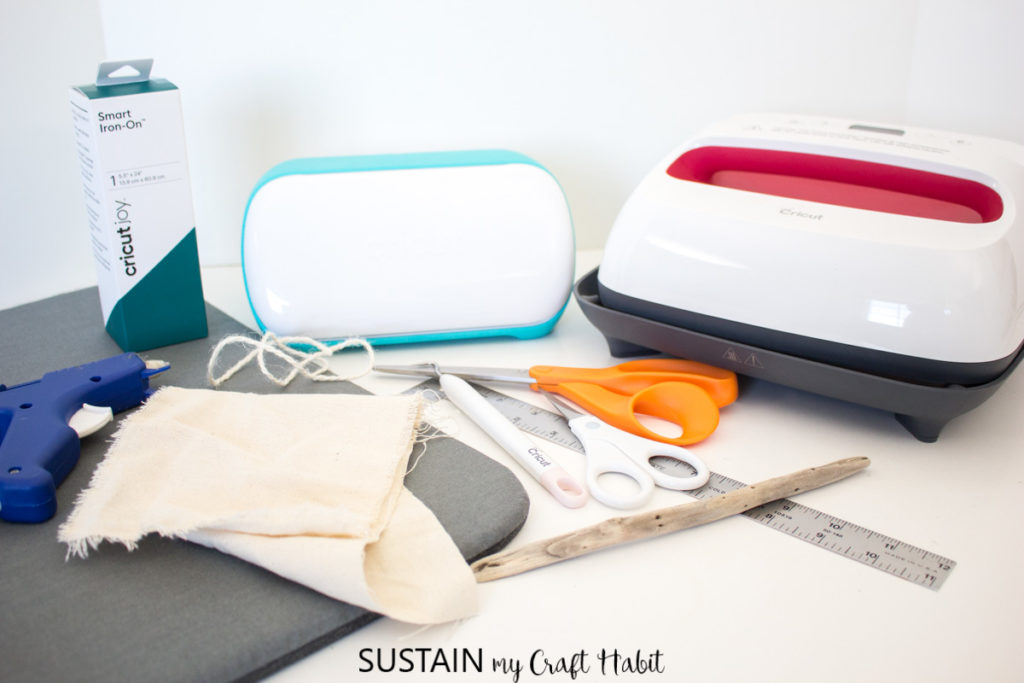
Materials Needed:
Disclosure: This post continues affiliate links for your shopping convenience. You can find our full disclosure policy here.
- Happy Easter Egg SVG
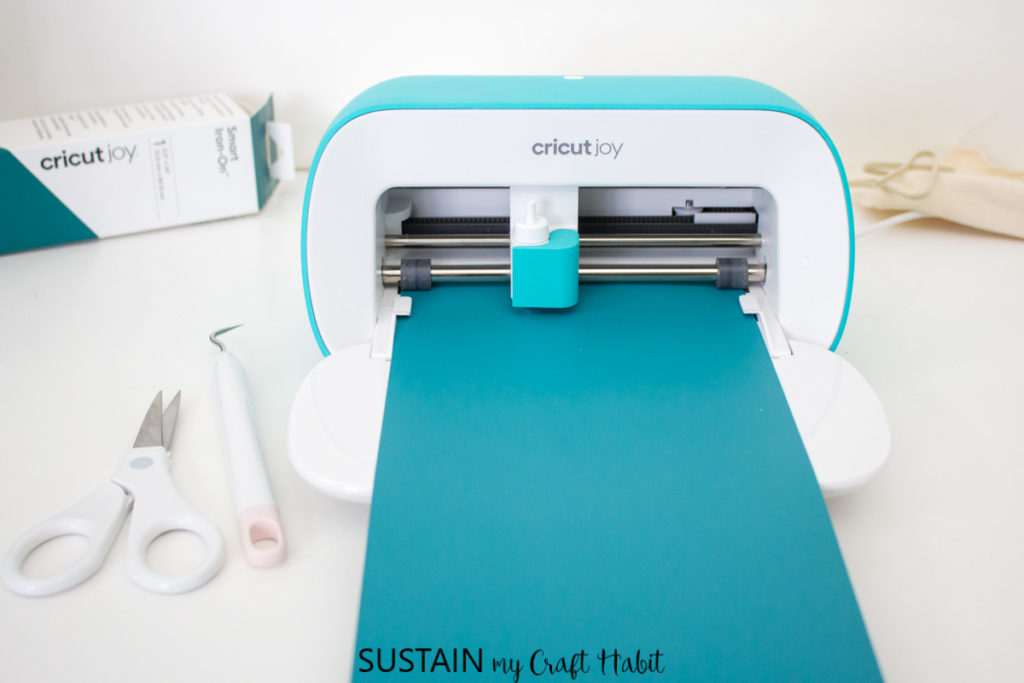
- Cricut Joy
- Smart Iron On in Teal
- Weeding Tool
- EasyPress 2 and mat
- 100% cotton canvas in a natural color, 6” x 8” with frayed edges
- Scissors
- Wooden dowel, stick or driftwood, ⅜” thick, 8” long
- Hot glue gun and clear glue sticks
- Natural twine, cut to 12” long
How to Make a Mini Happy Easter Banner:
Preparing the Materials
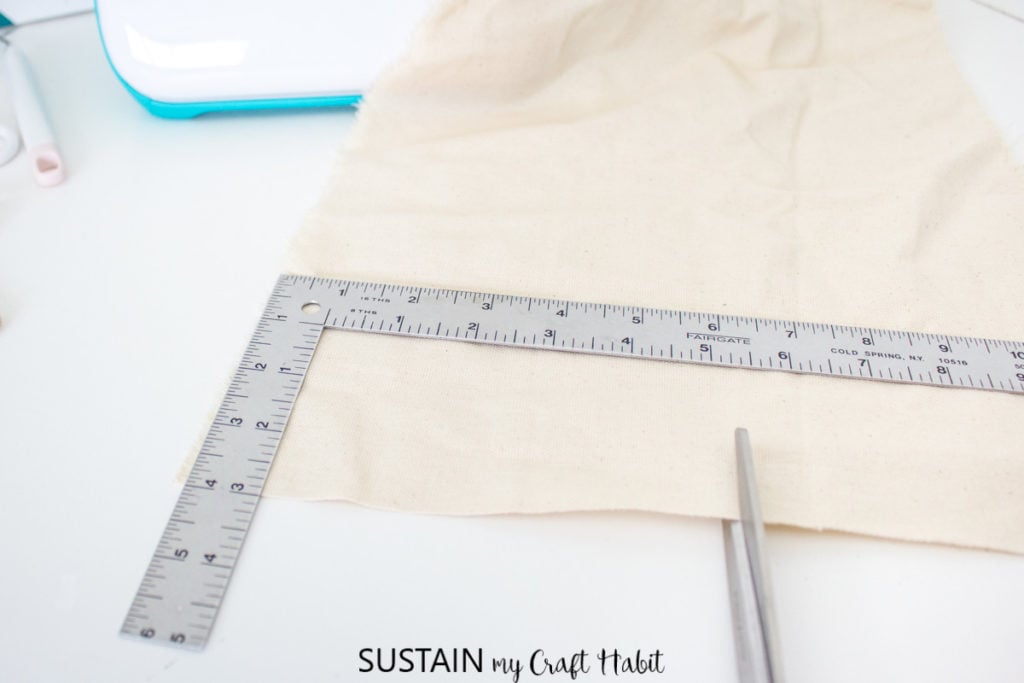
Cut a piece of 100% cotton canvas woven fabric measuring 6” wide x 8” high. Measure and mark the size and clip the edges with fabric scissors, pull cut edges apart to create a frayed edge.
Preparing the Iron On
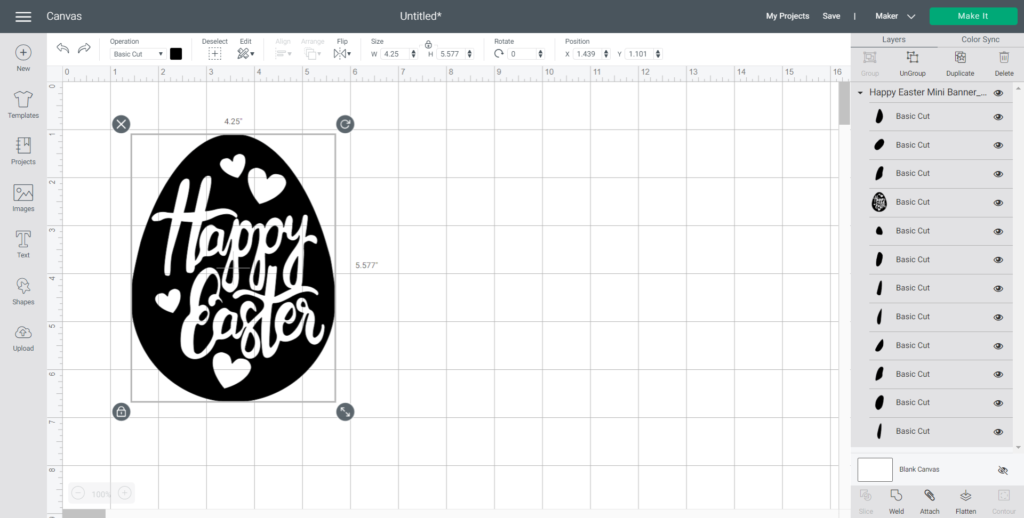
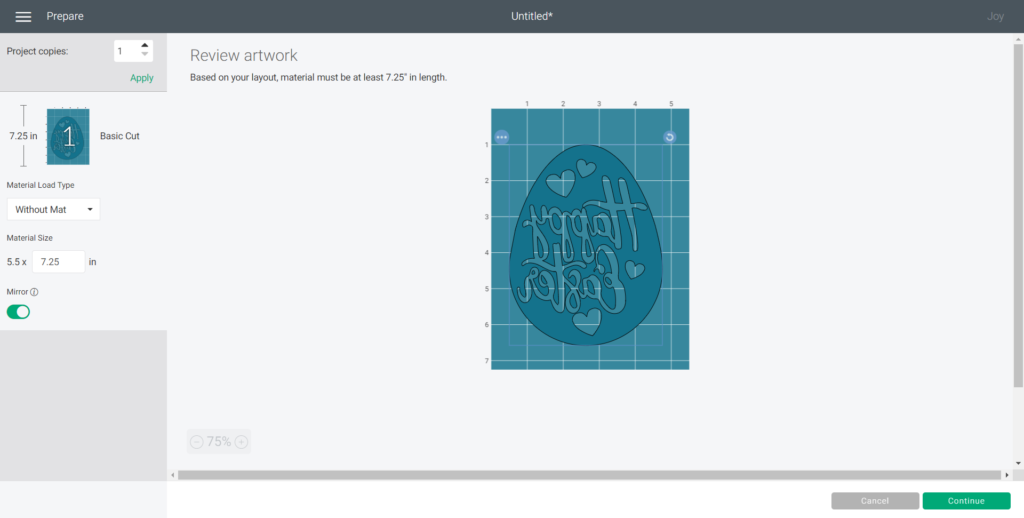
Upload the Happy Easter Egg SVG file into a blank canvas in Design Space.
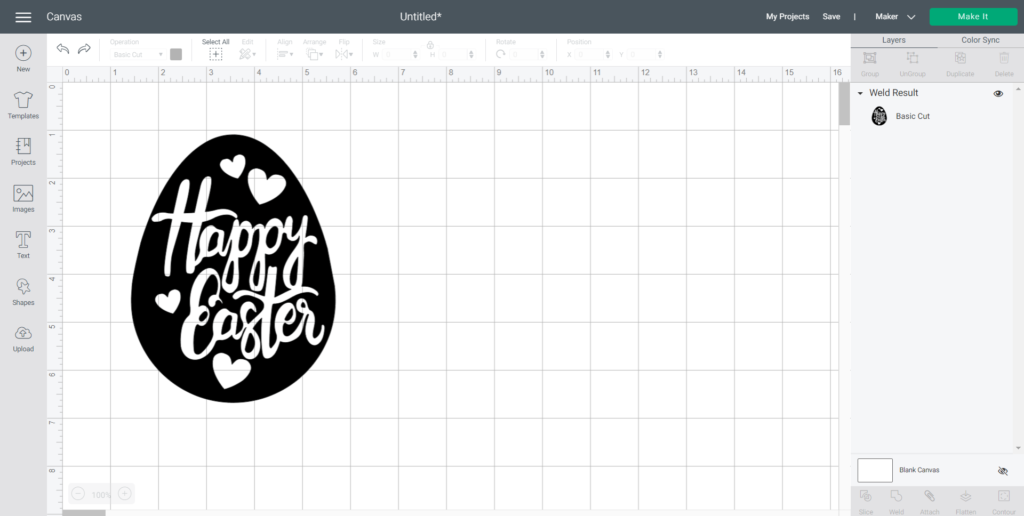
With the image selected, click on “weld” to merge all loose pieces together.
Maintain the size at 4.25” wide x 5.5”high.
Adjust the color to match material color if desired.
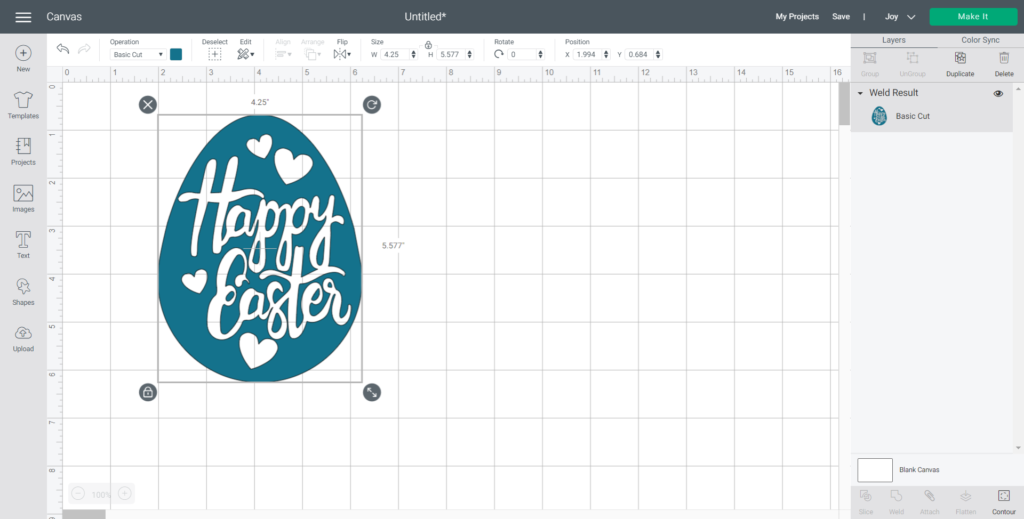
With settings set to Cricut Joy, select “Make It” and choose “without mat” for cutting Smart Iron On.
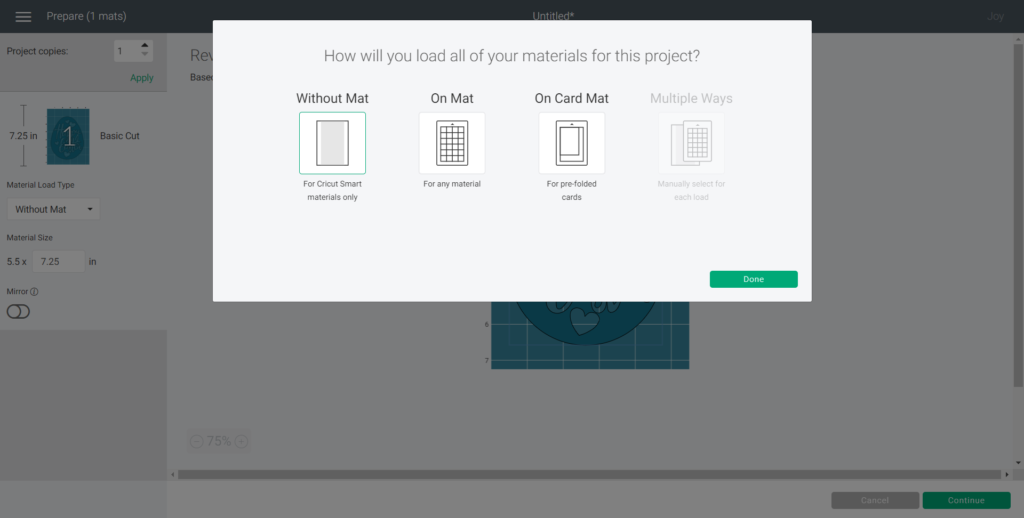
Turn the Mirror On toggle button to on and continue.
Choose the material type in the drop down menu.
Upload the Smart Iron On into the Joy with the shiny side down and proceed with the cut following the instructions on the screen.
Remove the image and discard the excess vinyl using the wedding tool.

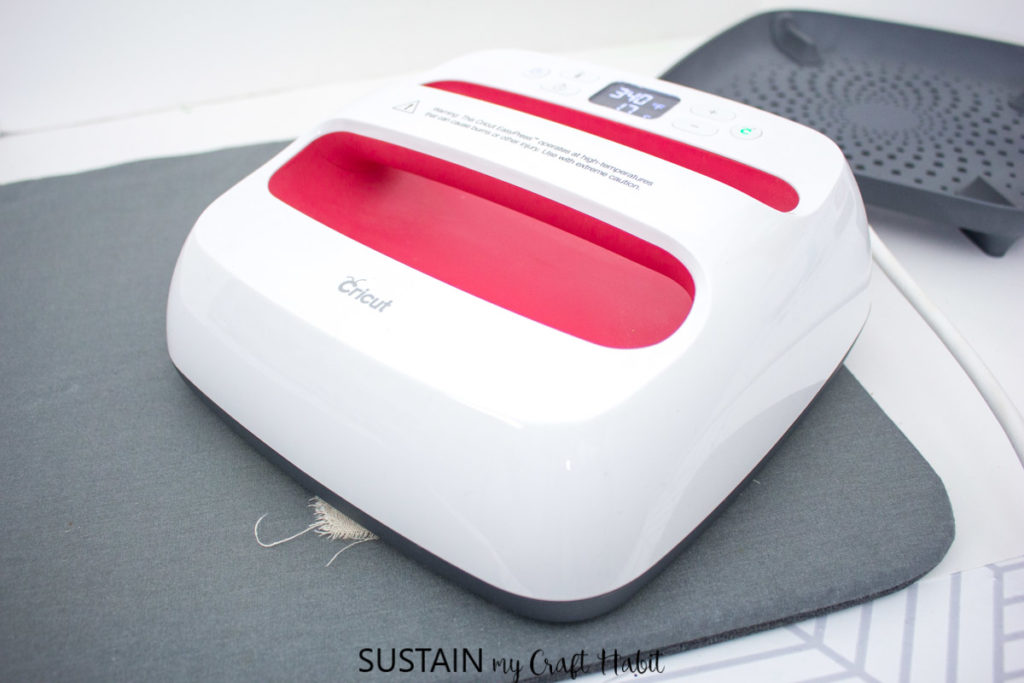
Using the EasyPress
Position the mat on a flat surface.
Set the temperature following the chart for the type of vinyl and material being used or use this EasyPress Interactive Quick Reference Guide. In this case, the temperature was set to 340F.
Always test a scrap piece of material and vinyl beforehand and adjust the time and temperature accordingly.
Pre-press the canvas for 5 seconds.
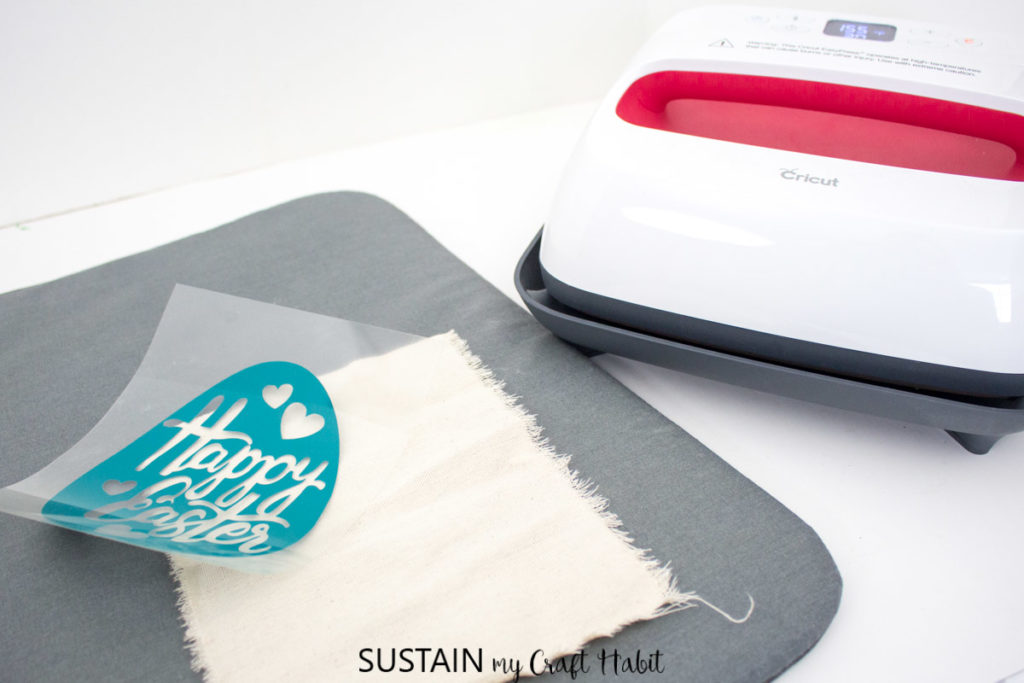
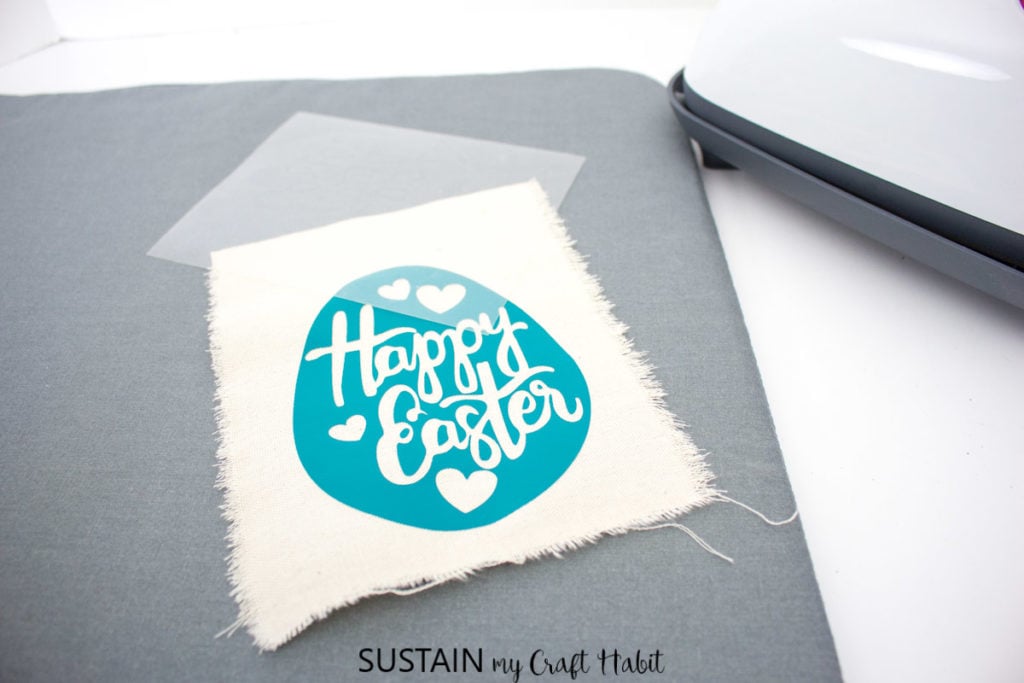
Place the “Happy Easter” iron on the image face down with the shiny side up onto the canvas and apply heat for 30 seconds.
Turn over and press on the back side for an additional 15 seconds.
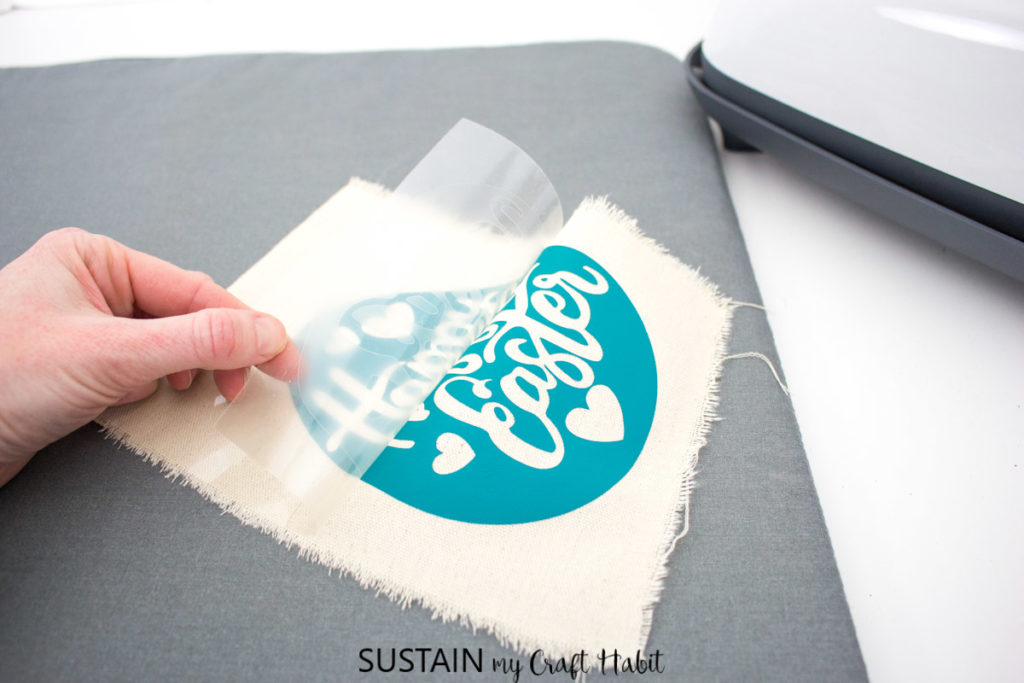
Let cool and peel the plastic part of the vinyl off carefully and discard.
Finishing the Happy Easter Banner
Preheat glue gun. Working quickly and on the wrong side of the banner, apply a dab of glue along the top edge of the canvas and press it against the stick. Roll the stick over and apply another dab of glue to hold it in place.
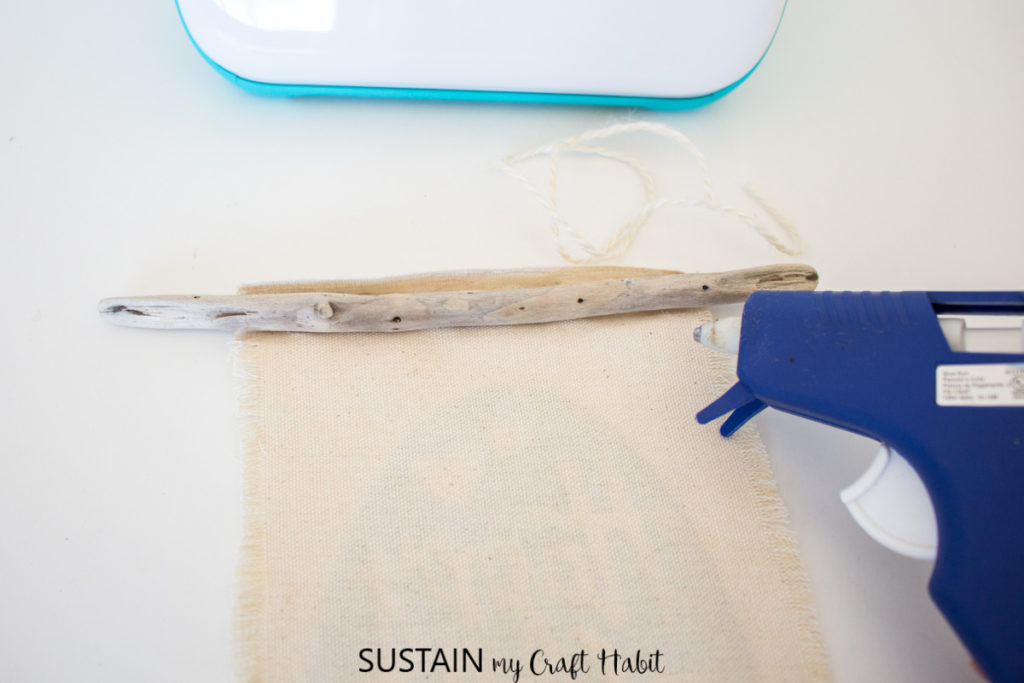
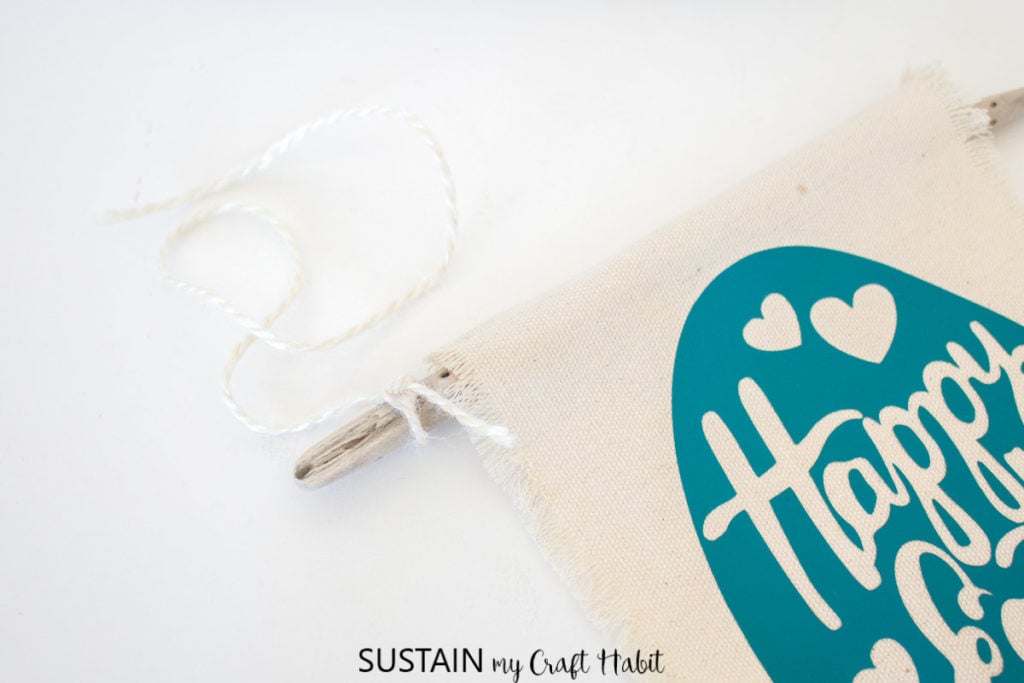
Tie a piece of twine to both ends of the stick and hang to enjoy!

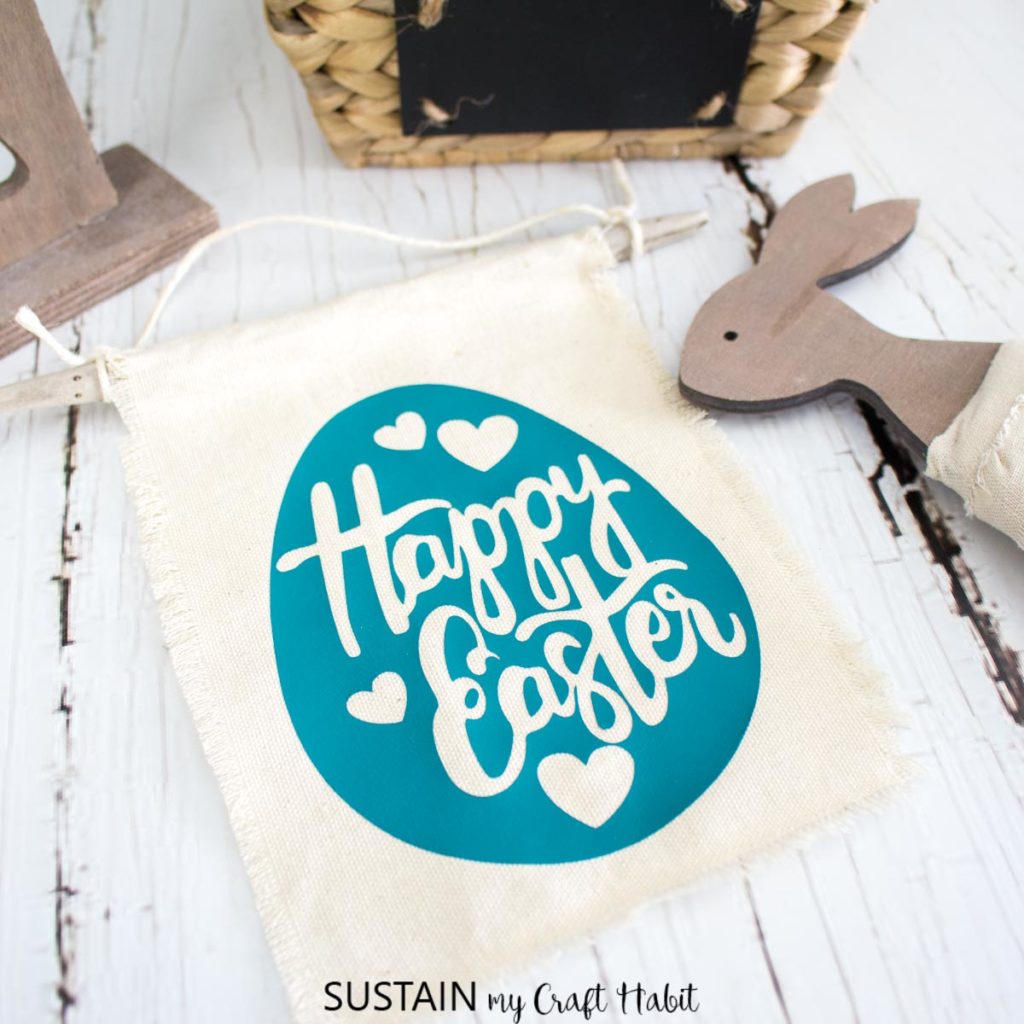
I just love how this adorable litttle Easter banner turned out. Of course you can make it whatever size you’d like, or use the cut file to create an adorable Easter card! We think this banner would look lovely inside one of these Cricut Easter basket ideas.

More Easter Crafting!
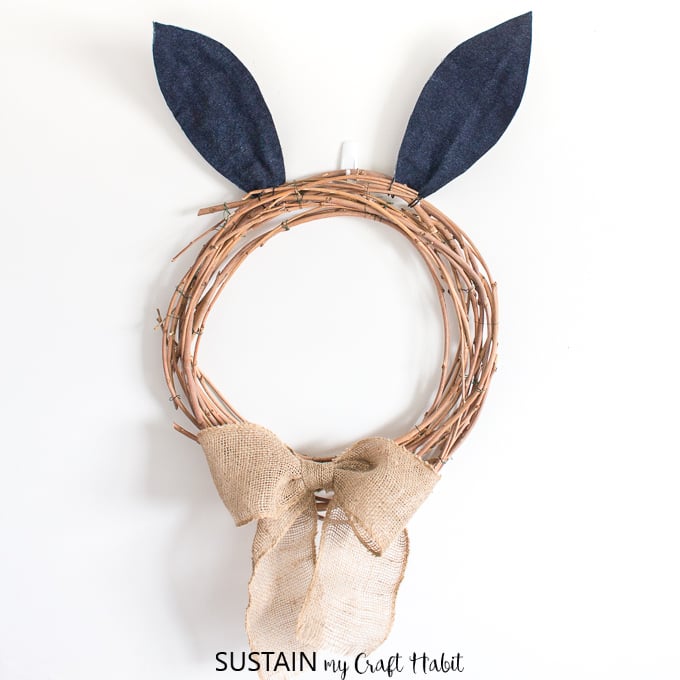
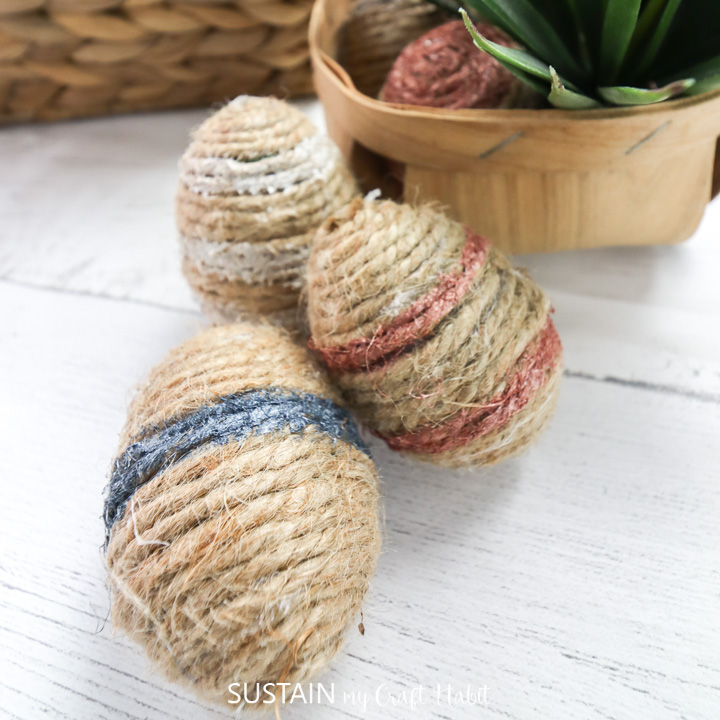
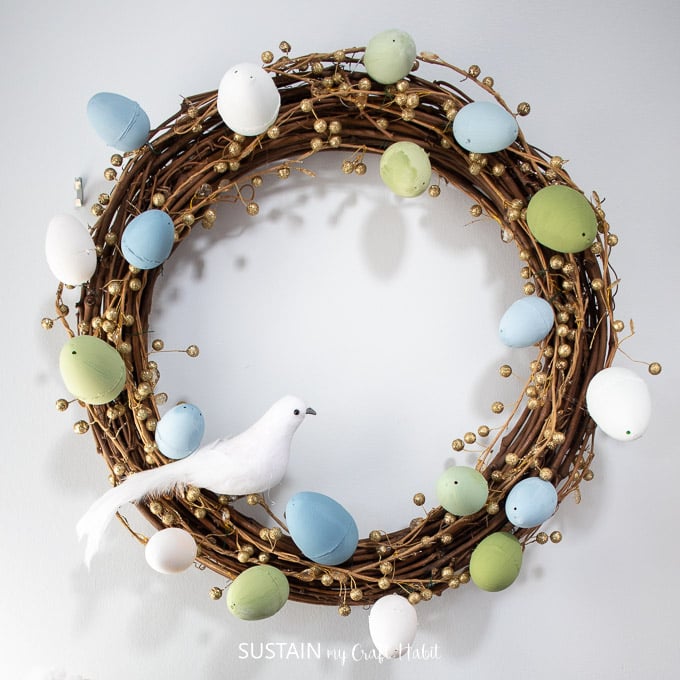
Looking for more Easter decor ideas? Check out this quick and simple Easter bunny wreath; these twine wrapped Easter eggs; chalky painted Easter eggs, hand lettered birch slice Easter ornaments and this bunny Easter garland that’s also made using a Cricut cutting machine.
Like it? Pin it for later!


Mini DIY Happy Easter Banner
Materials
- Happy Easter SVG
- Cricut Joy
- Smart Iron On in Teal
- Weeding Tool
- EasyPress 2 and mat
- 100% Cotton canvas in a natural color 6” x 8” with frayed edges
- Scissors
- Wooden dowel stick or driftwood, ⅜” thick, 8” long
- Hot glue gun and clear glue sticks
- Natural twine cut to 12” long
Instructions
Preparing the Materials
- Cut a piece of 100% cotton canvas woven fabric measuring 6” wide x 8” high.
Preparing the Iron On
- Upload the Happy Easter Egg SVG file into a blank canvas in Design Space.
- With settings set to Cricut Joy, select “Make It” and choose “without mat” for cutting Smart Iron On.
- Turn the Mirror On toggle button to on and continue.
- Upload the Smart Iron On into the Joy with the shiny side down and proceed with the cut following the instructions on the screen.
- Remove the image and discard the excess vinyl using the wedding tool.
Using the EasyPress
- Position the mat on a flat surface.
- Set the temperature following the chart for the type of vinyl and material being used or use this EasyPress Interactive Quick Reference Guide.
- Pre-press the canvas for 5 seconds.
- Place the “Happy Easter” iron on the image face down with the shiny side up onto the canvas and apply heat for 30 seconds.
- Turn over and press on the back side for an additional 15 seconds.
- Let cool and peel the plastic part of the vinyl off carefully and discard.
Finishing
- Preheat glue gun. Working quickly and on the wrong side of the banner, apply a dab of glue along the top edge of the canvas and press it against the stick. Roll the stick over and apply another dab of glue to hold it in place.
- Tie a piece of twine to both ends of the stick and hang to enjoy!