Sparkling Star Wine Cork Decor
We know what you must be thinking with this DIY project… “these girls must really love their wine”! Although this is true, our collection of corks is not from our own consumption (hmmm, we did also just post a tasty peppermint shooter recipe….). Instead we grabbed a big bag of them to make wine cork crafts with from Freecycle.
In a nutshell, we are part of a community of recyclers who post items they want to get rid of or are in need of. We briefly wrote about this on our earlier post 6 Creative Ways to Sustain your Craft Habit. Back in the Spring, a fellow member sent an email advising they had a bag full of corks to give away. We jumped on this as soon as we saw it and voila, the corks were ours.
Wine Cork Crafts: Sparkling Star Decor
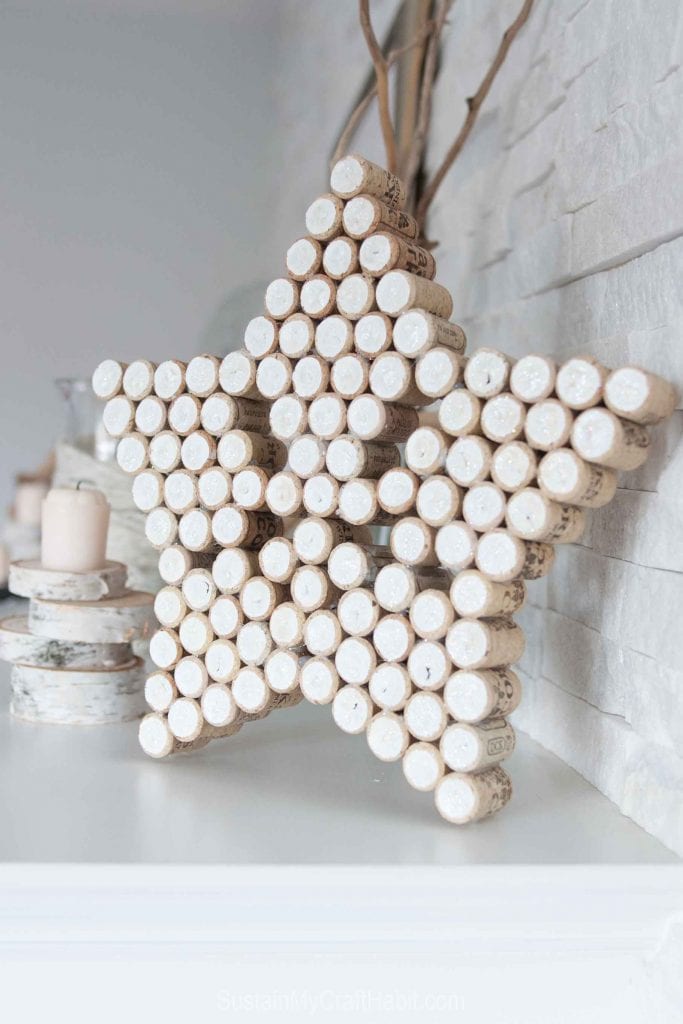
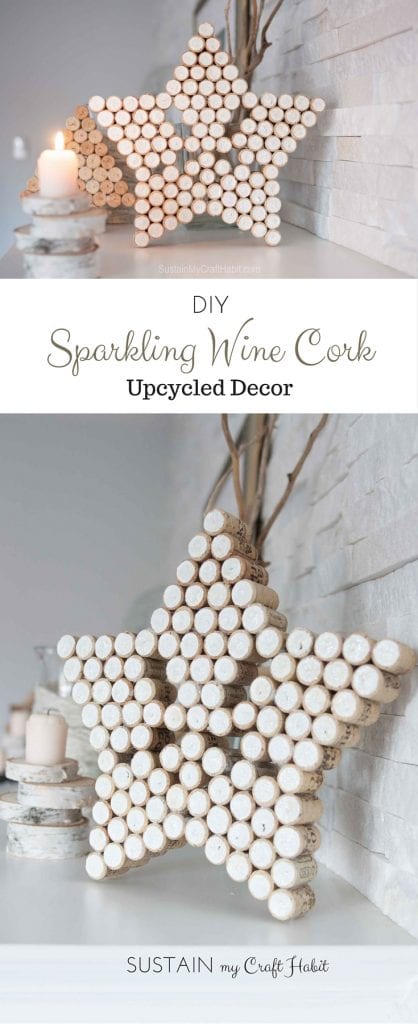
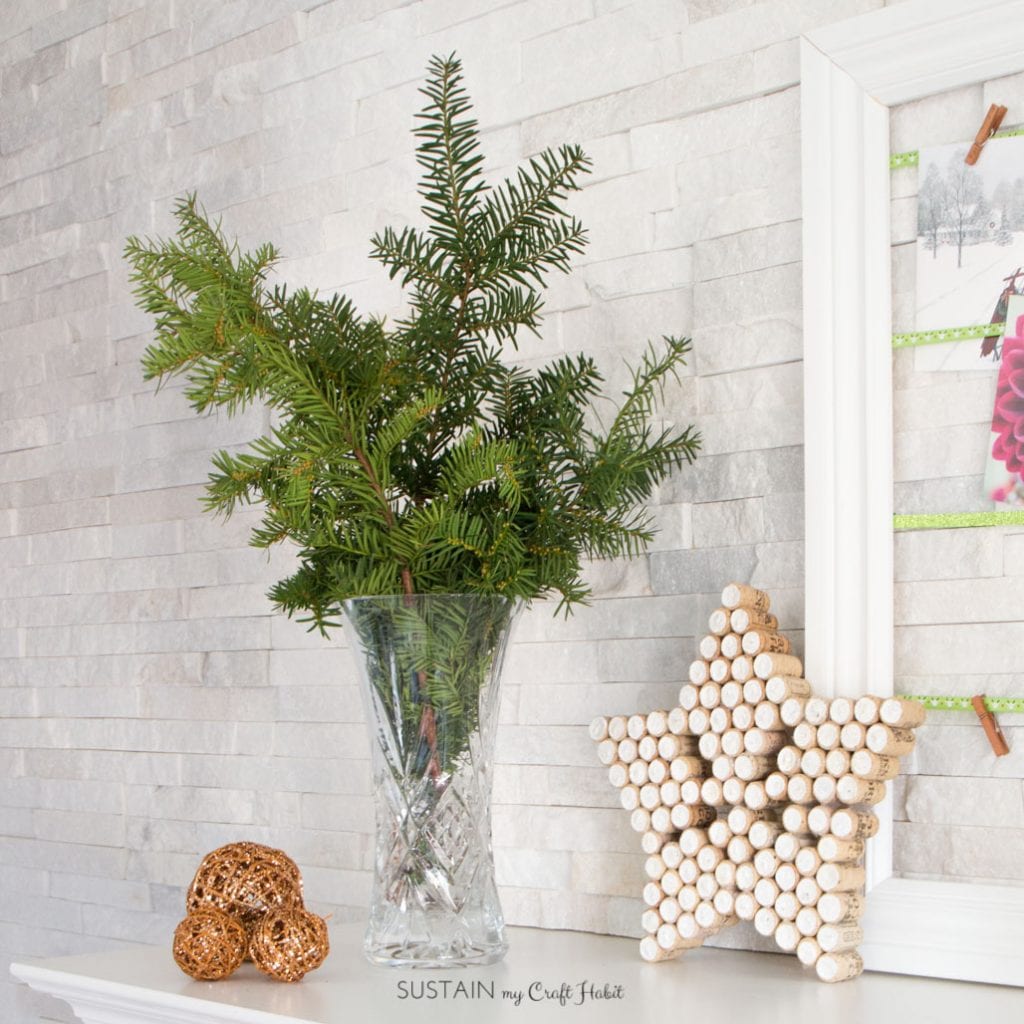
We wanted to make a free standing star that could sit on top of the fireplace mantle. The intention was for Christmas decor but it turns out, that the star looks great year round!
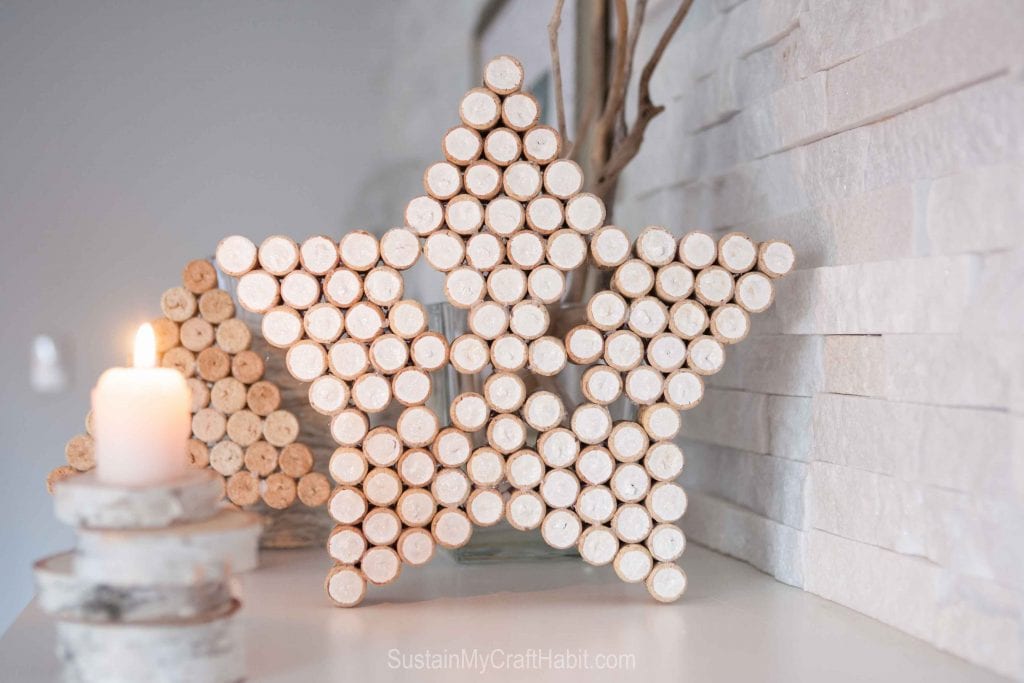
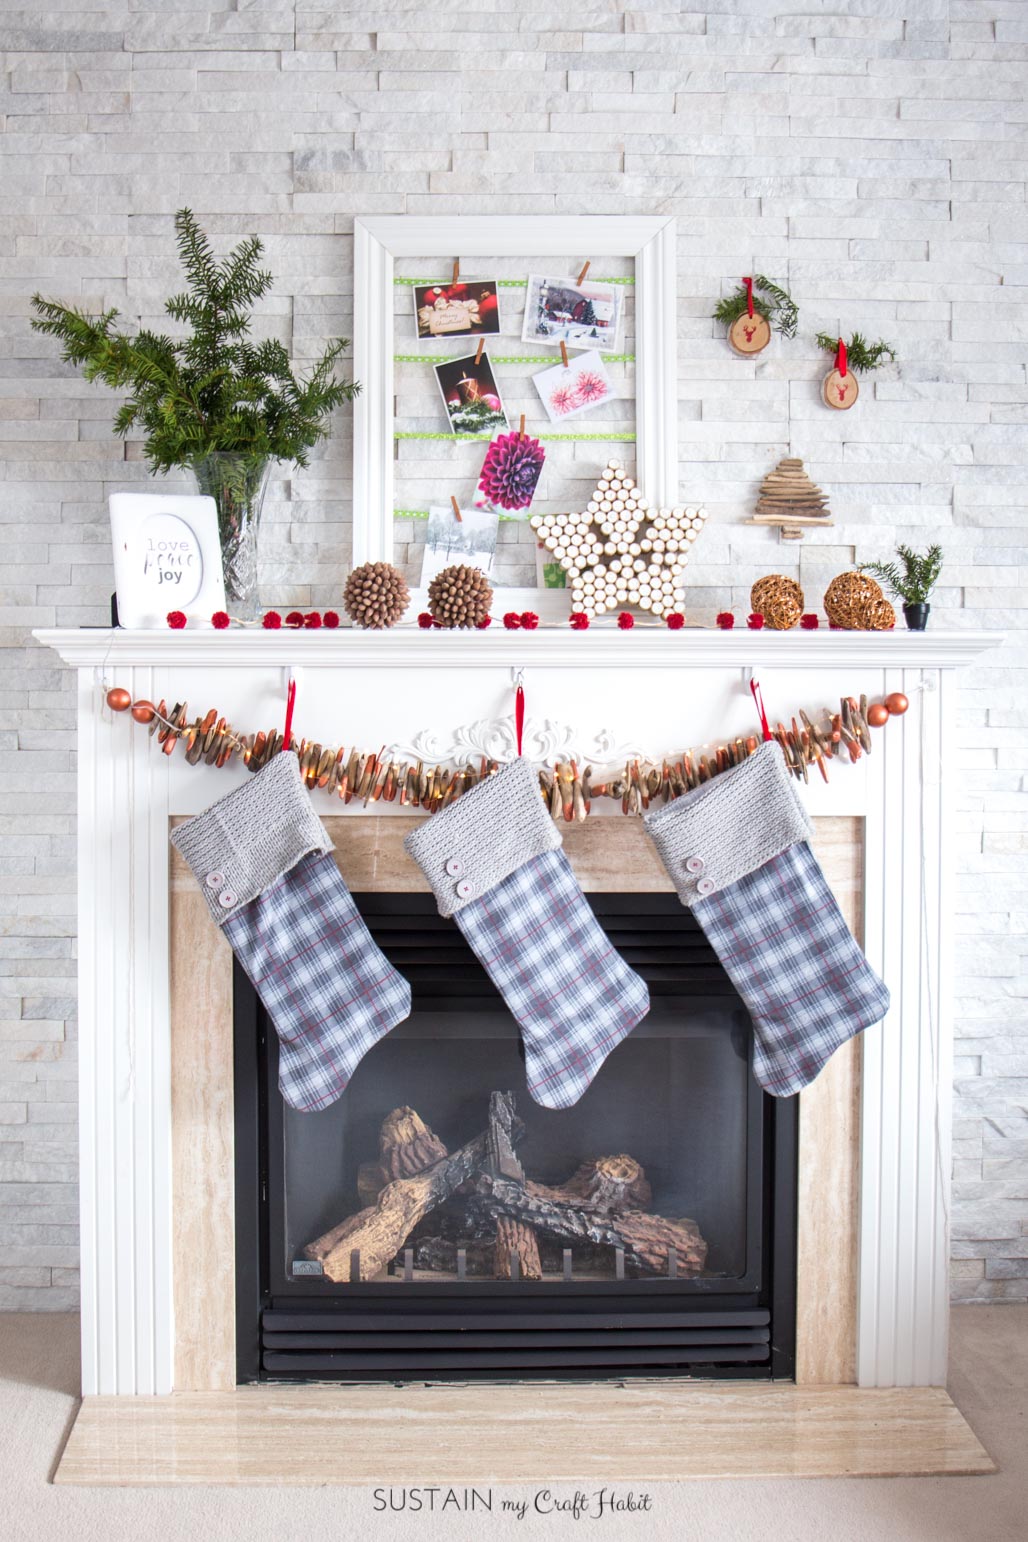
We’ve used it as a part of Jane’s rustic Christmas mantel:
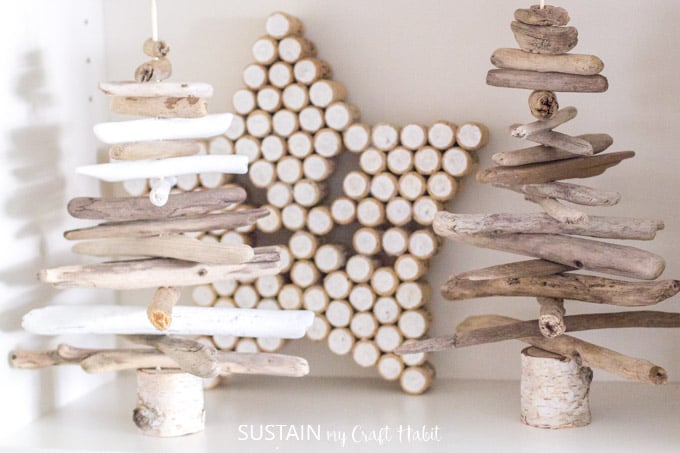
Sonja’s also used it for her Rustic Chic Fall home tour decorating (see it peaking out on the shelf?):
And in case you’re wondering what to do with the bottles themselves, check out these super-simple upcycled wine bottle crafts.
Supplies Needed for this Wine Cork Crafts Project:
- x103 wine corks (Amazon affiliate link)
- Glue Gun and a good amount of clear glue sticks (you can never have too many)
- Acrylic Paint, white
- Mod Podge – matte finish (Amazon affiliate link)
- Loose Glitter
- Paint brush
How to Make this Sparkling Star Wine Cork Crafts Project:
To begin, lay out the pattern on a flat surface making sure the flat end of the corks were face down. It’s pretty important to work it out before starting to glue the corks together to make sure they’ll line up. This was a bit of a puzzle to figure out but I love a good challenge!
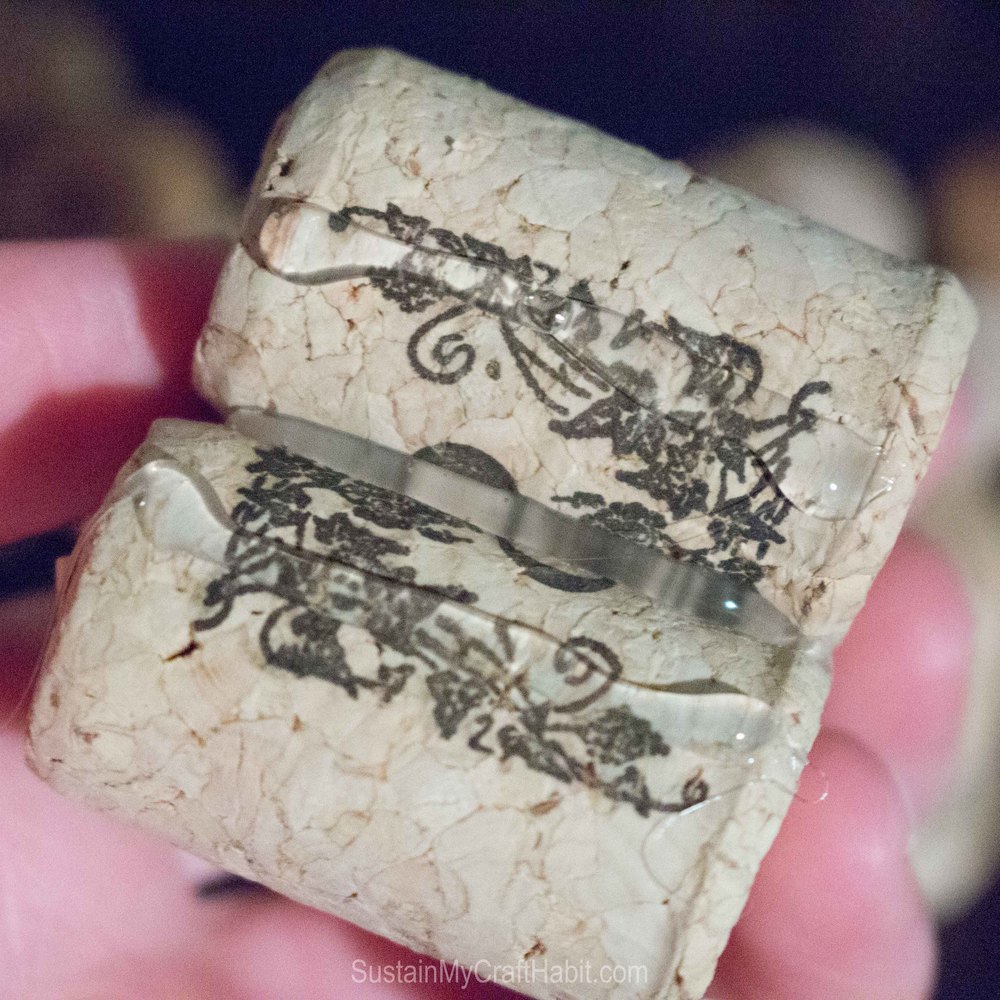
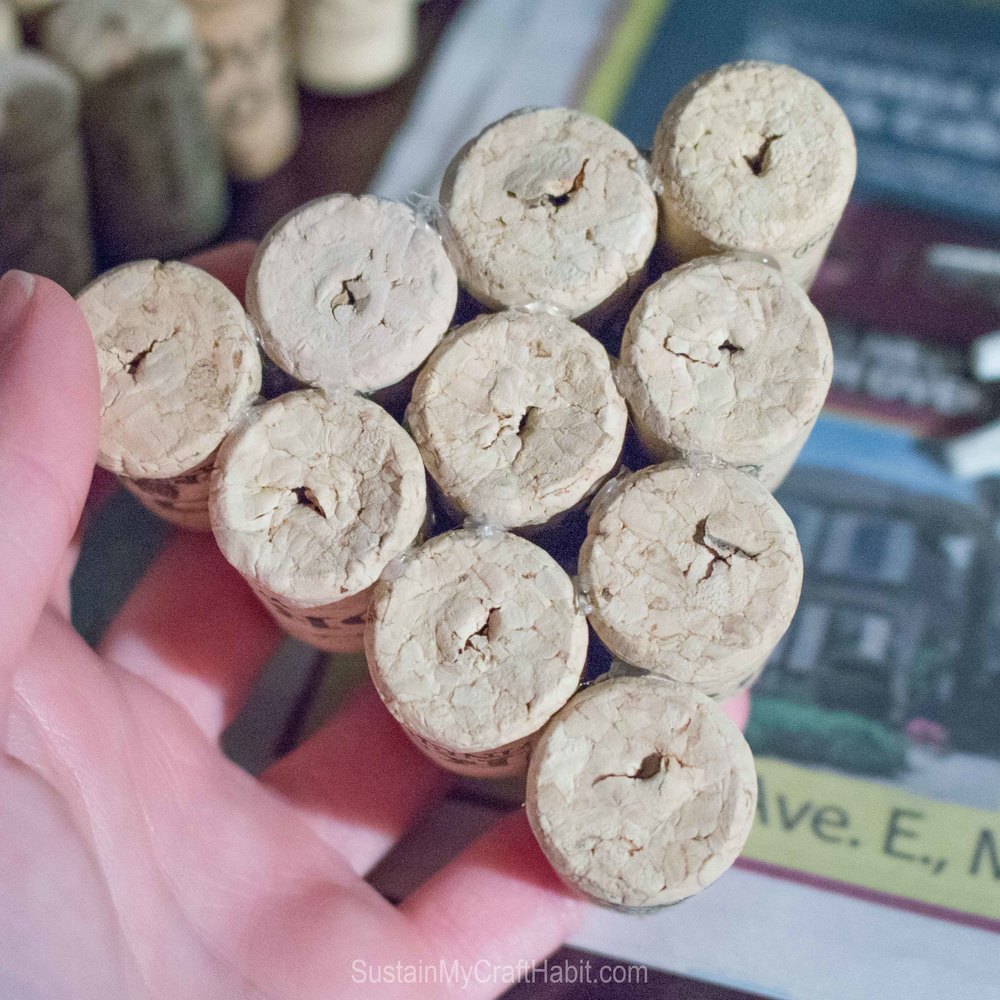
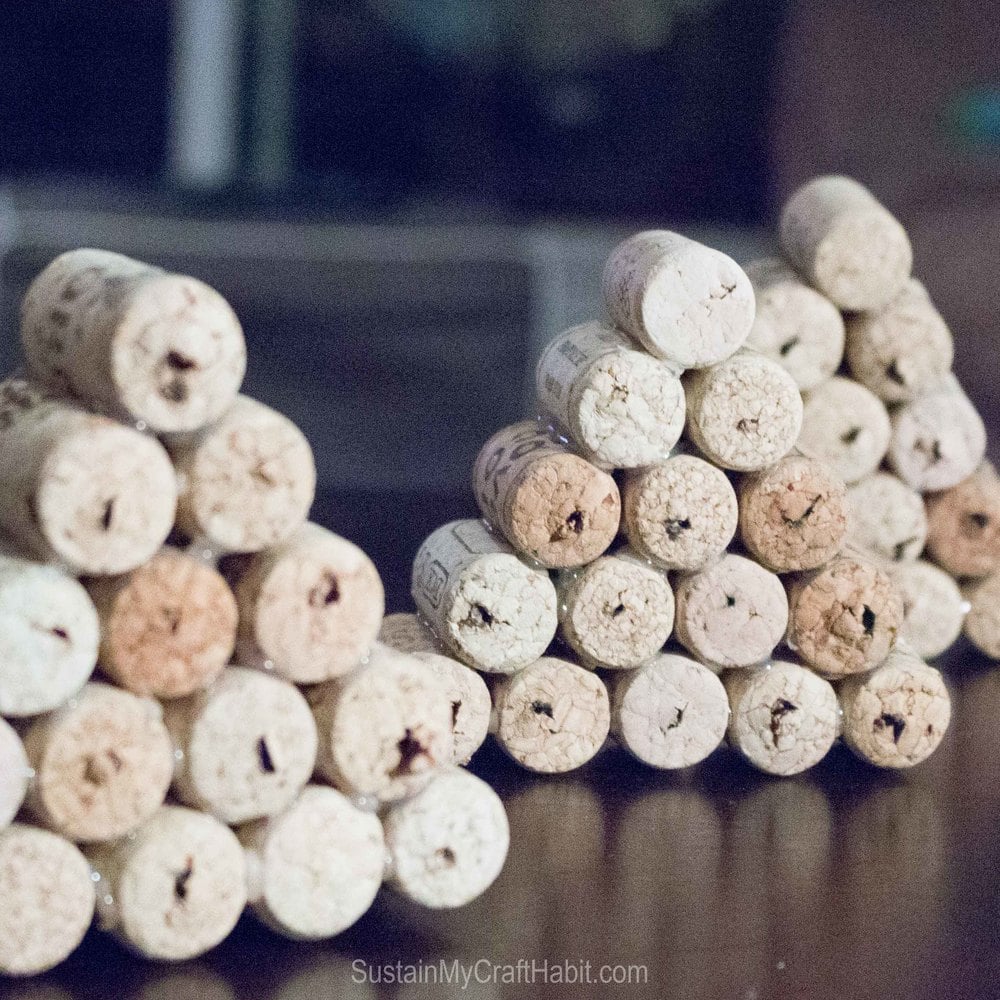
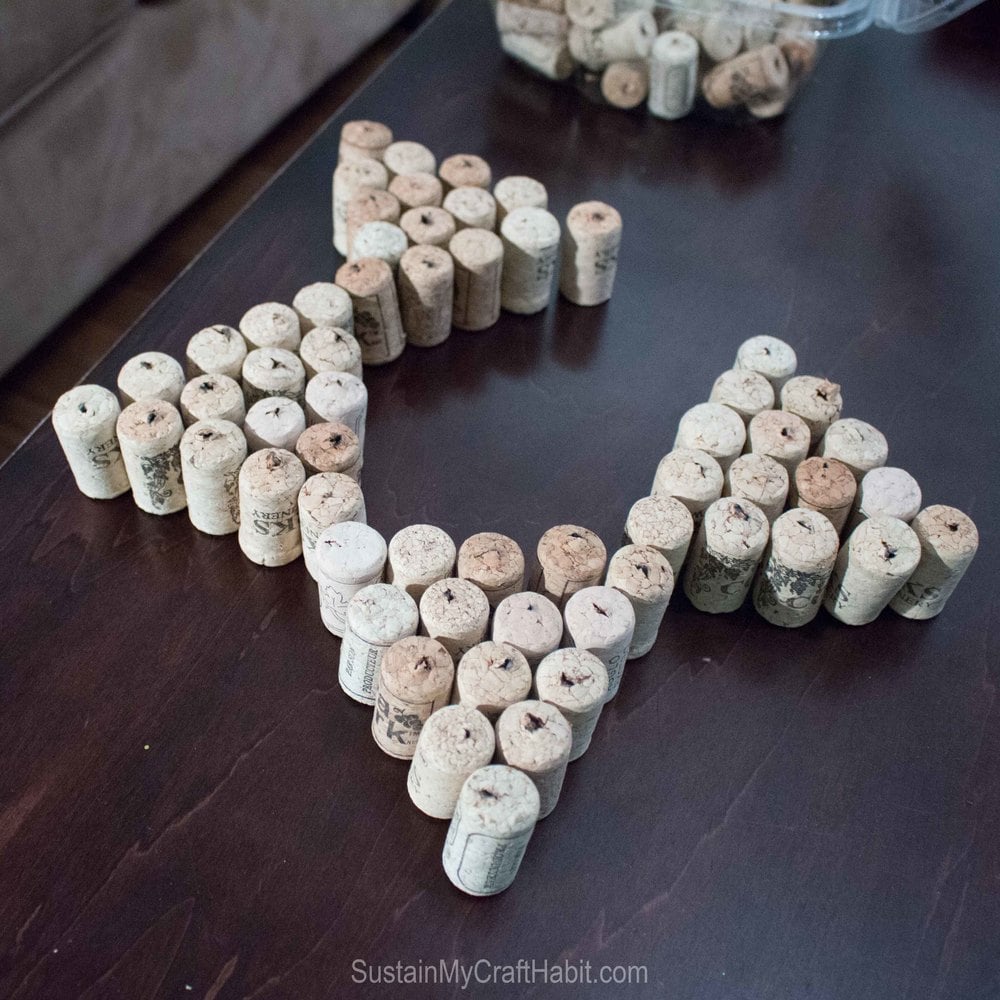
Next, with my hot glue gun, I started to piece them together making sure the flat side of the cork was at the bottom. For each additional cork, squeeze them together until the glue dries.To start, I made a bunch of mini triangles (hmmm, these look a lot like mini Christmas trees…note to self: will need to get more corks!).
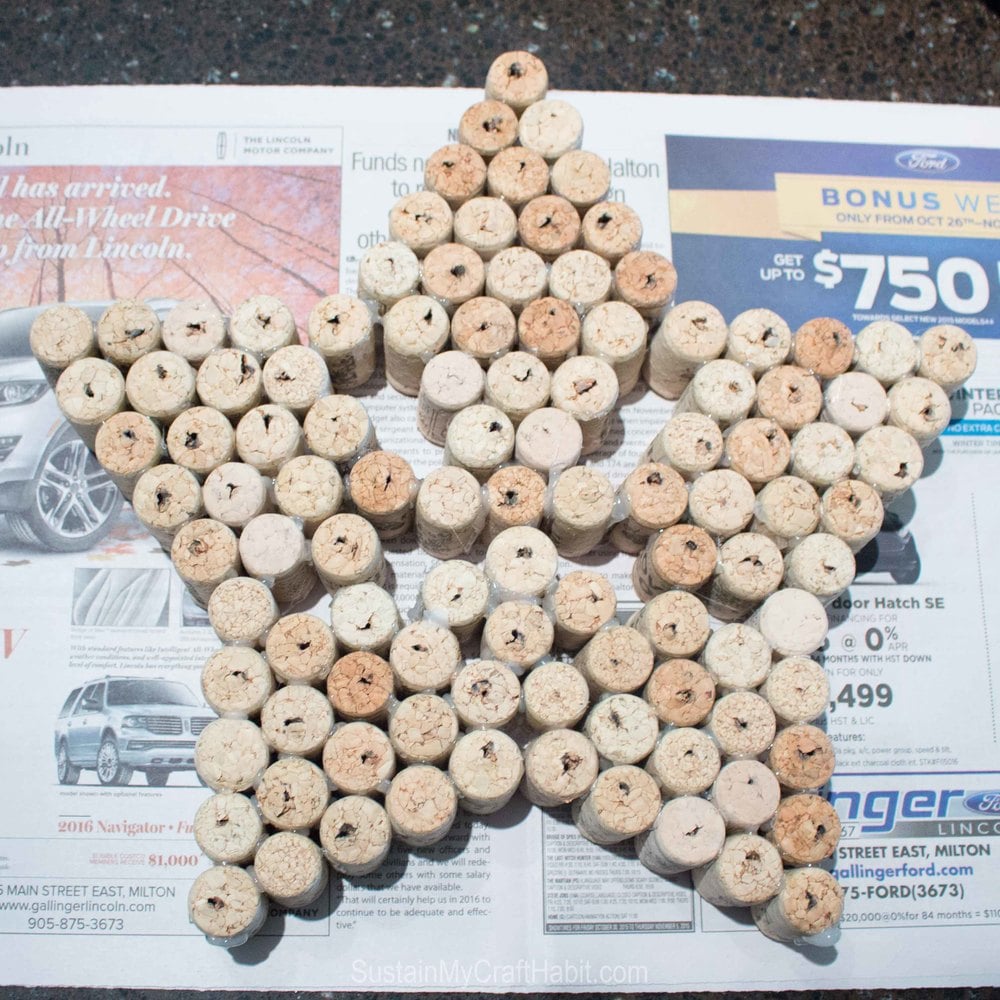
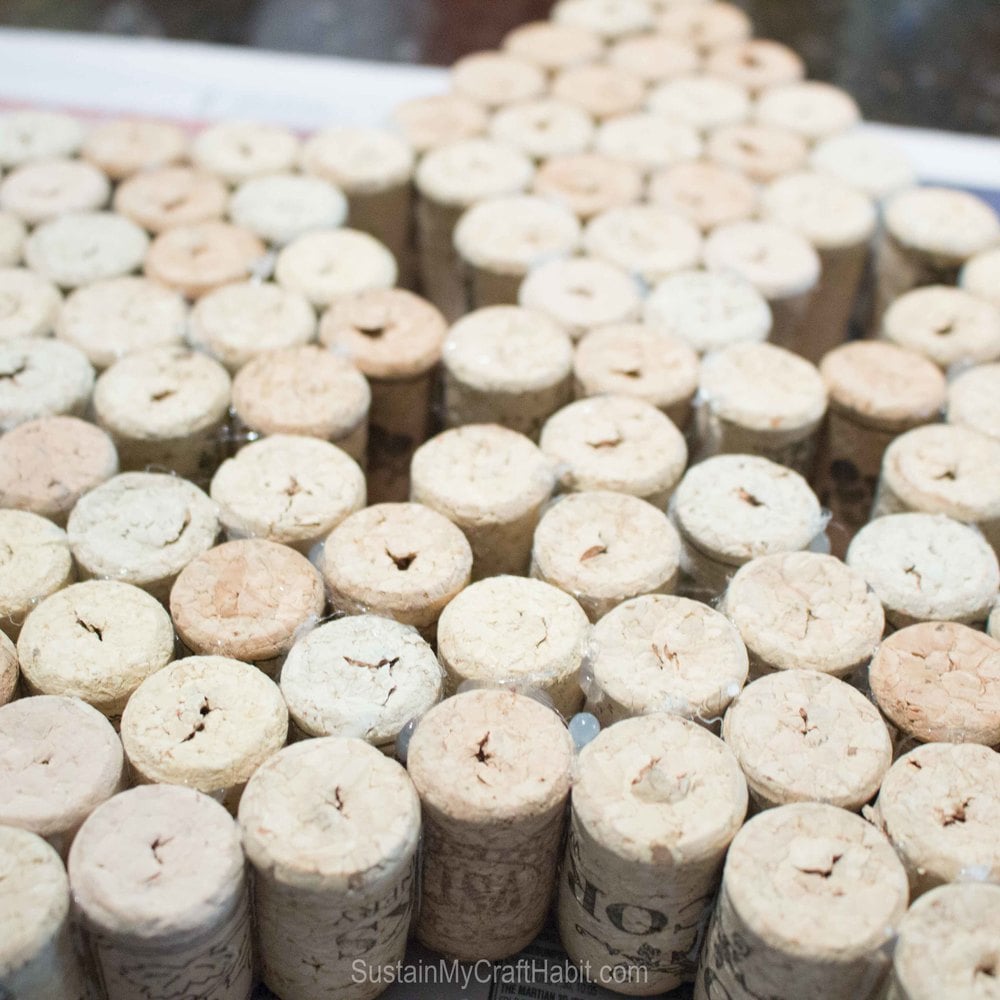
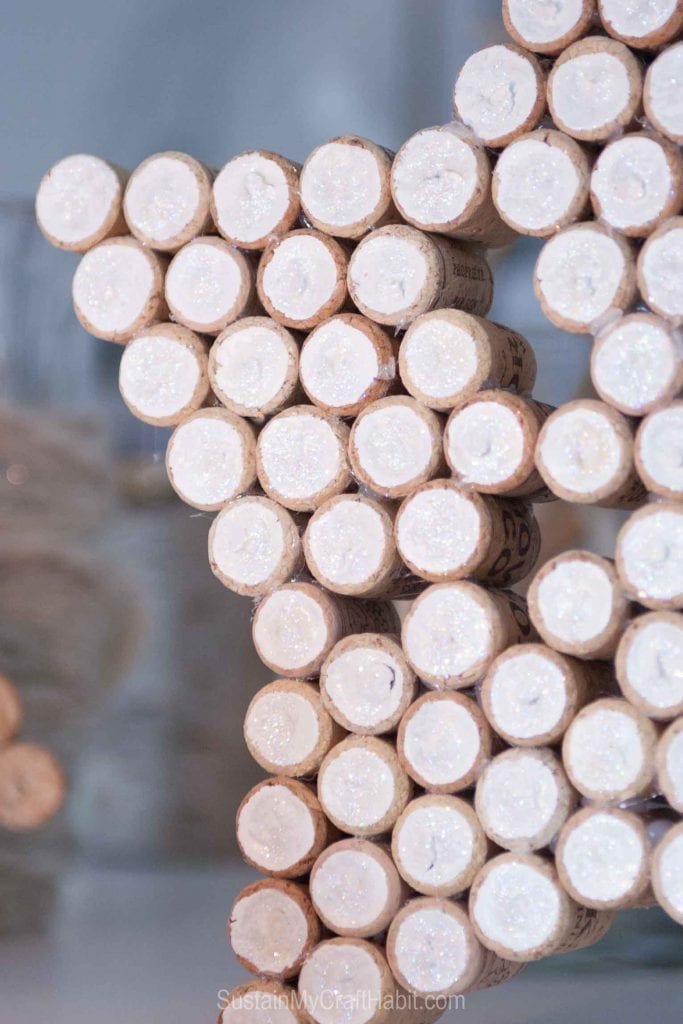
Once you have all the wine corks assembled, flip the star over so that the flat side is facing up…aka the new RIGHT SIDE. This will be the side to paint. Using a small paint brush, begin painting the base of each cork with white acrylic. I took care to paint only the center of each cork base because I wanted some of the cork colour and texture to show.
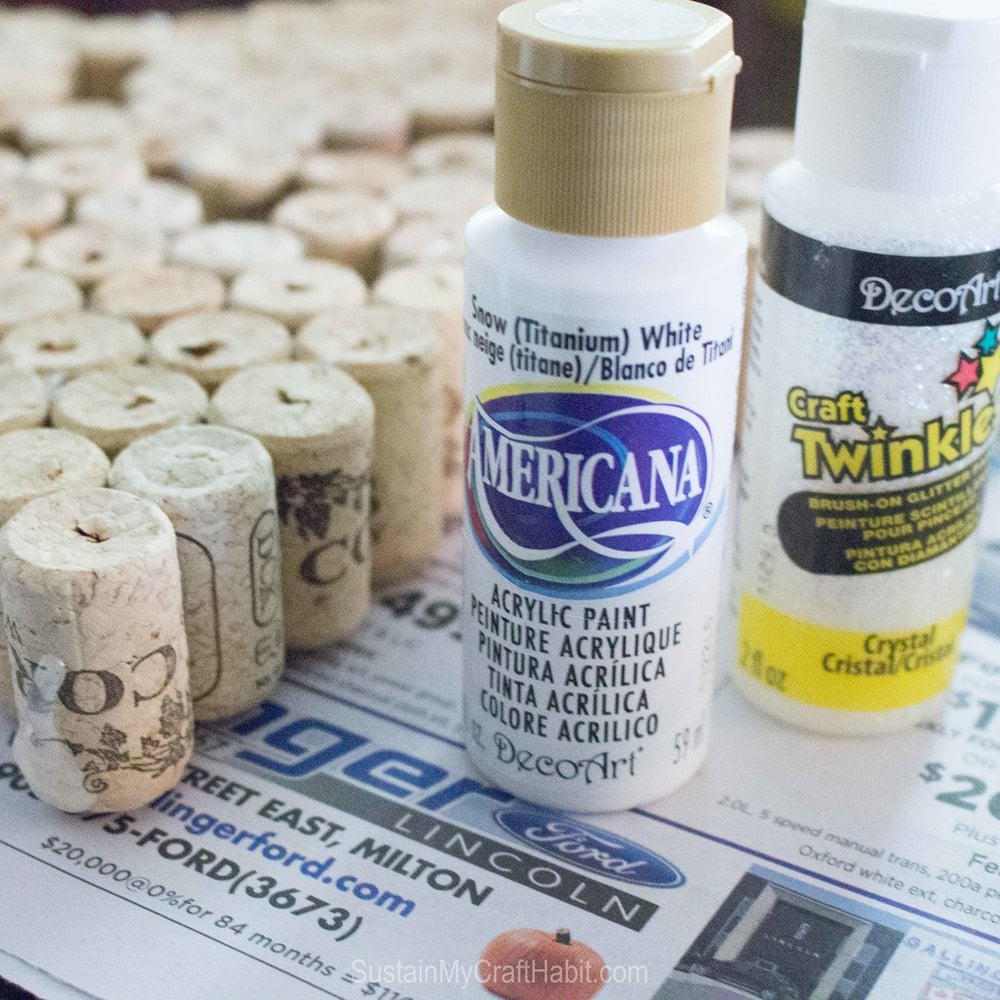
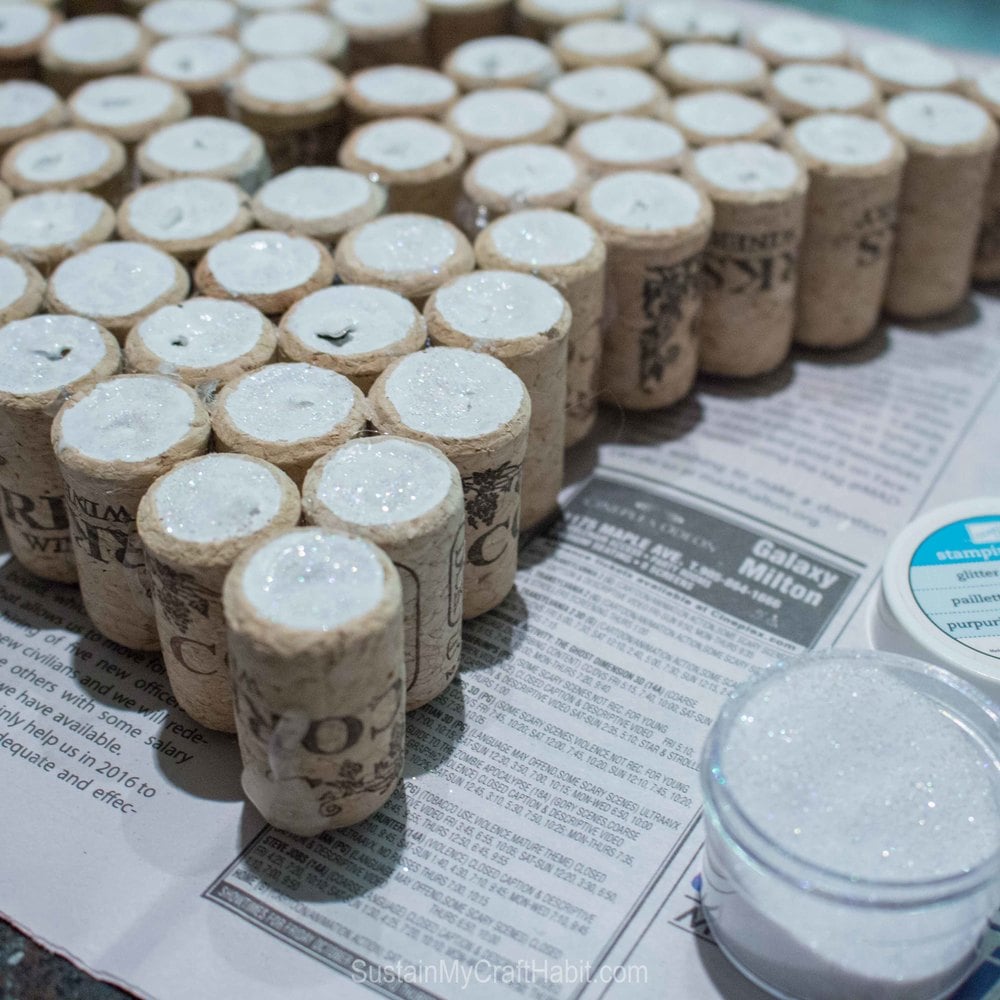
Finally, once dry, add the glitter. With a paintbrush, apply a thin layer of Mod Podge to base of each cork and sprinkle some loose glitter. Ensure your work space is covered to save yourself some clean up time afterwards. Work in small sections when applying the glitter and allow time to dry completely at the end.
And there it is! Budget friendly wine cork Christmas decorations using materials you likely already have at home!
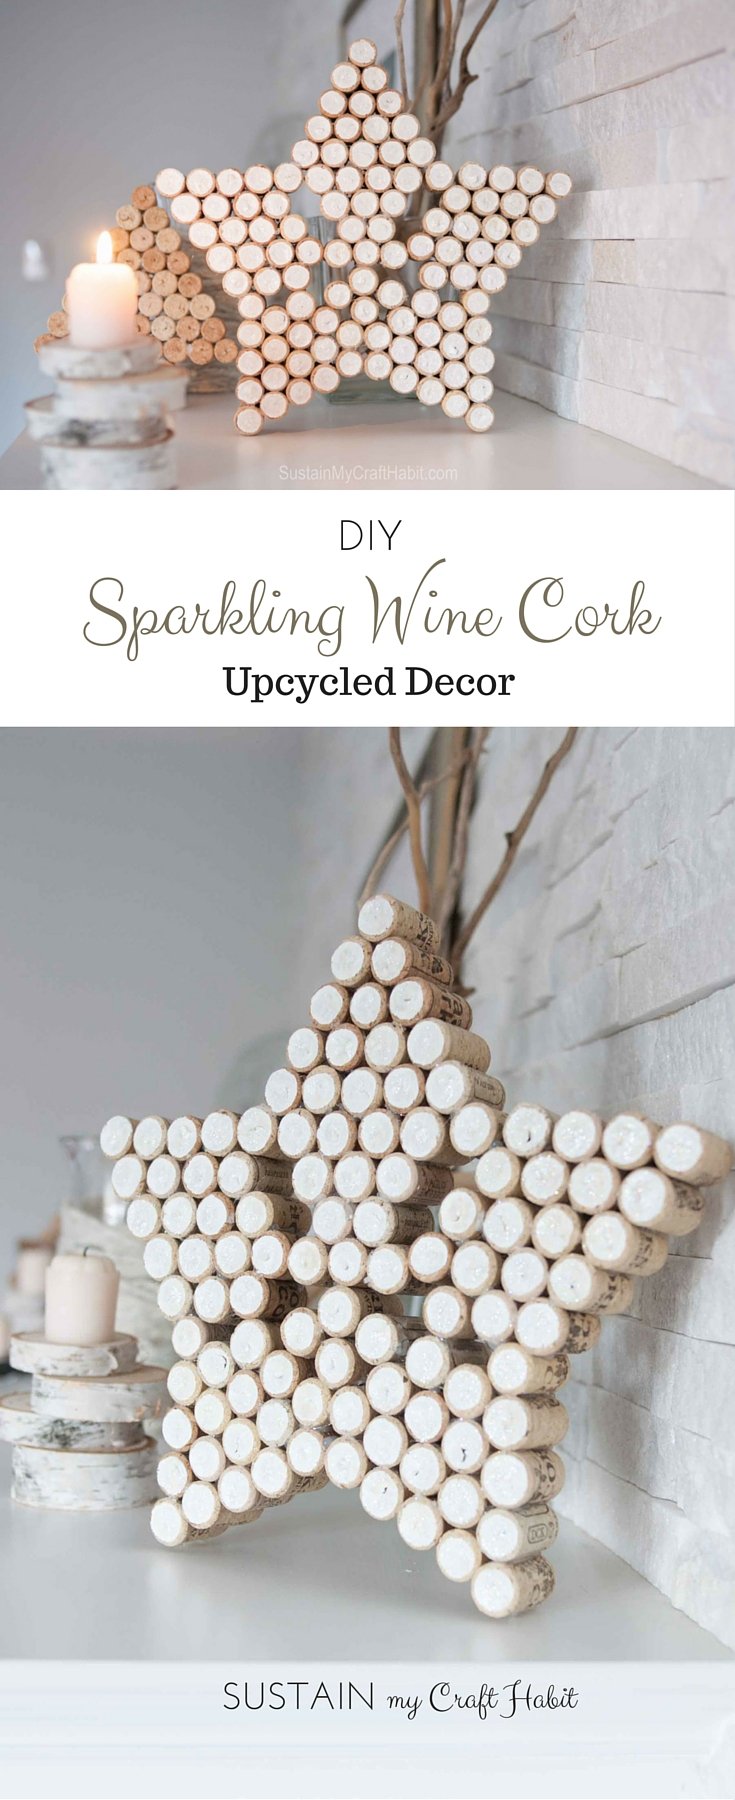
The photos really don’t do it justice to show the lovely sparkle of the glitter.
Another wine cork crafts idea?
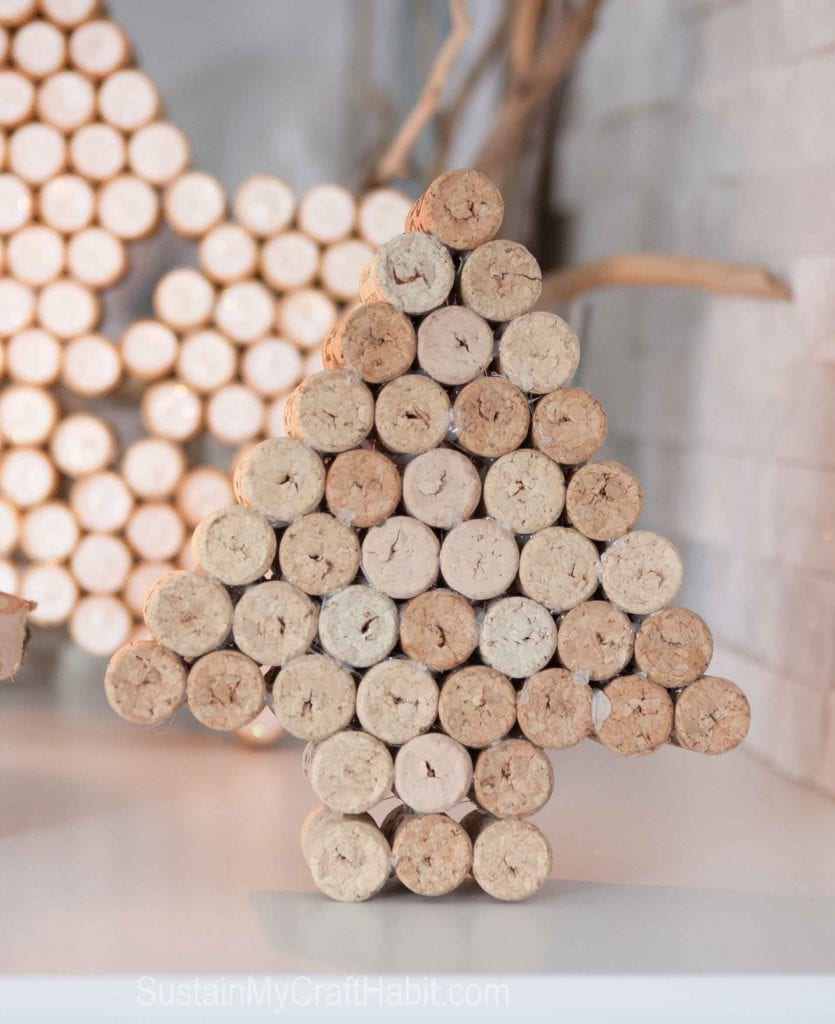
After finishing the star we did have some extra corks left (no, we didn’t open more bottles 😉 ) and made a small upcycled wine cork Christmas tree. We just love the natural variations in the colours of the corks. I think we’ll try to do mini versions as wine cork ornaments soon as well.
If you’re looking for more DIY ideas with wine corks follow our Pinterest board dedicated to wine cork upcycling projects!
Now your turn: grab yourself a glass of vino and make a new beautiful cork star or tree to enjoy!
Have you made any wine cork crafts lately?
Wine Cork Crafts: Sparkling Star Decor
Materials
- 103 wine corks
- Hot glue gun and clear craft glue sticks
- Acrylic paint white
- Mod Podge - matte finish
- Loose silver glitter
- Small paint brush
Instructions
- Start by arranging the wine corks on a flat surface to create the star pattern.
- Glue the wine corks together with the hot glue. Let cool completely.
- Paint the surface of each cork with white paint. Let dry.
- Finally, paint on the Mod Podge and then sprinkle on the glitter while still wet (work in small sections). Let dry.



I have weakness for stars… and this one is to die for!! I have to check how many corks I have to make one!! Pinned it!!
I would love to invite you to share at the link party we have each Tuesday at my blog http://www.sweethings.net
Thank you Pili! We are pretty proud of how this cork star turned out! And we’ll definitely be stopping by the Sweet Things link party this week! You have so many creative and inspiring projects on you blog.
Very cute and original idea. Great way to use corks. thanks for sharing at the #HomeMattersParty
Thank you, Vickie, it was a lot of fun to make!
These are very clever!
Thank you, Debra! I actually keep this cork star decor out all year long.
Absolutely love this idea!!!!! So happy to have you featured today on the Wonderful Wednesday Linky! http://fromevijawithlove.com/2016/01/05/wonderful-wednesdays-link-party-first-linky-of-2016/
Thanks, Evija, it was our pleasure to link up:)
Cute idea, great use of wine corks. Congrats on being featured over at Wonderful Wednesday Linky.
Thank you, Sarah. We have a whole stash of corks just waiting for something to be done with them.