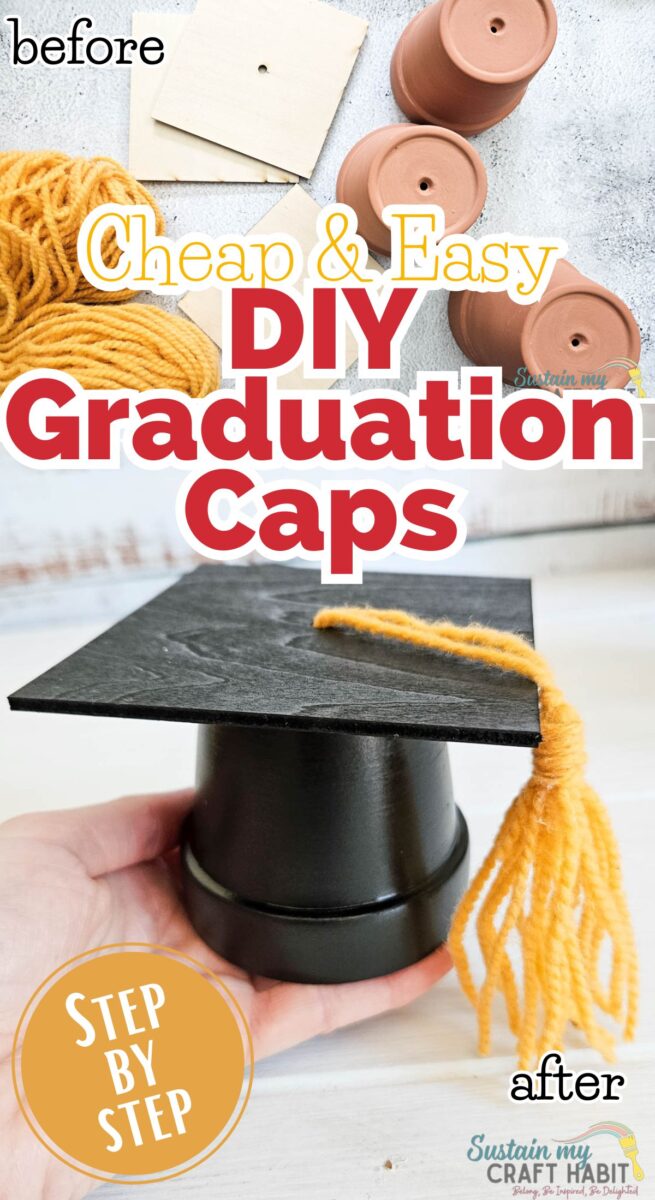
Cheap & Easy DIY Graduation Caps Using Terracotta Flower Pots
Celebrate your graduate in style without stretching your party budget!
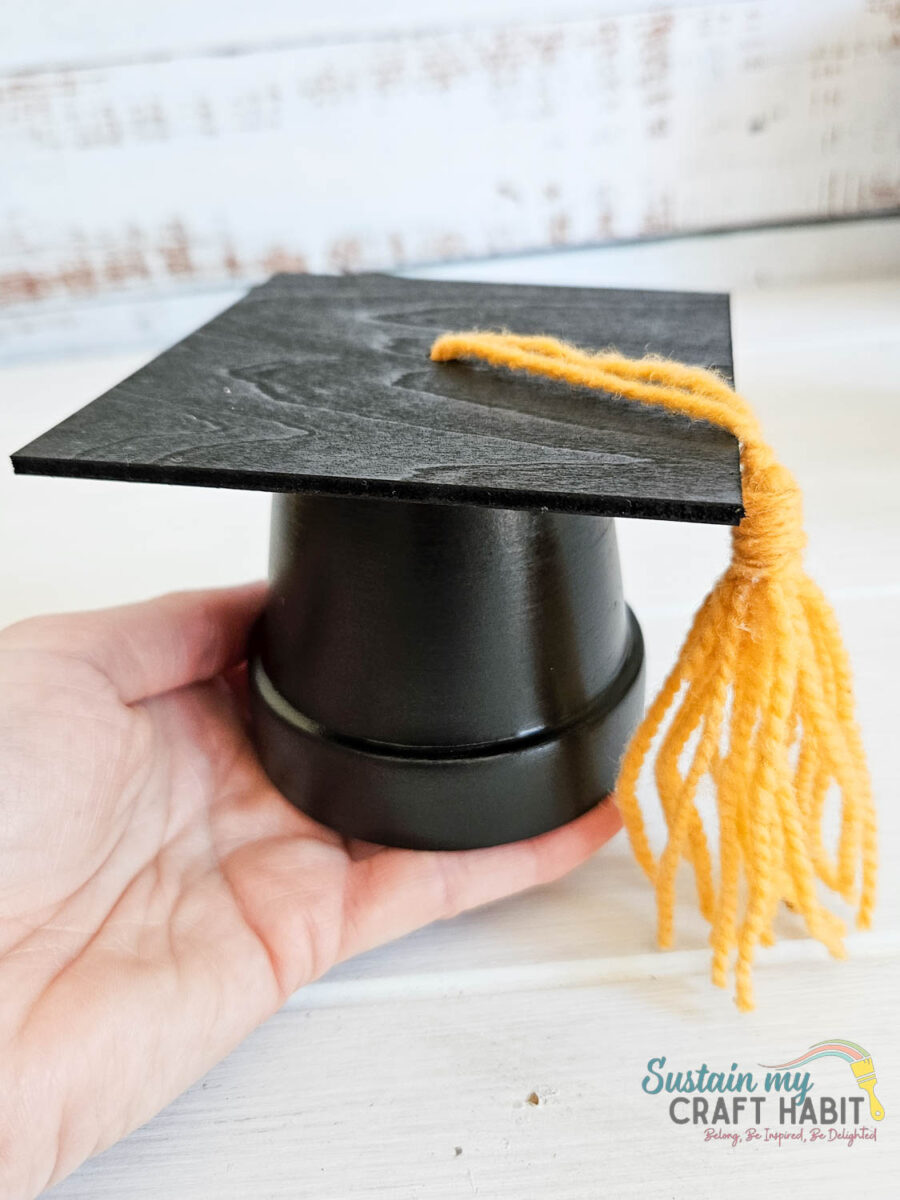
Our quick and easy tutorial shows you how to transform simple terracotta flower pots into adorable graduation caps for the table.
Perfect for festive centerpieces, party favors, or clever balloon weights, these cheap and cheerful DIYs are the ultimate way to add a personalized, handmade touch to your graduation party tables!
Why You’ll Love These DIY Graduation Caps
- Fun and festice party decor without stretching the budget – terracotta pots and simple craft supplies cost just a few dollars per piece.
- Because terracotta has built-in weight and durability, these caps stay firmly planted on picnic tables and buffets, making them stress-free for outdoor hosting.
- Can be easily customized with paint colors and yarn tassels to perfectly replicate the graduate’s school colors.
- Unlike cheap plastic or paper decorations that get tossed into the trash bag at the end of the night, these terracotta caps are beautiful keepsakes.
Want to receive a ton of inspiration and money saving ideas for decorating, gift-giving and crafting? Join HERE!
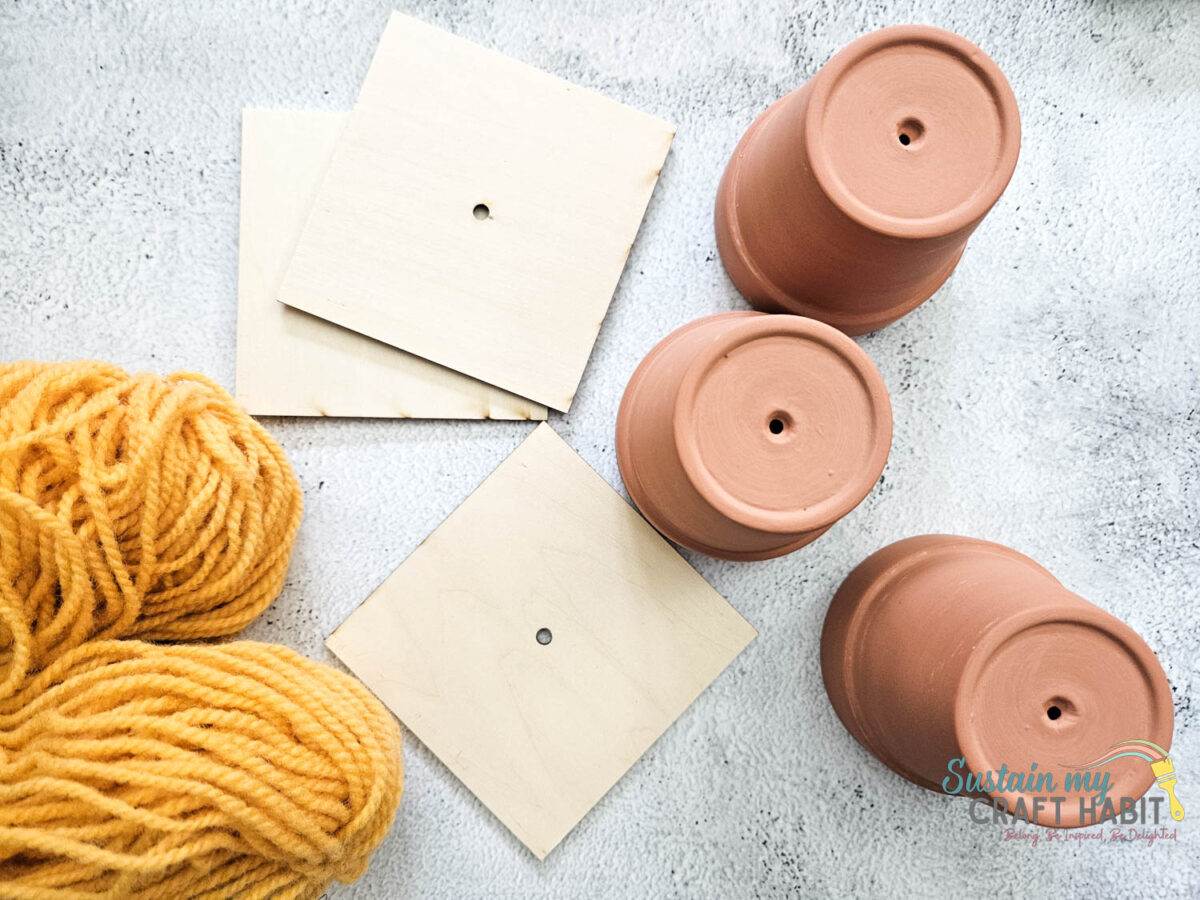
Materials Needed
- Terracotta Pots, 2” (or smaller)
- Square wood cutout with circle hole in the center (4″ wide)
- Black paint (we used Rustoleum spray paint)
- Golden yellow yarn or embroidery thread
- Hot glue gun (optional)
Substituting Craft Supplies
If you don’t have a square qood cutout, you can easily swap it out for a piece of black cardstock or cardboard. Poke a hole in the center with an owl or sharp object.
How to Make Graduation Caps Using Terracotta Flower Pots
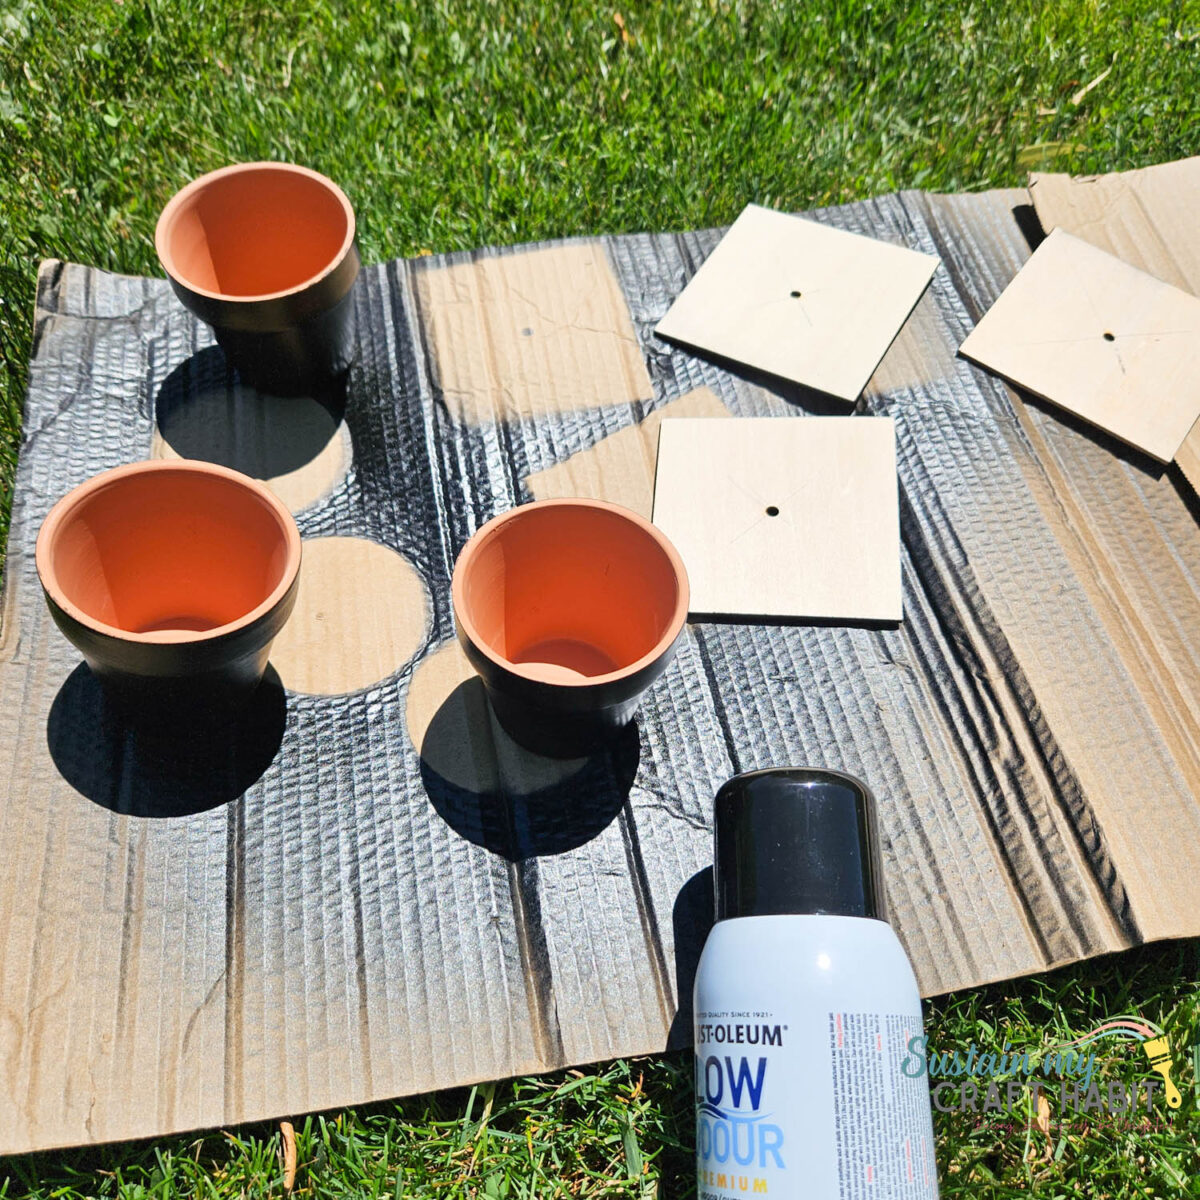
Paint the pot and wood cutout in black and leave it to dry fully.
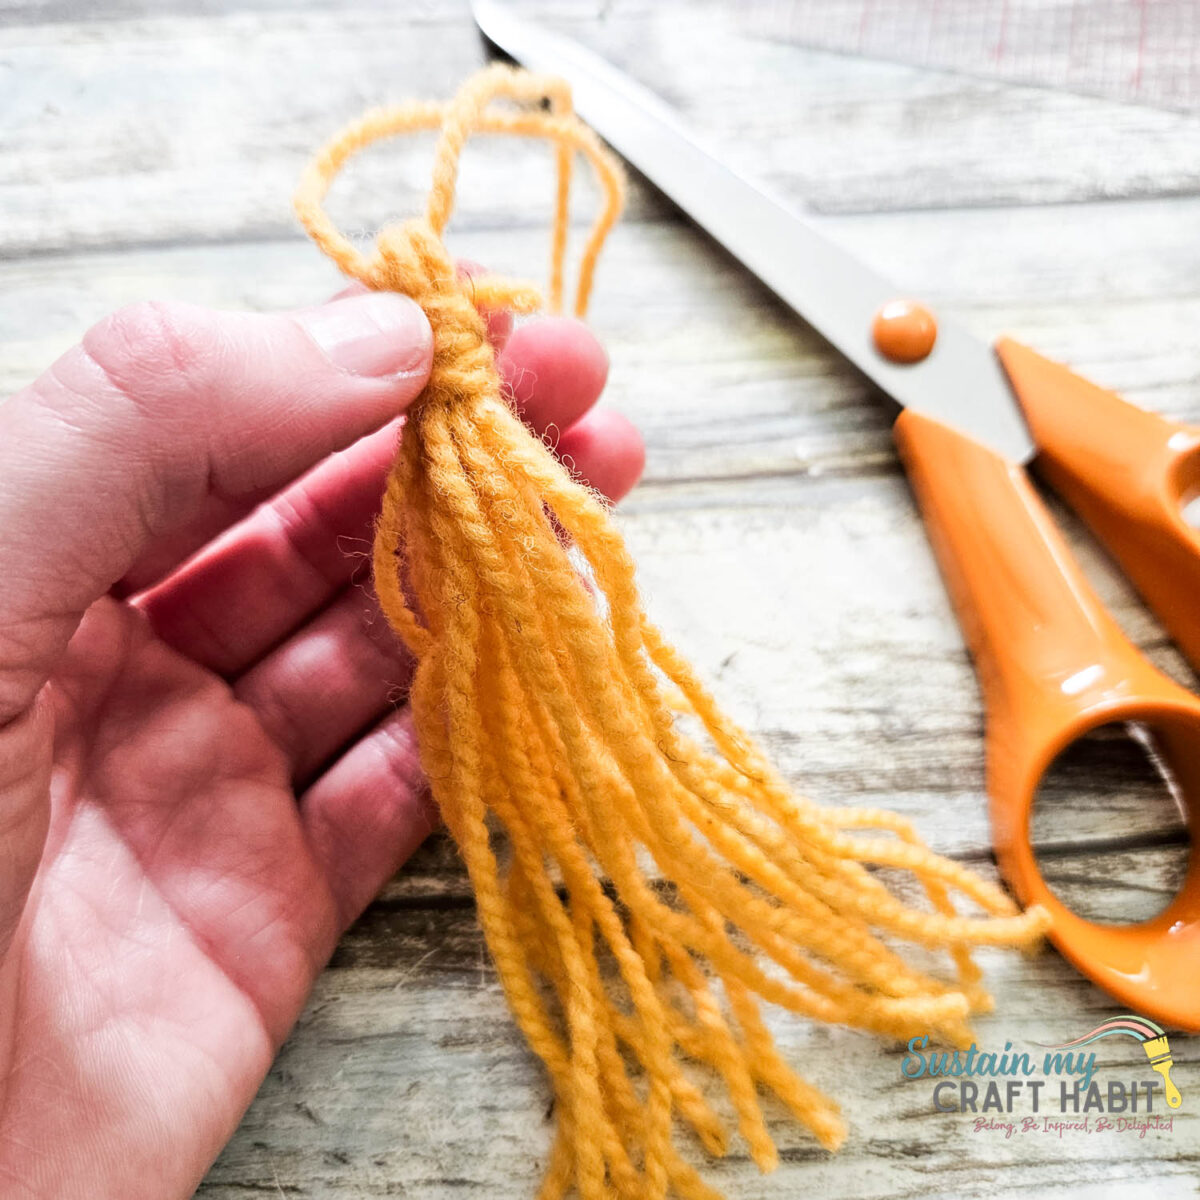
Make tassels. If you’ve never made a tassel before head over to our step by step tutorial on how to make tassels and we’ll show you how!
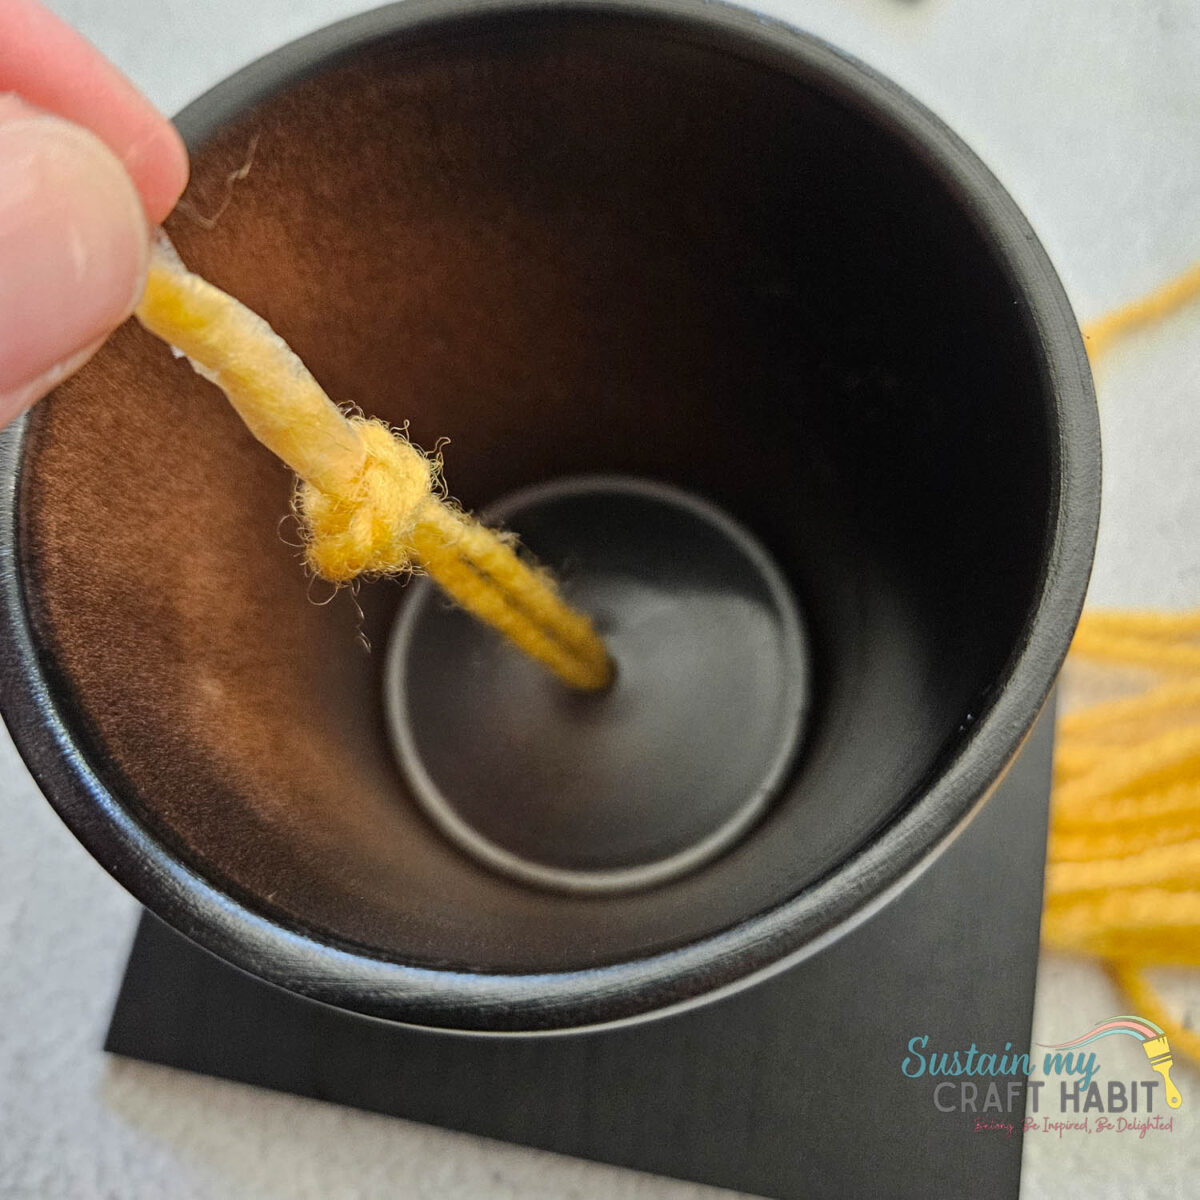
Thread the long loose end of the tassel through the wood cutout and then again through the bottom of the pot.
Tie a knot at the end so it doesn’t come loose.
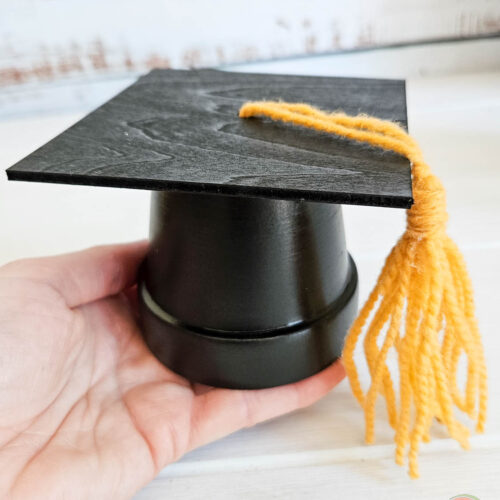
And voila! The cheap and cheerful grad party decor is ready!
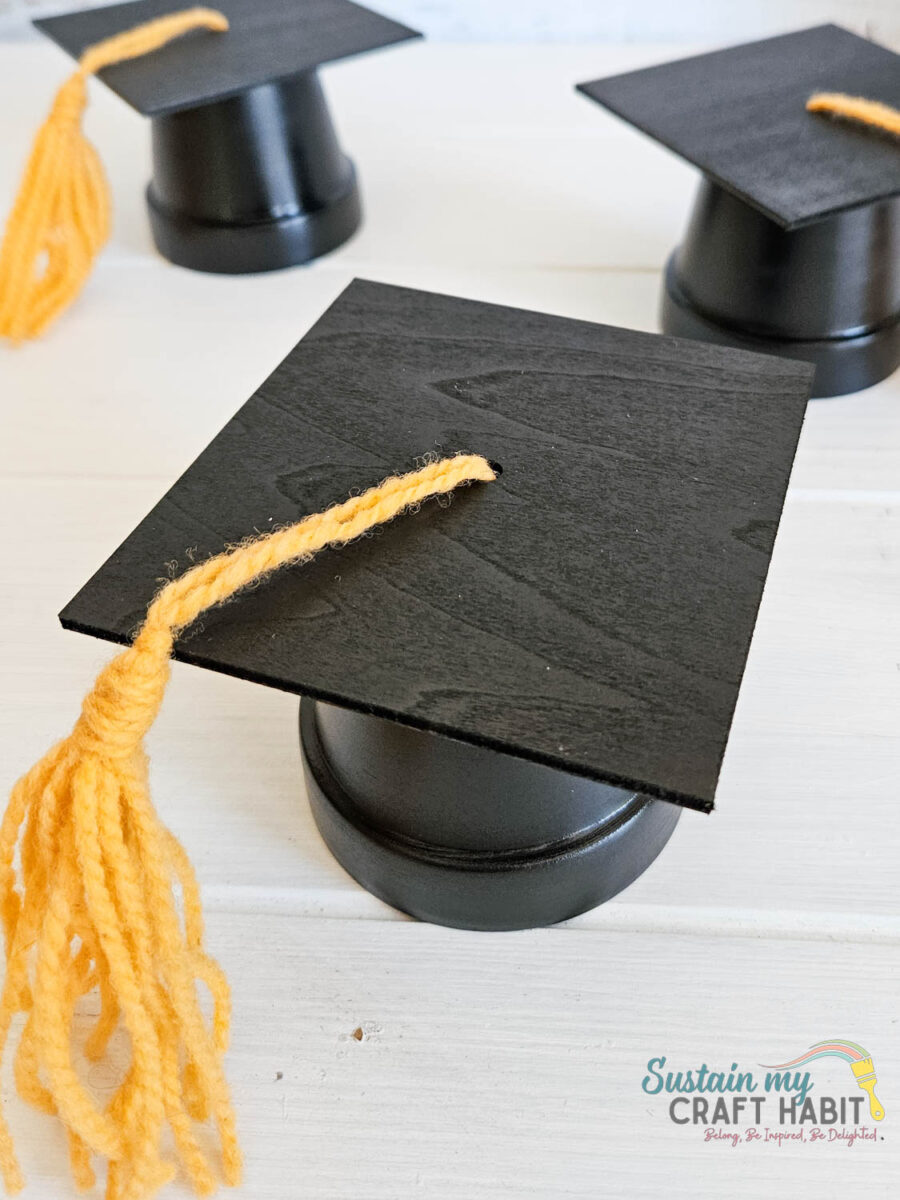
How to Style These Finished Graduation Caps
Festive Centerpiece
Instead of just placing one lonely pot in the middle of a table, style them in groups of three. Make each of the grad caps in different sizes using different sized terracotta pots and square cutouts. So instead of a 2″ pot with a 4″ square; use a 1″ pot with a 3″ square or a 4″ pot with a 8″ square.
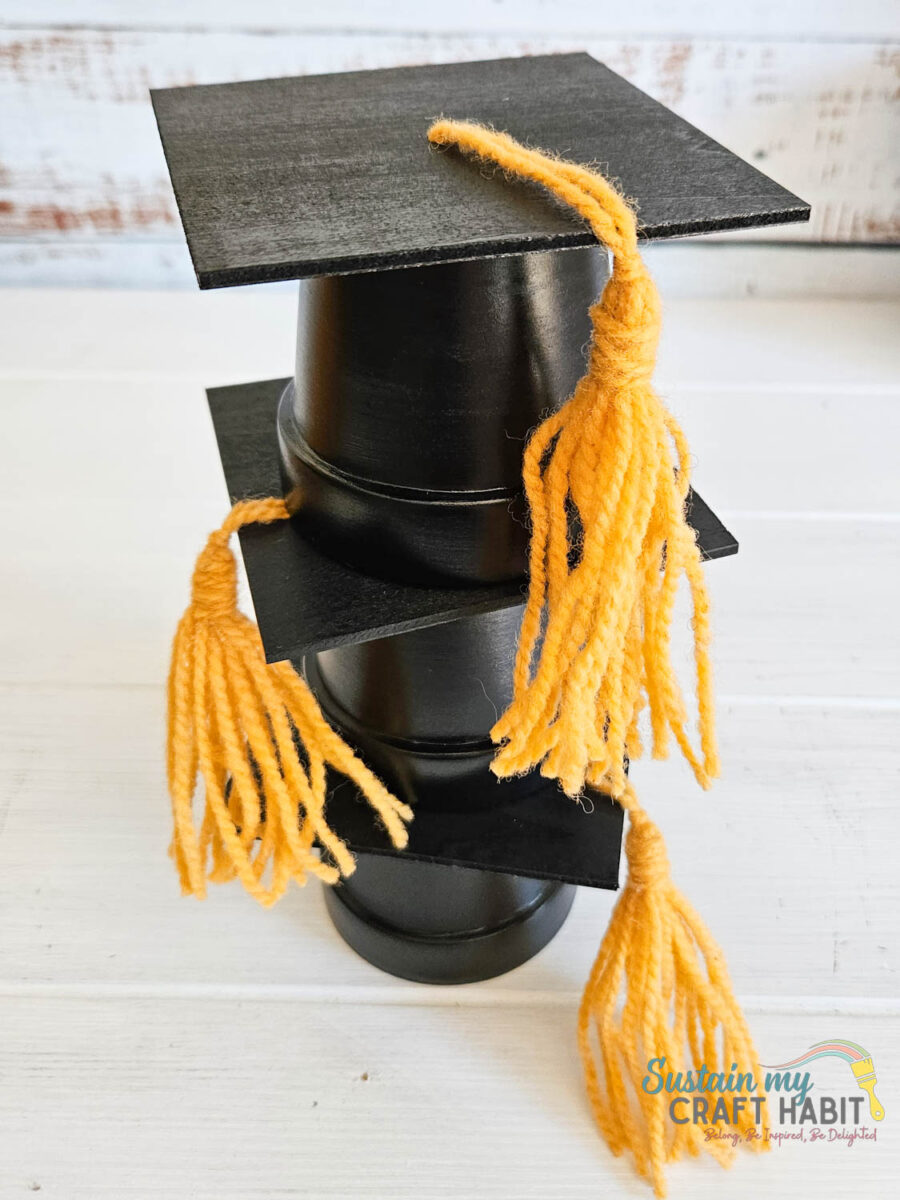
Balloon Weights
Because terracotta has some weight to it, these caps make the absolute perfect anchors for balloon bouquets.
Graduation Table Numbers or Place Card Holders
If you are setting up multiple tables for guests to sit at, turn the pots into functional signage.
More DIY Graduation Ideas
- 21 Easy DIY Graduation Party Decorations
- Stress-Free Graduation
- 12 Elegant DIY Graduation Centerpieces
- Quick & Easy Graduation DIY Gifts
- Handmade Graduation Gifts for Best Friends





Get updates on the latest posts and more from Sustain My Craft Habit straight to your inbox by joining our weekly newsletter. We promise to send you only the good stuff.
Like it? Pin for later!
Cheap & Easy DIY Graduation Caps Using Terracotta Flower Pots
Materials
- Terracotta Pots 2”
- Square wood cutout with circle hole in the center
- Black paint we used Rustoleum spray paint
- Golden yellow yarn
- Hot glue gun
Instructions
- Paint the pot and wood cutout in black and leave it to dry fully.
- Make tassels
- Thread the long end of the tassel through the wood cutout and then again through the bottom of the pot.
- Tie a knot at the end so it doesn’t come loose.