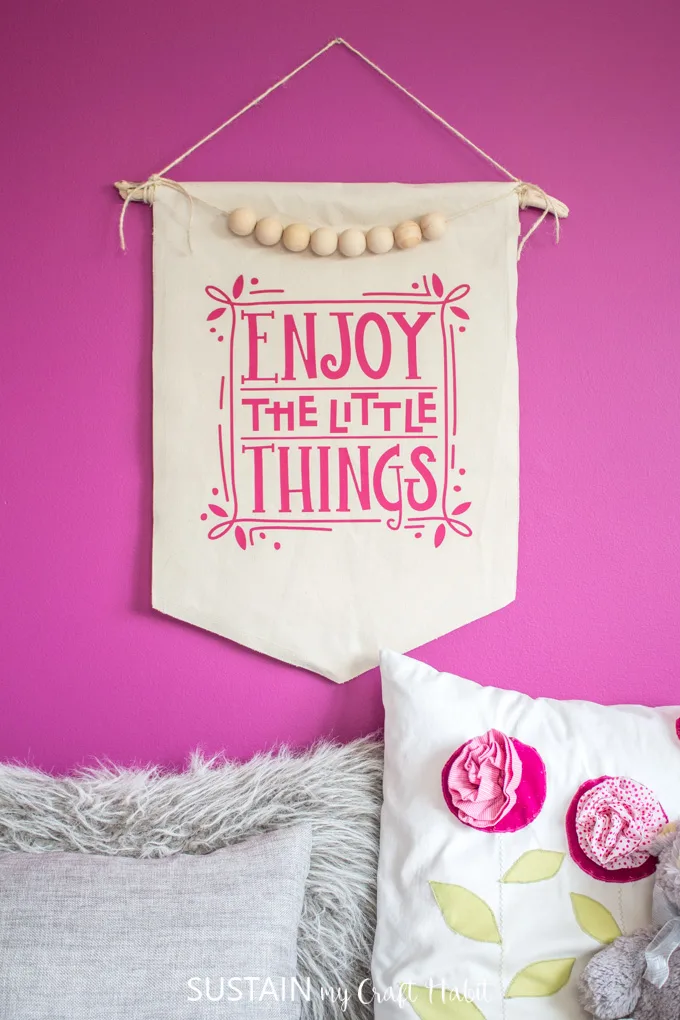
The simplest things often bring us the most pleasure. Create a beautiful DIY canvas wall hanging as a reminder to appreciate the little things each day.

Making a Simple Wall Hanging
Disclosure: This post is sponsored by Canvas Etc. but all opinions are our own. This post also contains affiliate links for your shopping convenience. You can read our full disclosure statement here.
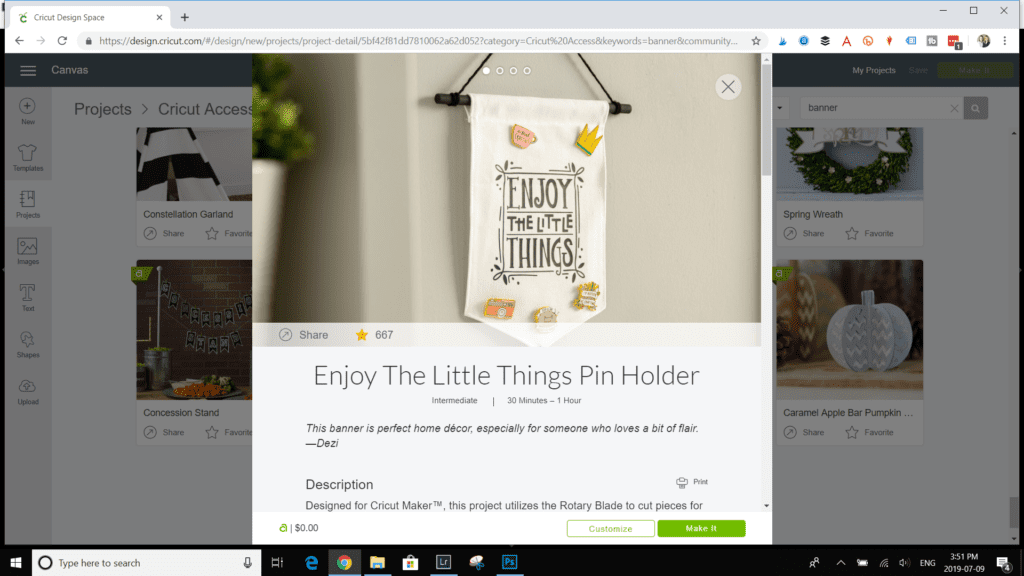
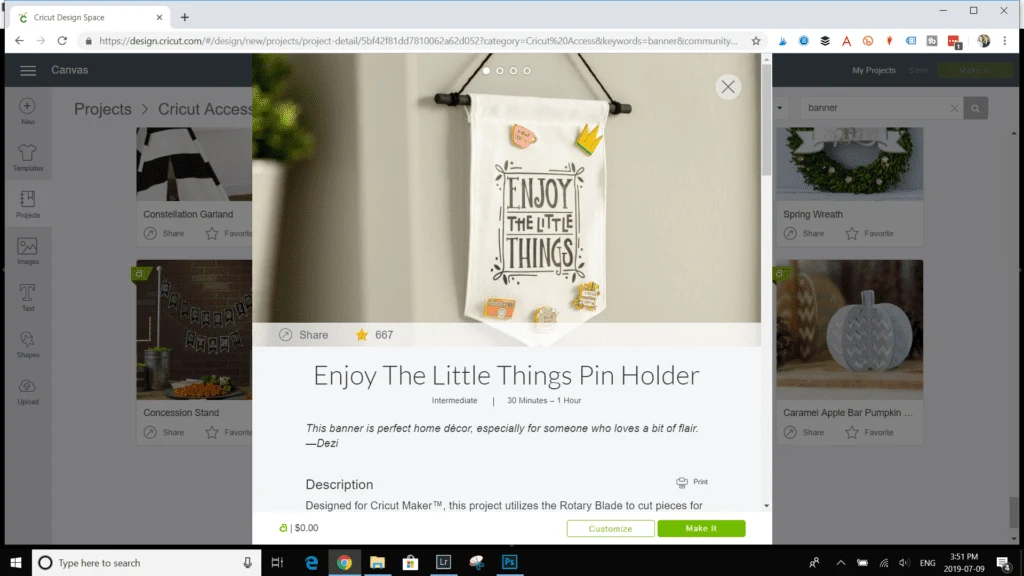
Scrolling through Cricut’s Design Space recently, the phrase “Enjoy the Little Things” popped out and resonated with me. We get so wrapped up in the day to day life stuff that it’s easy to forget and appreciate the simple joys in life such as a cool refreshing glass of lemonade in the Summer or the scent of fresh cut grass.
While I typically lean towards soft hues and earthy colors in my home decor, I was craving to add some colour for the summer. This simple canvas wall hanging using unbleached cotton canvas was begging for a pop of color and the raspberry vinyl seemed perfect.
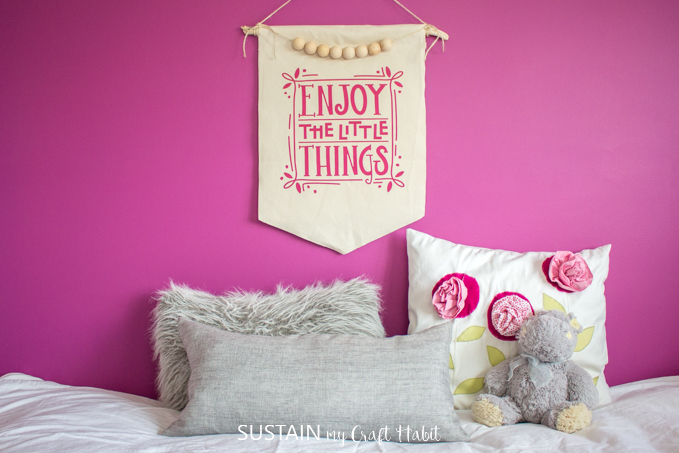
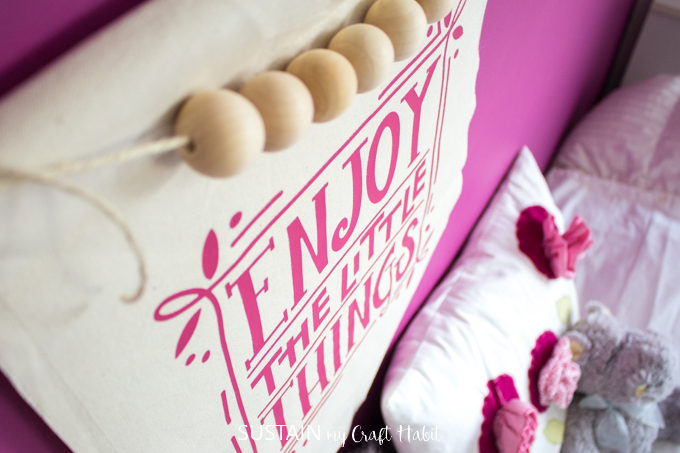
The banner style wall hanging looks right at home against my daughter’s magenta painted accent wall. And although I’m not bold enough to paint this color in any other part of my house, I absolutely love it in her bedroom.

Related: Check out Jane’s daughter’s tween bedroom makeover in teal and pink!
Partnering once again with Canvas Etc., we used some leftover unbleached 100% cotton canvas to make this pretty wall hanging with only a bit of simple sewing involved.
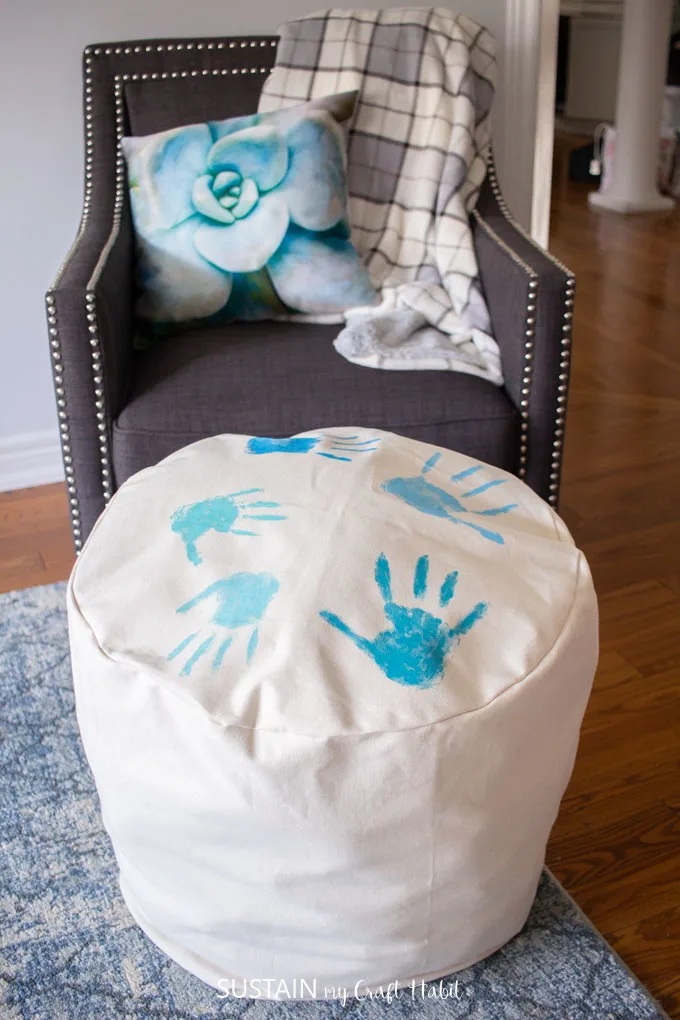
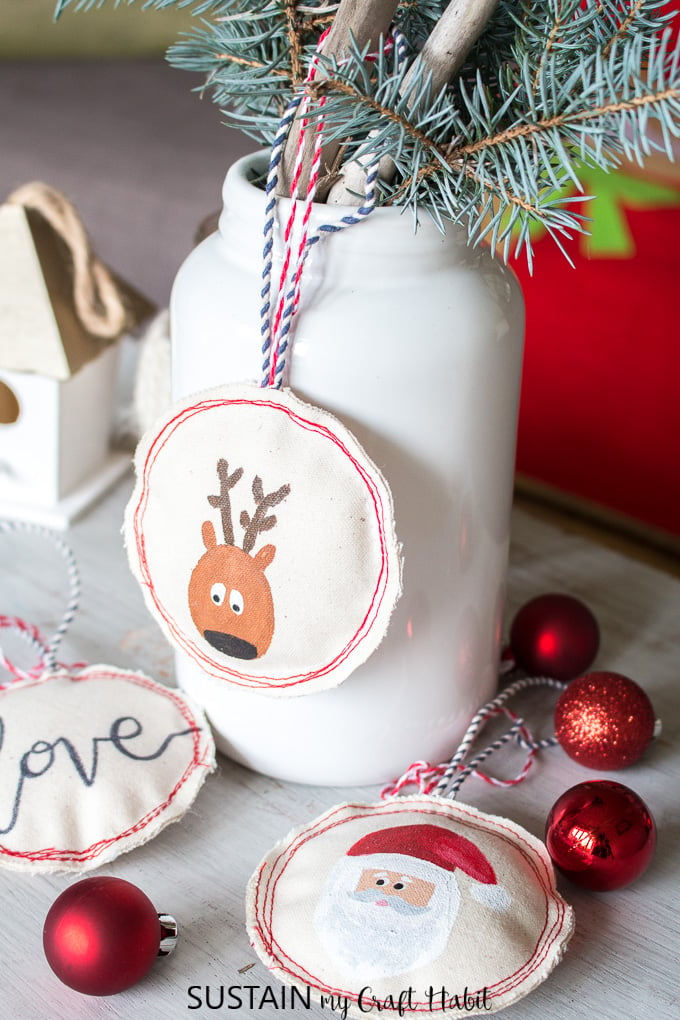
We previously used the same canvas material to make these painted canvas Christmas ornaments, this hand stencilled storage ottoman as well as a stenciled chevron table runner that we’ll be sharing on the blog soon. I wonder what other projects we’ll be able to create with this same very inexpensive and versatile canvas material?


Materials Needed for this Wall Decor Idea:
- 1/2 yard medium to heavyweight canvas such as this 12.8oz 100% Cotton Army Ducks canvas
- Free Printable Banner Pattern printed on 6 sheets of 8.5″ x 11″ paper and tape
- Fabric Scissors
- Driftwood or stick, 16” long
- Sewing machine with matching thread color
- Cricut’s Design Space “Enjoy the Little Things” pattern template
- Twine
- Cricut Maker
- Cricut standard grip mat
- Everyday Iron On Vinyl in Raspberry
- Weeding Tool
- EasyPress 2
- Easy Press mat
Instructions for Making a Canvas Wall Hanging:
Preparing the Banner
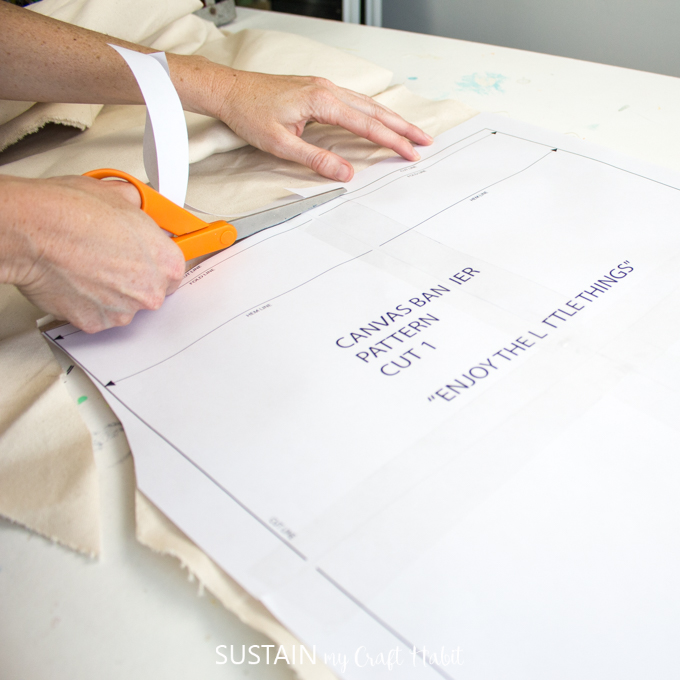
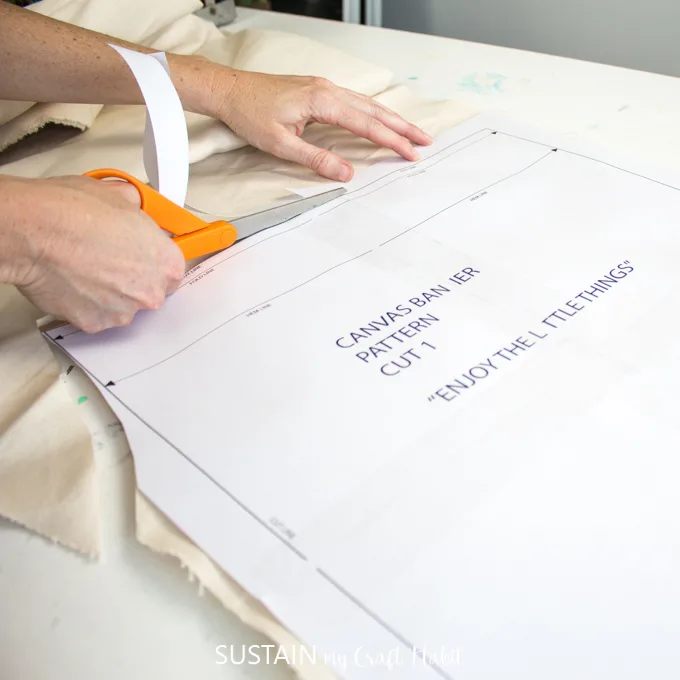
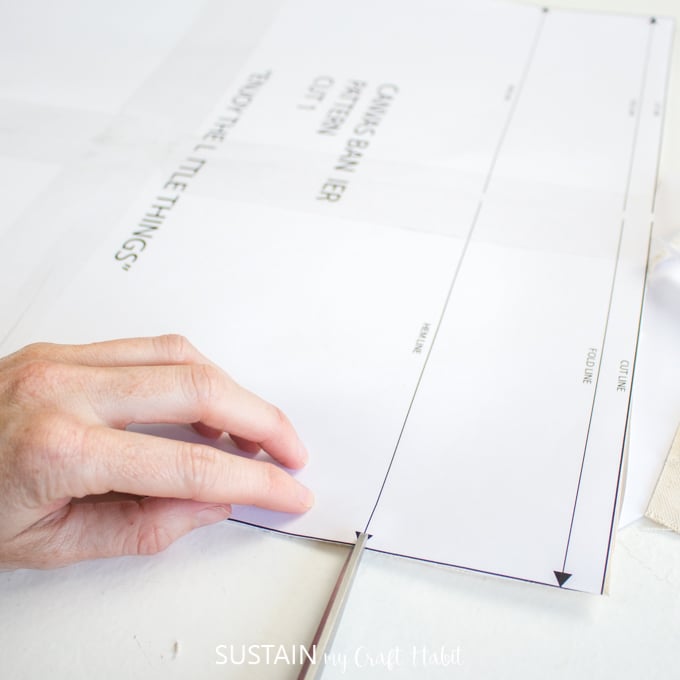
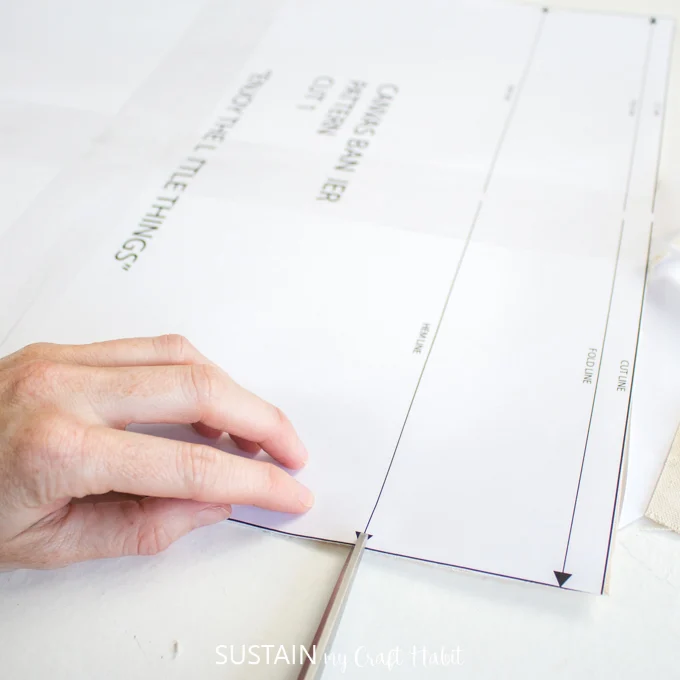
Print off banner pattern on 6 sheets of 8.5x 11 paper. Tape the papers together to form complete pattern. The cut line measures approximately 24″ high x 15″ wide unfinished.
Place paper pattern on top of canvas and cut out the canvas using a pair of fabric scissors. Remember to clip all the notches as well and then put the paper pattern aside.
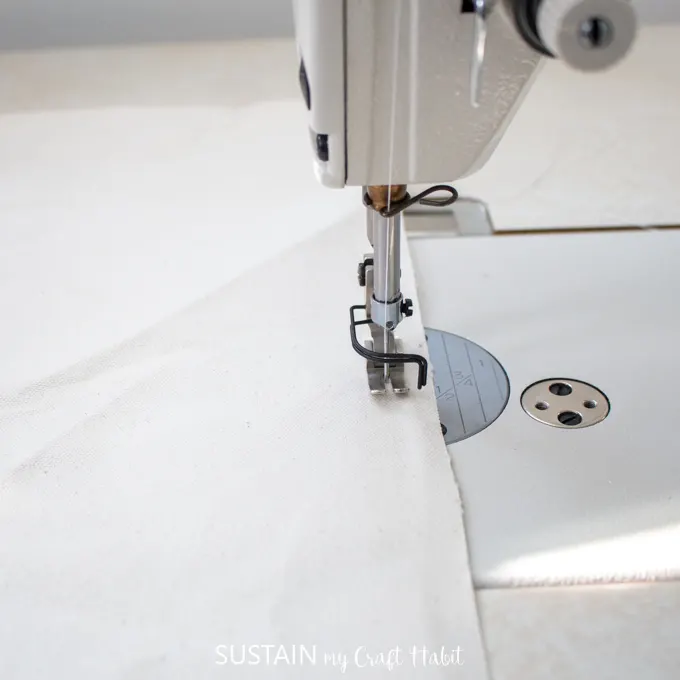
Sew a single straight stitch along the entire perimeter of the cut canvas piece ½” from the edge.


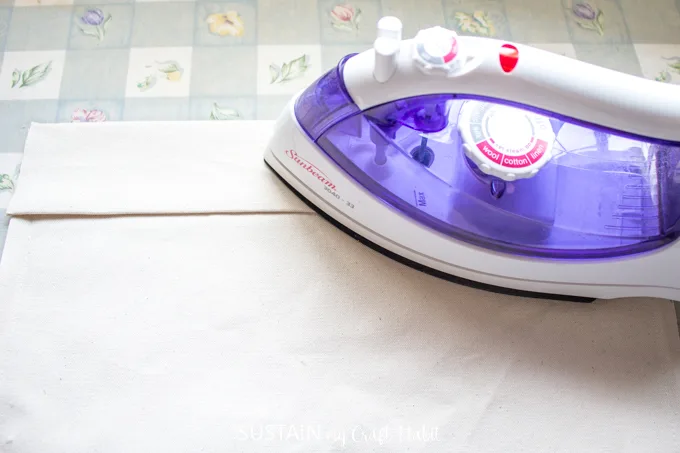
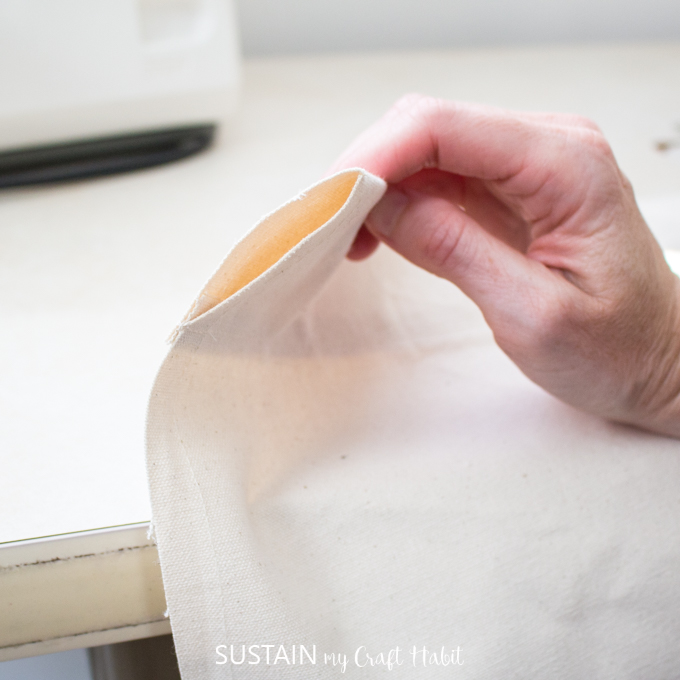
Fold the top edge of the banner over by ½” towards the wrong side, using the notches as a guide.
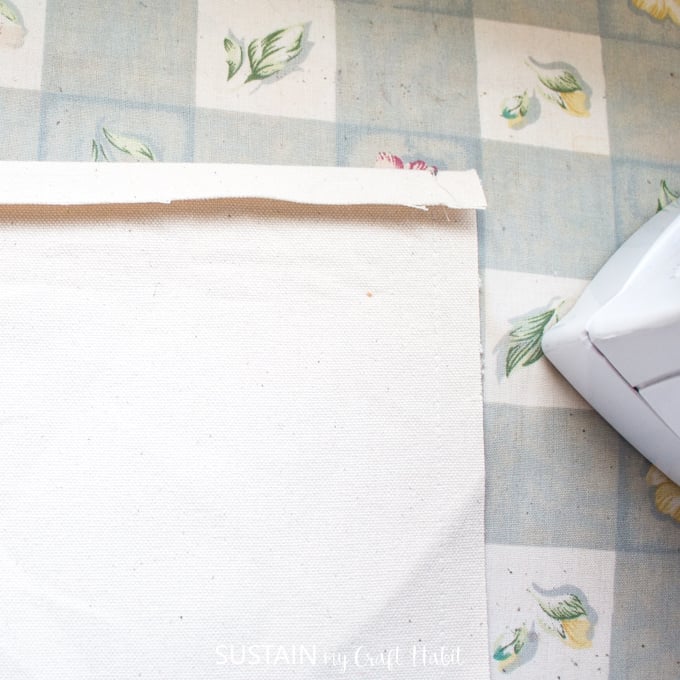
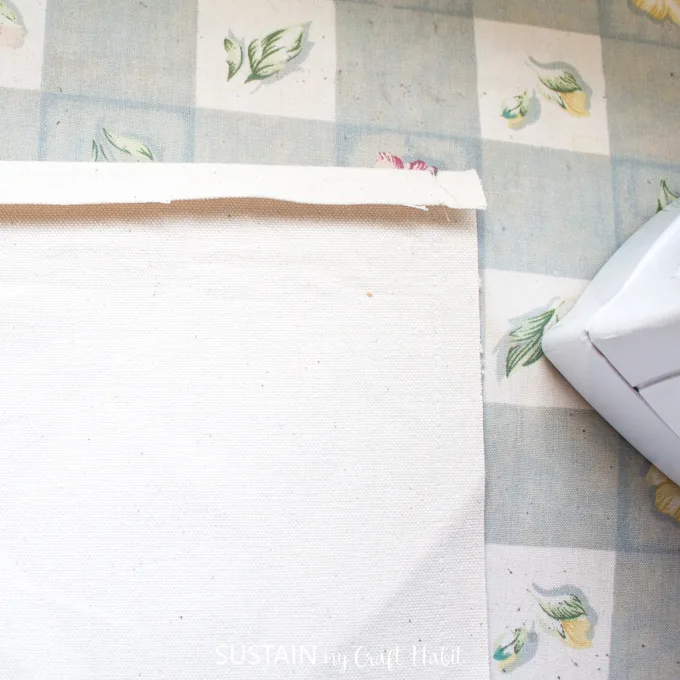
Fold the top hem over one more time creating a 3” hem height.

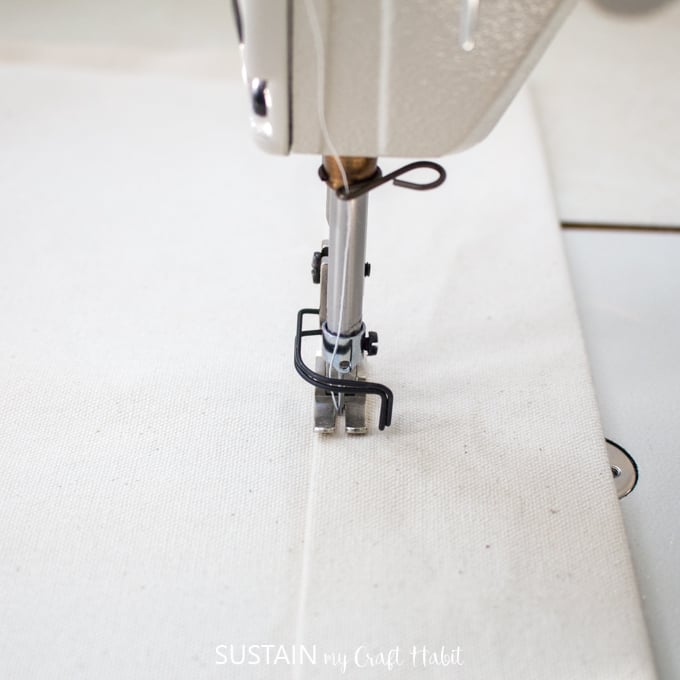
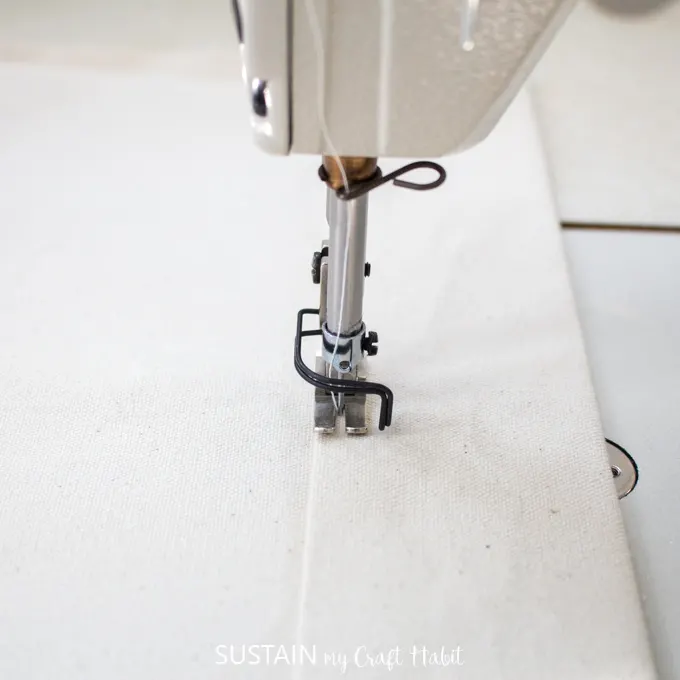
Stitch the folded hem in place making sure to add a back stitch at the start and end of the stitch line. This wide hem forms a tunnel for the driftwood or branch to be inserted through.

The sewn banner measures 21″ long x 15″ wide.
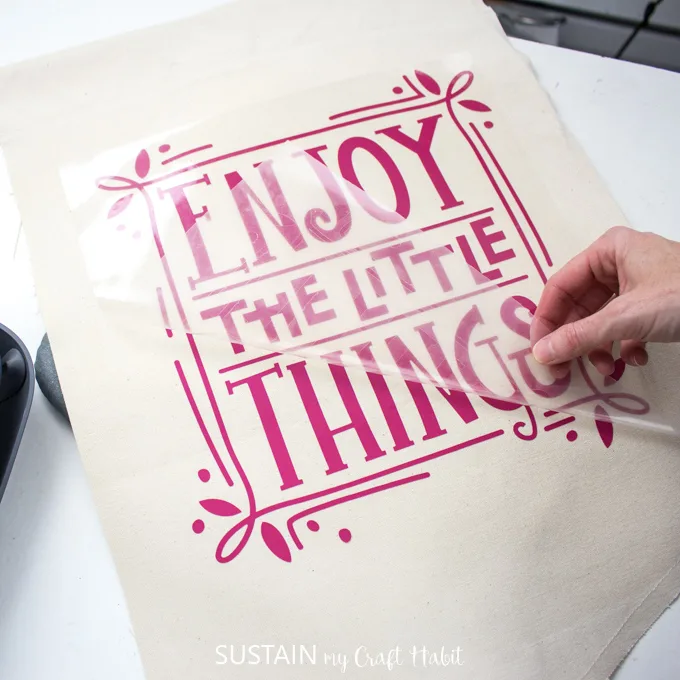
Adding the “Enjoy the Little Things” Decal
Using the Cricut Maker
Upload the “Enjoy the Little Things” pattern template from Design Space.
Following the instructions prompted on the screen to cut out the vinyl.
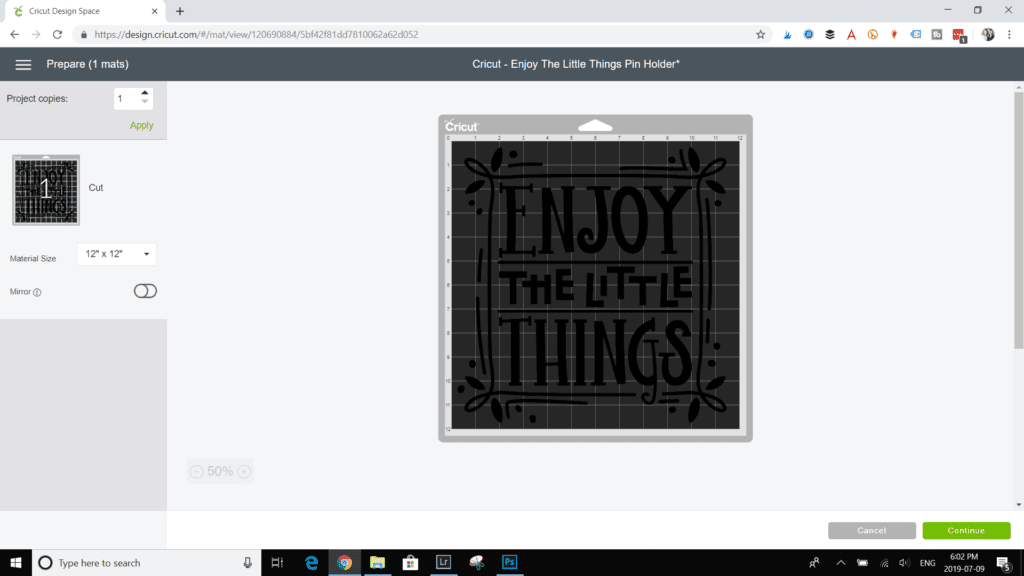
Select “Customize” to adjust the pattern.
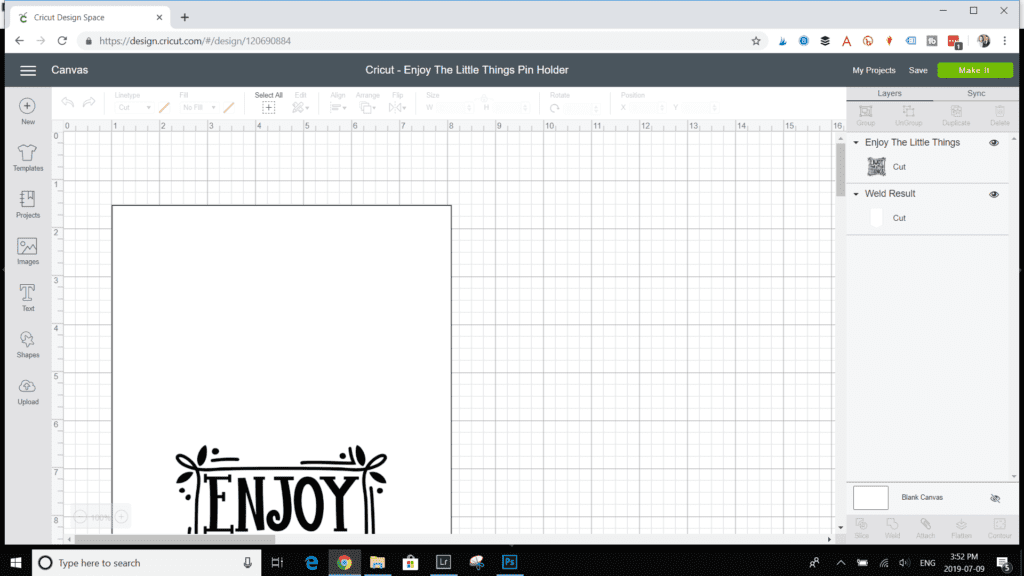
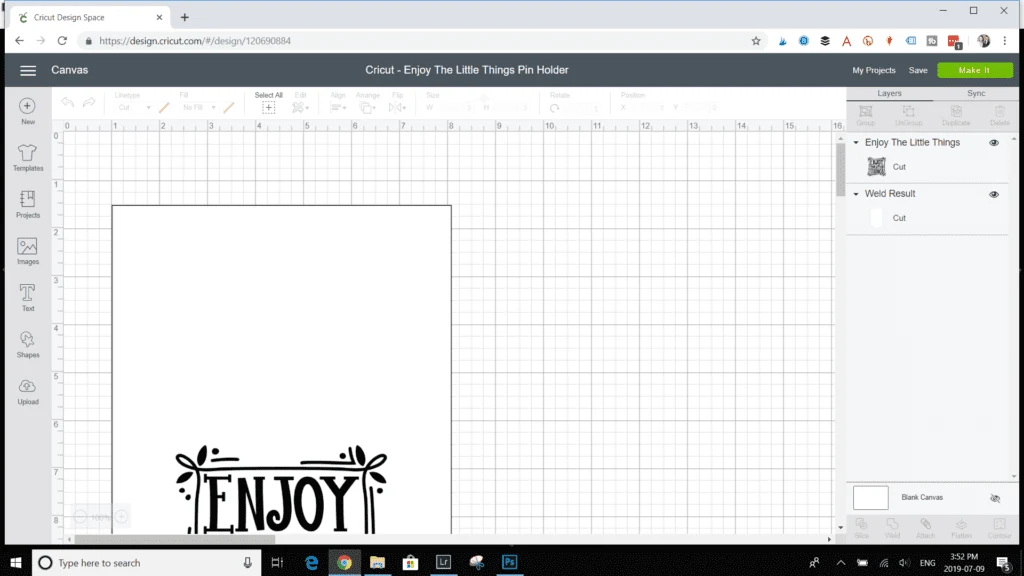
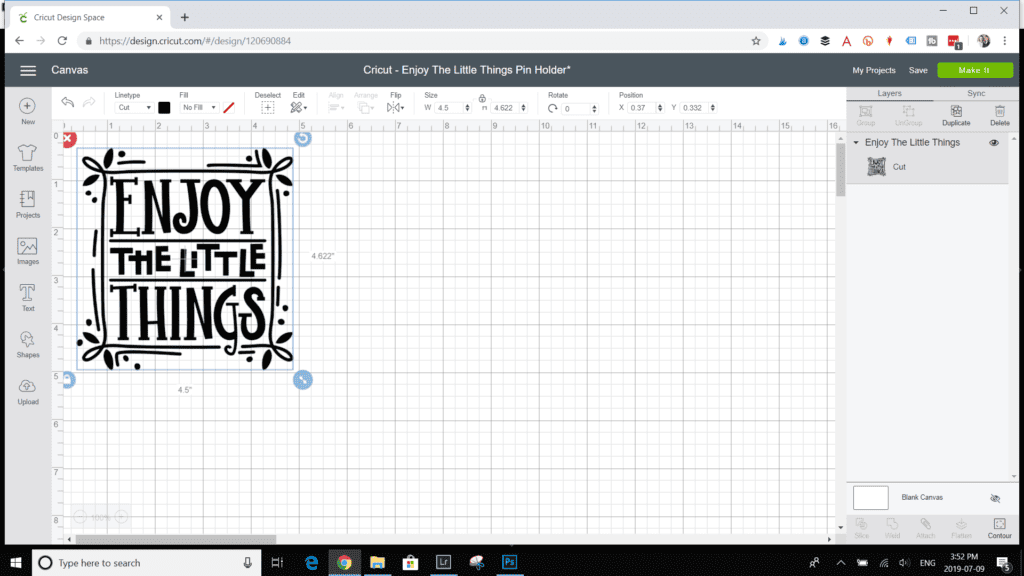
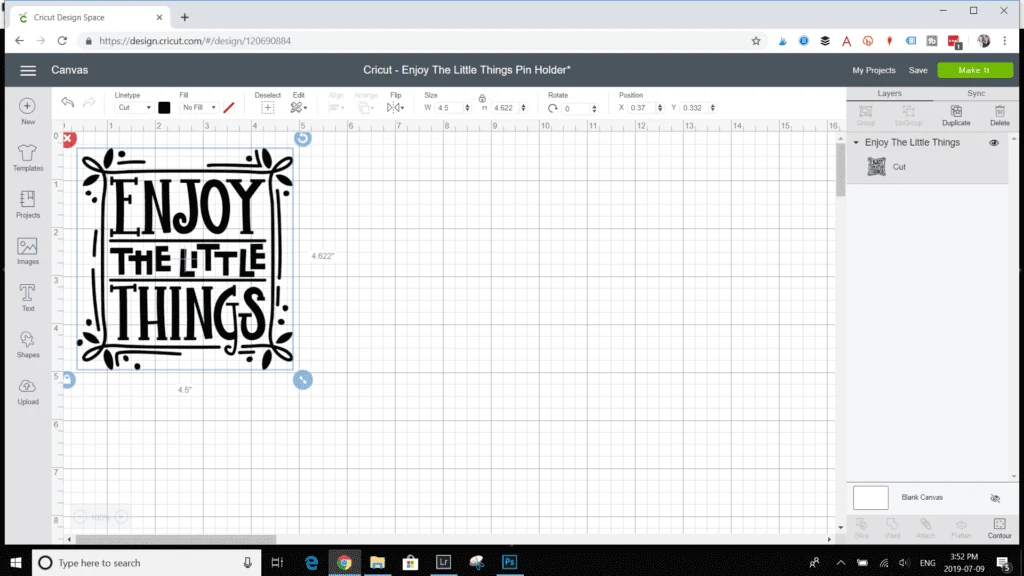
Click on the box outline and delete. That portion of the pattern is not needed for this project.

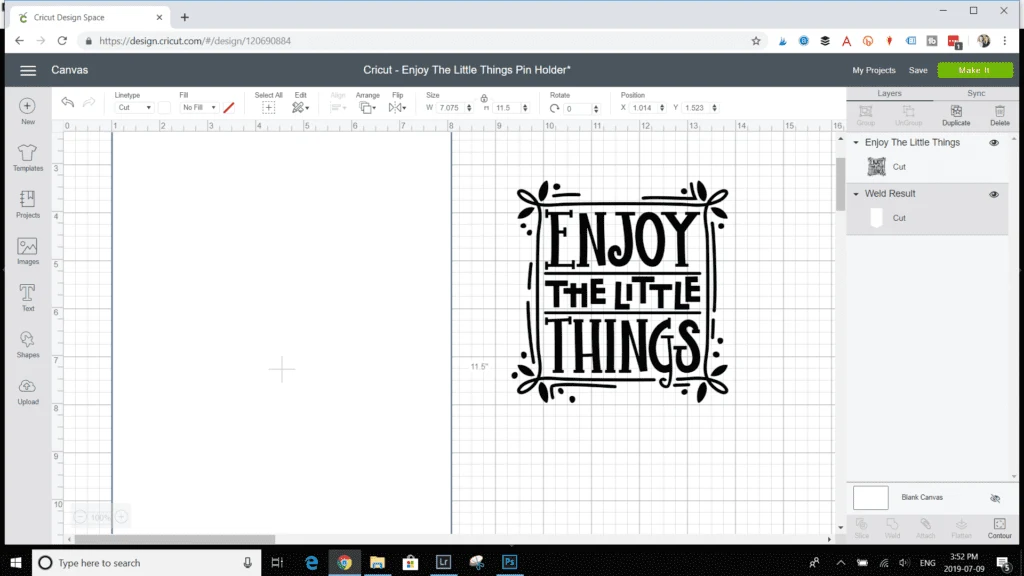
Click on the phrase and adjust the size to 11.5”high x 11.1” wide.


Select “Make It”.

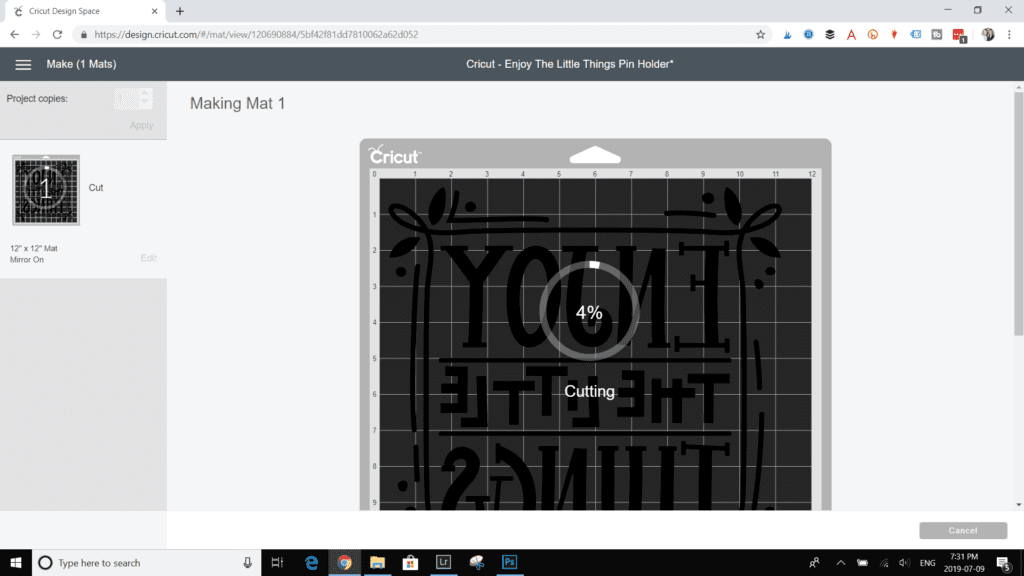
Click on the Mirror toggle button to flip the direction of the lettering.
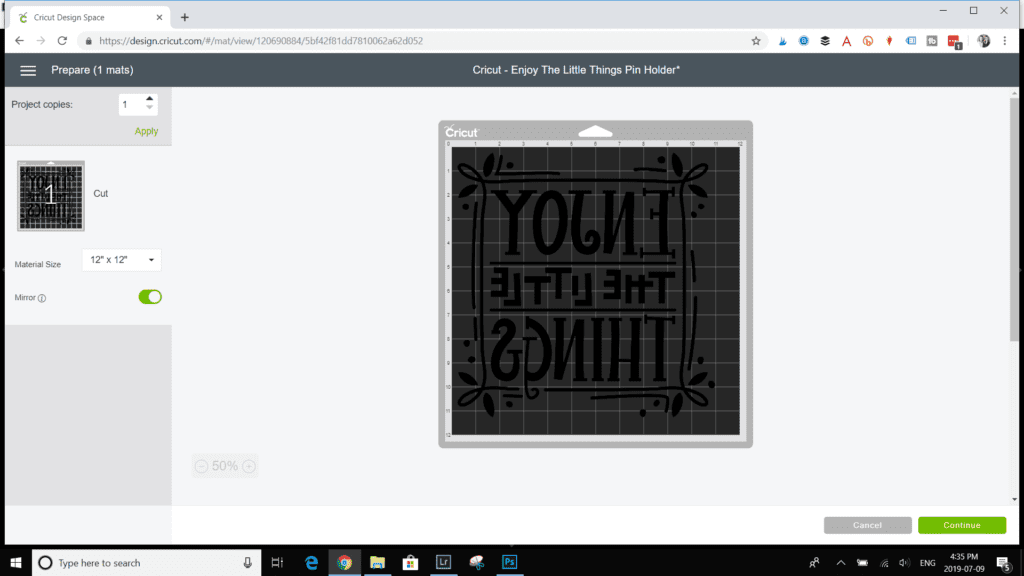

Next, click on the “Continue” button to proceed with cutting out the vinyl.
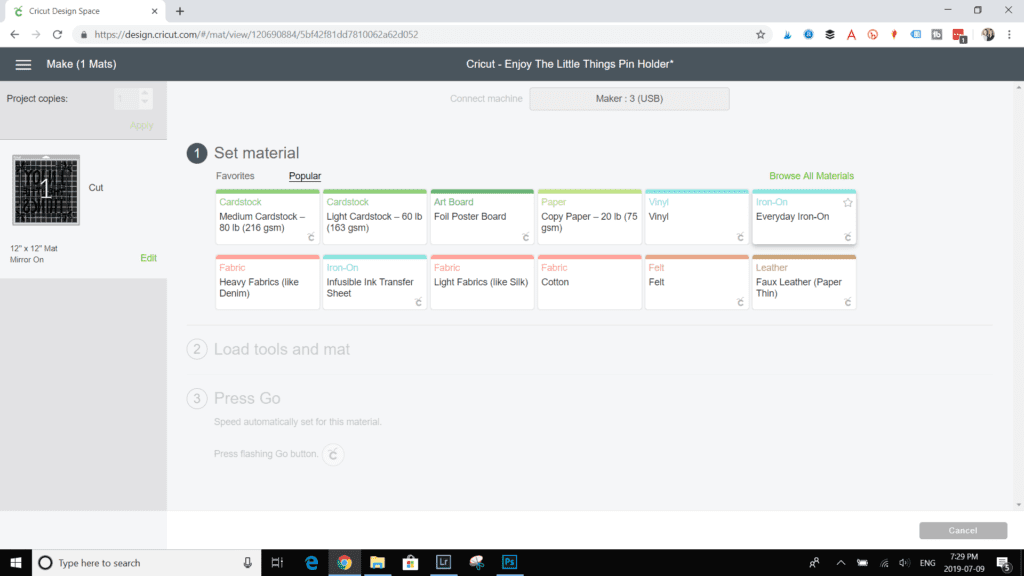
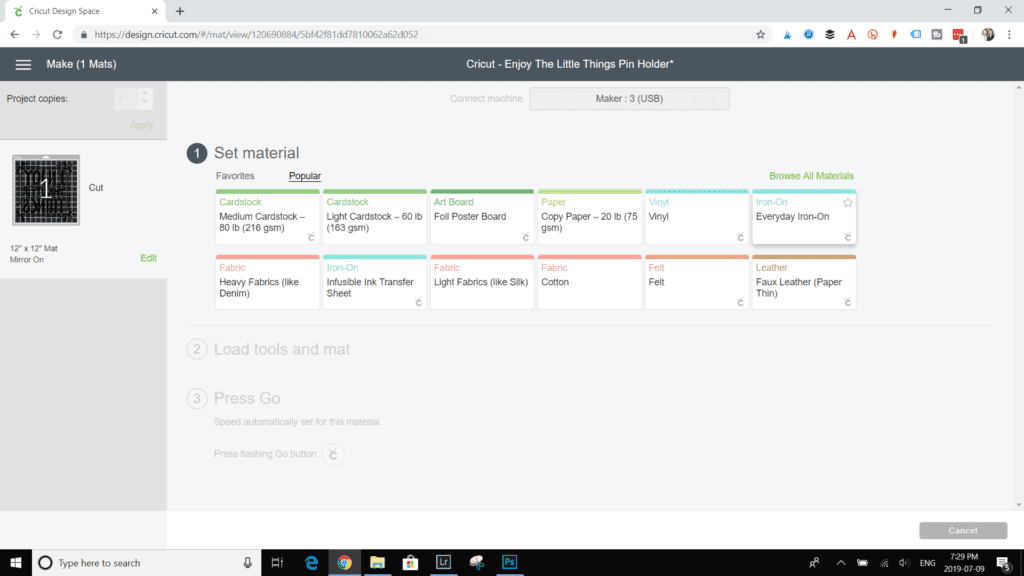
Choose the Everyday Iron-On from the list of material options and ensure correct cutting blade is inserted into the machine.
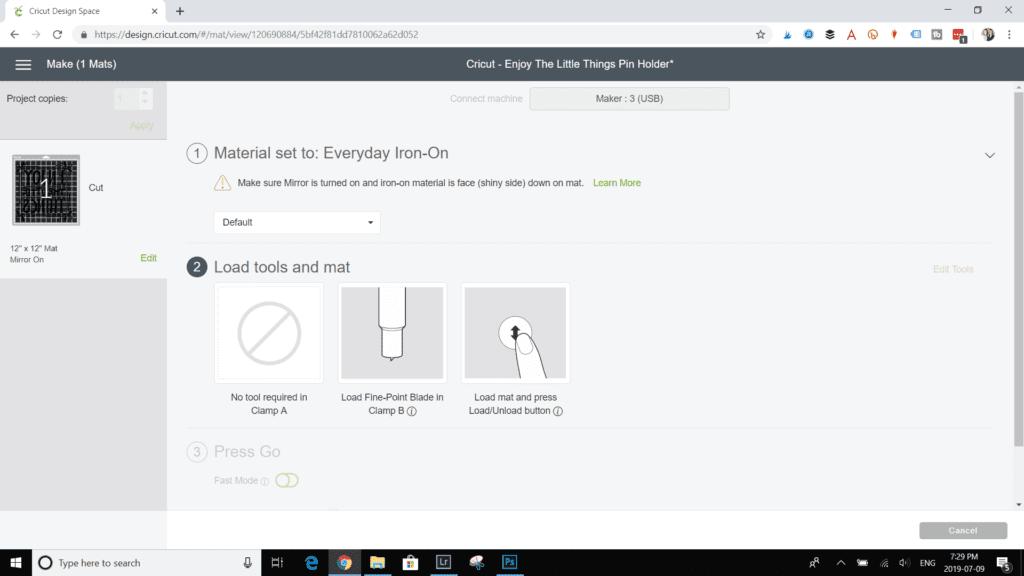
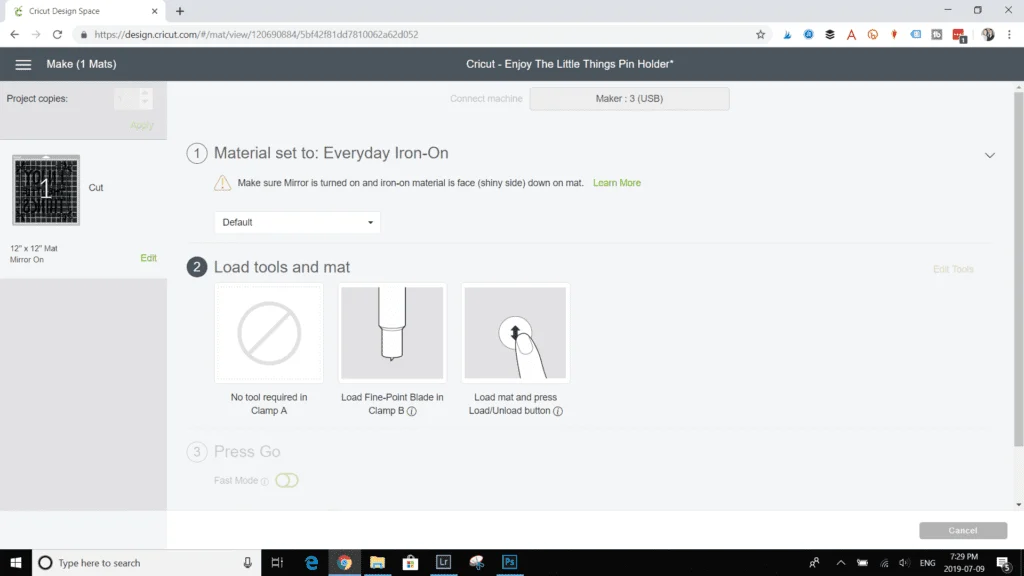
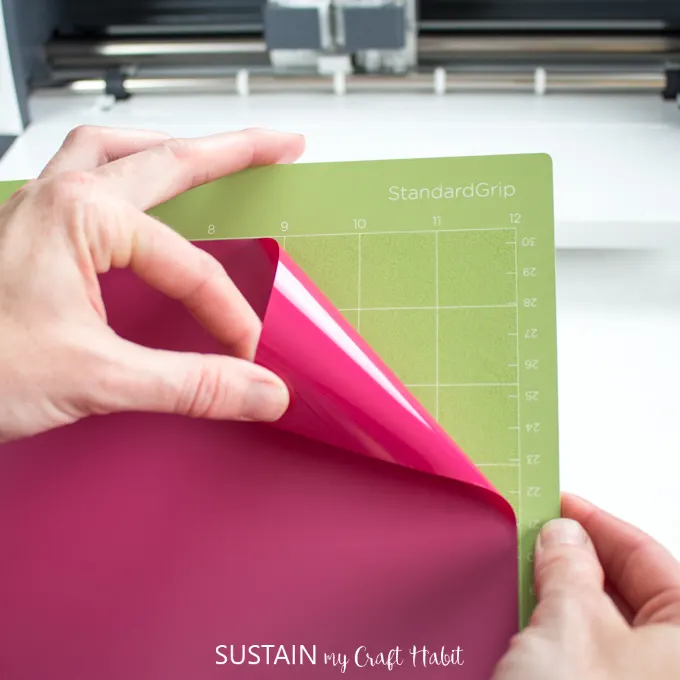
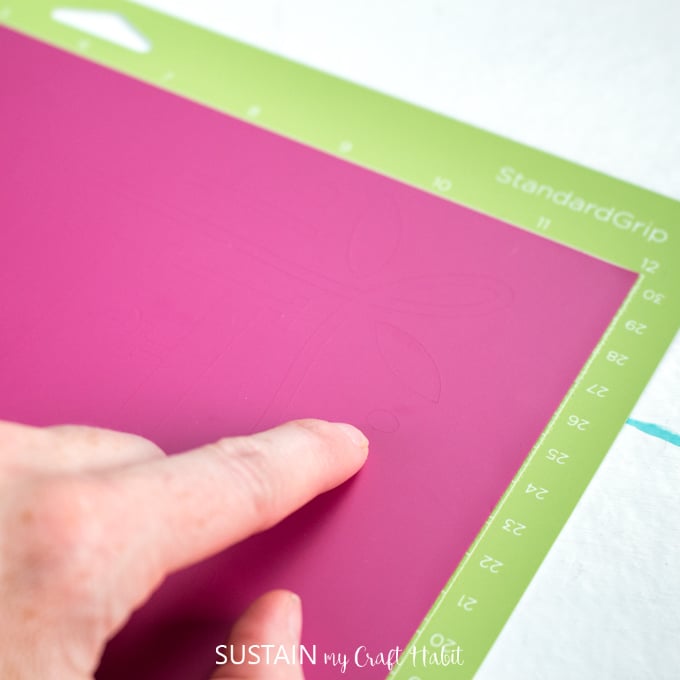
Place the raspberry iron-on vinyl directly onto the Cricut mat with the shiny side down.

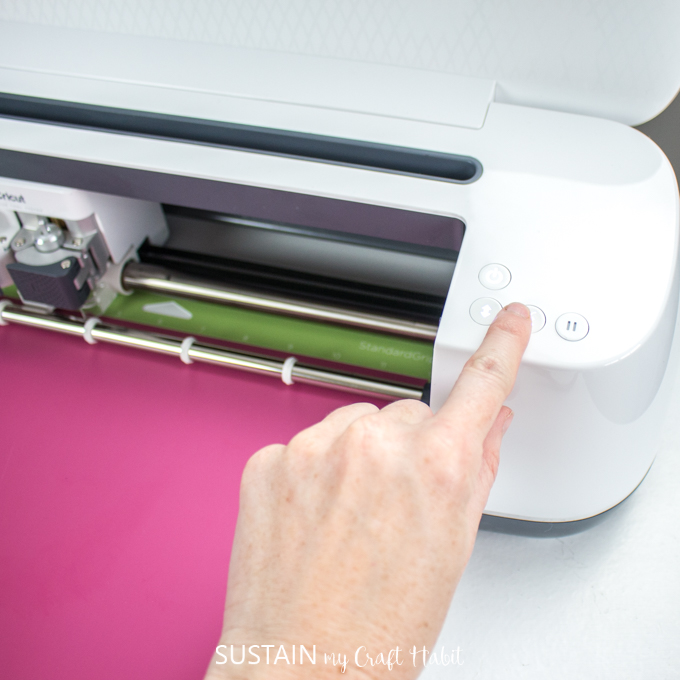
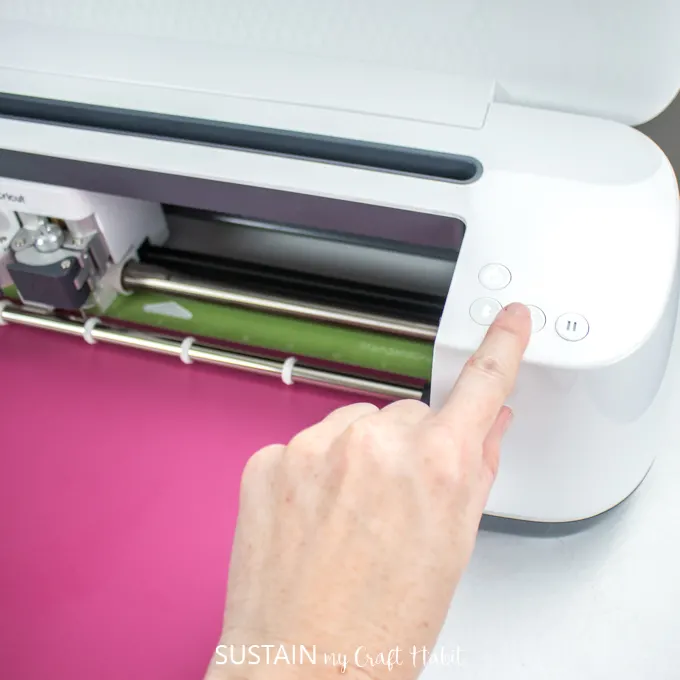
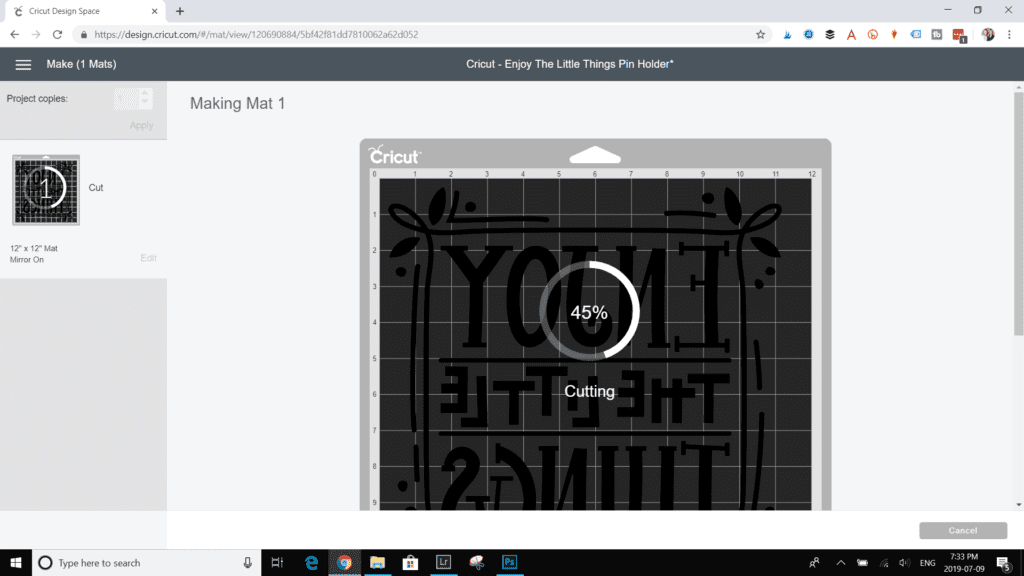
Insert the prepared mat into the Cricut Maker and hit start.


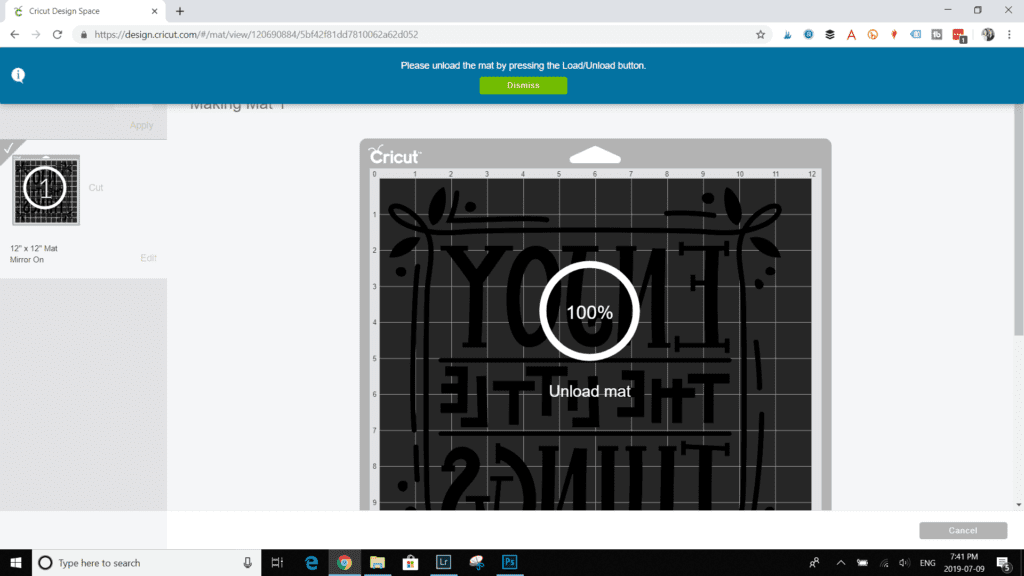

Remove the mat and peel off the vinyl, notice the faint cutting lines on the vinyl.

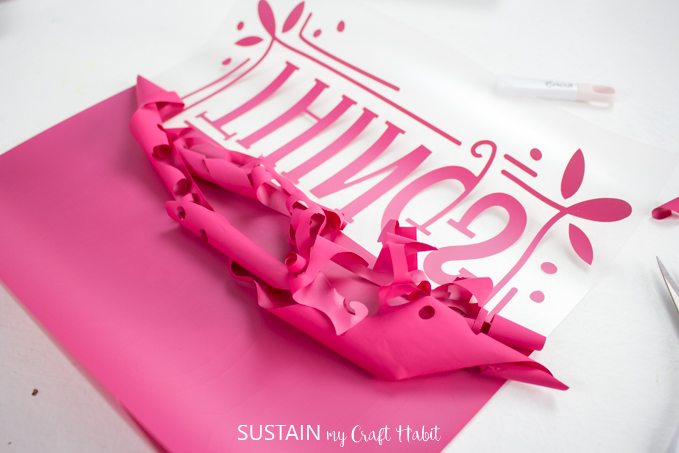
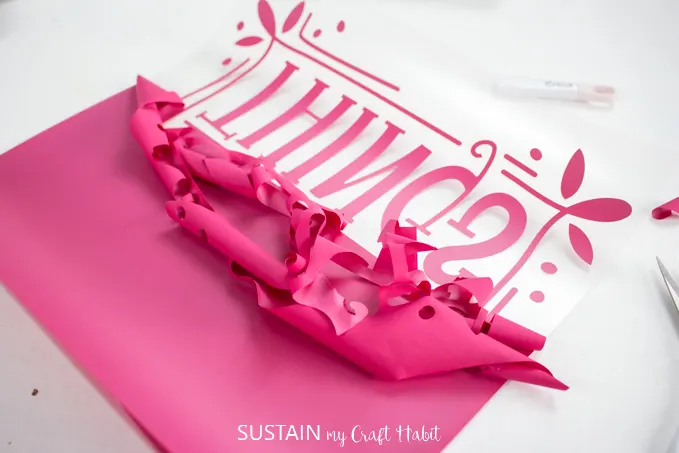
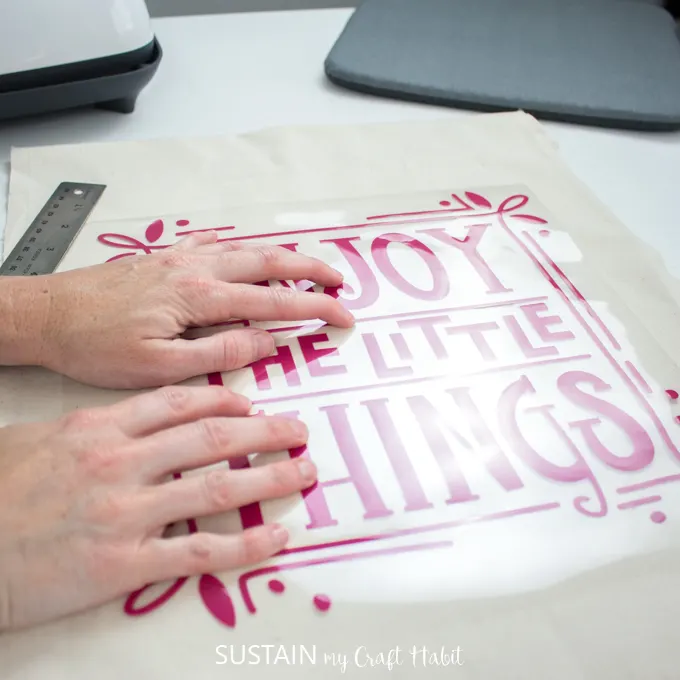
Using the weeding tool, peel away the excess vinyl leaving just the portion of the decal to be pressed.
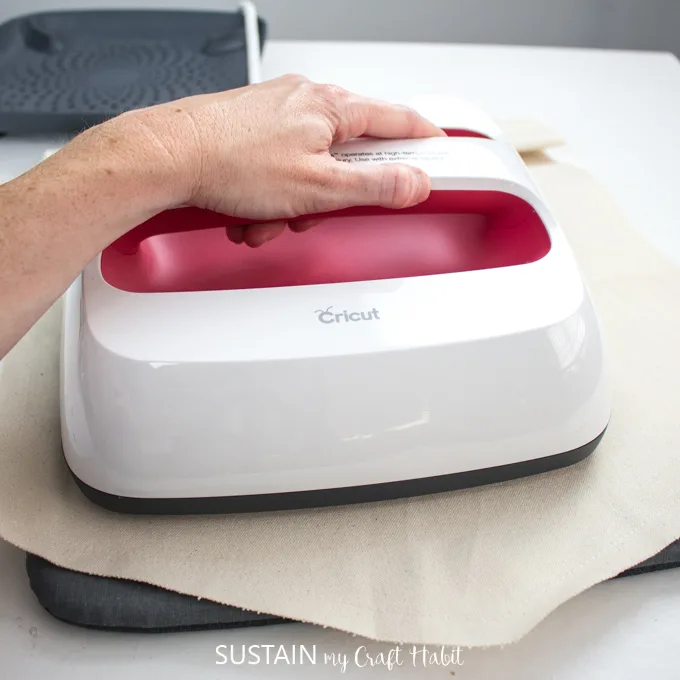
Using the Easy Press
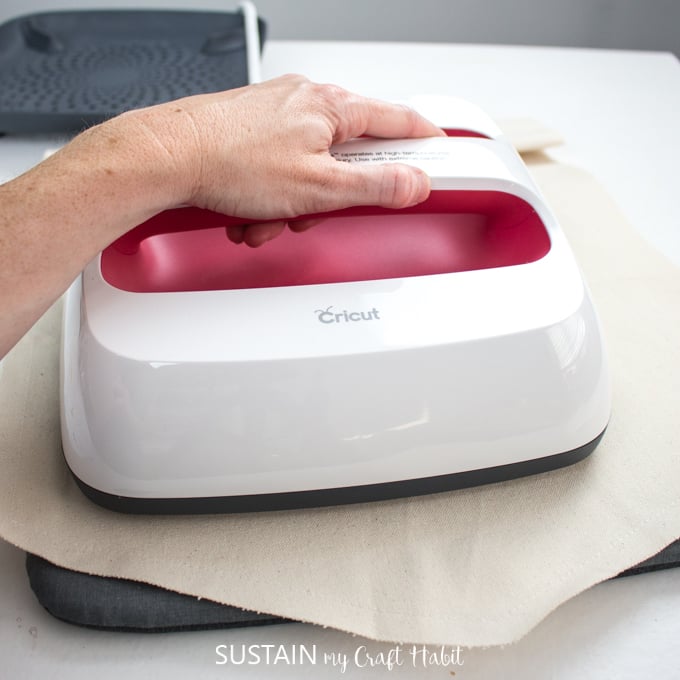
Position the mat on a flat surface and lay the banner on top.

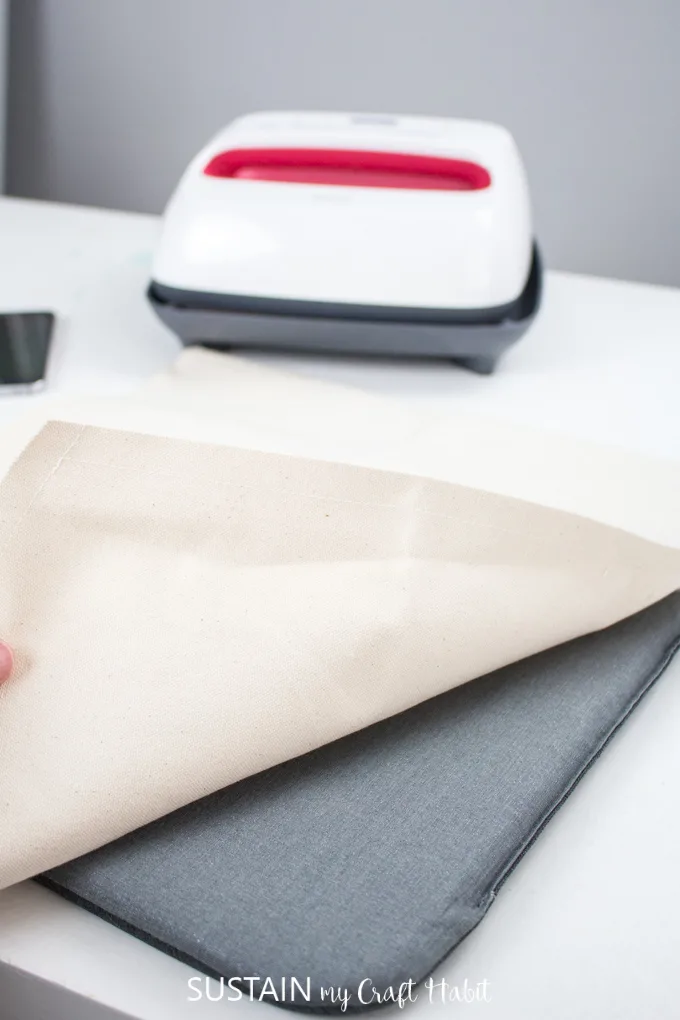
Turn on the EasyPress 2.
Set the temperature and time on the machine following the chart for the type of vinyl and material being used or use this EasyPress Interactive Quick Reference Guide.
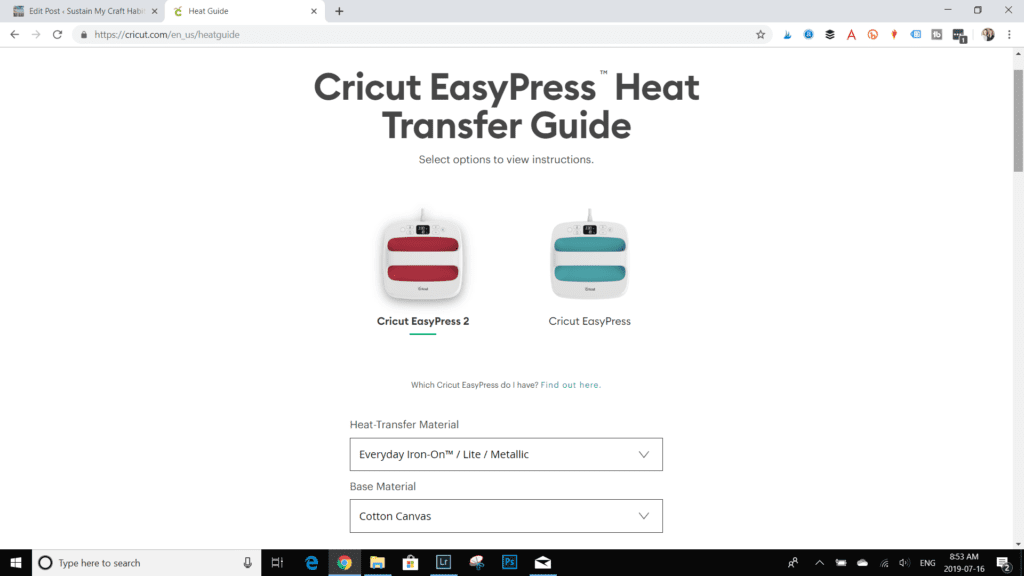

Always test a scrap piece of material and vinyl beforehand. We found that although the reference guide recommend 340F for 30 seconds, we actually needed to apply it at a higher temperature and for longer in order for the vinyl to stick.
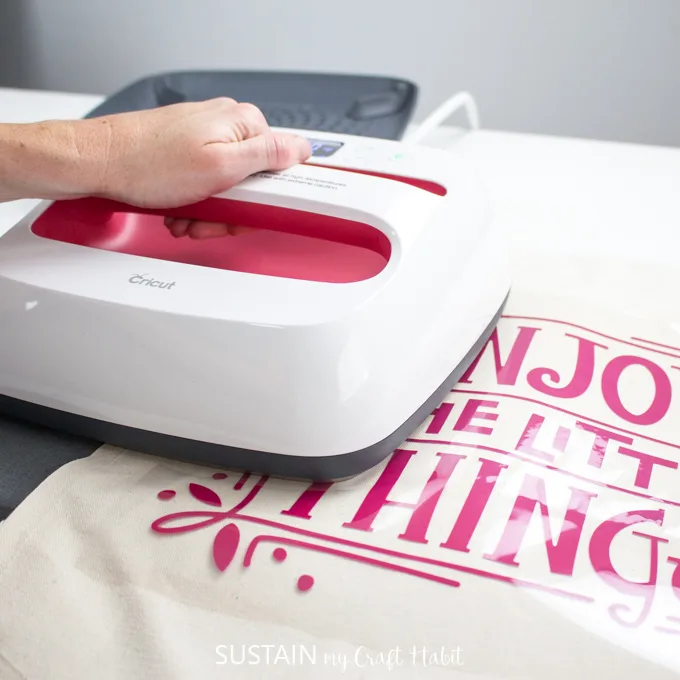
Pre-press the canvas for 5 seconds. This will prep the fabric for the vinyl and the heat while also removing any creases and wrinkles from the fabric. Position the decal in the center of the prepared canvas.

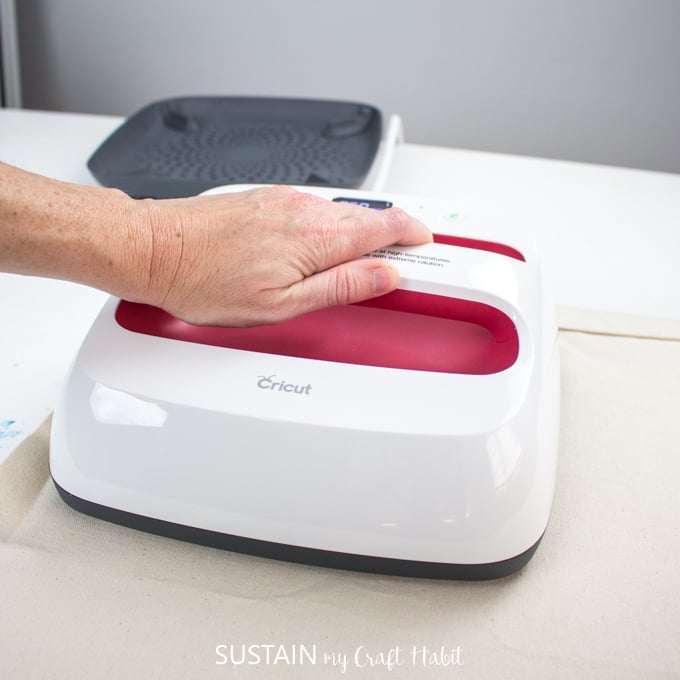
Press the iron on vinyl to the canvas. Since our EasyPres 2 is smaller than the size of the decal, I needed to press the vinyl one section at a time until all was pressed.
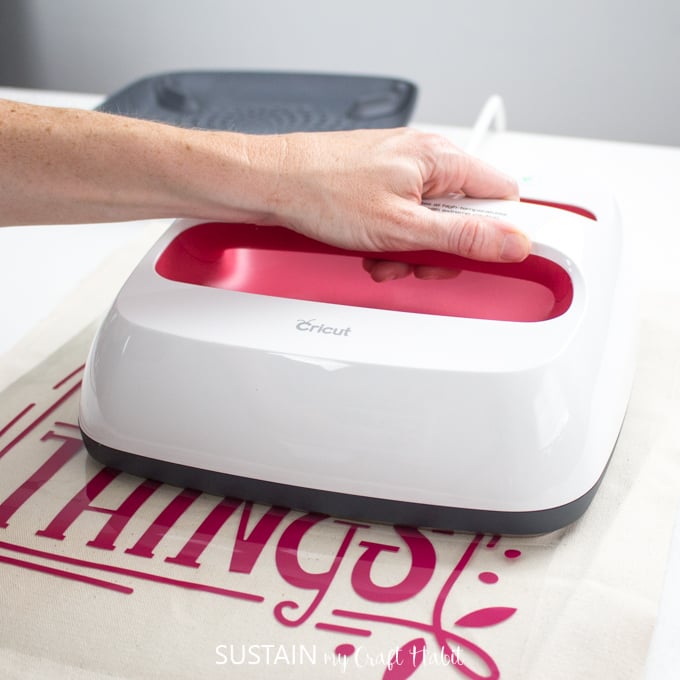
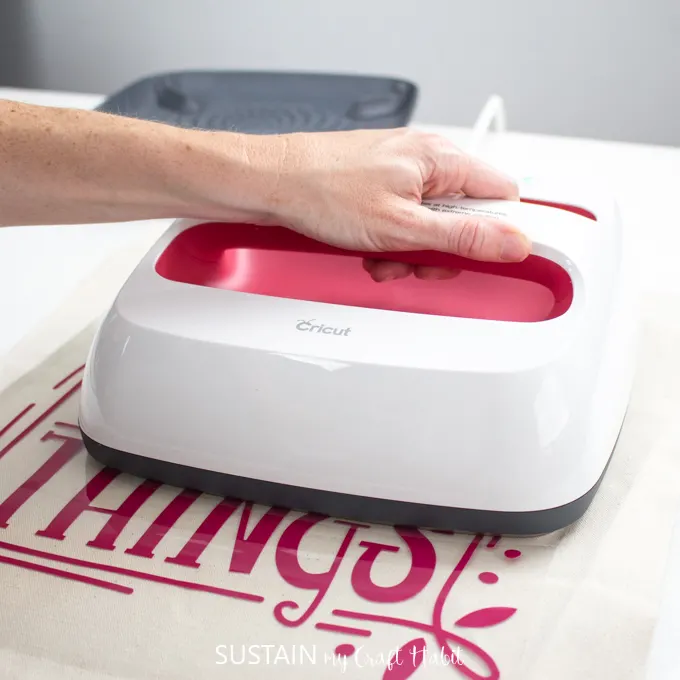

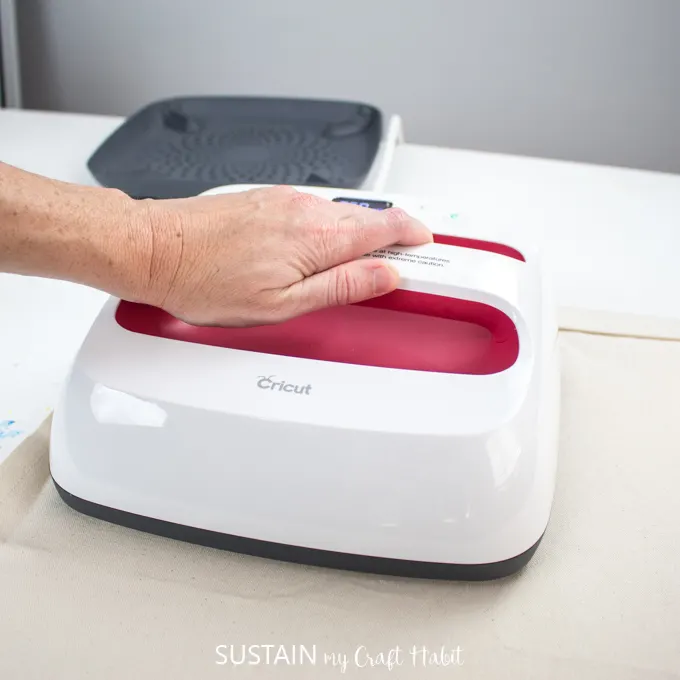
Turn the banner over and press on the back side as well.
Allow the vinyl too cool before peeling the plastic part off carefully.

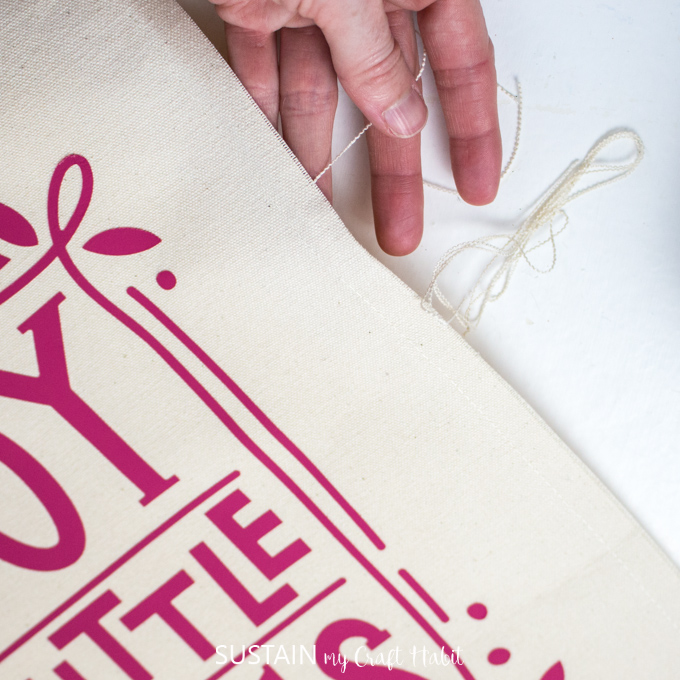
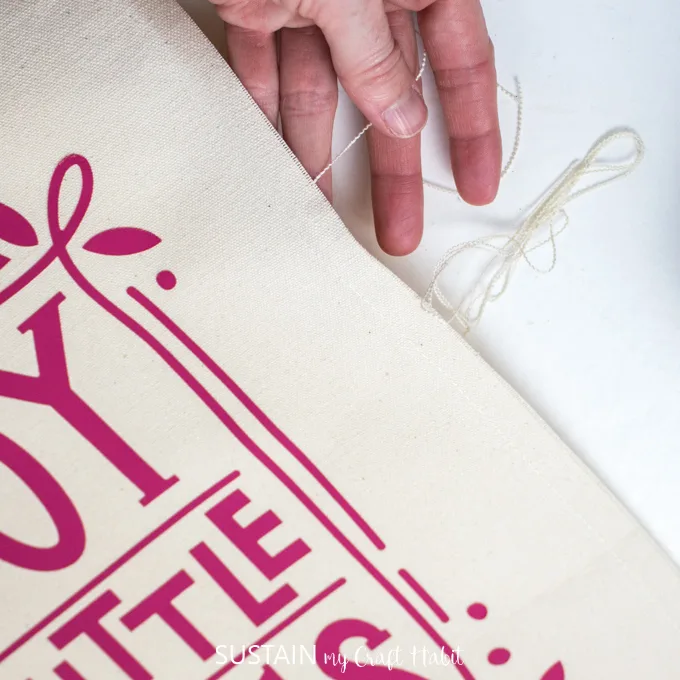
Finishing the Wall Hanging
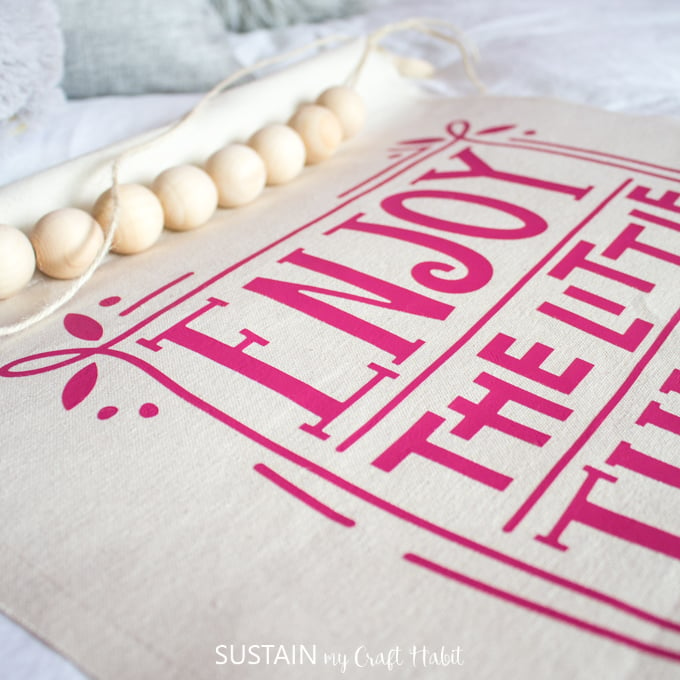
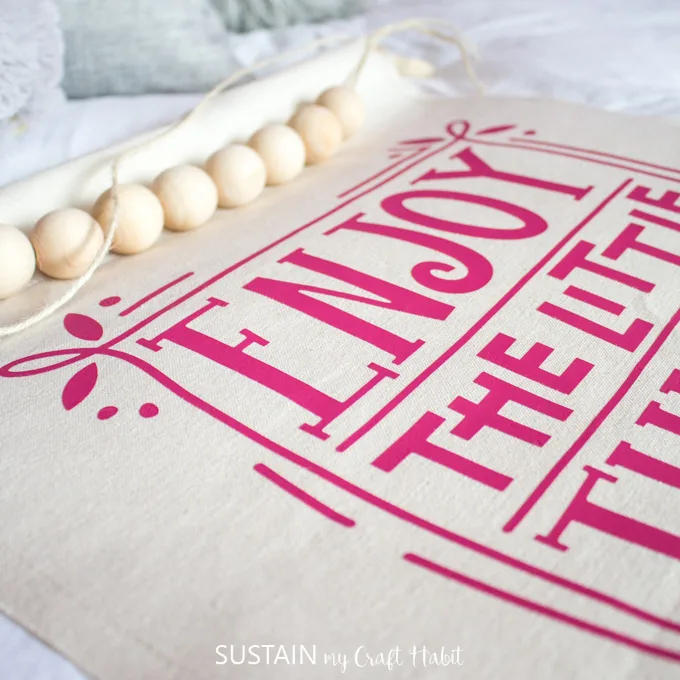
Pull at any loose canvas threads along the cut edges to create a frayed edge look.
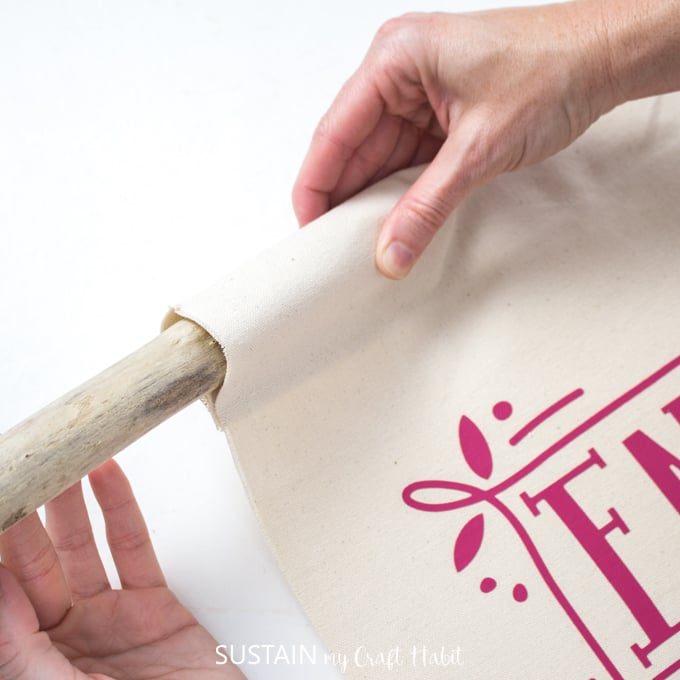
Insert the driftwood through the wide hem.

Tie a piece of twine to both ends of the driftwood and hang! For an extra little boho touch, string some large wooden beads together and tie to the front of the canvas wall hanging.

I’m so glad we went with this bright colour which just reminds me to appreciate all I have each time I see it.
Don’t hesitate to visit CanvasEtc. and explore their huge collection of fabrics at affordable prices.
Did you know that CanvasEtc. offers their fabric remnants for free! Just pay a nominal shipping fee for a 5lb box of remnants for your DIY and crafting projects!
What saying would you like to display on your canvas wall art?
Like it? Pin it for Later!

