DIY Fall Welcome Sign with Cricut
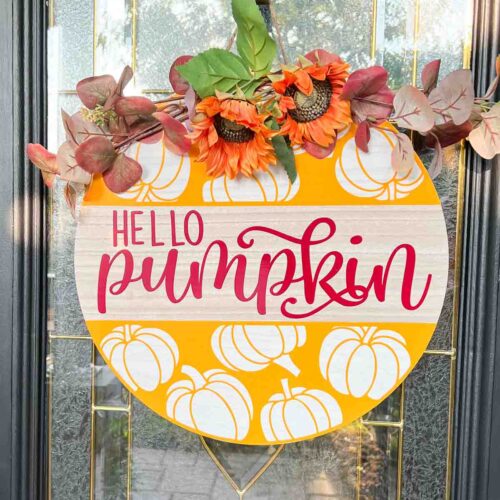
Welcome autumn to your front porch with this easy DIY fall welcome sign made with your Cricut!
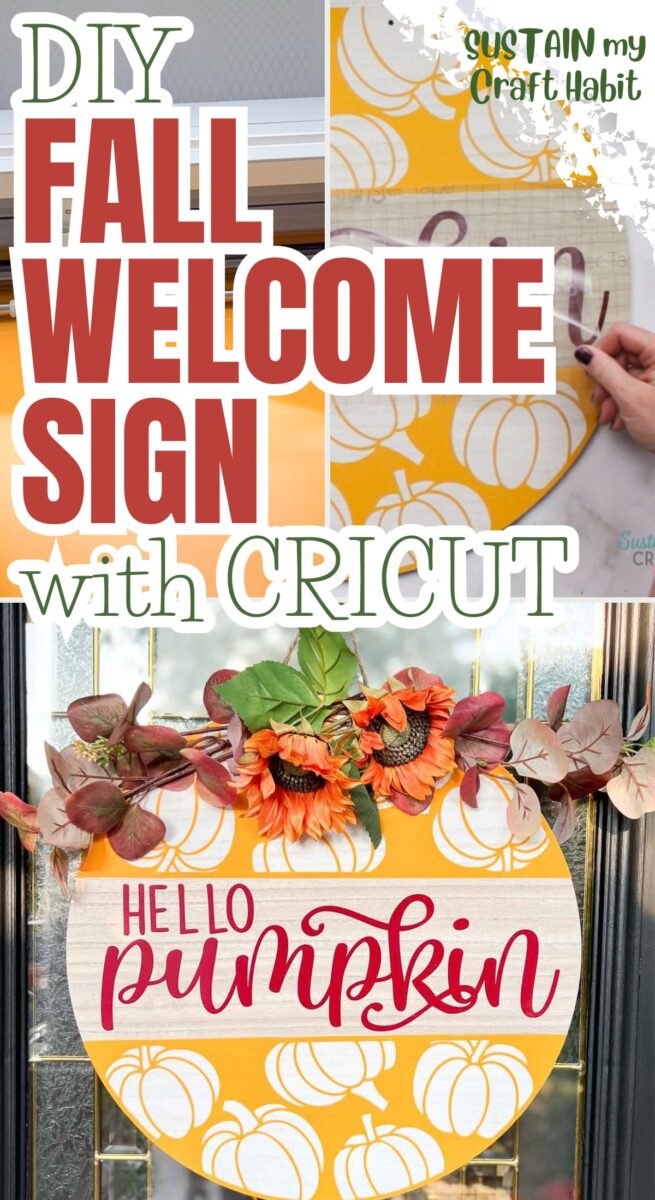
There’s something special about decorating your home for autumn, especially when you can add a personal touch with a handmade project. This DIY Fall Welcome Sign made with Cricut is a simple and affordable way to bring cosy seasonal charm to your front porch, entryway, or living room.
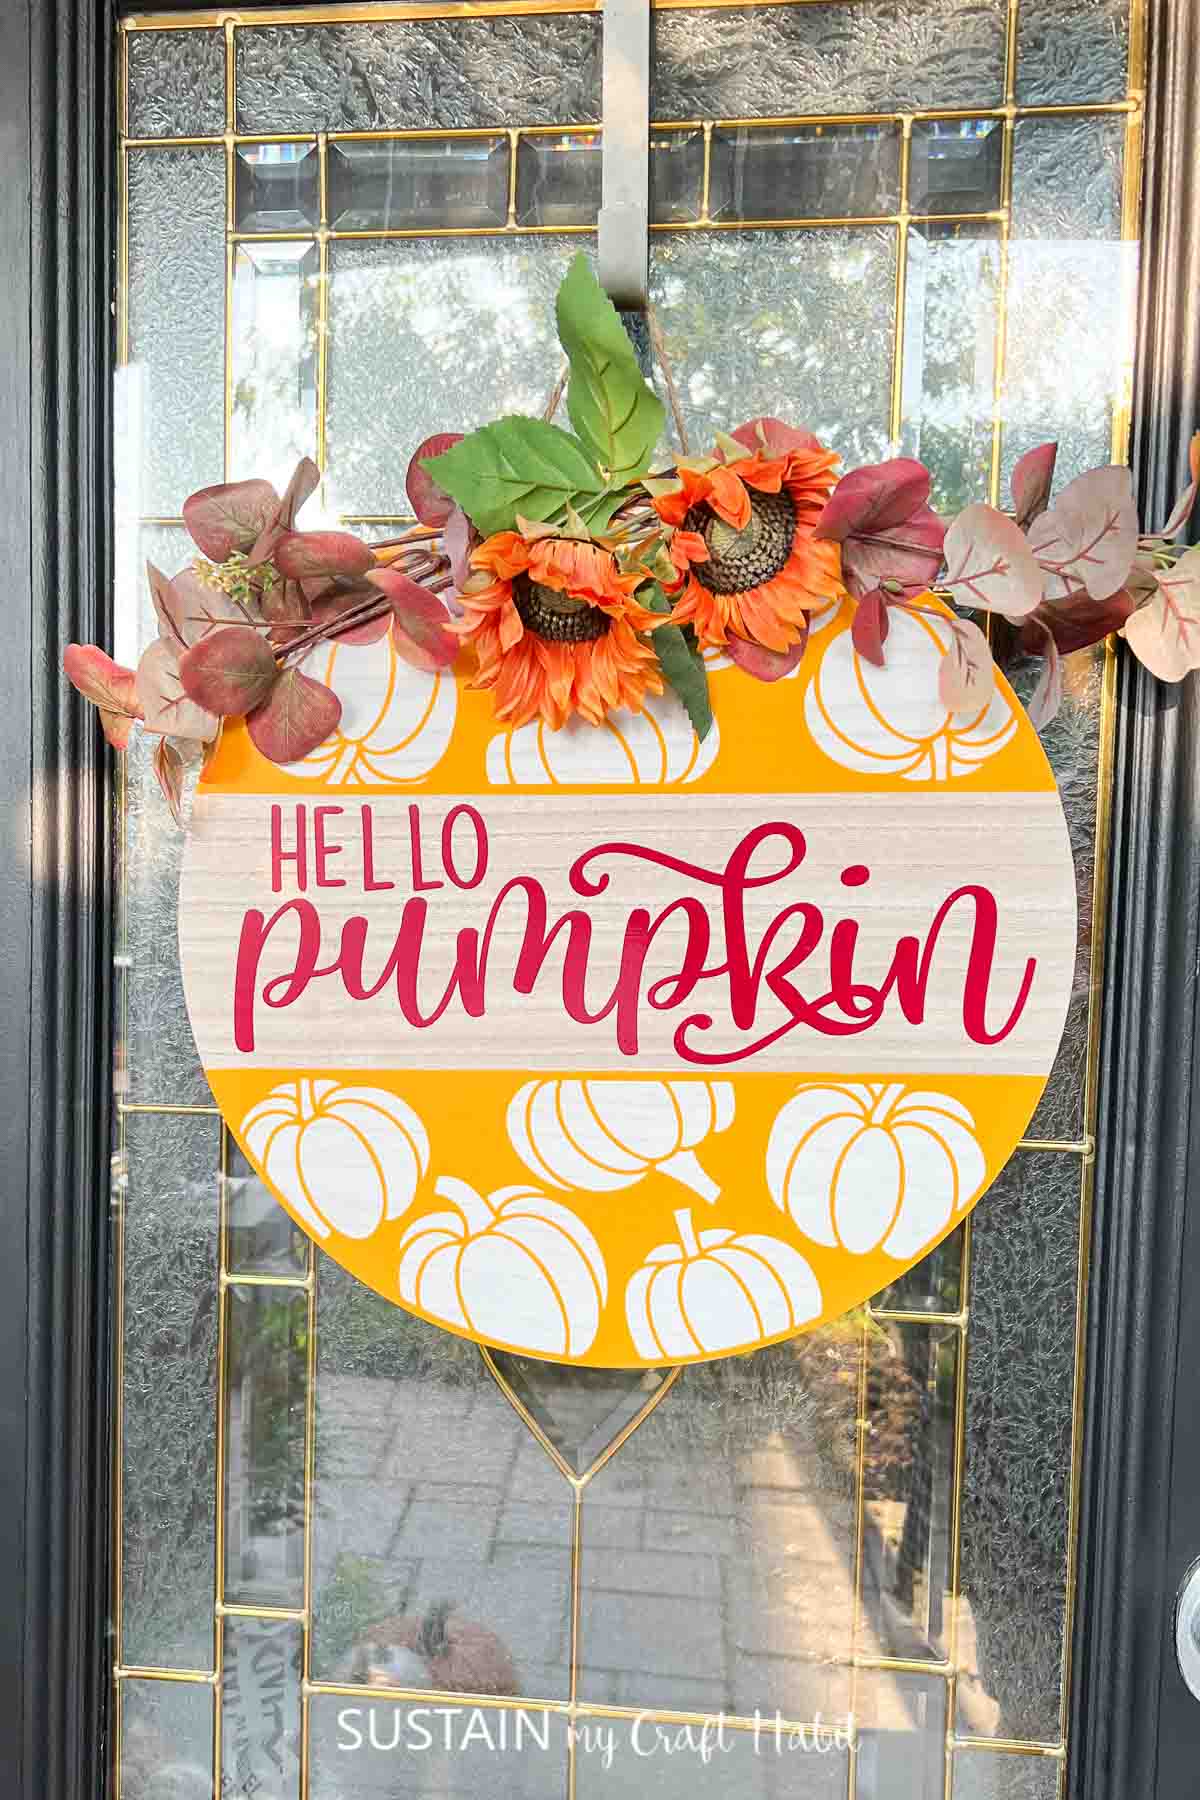
Instead of spending money on expensive shop-bought autumn decorations, you can create your own custom welcome sign using a wooden board, adhesive vinyl, and your Cricut cutting machine.
Choose your favourite autumn colours, add a pumpkin or leaf design, and make a sign that perfectly matches your home.
Why You’ll Love This DIY Fall Front Door Sign Made with Cricut
- Budget-friendly autumn décor: Make a beautiful DIY fall porch sign using inexpensive wooden boards, vinyl scraps, and craft supplies you may already have at home.
- Beginner-friendly Cricut craft: This easy Cricut fall project is perfect for beginners who want to practise cutting, weeding, and applying adhesive vinyl.
- Completely customisable: Choose your own fonts, colours, pumpkin designs, and seasonal messages to create a personalised autumn welcome sign.
- Perfect for indoor or outdoor decorating: Display your handmade sign on a covered porch, beside your front door, or as part of a cosy autumn entryway.
- Great handmade gift idea: A personalised wooden fall welcome sign makes a thoughtful housewarming, birthday, or seasonal gift.
Get access to our resource library filled with SVG cut files and other Cricut craft ideas!
Materials Needed
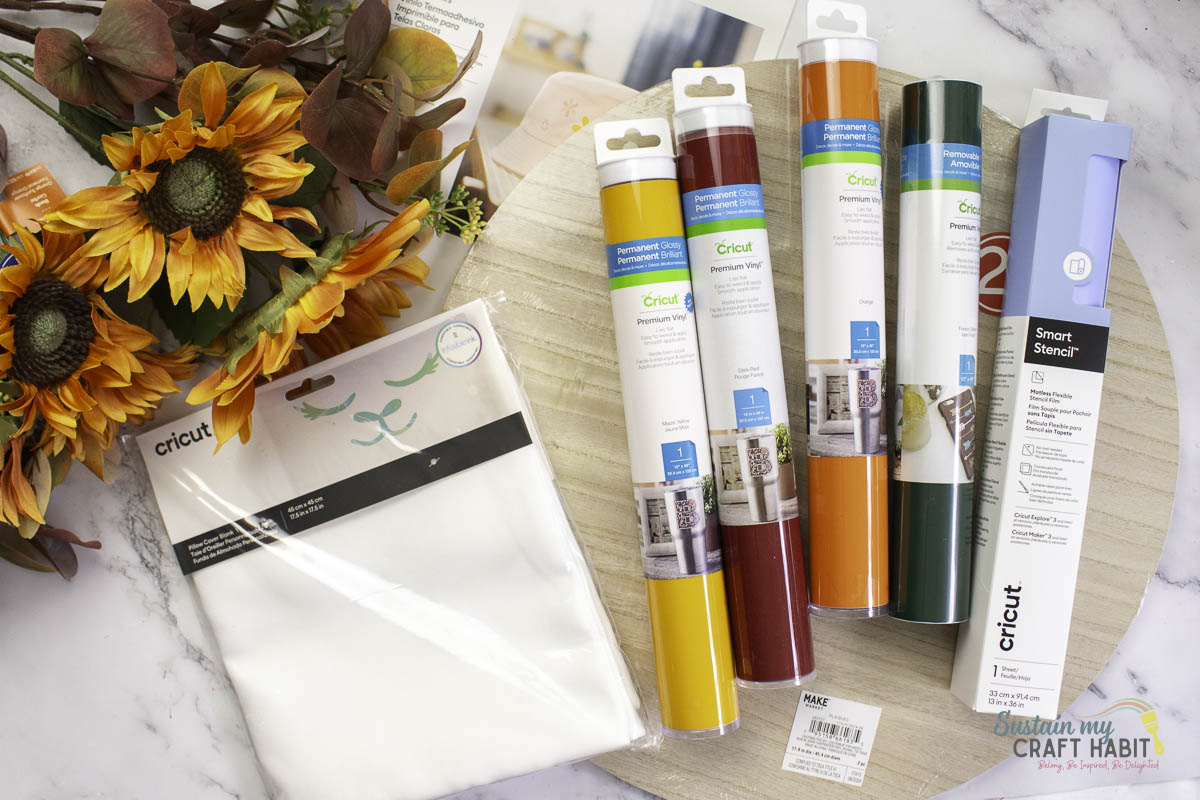
- Wood Round, large size, we used a 17” round circle with a light wood grain finish
- Cricut permanent Vinyl in a burgundy and muted orange color
- Chalky paint in white
- Paintbrush
- “Hello Pumpkin” design file from Cricut Design Space
- Cricut Maker 3
- Weeder
- Scissors
- Cricut Transfer Tape
- Faux Fall flowers
How to Make a Fall Welcome Sign with Cricut
Gather supplies.
Prepare Wood Circle
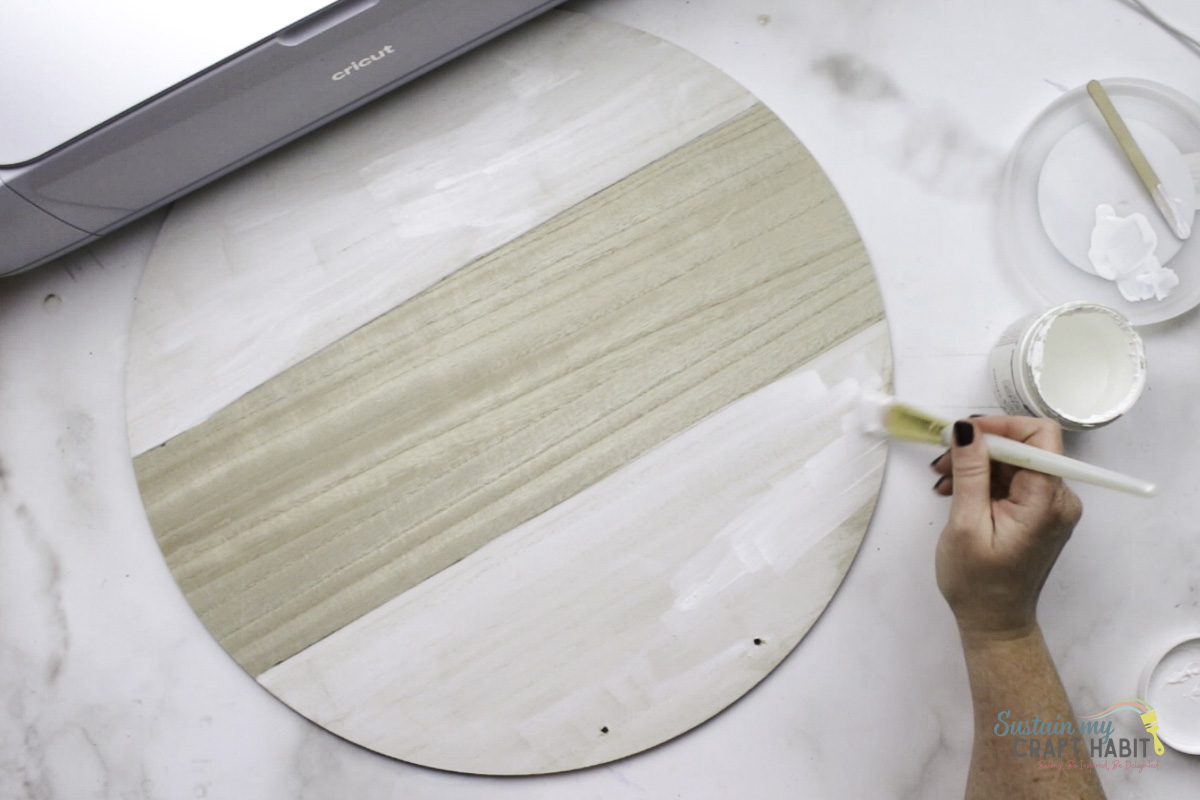
Divide the wood round into 3 and use a white chalky paint and brush on the paint in the top and bottom sections. Leave it to dry.
Uploading the SVG Pattern
Open Cricut Design Space.
Click on the “+” sign to start a new project, opening up a blank canvas.
Click on the Upload button from the toolbar to insert the “hello pumpkin” or “welcome” design onto the canvas.
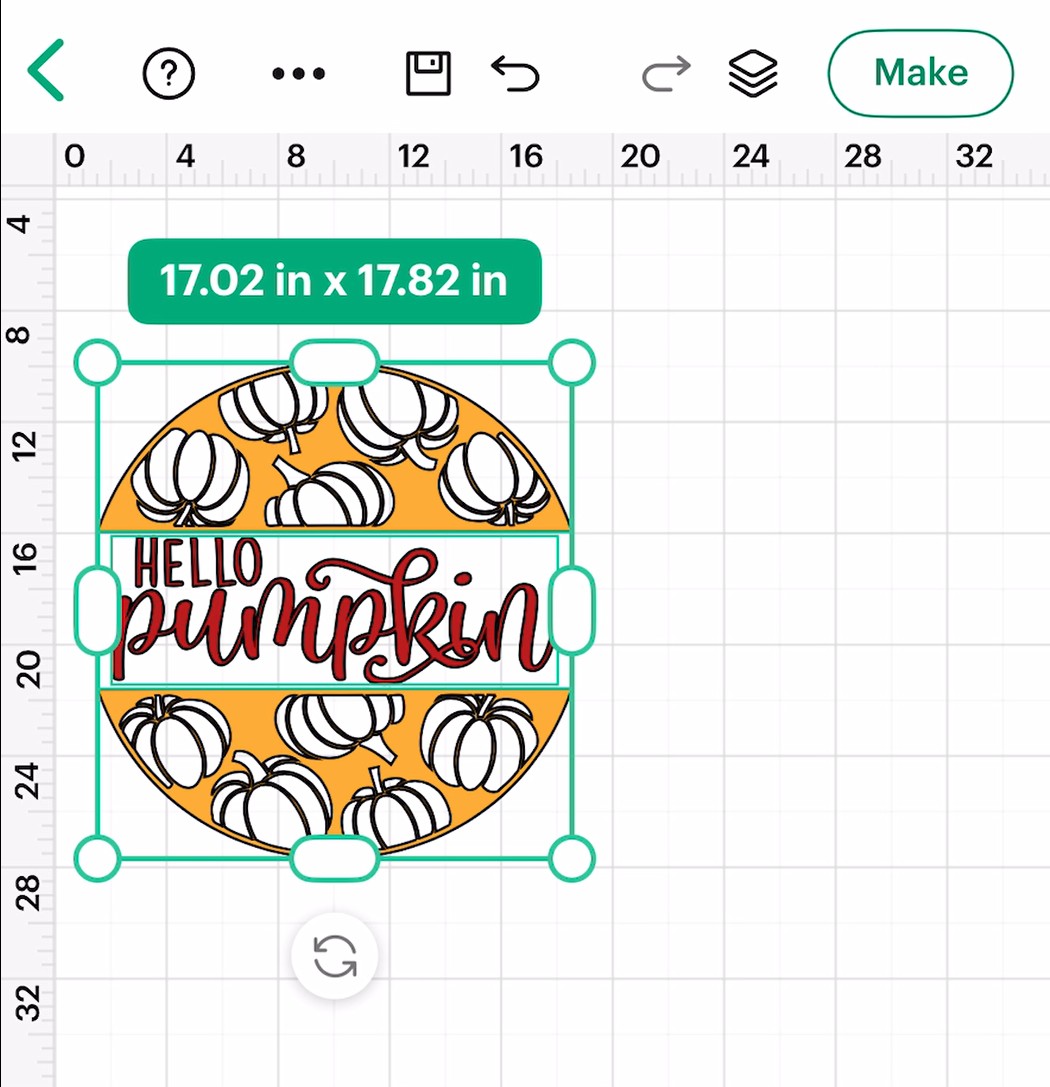
Ensure the size matches the wood round.
Cutting the Vinyl
Ensure the machine is set to Cricut Maker 3 and select “Make It” in Design Space.
Choose “With Mat” as the option for cutting when using regular Vinyl.
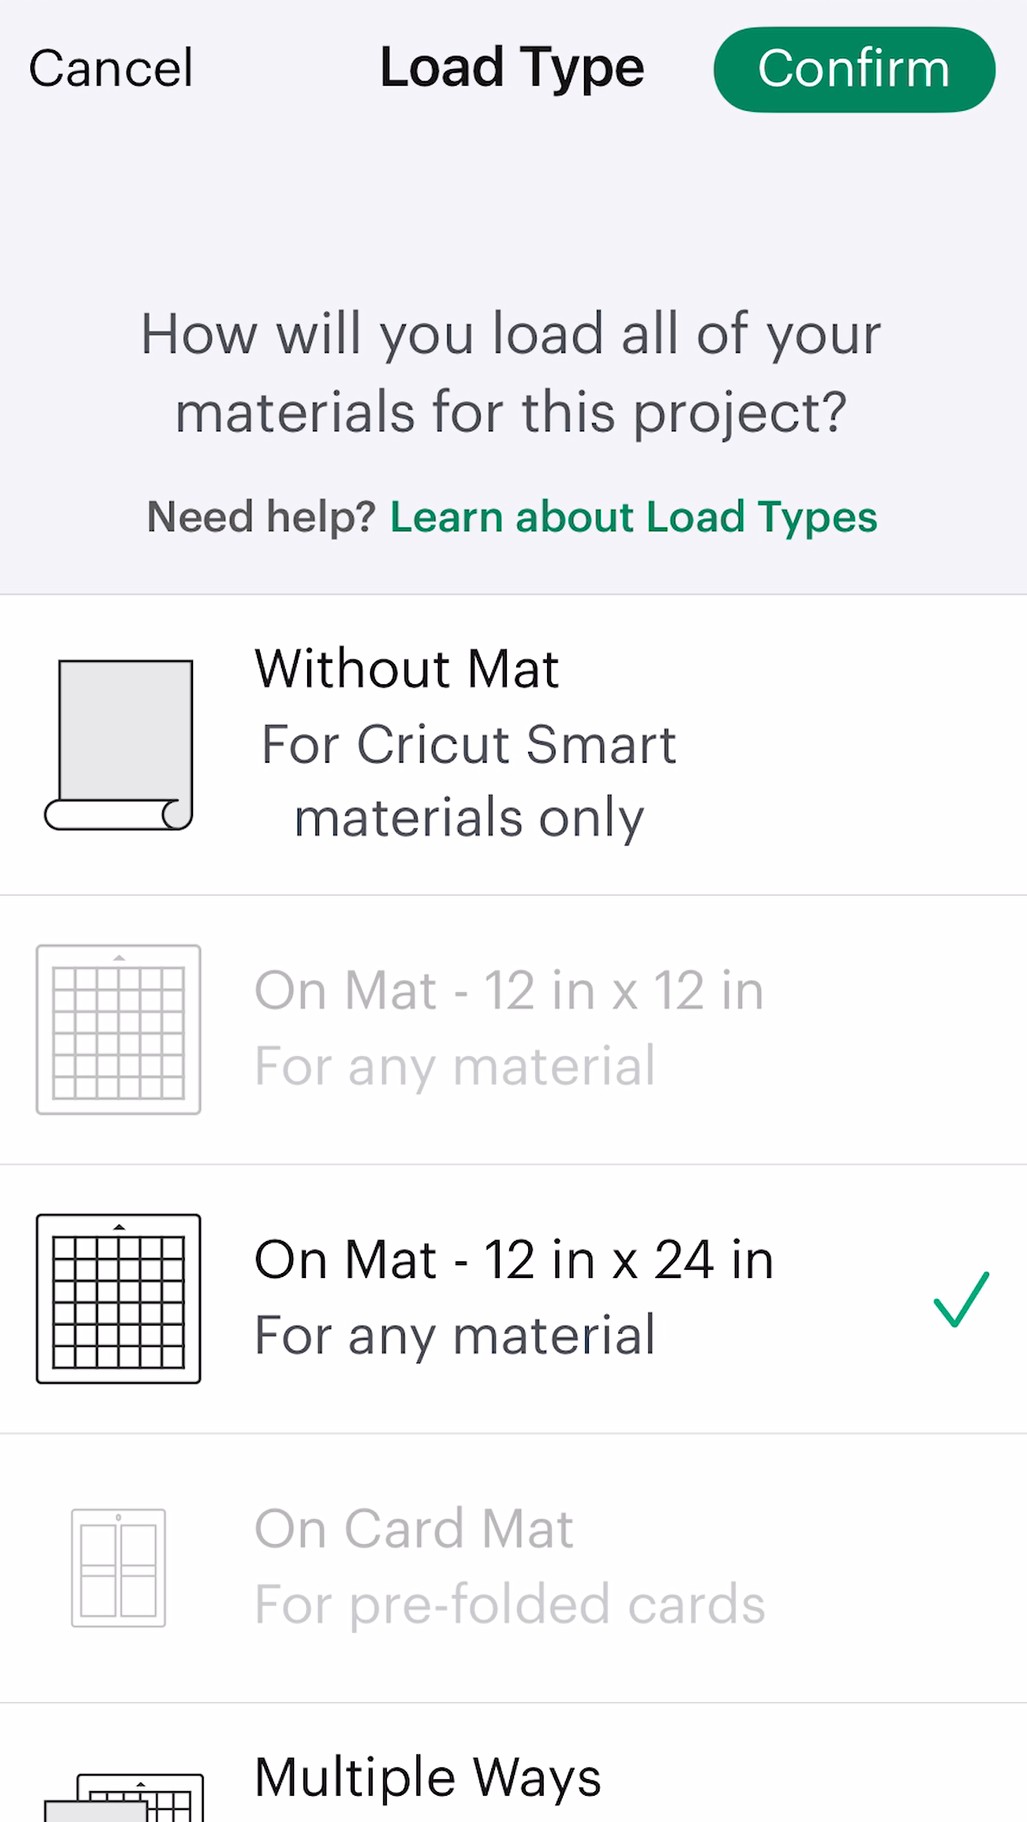
Set material type to Permanent Vinyl.
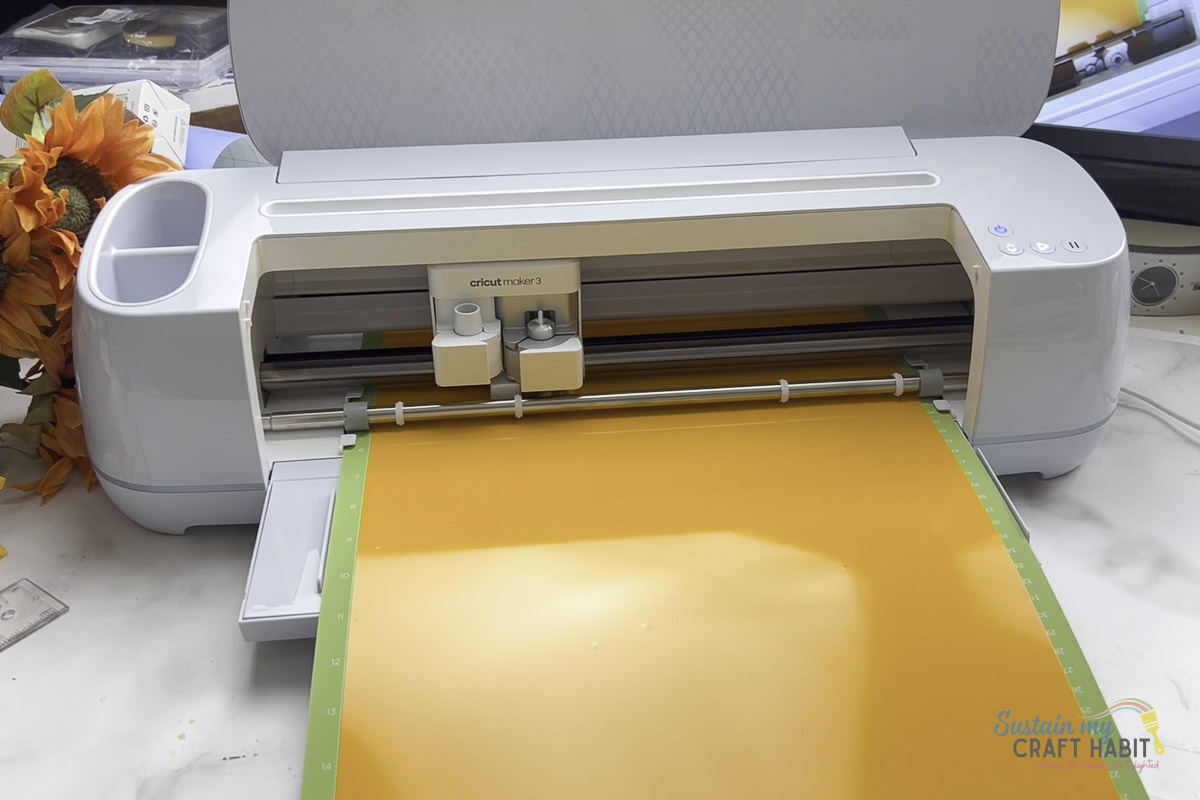
Follow prompts for loading the mat into the Cricut maker and cutting the Vinyl. When prompted, unload the vinyl from the cutting machine. Repeat the steps until all pieces and colors of the design are cut.
Applying the Vinyl to the Wood Sign
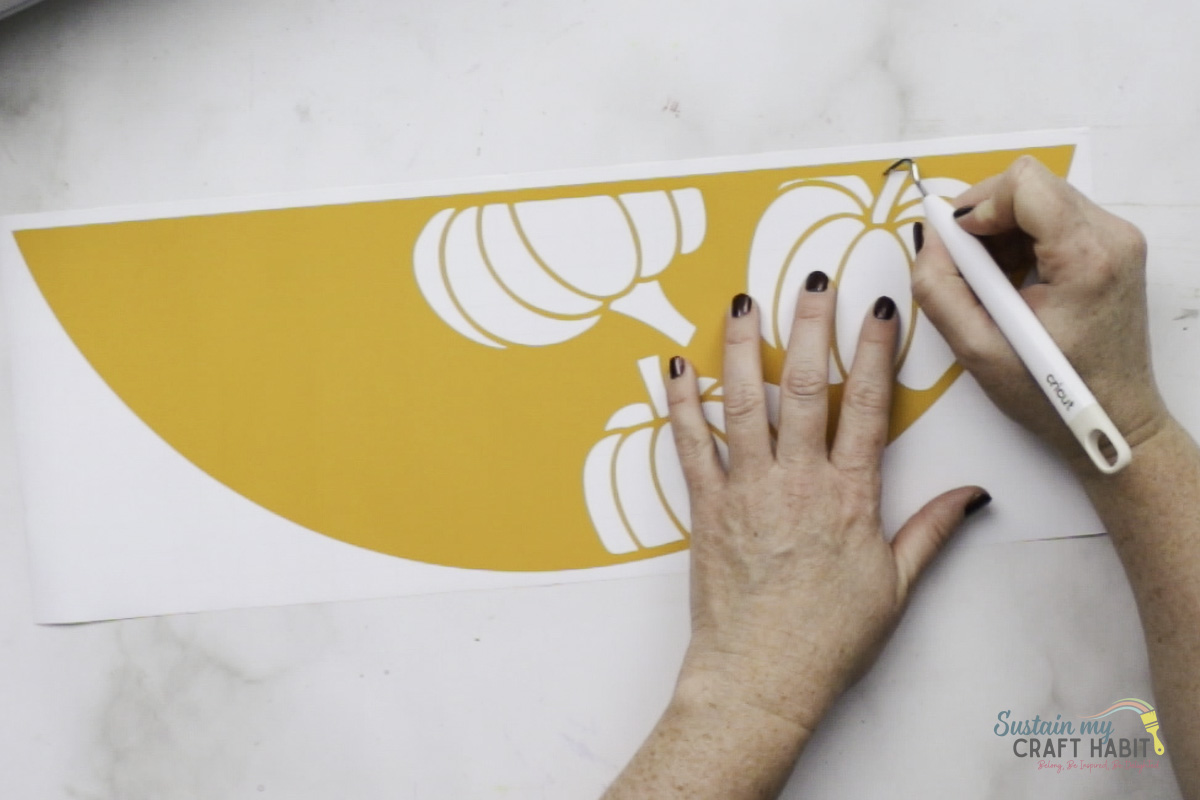
Using the weeding tool, peel away the excess vinyl around the word and discard.
Cut a piece of transfer tape a bit larger than the size of the word.
Peel away the transfer tape backing and place the transfer tape overtop of the cut image. Gently rub the vinyl to help it stick to the transfer tape.
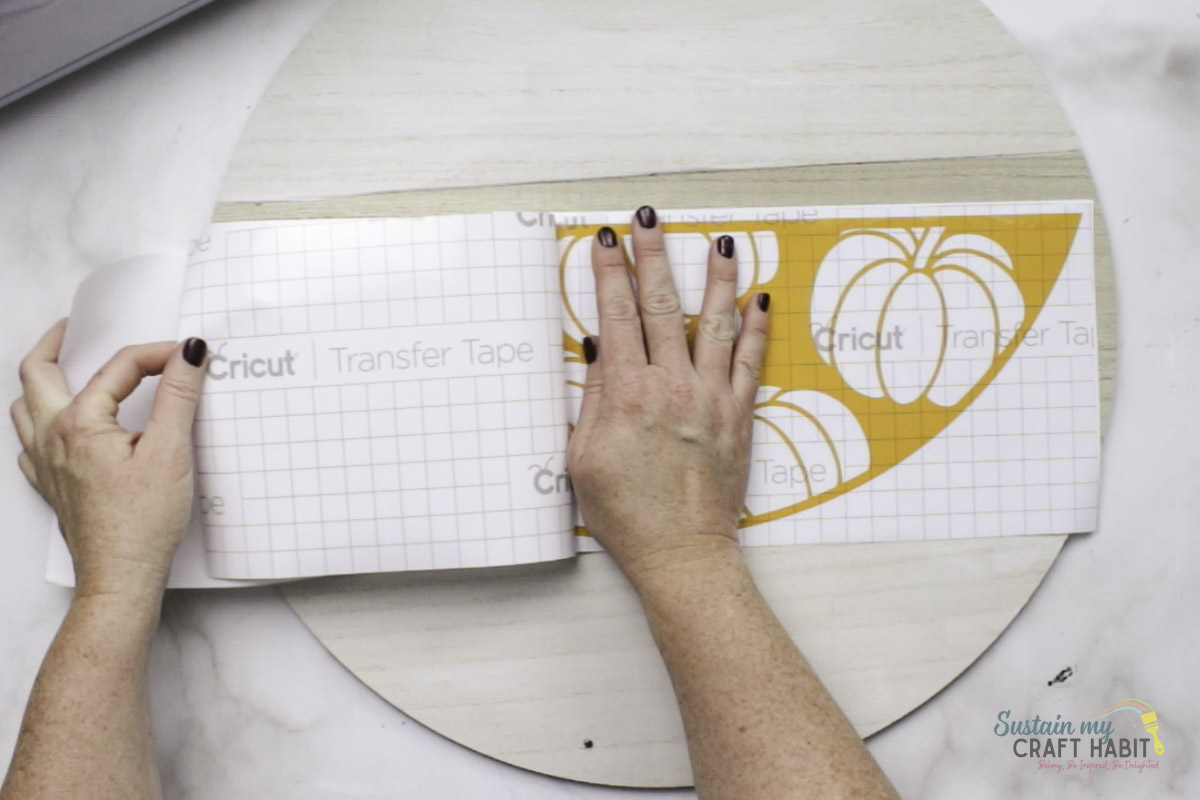
Peel away the vinyl backing and place the image on to the wood sign (in the center area). Gently rub the vinyl to help it stick. You can use a Cricut scraper tool for this.
Carefully and slowly peel away the transfer tape.
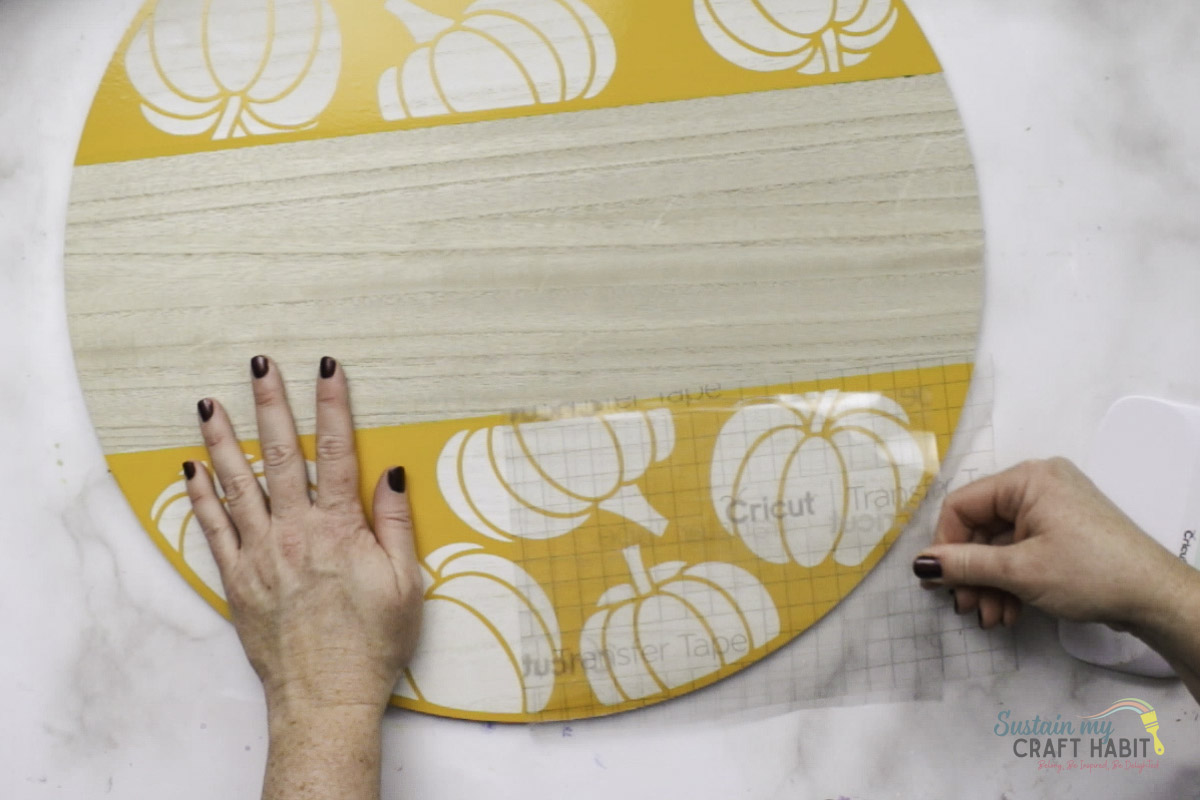
Repeat with the all over pumpkin design at the top and bottom panels.
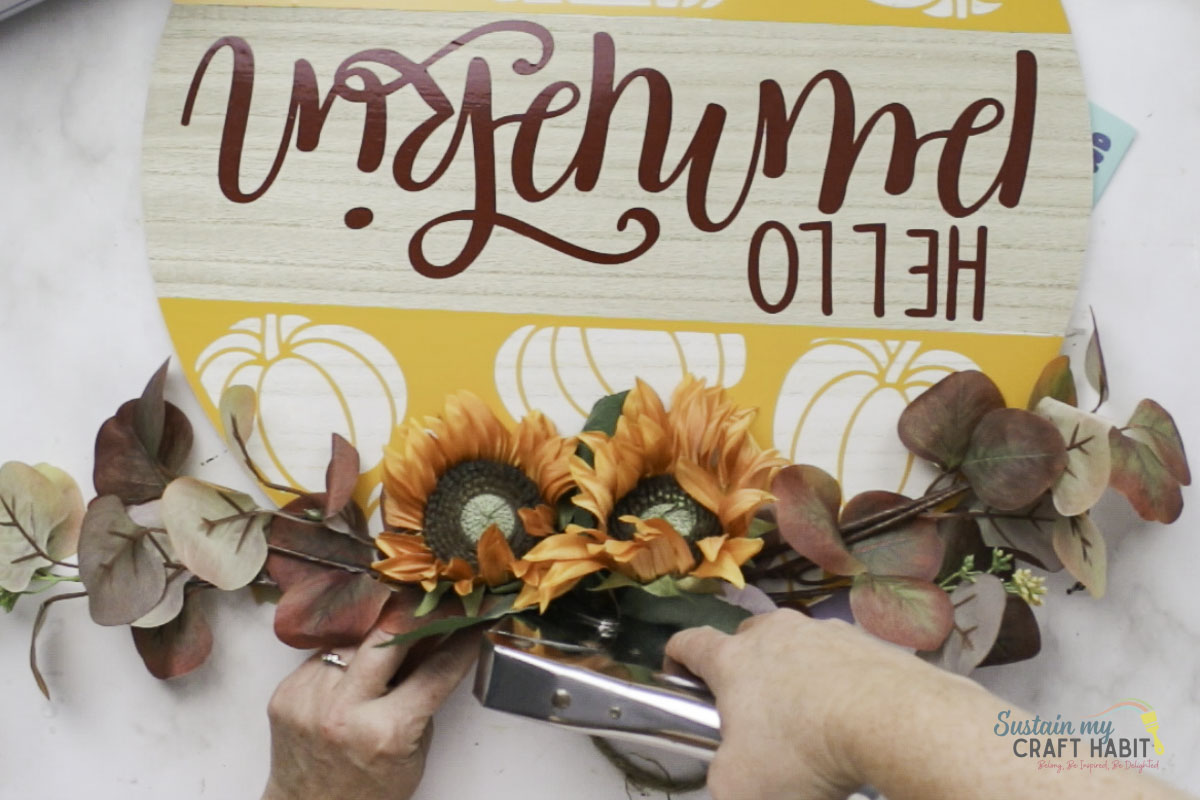
Fasten the faux florals to the top.
Hang sign to enjoy!
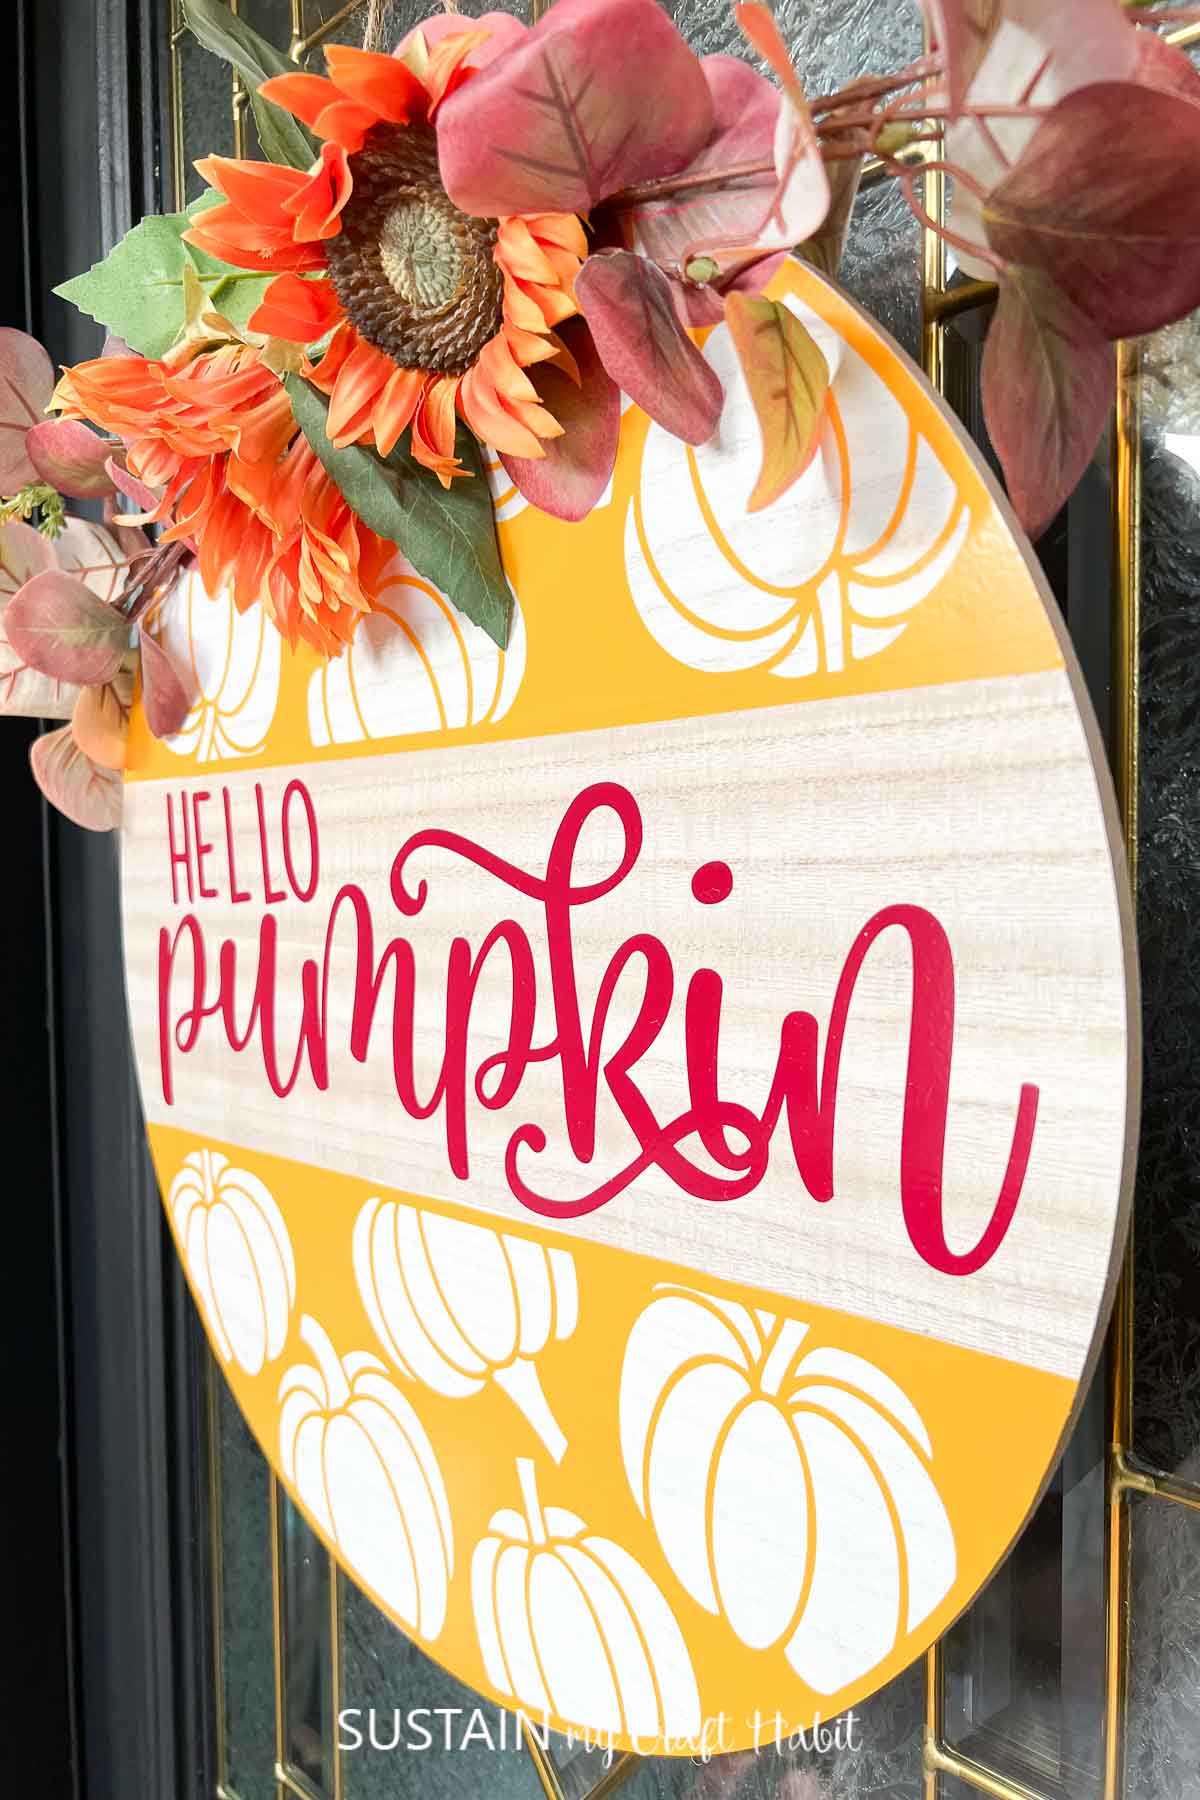
One of the best things about making a DIY Fall Welcome Sign with Cricut is how easy it is to adapt the design to suit your style. Whether you love rustic farmhouse decorations or prefer a clean, modern look, a few simple changes can make your sign unique.
Choose the Right Wood for Your Fall Welcome Sign
For a classic rustic look, use a wooden plank or an unfinished wooden sign from a craft shop. You can also repurpose leftover wood from another DIY project to keep costs down.
Experiment with Autumn Colours and Designs
Traditional autumn colours such as burnt orange, mustard yellow, deep red, and warm brown work beautifully for a handmade fall welcome sign.
Adjust the Size to Fit Your Space
A tall wooden welcome sign looks lovely leaning beside a front door, while a smaller rectangular sign works well on an entryway table or mantelpiece.
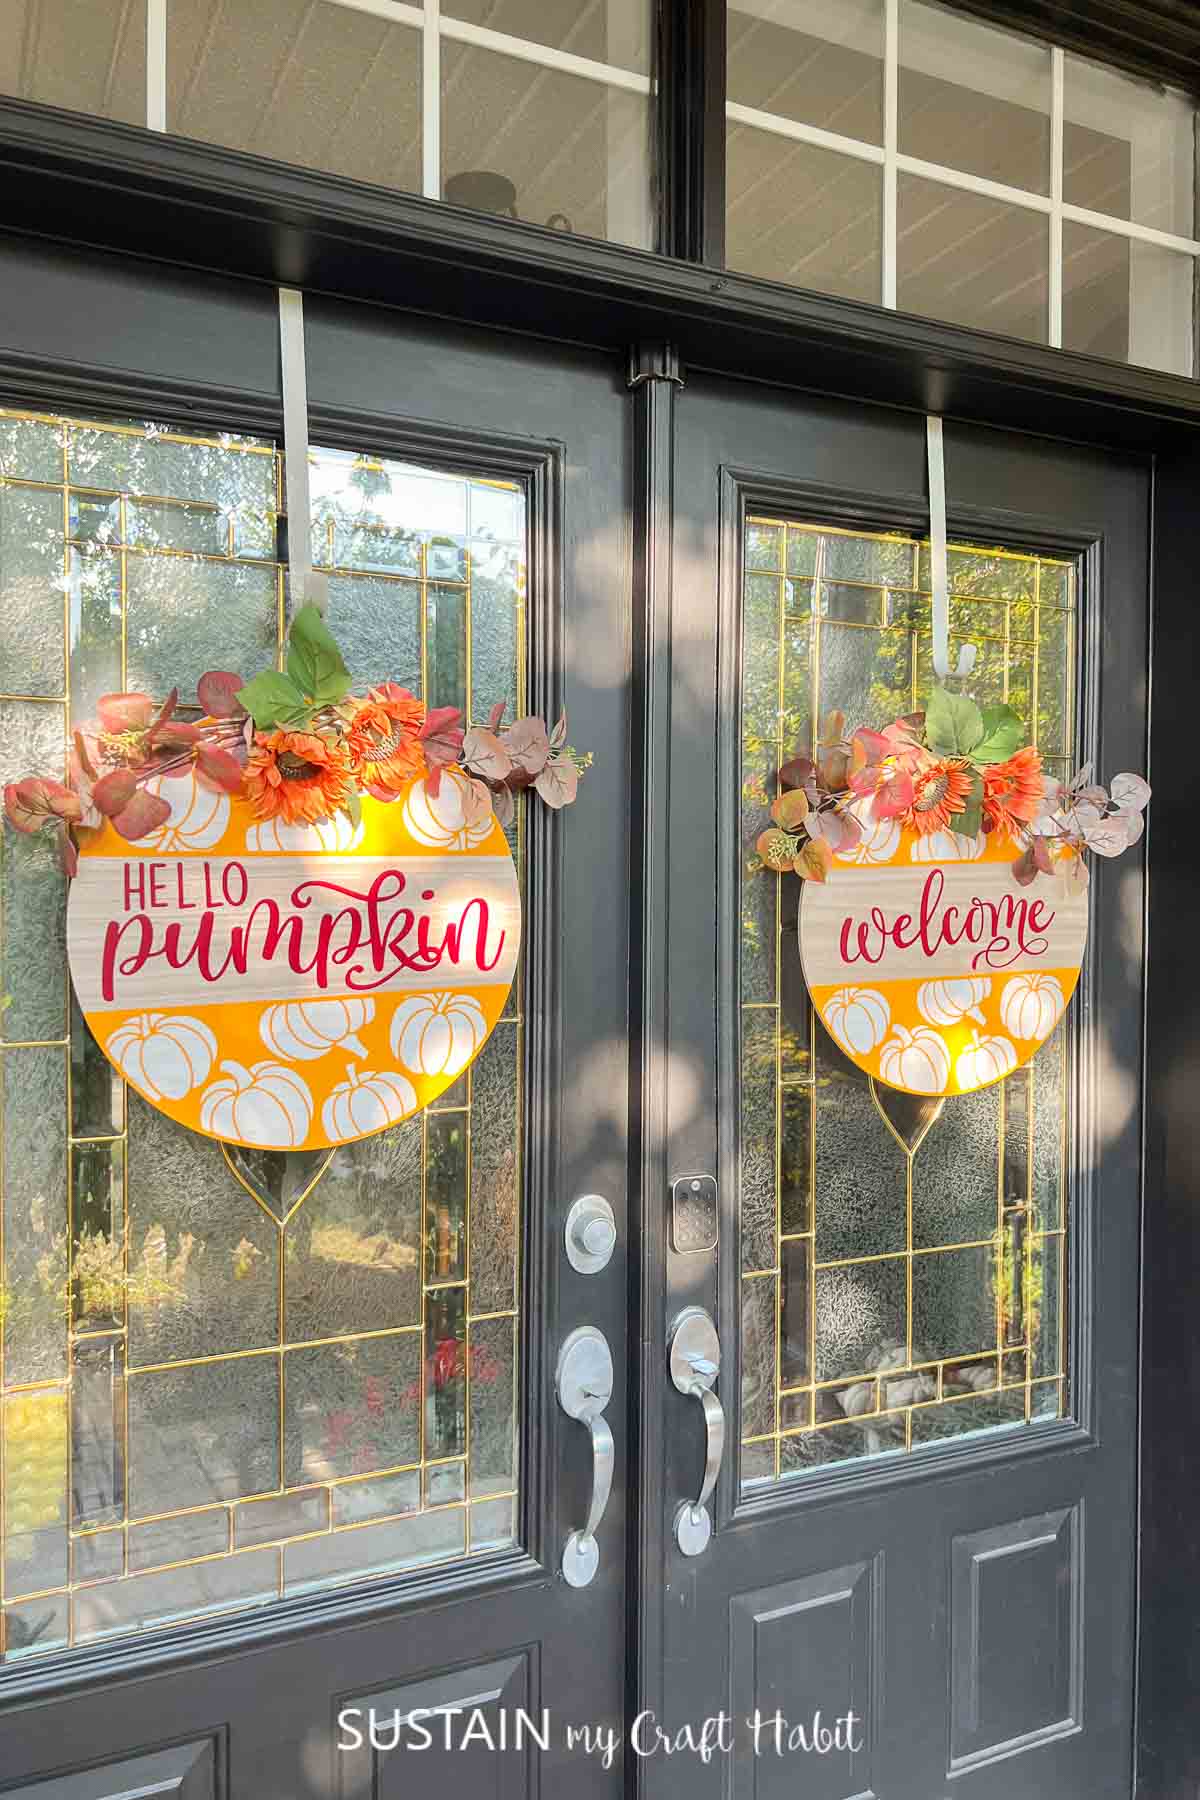
How to Display this DIY Fall Front Door Sign
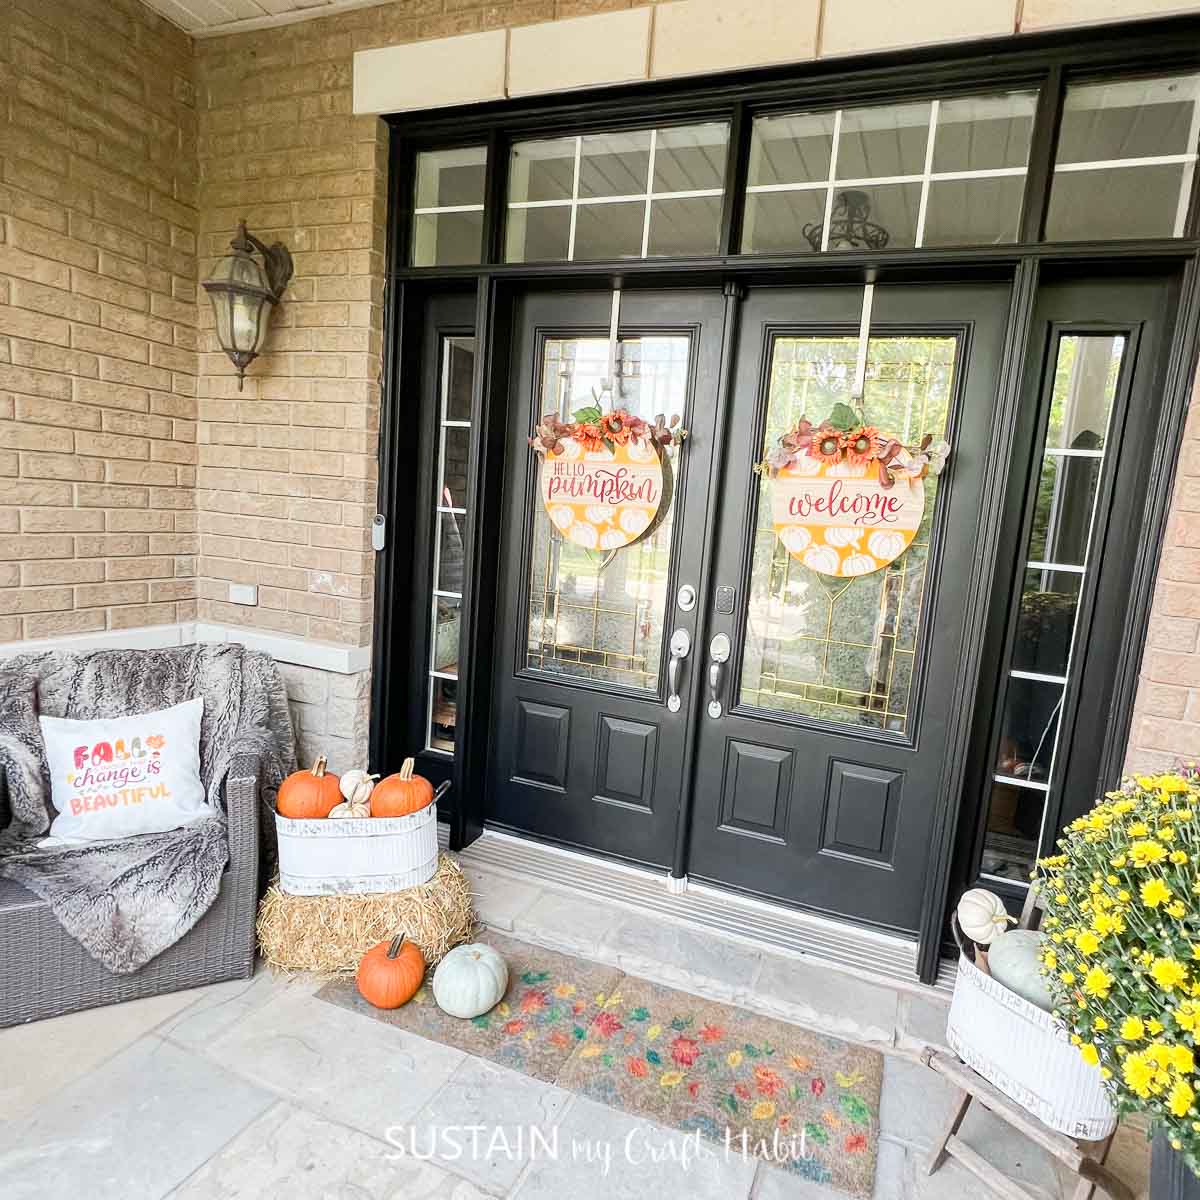
Once your DIY Fall front door sign is finished, it’s time to find the perfect place to show it off. Here are a few easy autumn home décor ideas to inspire you.
1. Create a Cosy Autumn Front Porch
Add a seasonal wreath and a plaid doormat to complete the look. This simple fall porch decorating idea creates a warm, welcoming entrance without requiring lots of expensive decorations.
2. Make a Personalised Autumn Gift
A handmade wooden welcome sign is also a lovely gift décor idea for friends, neighbours, or family members who enjoy decorating for the seasons.
Personalise the design with a family surname, a favourite autumn quote, or a simple pumpkin illustration.
Celebrate Autumn
Making your own DIY Fall Welcome Sign with Cricut is a fun, affordable way to celebrate autumn and add a personal touch to your seasonal decorations.
With a little wood, some adhesive vinyl, and your favourite Cricut design, you can create a beautiful welcome sign that you’ll enjoy displaying year after year.
More Fall Decor to Make
If you’re ready to give your front porch a complete autumn refresh, be sure to explore our other favorite fall door sign and wreath ideas for more budget-friendly seasonal inspiration!
- Fall Wreath using Dried Leaves
- Metallic Fall Leaf Wreath
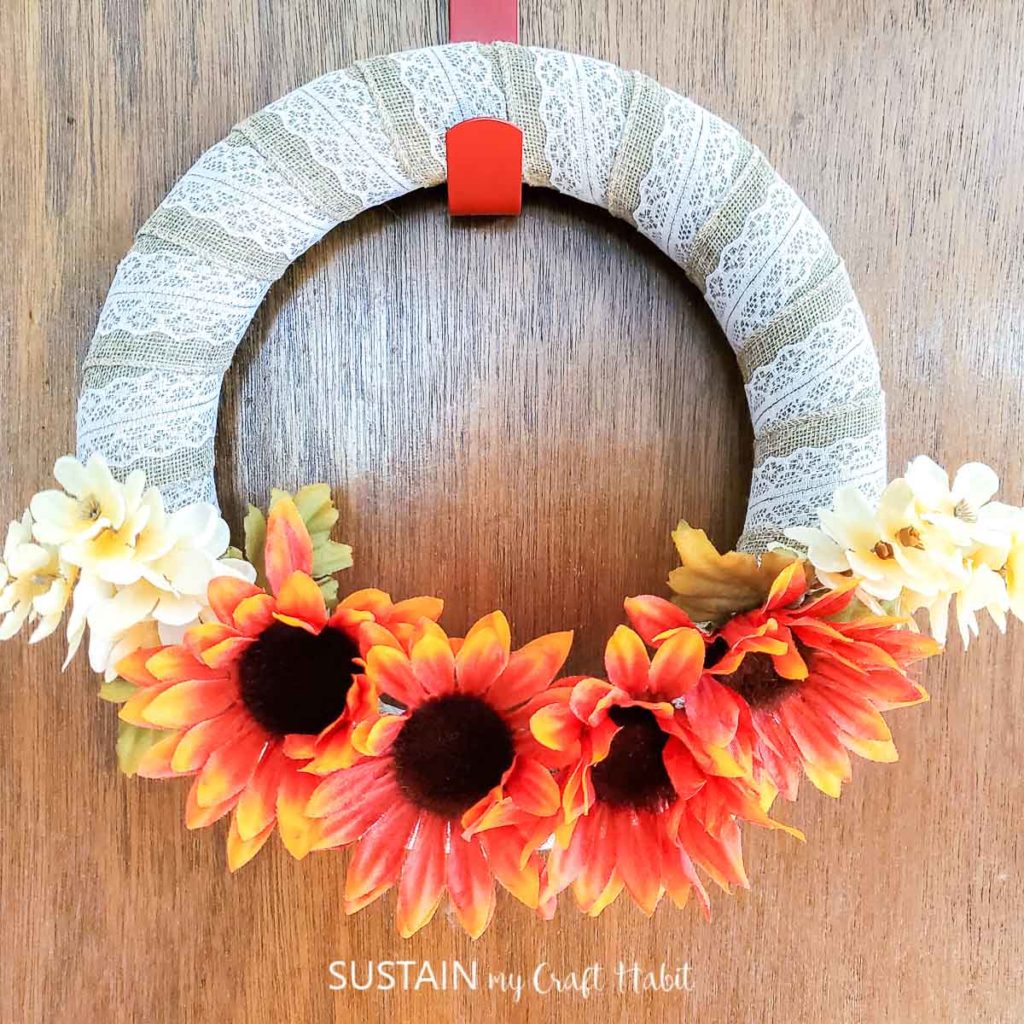
- Burlap and Floral Fall Wreath
- Blessed Fall Sign with Dollar Store Tag
- Dollar Store Wreath For Fall
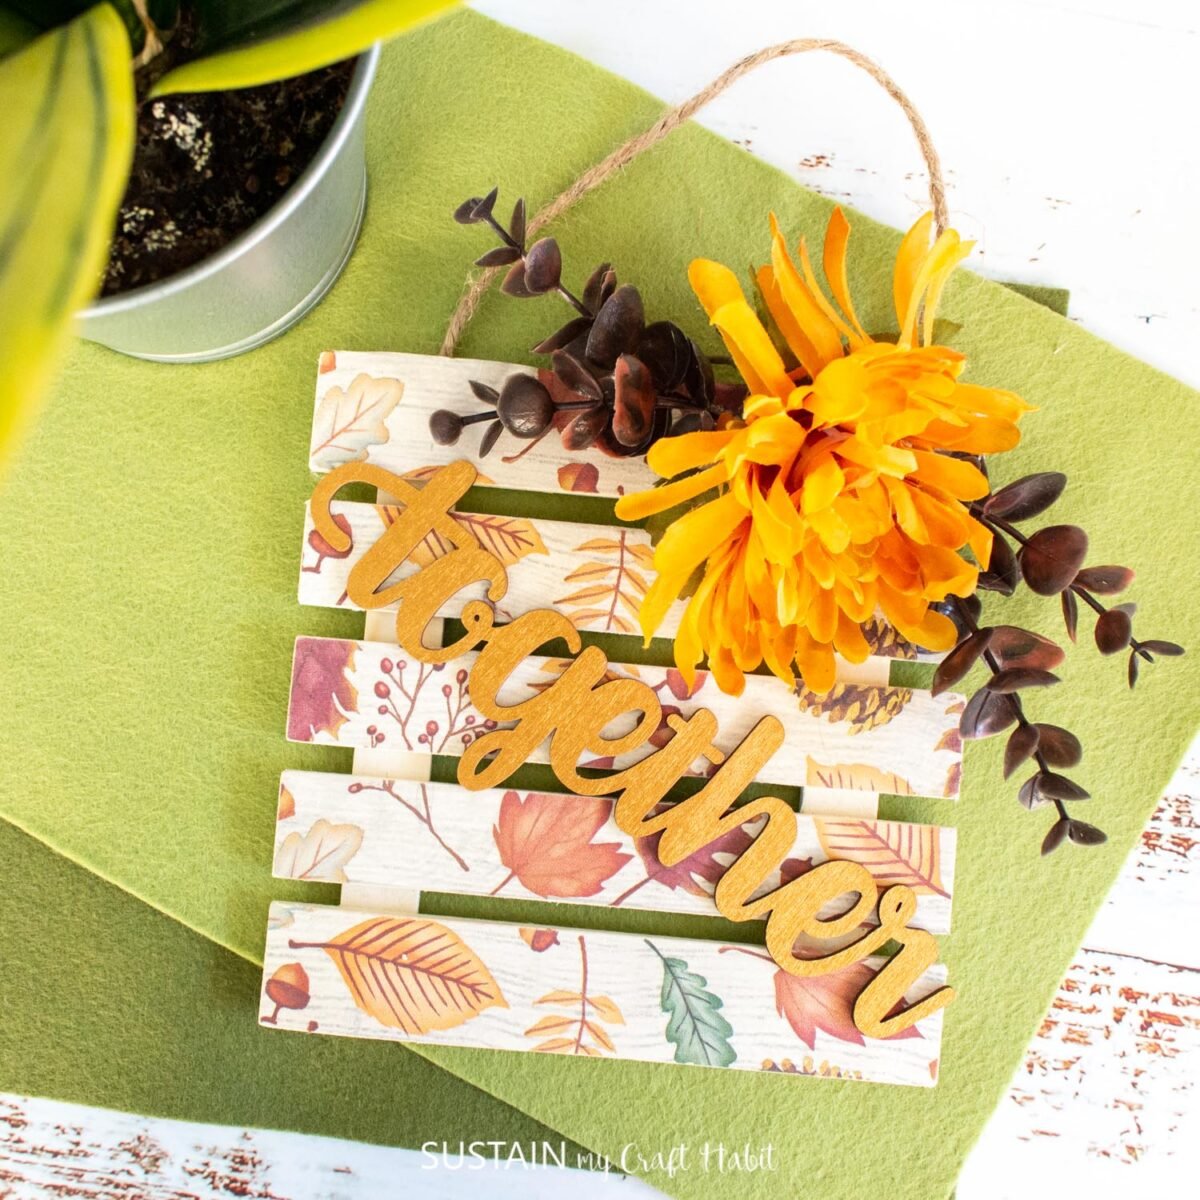
- Fall Wood Sign with Dollar Tree Supplies


Want to receive a ton of inspiration and money saving ideas for decorating, gift-giving and crafting? Join HERE!
Like it? Pin for later!
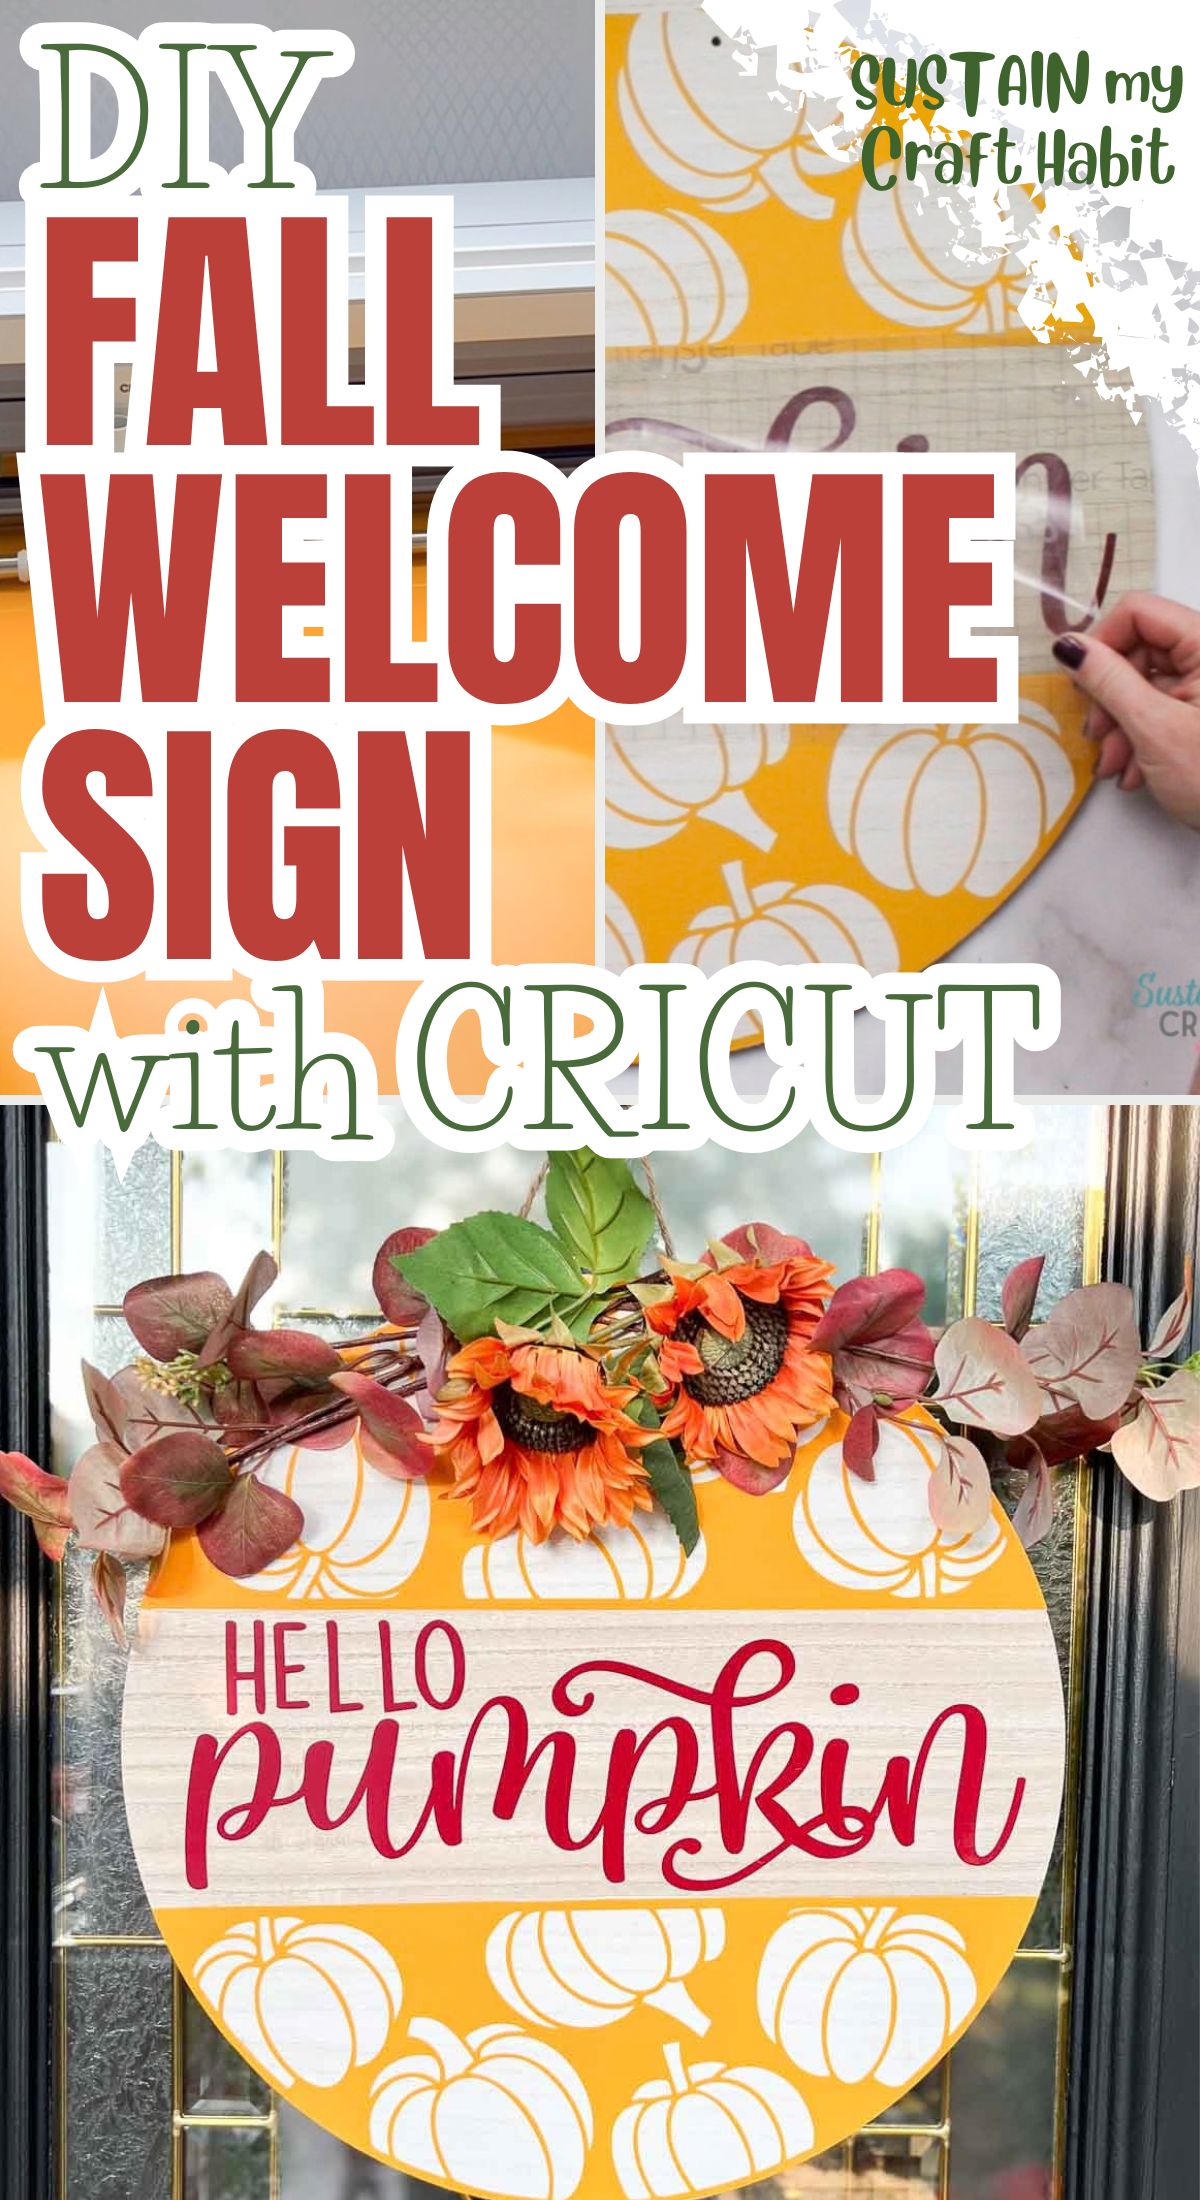
DIY Fall Welcome Sign with Cricut
Materials
- Wood Round large size, we used a 17” round circle with a light wood grain finish
- Cricut permanent Vinyl in a burgundy and muted orange color
- Chalky paint in white
- Paintbrush
- Hello Pumpkin design file
- Cricut Maker 3
- Weeder
- Scissors
- Cricut Transfer Tape
- Faux Fall flowers
Instructions
- Gather supplies.
Prepare Wood Circle
- Divide the wood round into 3 and use a white chalky paint and brush on the paint in the top and bottom sections. Leave it to dry.
Uploading the SVG Pattern
- Open Cricut Design Space.
- Click on the “+” sign to start a new project, opening up a blank canvas.
- Click on the Upload button from the toolbar to insert the “hello pumpkin” or “welcome” design onto the canvas.
- Ensure the size matches the wood round.
Cutting the Vinyl
- Ensure the machine is set to Cricut Maker 3 and select “Make It” in Design Space.
- Choose “With Mat” as the option for cutting when using regular Vinyl.
- Set material type to Permanent Vinyl.
- Follow prompts for loading the mat into the Cricut maker and cutting the Vinyl. When prompted, unload the vinyl from the cutting machine. Repeat the steps until all pieces and colors of the design are cut.
Applying the Vinyl to the Wood Sign
- Using the weeding tool, peel away the excess vinyl around the word and discard.
- Cut a piece of transfer tape a bit larger than the size of the word.
- Peel away the transfer tape backing and place the transfer tape overtop of the cut image. Gently rub the vinyl to help it stick to the transfer tape.
- Peel away the vinyl backing and place the image on to the wood sign (in the center area). Gently rub the vinyl to help it stick. You can use a Cricut scraper tool for this.
- Carefully and slowly peel away the transfer tape.
- Repeat with the all over pumpkin design at the top and bottom panels.
- Fasten the faux florals to the top.
- Hang sign to enjoy!