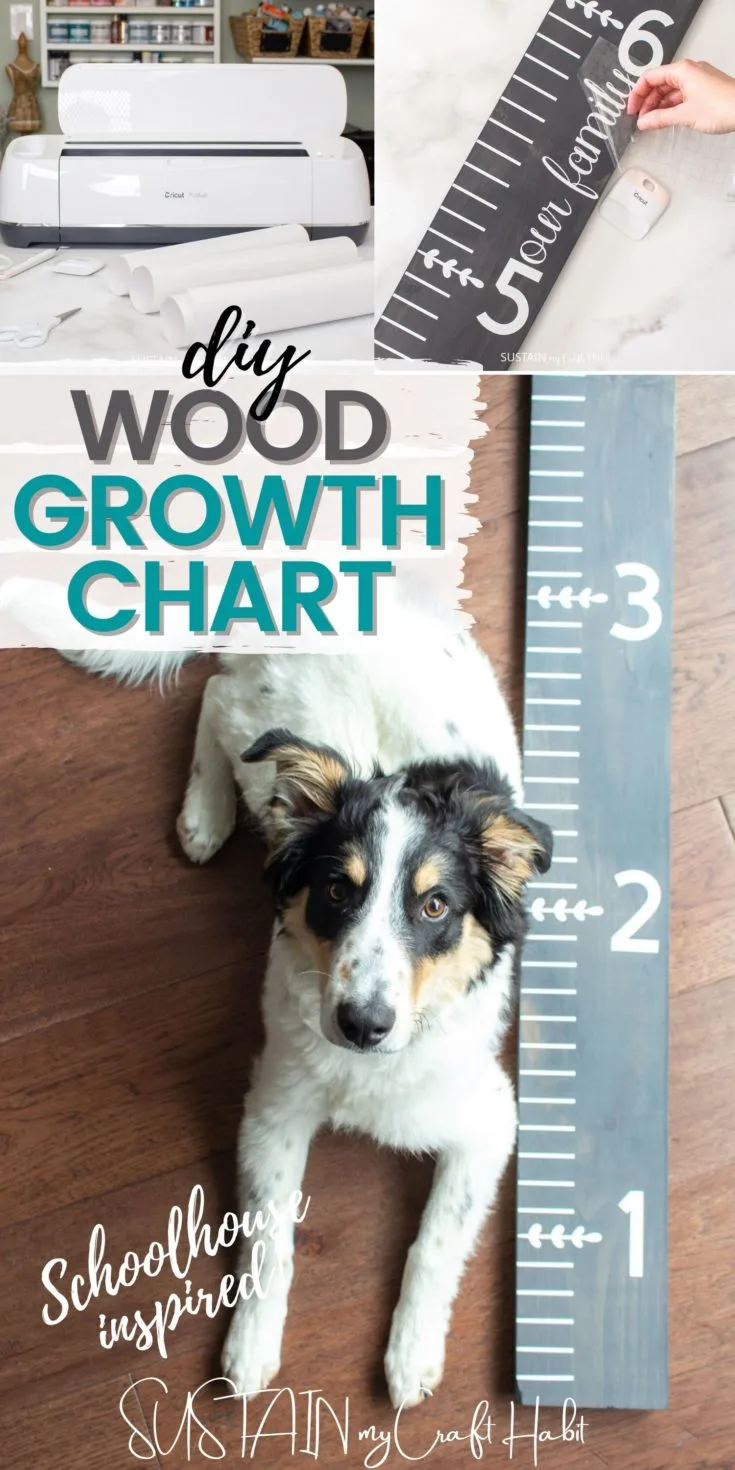
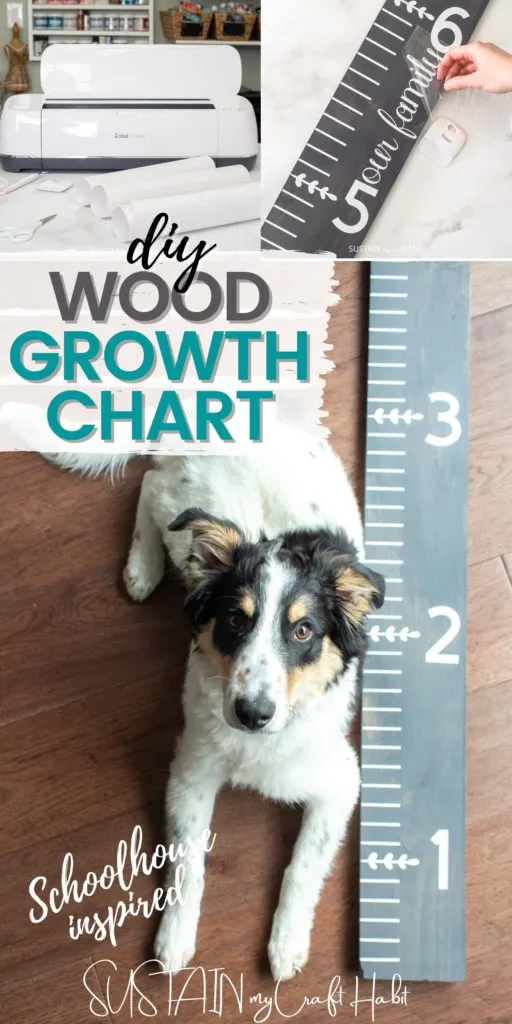
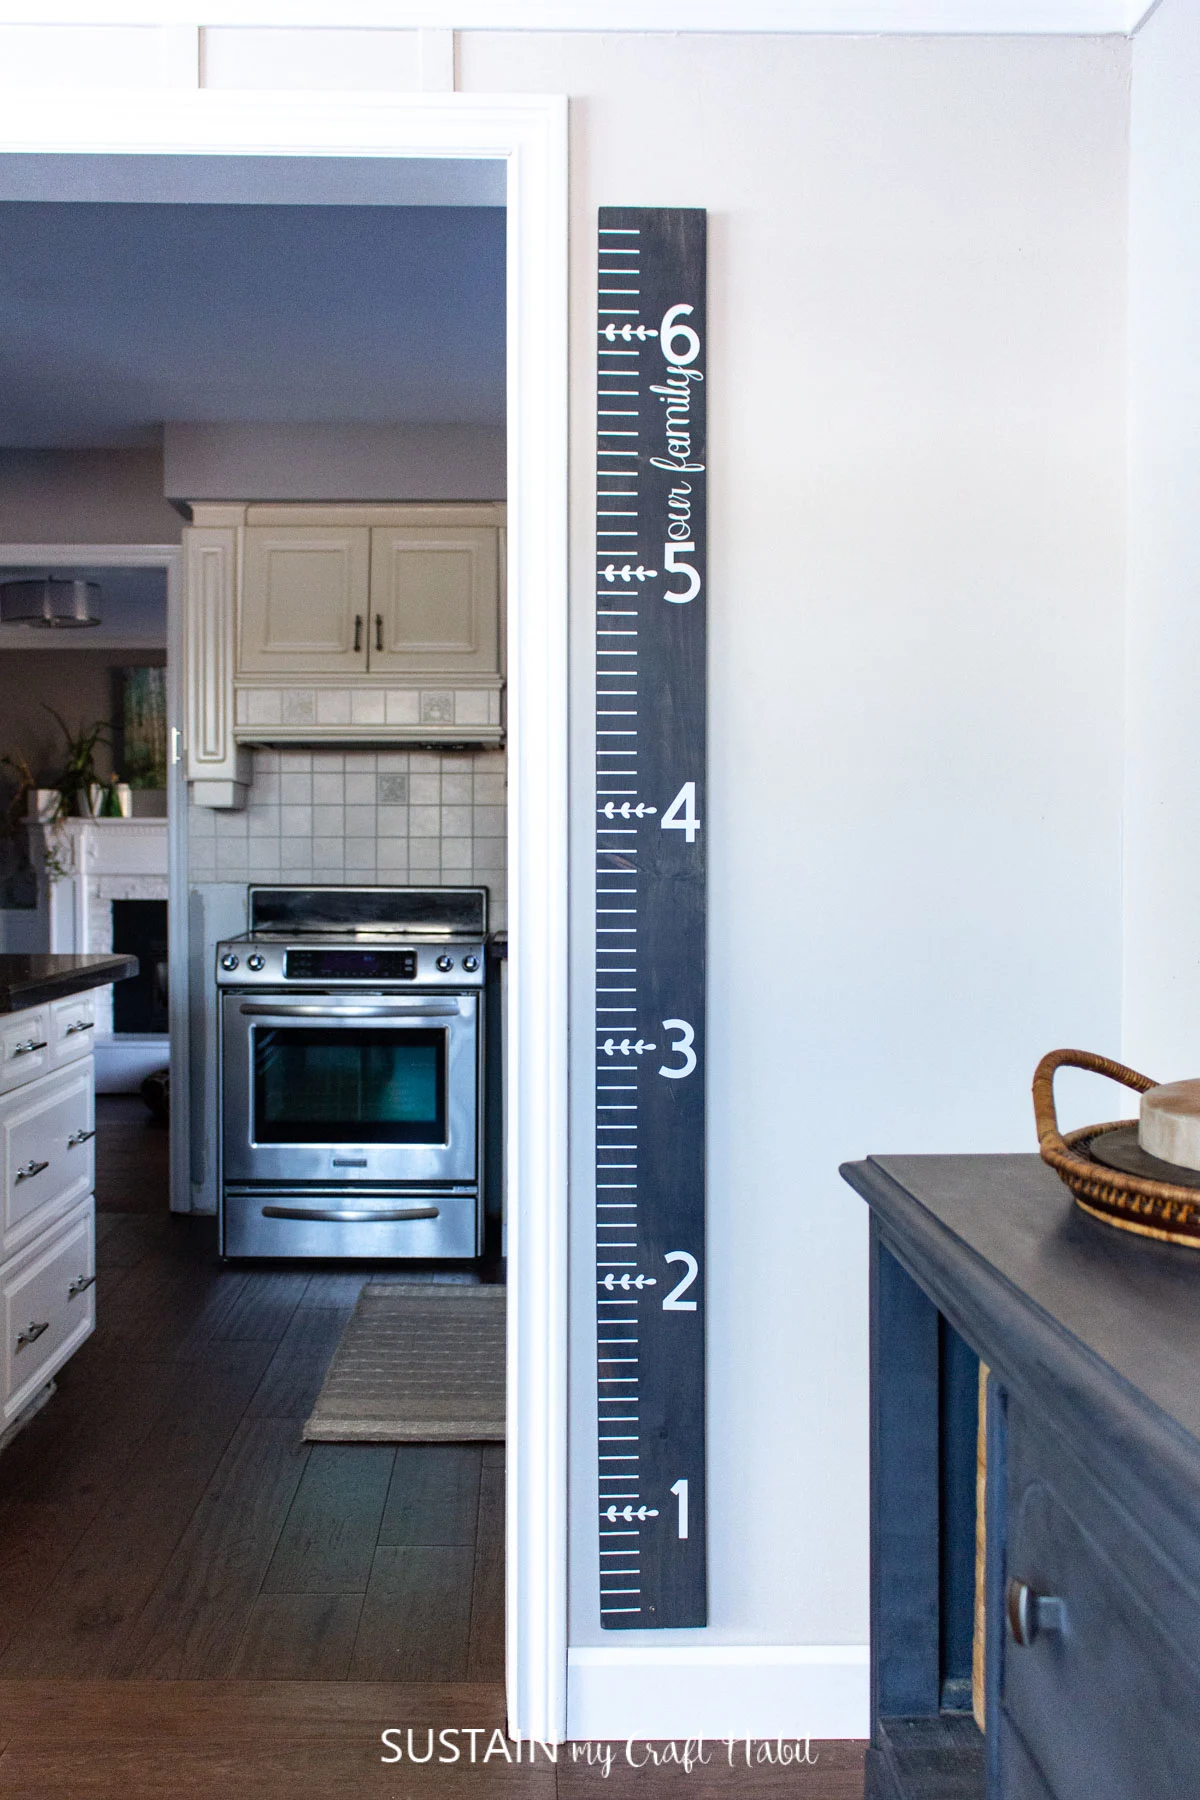
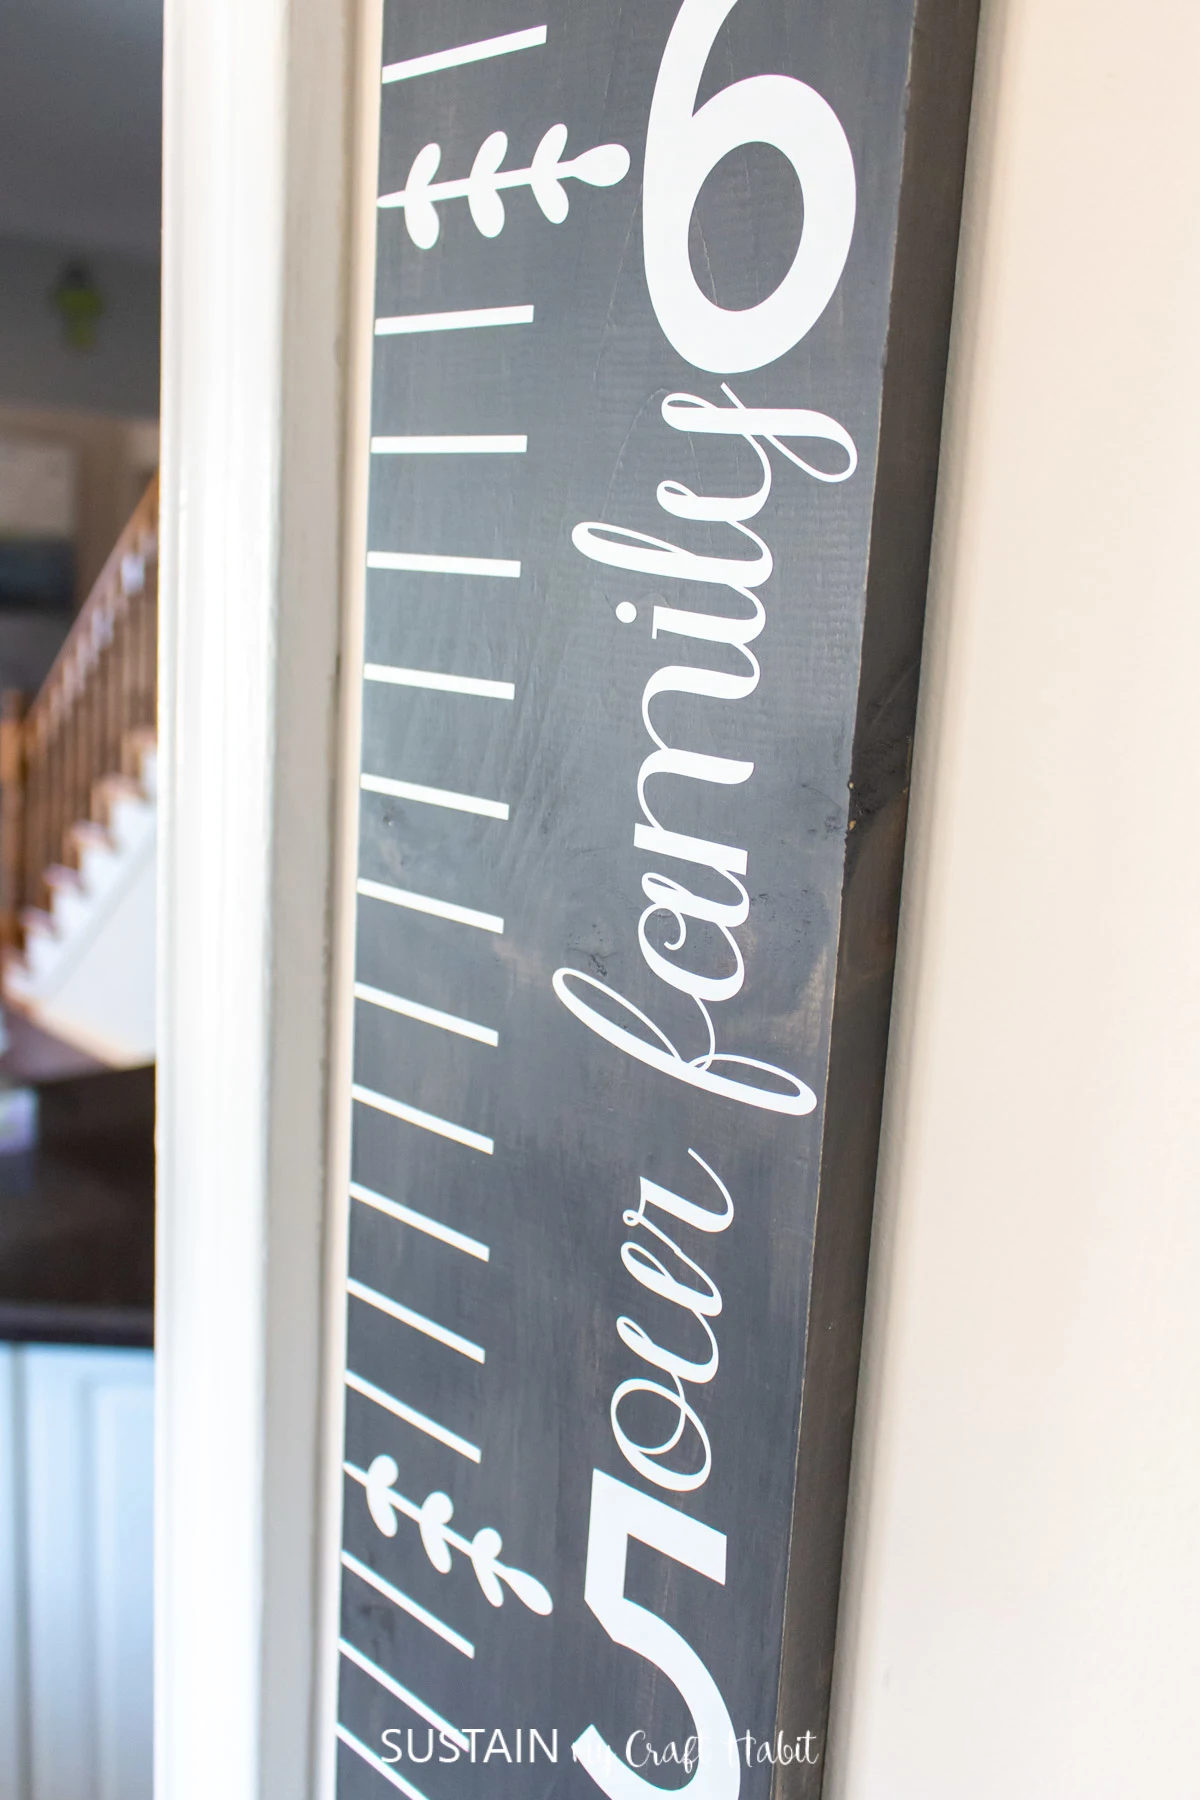
Making a wooden growth chart has been on my DIY to-do list for a while now so I’m excited to share this latest craft. Using a piece of pine, some wood stain and my Cricut Maker, I’ll show you just how simple it was to make this personalized woodworking project.
This is a sponsored conversation written by us on behalf of Cricut. The opinions and text are all our own.
Making a DIY Growth Chart
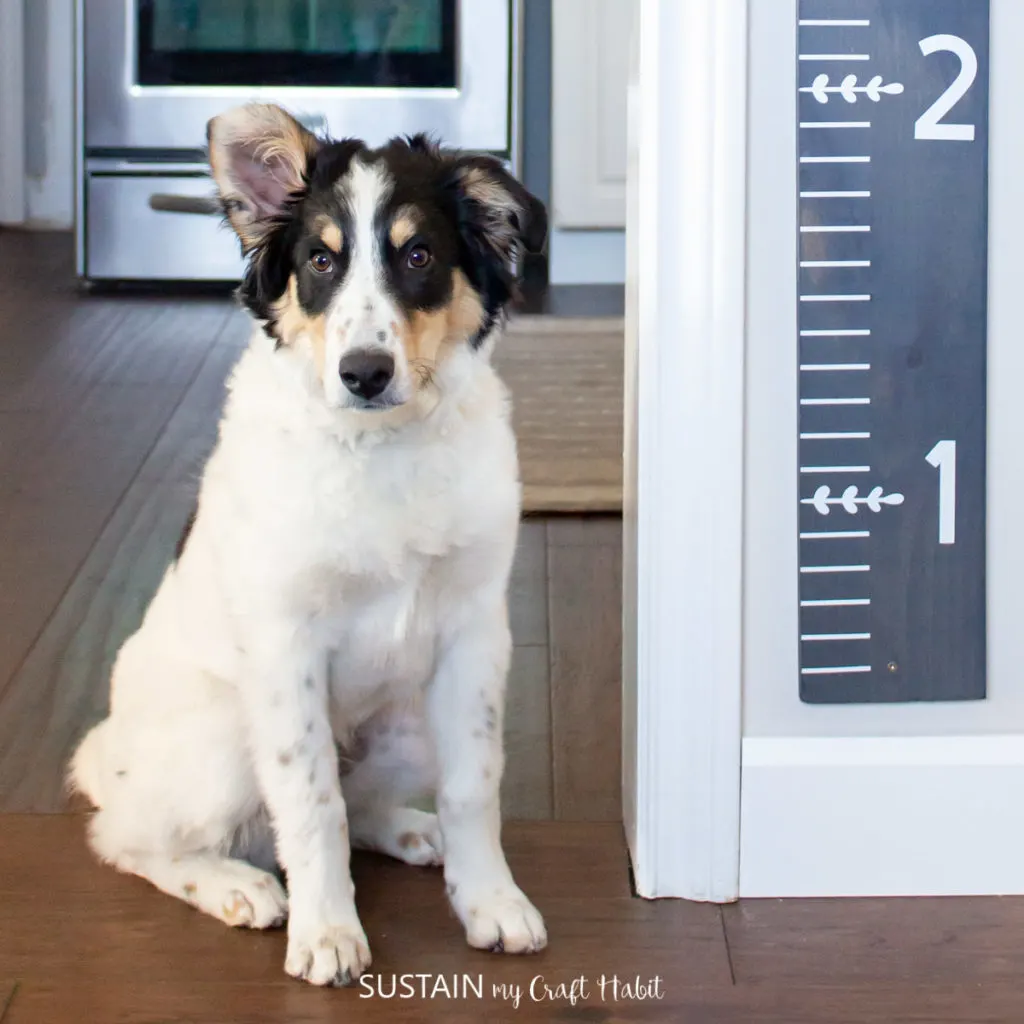
Introducing the newest member of my family: Ollie, a 4 month old, super sweet and loveable puppy. And boy, do I wish I had made this growth chart when we first got him two months ago!
Having already grown so much, it’ll be a blast to chart his growth over the next few months. And although my daughter is already 11 years old, she still has plenty of growing to do so this chart will be a perfect way to track her milestones over the next few years.
Since the cost of the materials for this woodworking project were so affordable, I picked up an extra piece of pine board from the hardware store to make a growth chart for my sister, Jane to use for her 4 growing kiddos.
I’m hoping to have it ready in time to give to her as a gift for Mother’s day. Furthermore, I’ll be able to easily personalize the growth chart with their family name as well.
Materials Needed:
Disclosure: This post continues affiliate links for your shopping convenience. You can find our full disclosure policy here.
- Wood Pine board, 6’ long x 6” wide x 1” thick
- Wood Stain in dark grey (we used Americana Décor Chalky Finish in relic watered down and sealed with Americana Décor Creme Wax in clear)
- Paintbrush and cotton rag
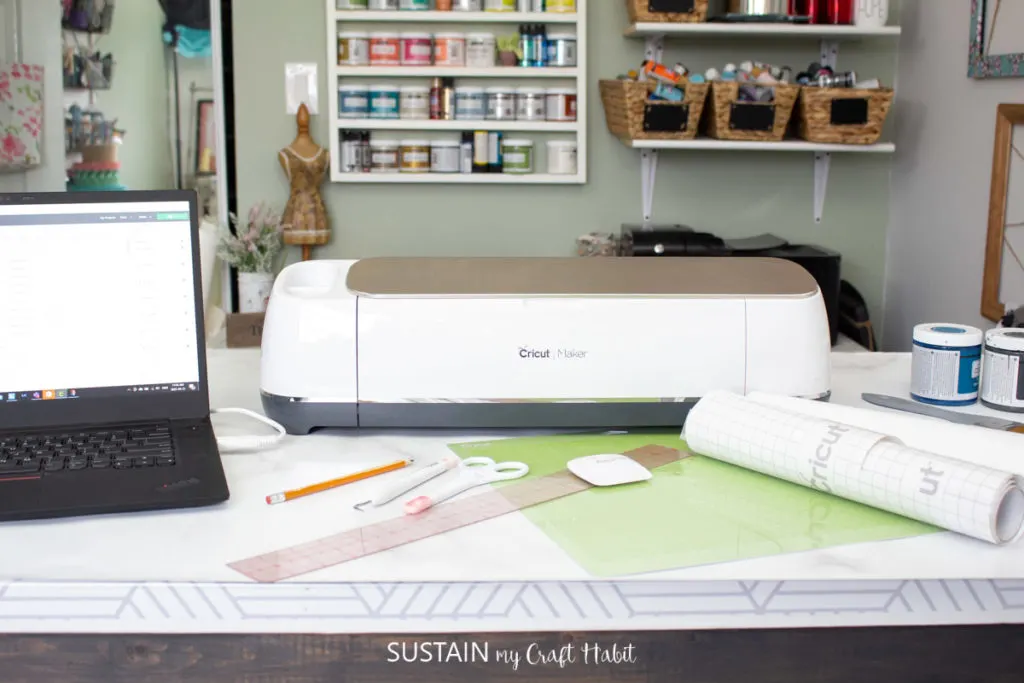
- Cricut Maker
- Standard Grip Mat
- Premium Vinyl Permanent in white, 12” wide x 28” long (roughly)
- Transfer Tape
- Scissors
- Weeder
- Scraper (optional)
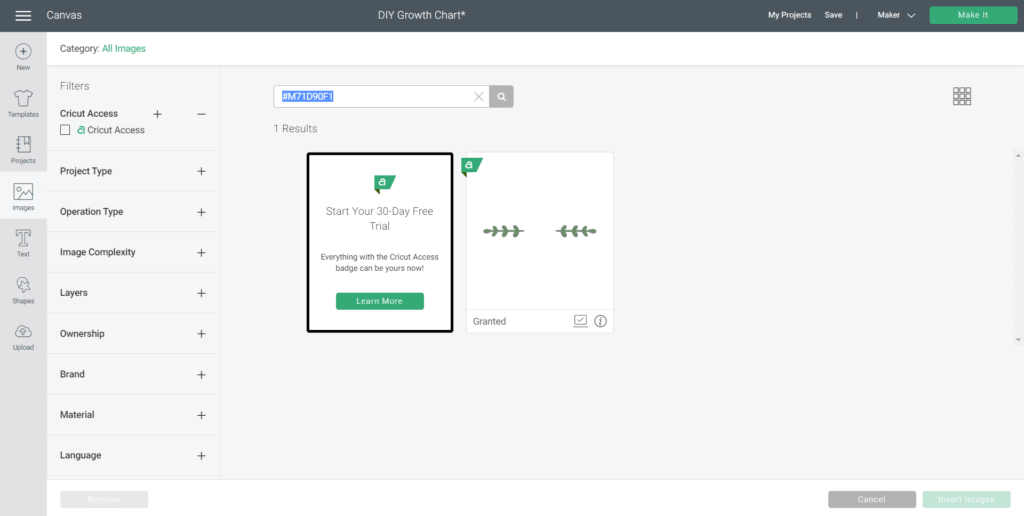
- Cricut Design Space, #M71D90F1 Vine Border
- Pencil and ruler
How To Make a DIY Growth Chart:
Preparing the Wood
Purchase a piece of pine board that measures to size (6’ long x 6” wide x 1” thick) or cut one down to size.
Prepare wood board by applying a stain over the entire surface. Working small sections at a time, brush on a coat of watered down chalky paint along the length of the board. Wipe away the excess paint with a clean rag to give the board a stained appearance.
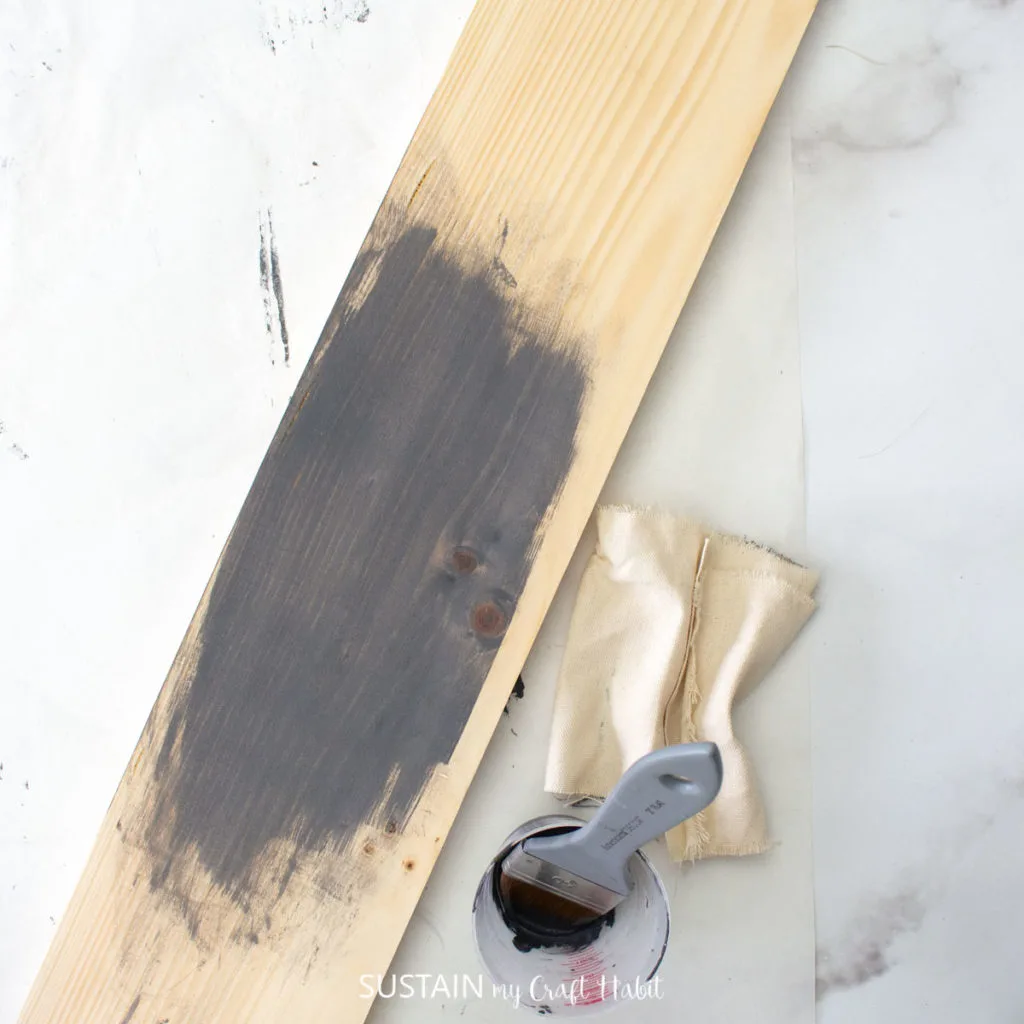
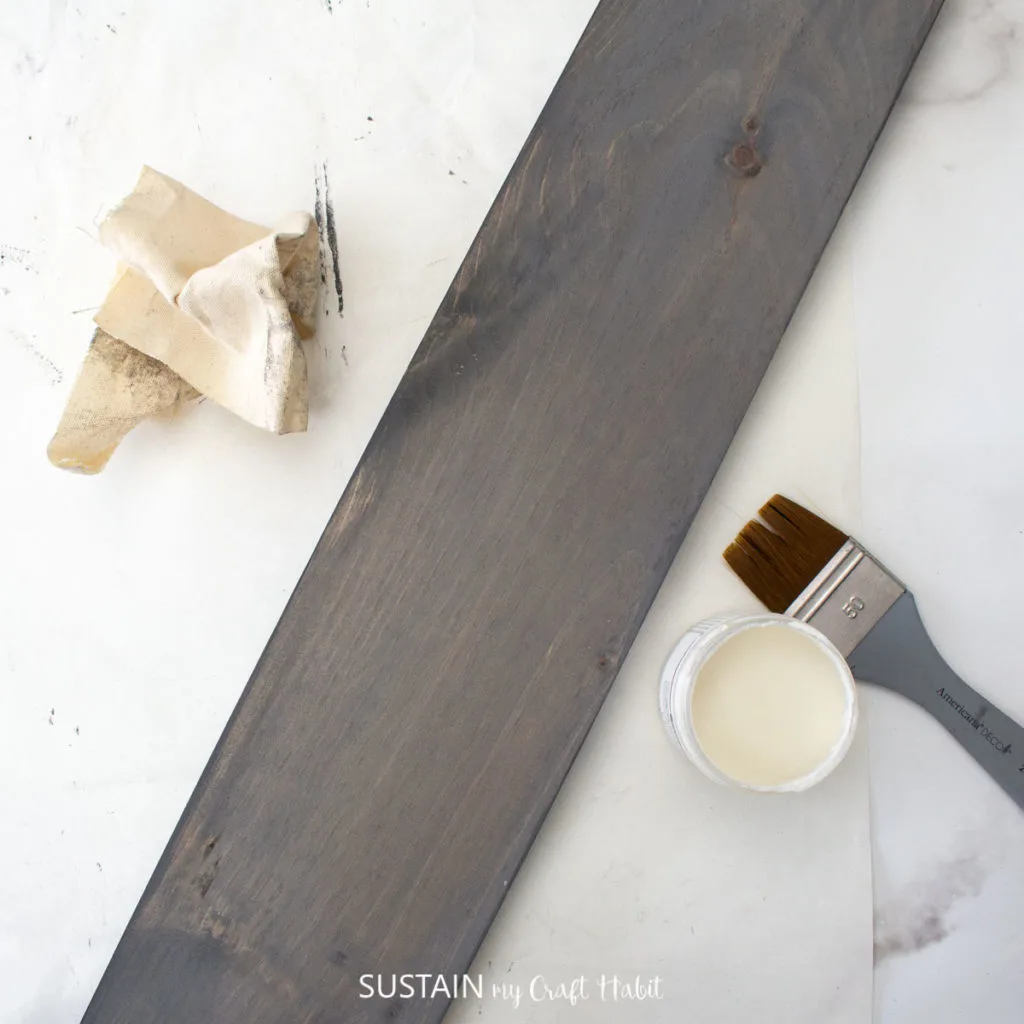
Continue down the entire length of the board and repeat on all sides. Once dry, apply a clear wax finish to seal the paint.
Preparing the Measuring Chart in Design Space
Measuring 6′ high, this DIY growth chart is designed to be hung 6″ above the floor.
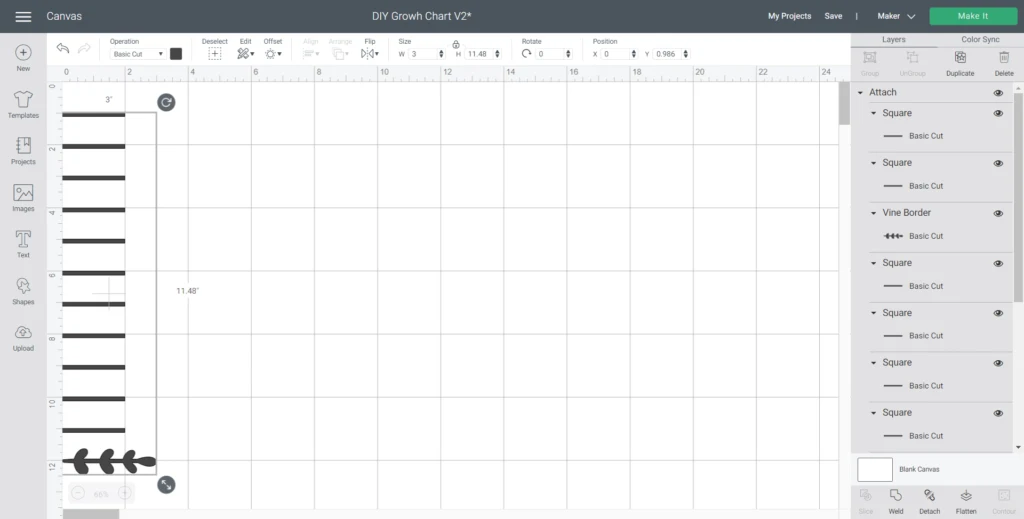
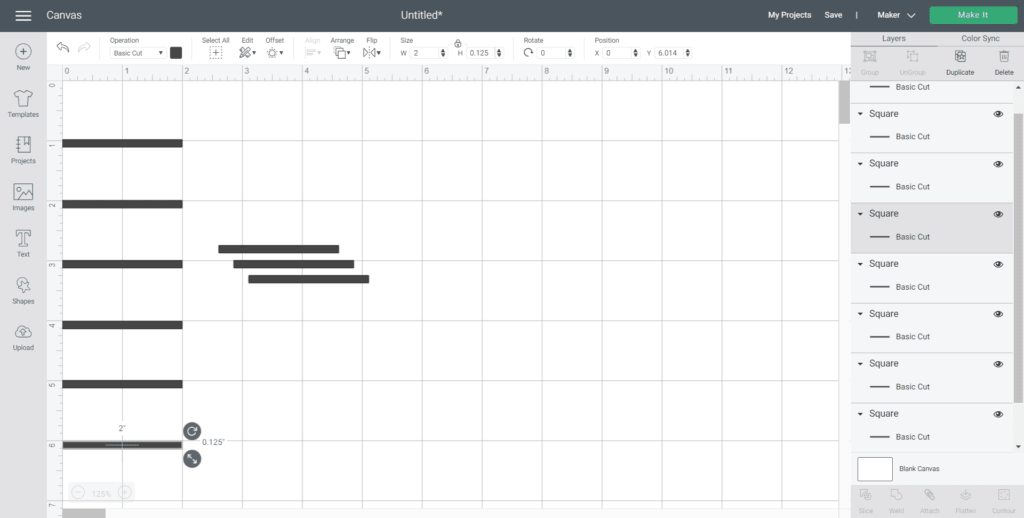
Open Cricut Design Space and select new canvas. Click on and insert a square shape onto the blank canvas. Adjust the size to 2” wide x 0.125” high. Duplicate the rectangle 10 times.
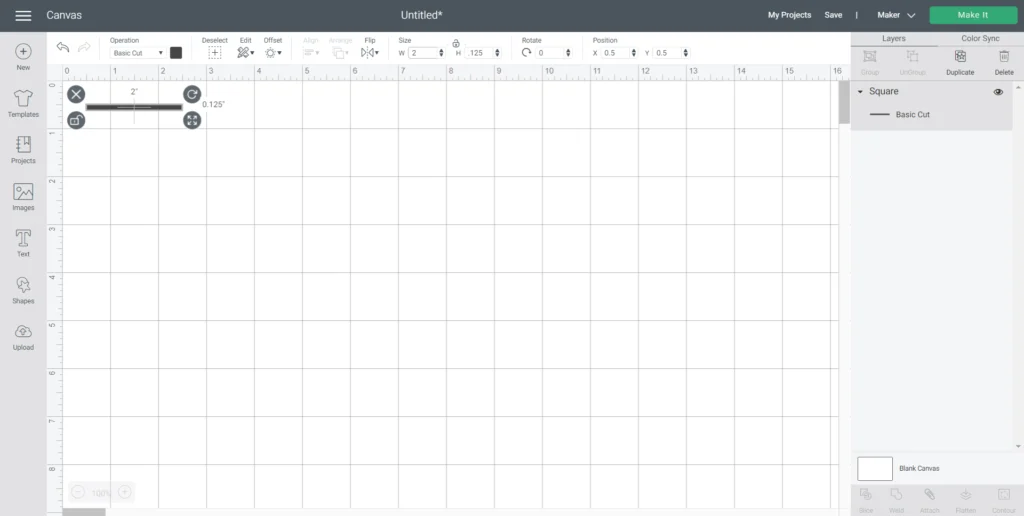
Position the rectangles against the left side of the canvas and space them 1” apart using the rulers as a guide.
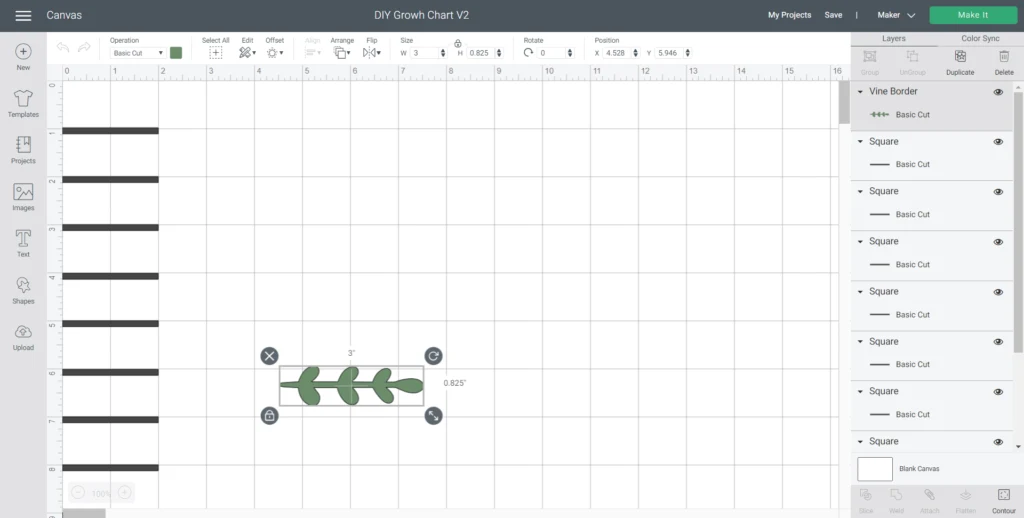
Insert the vine border #M71D90F1 on to the canvas and eliminate the vine on the left side by using the contour tab. Adjust the size to 3” wide.
Place the vine border 1” below the bottom rectangle.
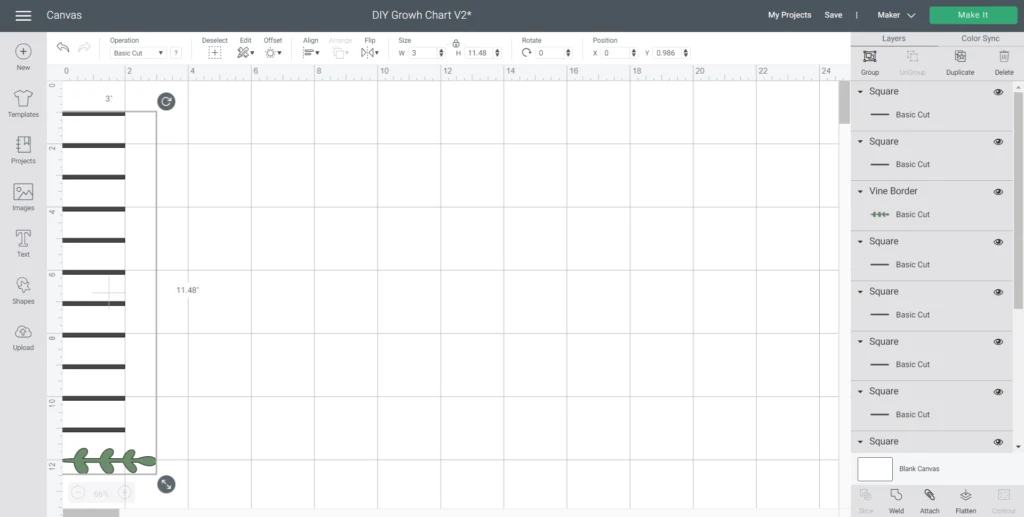
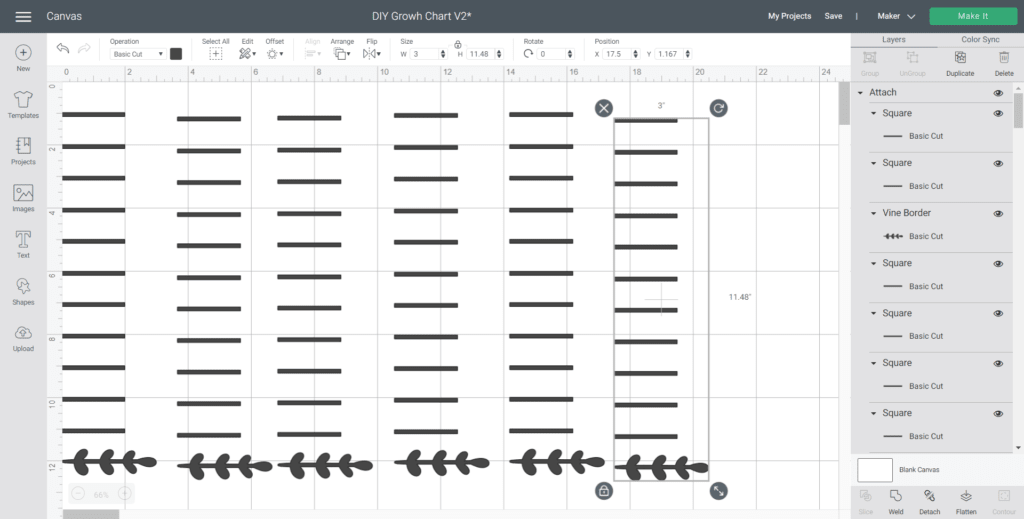
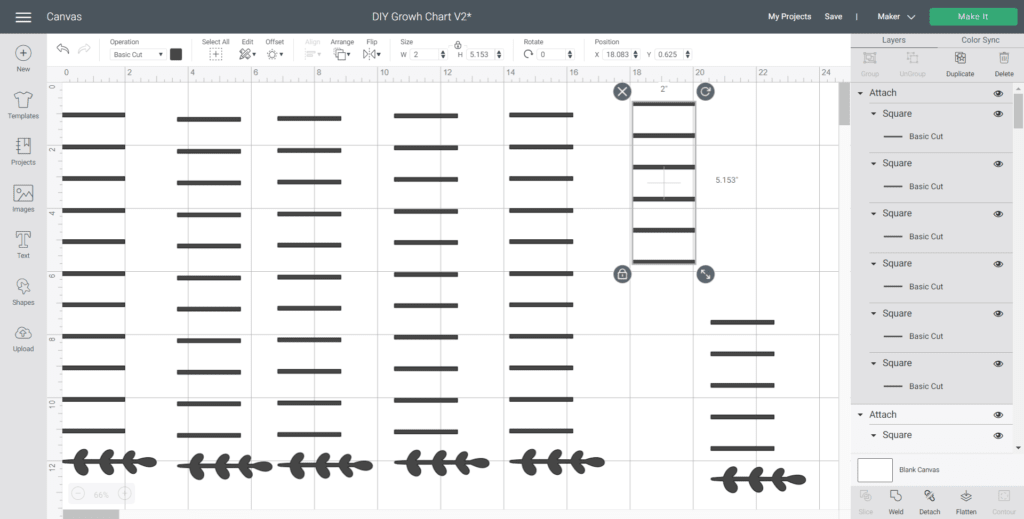
Highlight all the pieces and select attach to hold them together. Duplicate the measuring lines 6 times.
Detach one of the measuring lines and divide into two groupings:
- With vine and 5 rectangular lines and
- With just 5 rectangular lines, maintain the spacing 1” apart.
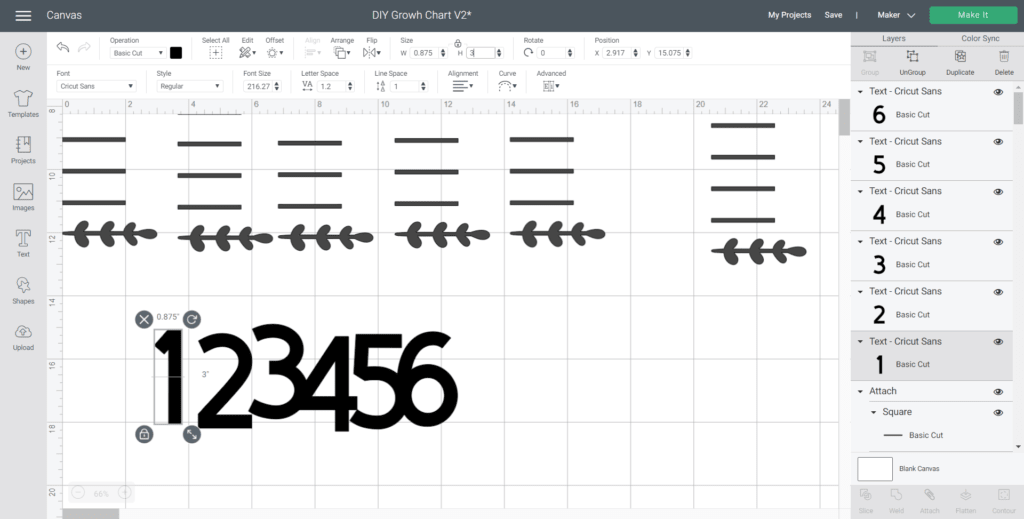
Insert text and add the numbers 1-6 in Cricut Sans Normal font. Adjust the size to 3” high.
Insert text again and type out “our family” or add your last time to personalize the growth chart. Change the font to Elizabeth Normal, reposition the script letters and weld them together. Adjust the size to 2.75” high.
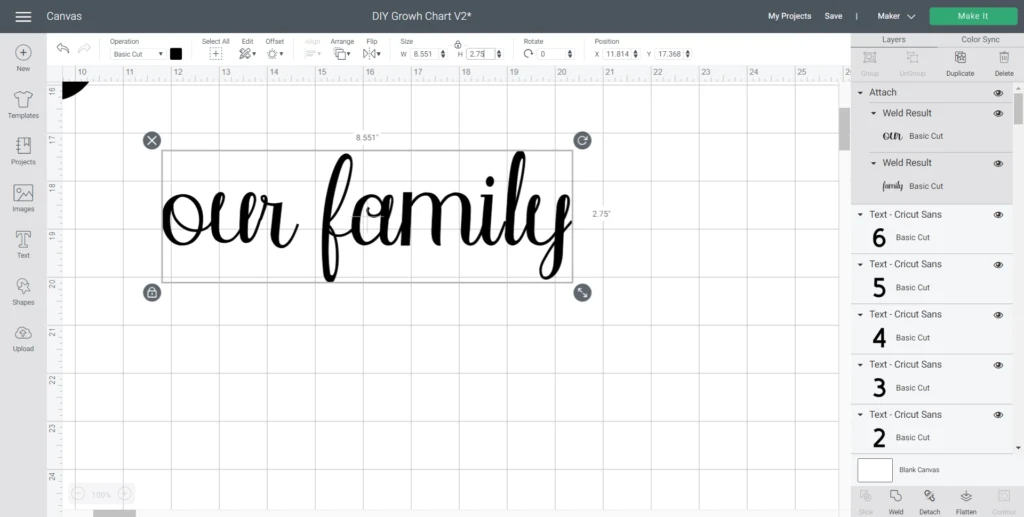
Change the colors to match the material color. In our case, we are using white Premium vinyl.
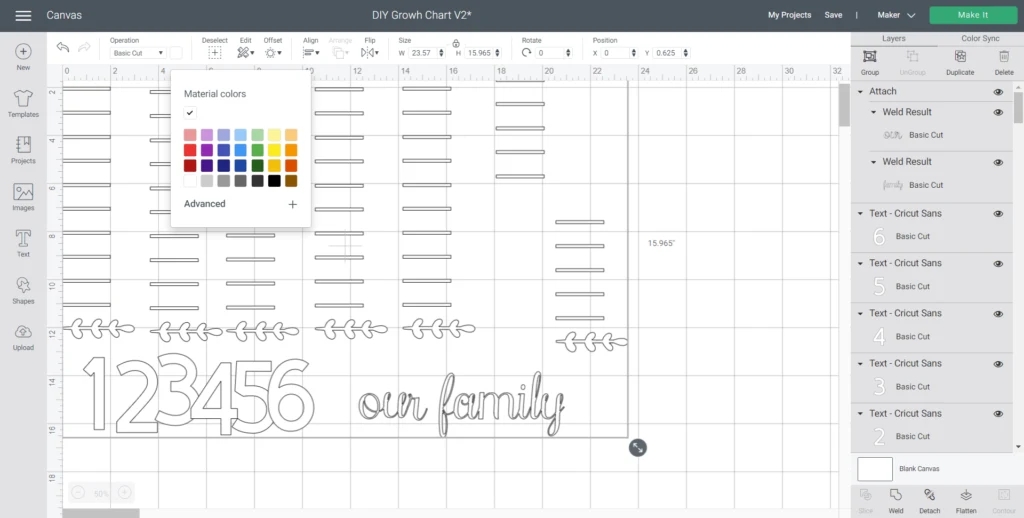
Cutting the Vinyl
Cut the vinyl into 12” long sheets and place one on the standard grip mat for cutting.
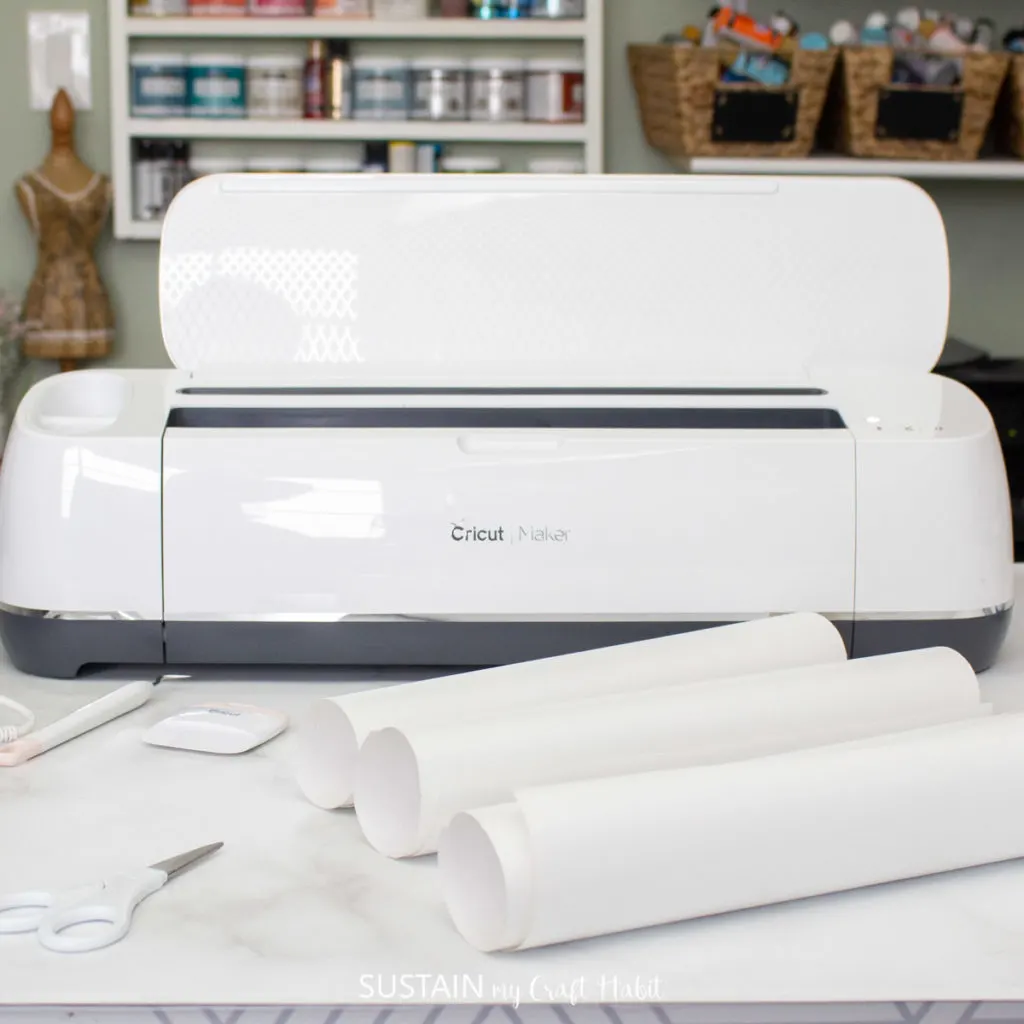
Follow the prompts on the screen to cut out the pieces.
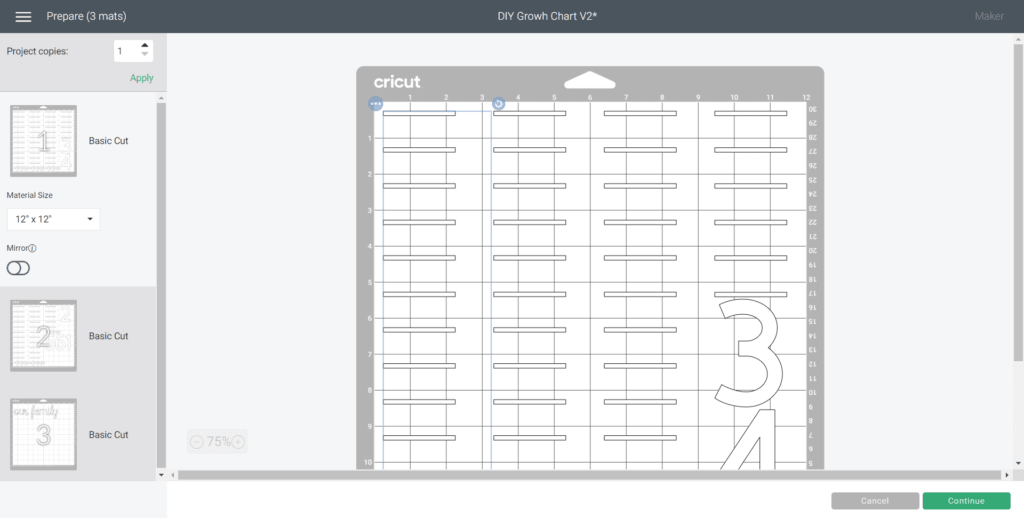
Unload and repeat until all pieces are cut.
Once finished, use scissors to cut around the images. Keep 12” of the measuring lines intact to ensure spacing will be correct. Cut around the individual numbers.
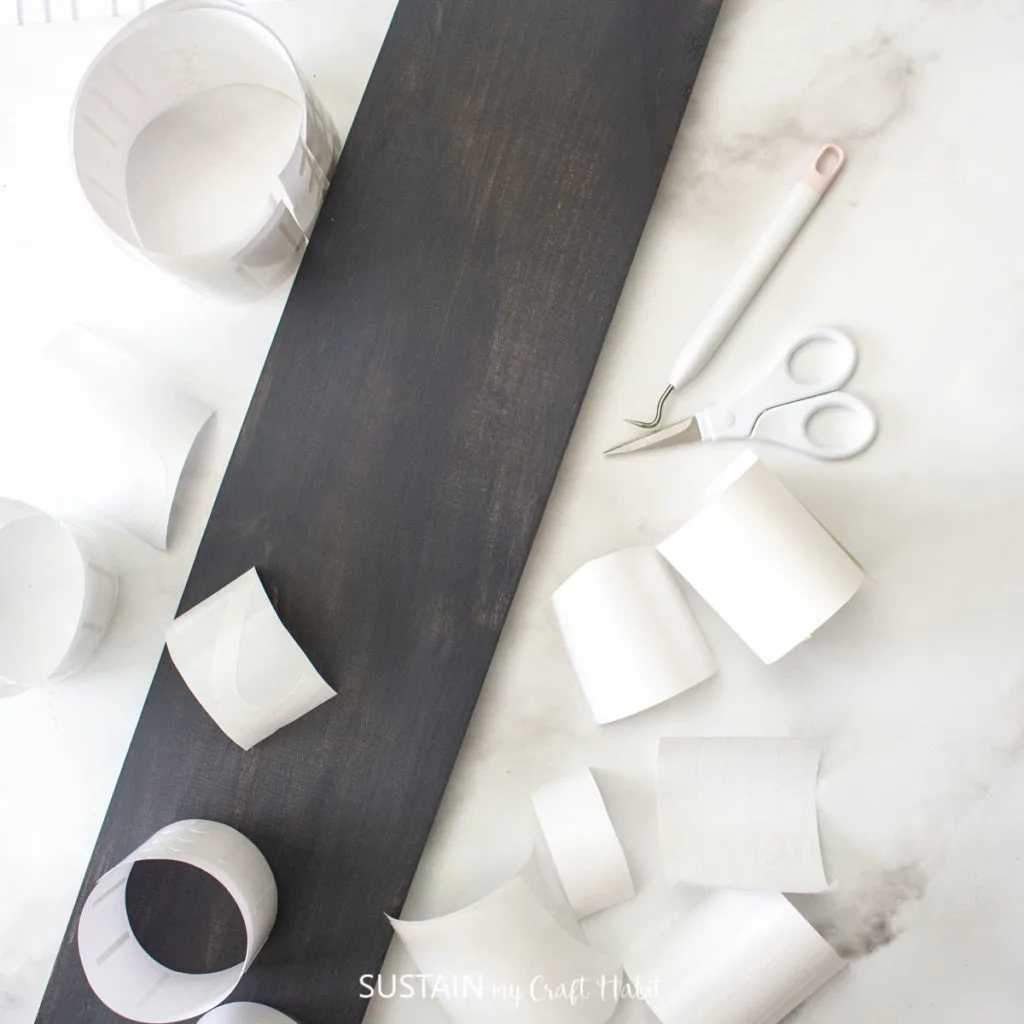
Peel away the excess vinyl leaving just the images for transaferring on to the growth chart.
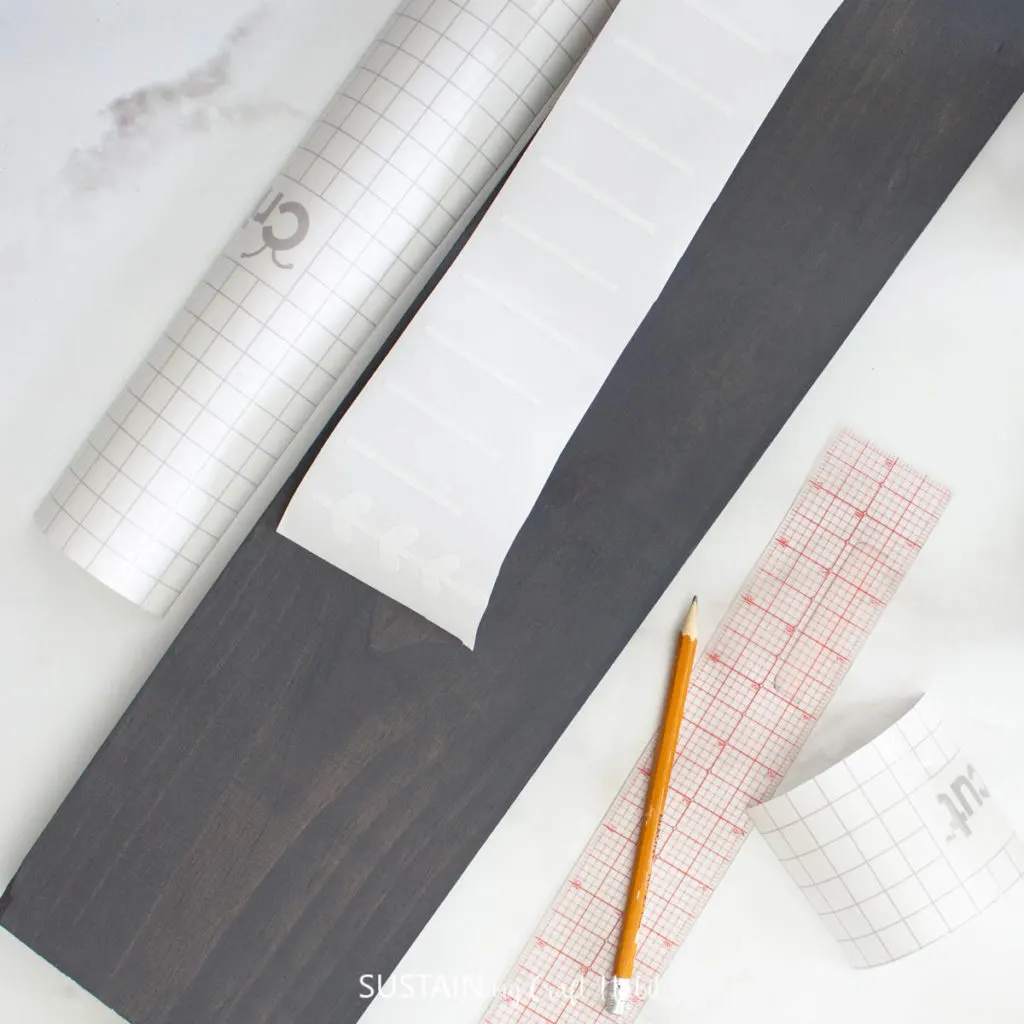
Applying the Vinyl
Cut a piece of transfer tape a bit larger than the size of the ruler, numbers and “our family” text. Peel away the transfer tape backing and place the transfer tape overtop of the cut image. Gently rub the vinyl to help it stick to the transfer tape.
Measure and mark 6″ from the bottom of the wood board: this will be the placement of the 1′ marking. As mentioned before, the growth chart is designed to start 6″ above the floor.
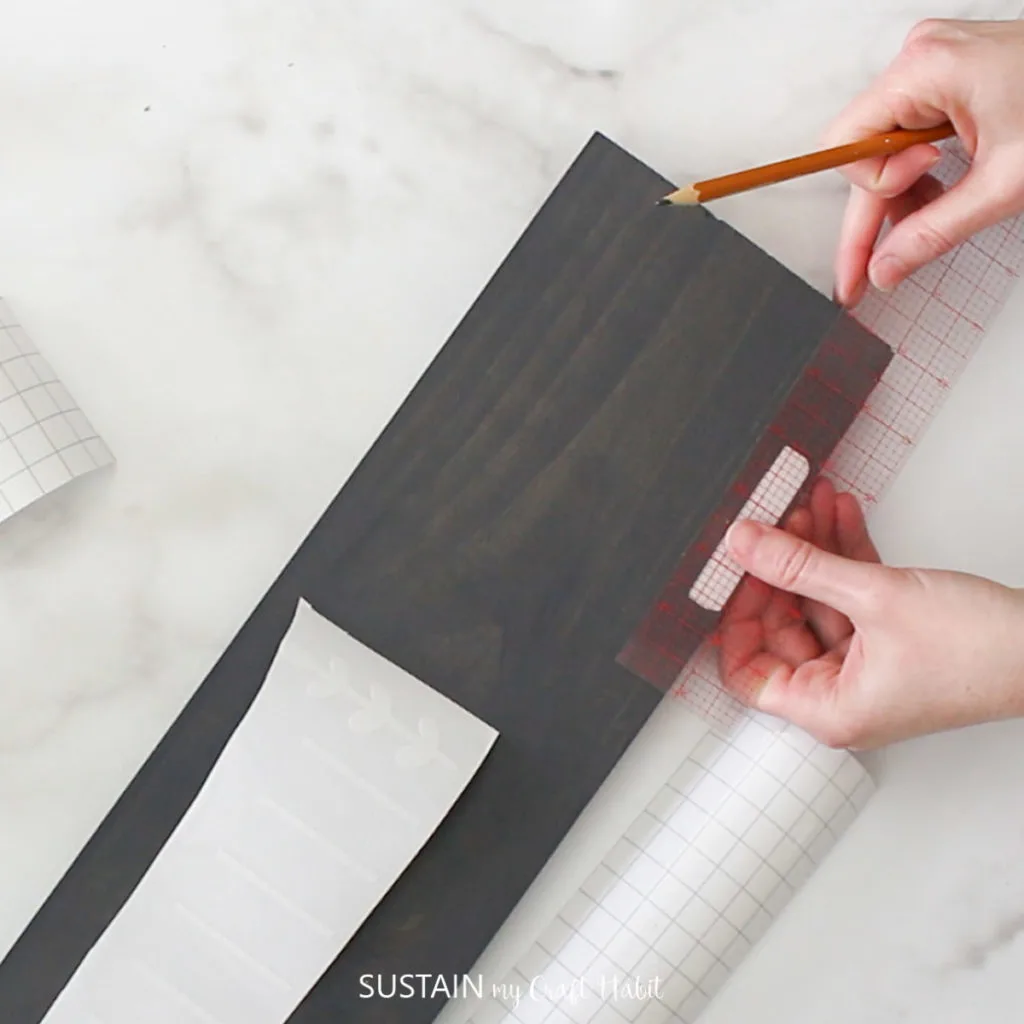
Peel away the vinyl backing and place the image on to the prepared wood board aligning the vine with the pencil mark for placement.
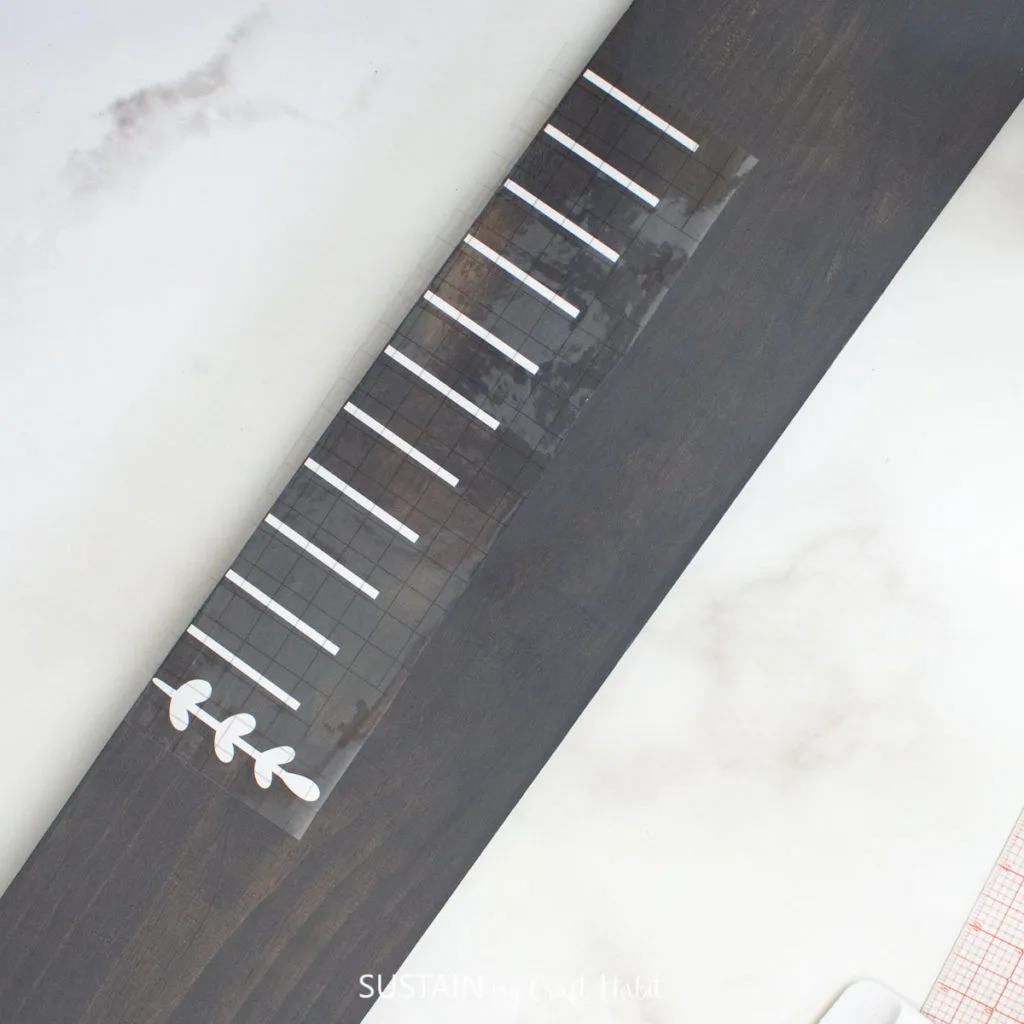
Gently rub the vinyl to help it stick to the wood. You can use a Cricut scraper tool or your finger nails for this and then carefully and slowly peel away the transfer tape. Working your way up the growth chart, continue placing the other vinyl ruler cutouts by measuring and marking placement 1″ away from the top rectangle.
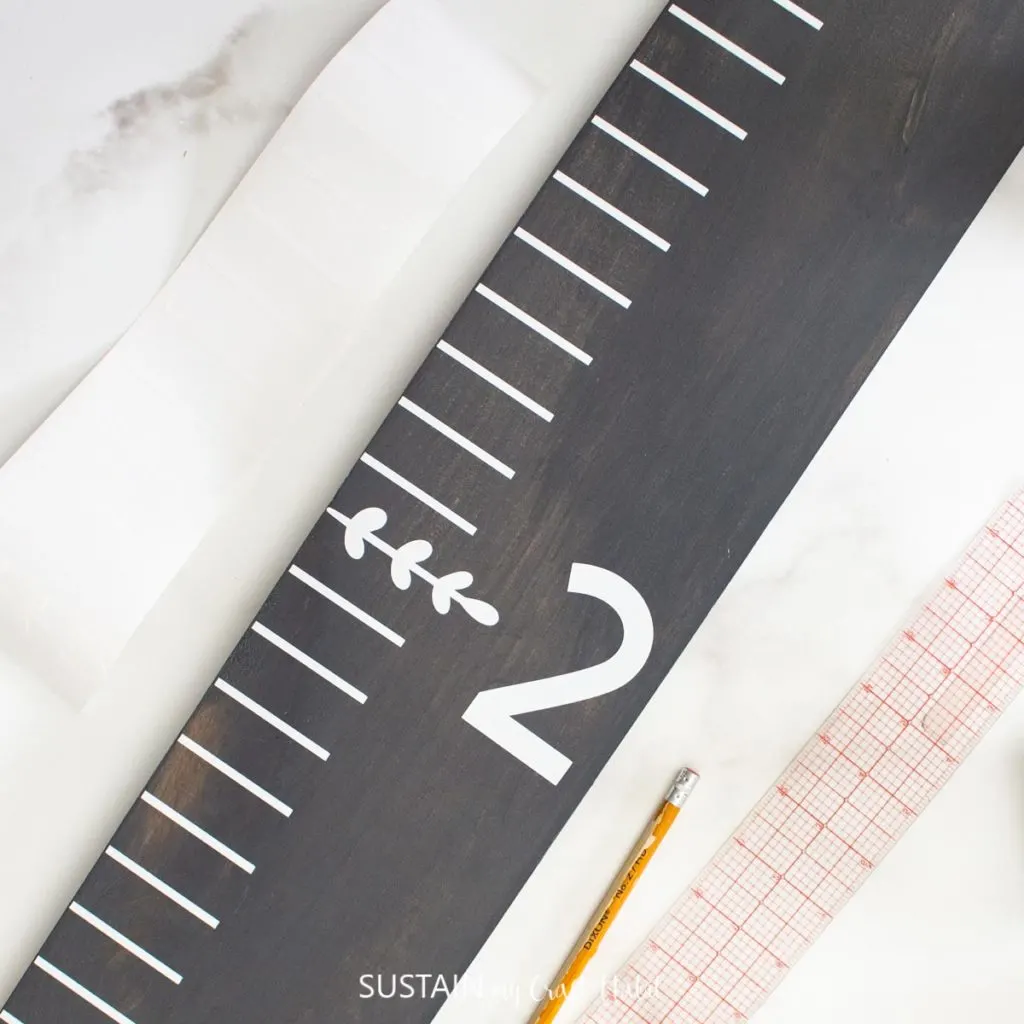
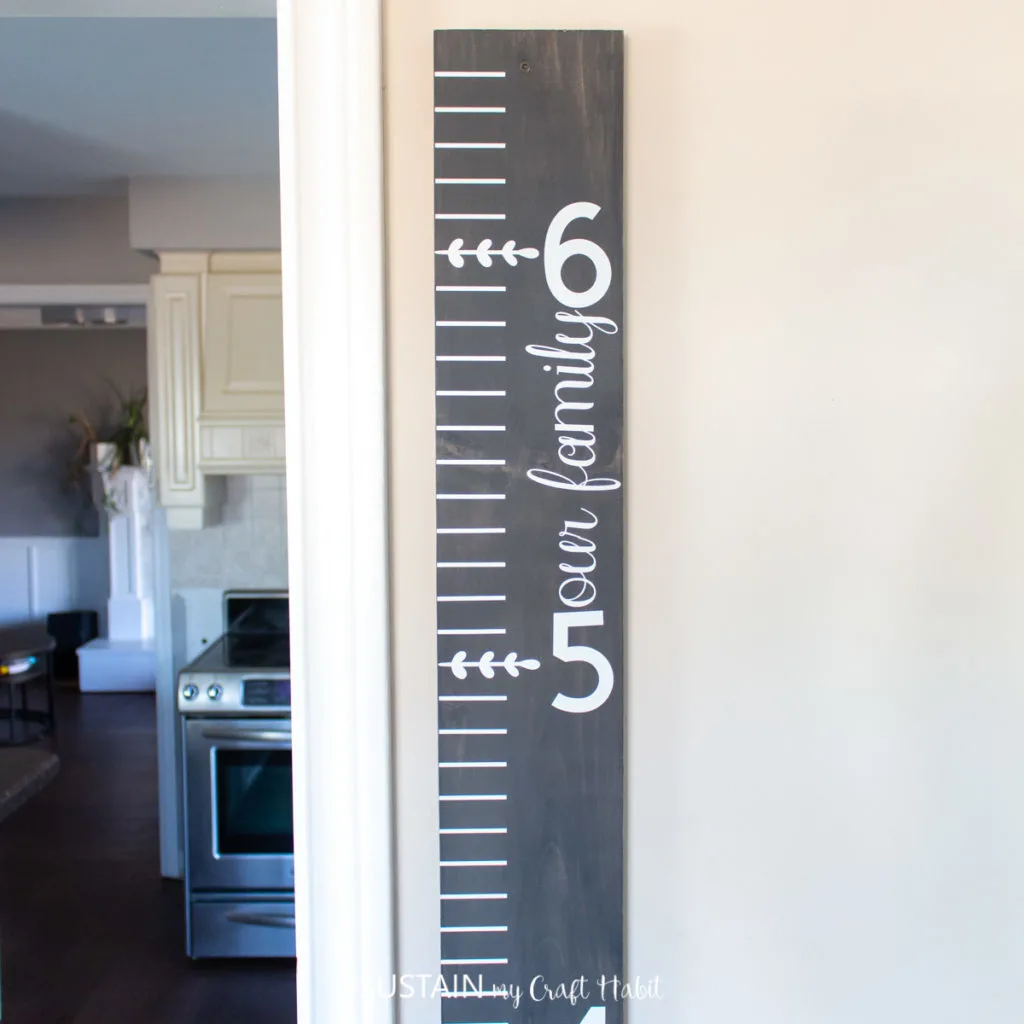
Transfer the numbers to be beside each of the vines and then transfer the “our family” text between the 5′ and 6′ markings.
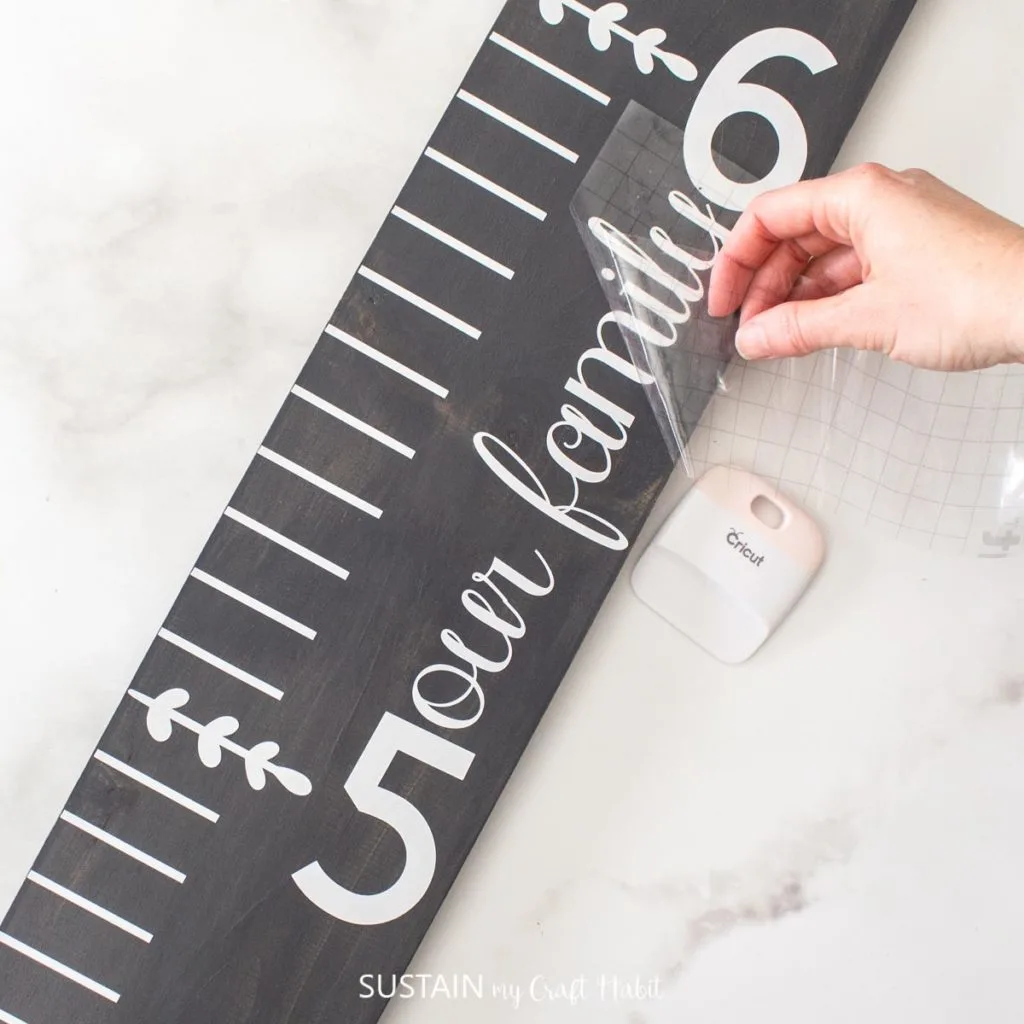
Add the extra rectangles below the 1′ mark and above the 6′ mark to complete the DIY growth chart.
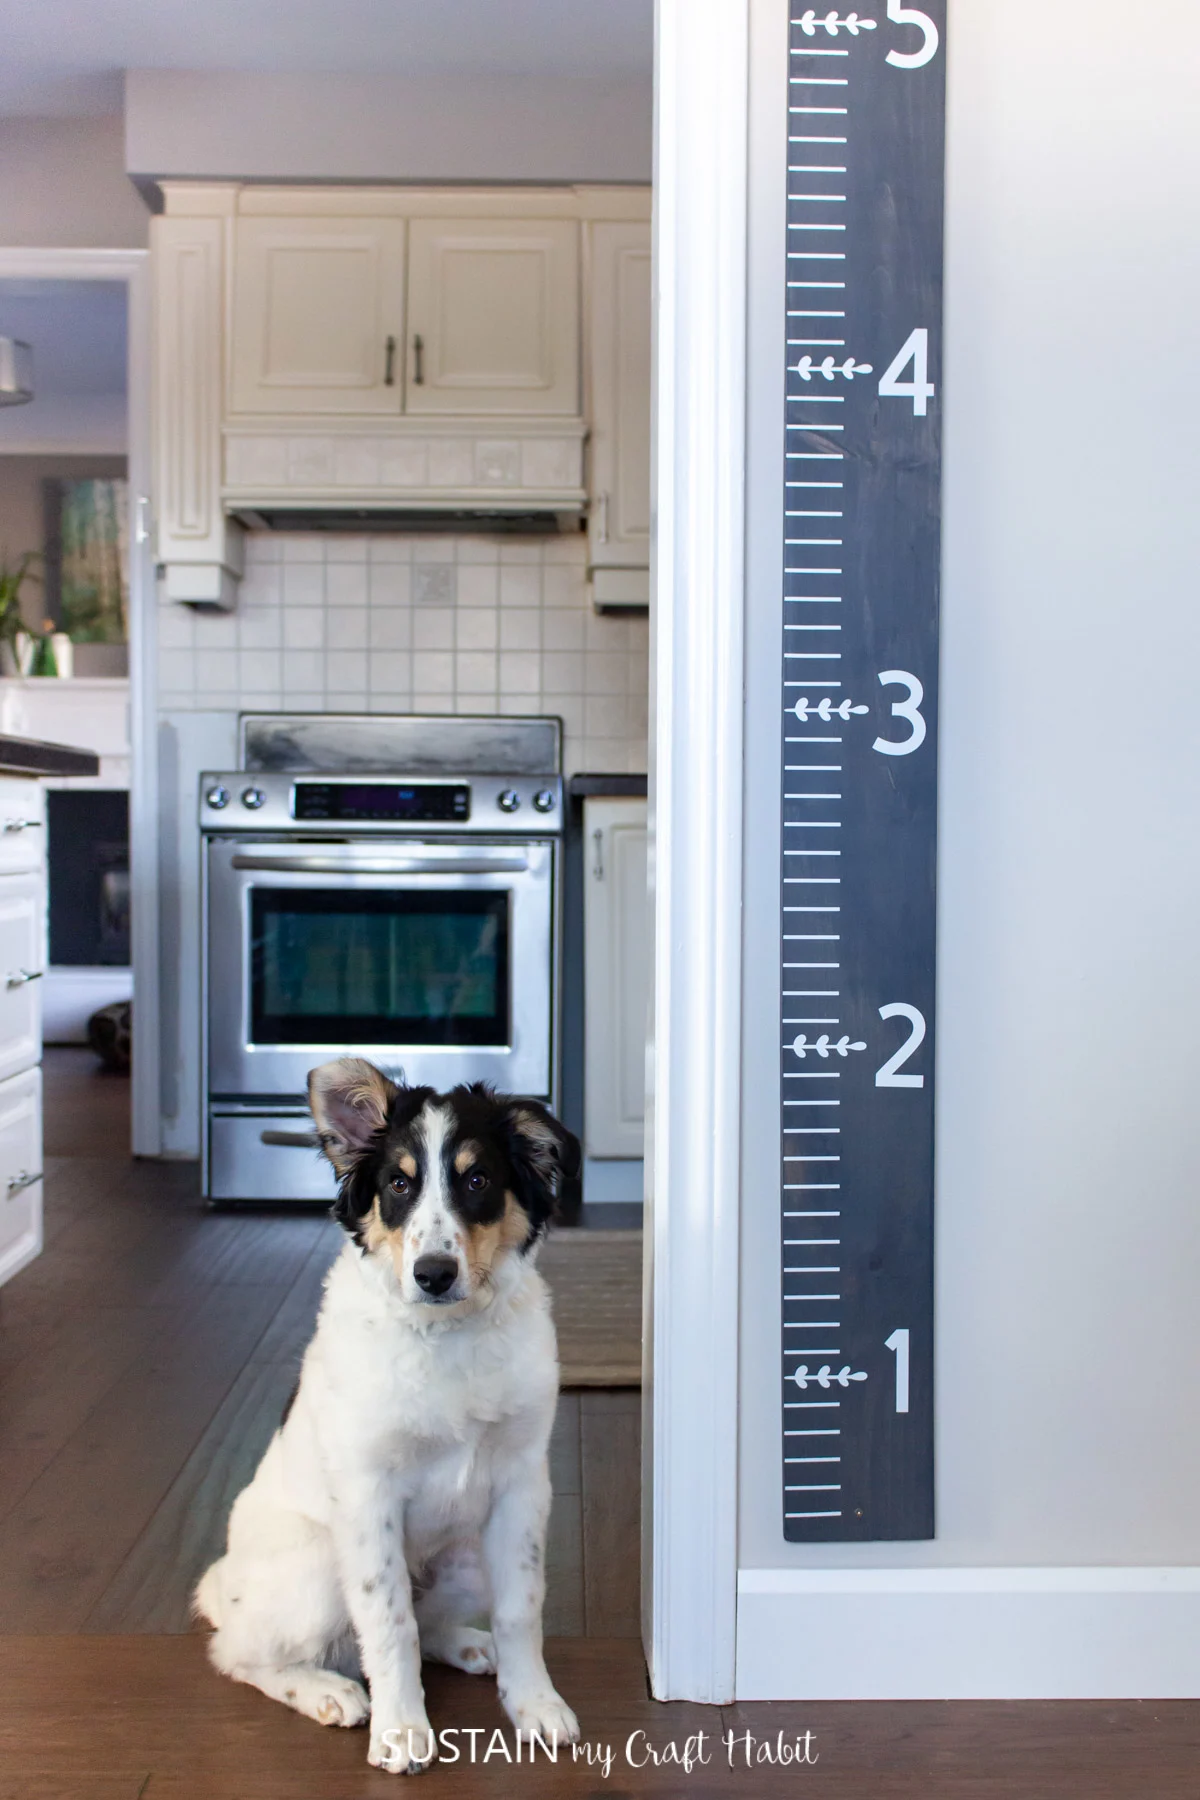
And here’s one more picture with my furbaby because well, it’s just too cute not to include!
More Woodworking Project Ideas:
We’ve made our share of woodworking projects over the years including a wooden planter box, a beachy driftwood mirror, farmhouse-inspired serving tray, a silly bathroon sign with pallets and more!
How do you keep track of your kid’s milestones as they grow?
Like it? Pin it for later!
