DIY Popsicle Stick Sled Ornament
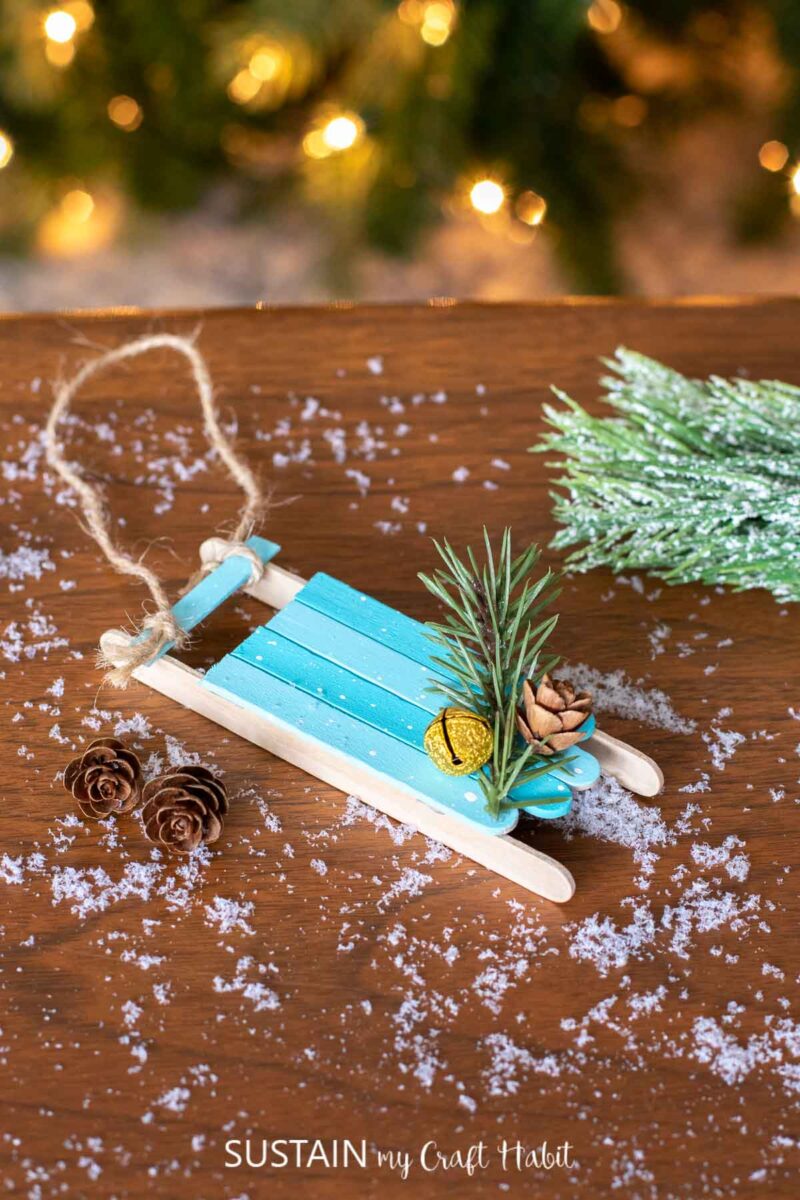
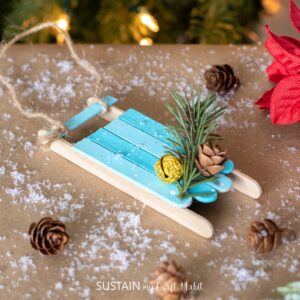
We don’t want to make just any ornament for someone, we want a cute and festive ornament that is different than what everyone else is making! Making the popsicle stick sled ornament will do just that. Whether you’re making it for your own tree, or giving it as a gift, this ornament is perfect for the season.
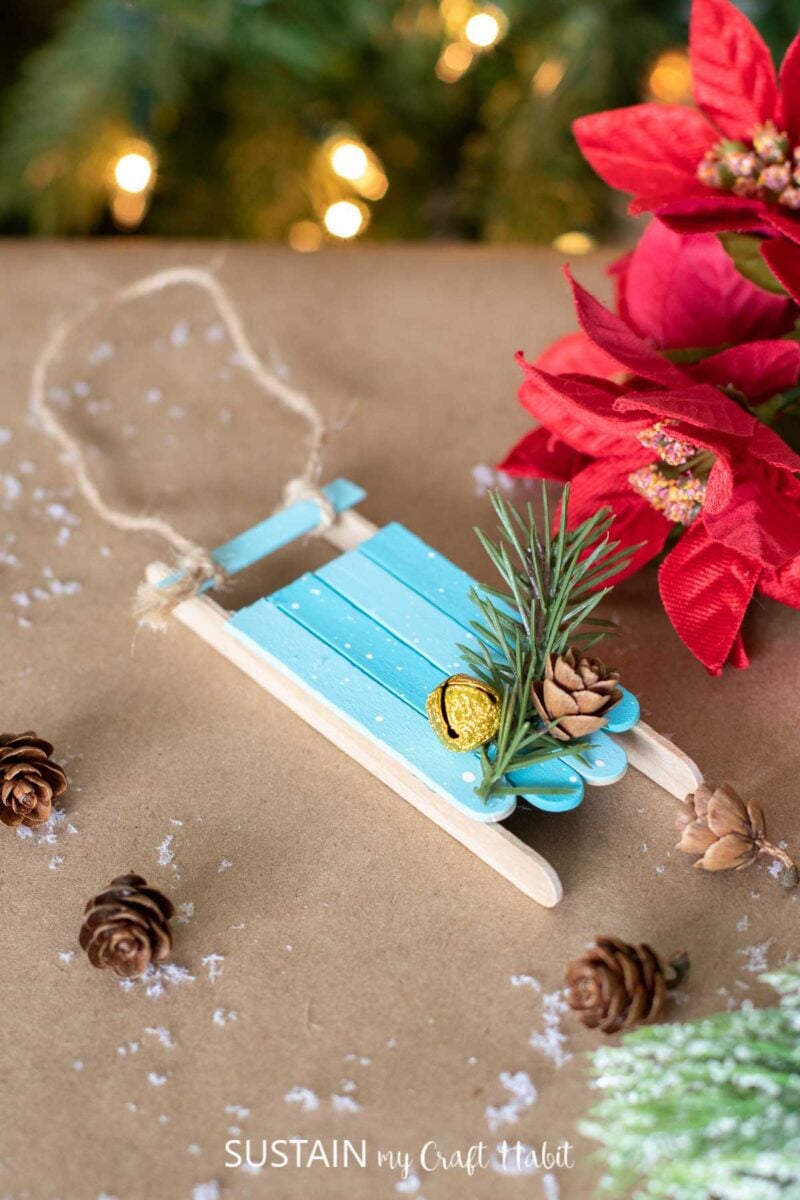
Creating a DIY popsicle sled ornament is easier than you think!
There is something about this time of year for us crafty people…we see so many ideas on Pinterest that we want to do, and so little time! Does anyone else have Pinterest boards upon Pinterest boards of Christmas crafts they want to accomplish?
The good news about this popsicle stick sled ornament is that it is simpler to make while looking like store-quality at the end. You’ll be surprised how many people you gift this to that will ask you what store it came from. We even made a larger sized version of this craft using jumbo popsicle sticks last year!
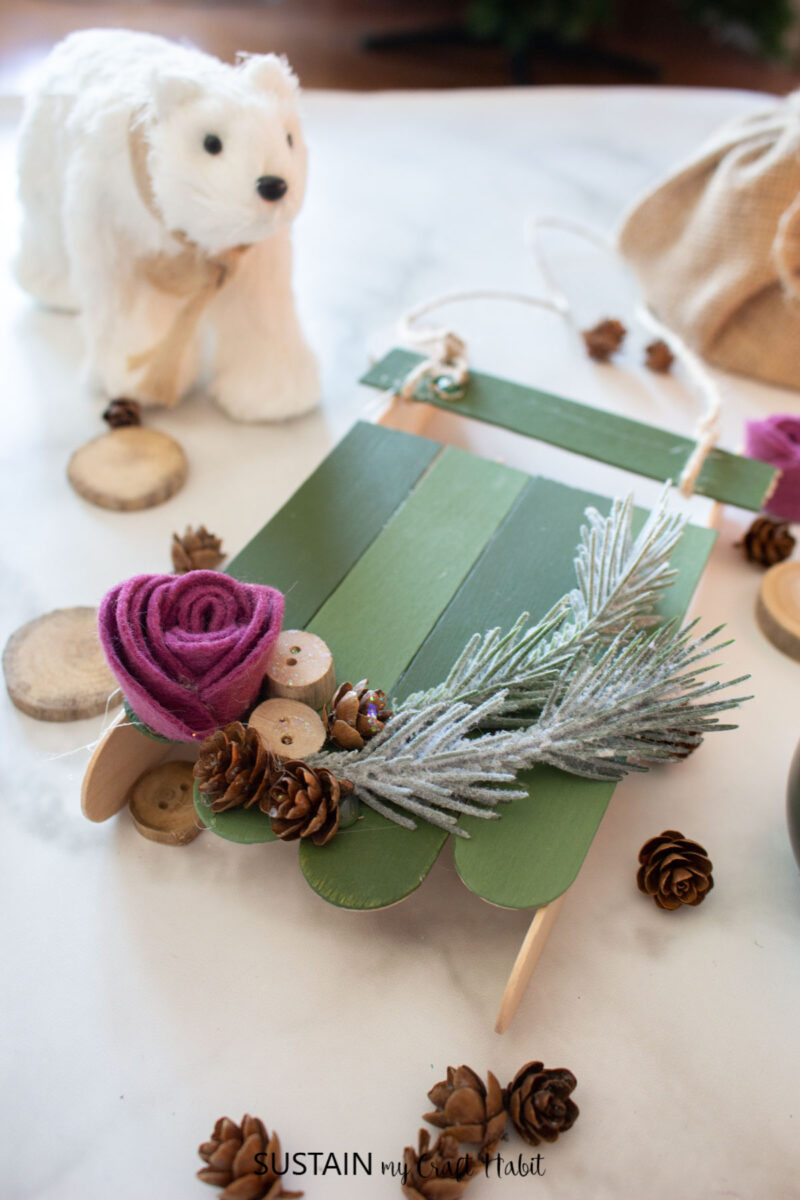
So let’s get started! Find the materials below and learn how to make a fun DIY ornament to remember.
Want to receive a ton of inspiration and money saving ideas for decorating, gift-giving and crafting? Join HERE!
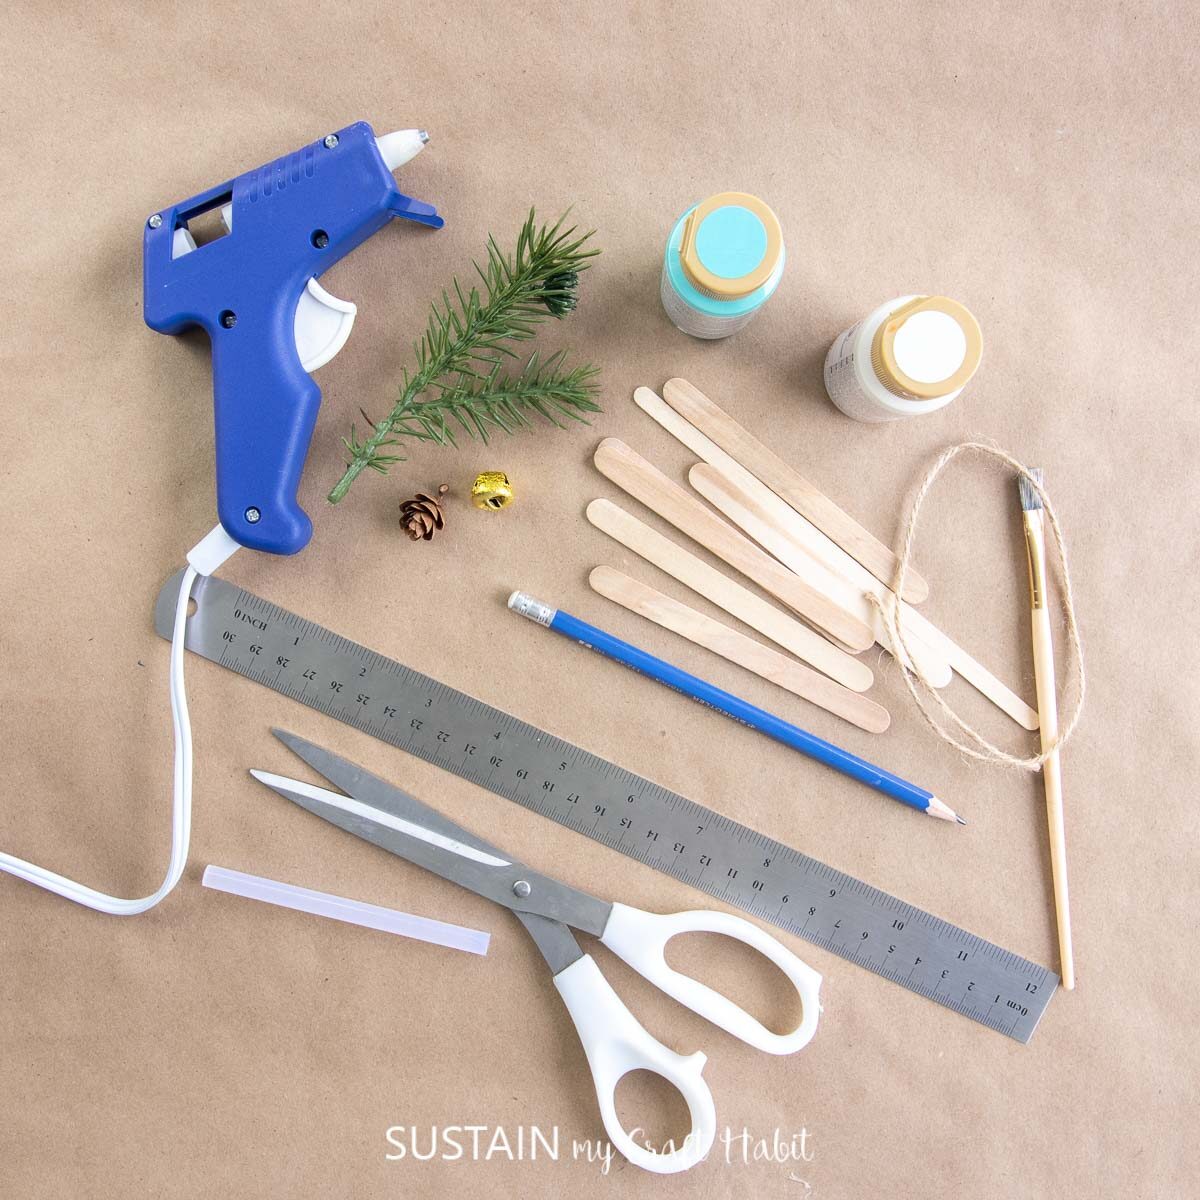
Materials Needed
Disclosure: This post contains affiliate links for your shopping convenience. Should you choose to purchase through them, we will make a small commission at no extra cost to you. You can read our full disclosure policy here.
- x6 Wooden Popsicle Sticks
- x1 Wooden Coffee Stir Sticks
- Cutters
- Pencil
- Ruler
- Hot Glue gun and clear glue sticks
- Acrylic paint in blue and white (Americana Acrylics Indian Turquoise and Snow White)
- Paintbrush
- Decorative accessories such as greenery, mini pinecone and a gold bell
- Twine, cut to 8” long
How to Make a Popsicle Stick Sled Ornament
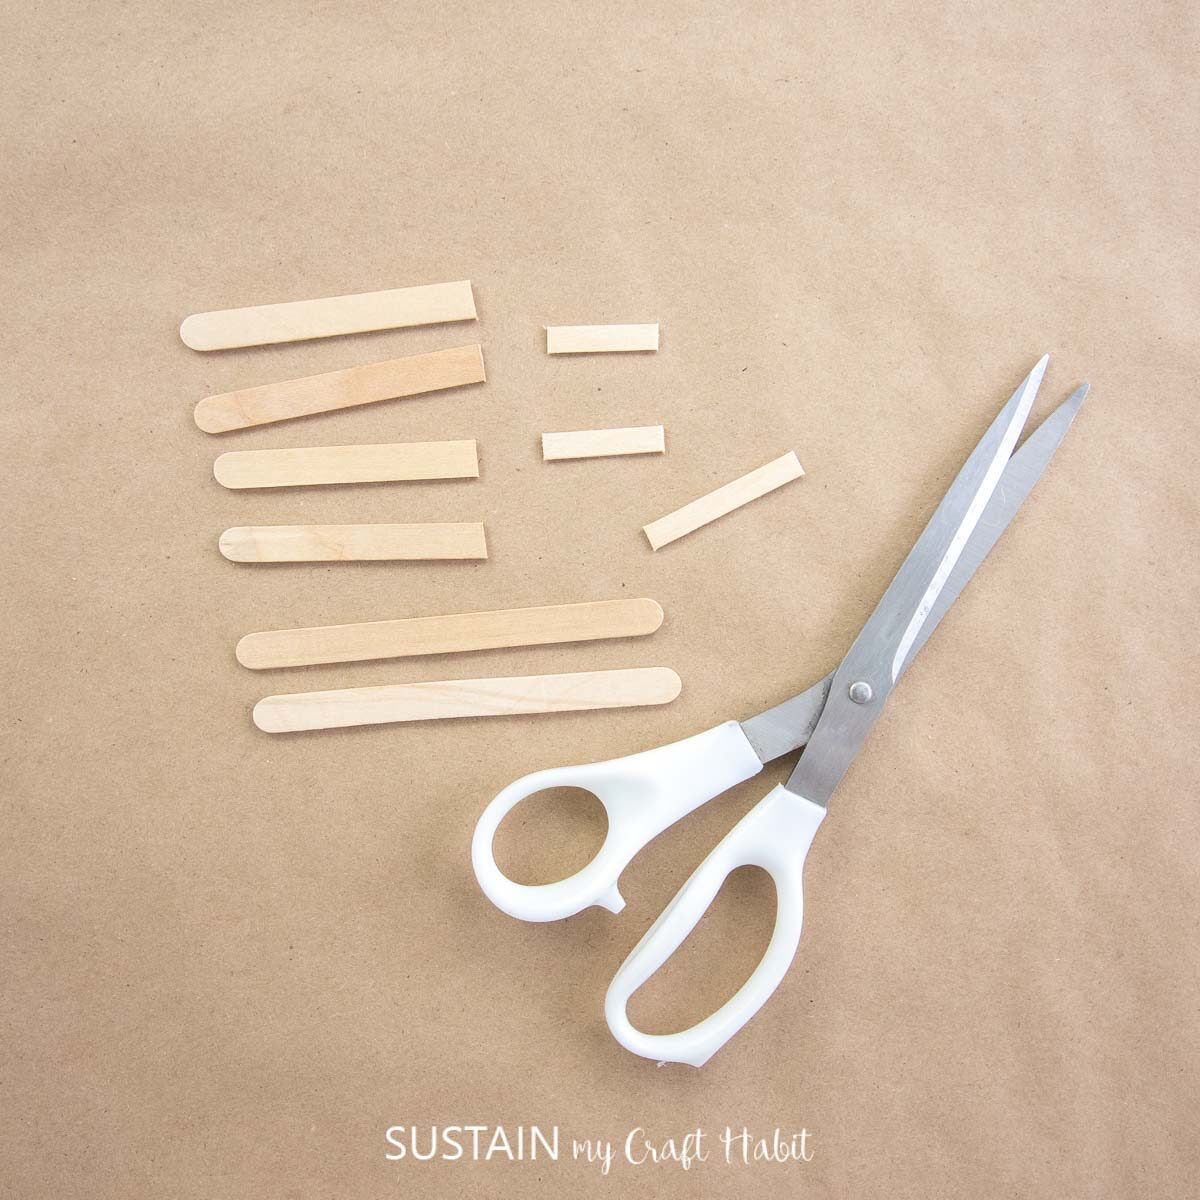
Measure, mark and cut two popsicle sticks 3” long and two at 2 ¾” long.
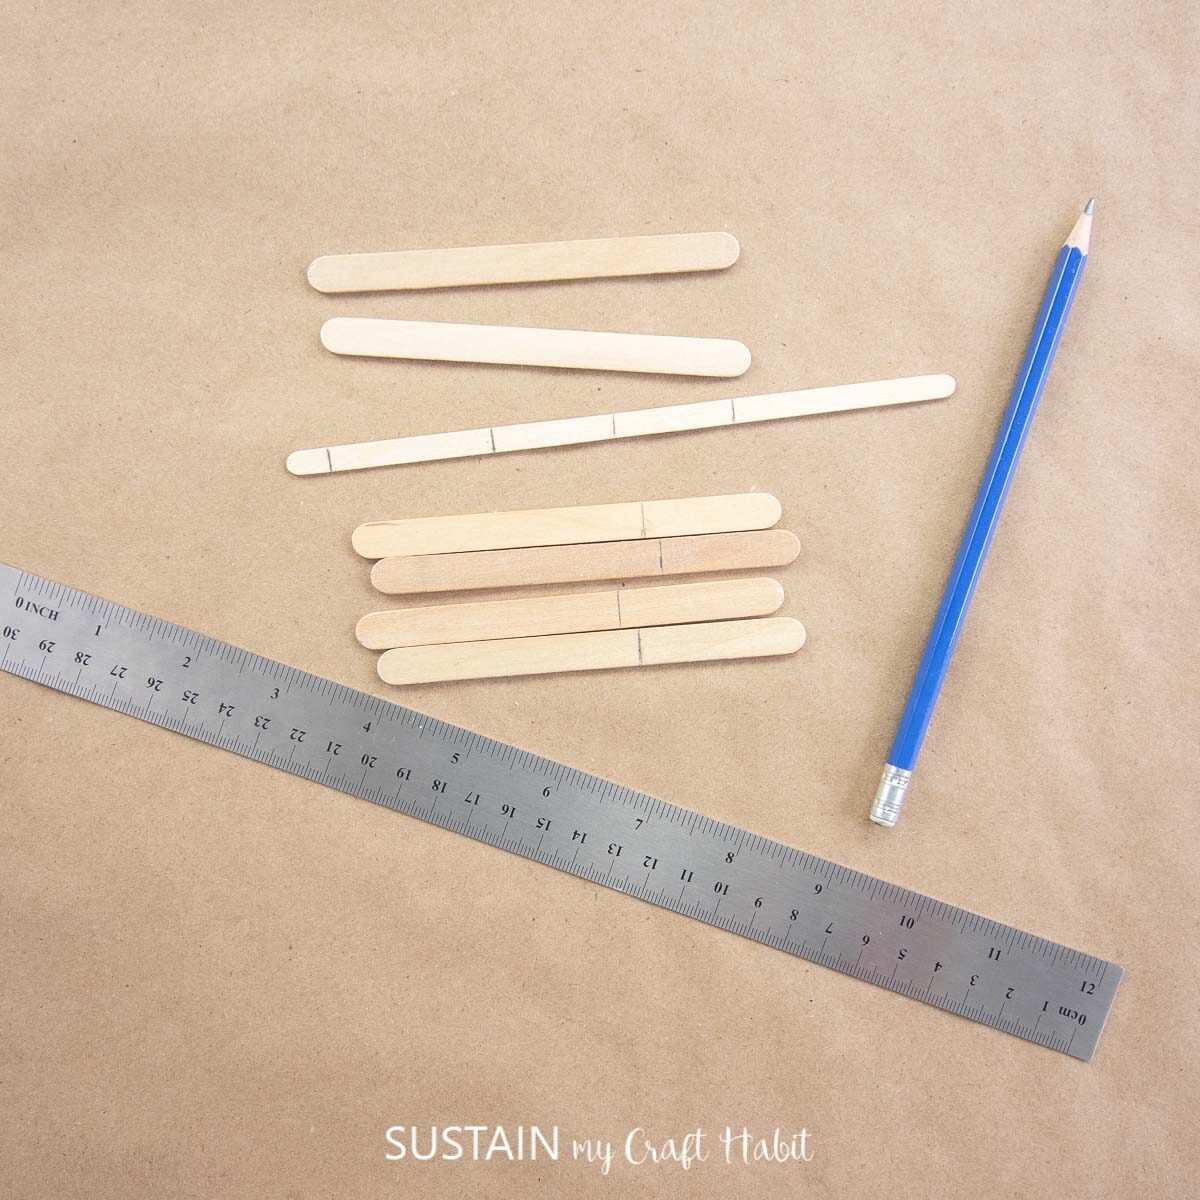
Measure, mark and cut one coffee stick at 1 ¾” and two at 1 ¼” long.
Leave two remaining popsicle sticks at full length.
Paint the surface of the popsicle sticks in two shades of blue, mixing blue and white together for the lighter shade. Leave the full length popsicle sticks unpainted.
Gently flick white paint over top of the painted pieces to represent snowflakes.
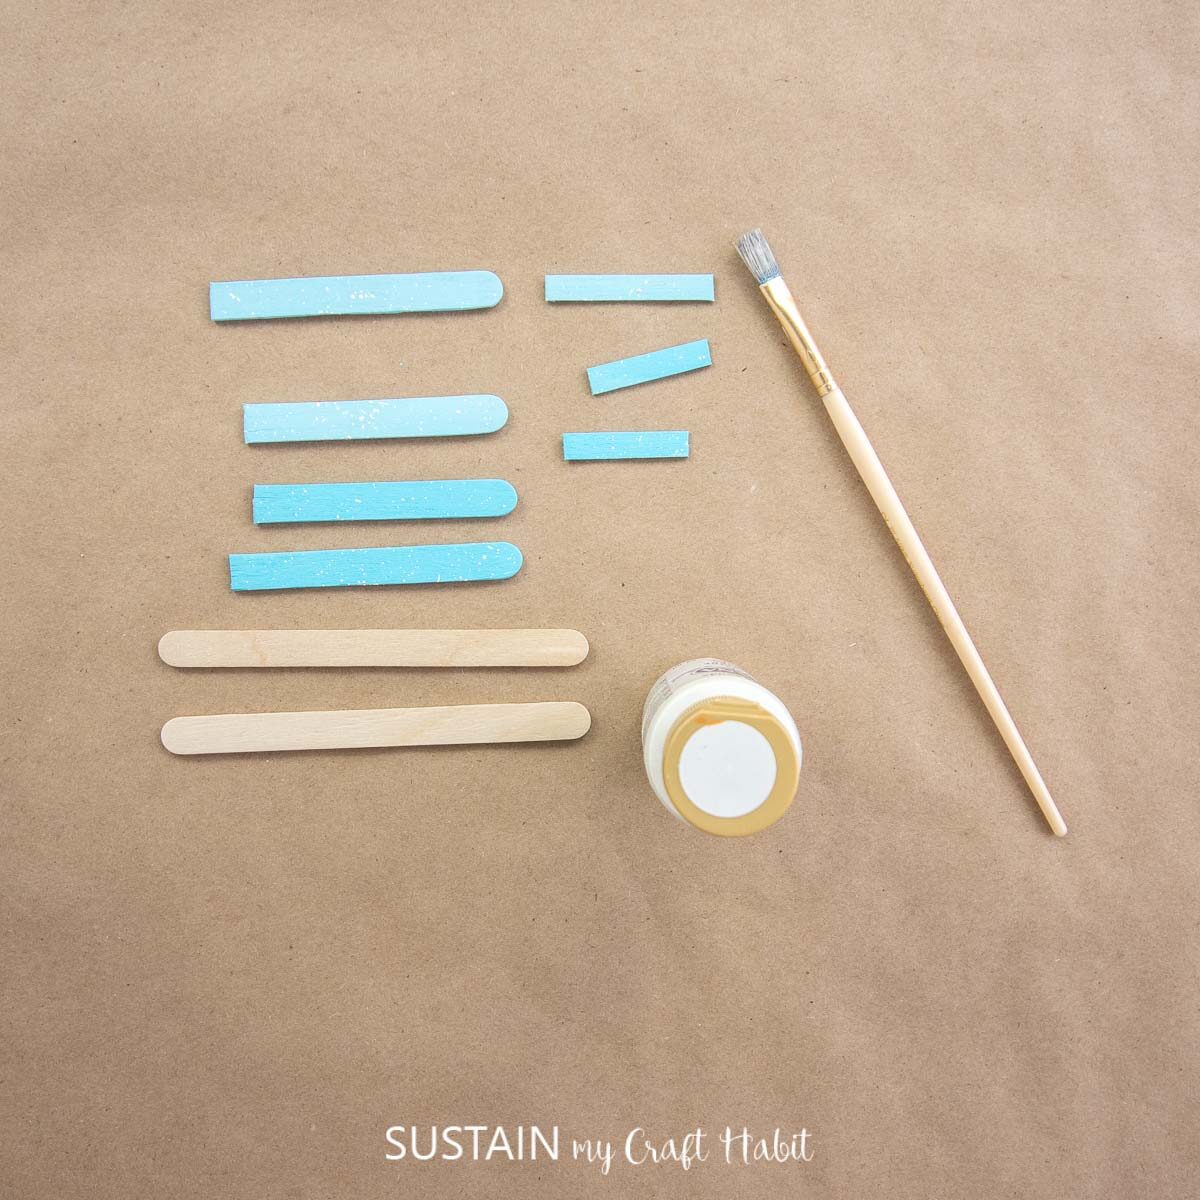
Once dry, assemble the pieces into a sled. Lay the shorter popsicle sticks with the splatter side facing down on a flat surface with cut edges lined up and longest pieces in the middle.
Glue the shortest sticks across the back side to hold all the pieces together.
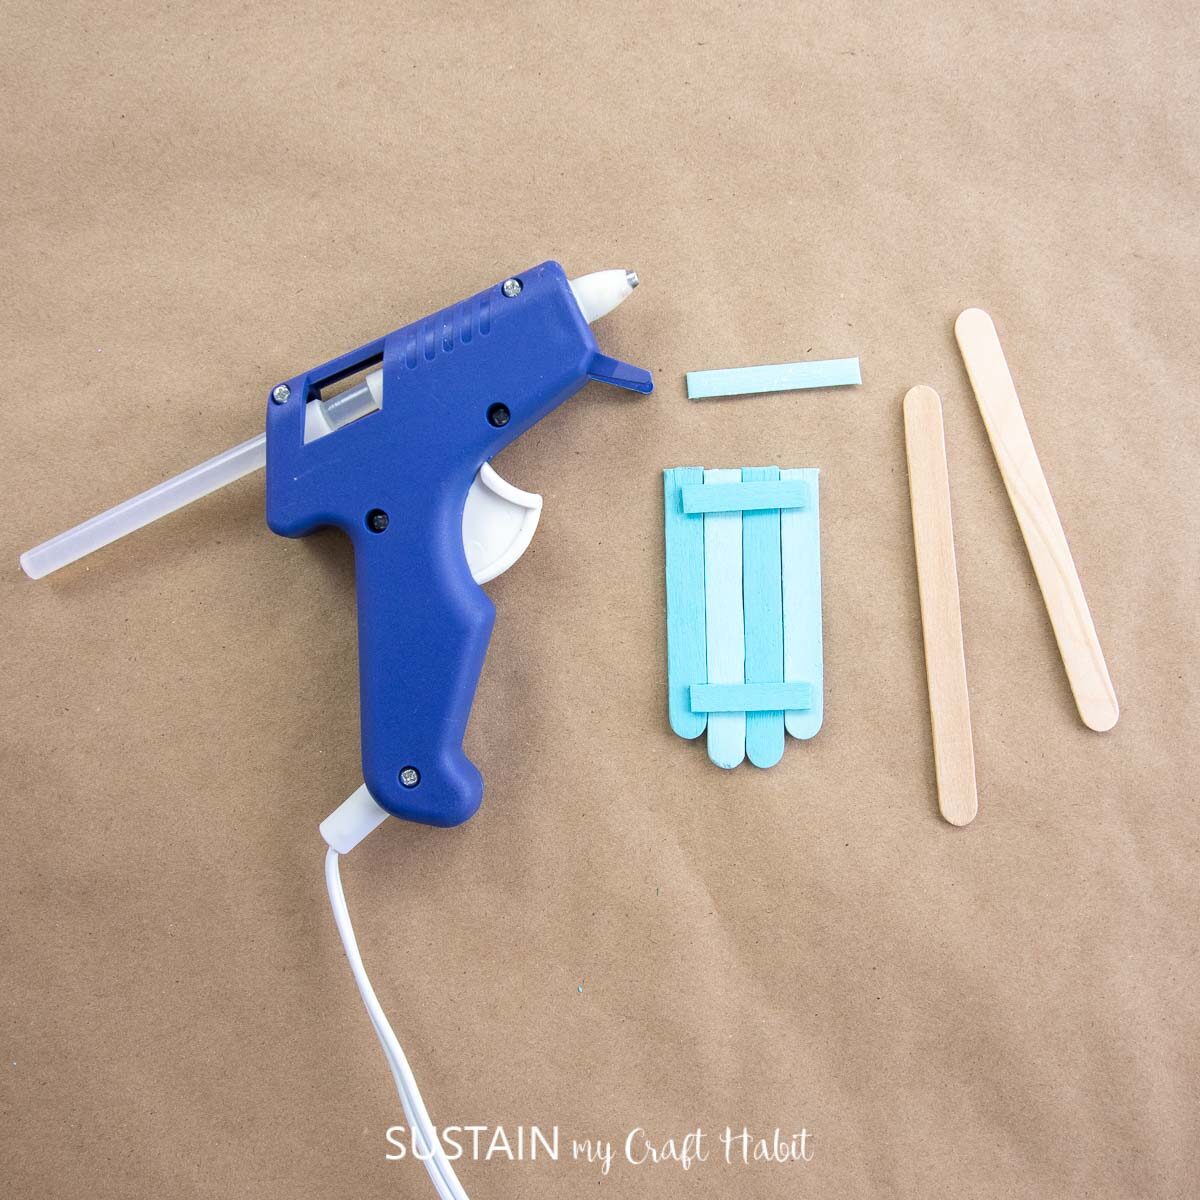
Glue the long unpainted popsicle sticks along the length of the sled on both sides. Turn the glued piece right side up.
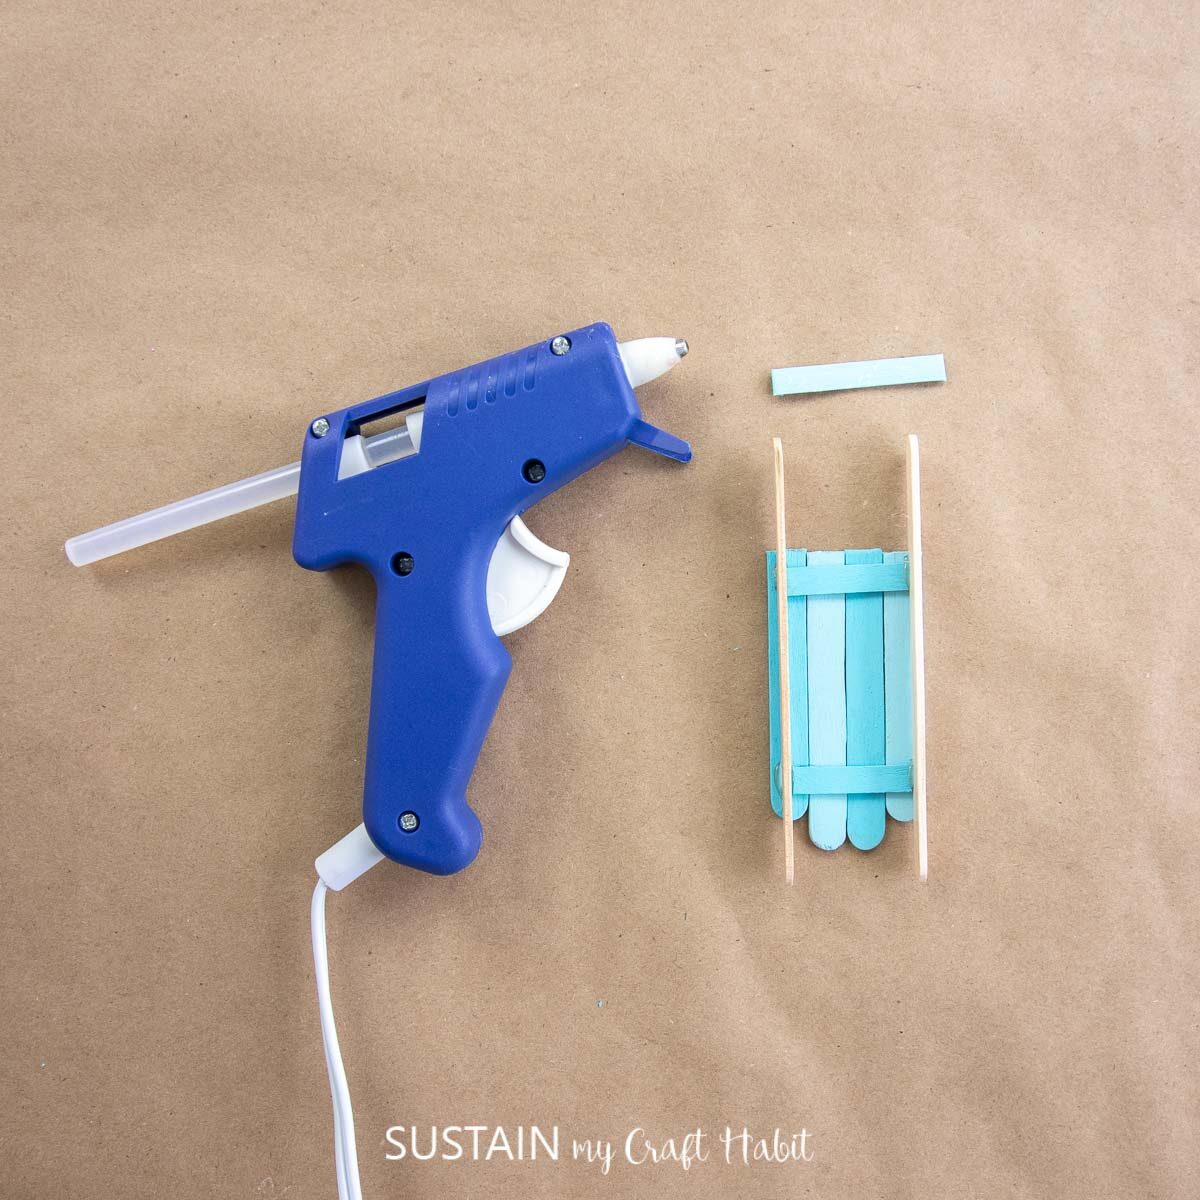
Glue the last piece across the front of the sled.
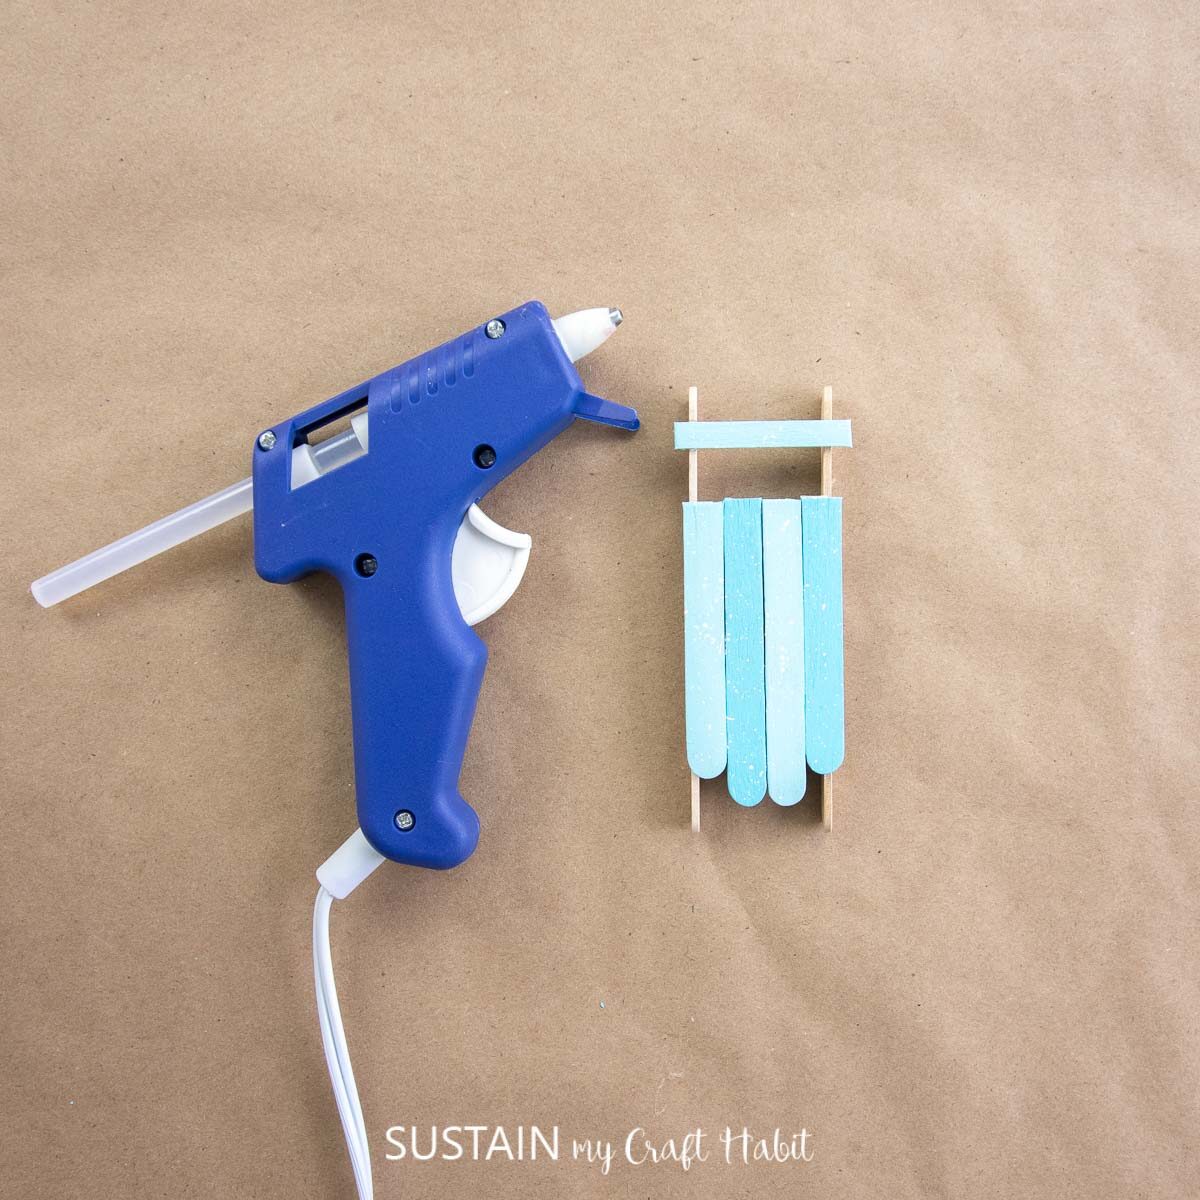
Glue a piece of greenery, a mini pinecone and a gold bell to the top of the sled.
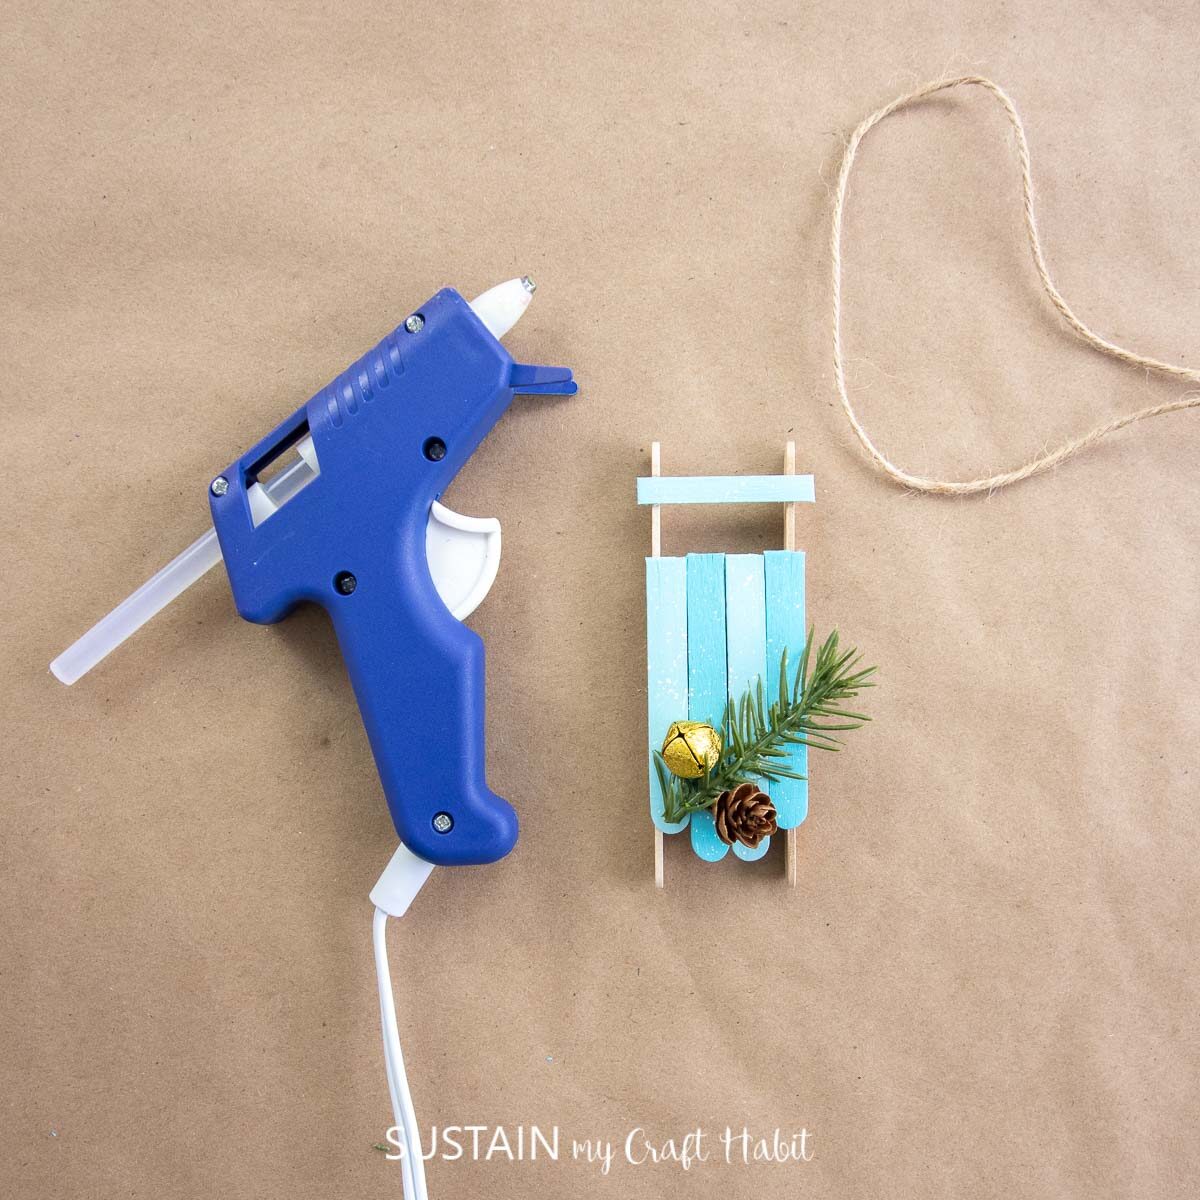
Tie a 10” long piece of twine to the front of the sled.
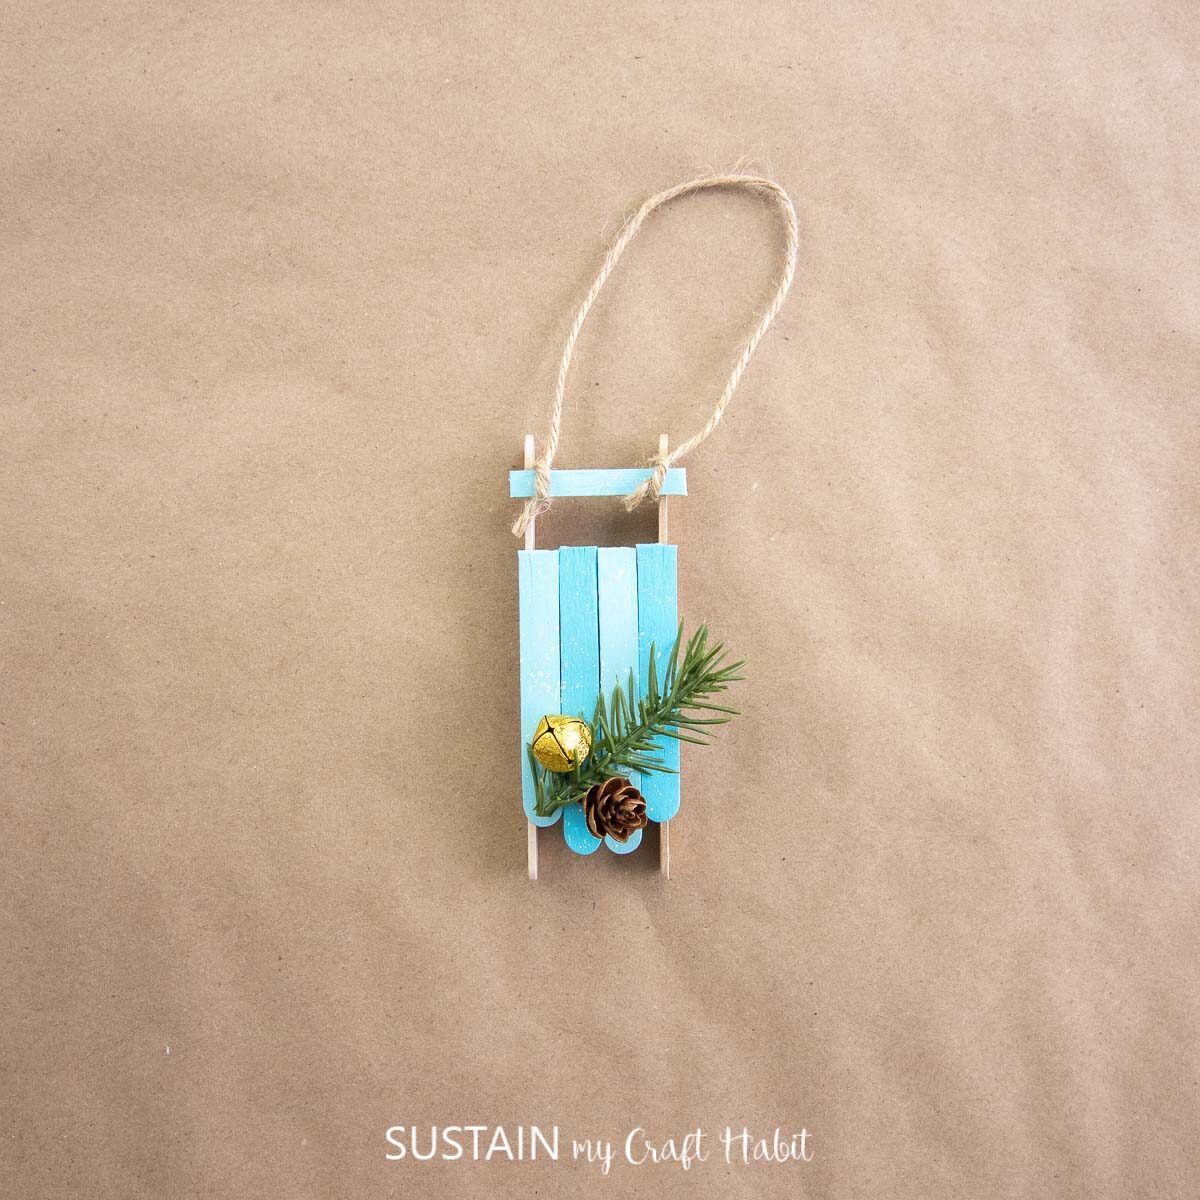
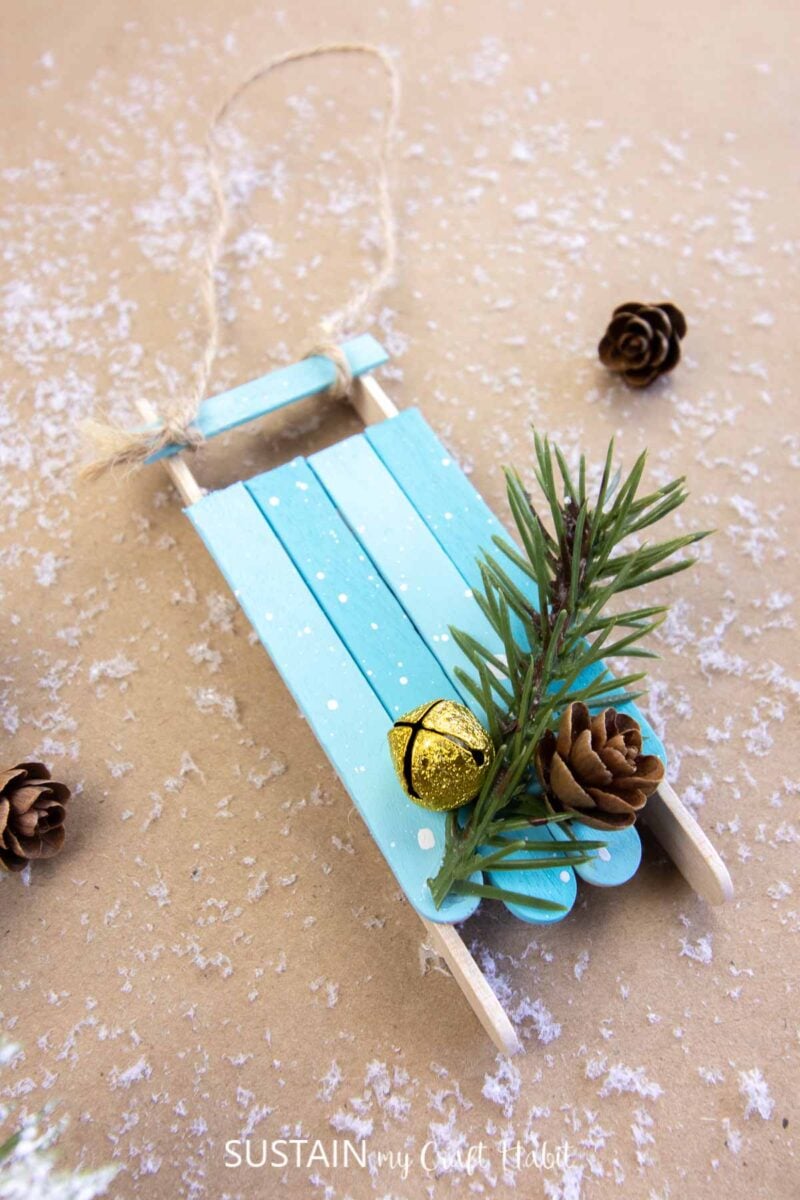
And there you have it- your very own popsicle stick sled ornament! Now the hard part is deciding whether to keep or gift it! Luckily it’s easy to make a few of them.
If you care to share, make sure to show it off to us! Tag us on Facebook or Instagram– we can’t wait to see it!
Stay in the know on our latest crafts, special offers and freebies by joining our mailing list.
More Popsicle Stick Crafts
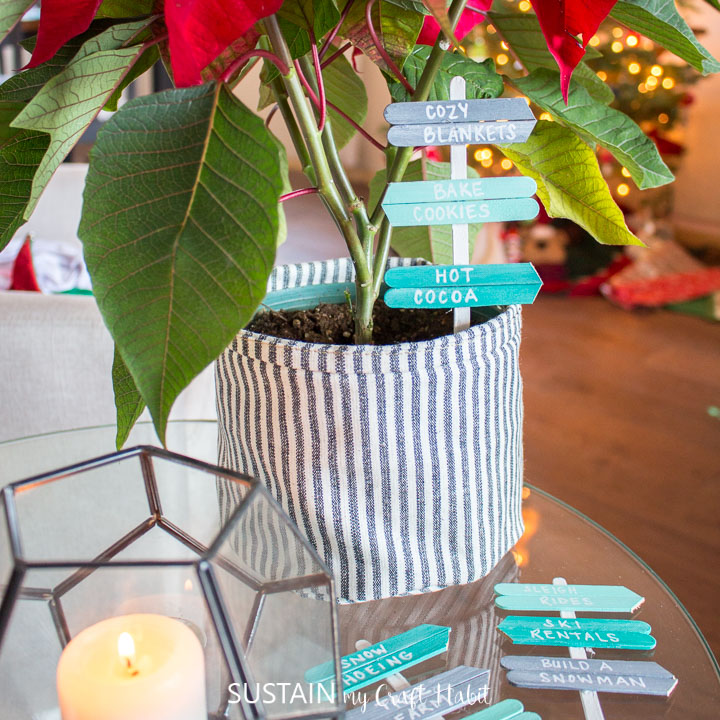
- DIY Plant Picks
- 21 Popsicle Stick Crafts for Adults
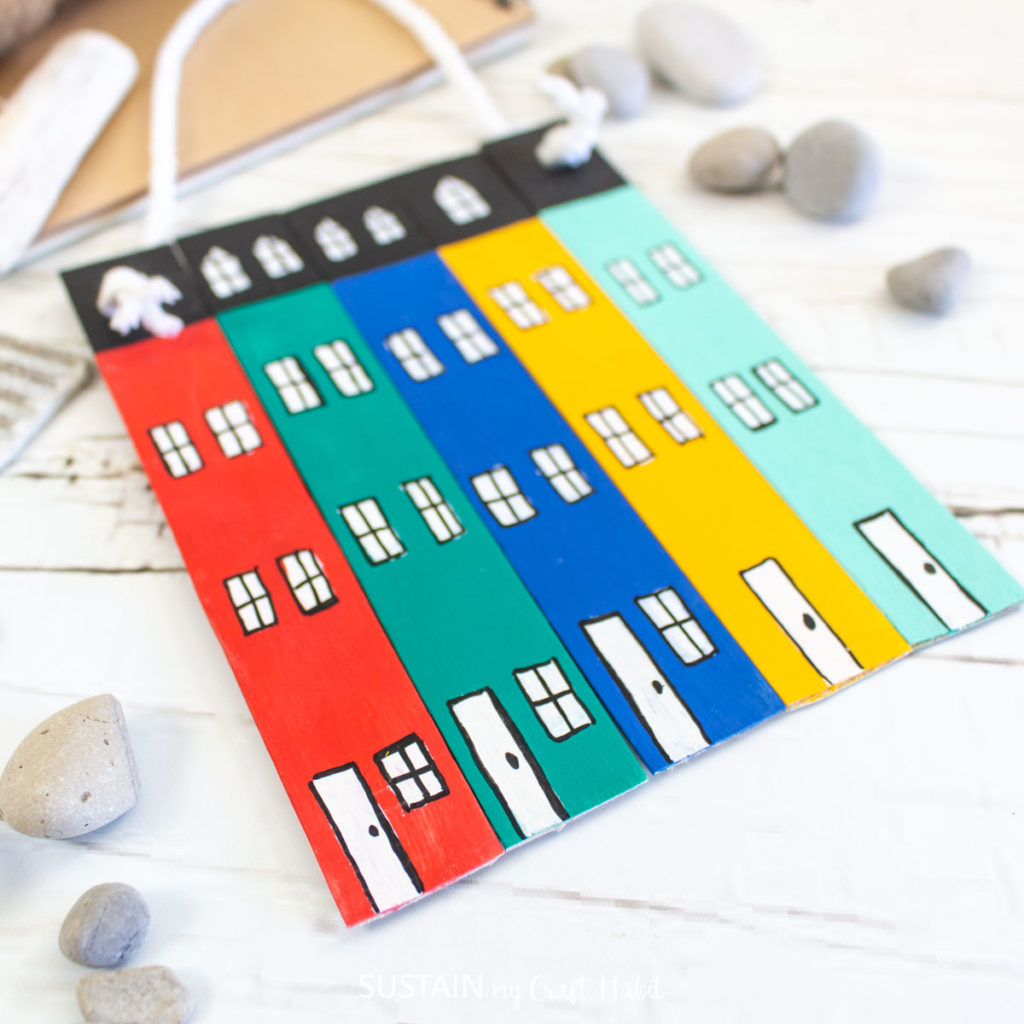
- Row House Craft Stick Ornament
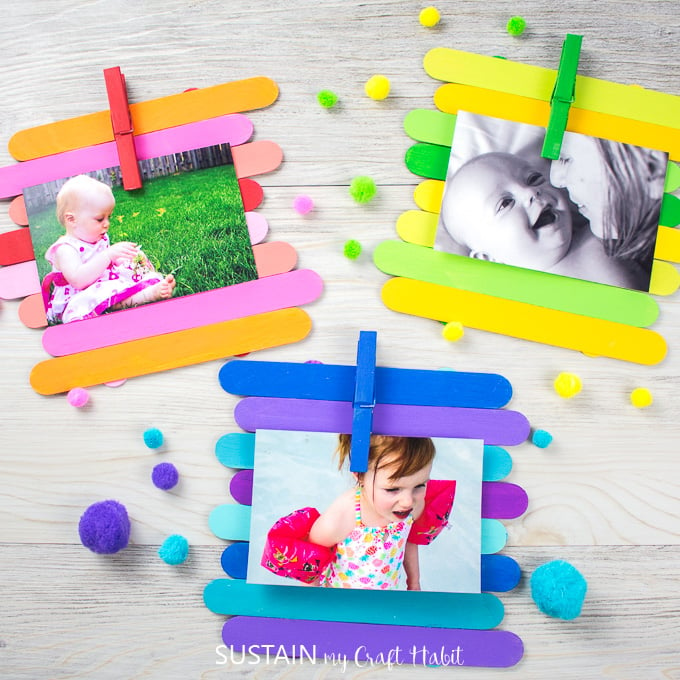
- Colorful Popsicle Stick Picture Frames
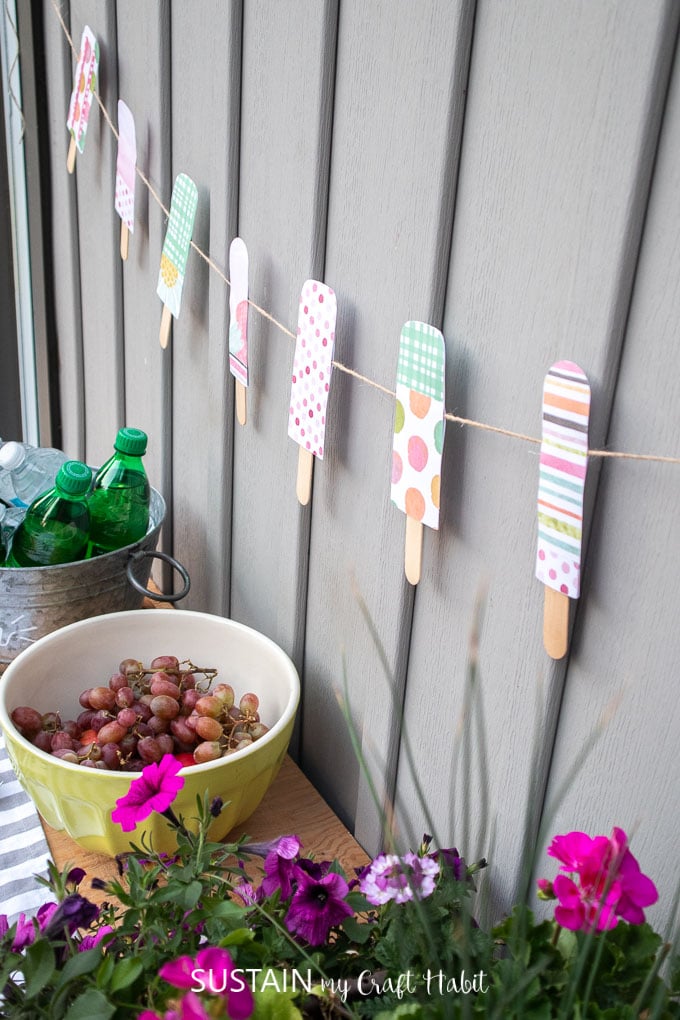
- Summer Garland with Paper Popsicles
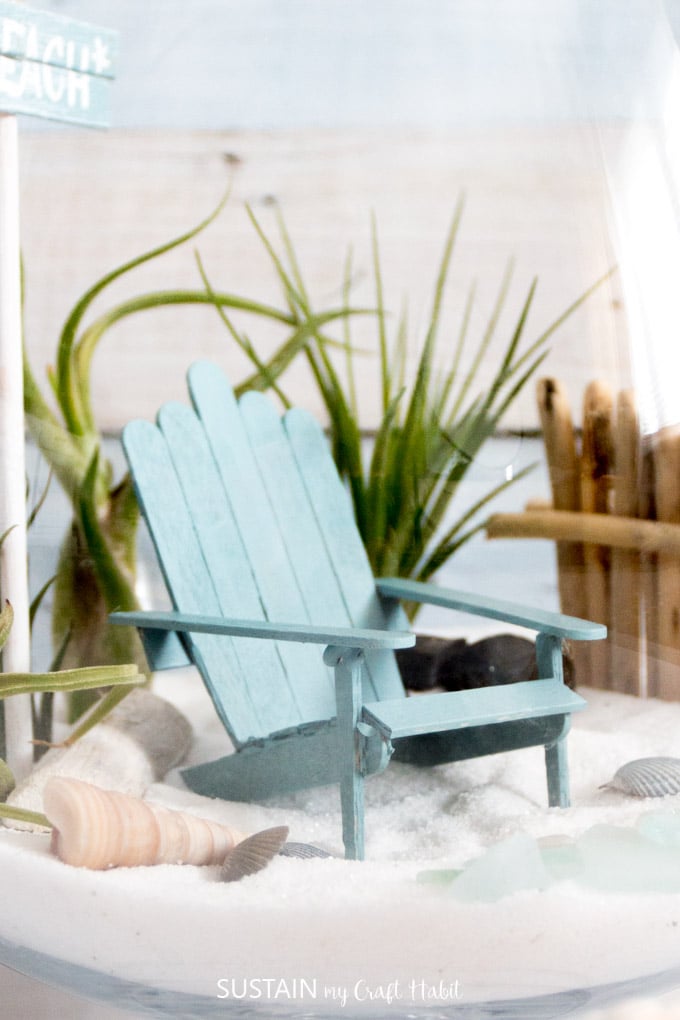
- Mini Adirondack Chairs
Join our crafting community to sustain your craft habit with nature-inspired DIYs and upcycled craft ideas. It feels good to repurpose, upcycle and create with nature!
Like it? Pin it for later!
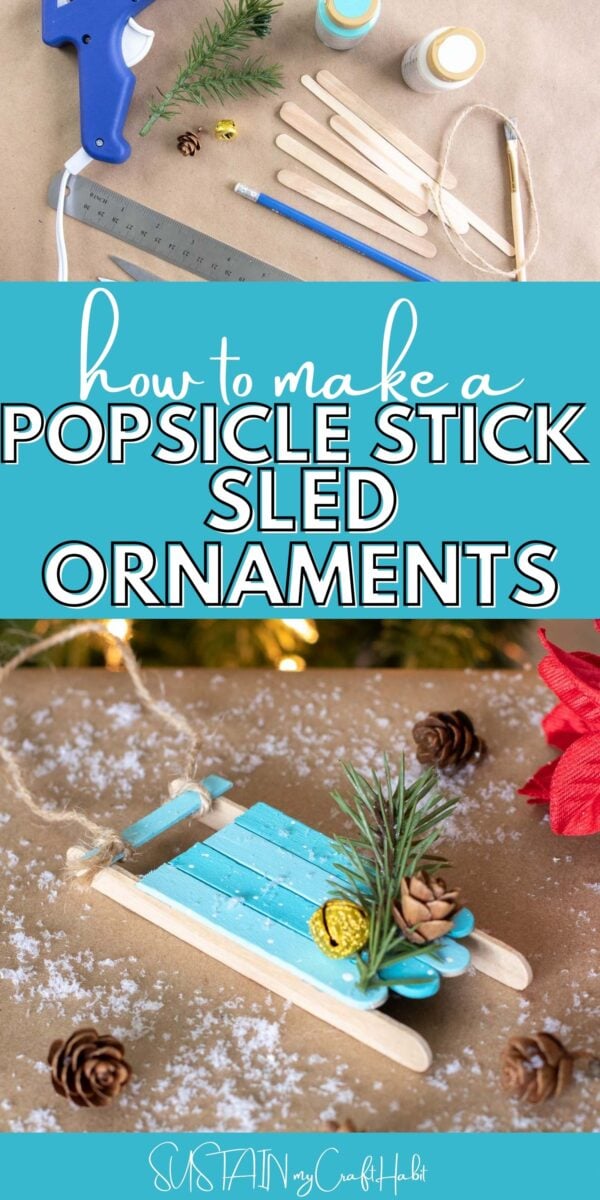
DIY Popsicle Stick Sled Ornament
Materials
- X6 Wooden Popsicle Sticks
- X1 Wooden Coffee Stir Sticks
- Cutters
- Pencil
- Ruler
- Hot Glue gun and clear glue sticks
- Acrylic paint in blue and white Americana Acrylics Indian Turquoise and Snow White
- Paintbrush
- Decorative accessories such as greenery, mini pinecone and a gold bell
- Twine cut to 8” long
Instructions
- Measure, mark and cut two popsicle sticks 3” long and two at 2 ¾” long.
- Measure, mark and cut one coffee stick at 1 ¾” and two at 1 ¼” long.
- Leave two remaining popsicle sticks at full length.
- Paint the surface of the popsicle sticks in two shades of blue, mixing blue and white together for the lighter shade. Leave the full length popsicle sticks unpainted.
- Gently flick white paint over top of the painted pieces to represent snowflakes.
- Once dry, assemble the pieces into a sled. Lay the shorter popsicle sticks with the splatter side facing down on a flat surface with cut edges lined up and longest pieces in the middle.
- Glue the shortest sticks across the back side to hold all the pieces together.
- Glue the long unpainted popsicle sticks along the length of the sled on both sides. Turn the glued piece right side up.
- Glue the last piece across the front of the sled.
- Glue a piece of greenery, a mini pinecone and a gold bell to the top of the sled.
- Tie a 10” long piece of twine to the front of the sled.

